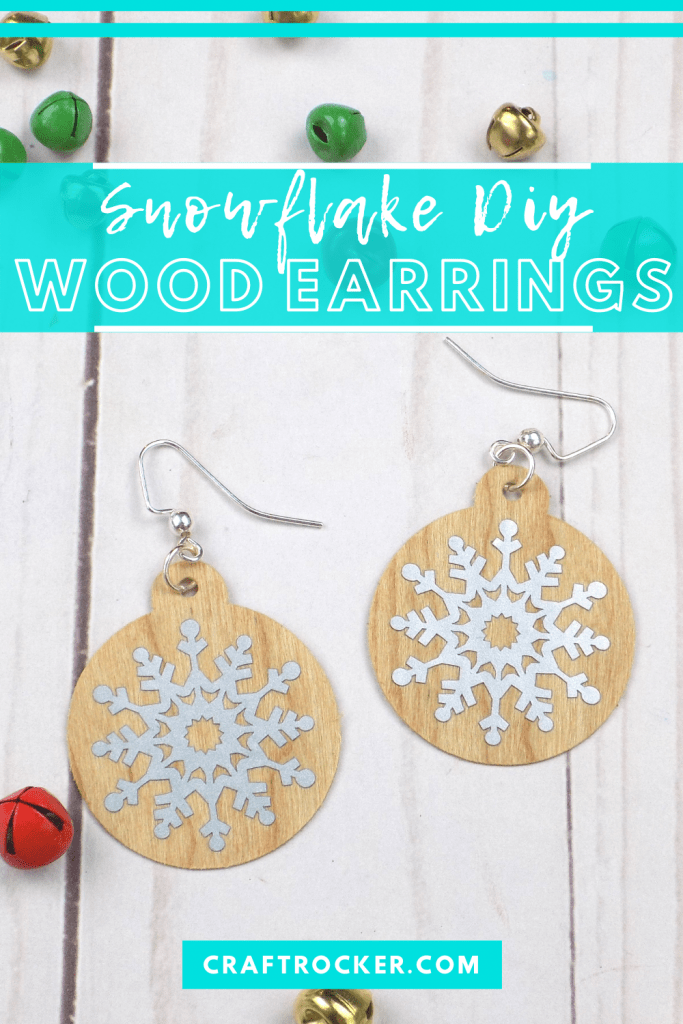
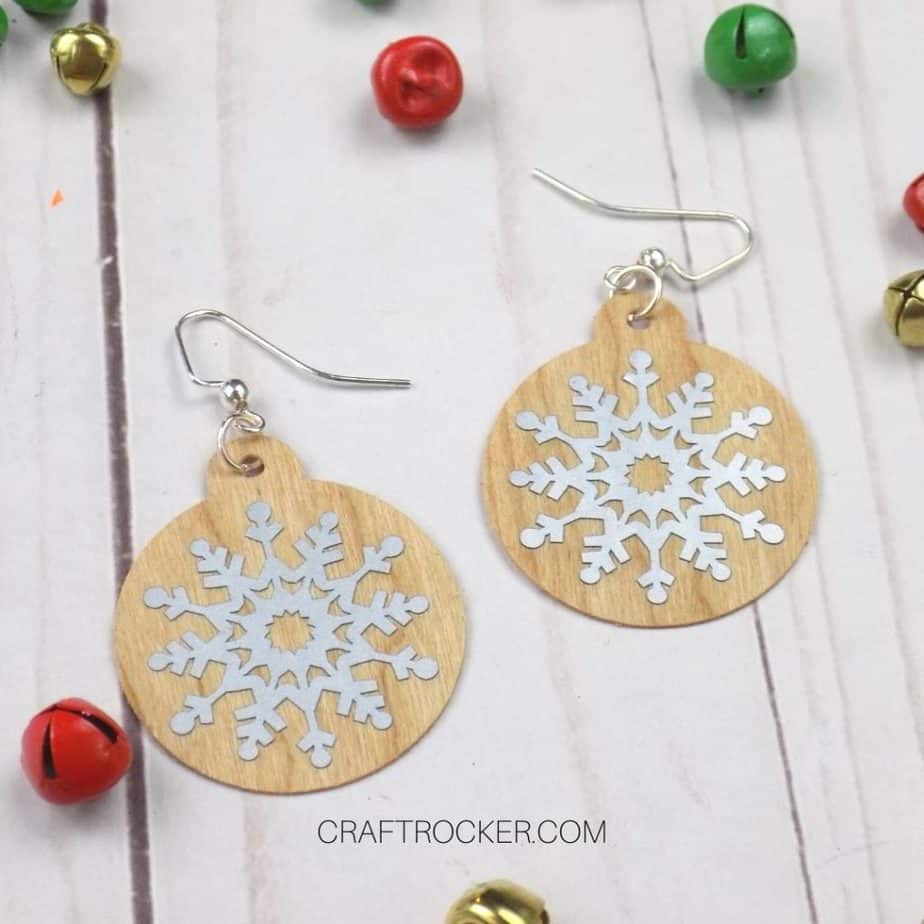
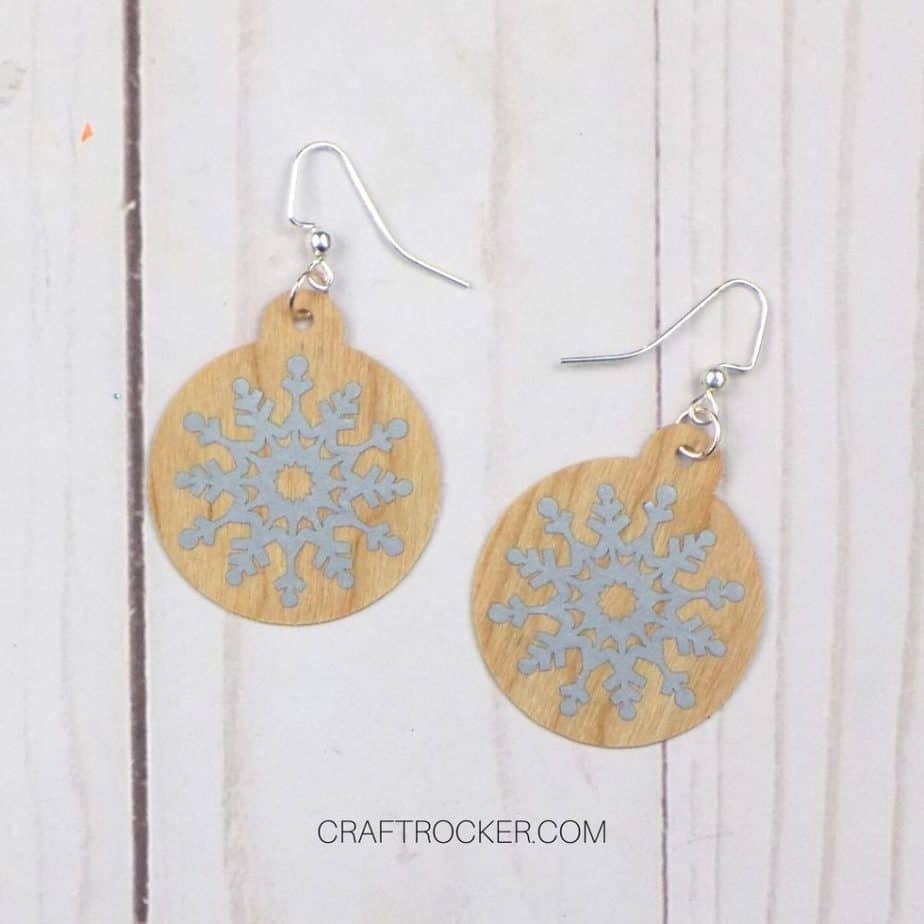
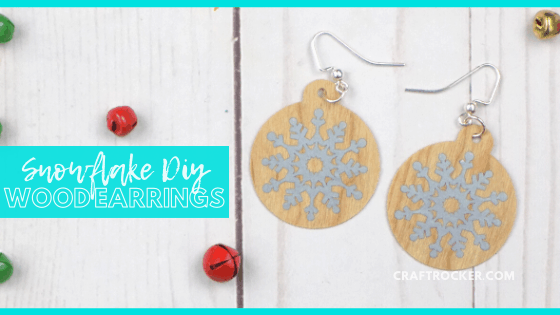
Get your look ready for winter with these snowflake DIY wood earrings. They’re the perfect neutral yet festive accessory for the season.
Affiliate links may be used in this post. Ordering a product through these links may result in a commission at no extra cost to you. Read the full disclosure here.
Jump to What You Want


I love holiday jewelry, especially earrings. I have bunny earrings for Easter, black spider ones for Halloween, and even jingle bells for Christmas.
This year I wanted to make something more neutral that was still festive to go with more outfits this winter.
Instead of using an earring cut file, I thought, “Why not find a cute ornament instead?” Luckily, Cricut Design Space has a ton to choose from and I easily found exactly what I wanted.
Materials for Snowflake DIY Wood Earrings
Strong Grip Mat (the purple one)
1 inch Painters Tape
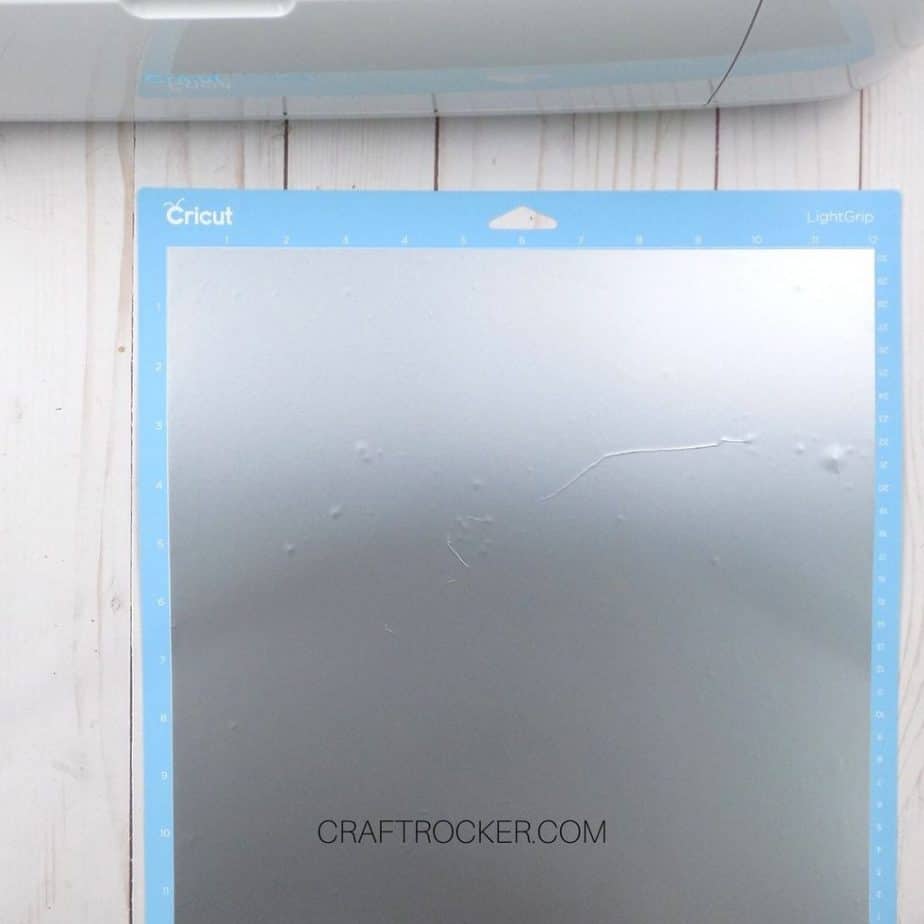
Light Grip Mat (the blue one)
2 Silver Jump Rings
2 Silver Fishhook Earring Bases
Jewelry Tools (Specifically Small Set of Pliers)
Note:
You also need Cricut Design Space for this project. If you don’t already own the ornament and the snowflake then you can get them with Cricut Access.
Step 1
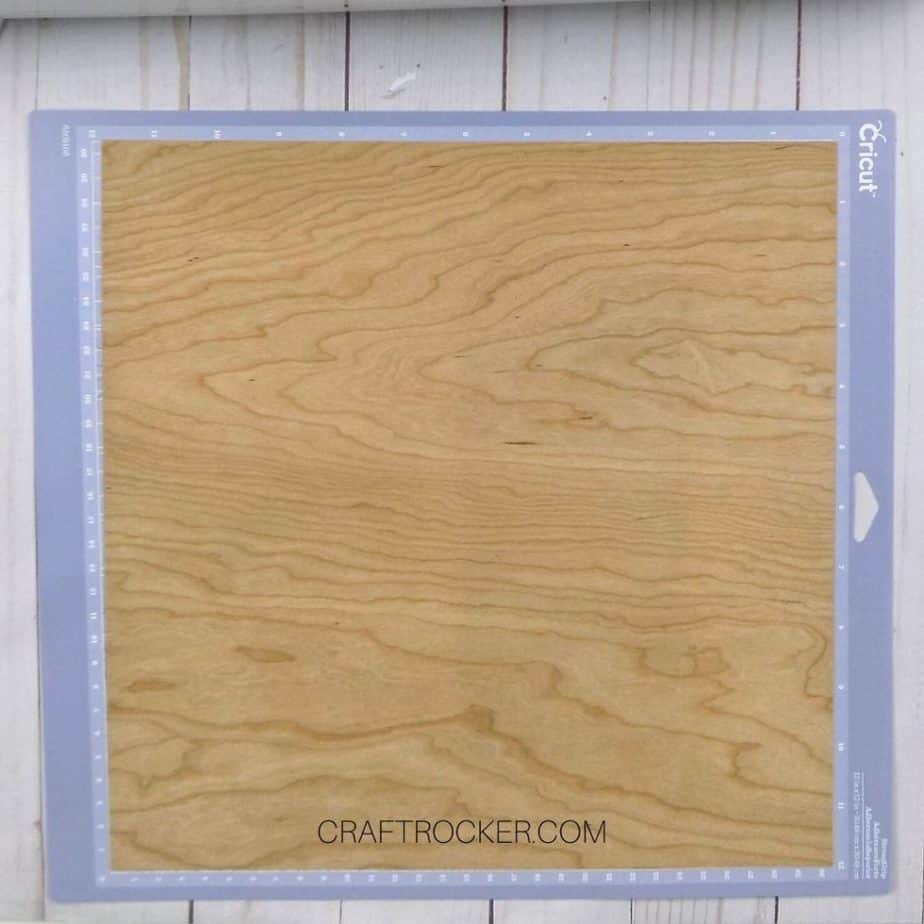
First, press your wood veneer sheet onto your strong grip mat. Use a brayer to ensure that it is firmly pressed onto the mat. If you don’t have a brayer, I recommend running your Cricut scraper tool over it.
Step 2
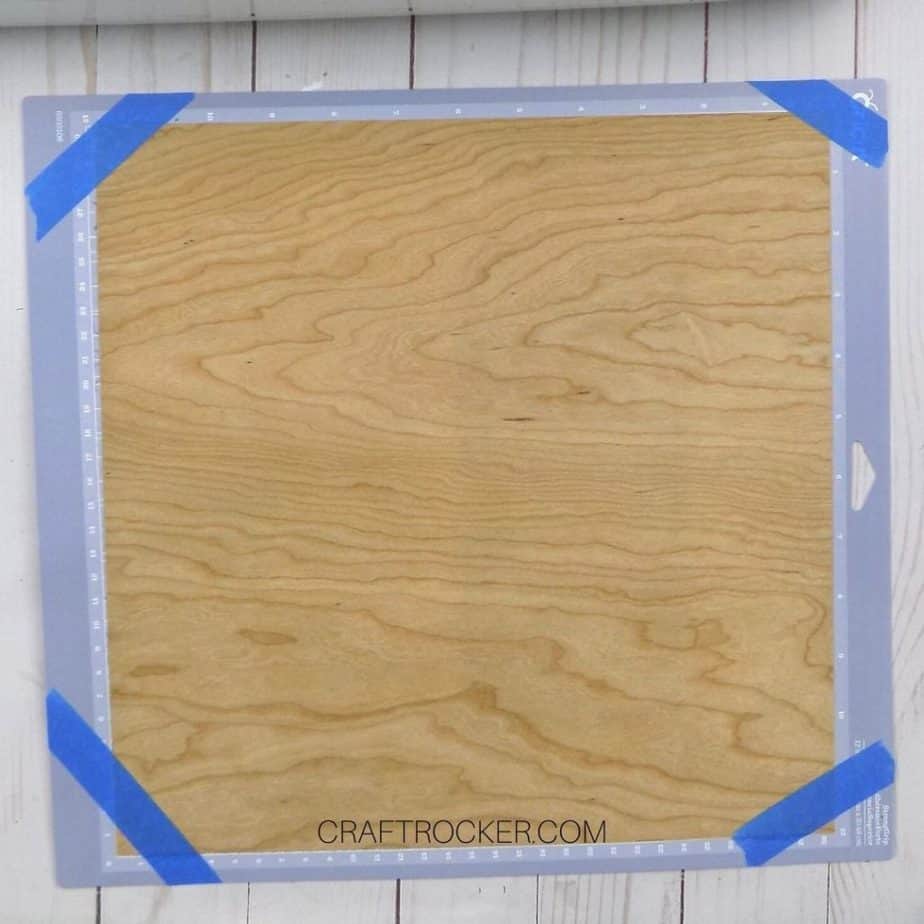
Next tape the corners of your wood veneer sheet to your mat. You want to make sure that your wood sheet doesn’t move during cutting.
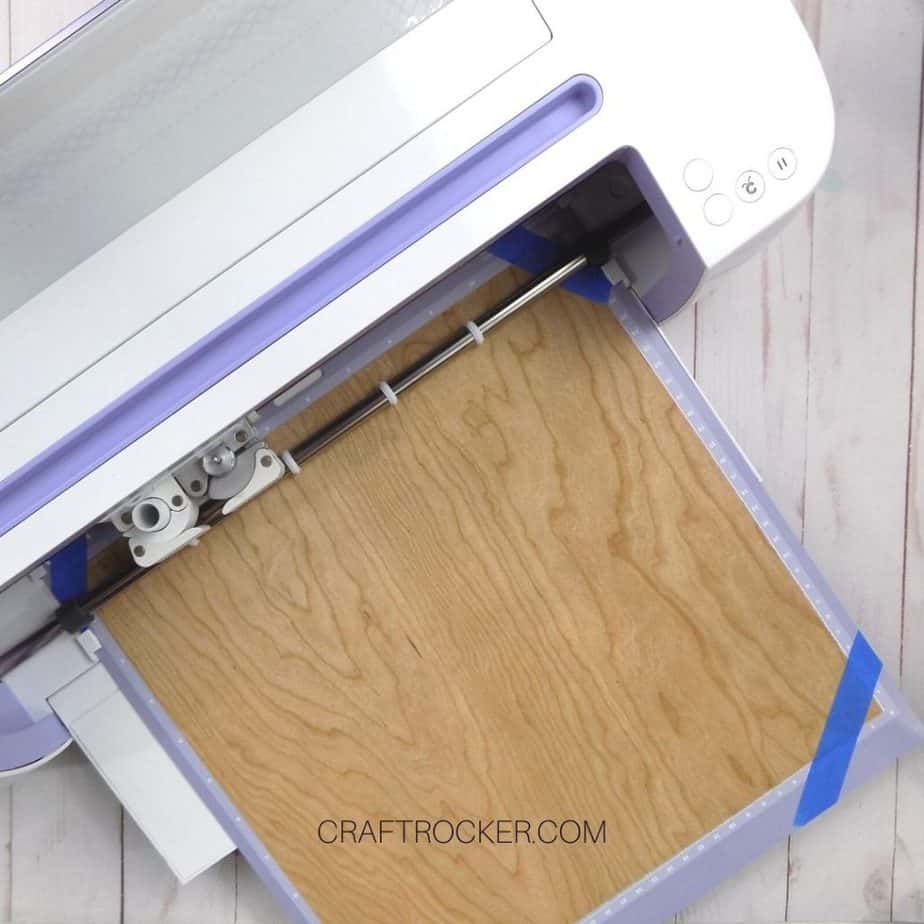
Step 3
Now load your mat into your cutting machine and pull up Cricut Design Space.
Step 4
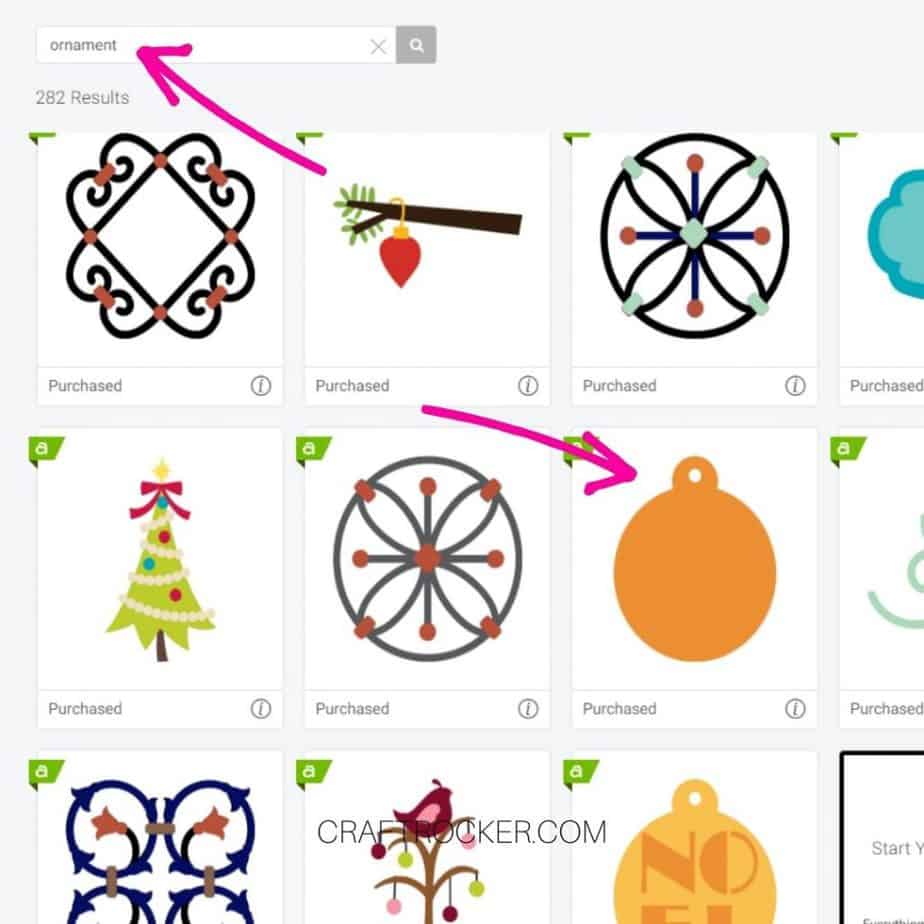
Once in Design Space, click on “New Project”. Then click on “Image” and type “ornament” into the search box.
Scroll down until your see the orange ornament pictured above.
Note:
Again I want to remind you that if you don’t own the file already as I do, you can get it with a Cricut Access subscription.

Step 5
Then click the ornament and click on the “Insert Image” button on the bottom right side of the screen. Once the ornament is on your canvas, resize it so that it is 1.288” x 1.5”.
Step 6
After your image is the correct size, click the “Make It” button in the top, right hand corner of your screen.
On the next screen, be sure to type “2” in the project copies box and click “Apply”.
Then hit the “Continue” button and cut out your design. Make sure you select “Wood Veneer” as your material on the cut screen.
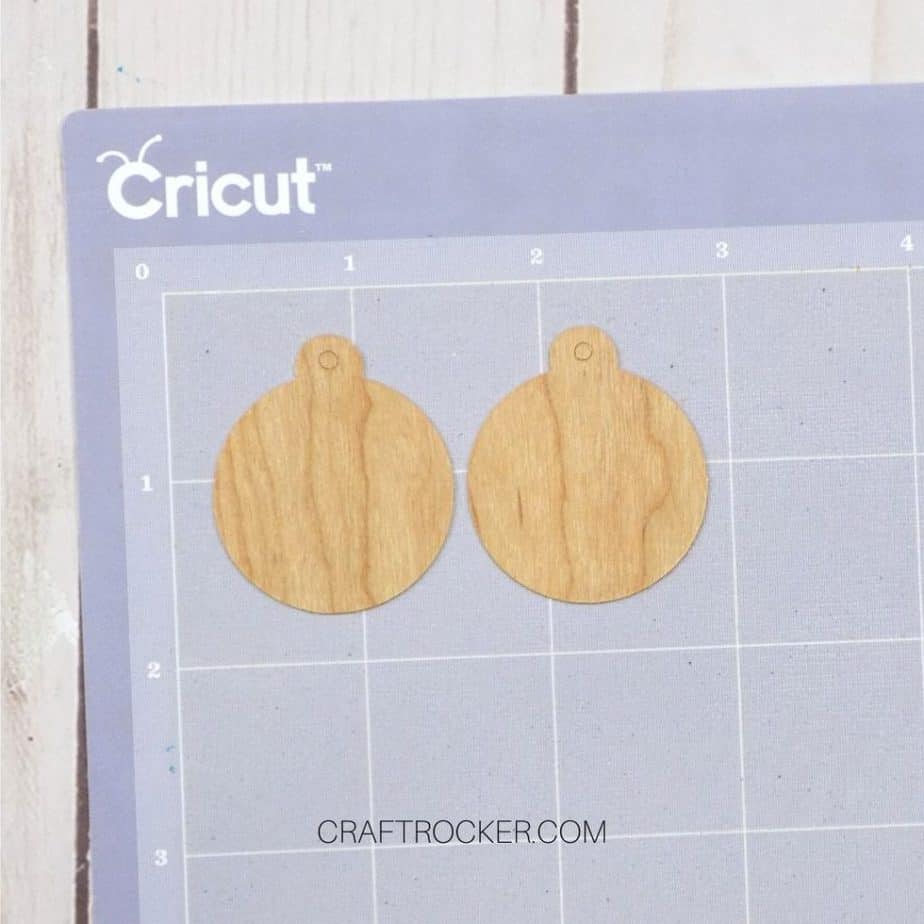
Step 7
Next, unload your mat and untape the corners of your wood sheet. Then carefully pull the wood veneer sheet off of your cutting mat leaving only the ornaments behind.
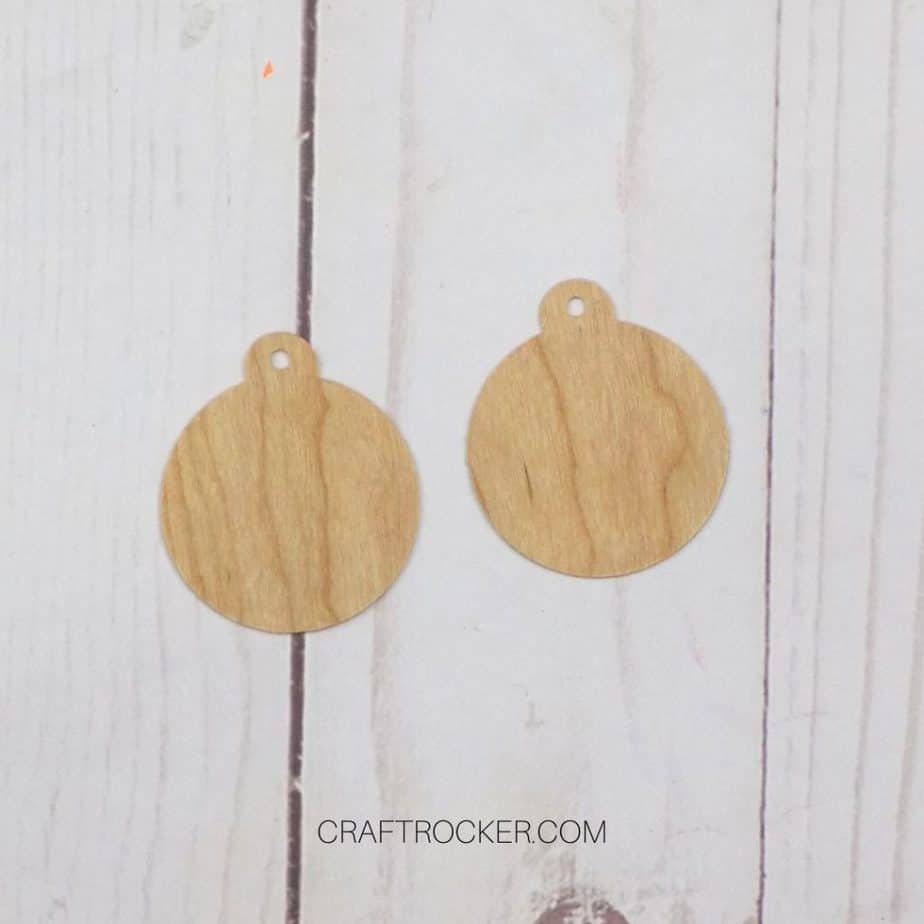
Step 8
Lastly, carefully pull your wood ornaments off of your mat. If the cut holes in the top come off with them, use your weeding tool to push them out.
Step 9
Next, press your silver vinyl onto your light grip mat. Again, go over it with a brayer if you have one.

Step 10
Then load your mat in your machine and pull up Cricut Design Space again.
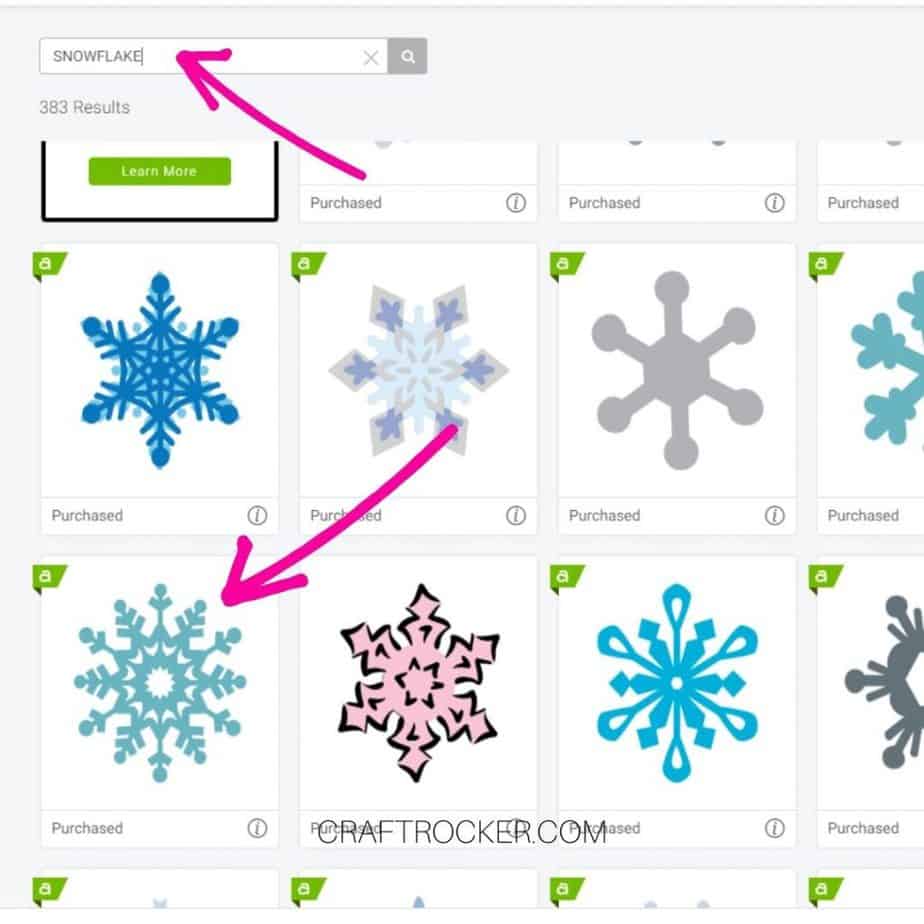
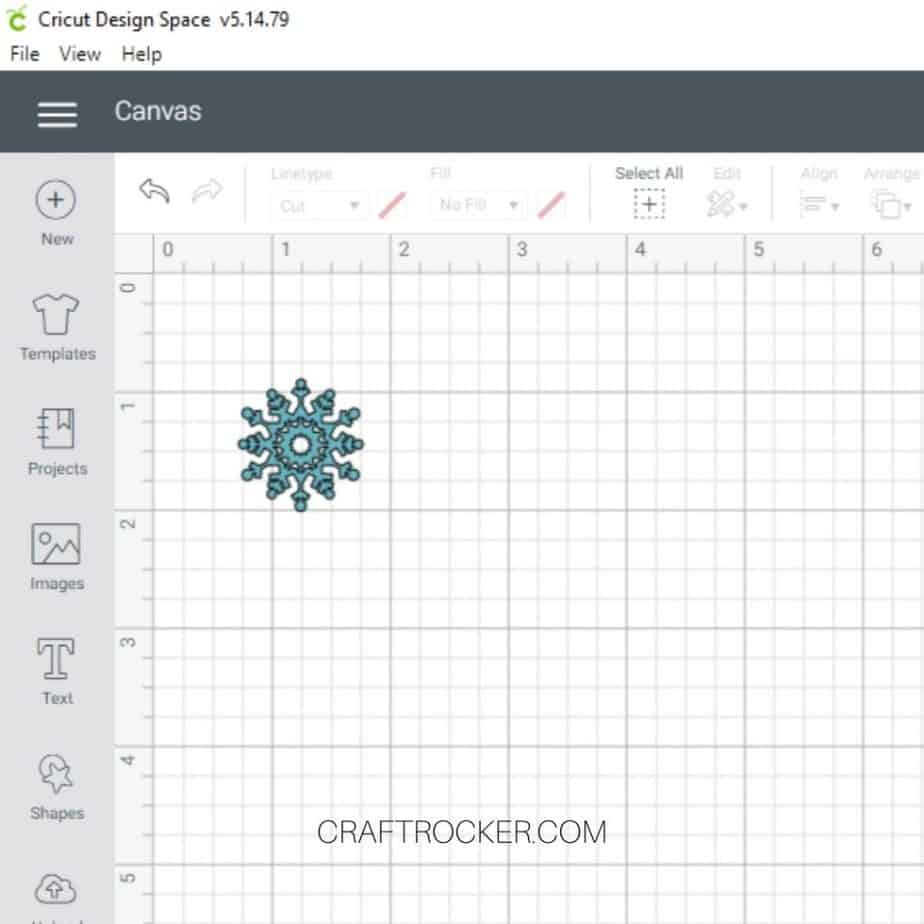
With the ornament still on your canvas, click on images and type “snowflake” into the search box. Then scroll down until you find the snowflake pictured above.
Click the snowflake and then click “Insert Image”.
Step 11
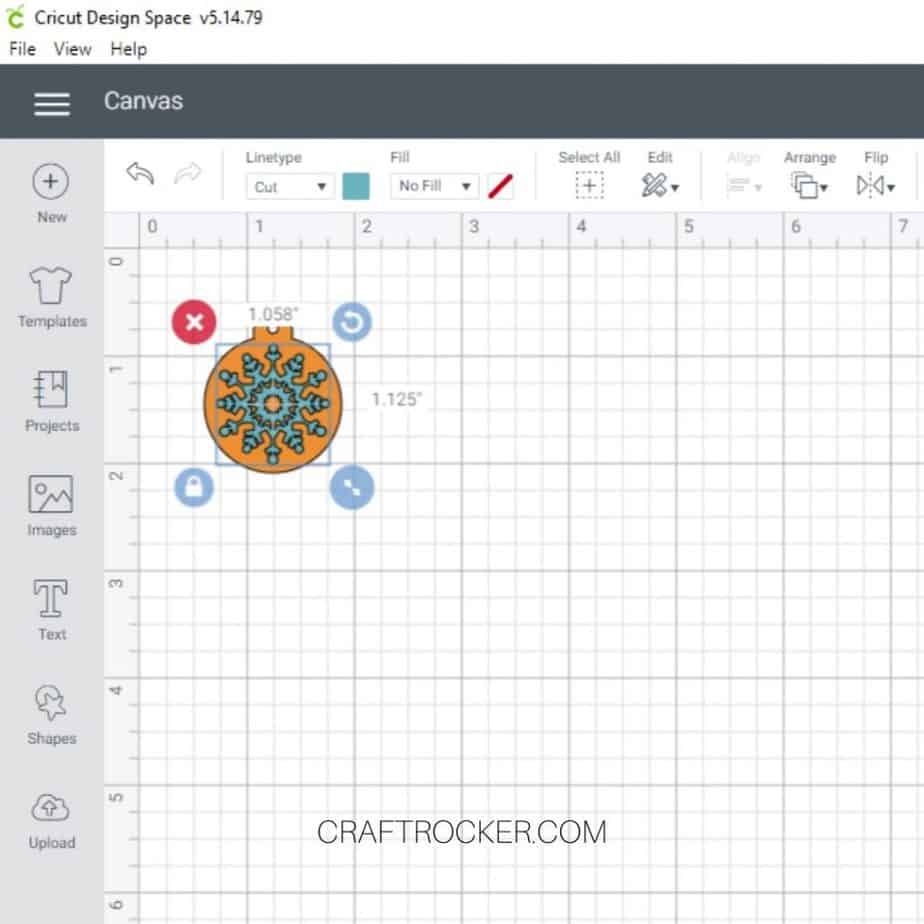
Now resize the snowflake image so that it fits within your small ornament. Don’t worry too much about centering it on the digital image because it will cut correctly either way.
My snowflake is 1.058” x 1.125”.
Step 12
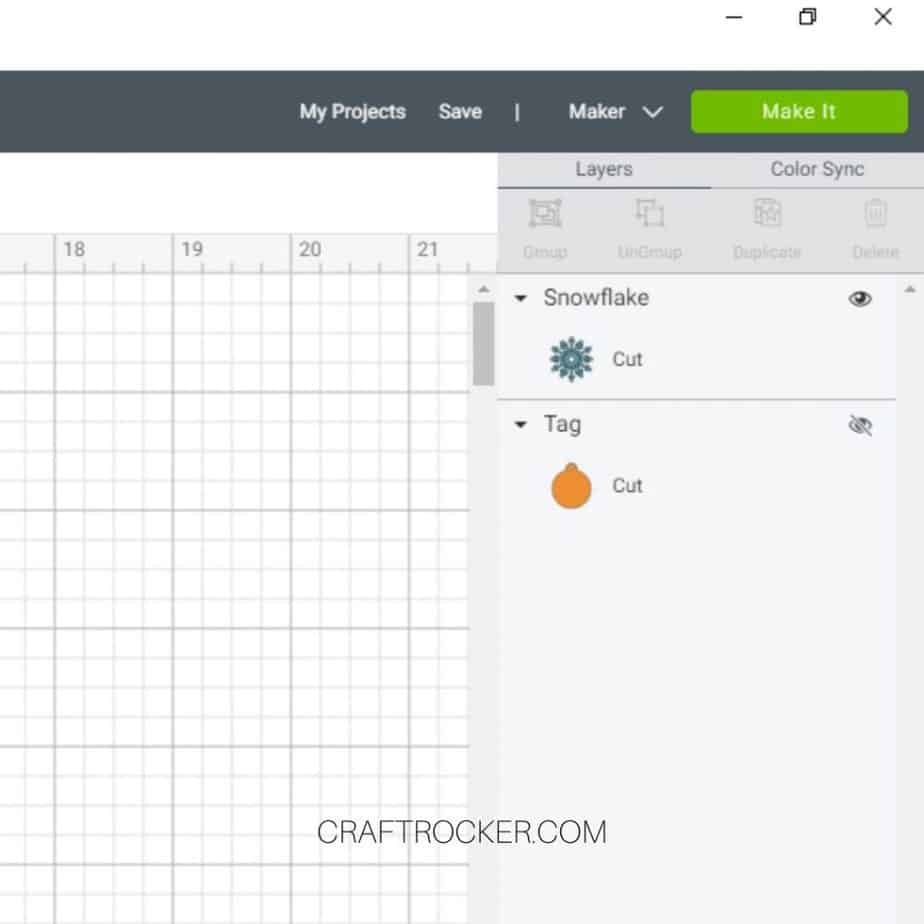
Next, click on the eye next to your ornament in the layers toolbar on the right. We only needed it for the measurement. You do not want to cut it again.
Step 13
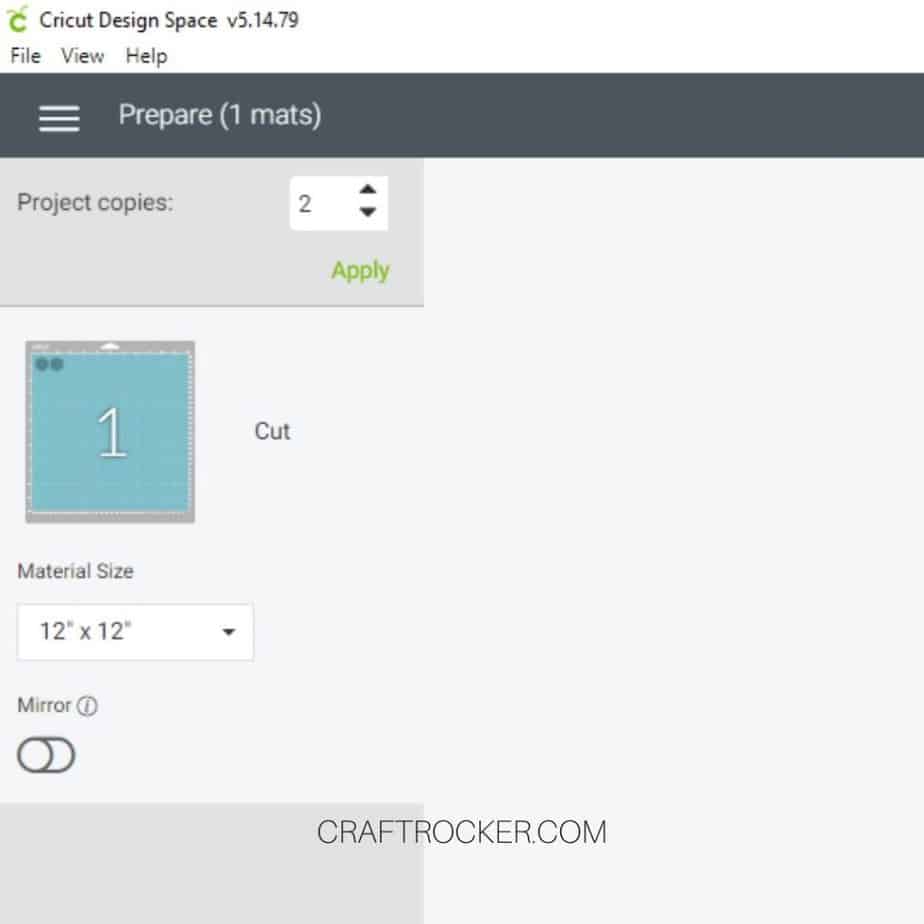
Once your snowflake is the only visible image on your canvas, click the “Make It” button.
On the prepare screen, type “2” into the project copies box and click “Apply”.
Then hit continue and cut your snowflakes.
Step 14
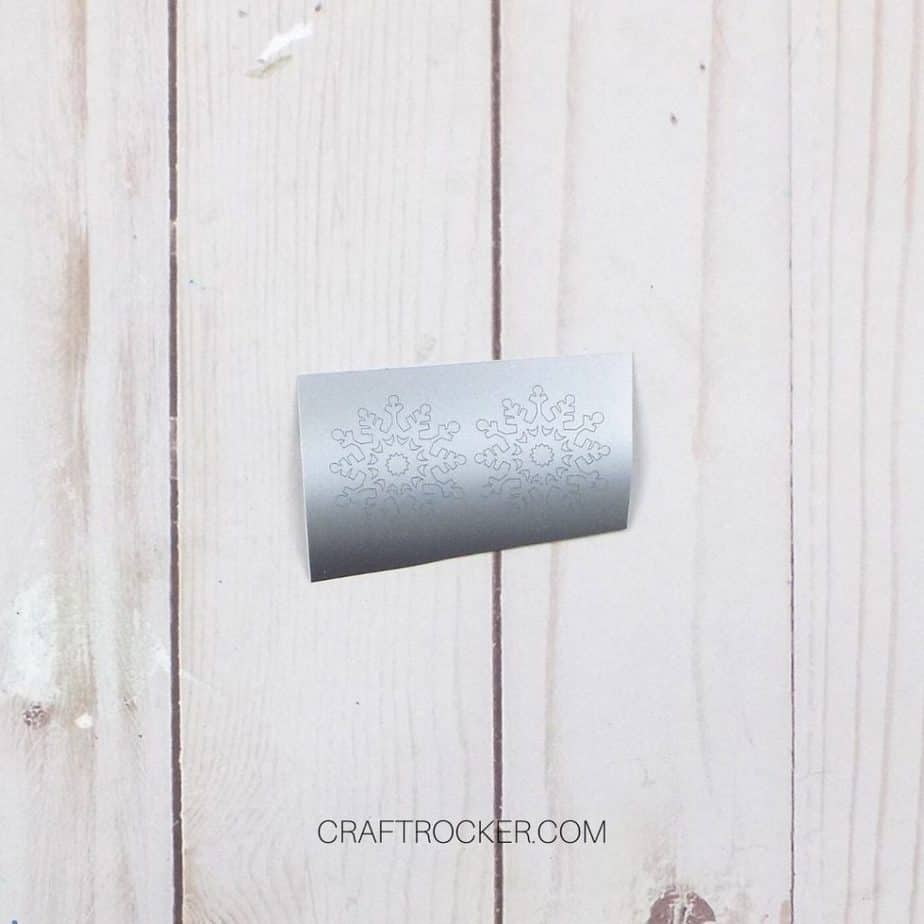
After your snowflakes are cut, unload your mat and pull up the corner of vinyl where your snowflakes are.
Cut around them so that you have a small rectangle to work with.
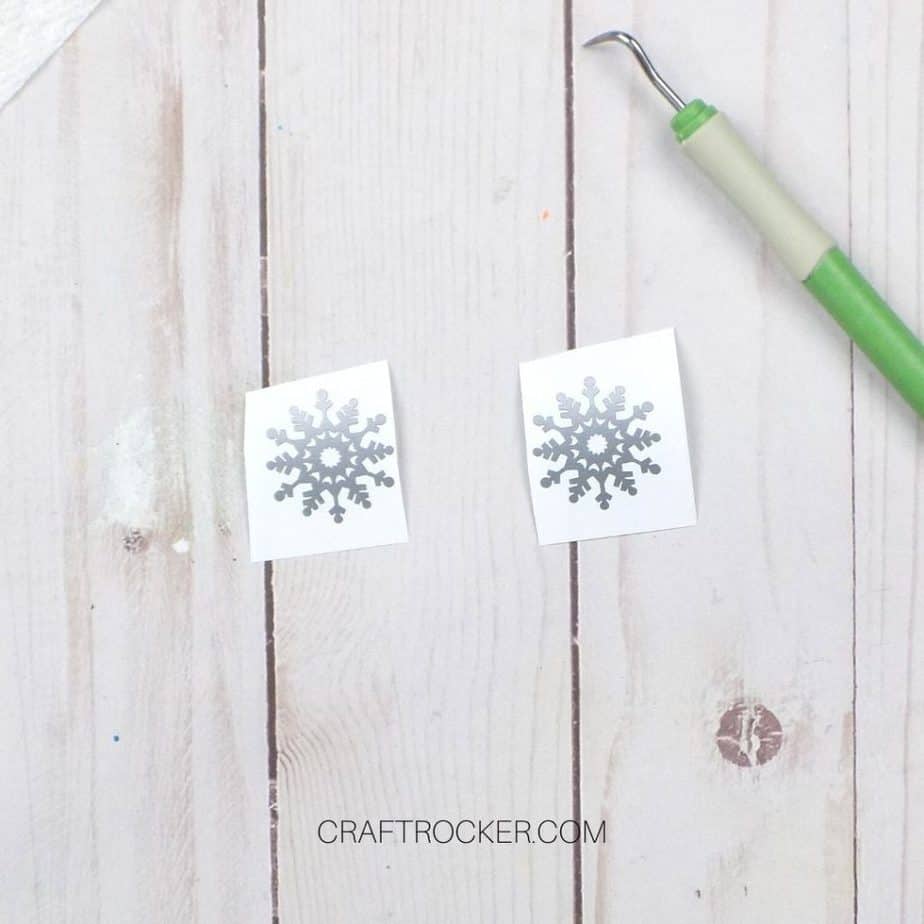
Step 15
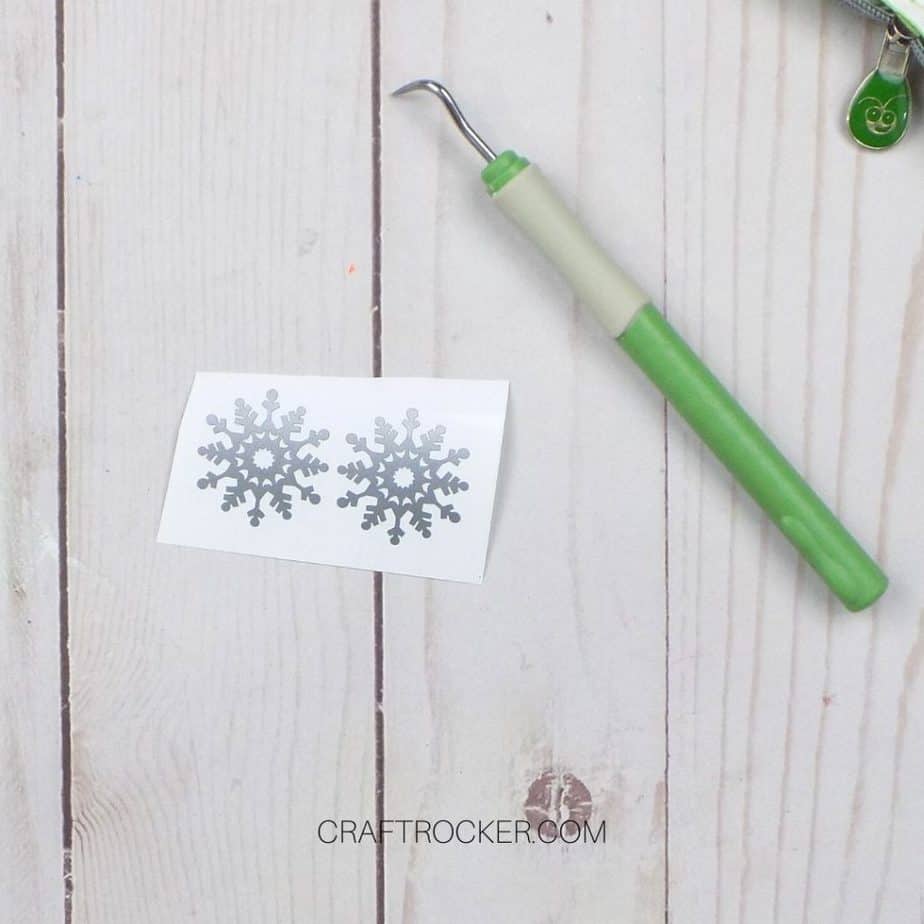
Next, weed your snowflakes with your weeding tool and cut them apart so that you have 2 separately backed snowflakes.
Step 16
Then cut 2 small pieces of transfer tape and press it onto each snowflake.
Run your scraper over them to make sure the tape is securely attached to the snowflakes. Then pull off the white backing.
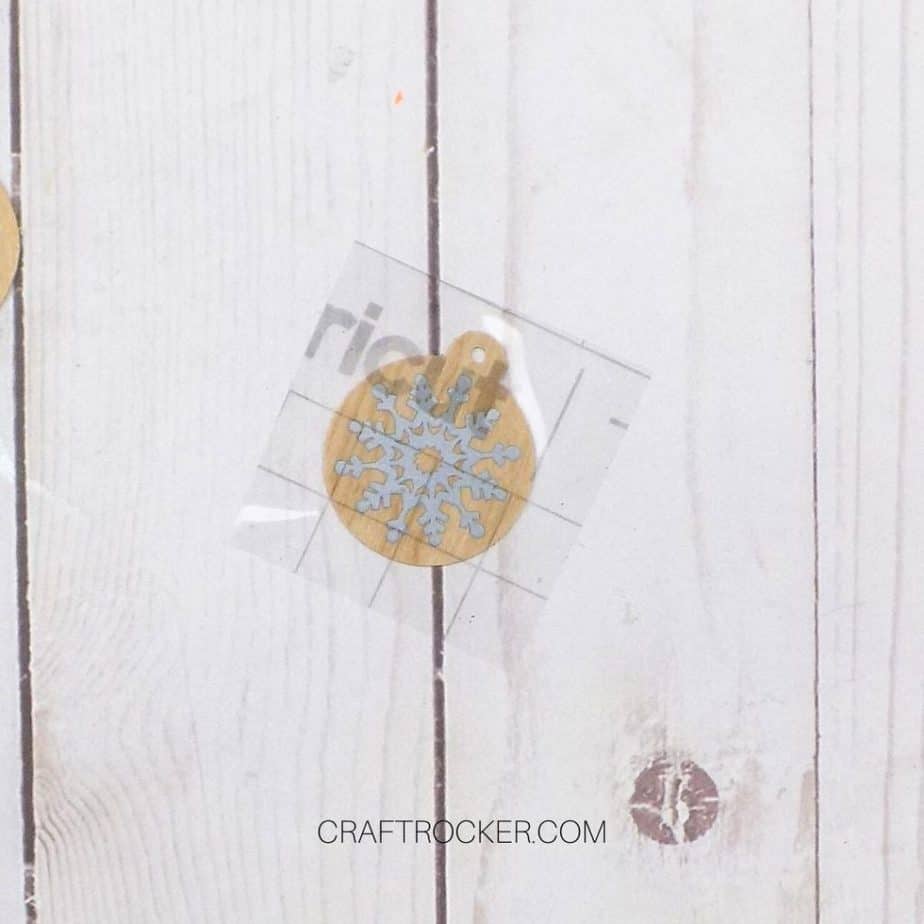
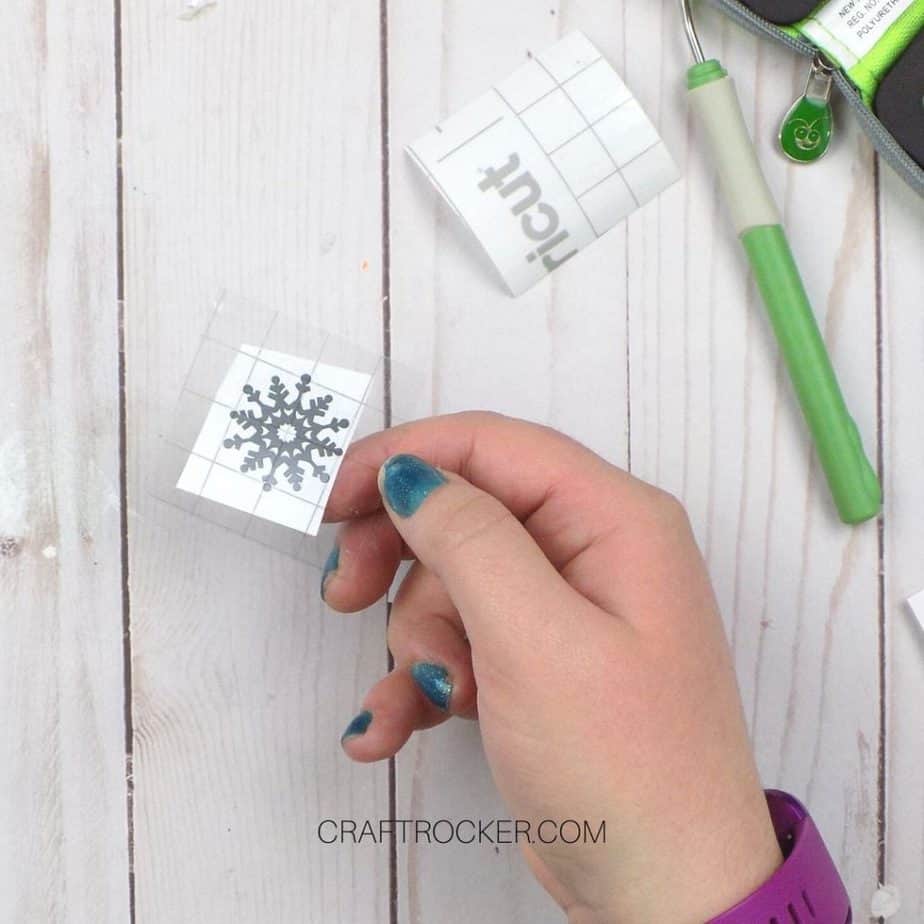
Step 17
Lastly, center your snowflake on your ornament and press it firmly down.
Again, I recommend using your scraper to make sure that the snow flake is firmly attaches to the wood.
Then carefully remove the tape and repeat with your second snowflake and ornament.
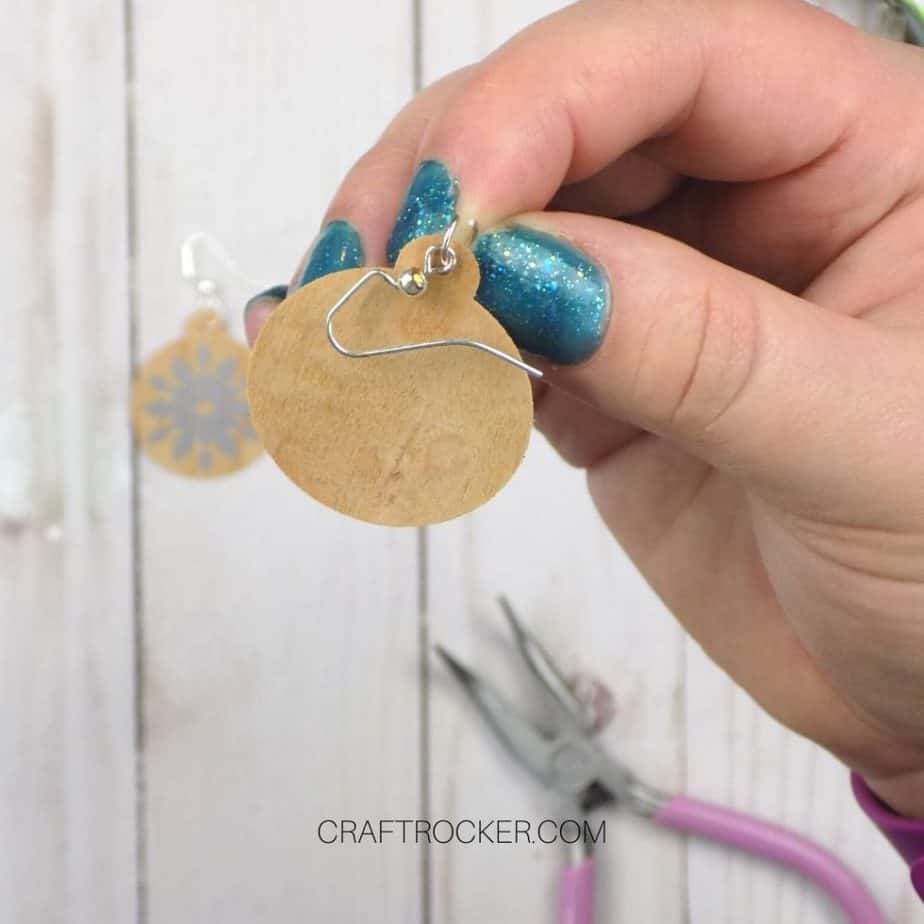
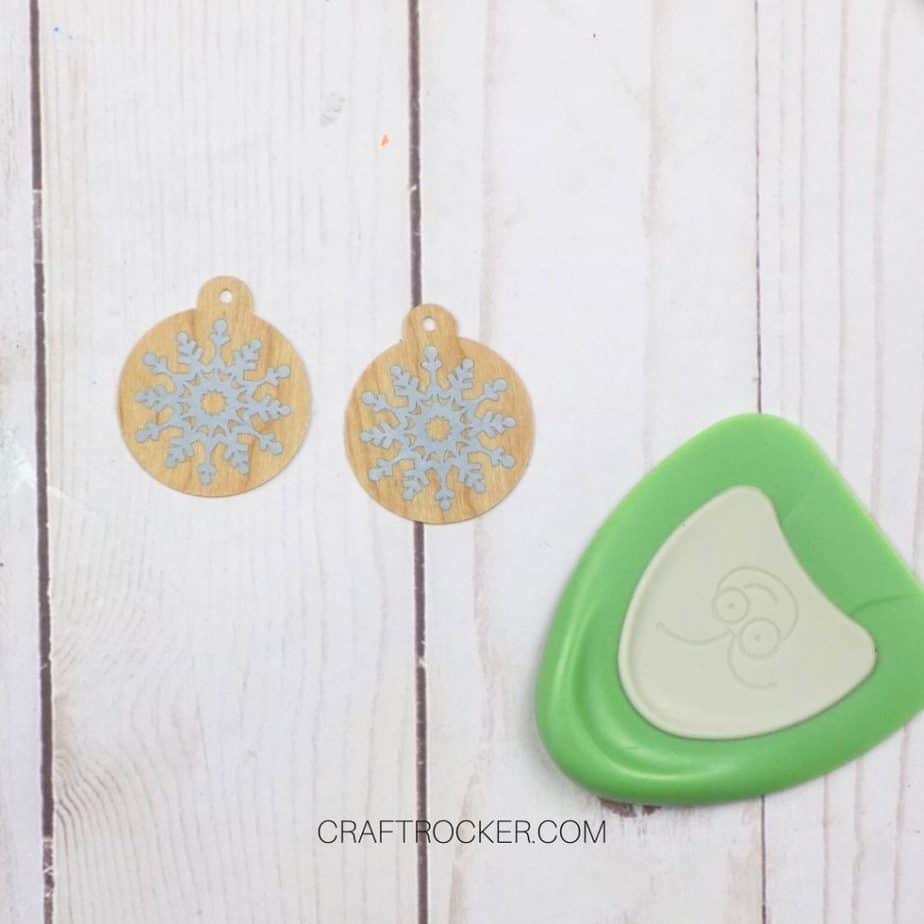
Step 18
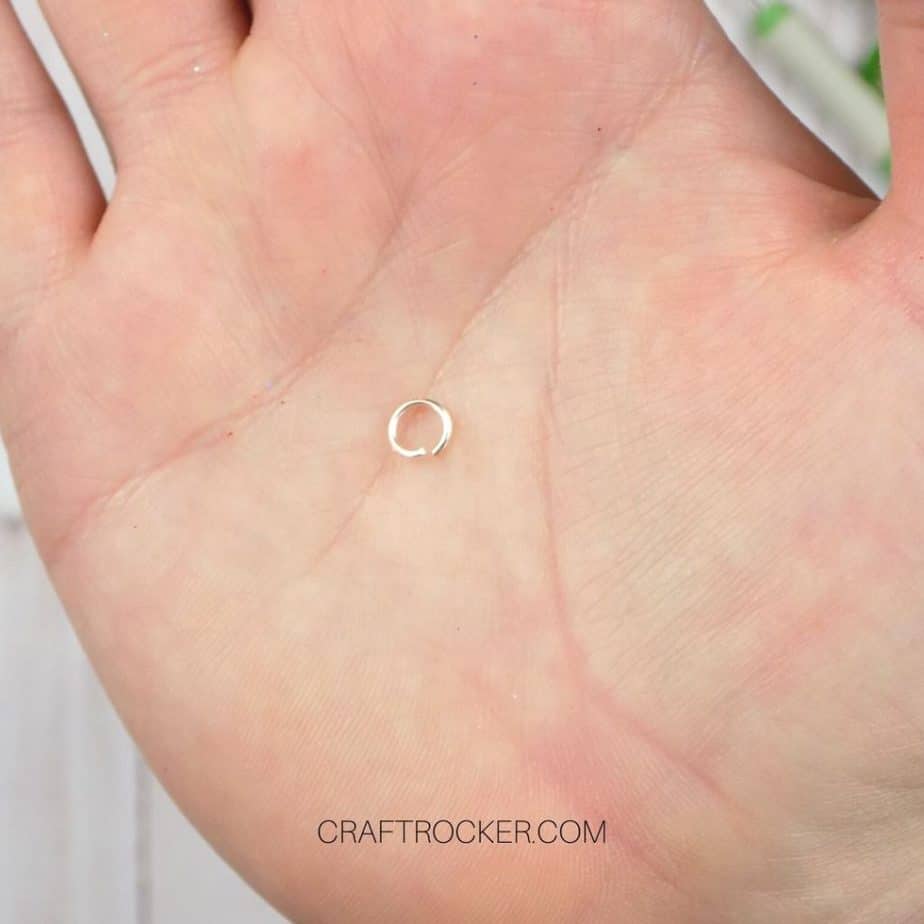
Next open your jump ring with a small set of pliers and slide your ornament and fishhook earring onto it. Check to make sure that the snowflake side is showing when being worn.
Step 19
Finish your earring by closing the jump ring with your pliers. Then repeat steps 18 and 19 with your second earring.
Tips and Tricks
Cricut recommends using a deep blade for cutting wood. With that being said, I don’t own one yet and used the blade that came with my Maker. My machine cut over the design multiple times and I had no trouble getting with it.
You need such a small amount of vinyl for this project that it is perfect for using up scraps. If you have a small scrap of silver permanent vinyl, feel free to use it here.
If you don’t have the ornament and snowflake that I used, you can search what you do own for something similar. Make sure that you resize it to about 1.5 inches so that you don’t have these massive things hanging from your ears (unless you’re into that).
These snowflake DIY wood earrings are the perfect wintry touch to your outfits this season.
They also make an awesome gift idea for the fashion lover on your Christmas list.
Get even more gifts ideas with 50+ Best Gifts for Crafters and 100+ DIY Christmas Gifts for Everyone on Your List!
Don’t Forget to Pin It!