A pressed flower resin pendant is an easy and beautiful accessory to add to your collection.
Affiliate links may be used in this post. Ordering a product through these links may result in a commission at no extra cost to you. Read the full disclosure here.
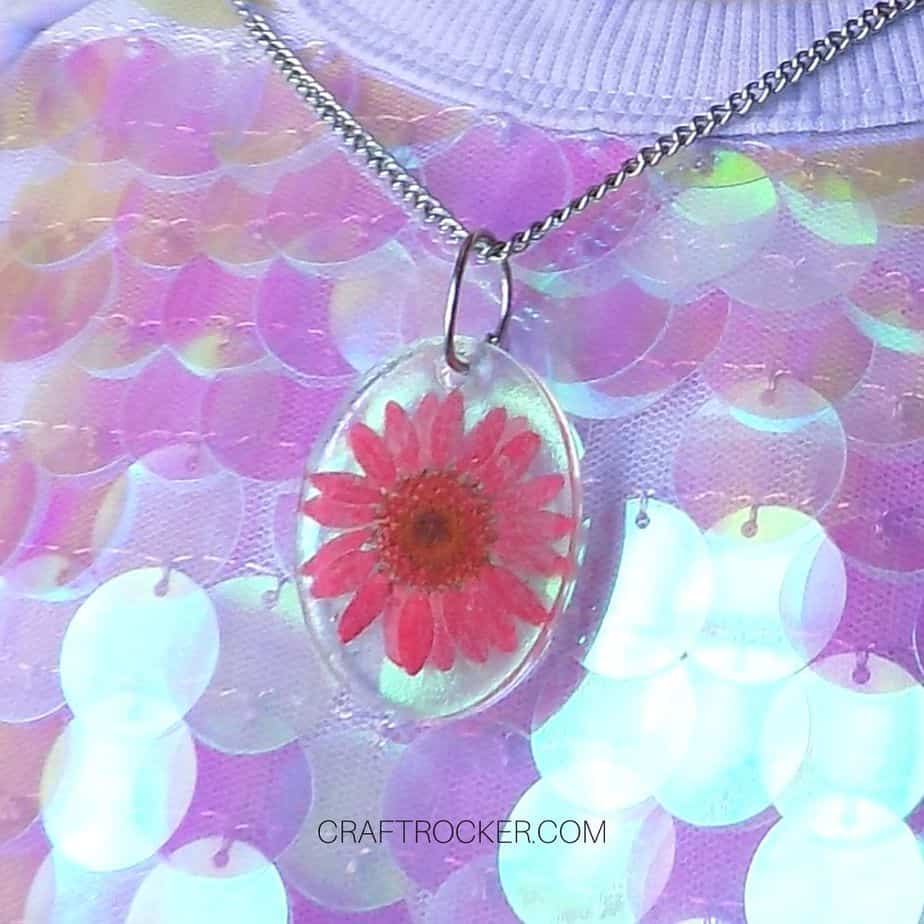
I am terrible at growing flowers… or anything except tiny humans apparently. That’s why I like to include flowers in a lot of my crafts.
They add a nice pop of brightness to projects.
This pressed flower resin pendant is crazy easy to make even if you’re a beginner.
Once you get the basics with this tutorial, you can get creative and start making more intricate floral arrangements in your pendants.
A single bloom is an easy way to create a beautiful piece of jewelry that you’ll love to wear without worrying about arrangements or your flowers drifting too much during creation.
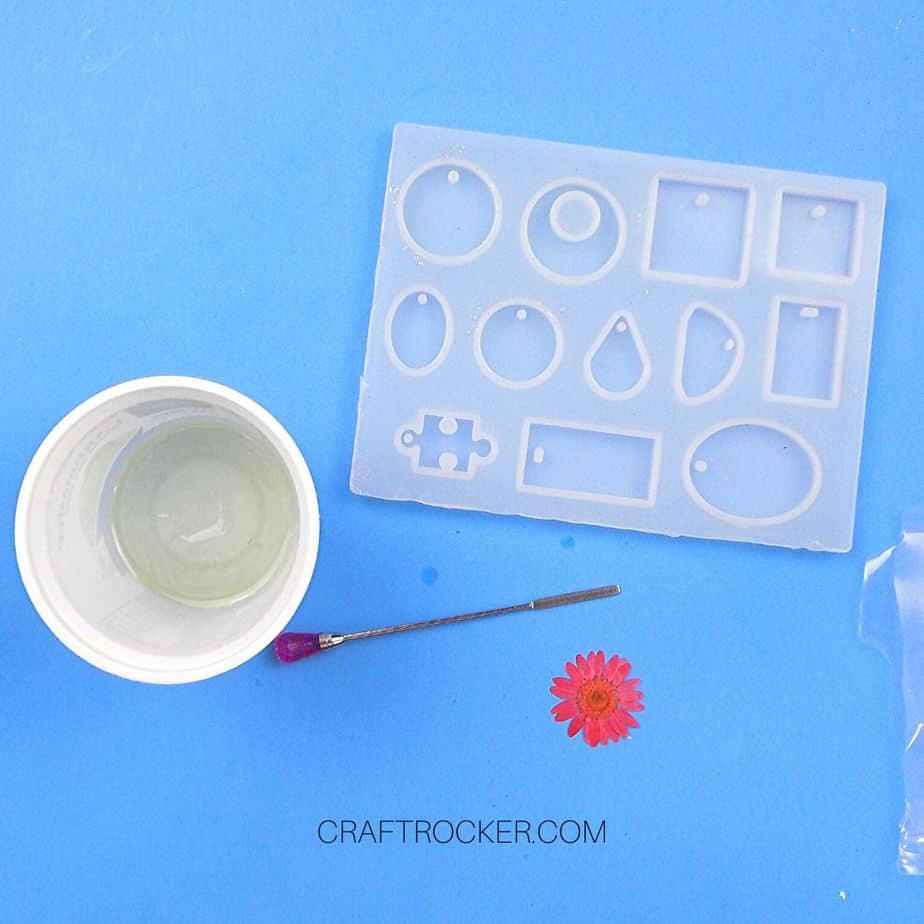
Pressed Flower Resin Pendant Materials
- .25 oz of Resin Parts A and B (I use this Resin)
- Oval Pendant Mold (about 1 inch long)
- Dry Pressed Flower (smaller than your mold)
- Jump Ring
- Small Pliers
Additional Tools
- Cup for Mixing
- Stick for Stirring
- Metal Resin Tool (to press flower into resin)
Important
- Always use protective gloves when working with resin.
- Also, make sure you protect your work surface because once resin cures it is very difficult to remove.
Step 1
First, mix your resin parts together. Make sure that they are thoroughly combined.
Step 2
Then, pour a small amount of resin into your mold. Do not fill it all of the way yet. You are only creating a base for the flower to sit in.
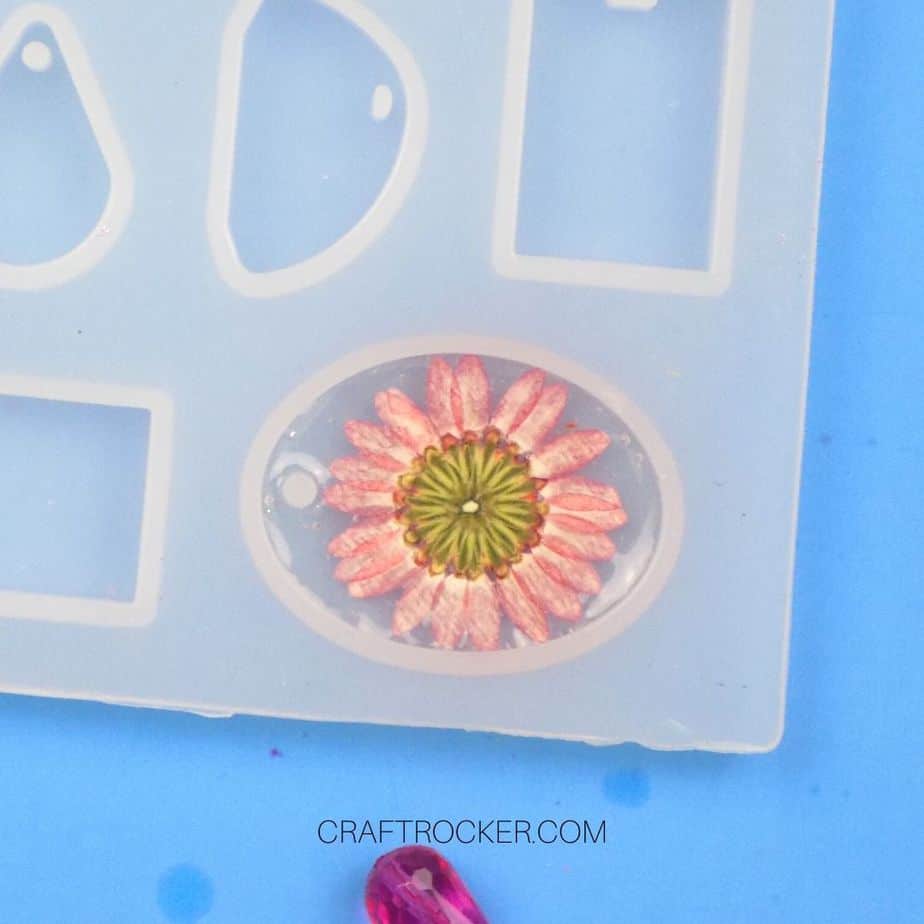
Step 3
Next, place your flower into the resin in the mold. Use your metal resin tool to push the flower into the resin.
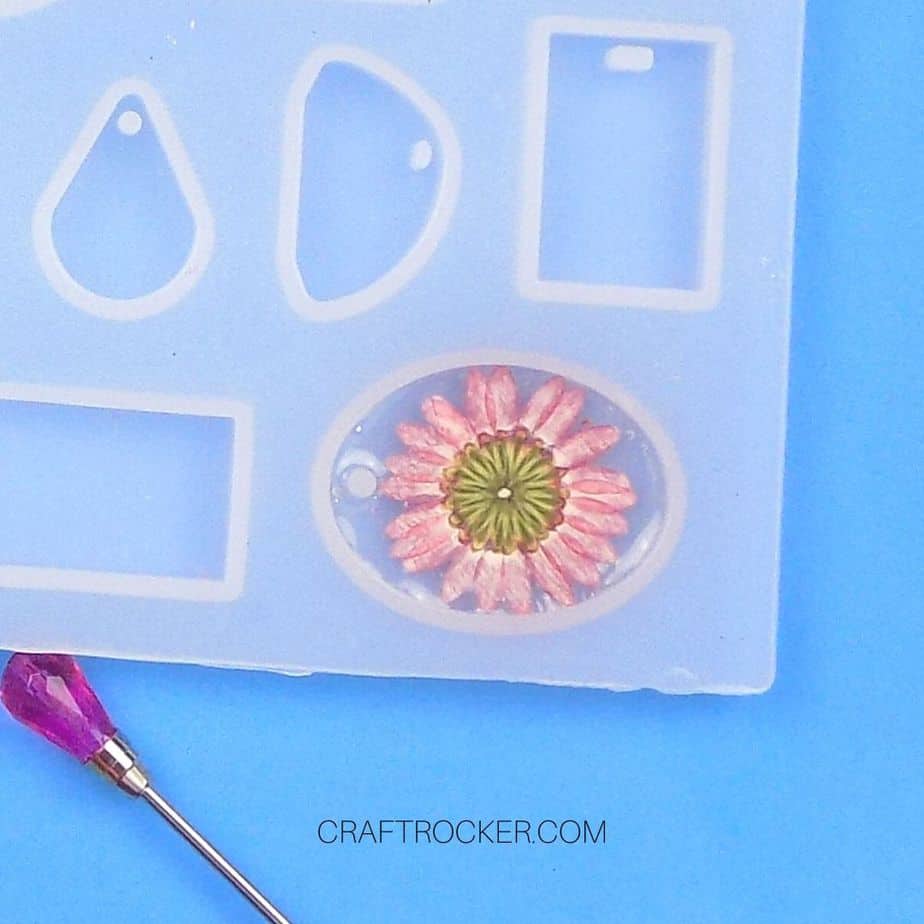
Step 4
Once your flower is in the mold, pour more resin into the mold until it is filled.
Step 5
If your flower moved when you poured in the additional resin, use your tool again to re-position it to where you want.
Step 6
Then set your mold aside to cure according to the instructions on your resin containers. I left mine for 24 hours.
Tip:
- Make sure that your mold is on a flat, level surface to cure so that your resin pendant is even.
Step 7
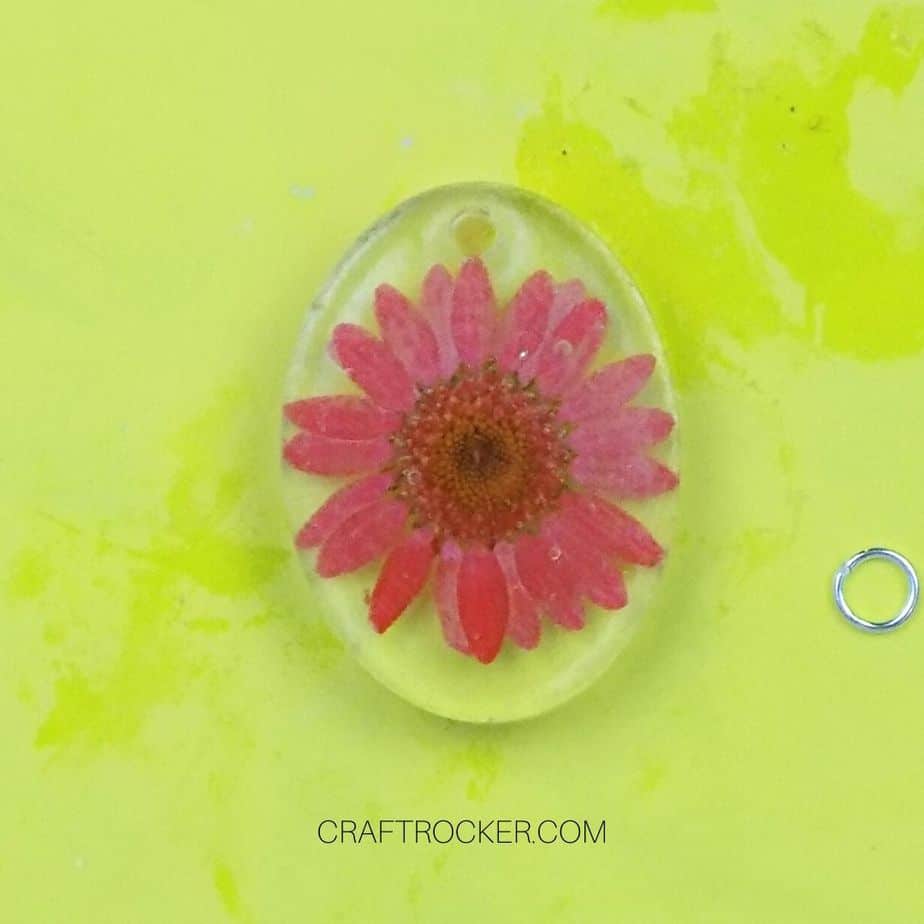
Once your resin has cured, carefully remove it from the mold.
Step 8
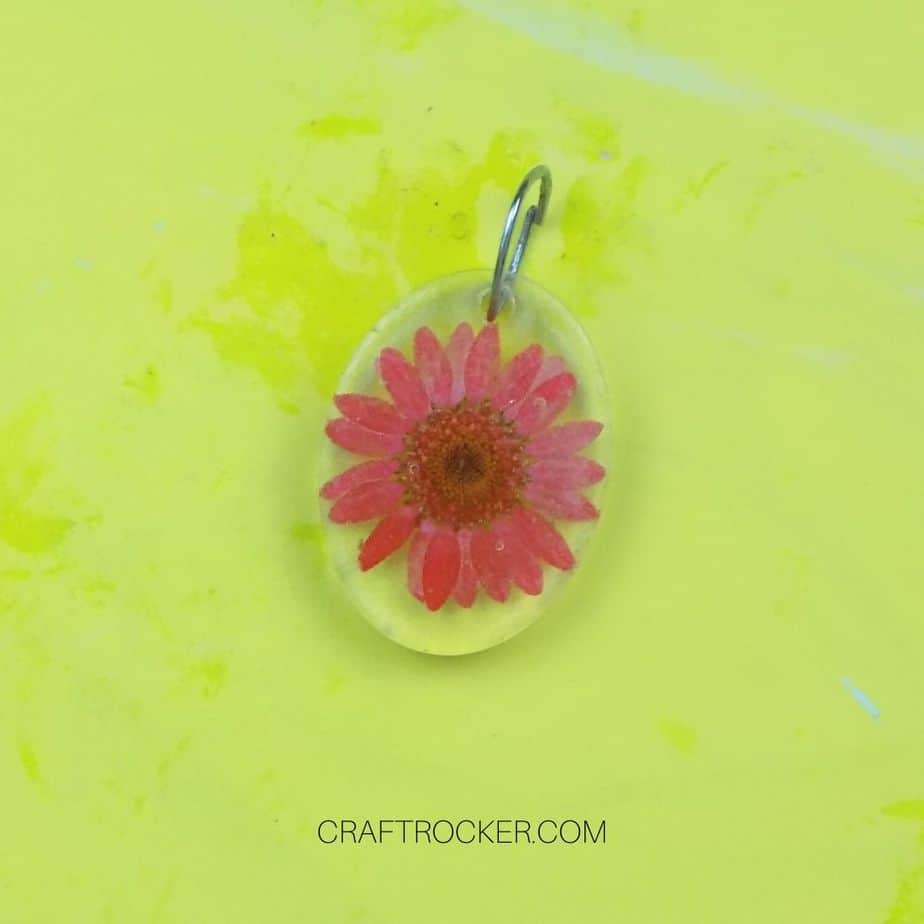
Next, attach a jump ring through the hole in the top of the resin pendant. To do this, use your pliers to spread open the ring. Then thread it through the hole and use your pliers to close the jump ring again.
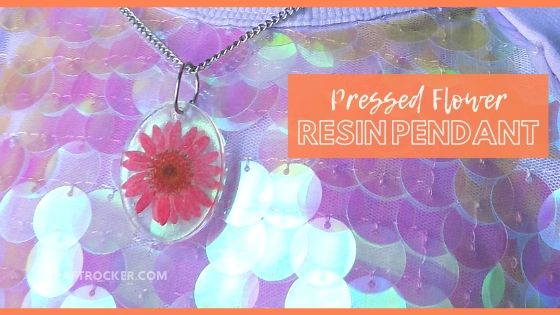
Once your pressed flower resin pendant is finished, slip it onto any necklace you want. I chose a silver chain that I have that I like to change the pendant on.
You can also attach it to a corded necklace.
Additionally, turn it into a permanent piece of jewelry by attaching the jump ring to a link in an open chain necklace. Do what works for your personal style.
Now that you’ve mastered the basics, try to create a more complicated floral design in another pendant. It’s a great way to flex your creative muscles and flaunt your individual style.
Don’t Forget to Pin It!
More Projects to Love:


Leave a Reply