This fun and shiny balloon dog birthday card is perfect for the birthday boy or girl in your life (or the adult with an 8-year-old tapped inside them, like me).
Affiliate links may be used in this post. Ordering a product through these links may result in a commission at no extra cost to you. Read the full disclosure here.

Jump to What You Want
Balloon Dog Birthday Card How-To
Printable Balloon Dog Birthday Card Tutorial
It feels like you get a sudden uptick in birthday parties in the spring and summer, especially when you have school-aged children.
Be ready for them with this super-shiny balloon dog card!
I made this card for my nephew’s 5th birthday and had a blast making it. I’ve been dying to make something with these balloon dog stamps so this was the perfect opportunity.


Materials for Balloon Dog Birthday Card
Stamps Used
- My Favorite Things “Abstract Things” Set (similar set here)
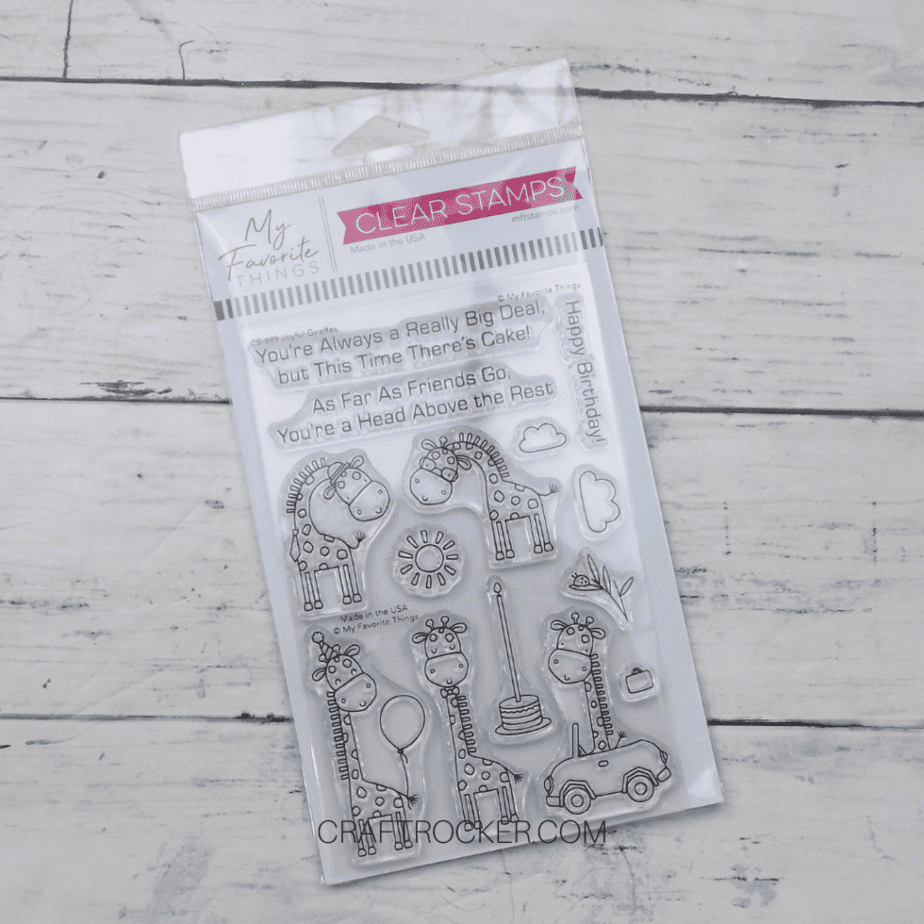
- My Favorite Things “Joyful Giraffes” Set
- Brutus Monroe “It’s Party Time” Set
- Scrapbook.com “Party Animal” Set
Paper Used
Ink Used
- Orange
- Black
- Yellow
- Teal
- Red
- Green
- Purple
- Blue
Adhesives Used
- Glue Runner
- Adhesive Foam Squares (Large and small sizes)
- Liquid Glue
Cutting Dies Used
- 2” Square Die
- Optional – Scrapbook.com “Party Animal” Dies
Ribbons Used
- 7/8 inch Blue
- 1/4 inch White
Tools Used
- Scoreboard
- Paper Cutter
- Sizzix Big Shot
- Acrylic Block
- Small Detail Scissors
- Pencil
- Shimmer Pen


Step 1 – Make Your Card Base
Start with a 8.5×11 inch piece of white cardstock placed on a scoring board.
Then score the sheet at 5.5 inches and use a paper cutter to cut the sheet apart along the scored line.
After your cardstock is cut in half, take one half and place it back on your scoreboard, and score it at 4.25 inches.
Next, fold your card along the score line and run over the crease with either your scoring tool or bone folder to get a strong crease.


Step 2 – Create Your Matting for the Card Front
First, select your holographic paper and trim about .25 off on one long side and one short side of the paper.

Next, place your trimmed paper on your Sizzix base plates and align your square die on the paper where desired.

Then run it through your machine and set both pieces of paper aside.

Step 3 – Prepare Accents for Card Front
Get a scrap of white cardstock and stamp the balloon dog base in orange ink.

Then, stamp over the orange image with the balloon dog outline in black ink.

Carefully cut out your balloon dog and set aside.

Next, stamp a yellow paint swath and teal paint swath onto your scrap of white cardstock.


Then stamp “Happy Birthday” on the yellow paint swath and “It’s Party Time!” on the teal paint swath.

Lastly, cut out your stamped paint swaths and set aside with your balloon dog.
Step 4 – Decorate the Window on Your Card

Start by centering your holographic paper on your card front and lightly trace around the inside edges with a pencil.

Remove the holographic paper, and stamp candies in various colors in the pencil square.

After you have filled the square with stamped candies, go back and erase the pencil lines.
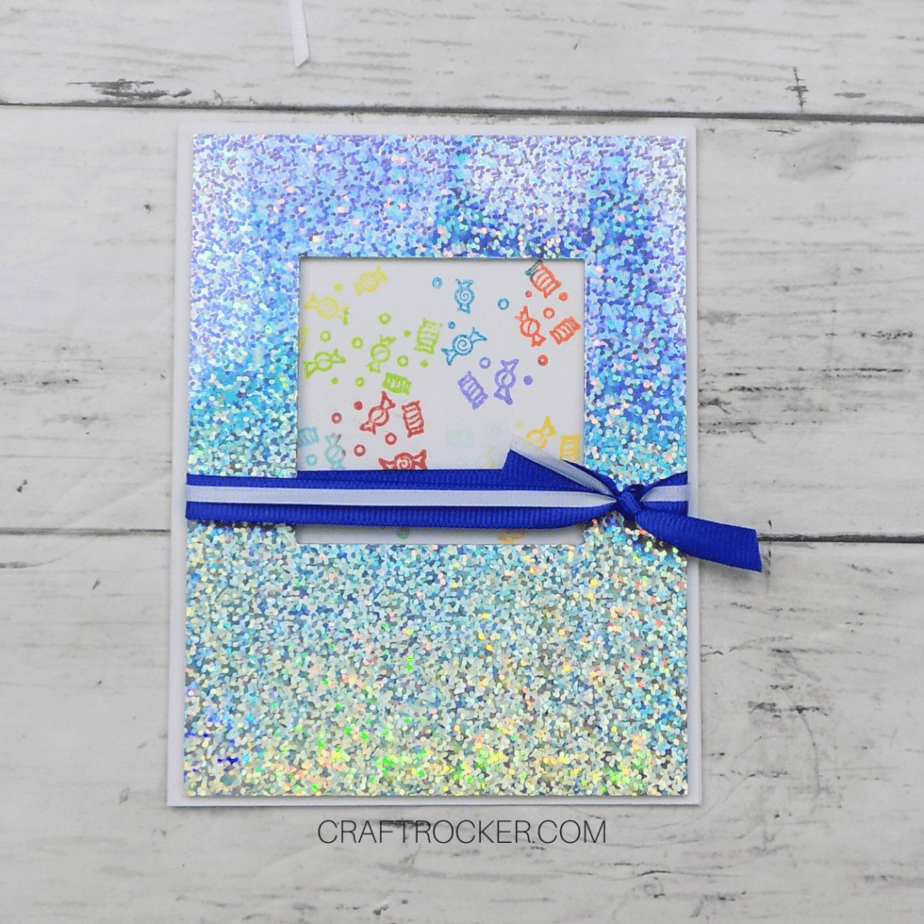
Step 5 – Decorate and Attach Your Holographic Matting
First, cut a strip of blue ribbon long enough to tie around your holographic matting (about 11 inches).

Then do the same with a thinner, white ribbon.
Next, layer your ribbons together and wrap them around your holographic matting in the bottom third of your window.

Lastly, secure your ribbons with a basic knot on the right side of your window and trim the excess.

Turn your holographic matting over and place foam adhesive squares around the edges. Be sure to put 2 on the ribbons at either side of the window so that your ribbons don’t move once put together.
Finish by removing the paper coverings on the foam and attaching your holographic matting centered on the front of your card.

Step 6 – Optional Shimmer
If desired, take your clear shimmer pen and go over your stamped candies in the window.
Step 7 – Finish Assembling Your Card Front
Now, grab your stamped balloon dog and add adhesive with your glue runner on the tail section of the back of it.
Then firmly press the tail to the bottom left side of your window.
Next take a small adhesive foam square and attach it to the back of the balloon dog head. Remove the paper and firmly press the head to the inside of the window where it overlaps.
Lastly, attach your sayings to the bottom right of the card with “Happy Birthday” about “It’s Party Time!”

Step 8 – Assemble and Stamp the Inside of Your Birthday Card
First, cut a square of white paper that is about 3×3 inches.

Then stamp your birthday sentiment in the center of the white square.

Next, chalk the edges of the white square with light blue ink.

To finish it, stamp the small balloon giraffe in orange ink on the bottom left corner of the white square. Then stamp the small balloon dog in green directly next to the giraffe on the right.
Attach your finished card insert to the right inside flap of your card with your glue runner.

Step 9 – Optional Confetti
Since I seriously cannot get enough shiny and sparkly in my life, I took the small strips we cut off of the holographic paper and cut it into small pieces.
Then, I attached the holographic confetti around the mounted white square with liquid glue.
If you do this, allow the inside to dry before closing your card.
Tips and Tricks
- You can use the second half of your white cardstock from making your card base for the other card elements.
- If you have trouble lining up your stamps when trying to stamp your dog, use a Misti or other stamp positioning tool to get your stamps more precisely lined up.
- At the time of making this, Scrapbook.com did not have that matching die cuts for the balloon dog stamps. I have since purchased them and it saves a ton of time on the cutting out of your balloon dog. I highly recommend that if you don’t already have the stamps, invest in the stamp and die set when purchasing.
- When stamping your candies, you can get a larger variety of colors by inking half of your stamp in one color and then the second half in another color.
- Also, don’t worry about your candies stamps going outside of the window because you won’t see that in the final card.
Printable Balloon Dog Birthday Card Tutorial
Balloon Dog Birthday Card

This is such a fun card and comes together quickly, especially if you have the die cuts for the stamps.
Materials
- My Favorite Things “Abstract Things” Set
- My Favorite Things “Joyful Giraffes” Set
- Brutus Monroe “It’s Party Time” Set
- Scrapbook.com “Party Animal” Set
- White 8.5x11 inch Cardstock
- Scrapbook.com A2 Holographic Mirror Paper Pad
- Orange
- Black
- Yellow
- Teal
- Red
- Green
- Purple
- Blue
- Glue Runner
- Adhesive Foam Squares (Large and small sizes)
- Liquid Glue
- 2” Square Die
- Optional - Scrapbook.com “Party Animal” Dies
- 7/8 inch Blue Ribbon
- 1/4 inch White Ribbon
Tools
- Scoreboard
- Paper Cutter
- Sizzix
- Acrylic Block
- Small Detail Scissors
- Pencil
- Shimmer Pen
Instructions
- Start with a 8.5x11 inch piece of white cardstock placed on a scoring board.
- Then score the sheet at 5.5 inches and use a paper cutter to cut the sheet apart along the scored line.
- After your cardstock is cut in half, take one half and place it back on your scoreboard, and score it at 4.25 inches.
- Next, fold your card along the score line and run over the crease with either your scoring tool or bone folder to get a strong crease.
- First, select your holographic paper and trim about .25 off on one long side and one short side of the paper.
- Next, place your trimmed paper on your Sizzix base plates and align your square die on the paper where desired.
- Then run it through your machine and set both pieces of paper aside.
- Get a scrap of white cardstock and stamp the balloon dog base in orange ink.
- Then, stamp over the orange image with the balloon dog outline in black ink.
- Carefully cut out your balloon dog and set aside.
- Next, stamp a yellow paint swath and teal paint swath onto your scrap of white cardstock.
- Then stamp “Happy Birthday” on the yellow paint swath and “It’s Party Time!” on the teal paint swath.
- Lastly, cut out your stamped paint swaths and set aside with your balloon dog.
- Start by centering your holographic paper on your card front and lightly trace around the inside edges with a pencil.
- Remove the holographic paper, and stamp candies in various colors in the pencil square.
- After you have filled the square with stamped candies, go back and erase the pencil lines.
- First, cut a strip of blue ribbon long enough to tie around your holographic matting (about 11 inches).
- Then do the same with a thinner, white ribbon.
- Next, layer your ribbons together and wrap them around your holographic matting in the bottom third of your window.
- Lastly, secure your ribbons with a basic knot on the right side of your window and trim the excess.
- Turn your holographic matting over and place foam adhesive squares around the edges. Be sure to put 2 on the ribbons at either side of the window so that your ribbons don’t move once put together.
- Finish by removing the paper coverings on the foam and attaching your holographic matting centered on the front of your card.
- If desired, take your clear shimmer pen and go over your stamped candies in the window.
- Now, grab your stamped balloon dog and add adhesive with your glue runner on the tail section of the back of it.
- Then firmly press the tail to the bottom left side of your window.
- Next take a small adhesive foam square and attach it to the back of the balloon dog head. Remove the paper and firmly press the head to the inside of the window where it overlaps.
- Lastly, attach your sayings to the bottom right of the card with “Happy Birthday” about “It’s Party Time!”
- First, cut a square of white paper that is about 3x3 inches.
- Then chalk the edges of the white square with light blue ink.
- Next, stamp your birthday sentiment in the center of the white square.
- To finish it, stamp the small balloon giraffe in orange ink on the bottom left corner of the white square. Then stamp the small balloon dog in green directly next to the giraffe on the right.
- Attach your finished card insert to the right inside flap of your card with your glue runner.
- Since I seriously cannot get enough shiny and sparkly in my life, I took the small strips we cut off of the holographic paper and cut it into small pieces.
- Then, I attached the holographic confetti around the mounted white square with liquid glue.
- If you do this, allow the inside to dry before closing your card.

This is such a fun card and comes together quickly, especially if you have the die cuts for the stamps. You can make a batch of them to have on hand for last-minute birthday invites because your kid forgot to give you the invitation last week when they got it.
Don’t Forget to Pin It!

