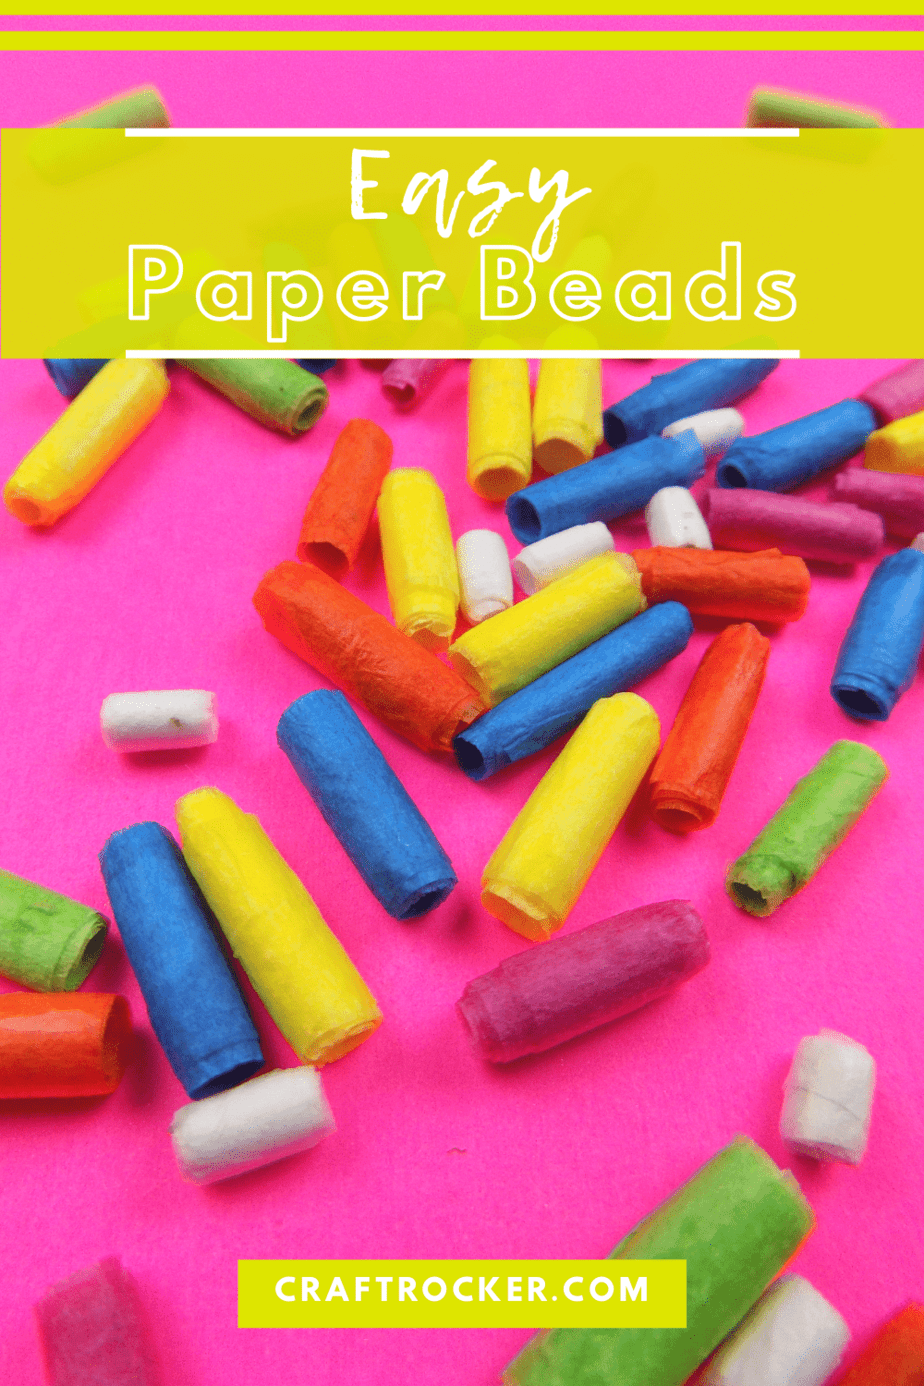
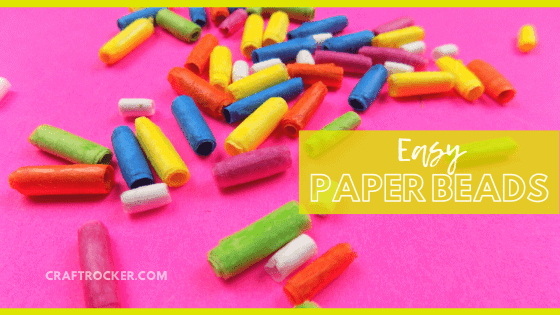
Are you ready to make some colorful and easy paper beads? This simple tutorial is easy enough for kids to do and pretty enough for mom to love!
All you need are a few simple materials that you likely have laying around the house already.
Affiliate links may be used in this post. Ordering a product through these links may result in a commission at no extra cost to you. Read the full disclosure here.
I’ve seen paper bead tutorials in the past, many of which require you to paint them after you make them. The end result is pretty but it’s also more time-consuming.
What if you make paper beads that are pretty and ready to go as soon as you craft them? That is exactly what you get with these easy paper beads. The colorful tissue paper creates gorgeous beads without the additional steps.
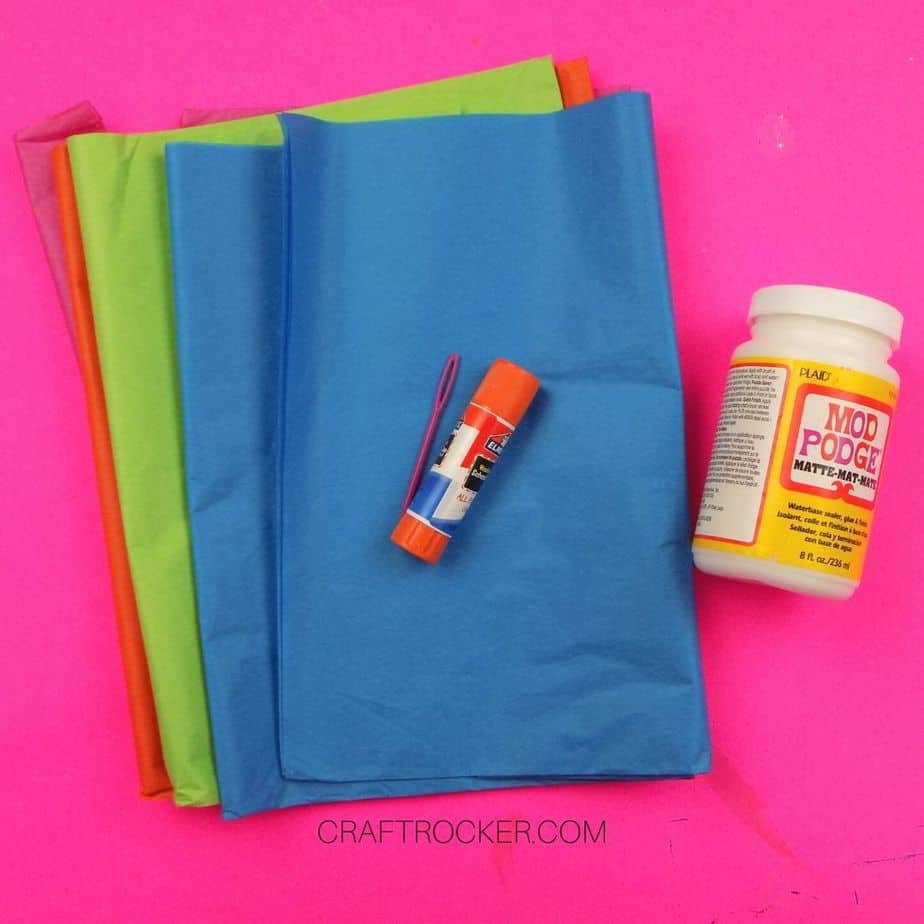
Paper Beads Materials
- Tissue Paper in a Variety of Colors
- Scissors
- Plastic Kids Sewing Needle
- Regular School Glue Stick
- Mod Podge
- Small Flat Paint Brush
- Non-stick Mat (I use this mat set) or Parchment Paper
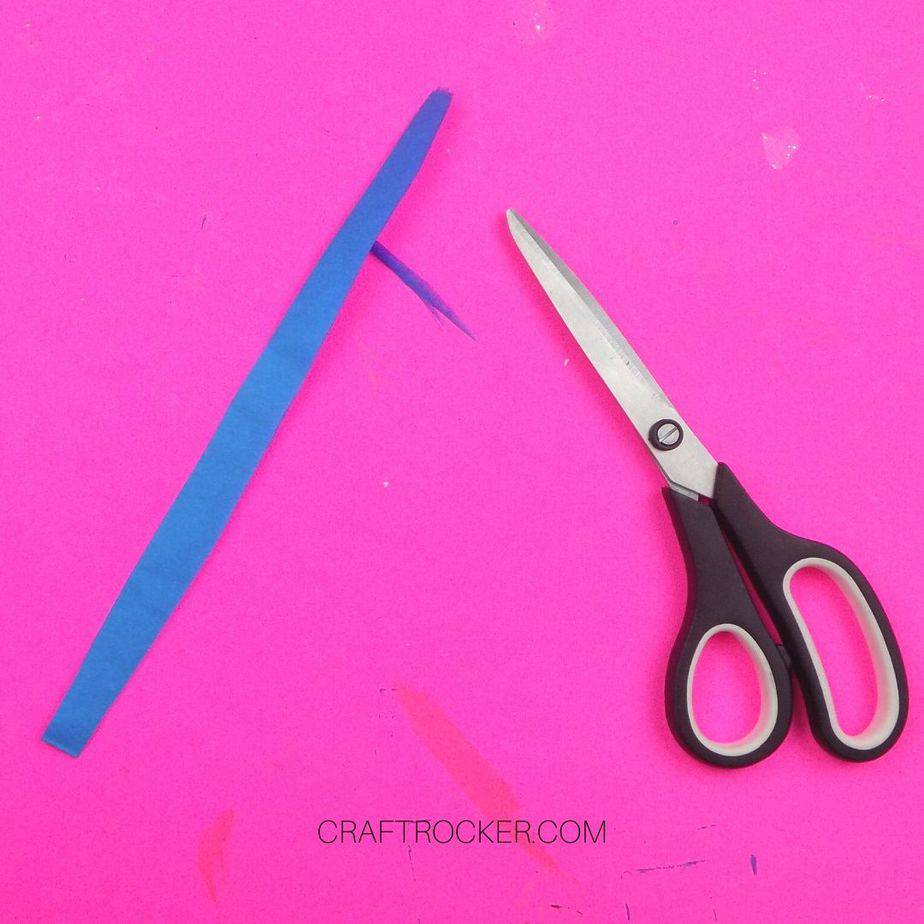
Step 1
First, cut your tissue paper into strips. Each strip will become a bead so cut as many strips as beads you want to make.
Tip:
The width of your strip will be the end width of your bead so keep that in mind when determining how wide to cut your strips of tissue paper.
Step 2
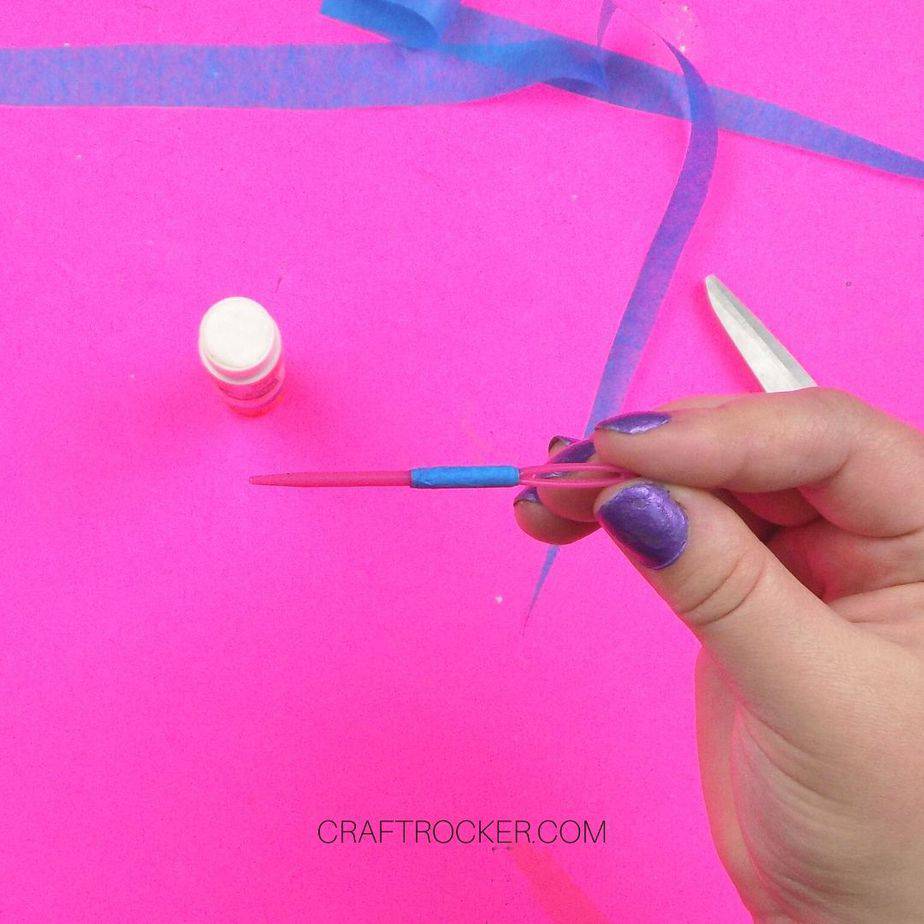
Next, take a strip of tissue paper and begin wrapping it around your plastic needle.
Step 3
After 2 or 3 wraps around the needle, apply a small amount of glue and continue wrapping.
Tip:
- Place the tissue paper on your finger and run the glue stick along that spot to prevent your tissue paper from ripping when you apply the glue.
- If your tissue paper does rip, add a small amount of glue to the ripped piece of tissue paper and start wrapping it around your needle again.
Step 4
Once you reach the end of your tissue paper strip, apply another small amount of glue and secure the end to the wrapped tissue paper.
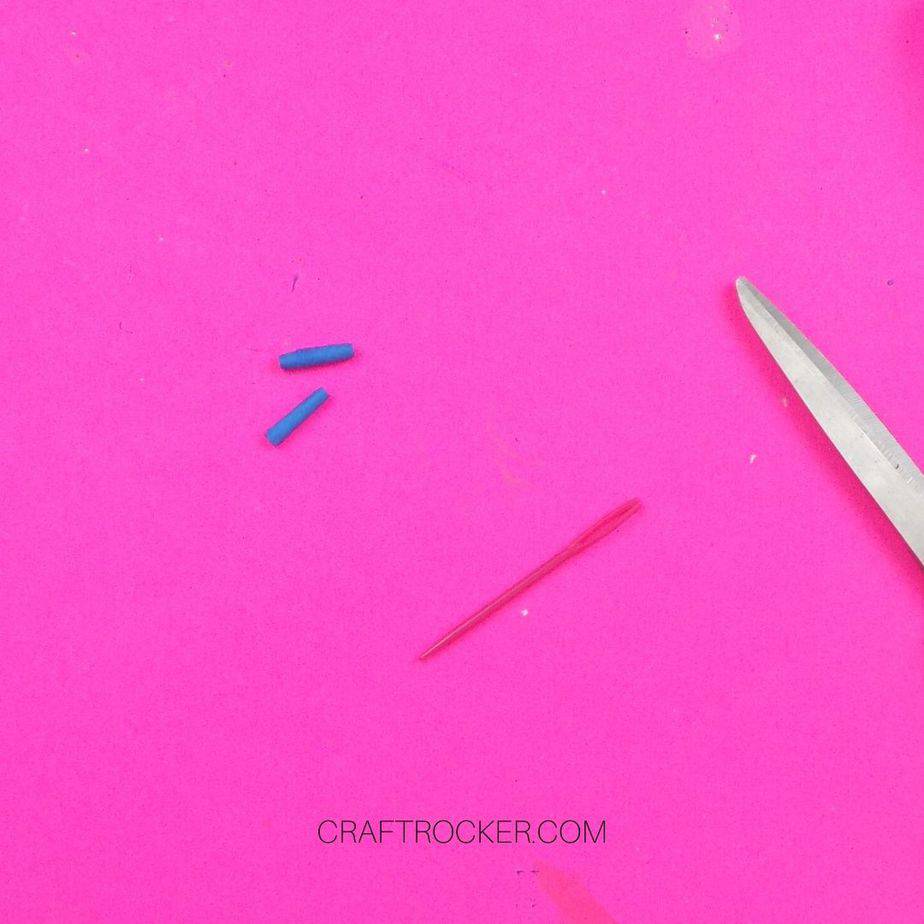

Step 5
Then carefully slide your bead off of the plastic needle and set it aside.
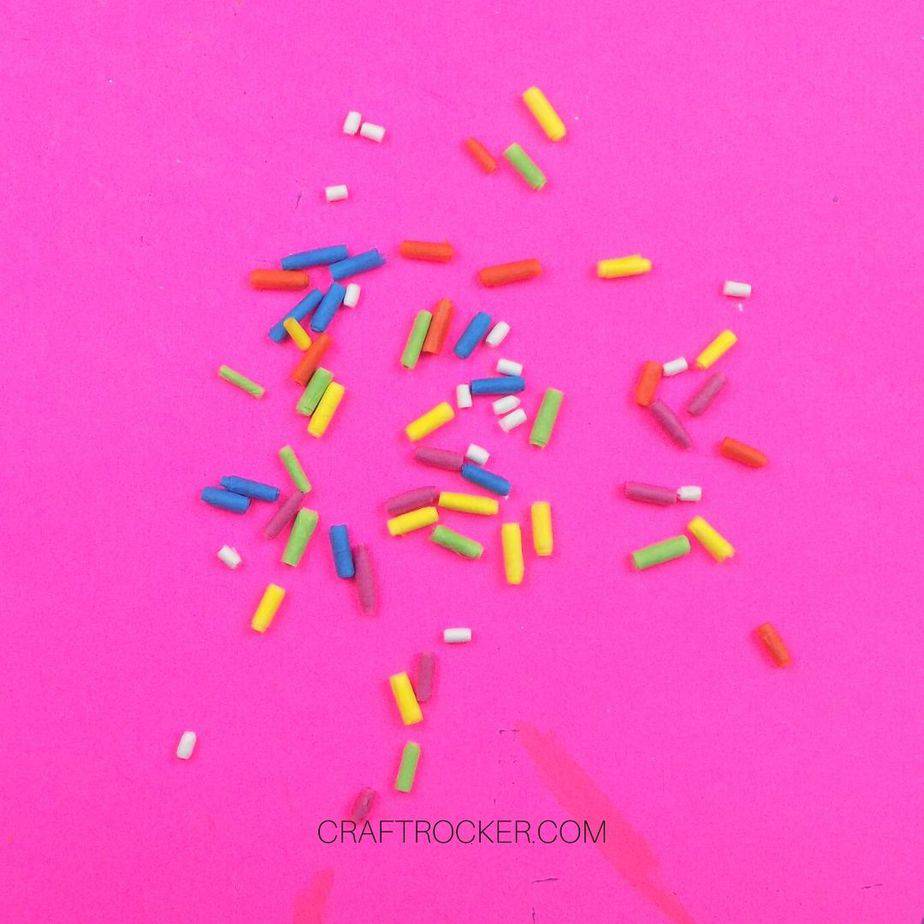
Step 6
Repeat steps 2 through 5 until you have the desired number of beads made.
Step 7
After all of your beads are made, carefully place 1 back on the plastic needle and coat with a medium coat of Mod Podge.

Step 8
Next, set your Mod Podge coated bead on your non-stick mat.
Step 9
Continue coating your beads in Mod Podge and setting them on the non-stick mat until all of your beads are coated.
Step 10
Lastly, allow all of your beads to dry completely.

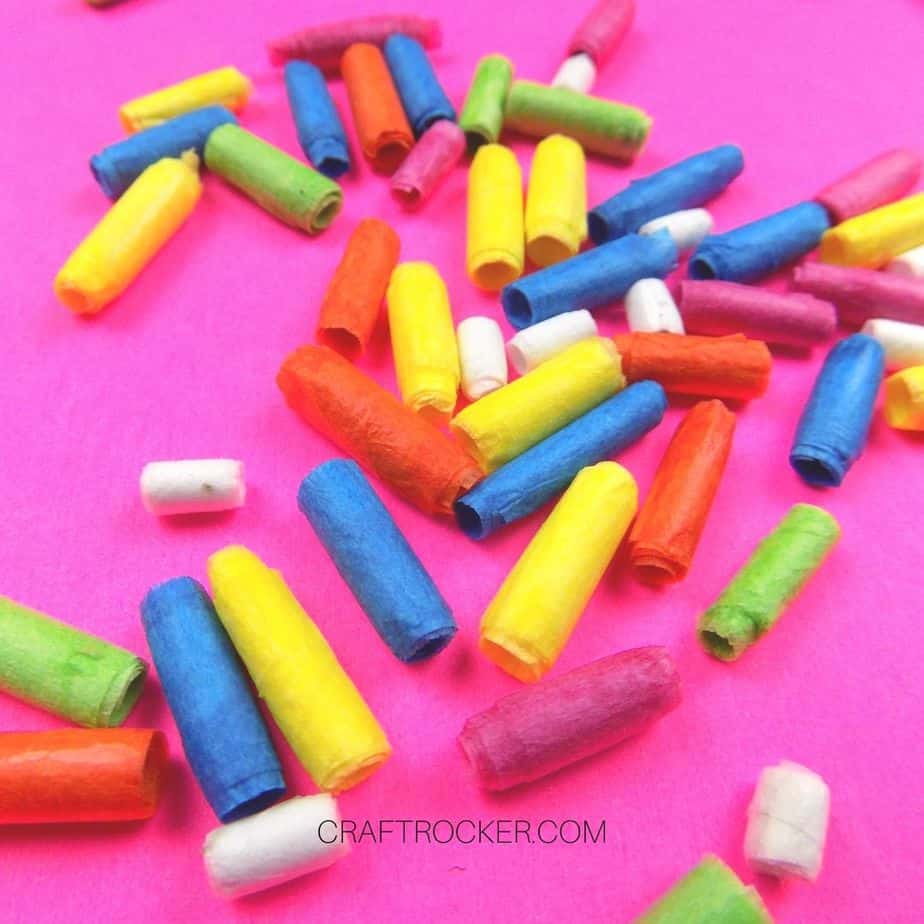
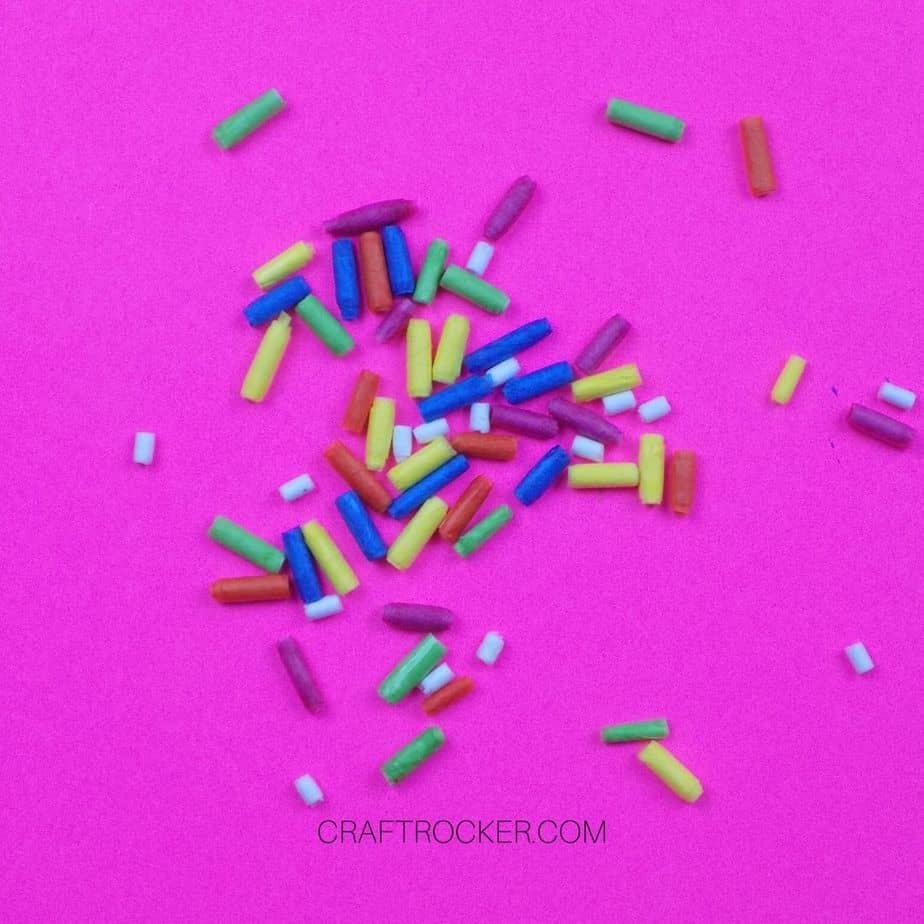
Make your next favorite piece of jewelry with these easy paper beads. They also make a great inexpensive bracelet or necklace for kiddos. You won’t be upset if they break it at school. Yay!
I’m totally partial to the bright colors but you can make these beauties with any tissue paper. Try out variations by making your beads with different kinds of tissue paper.
You can also change up your designs by varying the width of the strips of tissue paper you cut. There are so many ways to customize this craft. The only question is, which way will you try first?
Don’t Forget to Pin It!