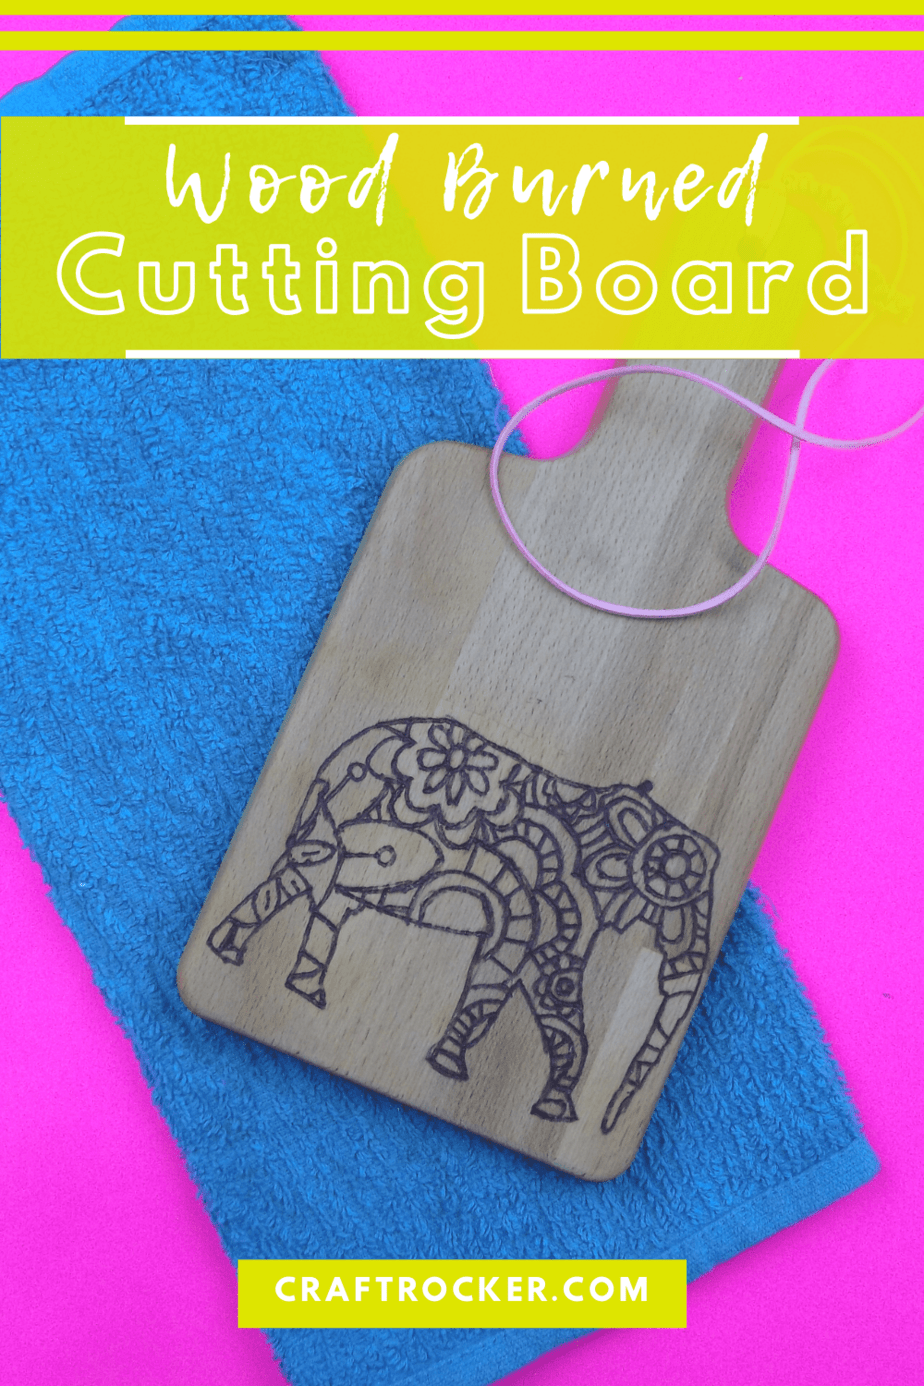
Try out a new medium with this wood burned cutting board tutorial! It’s easy to customize and the smell while you make it is amazing. How many craft projects can you say that about?
Affiliate links may be used in this post. Ordering a product through these links may result in a commission at no extra cost to you. Read the full disclosure here.
One of the things that I think intimidates people when it comes to wood burning is that they think you need fancy drawing skills.
The truth is, you can simply use a pattern and trace it on the wood. Then it is simply a matter of going over the pattern with your wood burning tool.
If you’ve been waiting to try your hand at wood burning then this wood burned cutting board is the perfect starter project.
Wood Burned Cutting Board Materials
- Wood Cutting Board
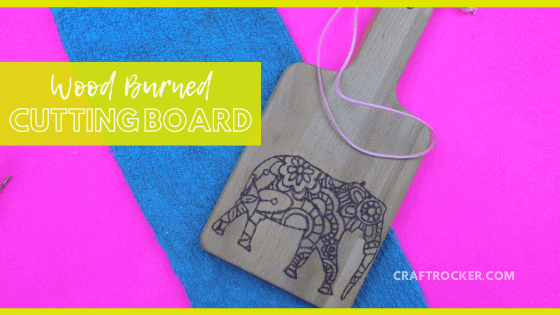
- Design of Choice (Here is a similar elephant design to what I used)
- Carbon Paper
- Scissors
- Pencil
- Wood Cutting Tool with Rounded Point Tip
- Pink Cording (Optional)
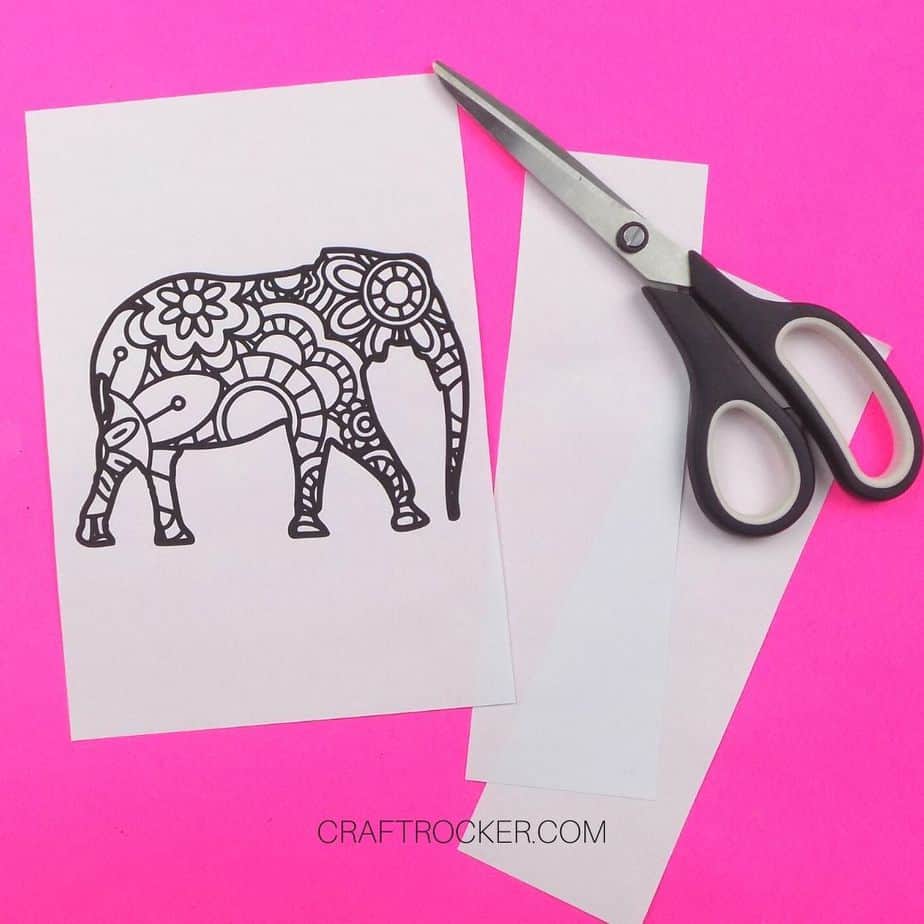
Step 1
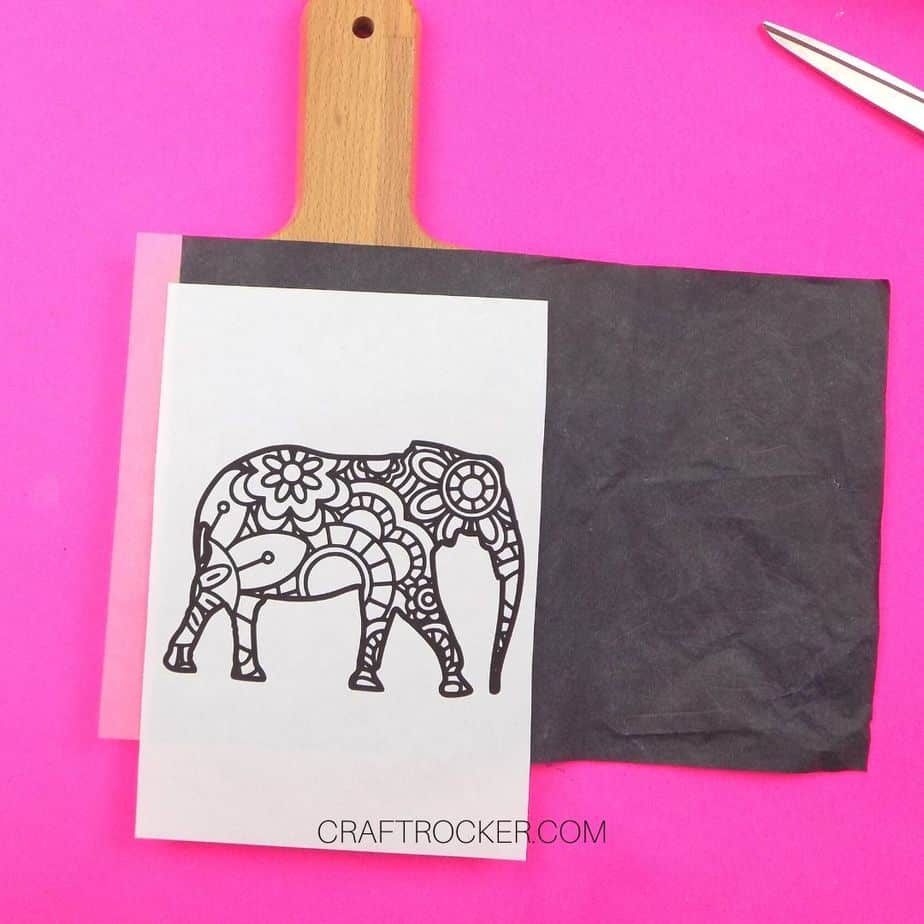
First trim the edges of your design so that you can line them up with the outside edges of your cutting board.
Note:
- If you use a smaller cutting board, like I did, print your design at a 4X6 photo size to ensure it fits on your cutting board.
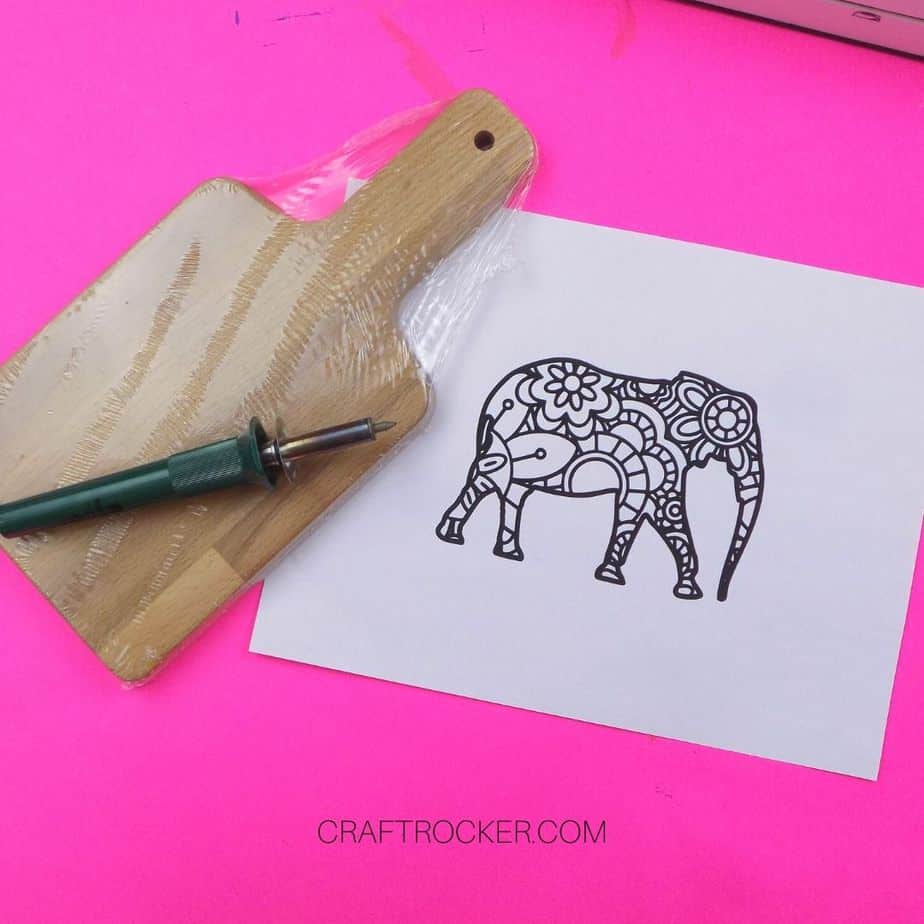
Step 2
Next, place your carbon paper and then your printed design on top of your cutting board. Make sure that your design is centered on the cutting board.
Step 3
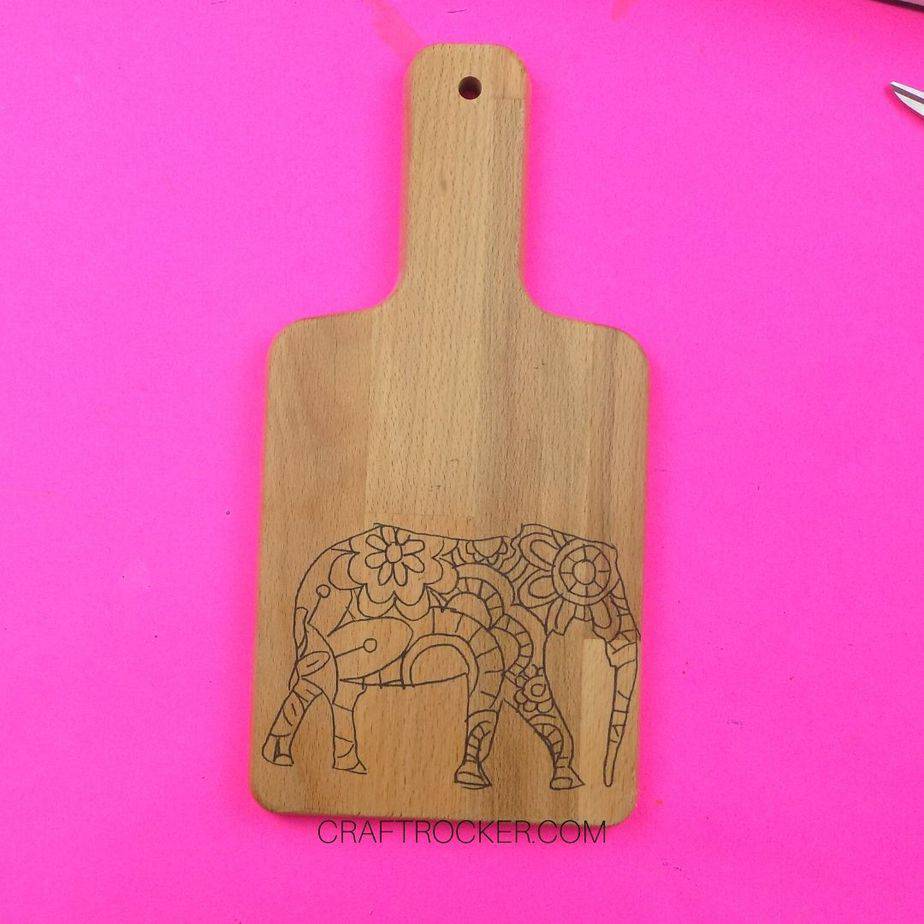
Then trace over your design with a pencil to transfer it to the cutting board. Be careful not to shift it while you are tracing or your lines won’t match up when you go to burn the wood.
Step 4
After your design has been transferred to your cutting board, remove the carbon paper and printed design.


Step 5
Then use your wood cutting tool to trace the transferred design on your cutting board.
Tip:
- I find it easiest to turn the wood piece and always pull the wood burning tool towards me while tracing over the design.
Step 6
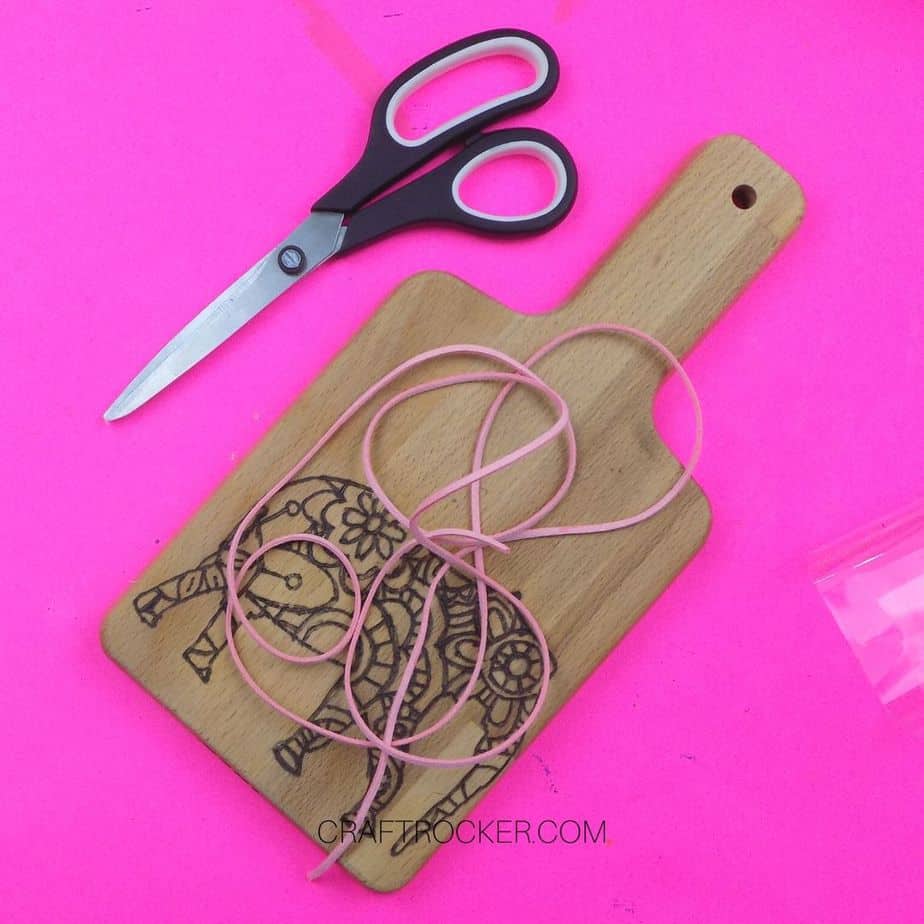
Lastly, clean the visible pencil marks off of the cutting board with a baby wipe or some soap and water.
The next steps are optional but add a decorative detail.
Step 7
Cut a length of pink cording that is roughly 24 inches long.
Step 8
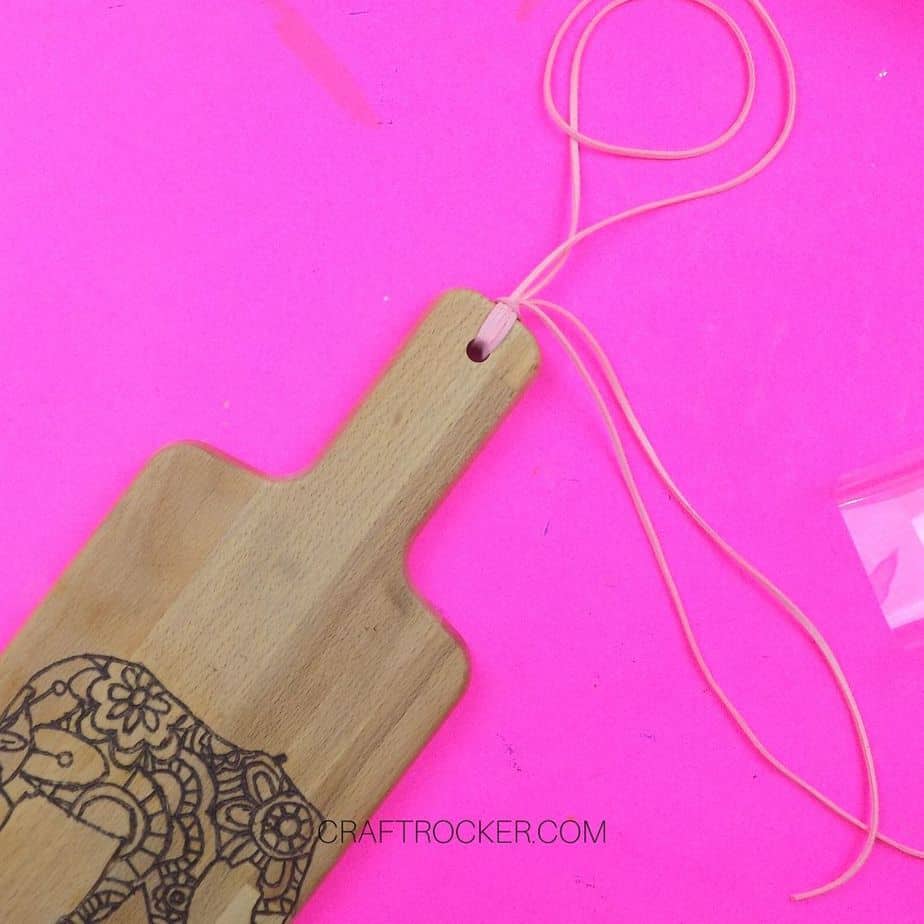
Next, fold the pink cording in half and then in half again.
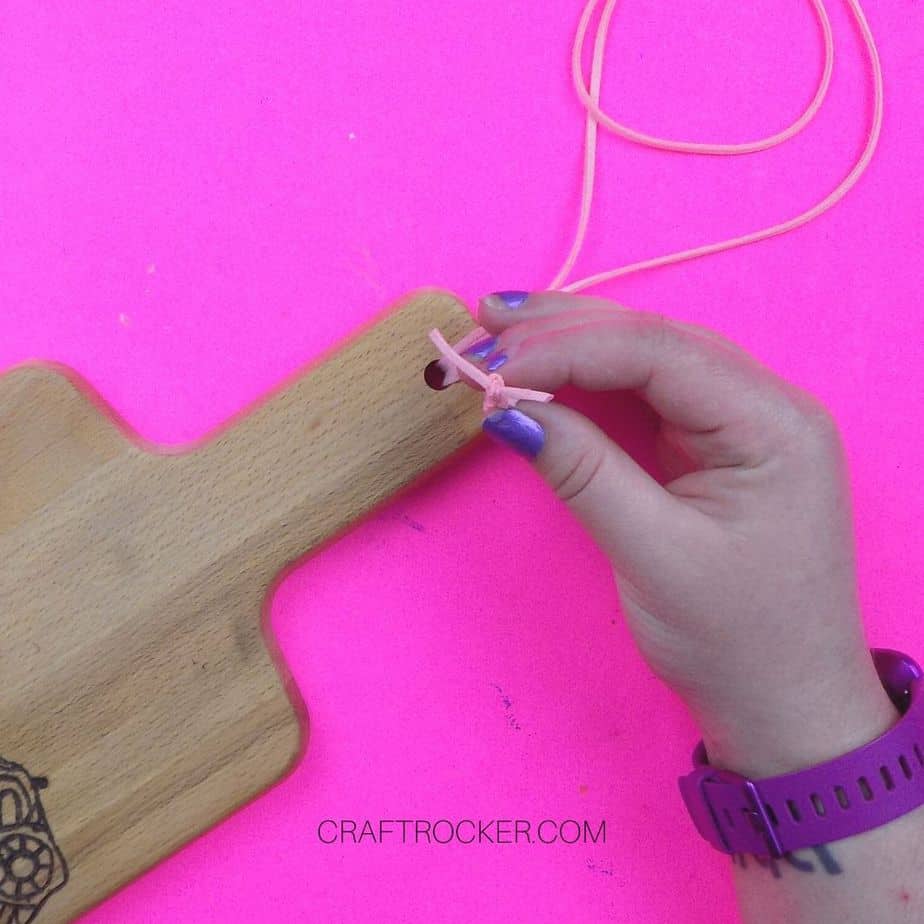
Step 9
Then thread the double-folded end through the handle to form a small loop and pull the loose ends through the loop to form a slip knot.
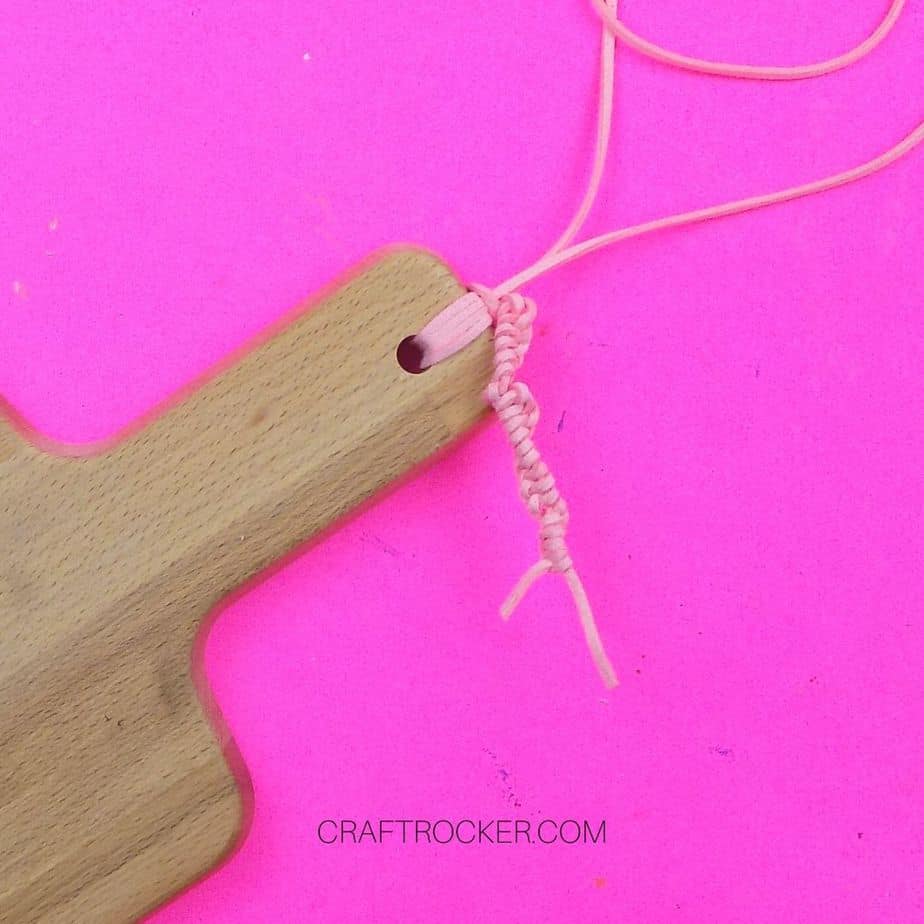
Step 10
Now take the loose ends of the cording and knot them around each other friendship bracelet style.
Step 11
Once you reach the ends of the loose cording, tie a regular knot in them.
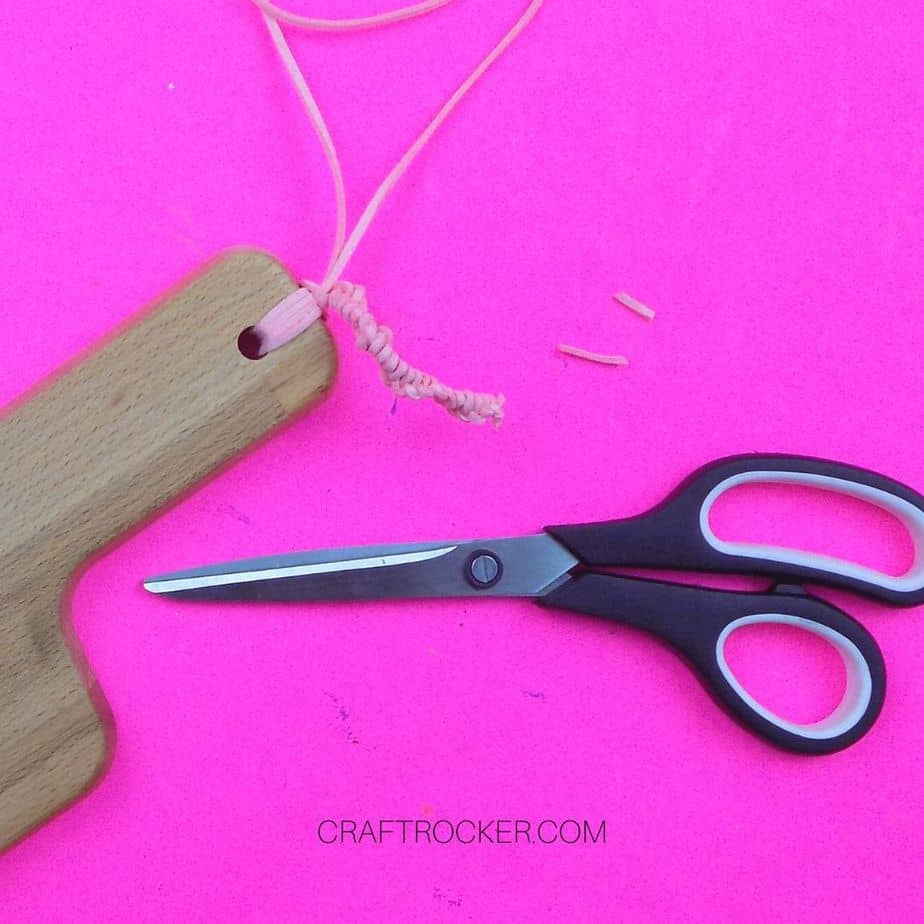
Step 12
Lastly, trim any excess cording from the ends of the knot.
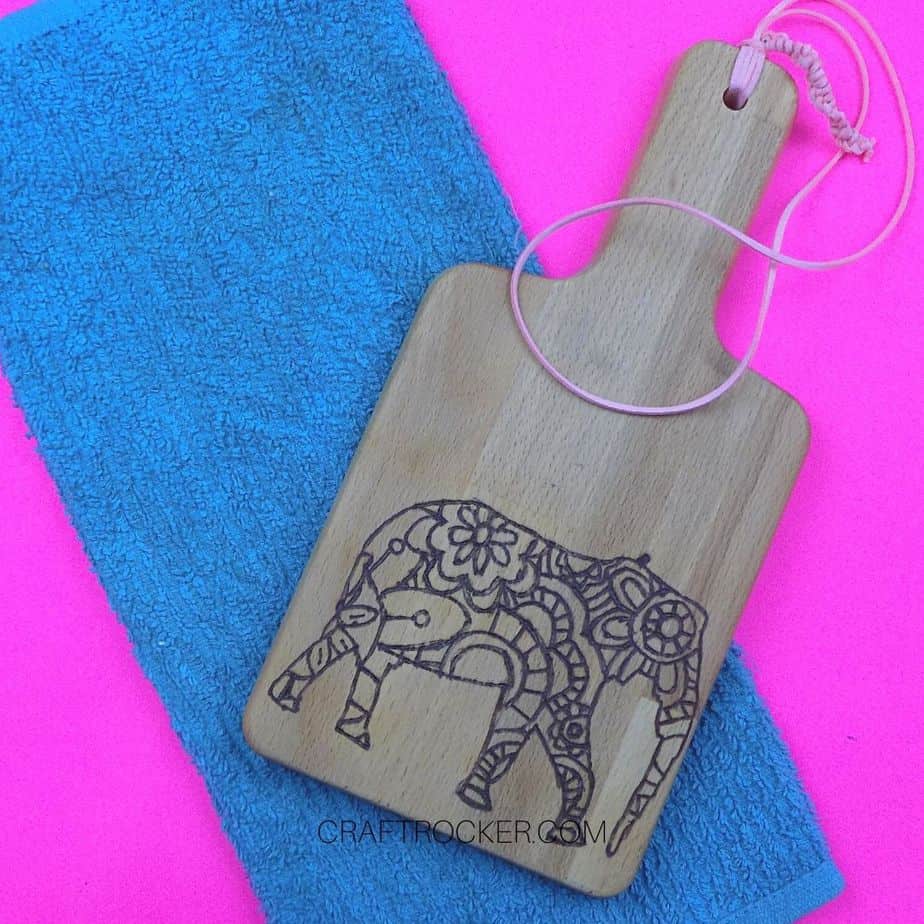
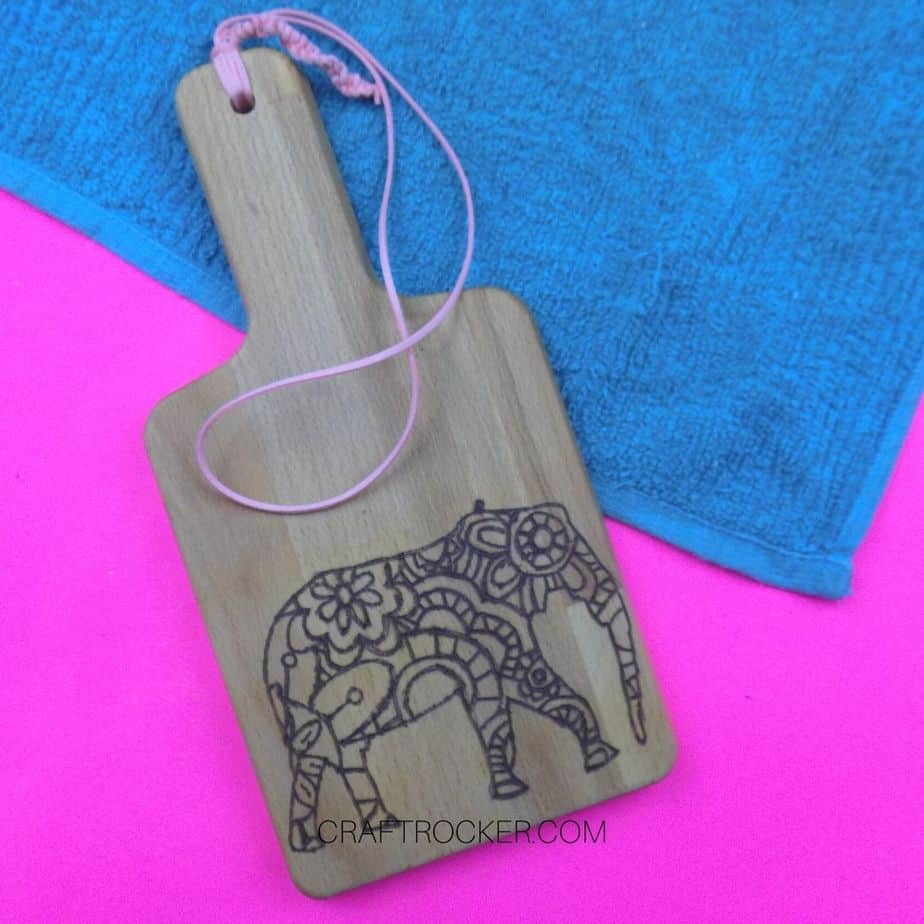
This wood burned cutting board is easier than you might think. The hardest part of this tutorial is knotting the cording.
Choose a design that matches your decor style for a truly customized look in your home.
The optional cording makes it easy to hang on the wall for convenience and to add a decorative element to your kitchen walls.
Don’t Forget to Pin It!