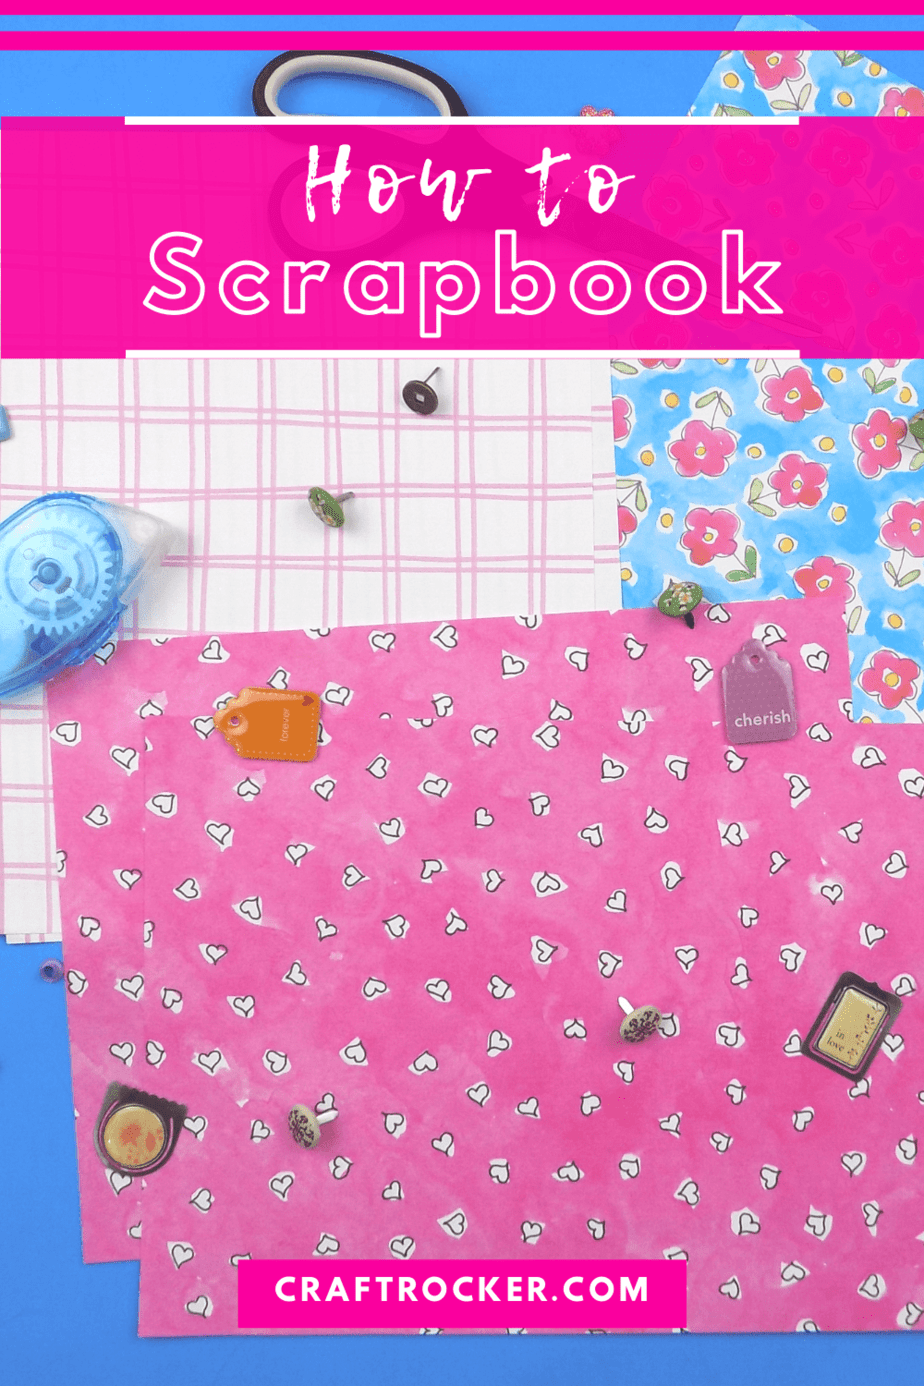
So you’re ready to learn how to scrapbook but you aren’t sure where to start. No worries! I’ll walk you through the basics of getting started.
Learn what scrapbooking is, what tools you need to get started, and make your first 12×12 page.
Affiliate links may be used in this post. Ordering a product through these links may result in a commission at no extra cost to you. Read the full disclosure here.
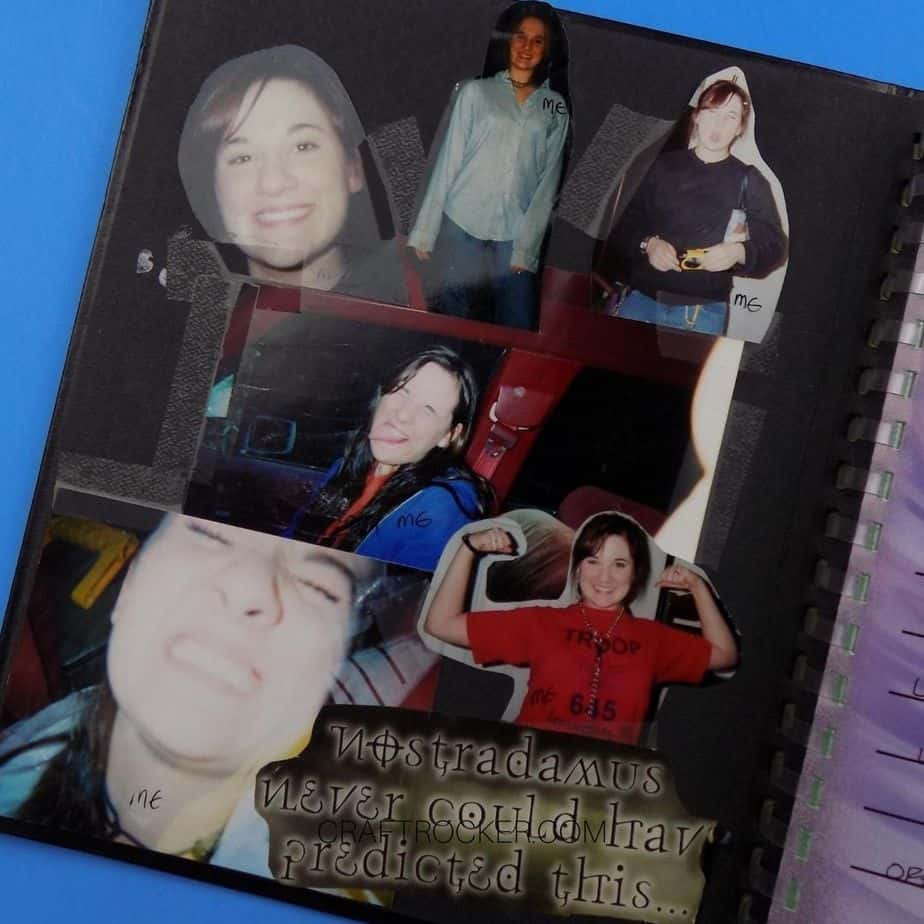
I first started scrapbooking in middle school. We had planners that we were required to track our assignments. Of course, once those weeks were over, the pages sat wasted.
Middle school was also when I started taking pictures. Back then, it was a disposable camera with no idea how the pictures would turn out. Once they were developed, I wanted a way to showcase them.
Putting them in my planner was the best solution. It used up those wasted pages and was perfect for showing to my friends at school.
What is a Scrapbook
If you go by the Oxford English Dictionary definition, a scrapbook is “a book of blank pages for sticking clippings, drawings, or pictures in.”
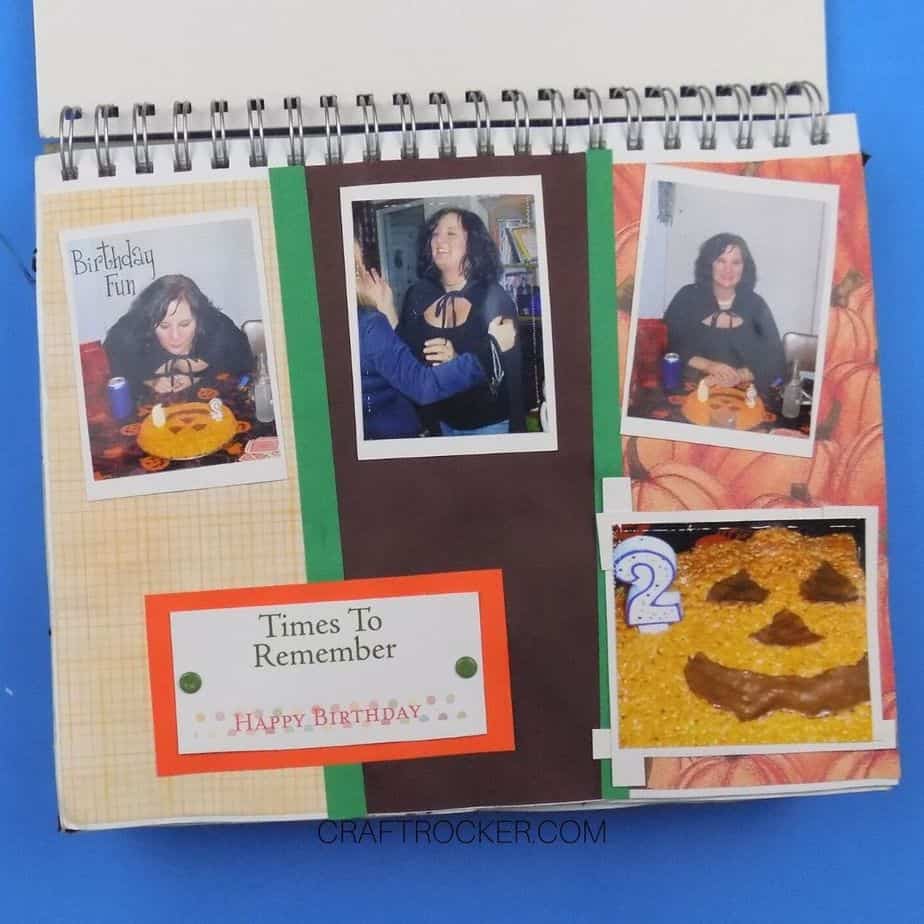
This clinical definition simply doesn’t cover it. A scrapbook is so much more than that. It is a collection of mementos, snapshots in time of your memories.
These memories are tangible items that you can feel, see, and smell. It isn’t just photos.
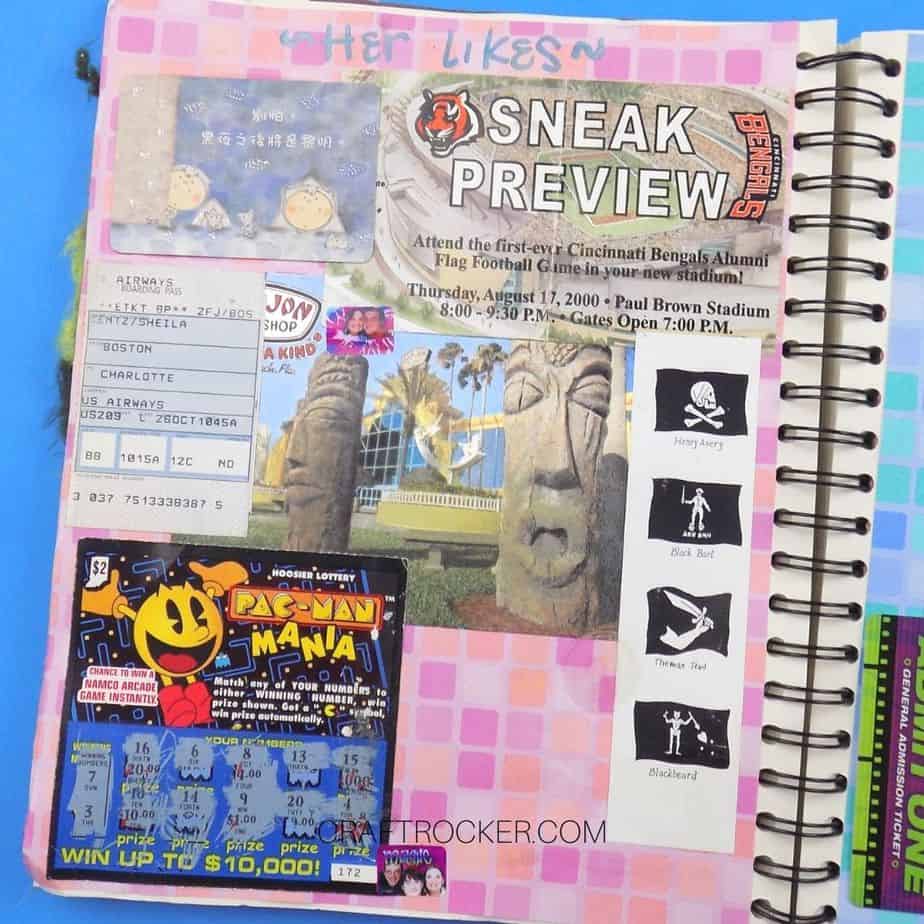
A scrapbook holds ticket stubs, cards, flowers, and many other treasured mementos. Use your scrapbook to tell a story that you can share with friends and family.
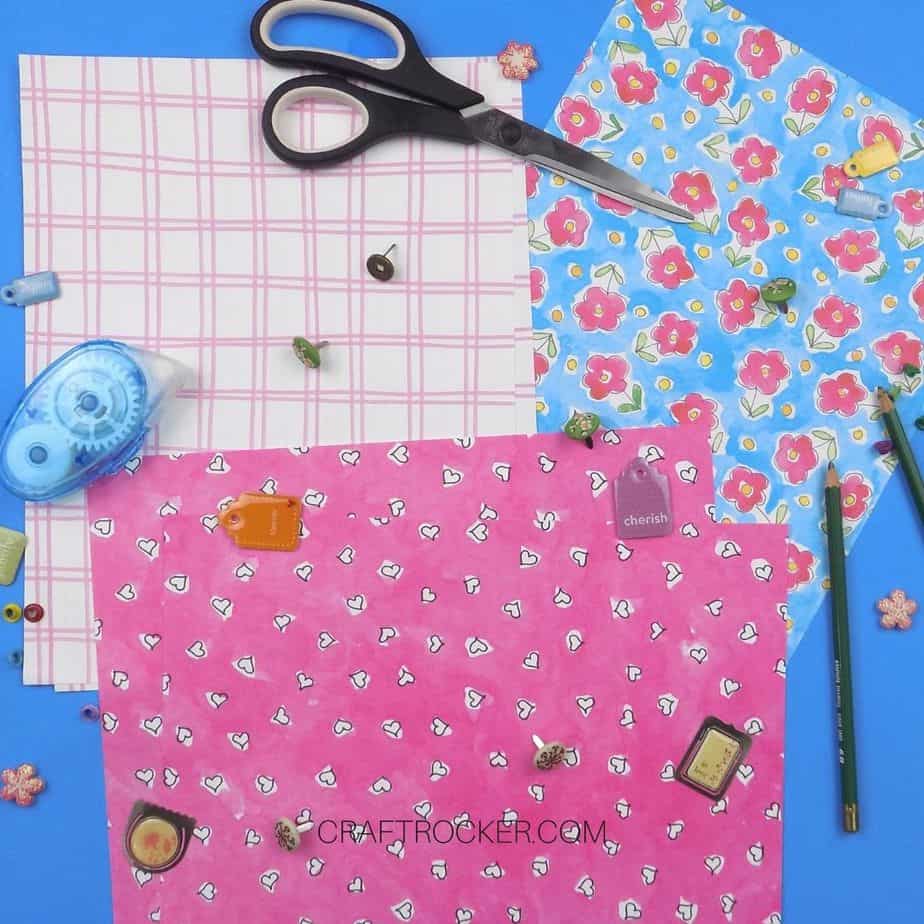
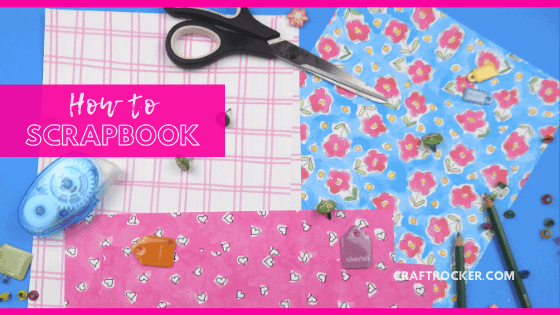
How to Scrapbook – Basic Materials
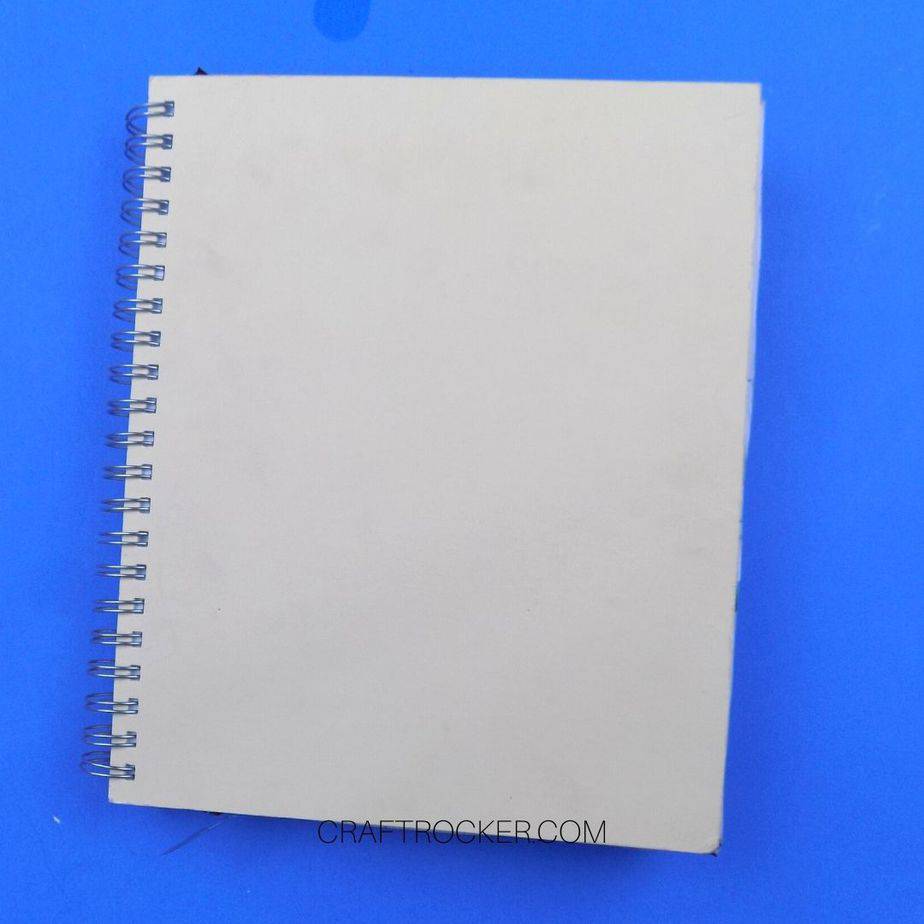
Spiral Bound Scrapbook
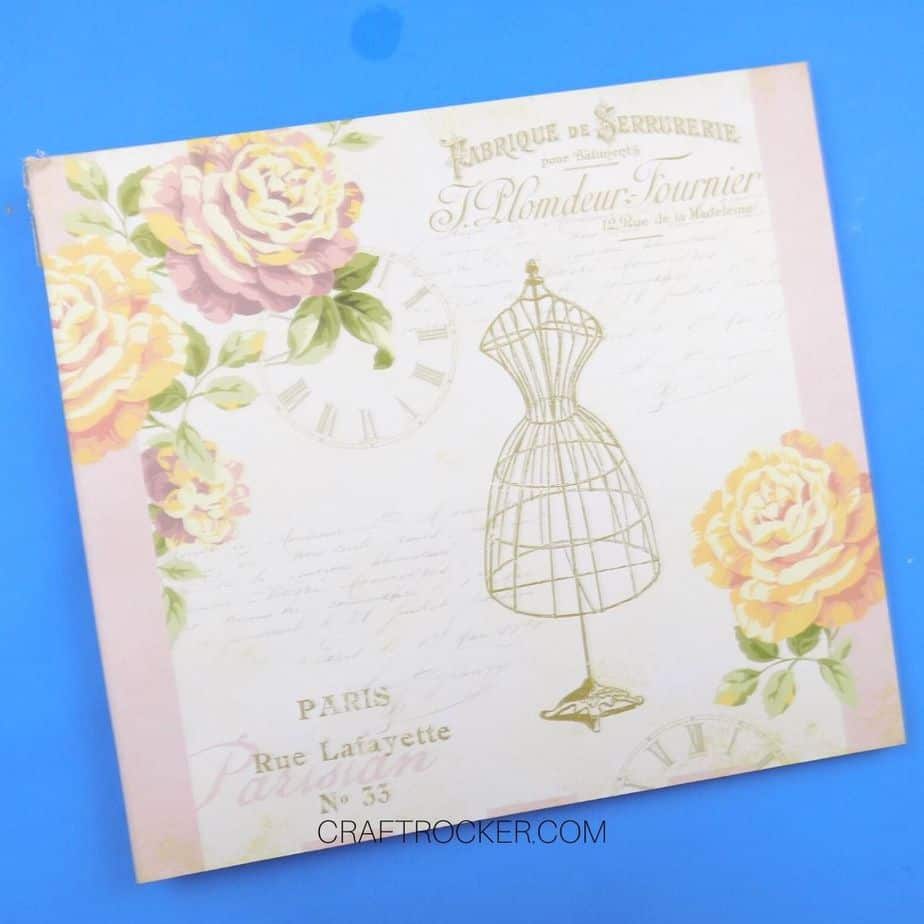
Post Bound Scrapbook
Book
You need a book of some sort to scrapbook. Any book will do, as a said above, I started with a school planner. You can also use a notebook, a wire-bound scrapbook, or a post-bound album scrapbook.
Adhesive
Next, you’ll need some sort of adhesive. I started with tape but that was a mistake. With time it loses adhesive and ruins or yellows your photos. Instead, use an acid free adhesive like a glue runner or Zots.
Mementos
Of course, the whole point of scrapbooking is to collect and preserve your memories. You need mementos to do that. Include photographs, ticket stubs, playbills, and anything else that holds meaning for you. Remember that scrapbooking is a very personal creative form.
Scissors or Paper Cutter
You’re going to need something to cut, or crop, your photos and papers. I recommend having both scissors and a paper cutter. The scissors are good for detailed cutting. A paper cutter is great for cutting straight lines quickly and efficiently.
Paper and Embellishments
This is an optional addition but paper and embellishments really elevate your creations. You can use paper as a background, to mat your photos. You can even use it to make your own custom embellishments.
Another option is to buy pre-made embellishments, such as stickers, to add to your pages.
Writing Utensil
Lastly, you want a writing utensil to label and date photos. It is also for journaling on your scrapbook pages.
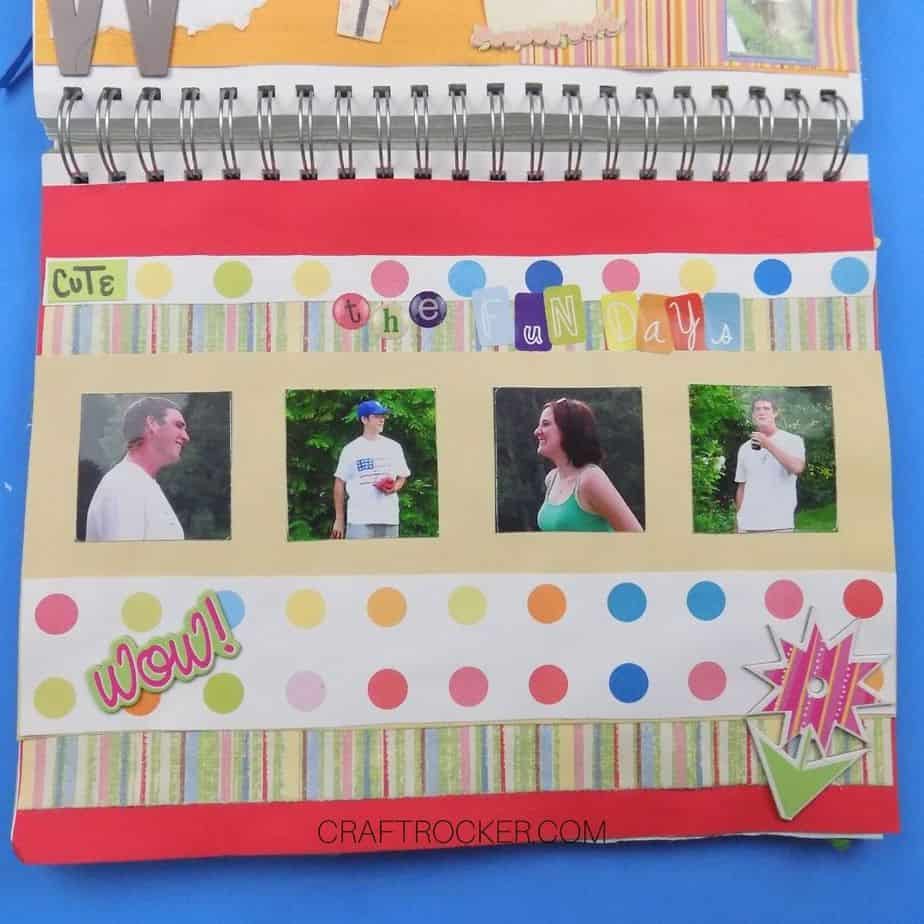
How to Scrapbook – Creating a 12×12 Page
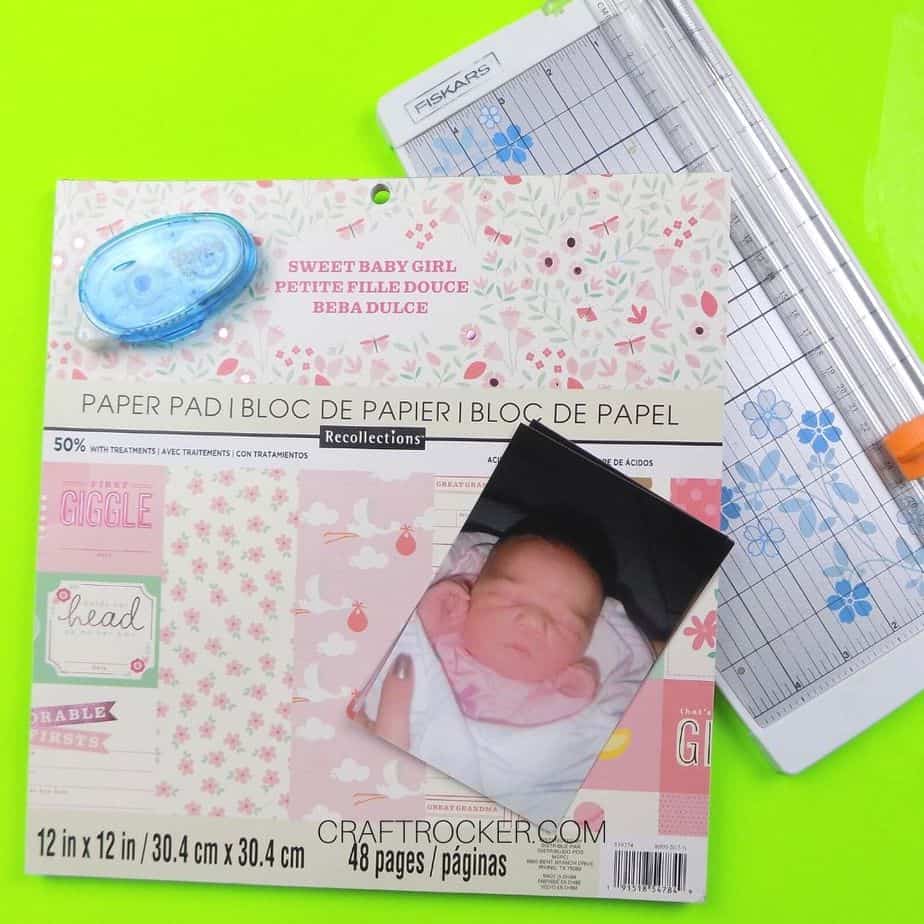
For this tutorial you need the basic materials listed above with the exception of a book. I’m using a themed pad of paper for this that I got at Michael’s.
Step 1
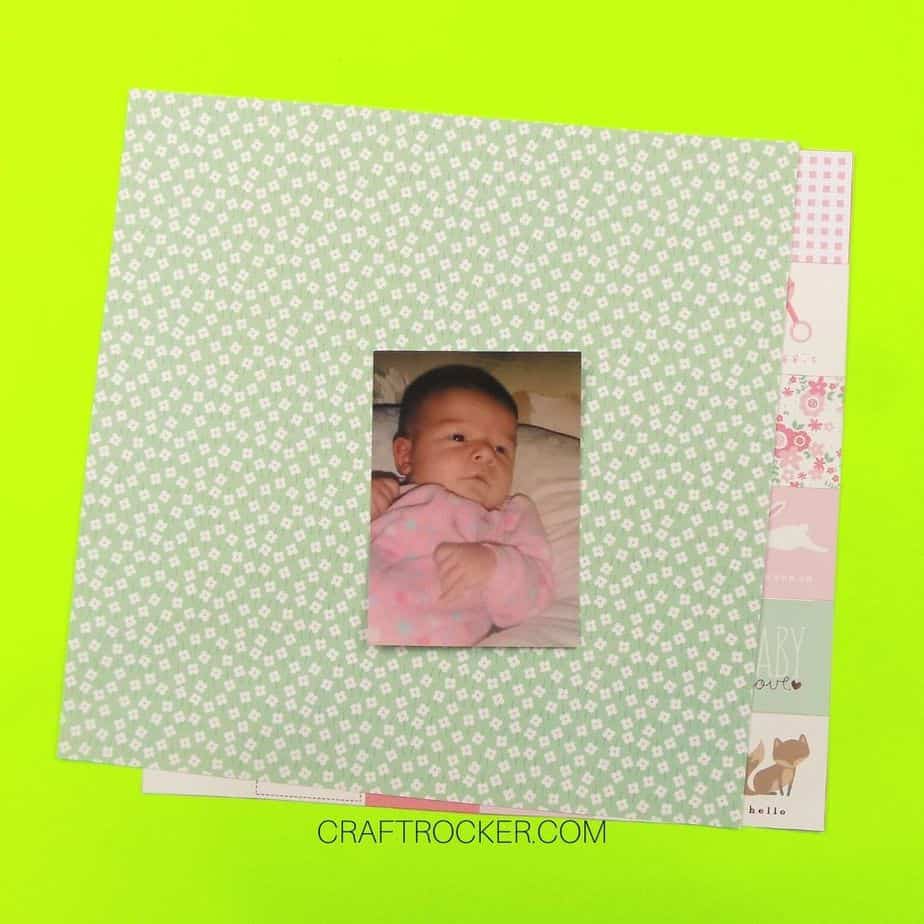
First, choose the polka dot 12×12 inch piece of paper to be your background.
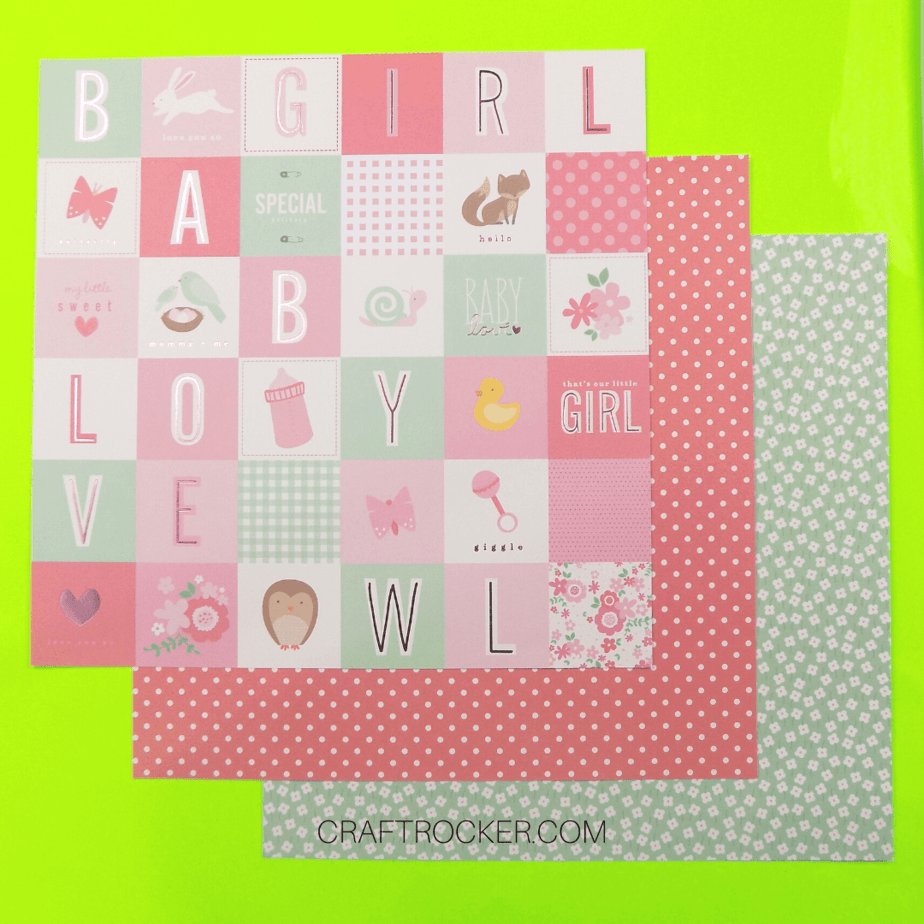

Step 2
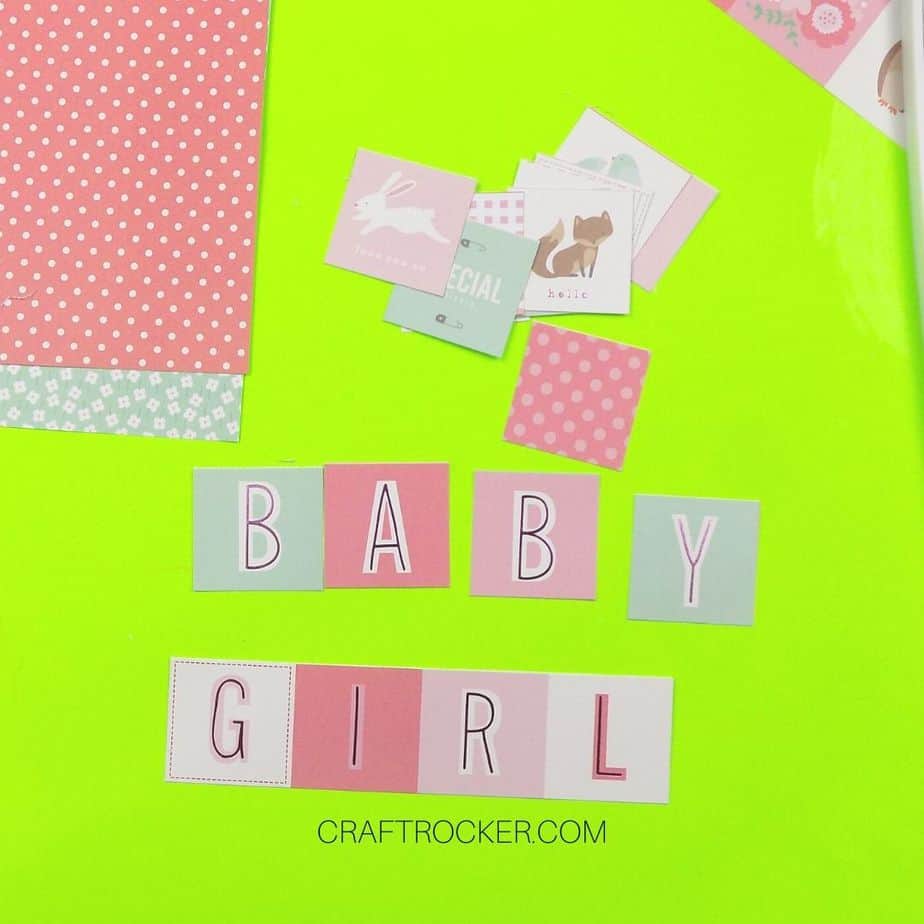
Next, choose a sheet for matting your photo and the multi-square sheet for embellishments.
Note:
A lot of paper pads come with sheets of tags and embellishments you can cut out. This makes it easy to coordinate all of your elements.
Step 3
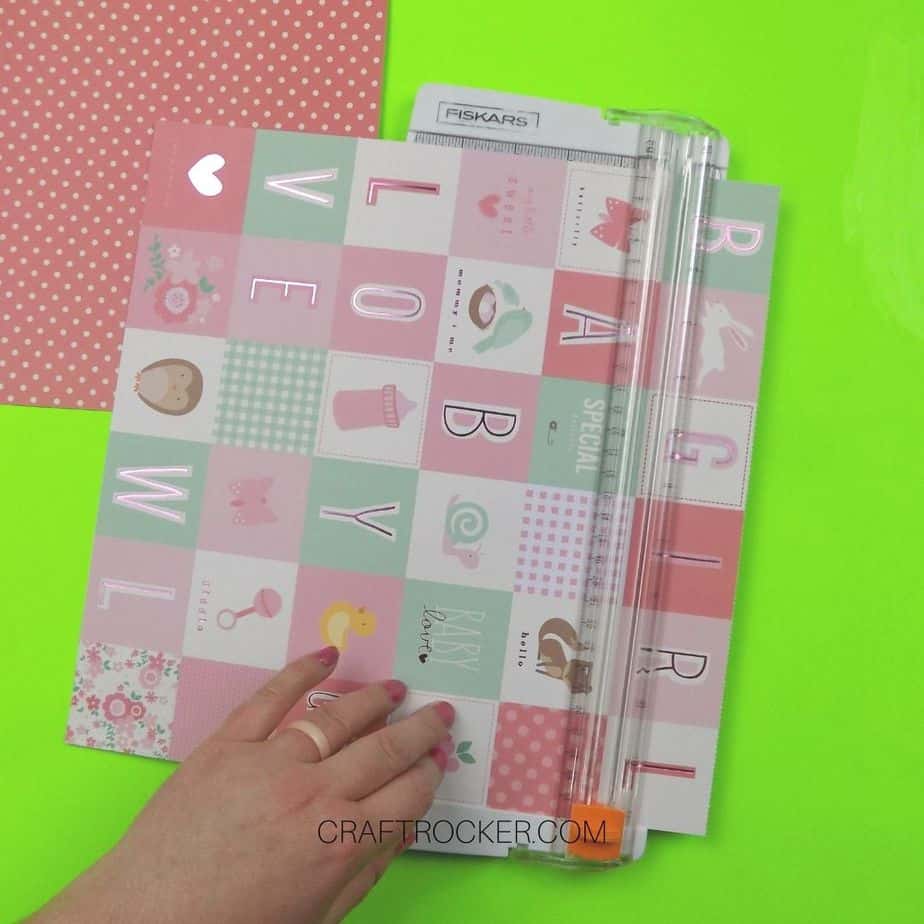
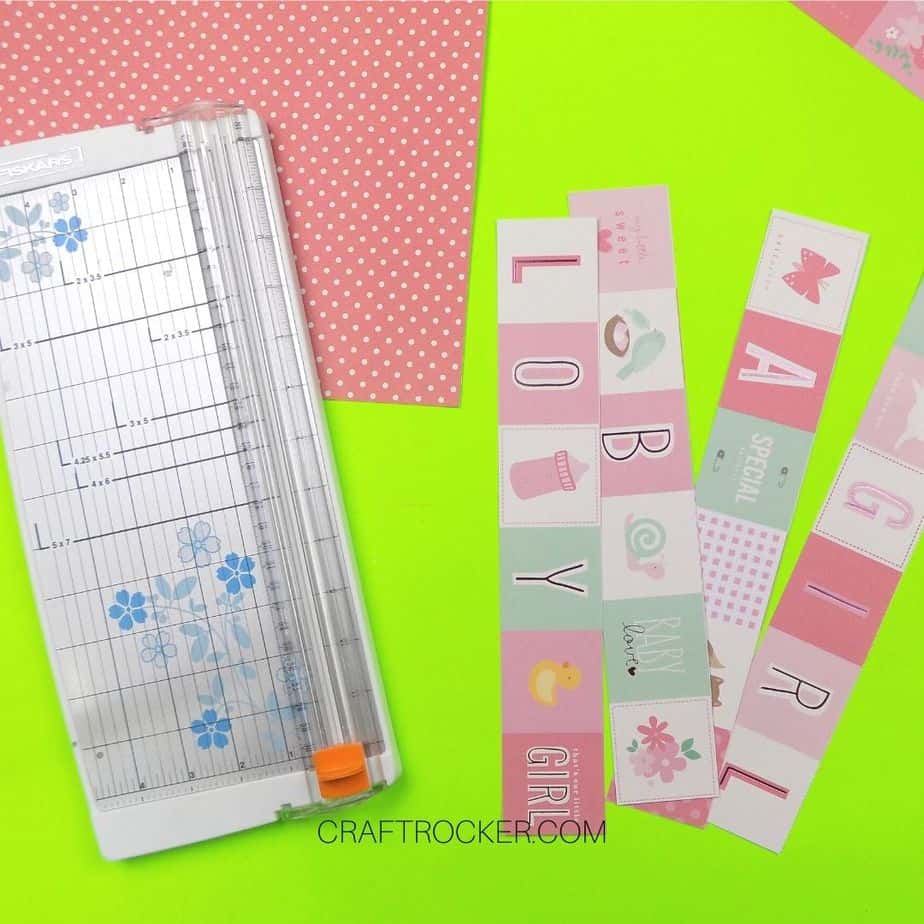
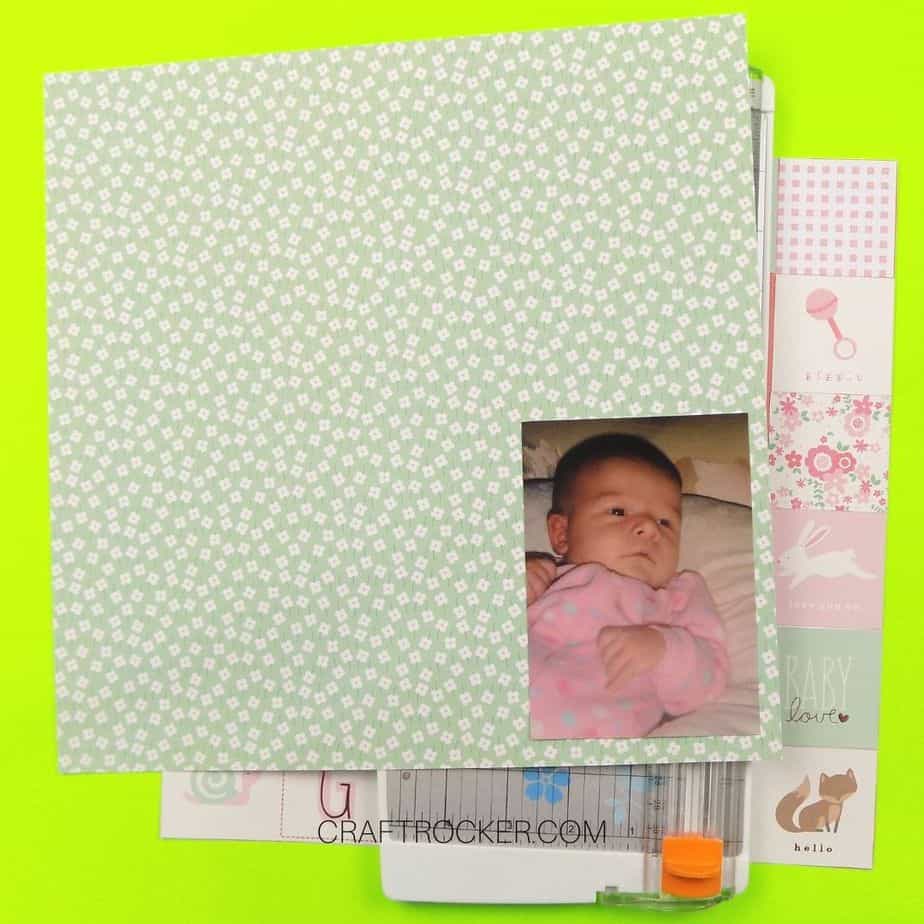
Now cut apart your squares. You don’t have to cut apart the word “GIRL” since it’s already in a row.
Note:
Scissors can be used for this however a paper cutter makes it easy to get straight cuts right on the edges. It is also much quicker.
Step 4
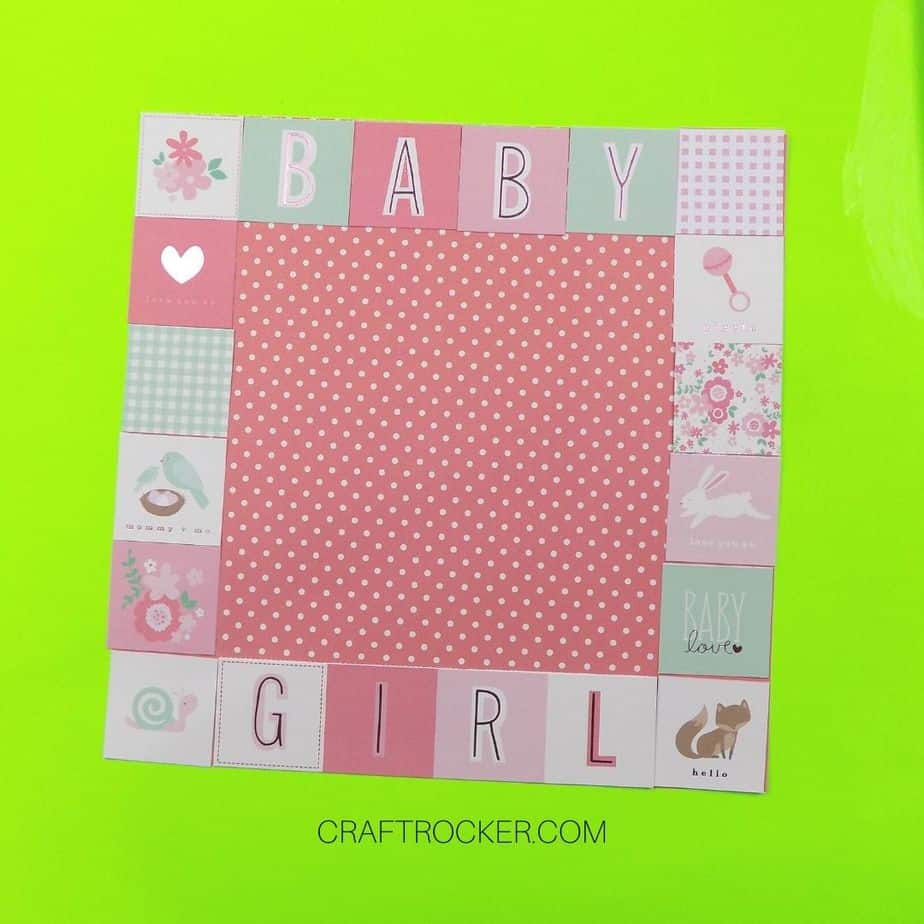
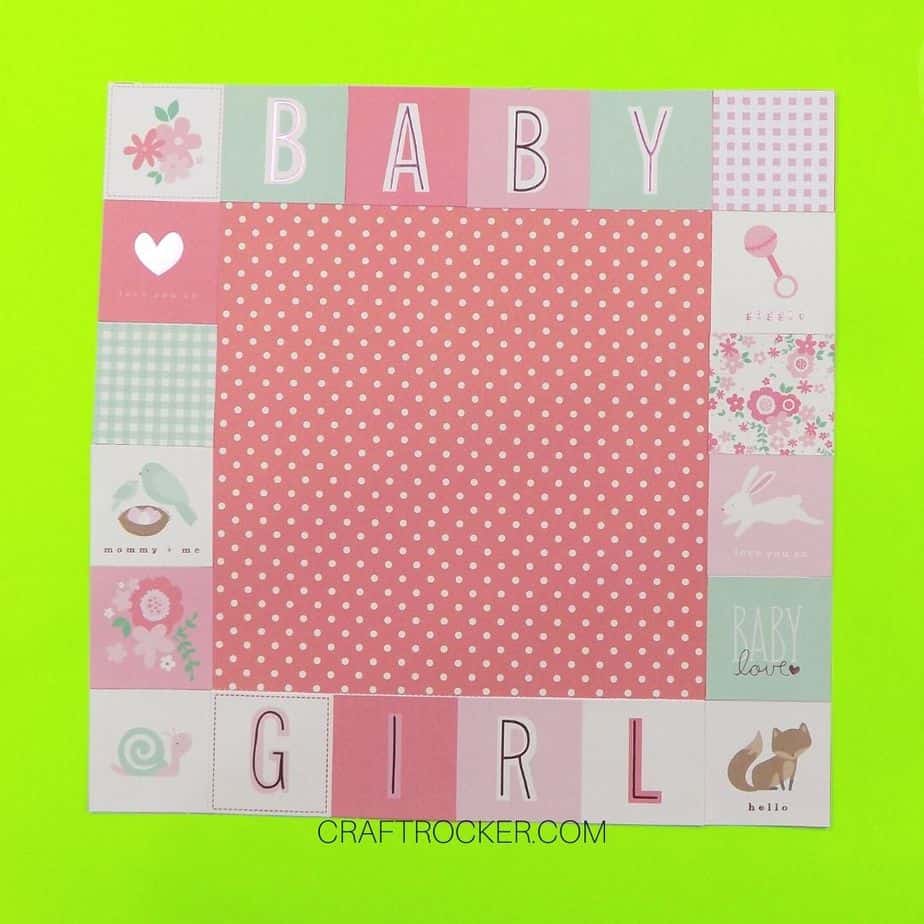
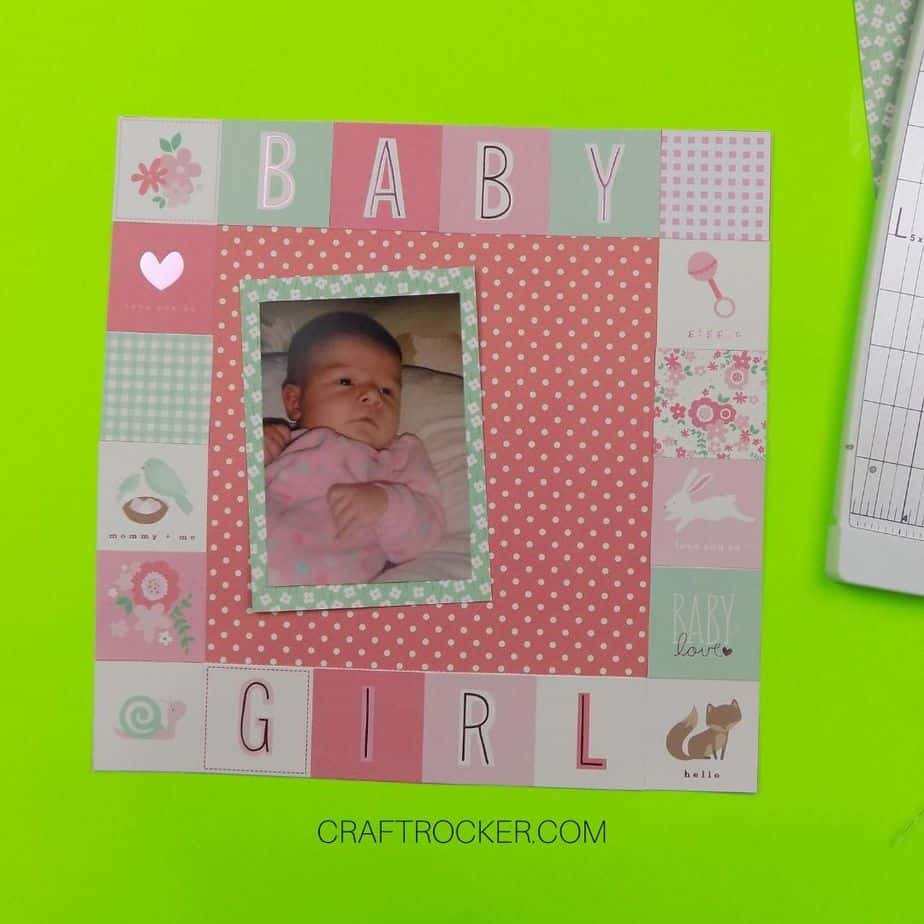
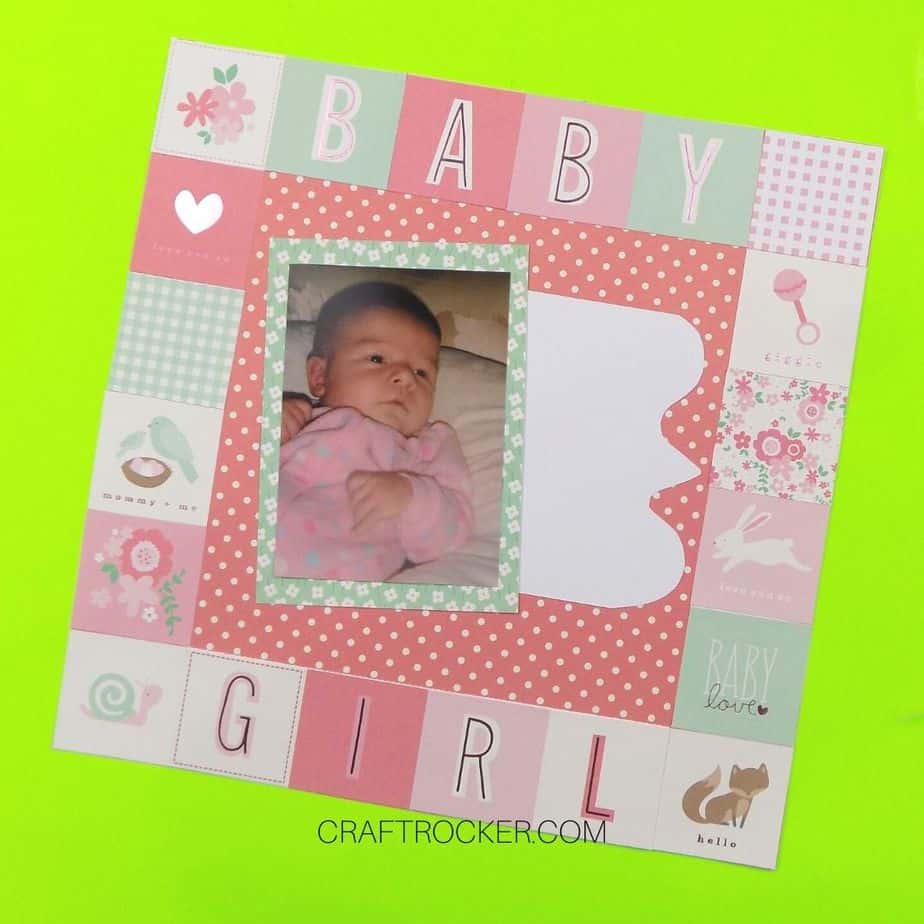
After you squares are cut apart, line them around the outer edge of your background sheet in the design that you want. I centered the word “BABY” at the top and the word “GIRL” at the bottom.
Step 5
Once you have your desired layout, start attaching your squares with the glue runner. Make sure that your square edges are flush with each other.
Step 6
Next, trim your photo to better center your subject (if necessary) and attach it to the corner of the sheet of paper that you chose for matting.
Step 7
Then cut out around the photo from the paper. Be sure to leave some of your paper showing around the edge of your photo, like a frame.
Step 8
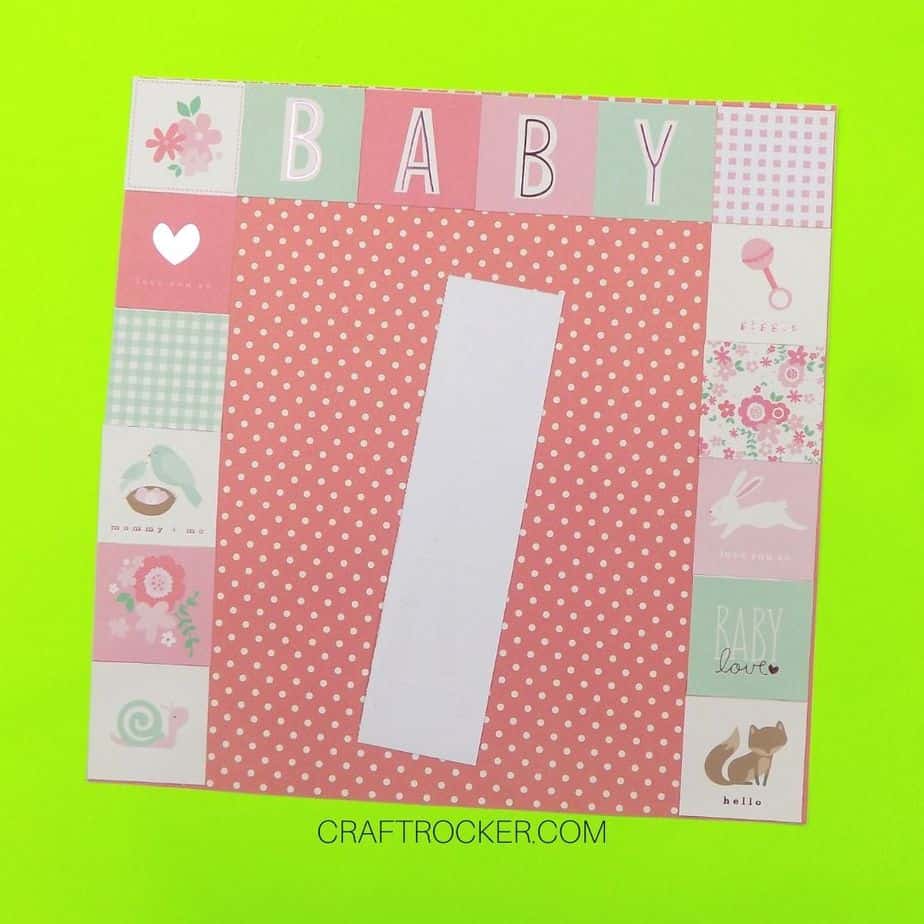
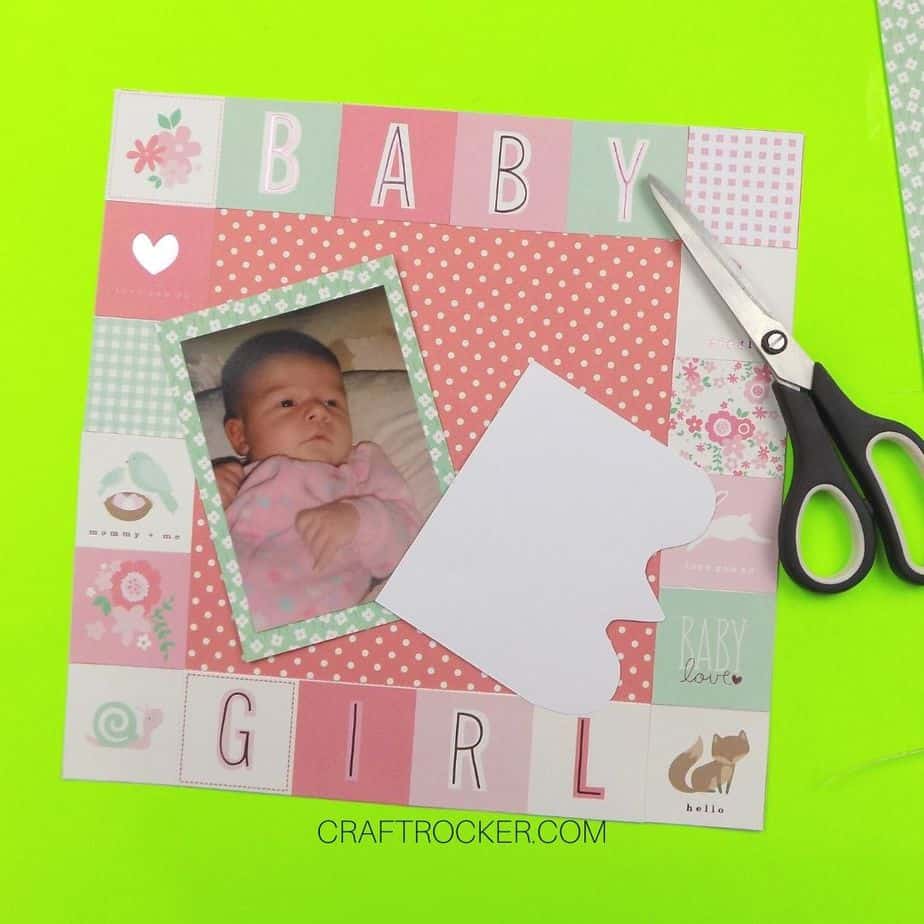
Take one of the scrap pieces from your matting paper and turn it to the white side. Then use scissors to cut a scalloped edge as pictured.
Step 9
Layout your white paper and your matted photo on the center of your page. See the photo above for reference.
Step 10
Once you’re happy with the positions, attach them to your page with the glue runner.
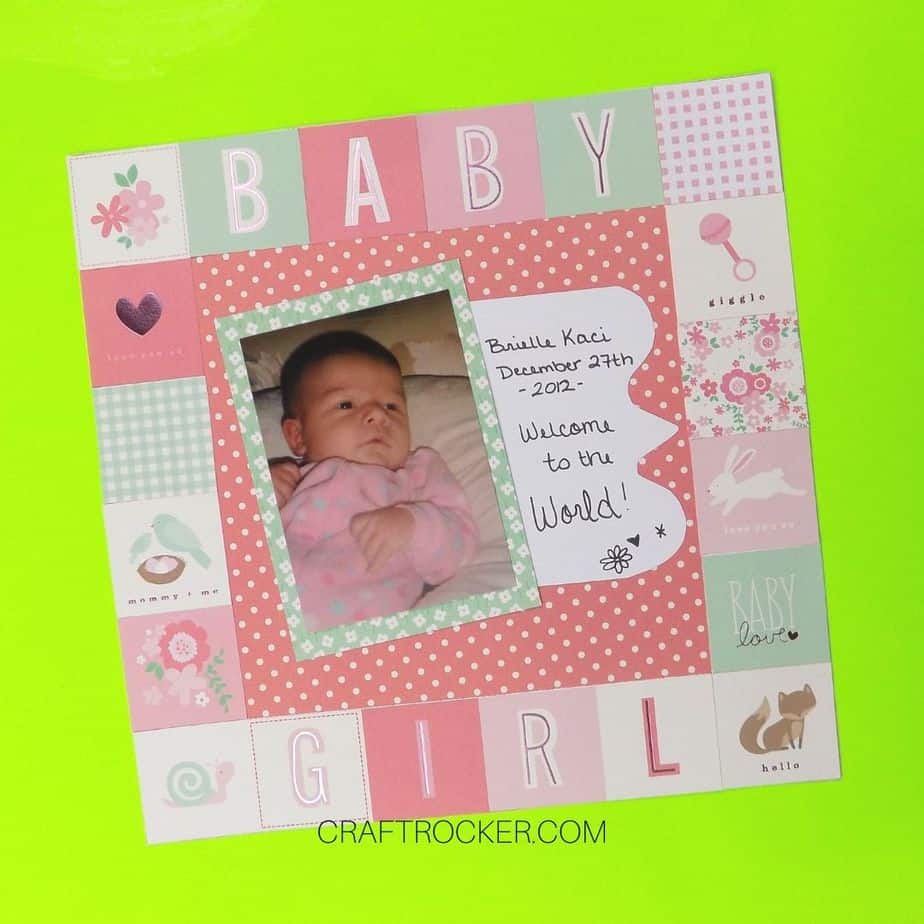
Step 11
Lastly, journal on the white paper with a small story or description of your photo.
Learning how to scrapbook is easy. Now that you know the basic materials that you need and have one page under your belt, it’s time to start crafting.
Remember, there is no right or wrong way to scrapbook. Make pages that speak to your style and tell your story. That’s where the joy happens.
Don’t Forget to Pin It!