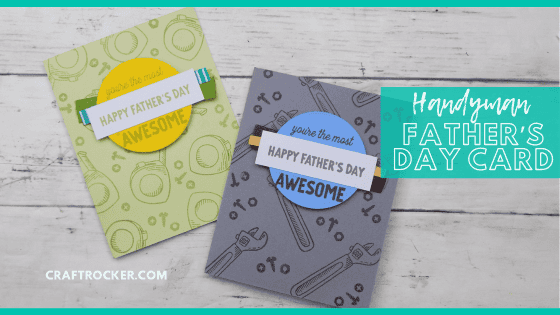
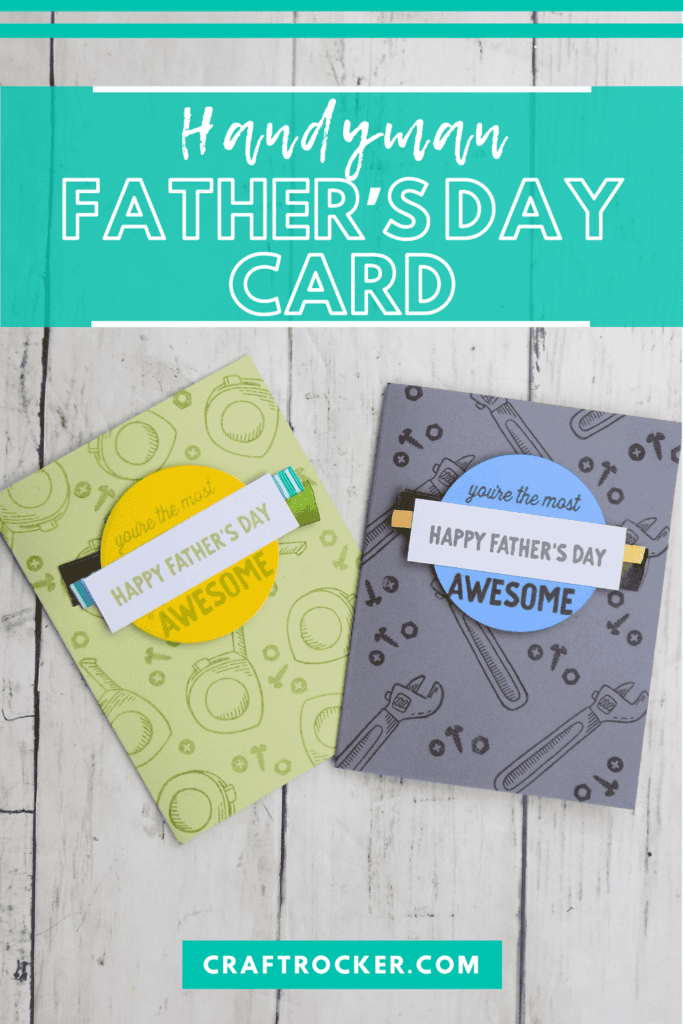
Does the dad in your life fix all the things? Say thanks with one of these handmade handyman Father’s Day cards.
Affiliate links may be used in this post. Ordering a product through these links may result in a commission at no extra cost to you. Read the full disclosure here.

Jump to What You Want
Handyman Father’s Day Cards Materials
Handyman Father’s Day Cards How-To
Tips and Tricks for Handyman Cards
Printable Handyman Father’s Day Cards Tutorial
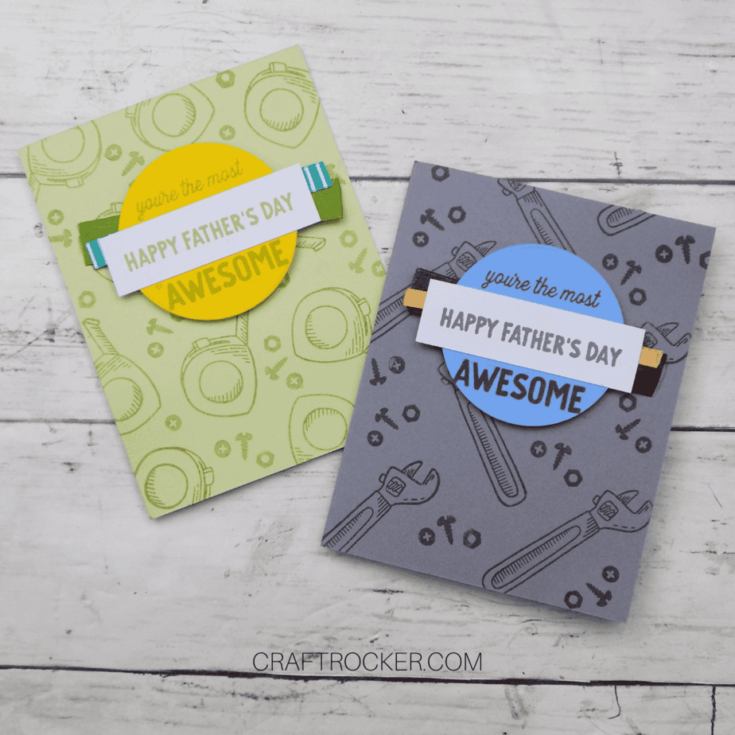
Before we get into the tutorial, I wanted to let you know that although I’m showing 2 different examples, the card process is exactly the same.
Sometimes when you change up the colors and stamps, it gives the card a totally different look. Below you’ll find the materials for both of the cards pictured but don’t worry, I have some tips for you to repeat the process with any paper and ink you want.
Materials for Handyman Father’s Day Cards
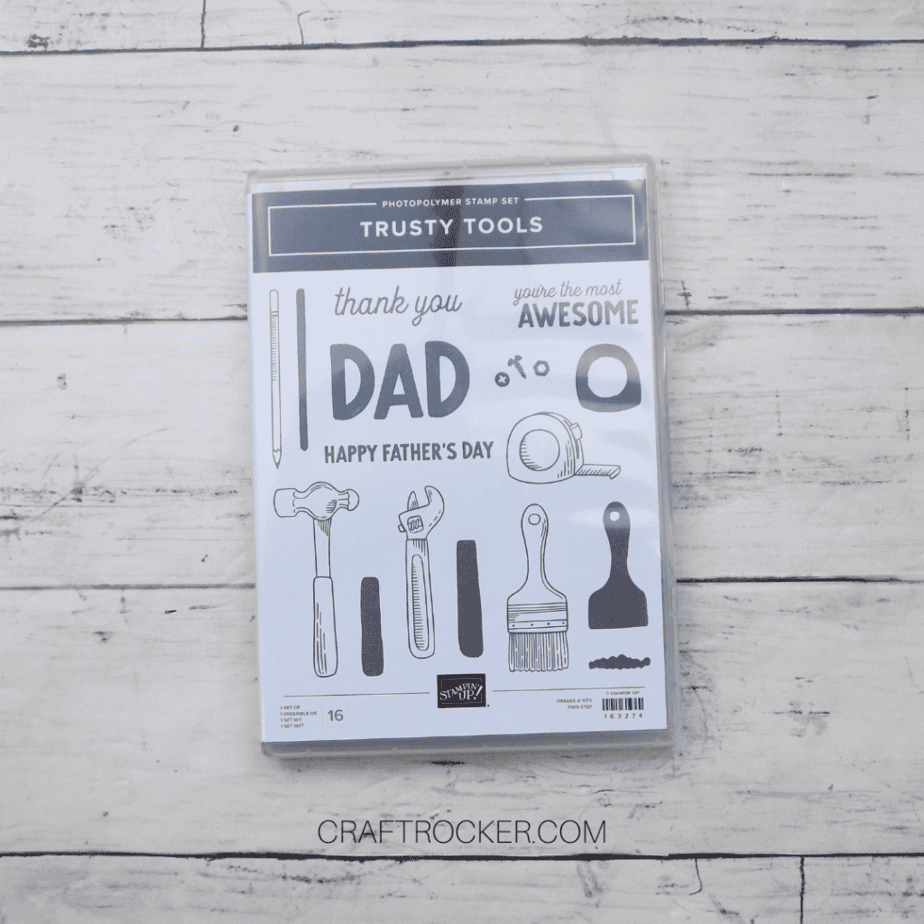
Stamps Used
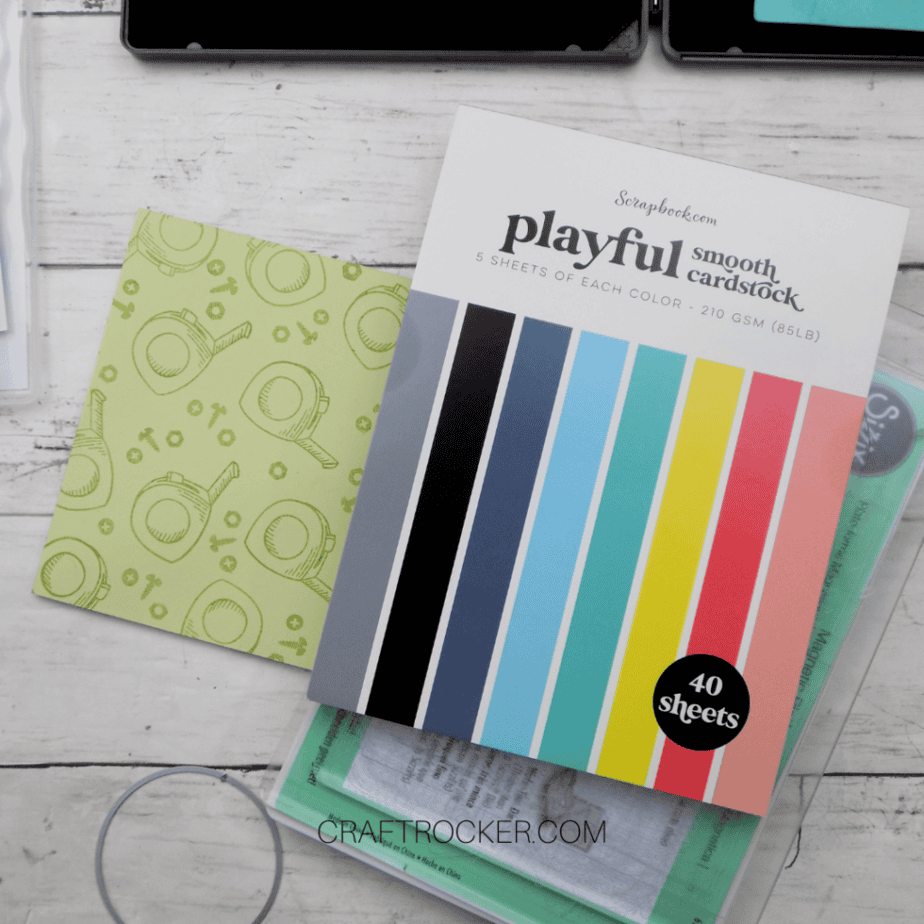
Paper Used
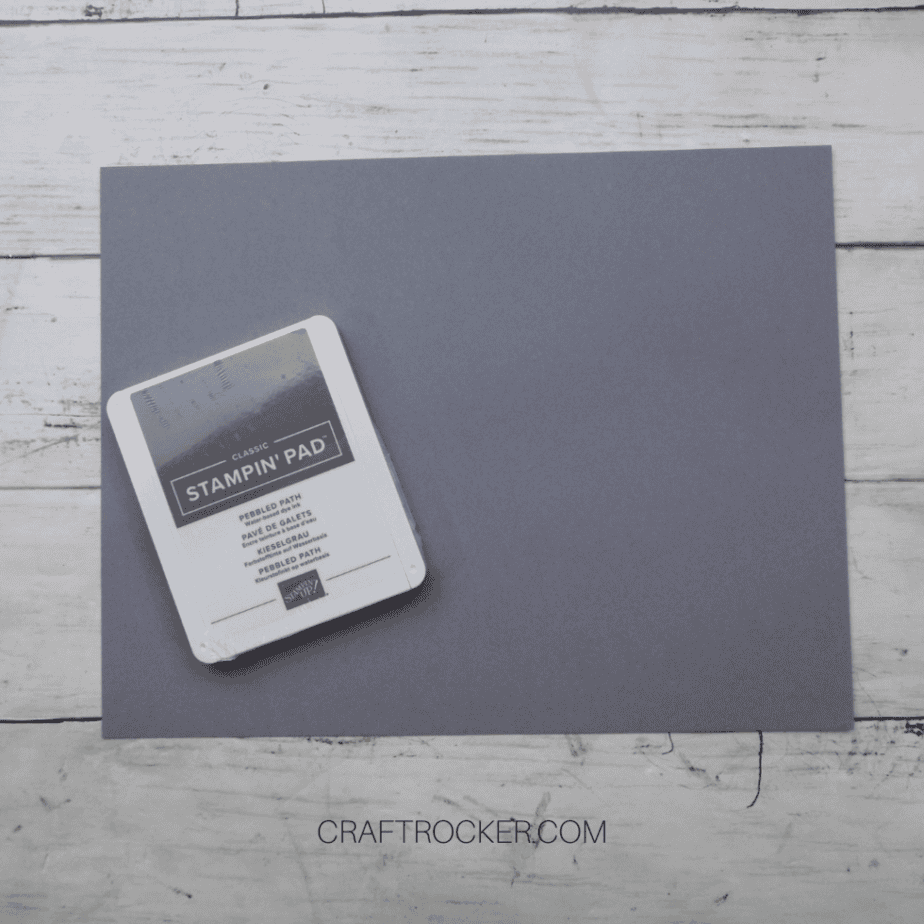
- Gray 8.5×11 inch Cardstock
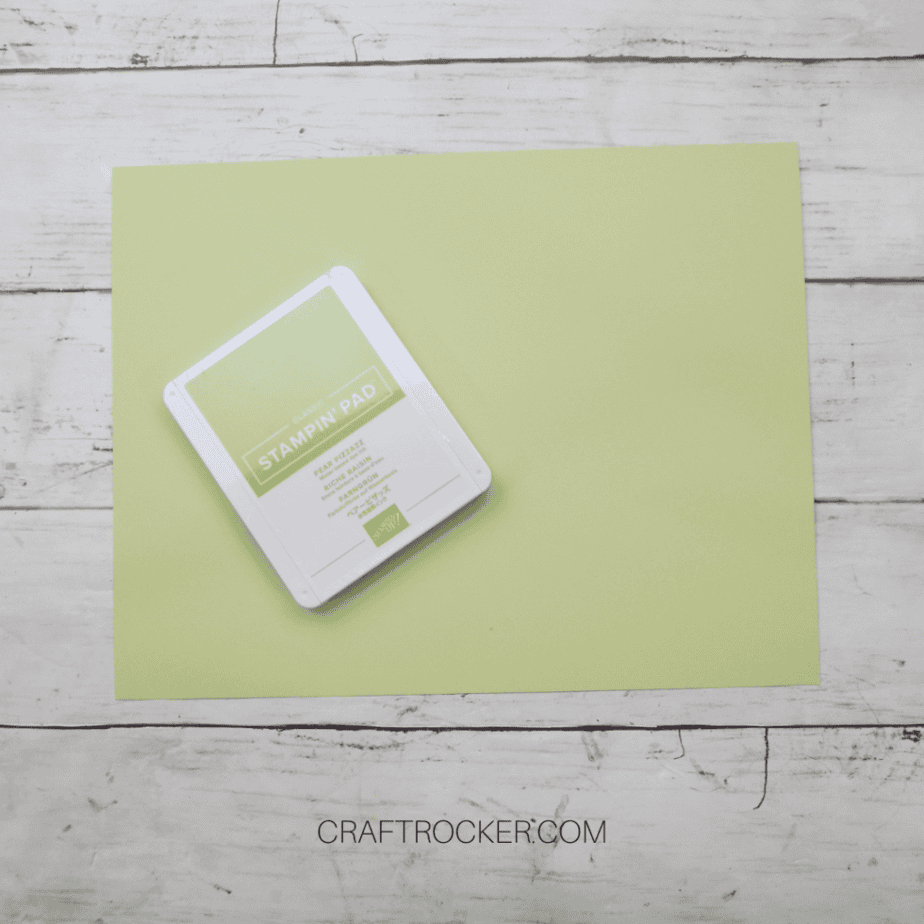
- Light Green 8.5×11 inch Cardstock
- Playful Smooth Cardstock Pad
- White Cardstock (Can be scrap paper)
Ink Used
- Gray Ink Pad (I used Pebbled Path from Stampin’Up)
- Light Green Ink Pad (I used Pear Pizzazz from Stampin’Up)
Ribbon Used
- Dark Brown
- Dark Yellow
- Green
- Teal
Adhesives Used
- Post-It Tape (or Washi Tape)
- Glue Runner
- Adhesive Foam Tape
Paper Cutting Dies Used
Tools Used
- Scoreboard
- Paper Cutter
- Acrylic Block
- Pencil
- Sizzix Big Shot
- Scissors
Step 1 – Make Your Card Base
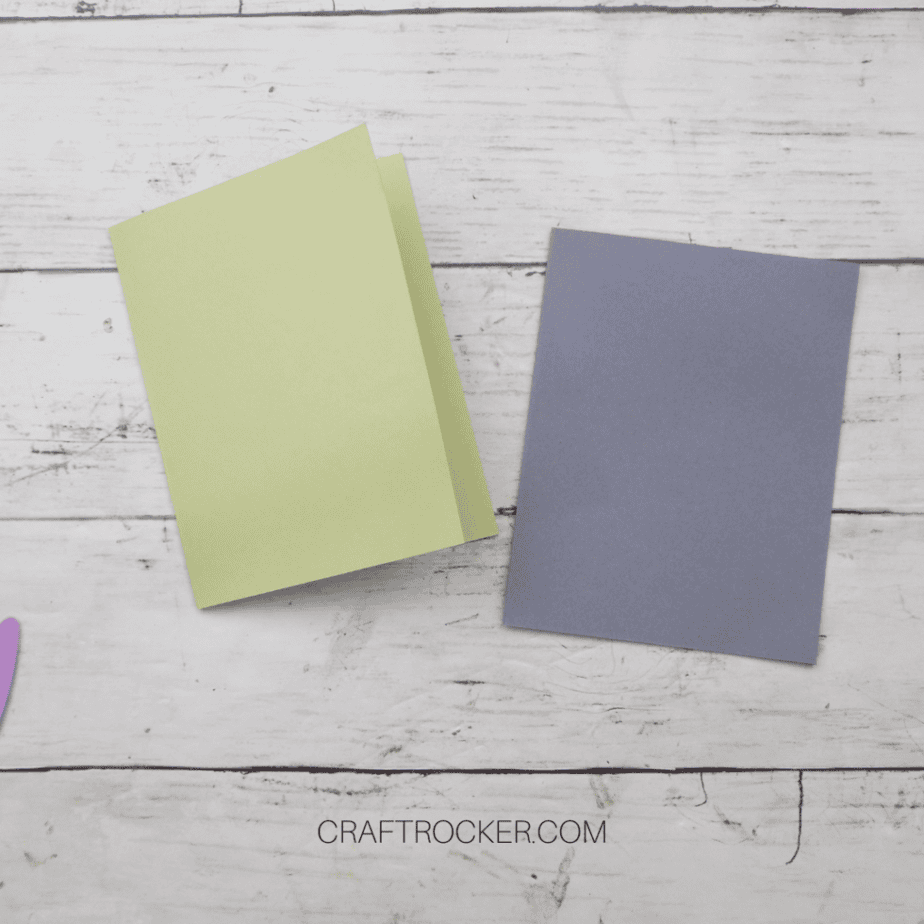
Start with a 8.5×11 inch piece of cardstock in the color of your choice, placed on a scoring board with the 11 inch edge at the top.
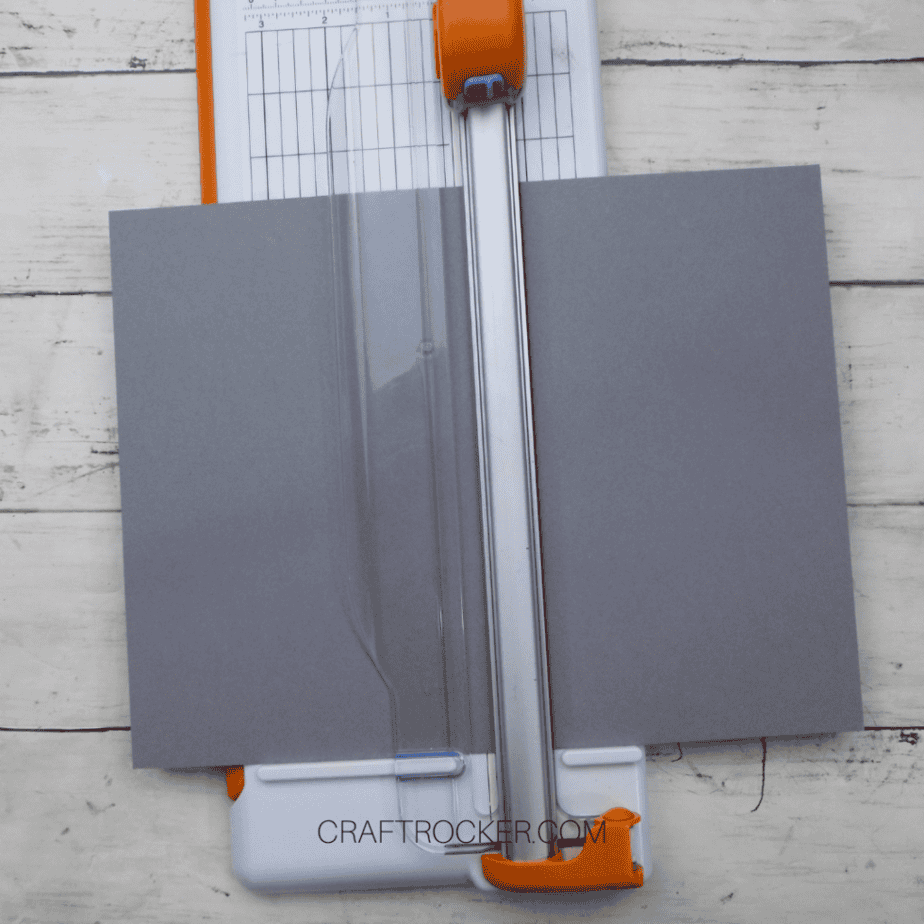
Next, score the cardstock at 5.5 inches and use a paper cutter to cut the sheet along the scored line.
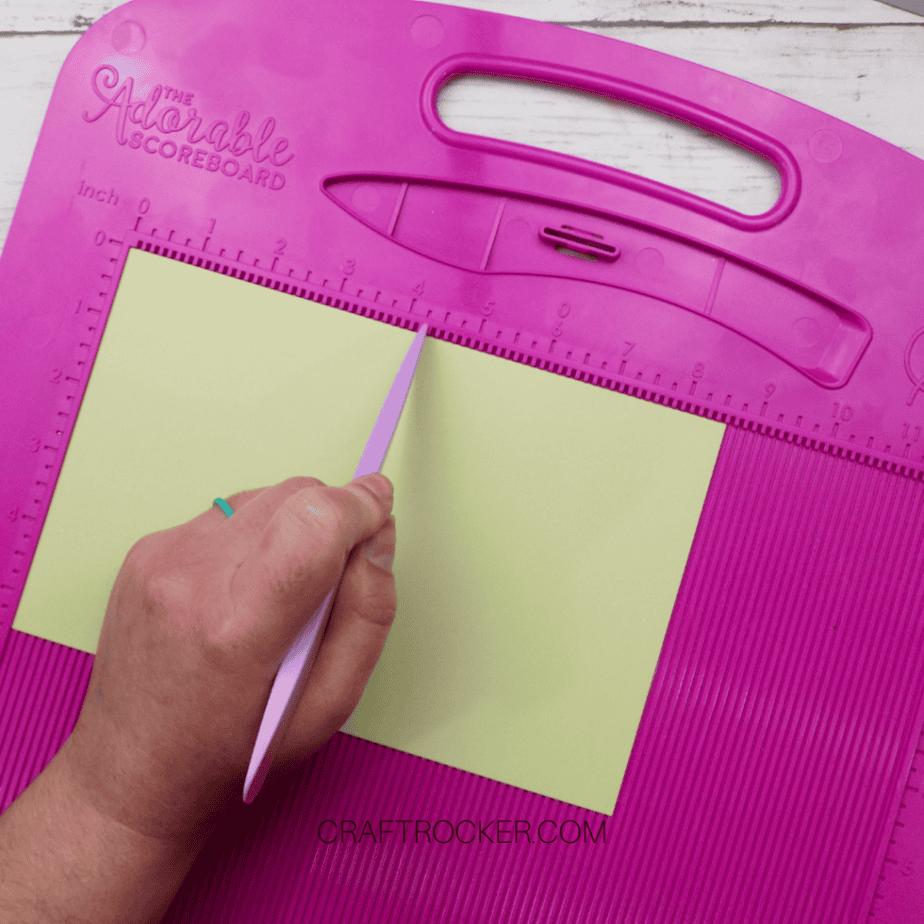
After your cardstock is cut, set aside one half and place the other half back on your scoreboard with the 8.5 inch side at the top. Then score it at 4.25 inches.
To finish, fold your card along the score line. Run over the crease with either your scoring tool or bone folder to get a strong crease.
Step 2 – Stamp Card Base
Start by attaching your tool stamp of choice to your acrylic block.
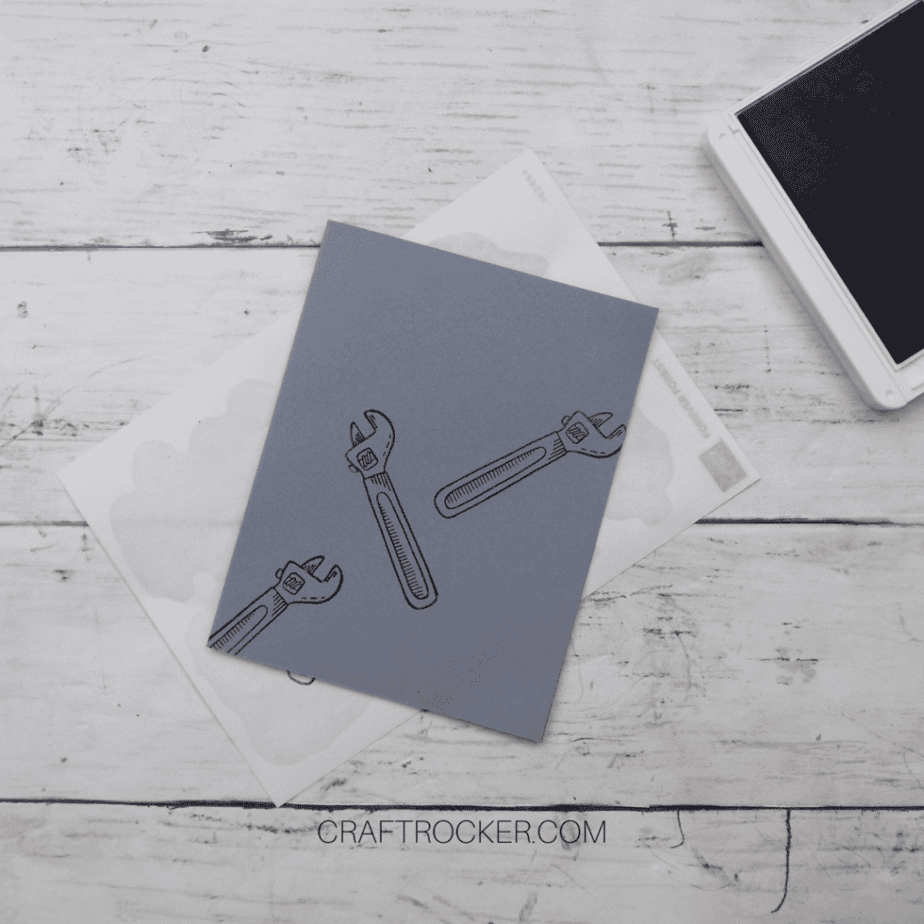
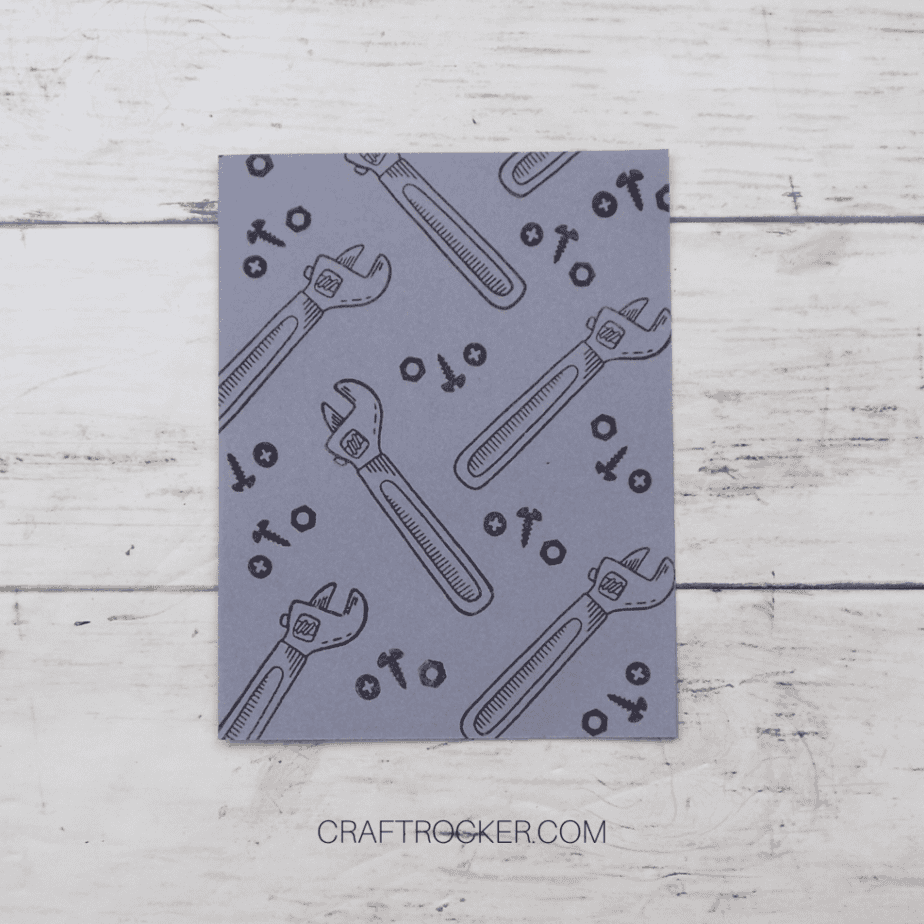
Starting at the bottom, left-hand corner, stamp your tool with the corresponding ink (based on the color of cardstock you chose in step 1) so that it runs off the edge of the card base.
Next, turn your stamp 90 degrees and stamp again at the top right edge of your first stamp again at the top right edge of your first stamped tool.
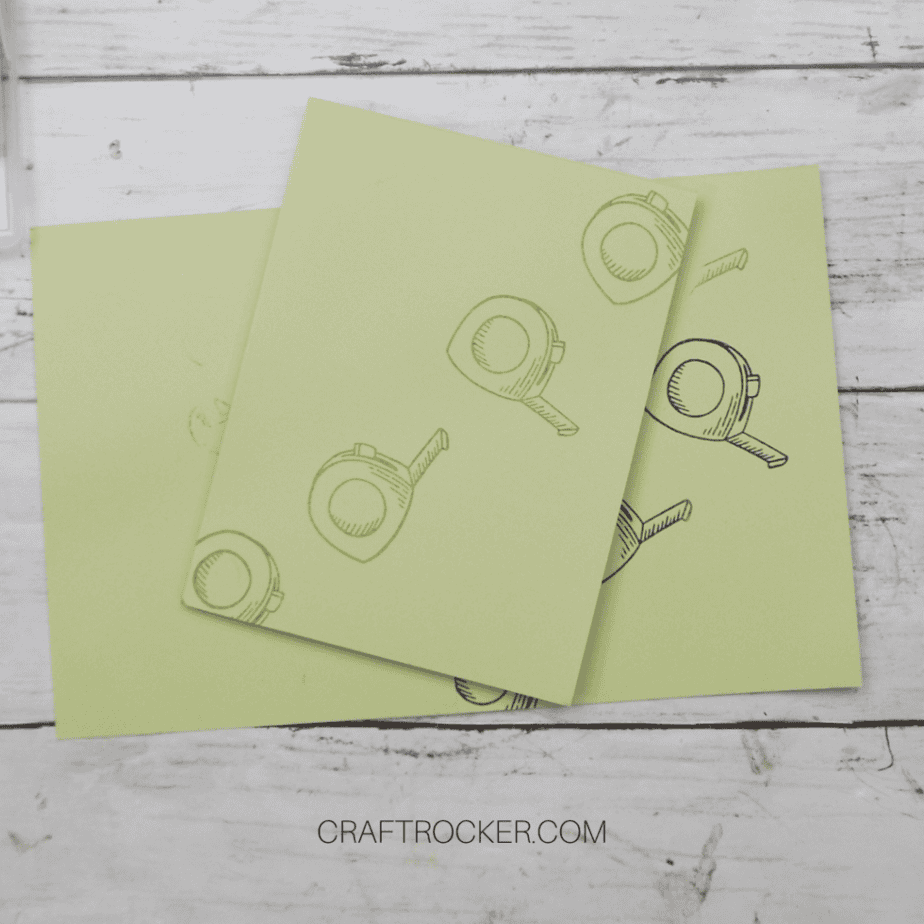
Continue stamping your tool in that pattern until you have a diagonal row.
Repeat the process to create more diagonal rows until your card base is covered.
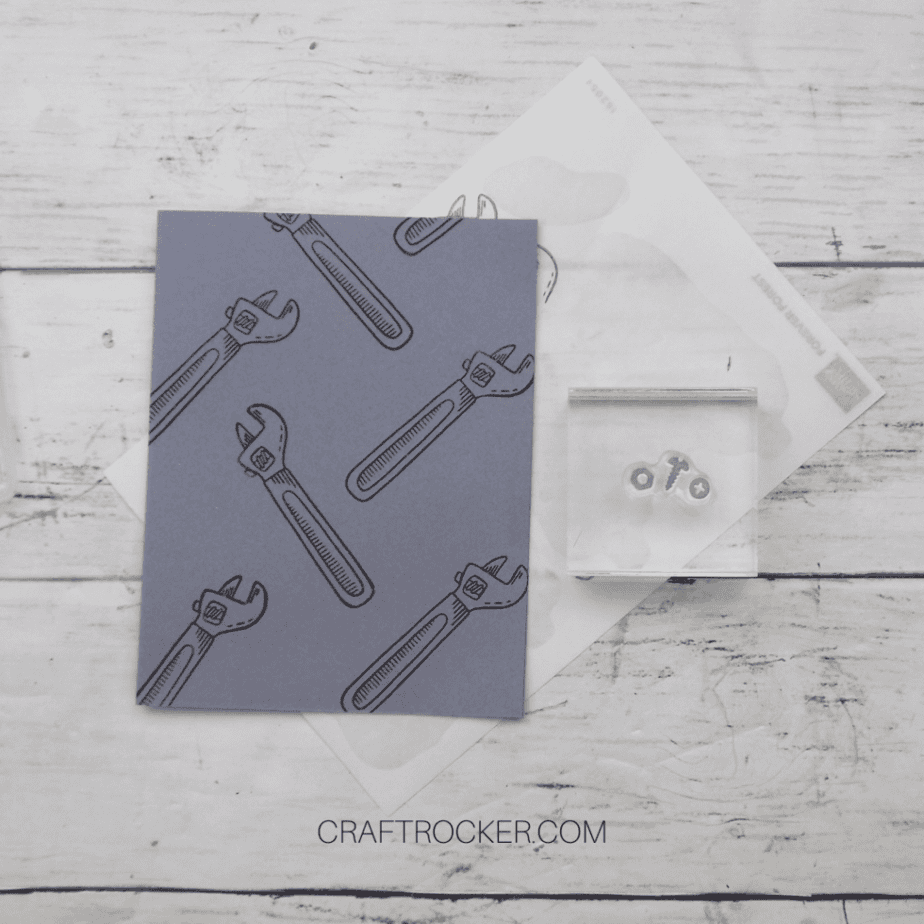
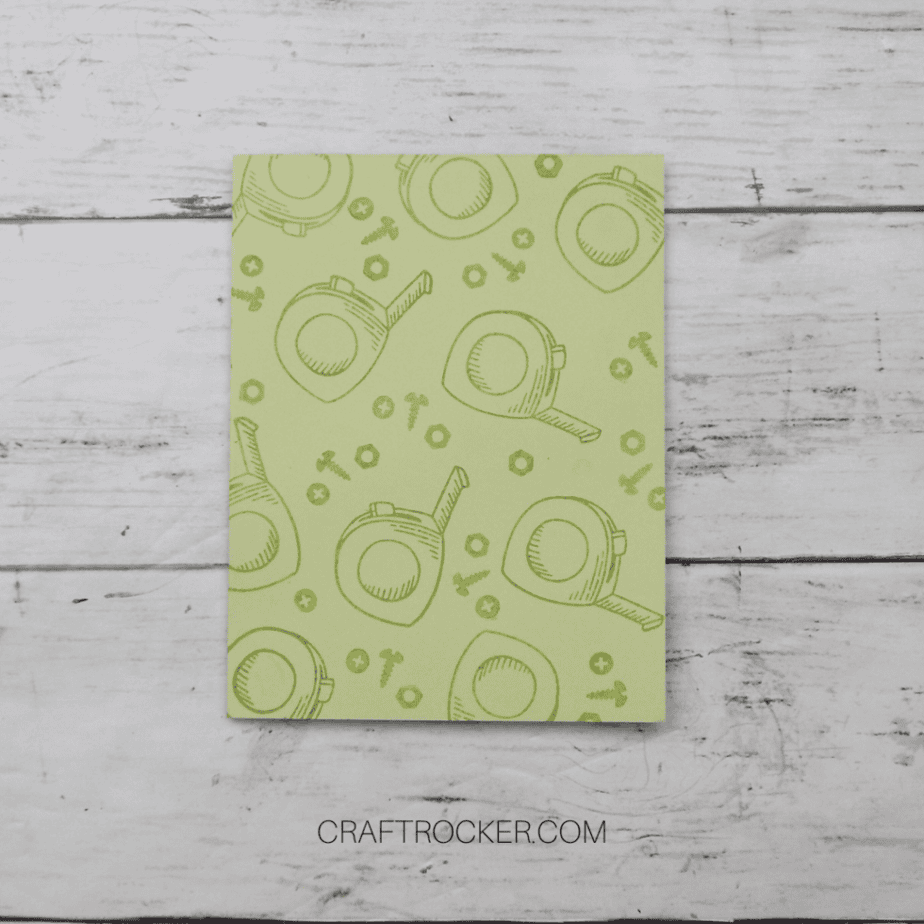

Lastly, fill in the large gaps between the stamped tools by stamping with the screws stamp.
Step 3 – Design Front Sentiment Embellishment
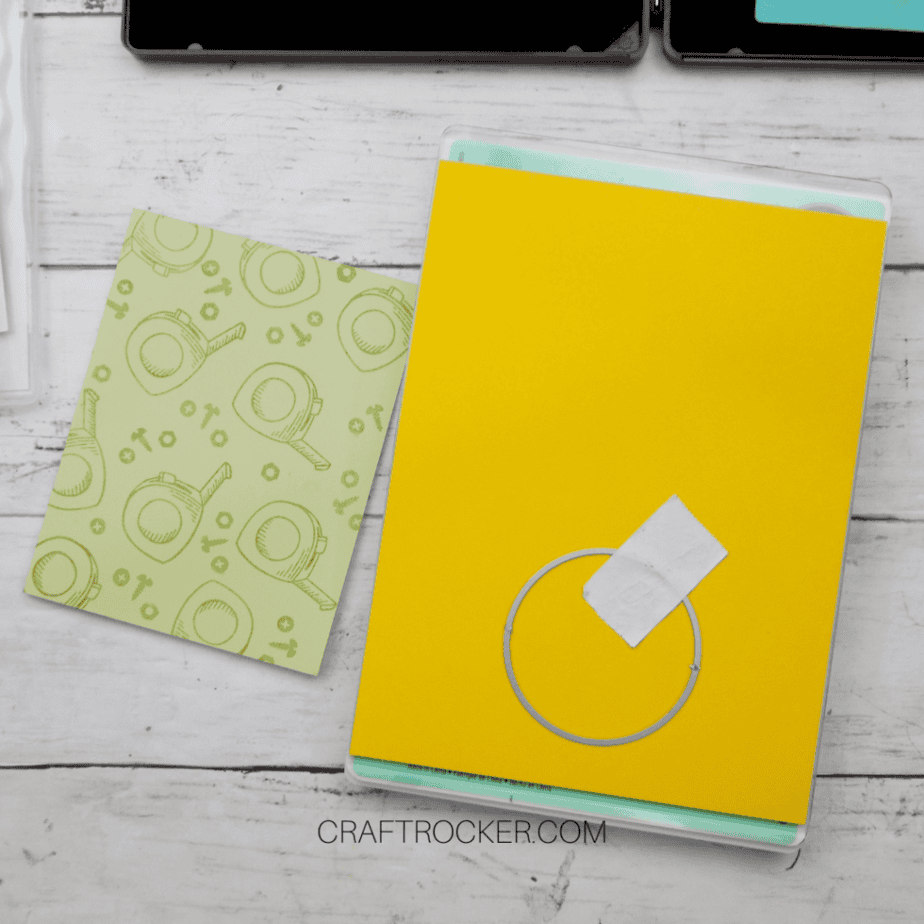
Start by cutting a 2 inch circle out of the coordinating cardstock (yellow for the pale green card or blue for the gray card). Place the paper on your cutting plates, tape your circle cutting die in place, add the top plate, and run through your Sizzix.
Next, cut a 3 inch by .75 inch rectangle of white cardstock.
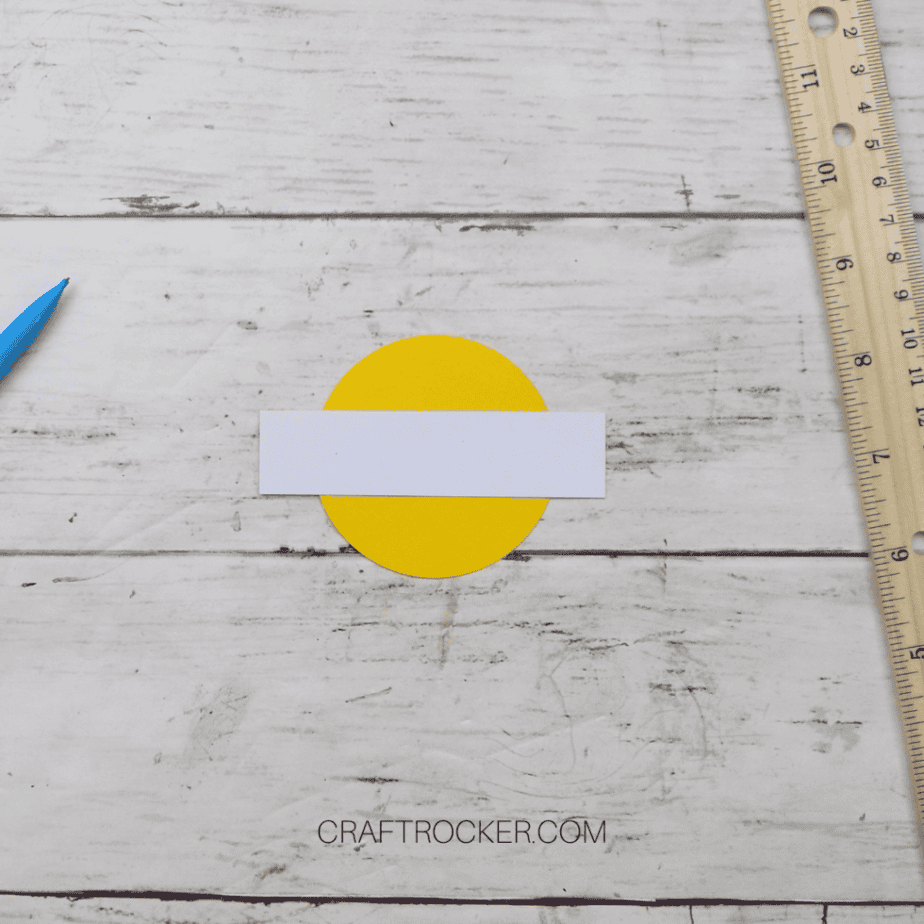
Then place the rectangle in the center of your circle and lightly mark the edges on the circle with pencil.
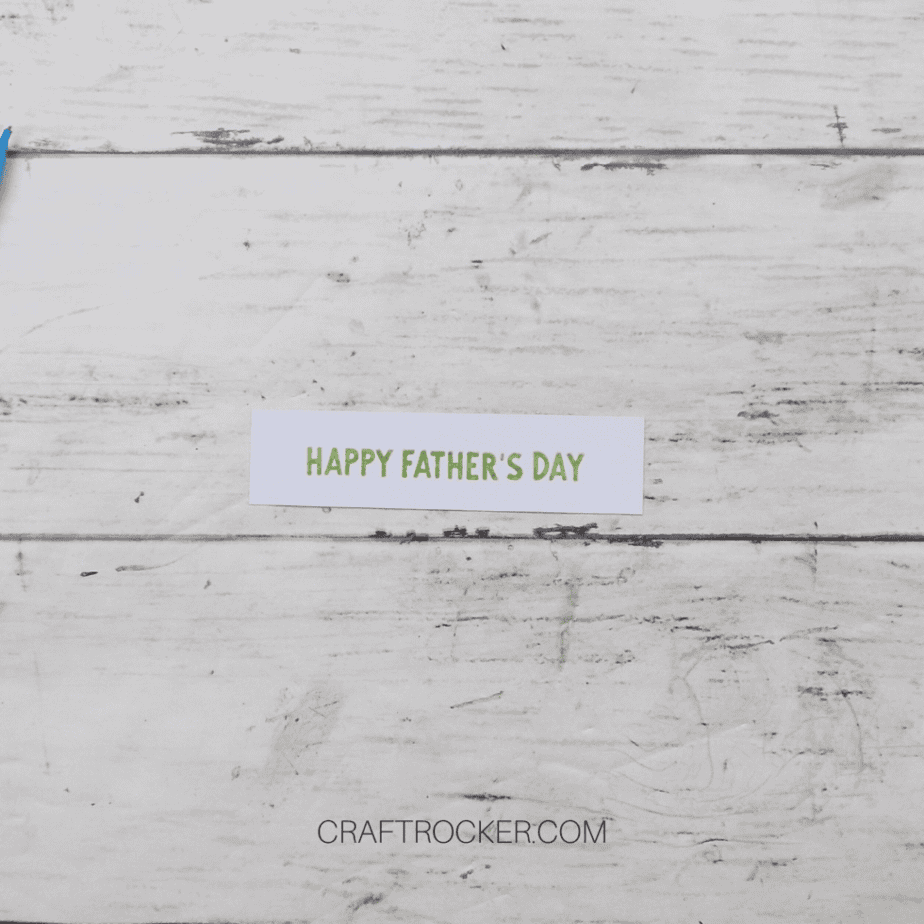
Remove the rectangle and stamp “Happy Father’s Day” sentiment centered on the rectangle in the coordinating ink. Then set the stamped rectangle aside.
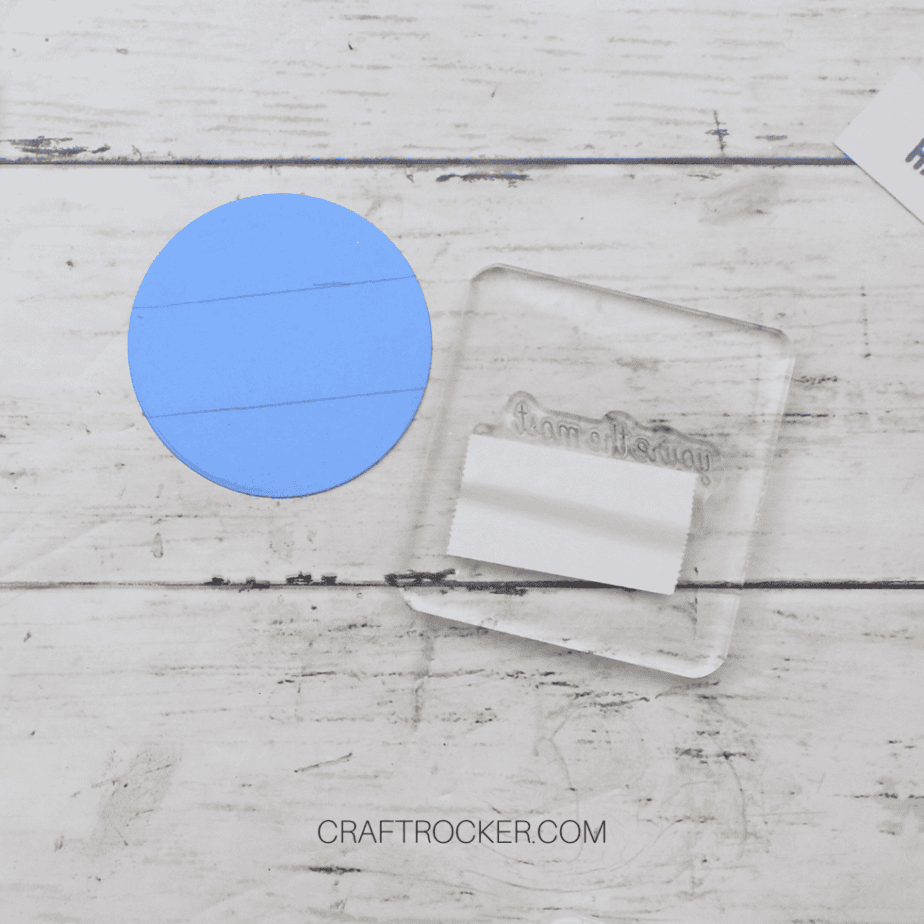
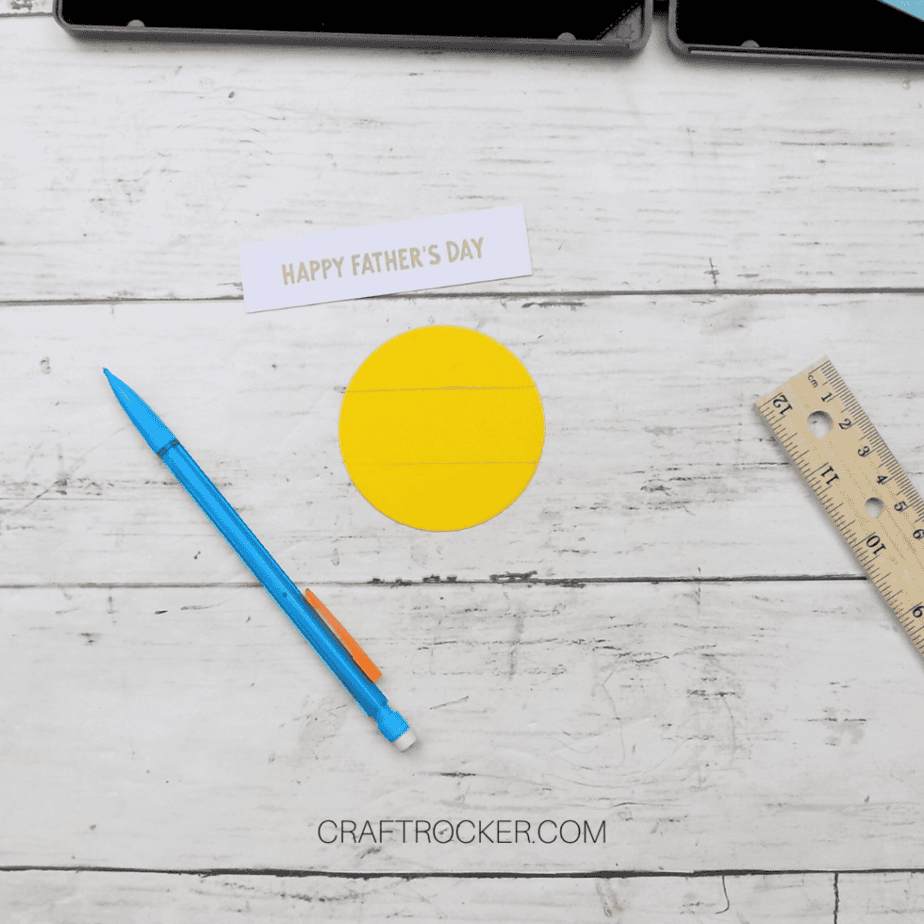
Next, stamp “You’re the Most” in coordinating ink just above the top pencil line on your circle. Cover the bottom of the stamp with Post-It tape as pictured, then ink, then remove tape before stamping.

Then stamp “AWESOME” just below the bottom pencil line on your circle.
After your circle is stamped, erase your pencil lines from it.
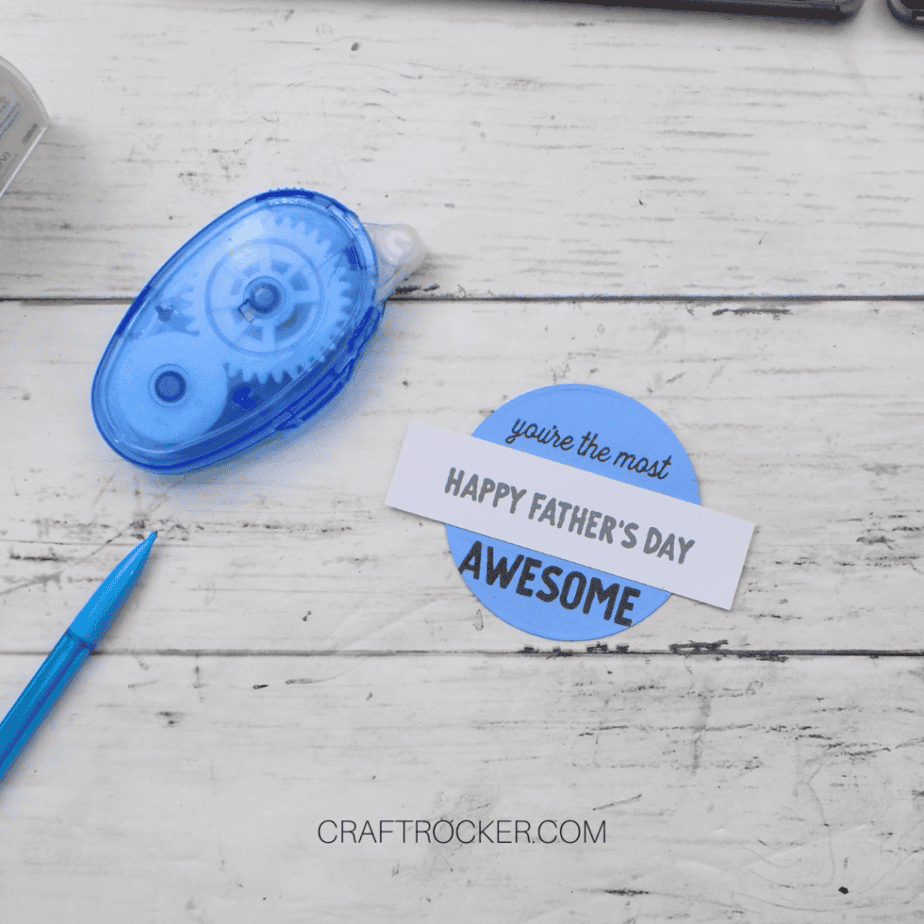
Lastly, attach your stamped rectangle with a glue runner to the center of your stamped circle.
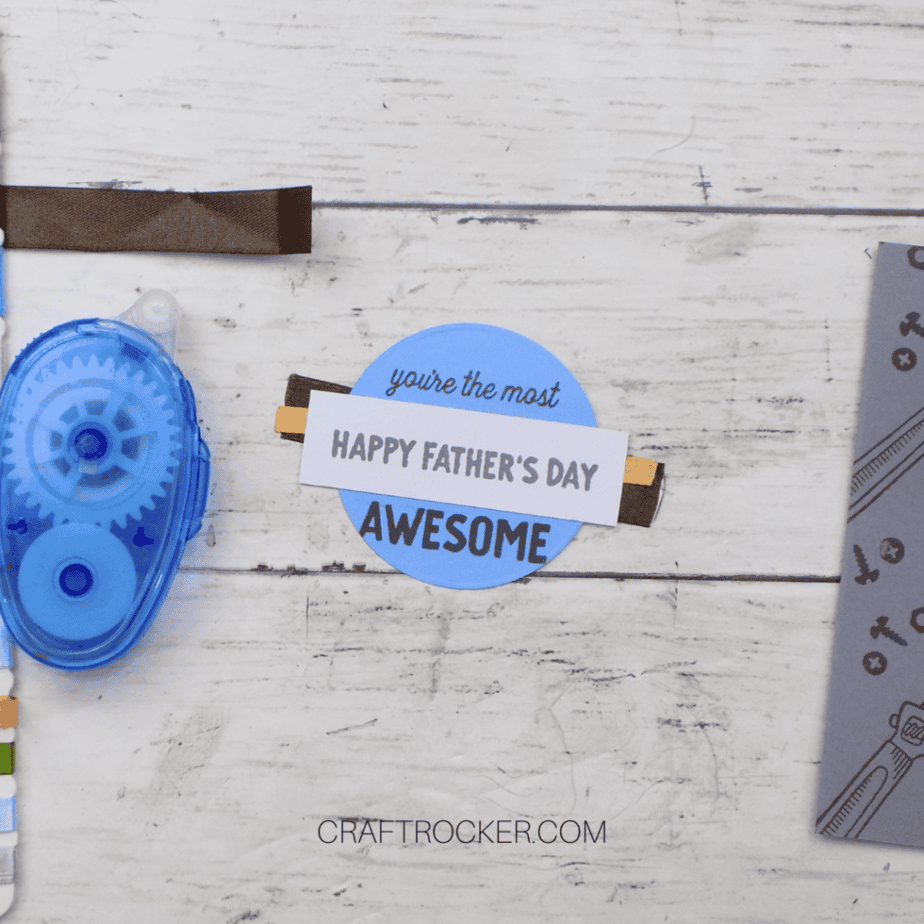
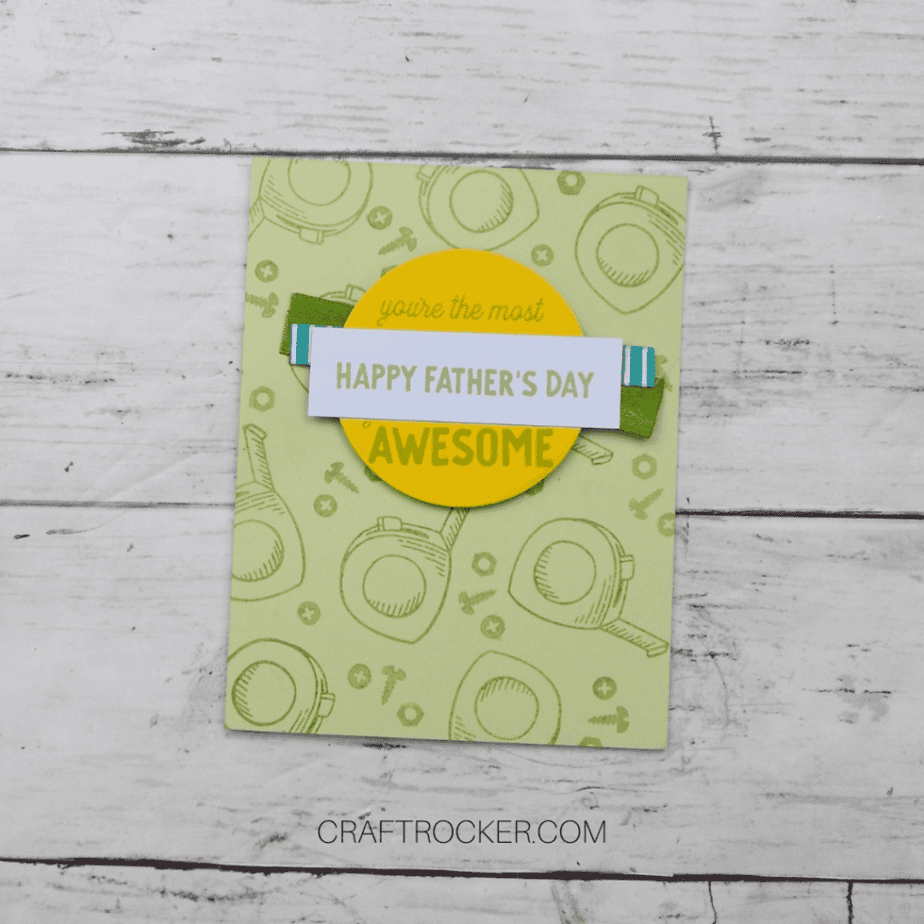
Step 4 – Assemble the Card Front
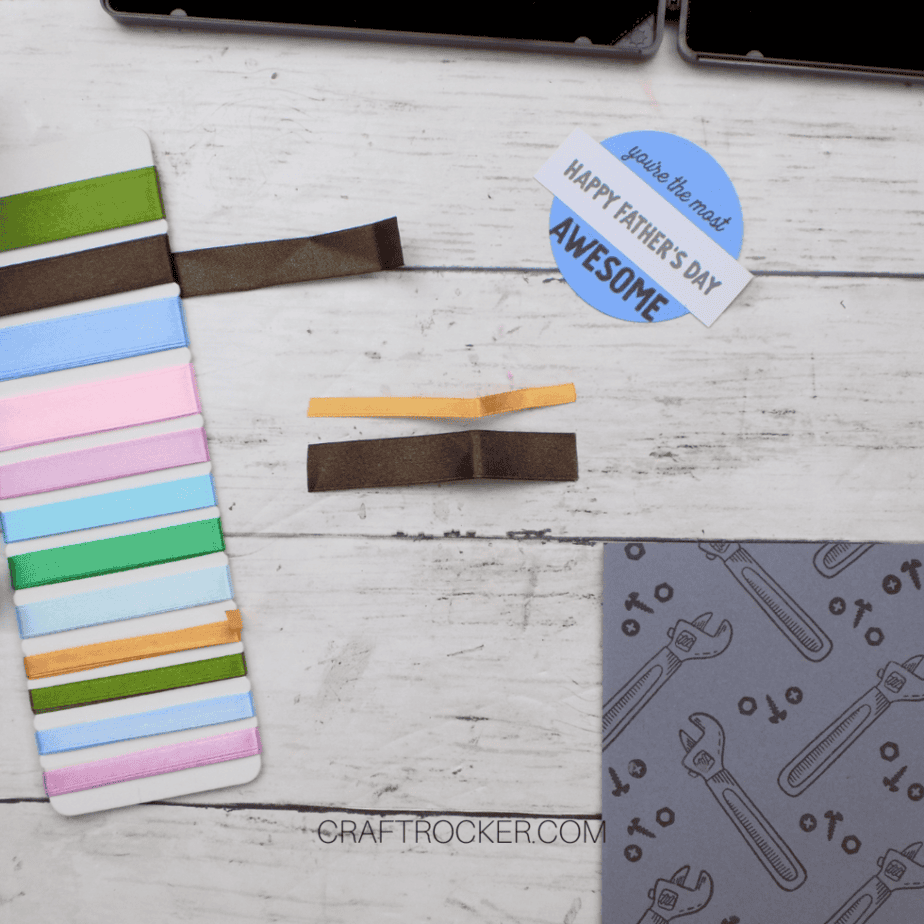
Grab your coordinating ribbon (either dark brown and dark yellow for the pale green card or green and teal for the gray card).
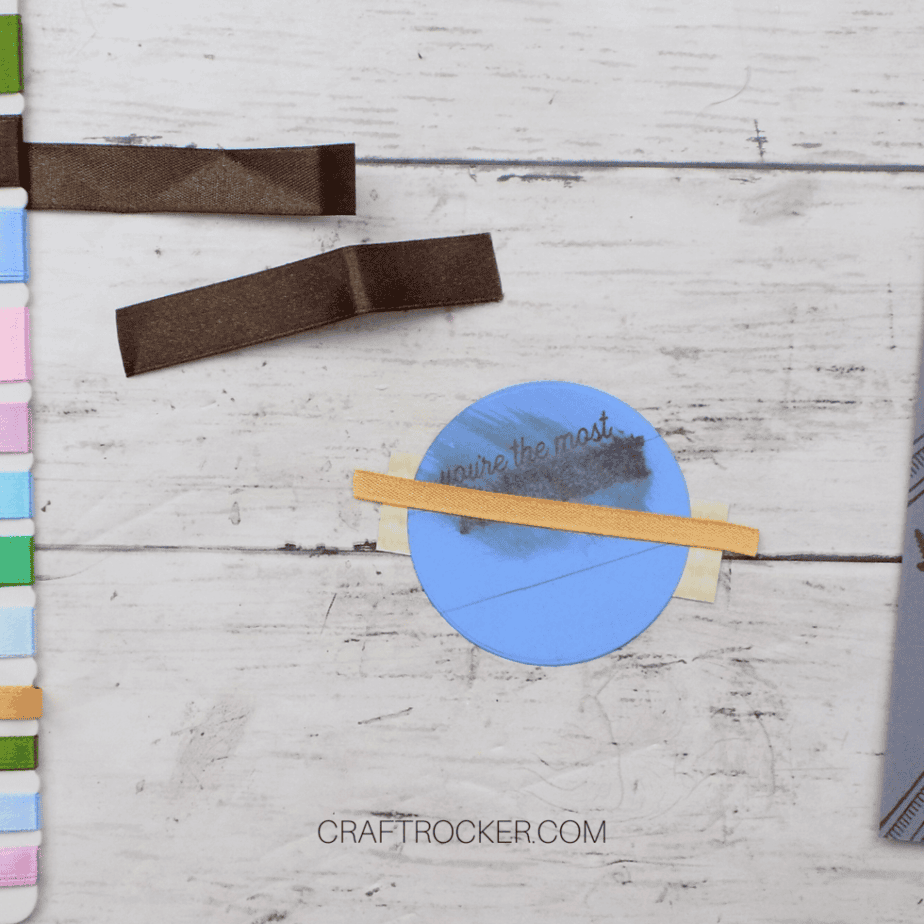
Cut a 3.5 inch piece of each ribbon. Then attach your ribbons to the back center of your circle with a glue runner. Angle the ribbons so that they are slightly canted to each other.
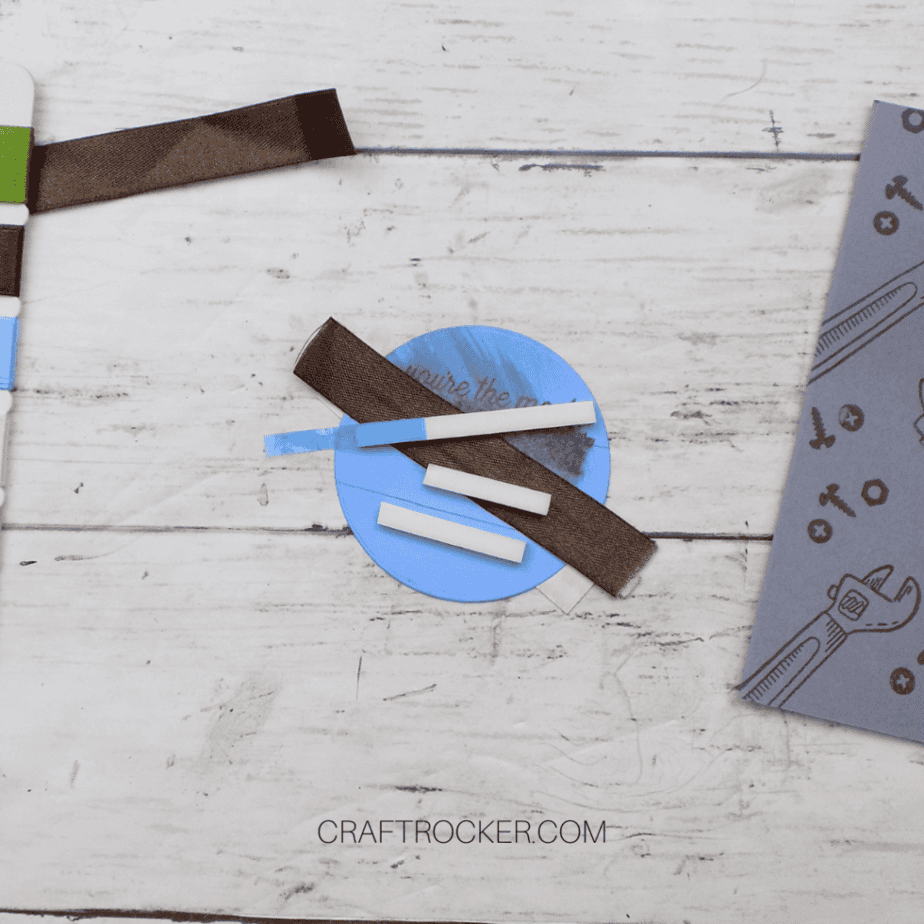
Next, attach adhesive foam strips to the back of the circle.
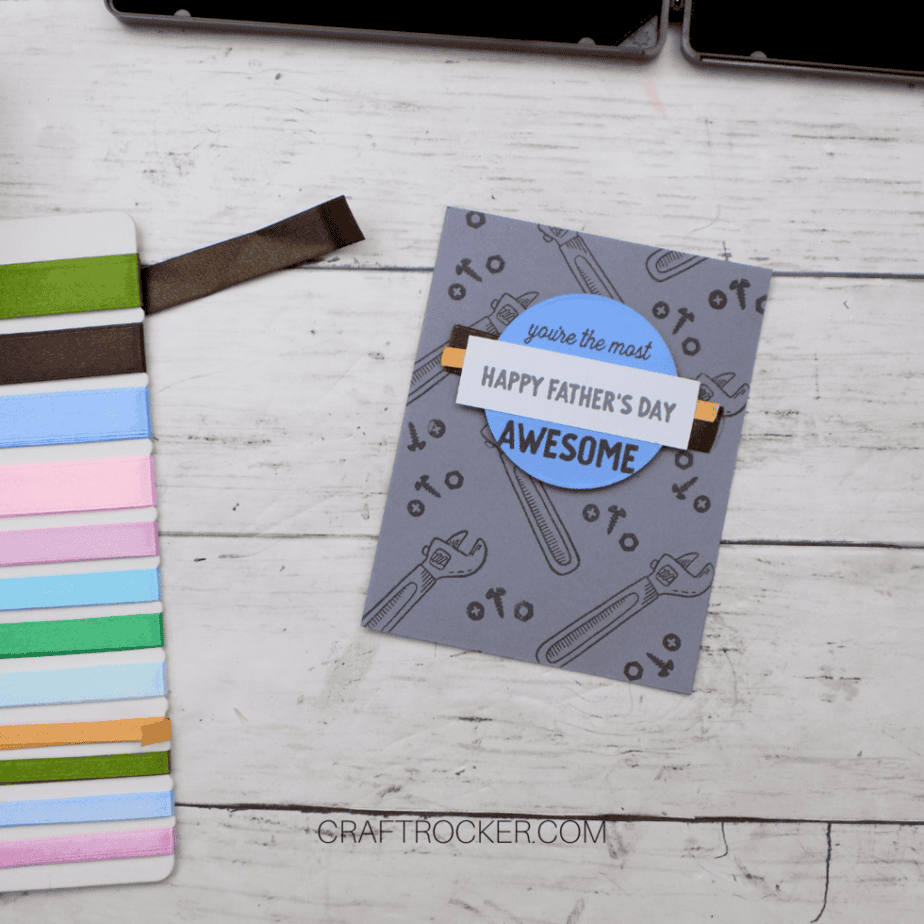
Then remove the paper backing on the adhesive and attach it to the card front as pictured above.
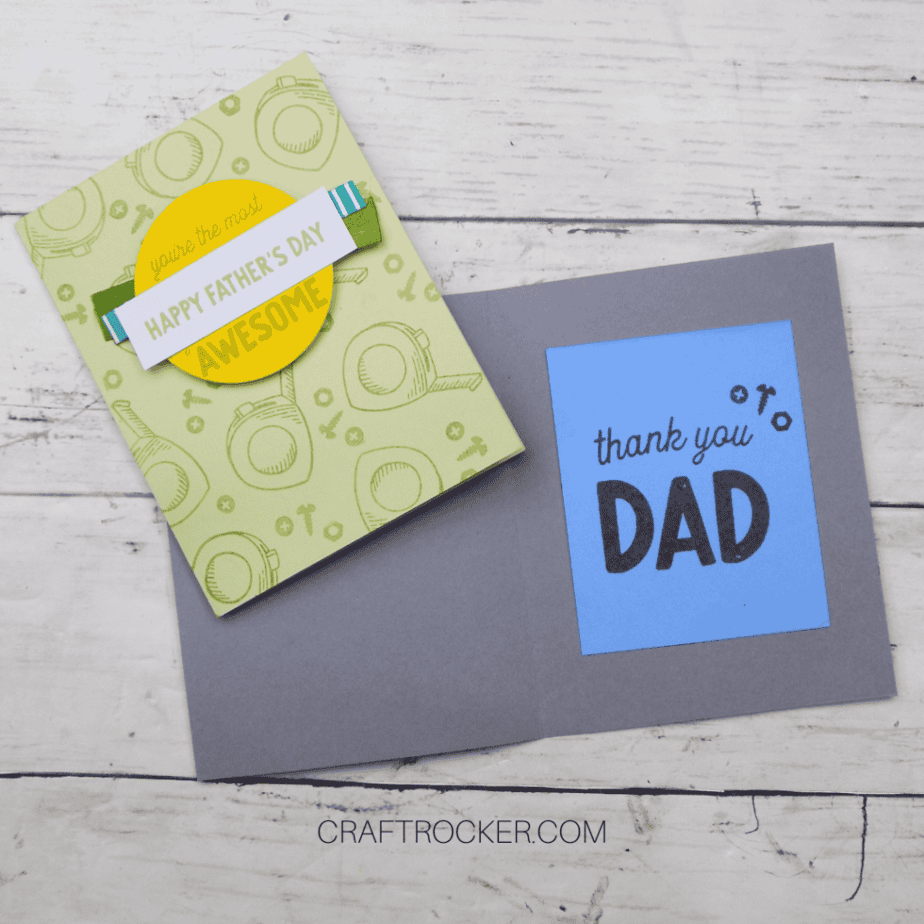
Step 5 – Finalize the Inside of the Card
Start by cutting out a 3 inch by 3.75 inch piece of coordinating cardstock (yellow for the pale green card or blue for the gray card).
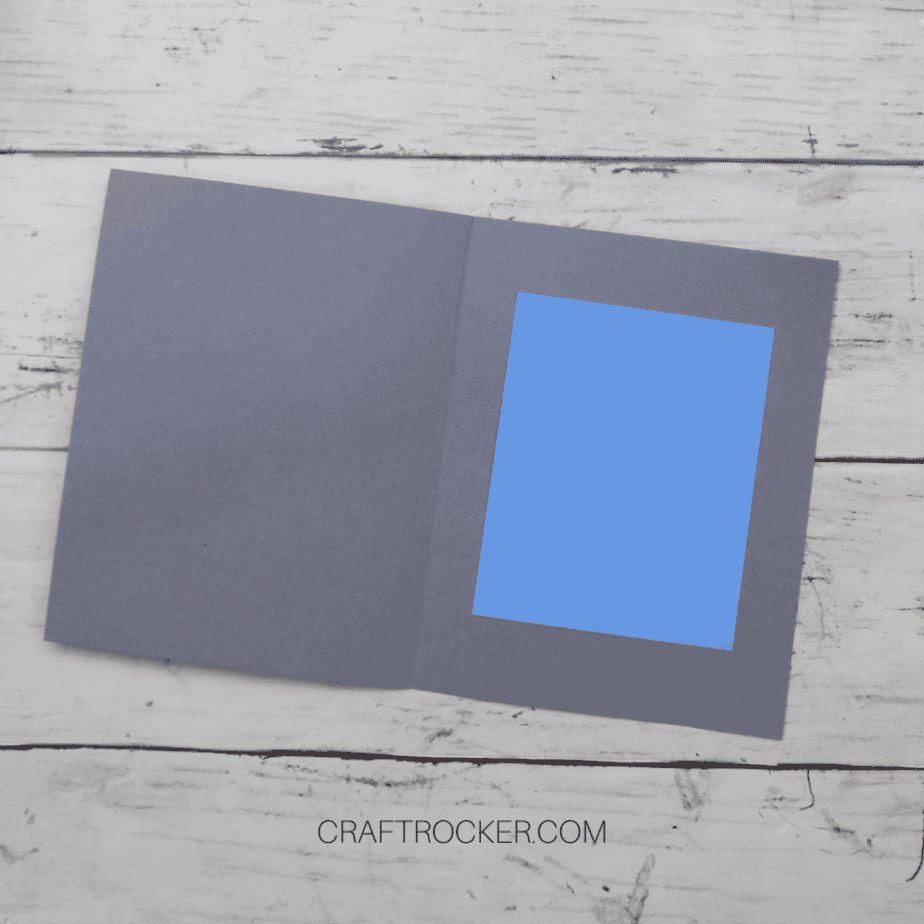
Attach the cardstock to the inside right flap of your card with a glue runner.
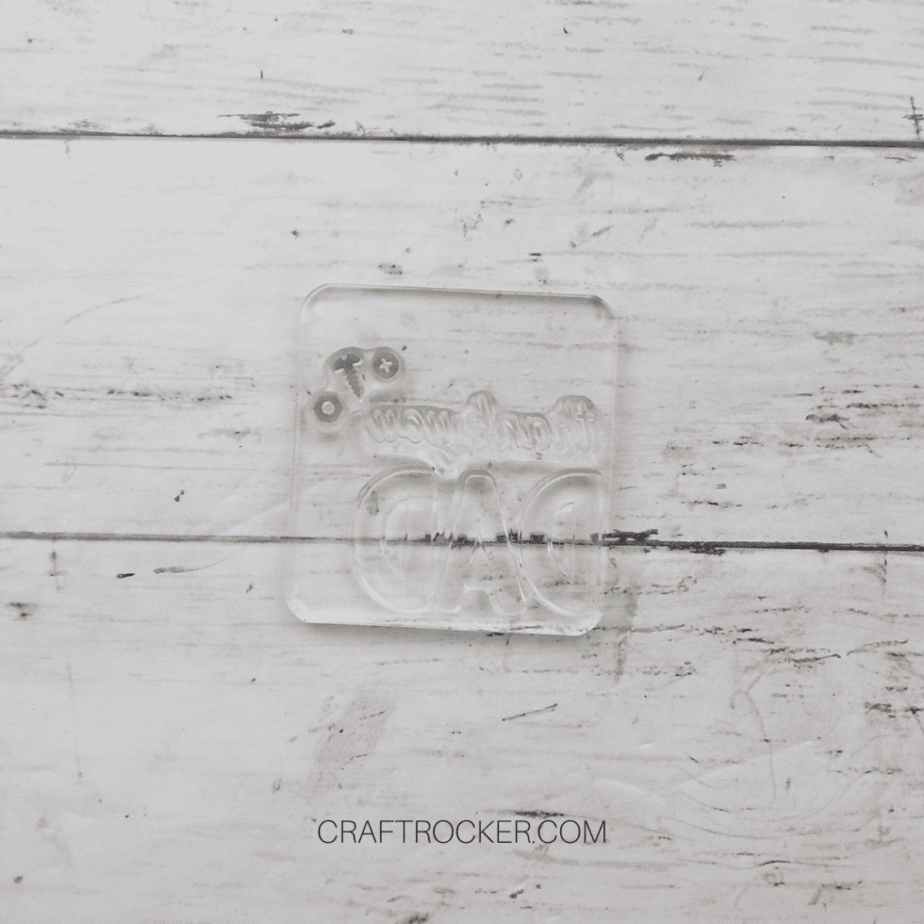
Then place the “thank you”, “DAD”, and screws stamps on your acrylic block. Arrange them as you want them to appear on the cardstock.
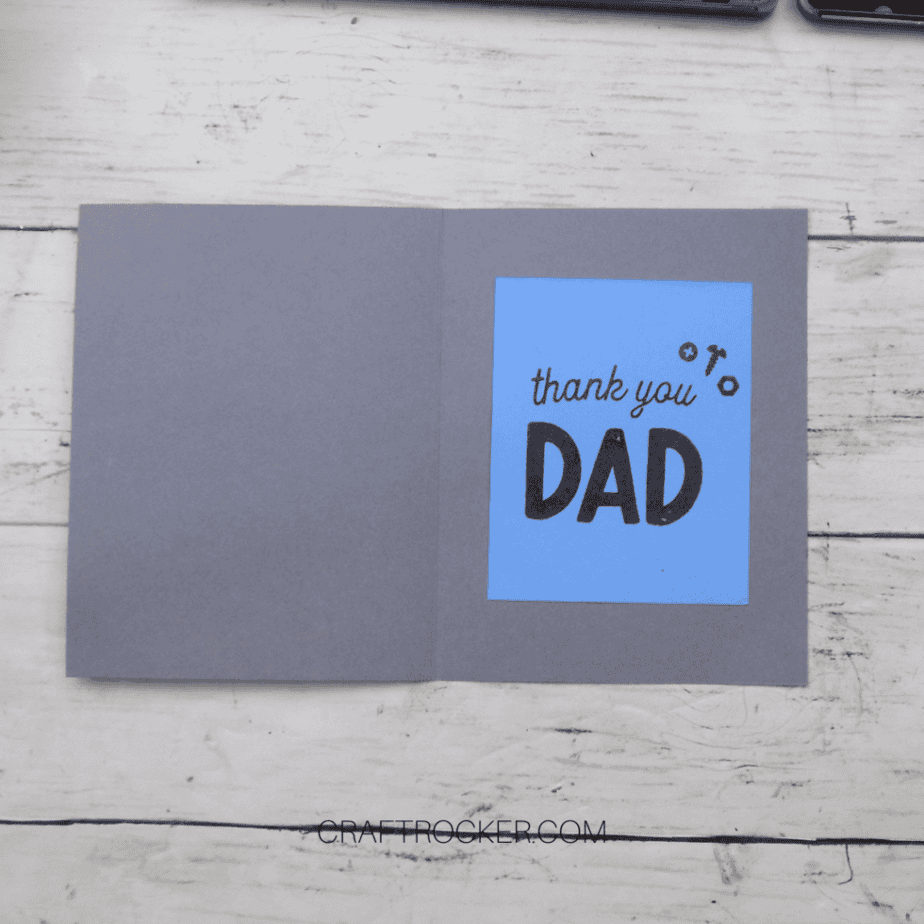
Finally, stamp them, centered, on the attached cardstock in the coordinating ink.
Tips and Tricks
- Before stamping your card base, place it on a scrap of paper so that you don’t get ink on your workspace. In addition to protecting your work surface, you also don’t want to accidentally get your card base or elements in the ink and smudged up.
- Want to try out this method on other colors? Test out your ink colors on scraps of cardstock to get the shade that is slightly darker thank your cardstock. Then proceed with the steps as laid out.
Printable Handyman Father’s Day Cards Tutorial
Handyman Father's Day Cards
Does the dad in your life fix all the things? Say thanks with one of these handmade handyman Father’s Day cards.
Materials
- Trusty Tools Stamp Set
- Gray 8.5x11 inch Cardstock
- Light Green 8.5x11 inch Cardstock
- Playful Smooth Cardstock Pad
- White Cardstock (Can be scrap paper)
- Gray Ink Pad (I used Pebbled Path from Stampin’Up)
- Light Green Ink Pad (I used Pear Pizzazz from Stampin’Up)
- Dark Brown Ribbon
- Dark Yellow Ribbon
- Green Ribbon
- Teal Ribbon
- Post-It Tape (or Washi Tape)
- Glue Runner
- Adhesive Foam Tape
- 2 inch Circle
Tools
- Scoreboard
- Paper Cutter
- Acrylic Block
- Pencil
- Sizzix Big Shot
- Scissors
Instructions
- Start with a 8.5x11 inch piece of cardstock in the color of your choice, placed on a scoring board with the 11 inch edge at the top.
- Next, score the cardstock at 5.5 inches and use a paper cutter to cut the sheet along the scored line.
- After your cardstock is cut, set aside one half and place the other half back on your scoreboard with the 8.5 inch side at the top. Then score it at 4.25 inches.
- To finish, fold your card along the score line. Run over the crease with either your scoring tool or bone folder to get a strong crease.
- Start by attaching your tool stamp of choice to your acrylic block.
- Starting at the bottom, left-hand corner, stamp your tool with the corresponding ink (based on the color of cardstock you chose in step 1) so that it runs off the edge of the card base.
- Next, turn your stamp 90 degrees and stamp again at the top right edge of your first stamp again at the top right edge of your first stamped tool.
- Continue stamping your tool in that pattern until you have a diagonal row.
- Repeat the process to create more diagonal rows until your card base is covered.
- Lastly, fill in the large gaps between the stamped tools by stamping with the screws stamp.
- Start by cutting a 2 inch circle out of the coordinating cardstock (yellow for the pale green card or blue for the gray card). Place the paper on your cutting plates, tape your circle cutting die in place, add the top plate, and run through your Sizzix.
- Next, cut a 3 inch by .75 inch rectangle of white cardstock.
- Then place the rectangle in the center of your circle and lightly mark the edges on the circle with pencil.
- Remove the rectangle and stamp “Happy Father’s Day” sentiment centered on the rectangle in the coordinating ink. Then set the stamped rectangle aside.
- Next, stamp “You’re the Most” in coordinating ink just above the top pencil line on your circle.
- Then stamp “AWESOME” just below the bottom pencil line on your circle.
- After your circle is stamped, erase your pencil lines from it.
- Lastly, attach your stamped rectangle with a glue runner to the center of your stamped circle.
- Grab your coordinating ribbon (either dark brown and dark yellow for the pale green card or green and teal for the gray card).
- Cut a 3.5 inch piece of each ribbon. Then attach your ribbons to the back center of your circle with a glue runner. Angle the ribbons so that they are slightly canted to each other.
- Next, attach adhesive foam strips to the back of the circle.
- Then remove the paper backing on the adhesive and attach it to the card front as pictured above.
- Start by cutting out a 3 inch by 3.75 inch piece of coordinating cardstock (yellow for the pale green card or blue for the gray card).
- Attach the cardstock to the inside right flap of your card with a glue runner.
- Then place the “thank you”, “DAD”, and screws stamps on your acrylic block. Arrange them as you want them to appear on the cardstock.
- Finally, stamp them, centered, on the attached cardstock in the coordinating ink.
Once you know how to make these handyman Father’s Day cards, you can have fun experimenting with different colors and tool stamps! Create a totally custom and unique card perfect for the dad in your life.
Don’t Forget to Pin It!
Check out these other Awesome Father’s Day Ideas!