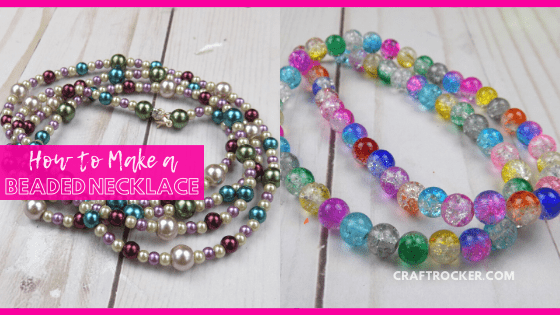
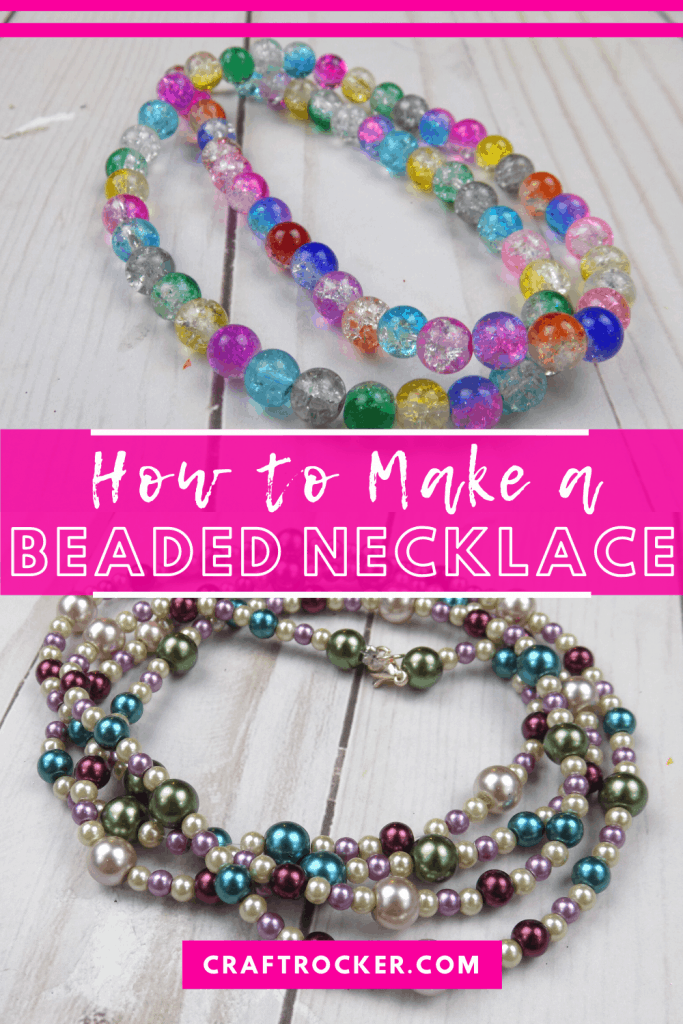
Learn how to make a beaded necklace easily with these simple tutorials. The step-by-step instructions are perfect for beginners to make your first necklace.
Affiliate links may be used in this post. Ordering a product through these links may result in a commission at no extra cost to you. Read the full disclosure here.
Jump to What You Want


I’m kind of (read: very) weird because I absolutely love jewelry but I honestly don’t wear it that often. A few pieces stay on all of the time like my nose ring, my tongue ring, and my wedding ring but I rarely put on a lot of jewelry.
That doesn’t mean I don’t have a ton. Like I said, I love it. And when I do want to wear it, I hate not having exactly what I’m looking for to go with my outfit.
That’s exactly why I started making my own jewelry. I can customize it to my wardrobe and quirky tastes so I always have what I need when I’m looking to get a little fancy.
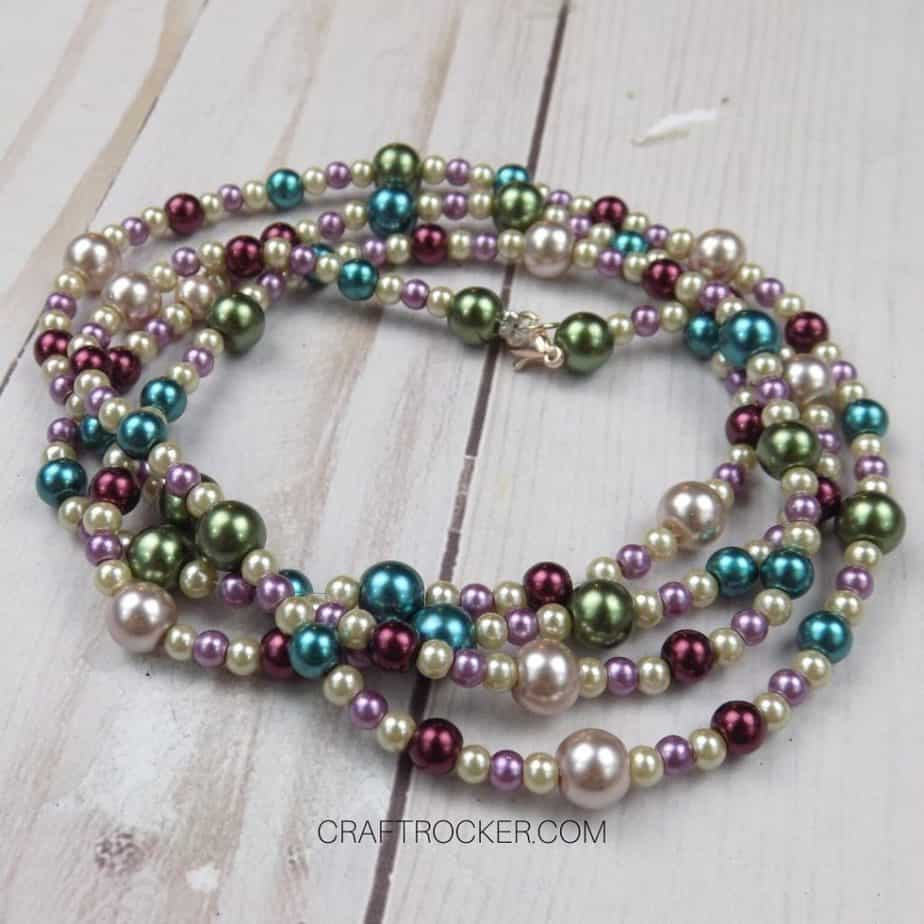
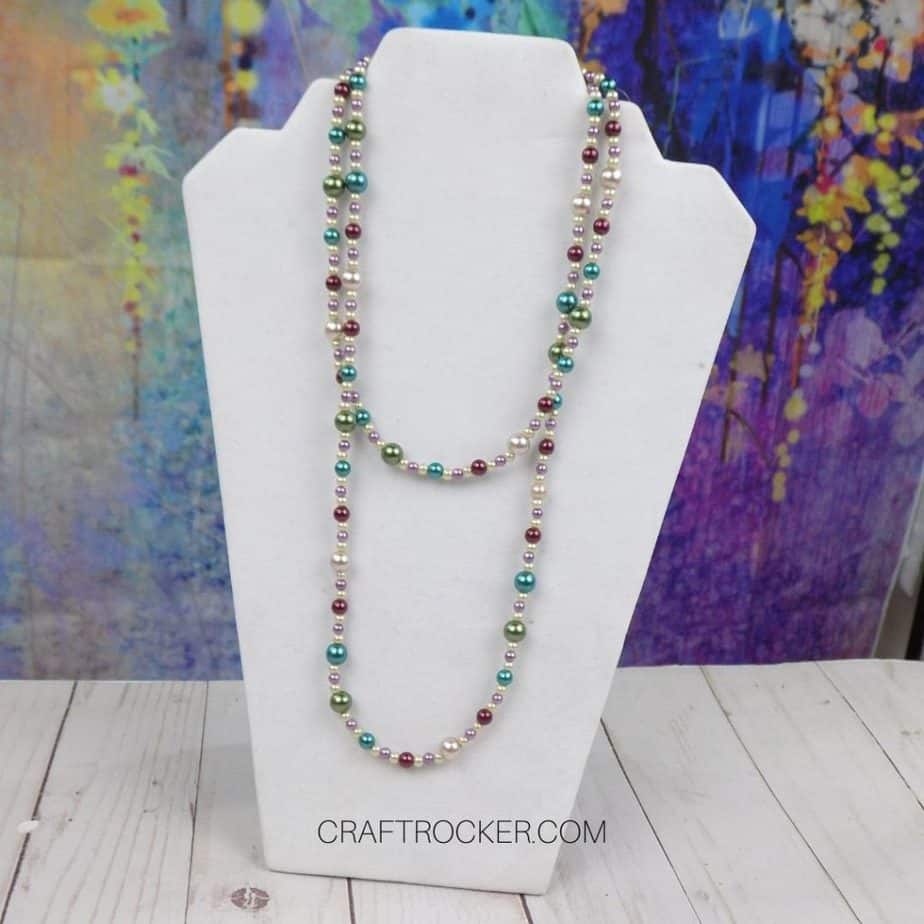
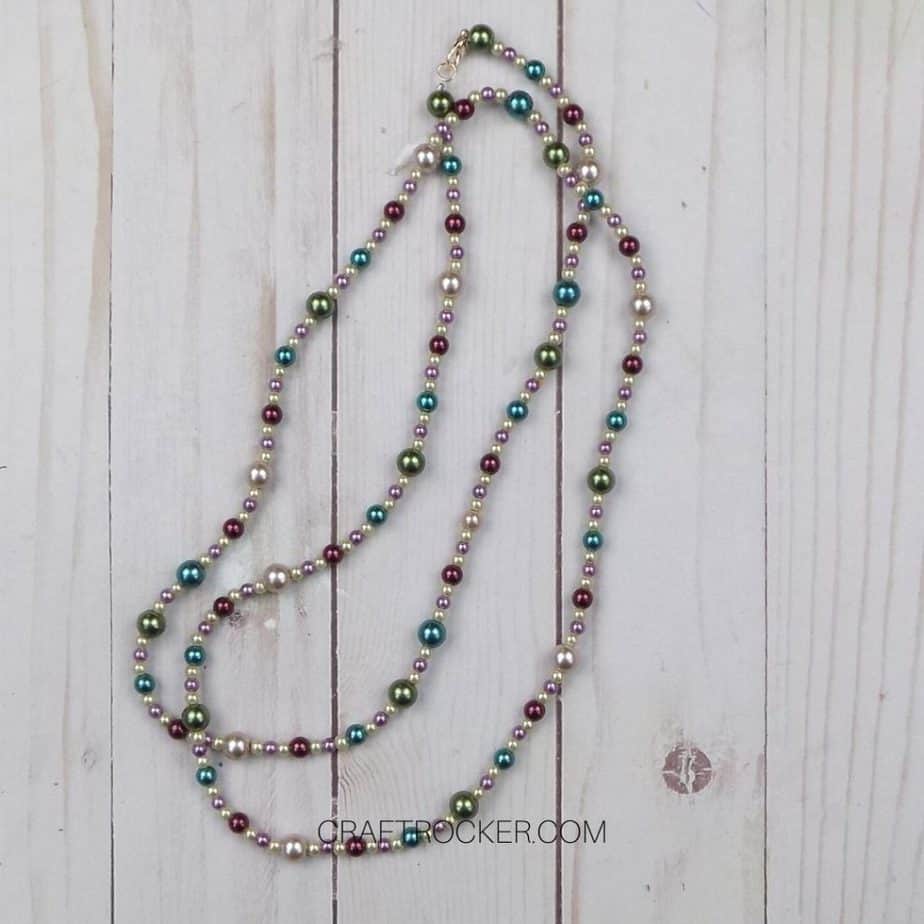
How to Make a Long Beaded Necklace
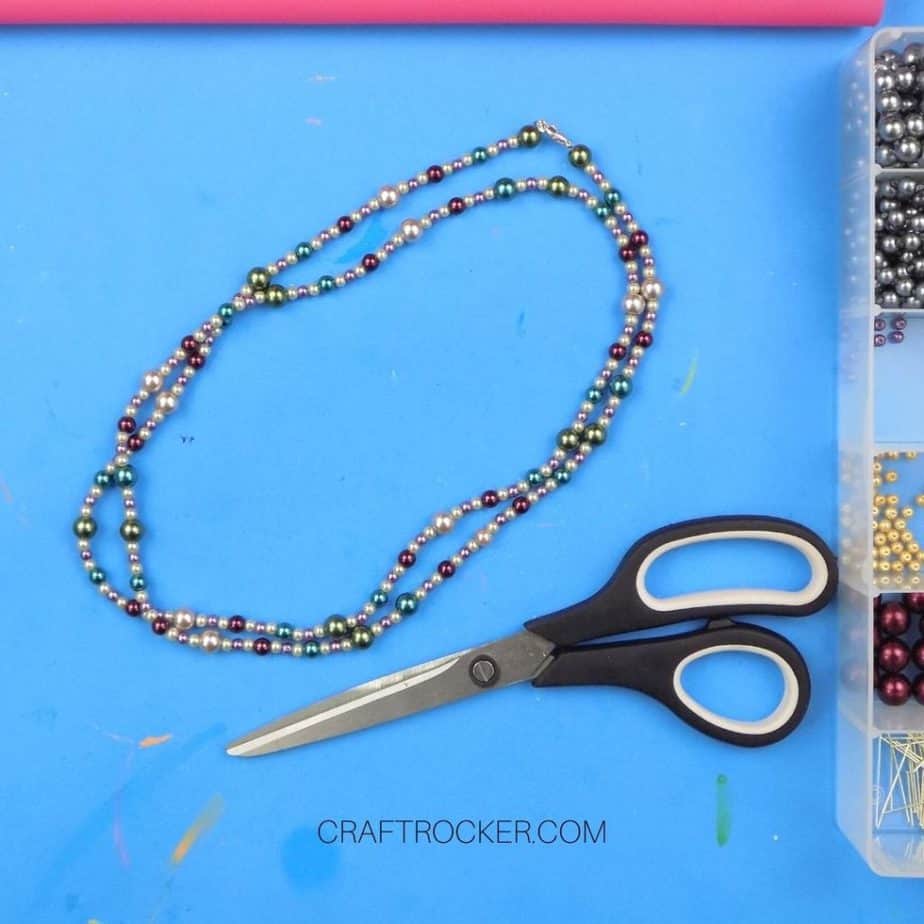
Long beaded necklaces are my favorite because they are so versatile. You can use them for layering pieces, you can where them long without any other necklaces for a statement piece, and you can double them for an instant matching layered look. Luckily, making them is super simple.
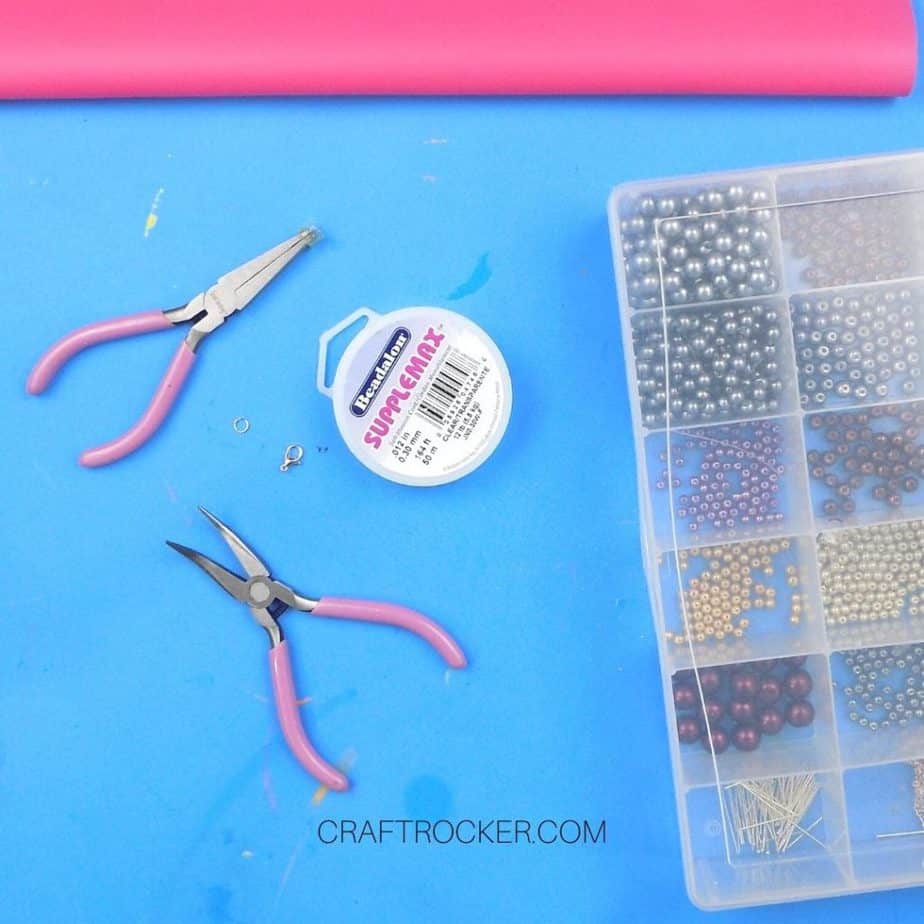
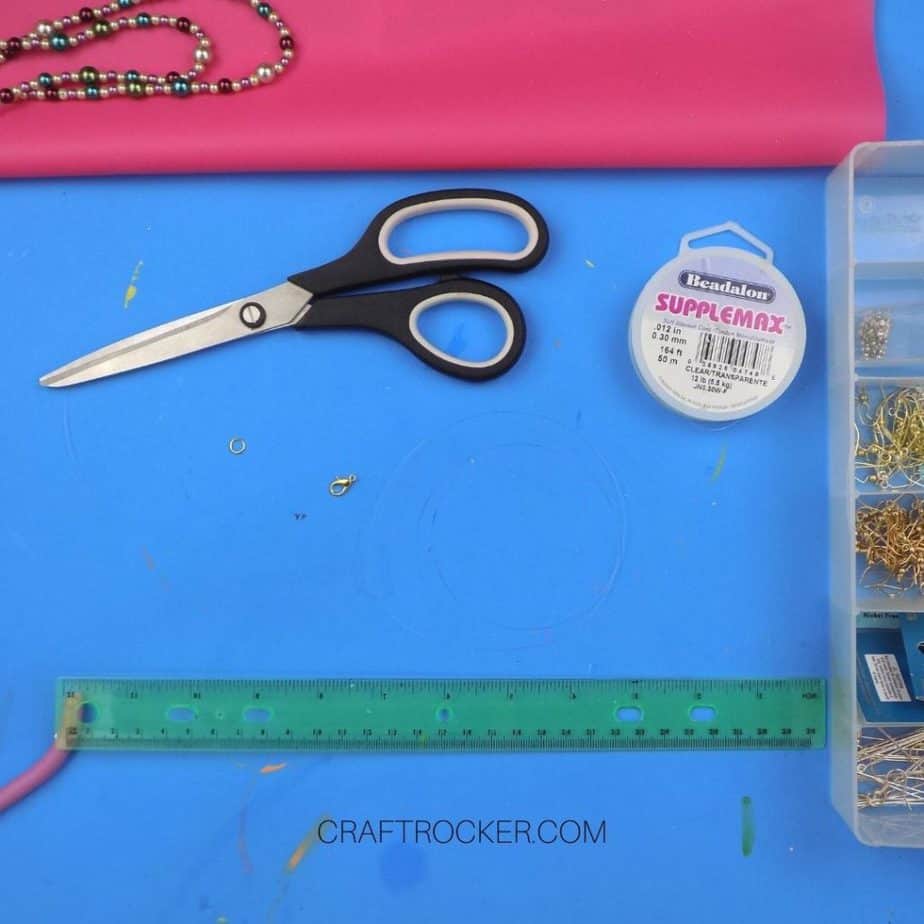
Materials:
Soft Illusion Cord (.012 in/.3 mm diameter)
1 Jump Ring That Matches Your Clasp
Small Needle Nose Pliers (I like the angled ones from my tool kit)
Beads of Choice (I went with various glass pearls)
Scissors
Ruler or Tool for Measuring
Step 1
First, cut a length of cord that is 48 inches long. If this is your first time making a necklace, cut your cord at 52 inches long to give you extra wiggle room when securing your necklace later.
Step 2
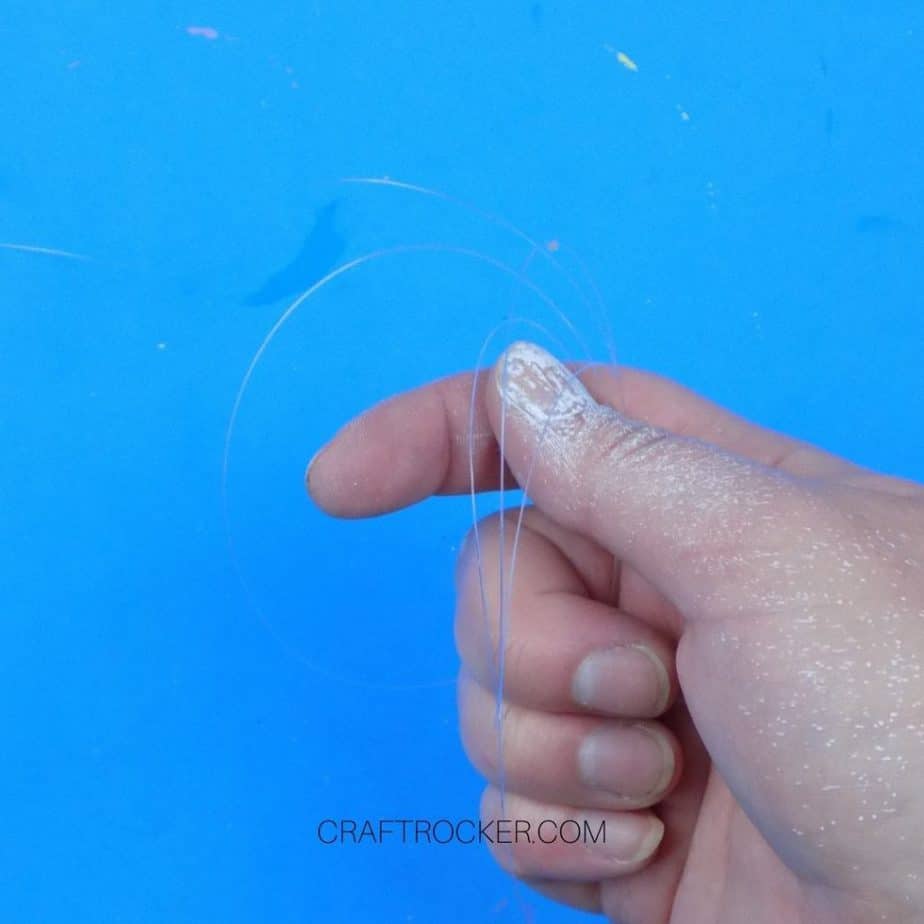
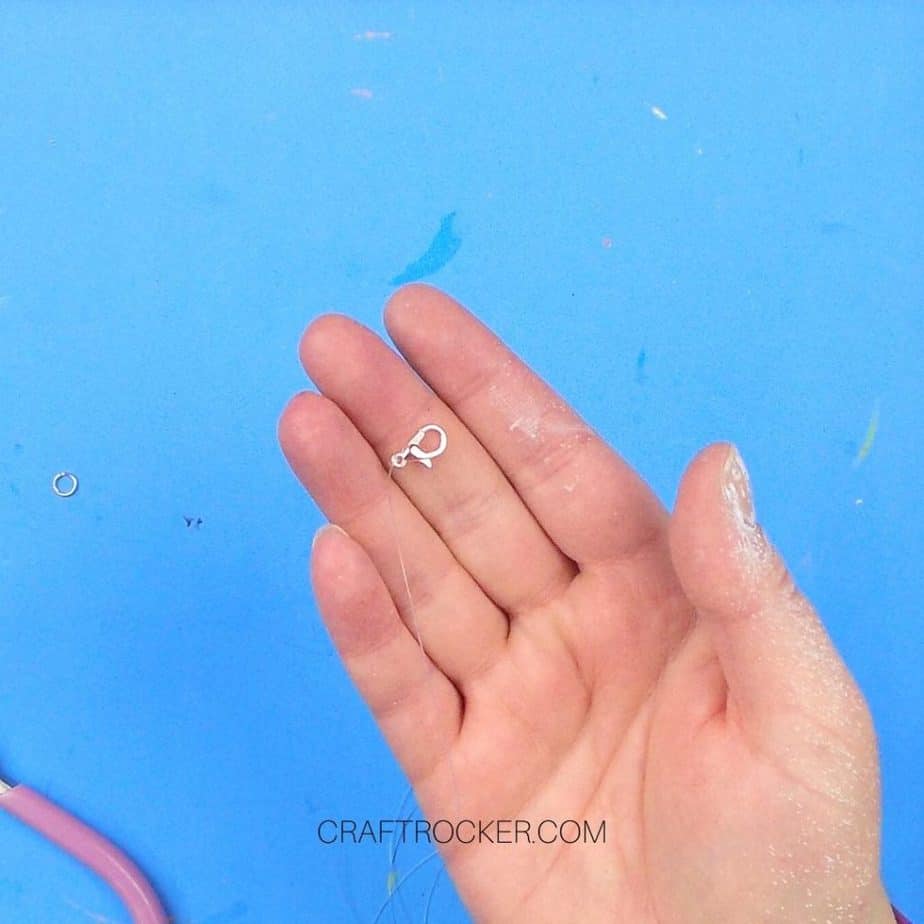
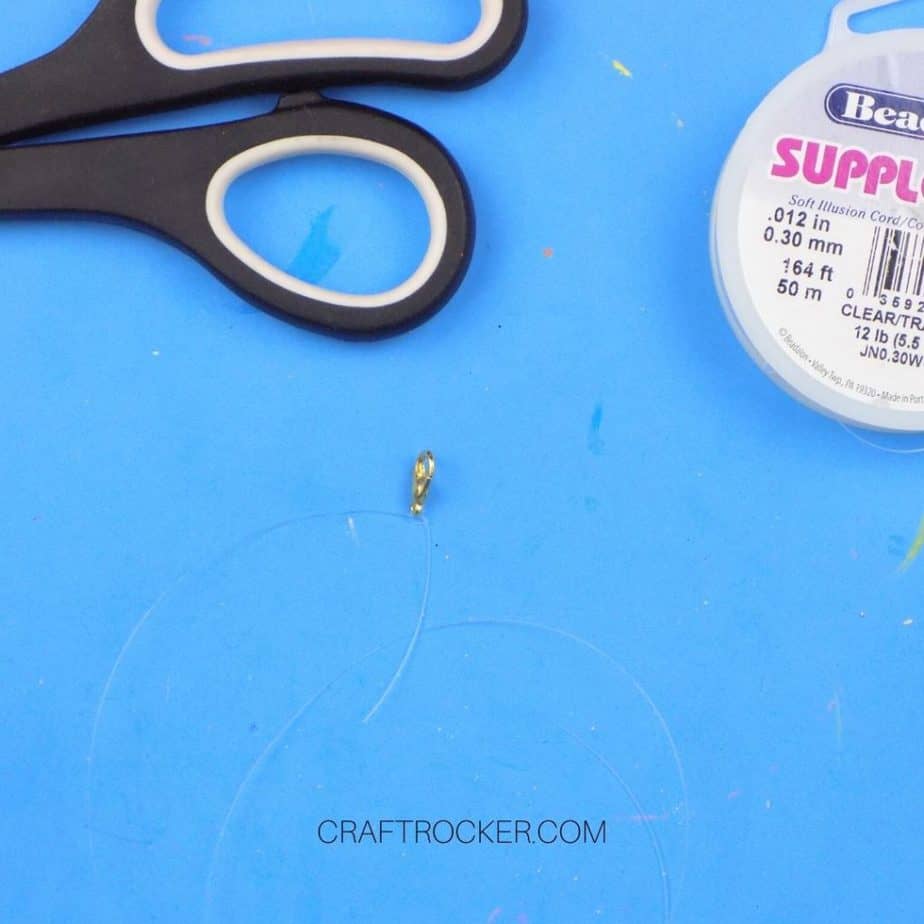
Next, attach your clasp to one end of your length of cord. Loop your cord through the eye of your clasp twice and then thread both ends through a crimping bead. Then use your pliers to crimp it.
Note:
I didn’t use a crimping bead on this tutorial to show you that you don’t have to. Instead I looped my cord through the eye of the clasp twice. Then I pulled the short end back through the loops in the opposite direction and pulled the knot tight.
Keep in mind that while you can do it this way if you don’t have crimping beads, the durability of your necklace will not be as good as it would with them.

Step 3
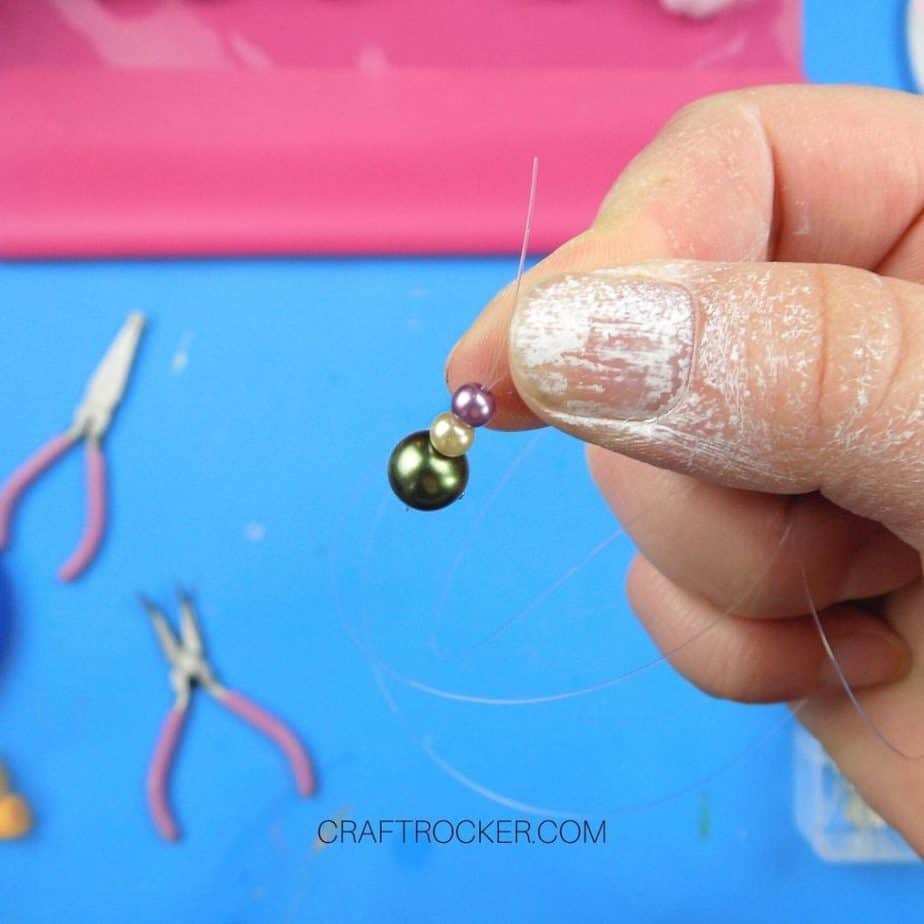
After your lobster clasp is attached, begin threading your beads. Instead of trimming my excess cord, I like to thread it through the beads as well.
It’s important to note that you can’t do this with thicker gauge cording because often both pieces won’t fit through the holes in the beads.
Step 4
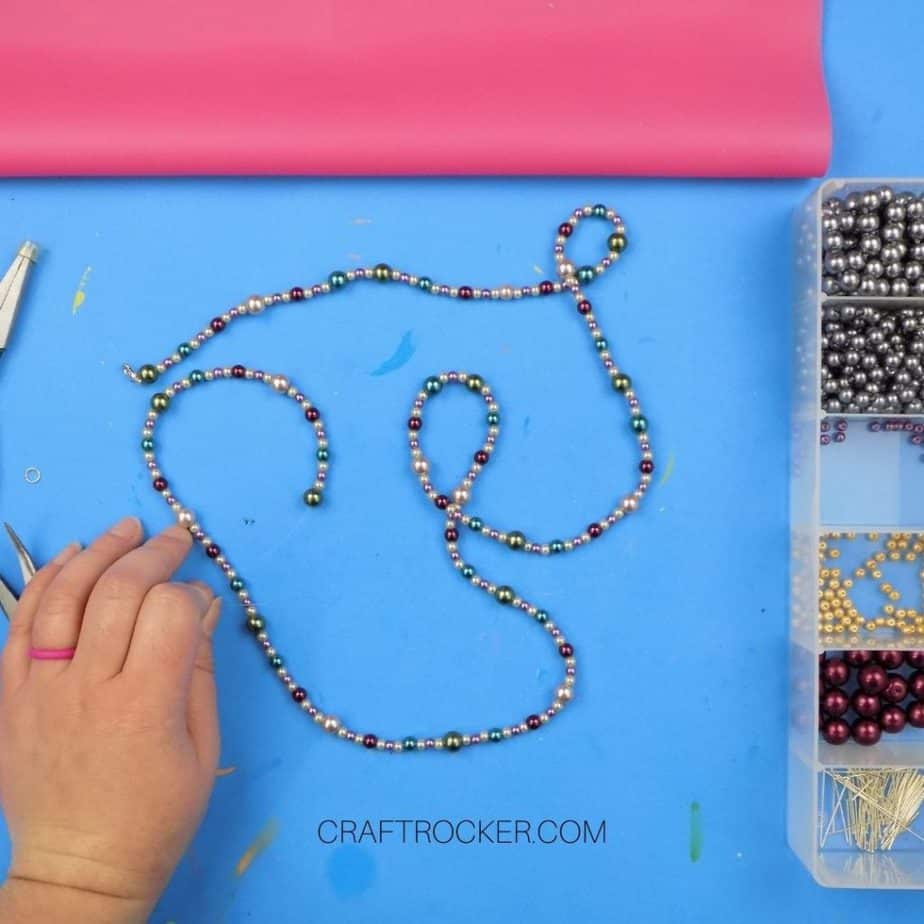
Continue adding your beads until you reach 2 to 3 inches from the end of your cord.
Tip:
Don’t let go of your cord. I did for the purposes of this tutorial but many times, I’ve had my beads roll and then come off the cord. You don’t want to have to redo you hard work.
Step 5
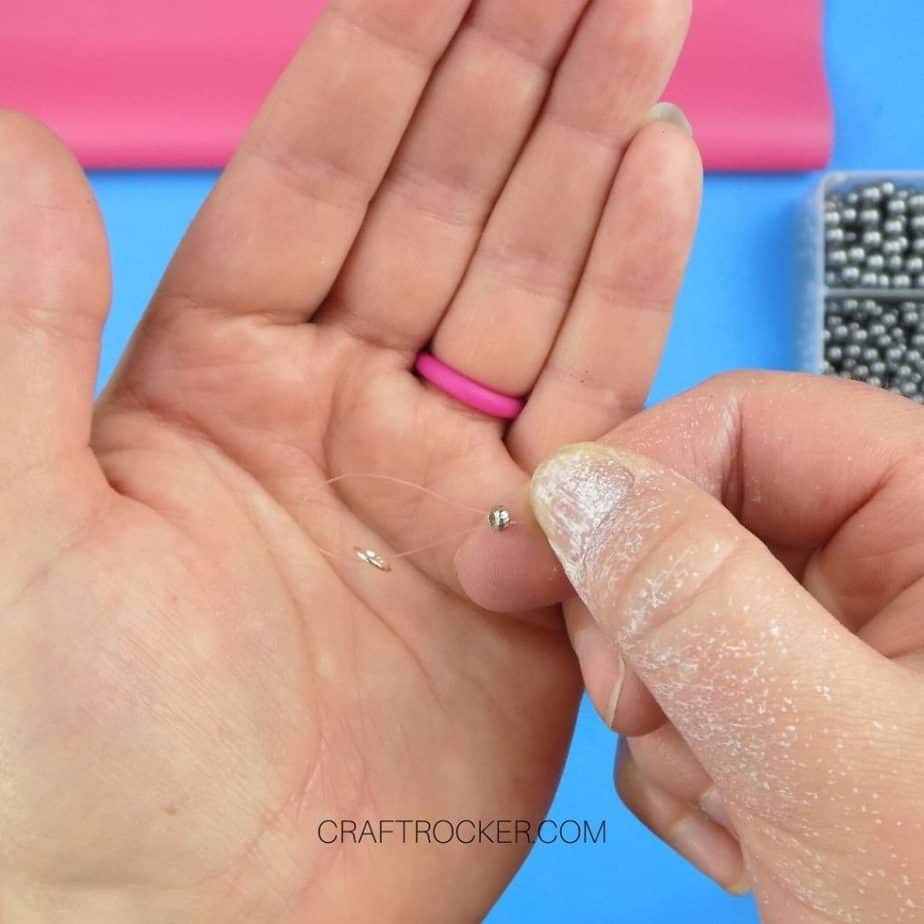
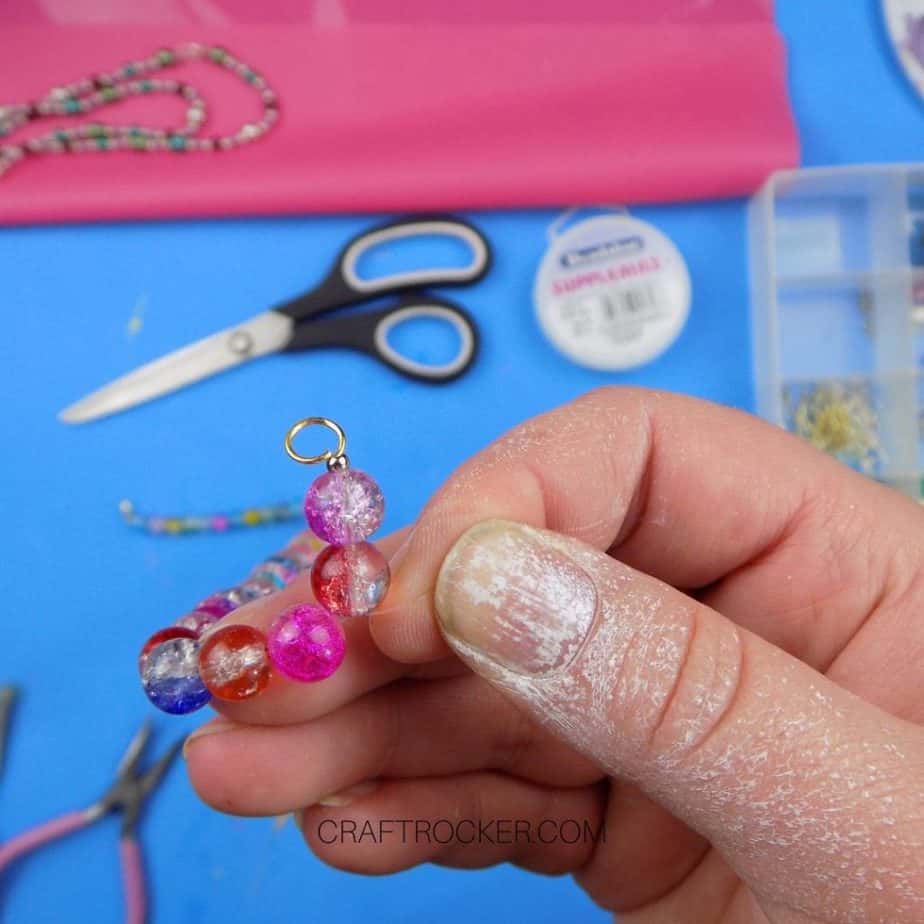
Next, thread a crimping bead and a jump ring onto your cord. Loop the end of your cord back through your crimping bead in the opposite directions. Be sure that your jump ring stays on the looped end.
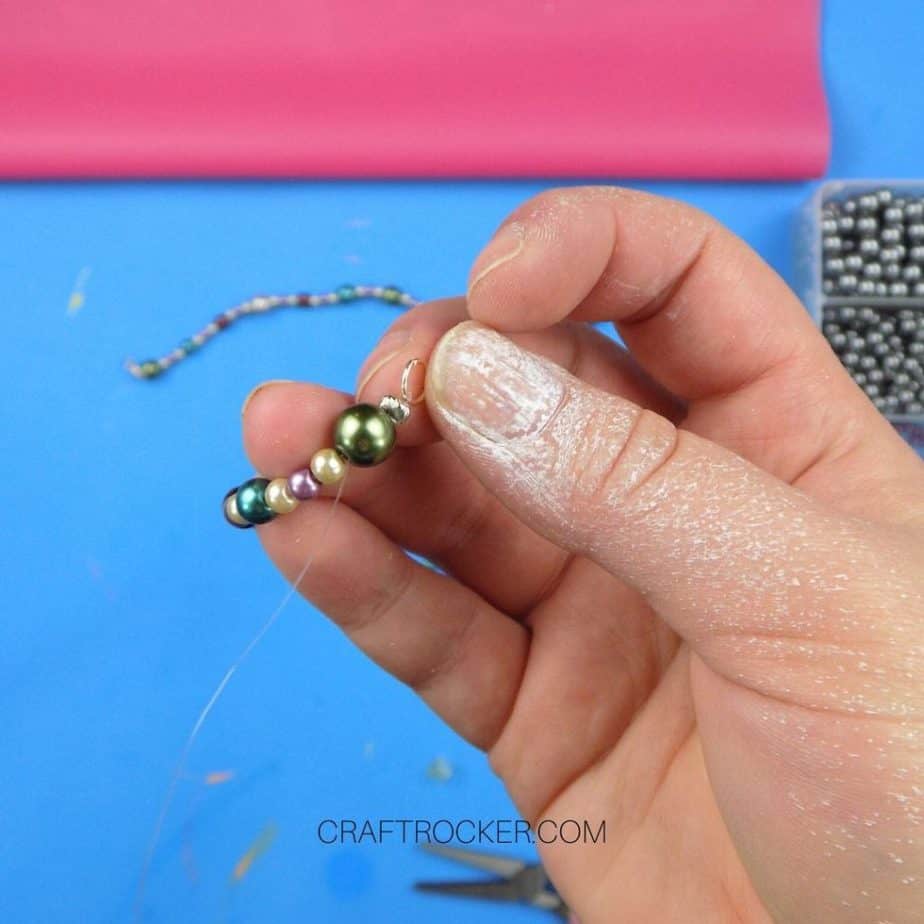
Step 6
Once your cord is threaded through your crimping bead and jump ring, thread the loose end of the cord through the last threaded bead on your necklace. Thread the cord through the hole going away from the jump ring and then pull the cord tight.
Step 7
Lastly, use your pliers to crimp your crimping bead. Then carefully cut any excess cord from your necklace.
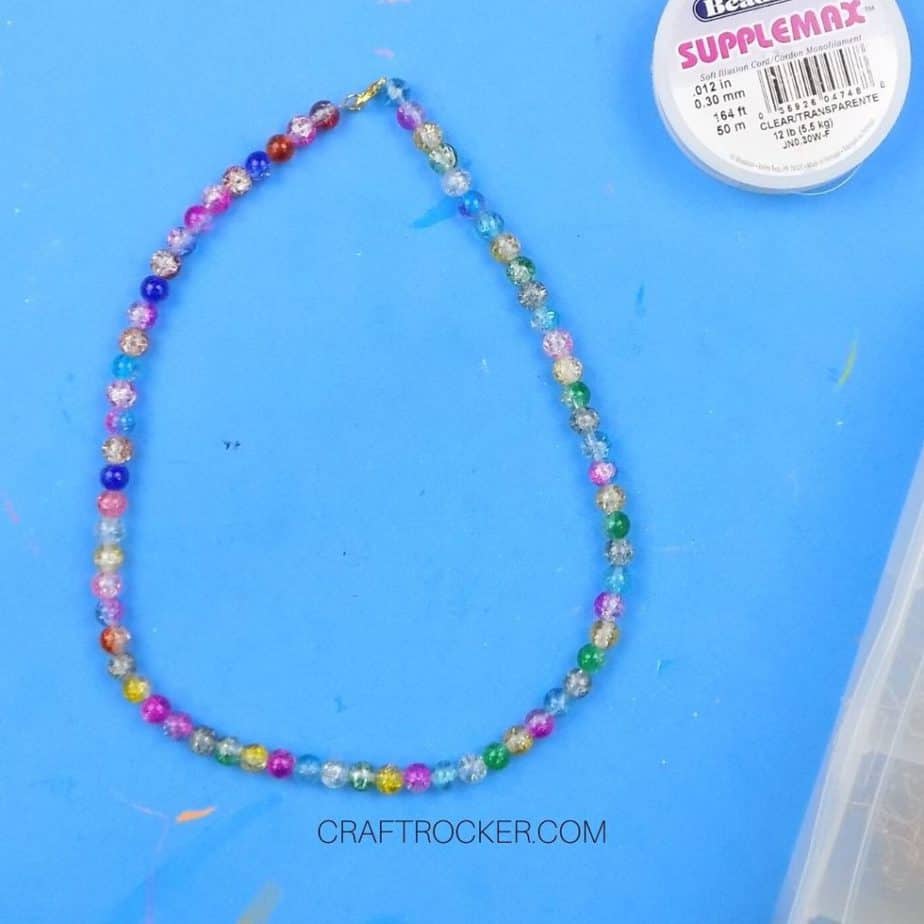
How to Make a Beaded Necklace with a Clasp
Yes, the necklace above also had a clasp but is there really anything called a “regular” beaded necklace? I didn’t think so.
That is what this part of the tutorial will teach you how to make.
Materials:
Soft Illusion Cord (.012 in/.3 mm diameter)
Small Needle Nose Pliers
Beads of Your Choice
Scissors
Tool for Measuring (bead tray or ruler)
Step 1
First, you need to cut a length of cord that is 2-4 inches longer than you want your necklace to be. I can’t give you and exact measurement for this one because it depends on your personal preference. Here are 3 ways to measure it, though:
A beading tray is really helpful for this because the different sizes are all laid out for you.
If you don’t have a beading tray, you can also use flexible measuring tape to determine where you like your necklaces to hang.
Lastly, pick a necklace you already own and love, then measure how long it is with a ruler.
Step 2
After you cord it cut, attach your lobster clasp to one end. Again, do this by looping your cord through the eye of your clasp twice and then thread both ends of the cord through a crimping bead. Crimp your crimping bead using your pliers.
Step 3
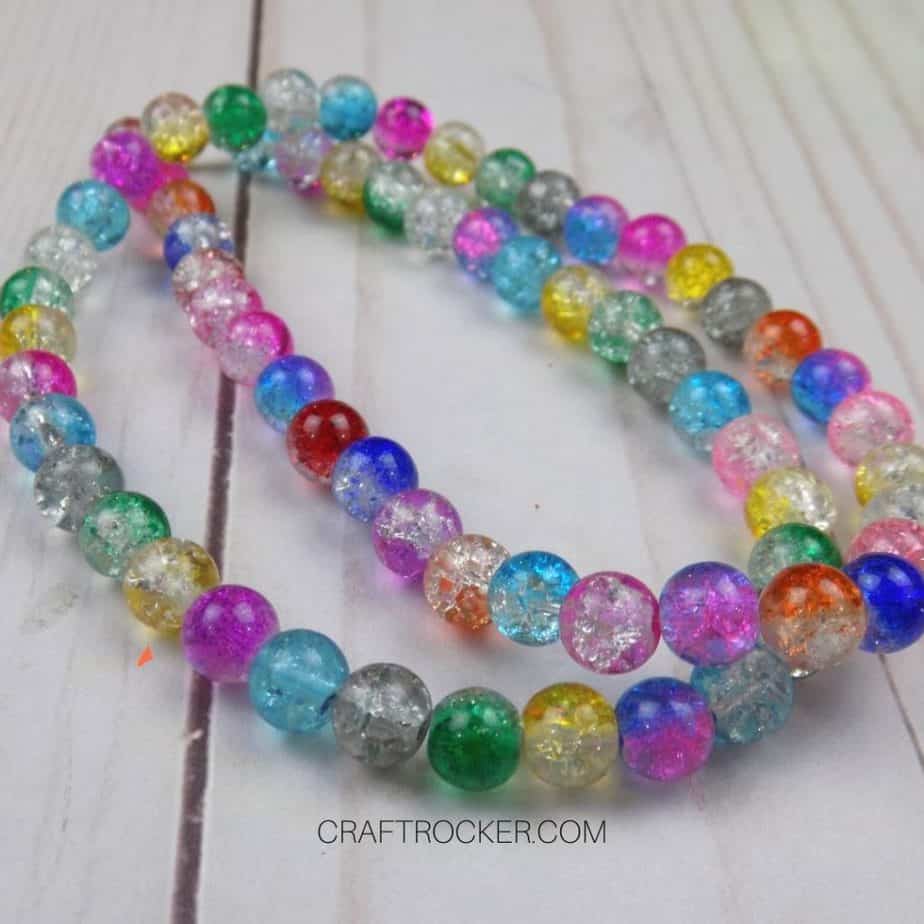
Next, begin threading your beads. You can choose to layout your pattern before-hand but it your stick with beads from the same bought strand, they will match without a lot a planning.
Step 4
Continue threading on your beads until you reach 2 inches from the end of your length of cord. Again, be sure to hold onto the cord so that your beads don’t slip off.
Step 5
Slide a crimping bead and a jump ring onto the end of your cord and then loop your cord over and thread the loose end back through the crimping bead. Make sure that your jump ring stays on the looped end because it is what is preventing the cord from simply un-threading from the crimping bead.
Step 6
Again, thread your loose end of cording through the last threaded bead on your necklace and pull it tight. Then crimp your crimping bead with your pliers.
Step 7
Lastly, cut any excess cord from your necklace carefully so that you don’t cut the necklace itself.

Frequently Asked Questions
How do I make a beaded necklace with string?
You make a beaded necklace with string using the same methods above. The only difference is that string is often a heavier gauge so it can be difficult to thread through your beads. If you’re having trouble, thread your string through a very thin needle and use that to add your beads to the necklace.
I have a really helpful post on how to thread a needle that makes it super easy.
What can I use instead of crimp beads?
Knots are going to be your best bet if you don’t have crimp beads. The better the knot, the stronger your necklace. However, your necklace will be strongest with crimp beads being used.
There is also beading glue that you can use, but I honestly find it messy and it takes a long time to dry for my taste when it comes to making jewelry.
How do I make a long beaded necklace?
Obviously, you can follow the tutorial above. If you want to make one without a clasp, or an endless long beaded necklace, tape down the end of your cord in the step where you add your clasp. Then, when you get to the end, thread the taped end of your cord (without the tape) through the last threaded bead in the opposite direction and knot it together with the other end with a strong knot.
Once you know how to make a beaded necklace, you’ll be ready to experiment with different beads and designs. Add a pendant with a jump ring to your necklace, try out different clasps, and play around with spacers. There is so much you can do to totally customize your necklaces to fit your unique style!
Don’t Forget to Pin It!
More Ideas You’ll Love:
How to Make Paper Beaded Bracelets
Clip-On Beaded Lanyards for Kids Masks
DIY Wood Beaded Hoop Earrings – Made in a Day
