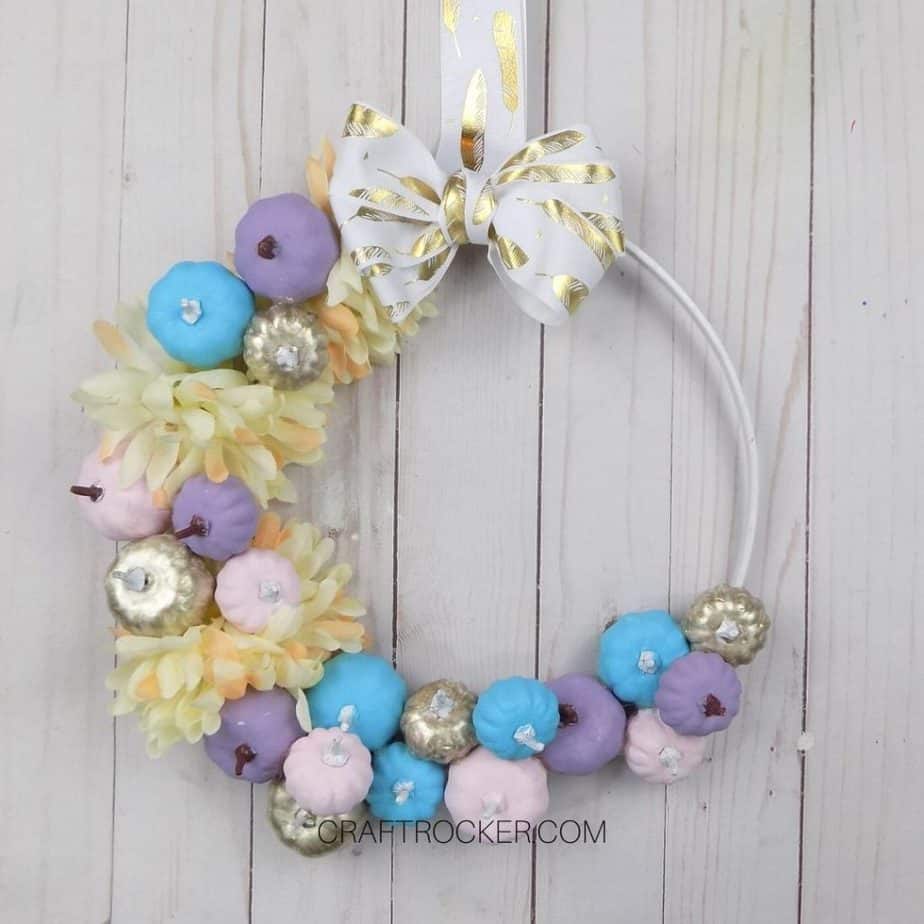
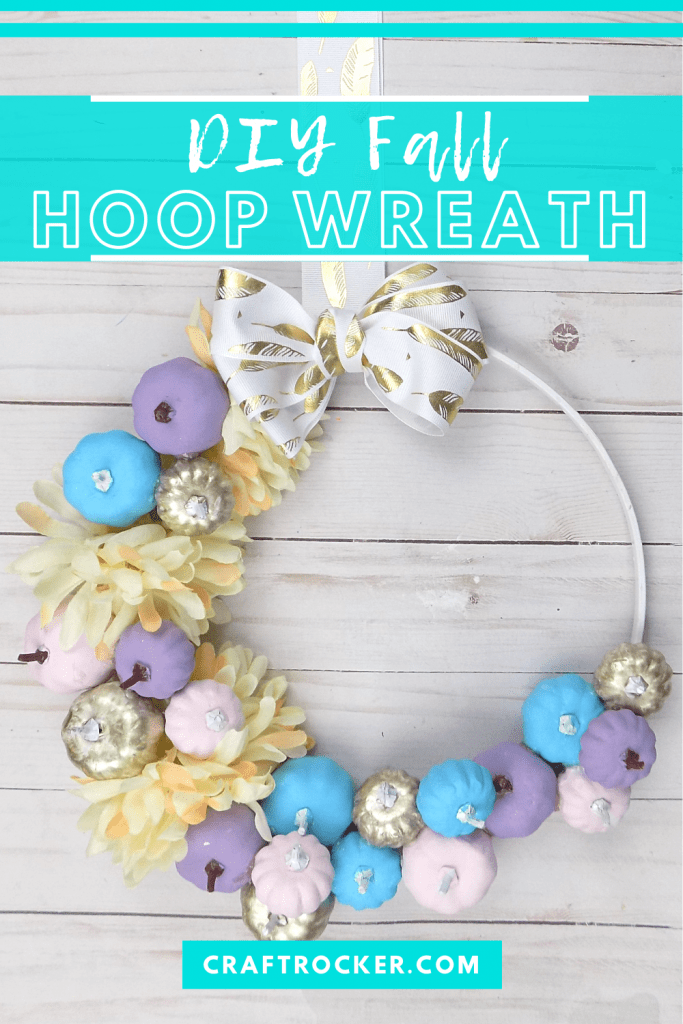
This DIY fall hoop wreath is an easy and colorful project you’ll love to hang on your door.
Affiliate links may be used in this post. Ordering a product through these links may result in a commission at no extra cost to you. Read the full disclosure here.
Jump to the Tutorial

I purposefully went away from traditional fall colors for this hoot wreath. Fall colors are undoubtedly gorgeous but so are these awesome pastels.
If you’re bored with the traditional fall look try something different this year. The bright colors of this hoop wreath add an airy element of whimsy to your fall décor and we could all use a bit of that.
Fall Hoop Wreath Materials
10 inch Wood Hoop (Mine came from this set)
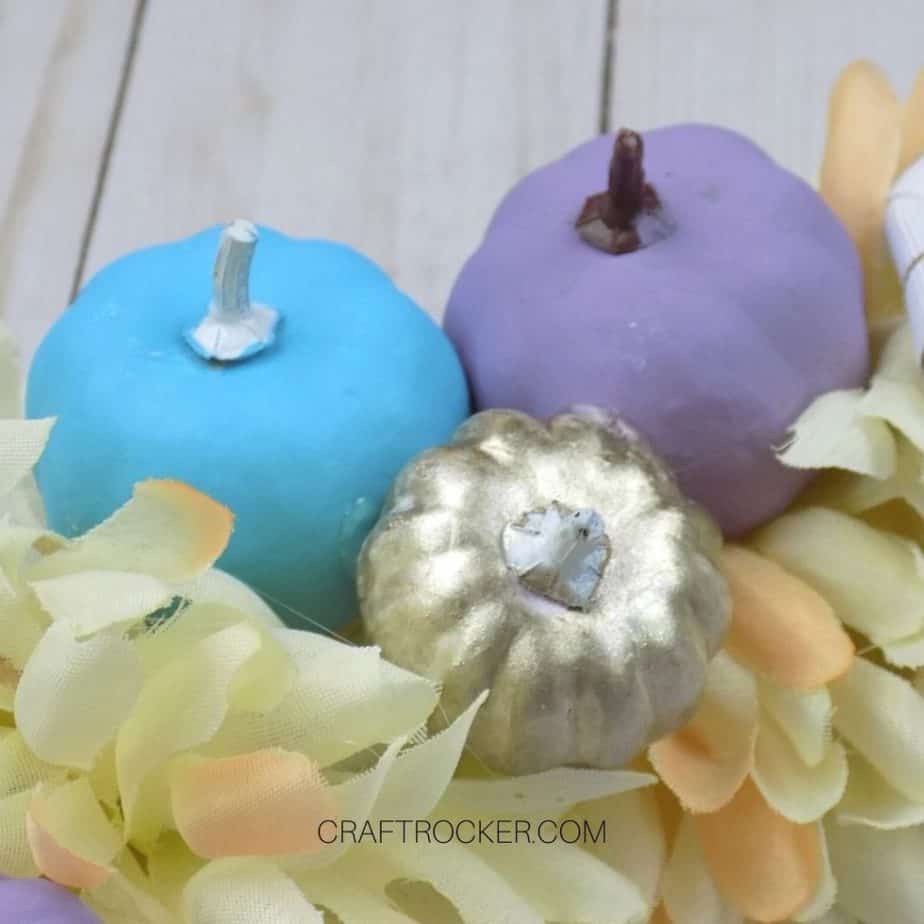
Pastel Acrylic Paint (Lavender, Indian Turquoise, Cherry Blossom Pink)
Cream Colored Fall Flowers (I got mine at Dollar Tree)
Hot Glue Gun and Glue Sticks
Decorative Ribbon
Scissors

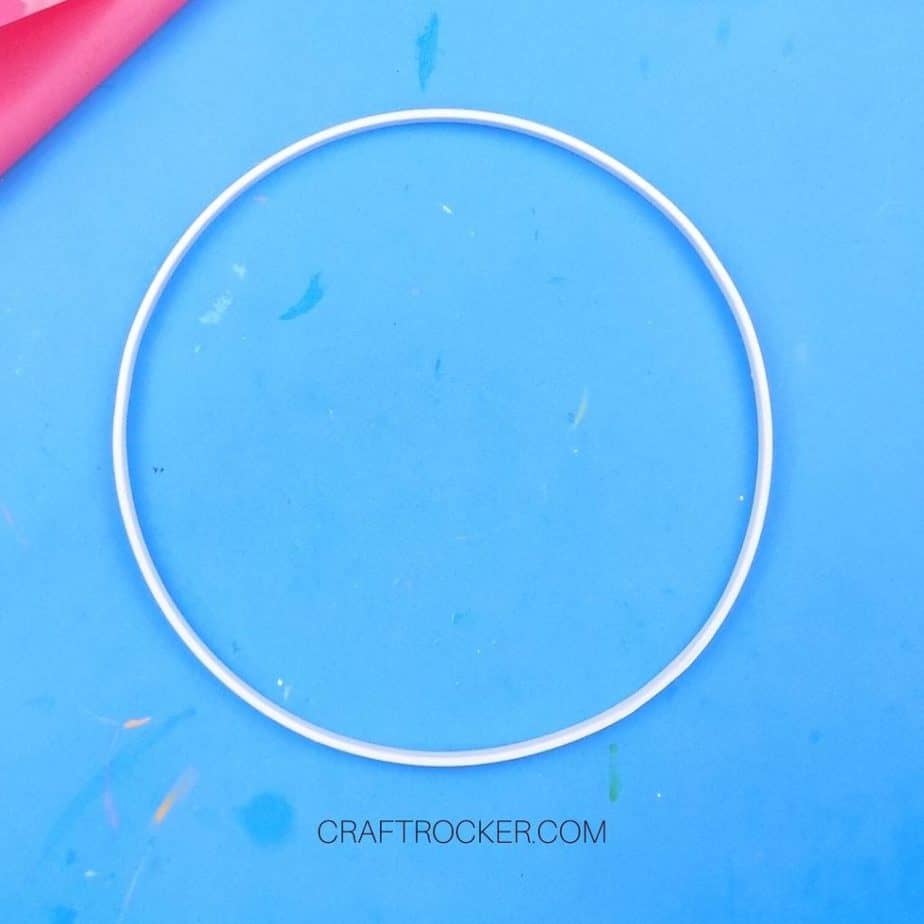
Step 1
First, spray paint your wood hoop white. You may have to paint one side then flip it over and paint the other. Be sure to let the paint dry completely before flipping.
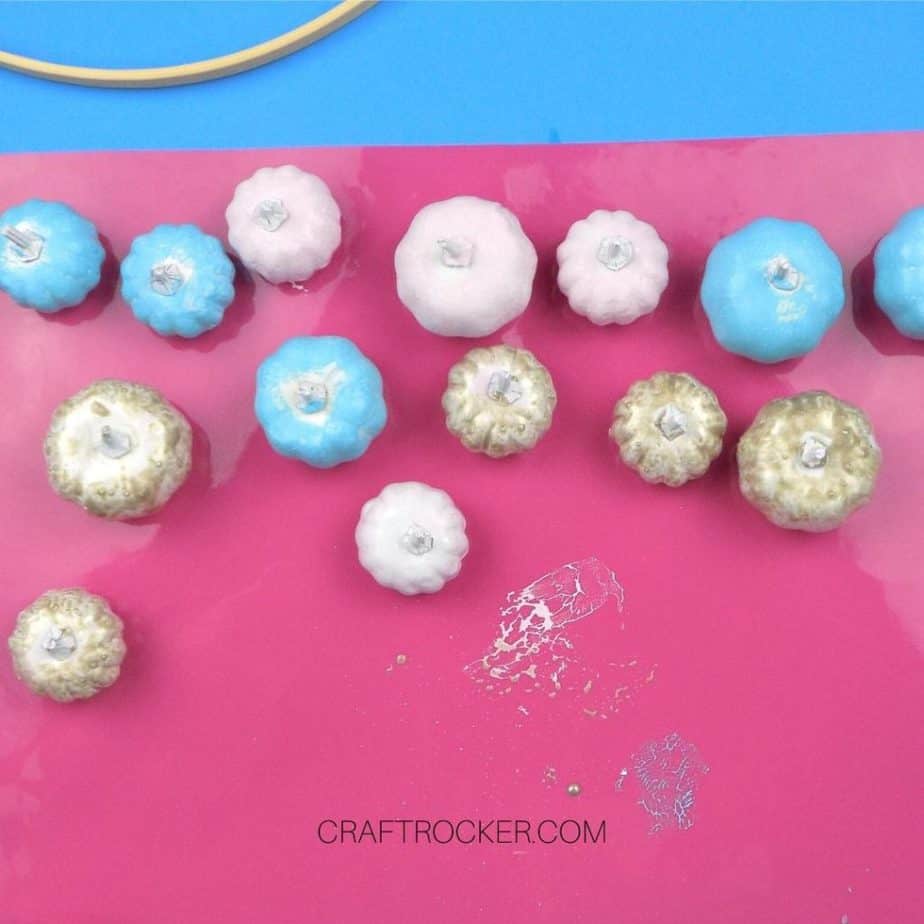
Step 2
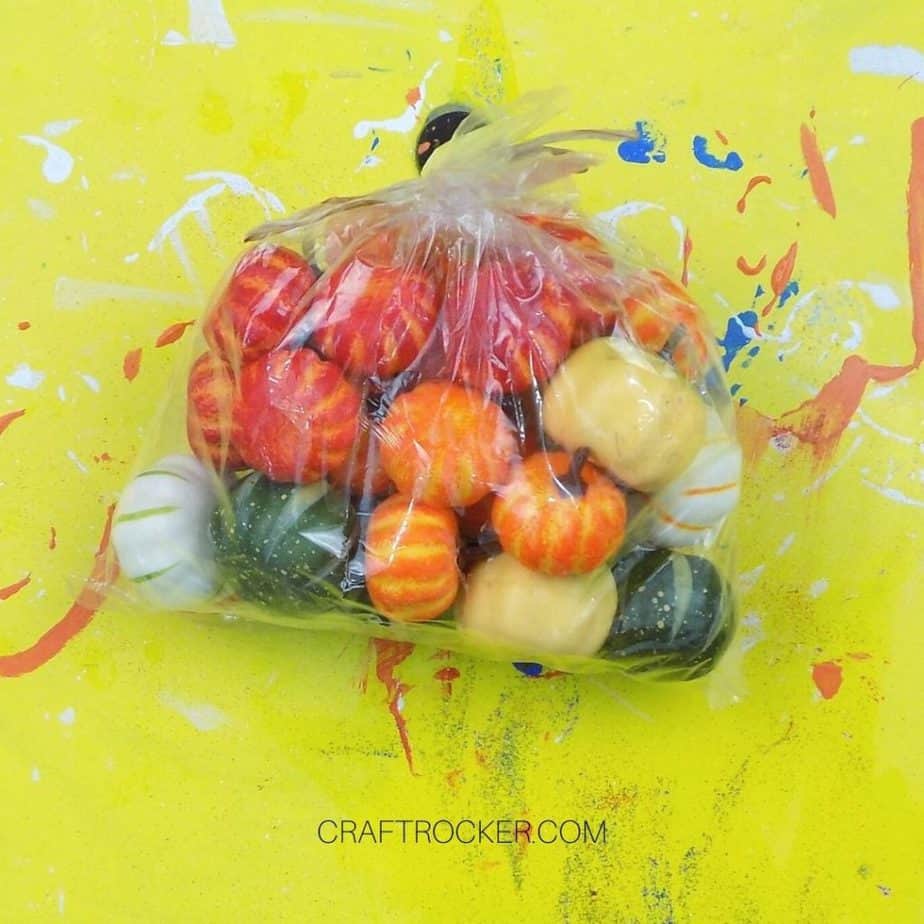
While your white paint dries, start painting your mini pumpkins. Paint 5 pumpkins each in each of your 4 paint colors with your sponge dauber. Then let them dry completely.
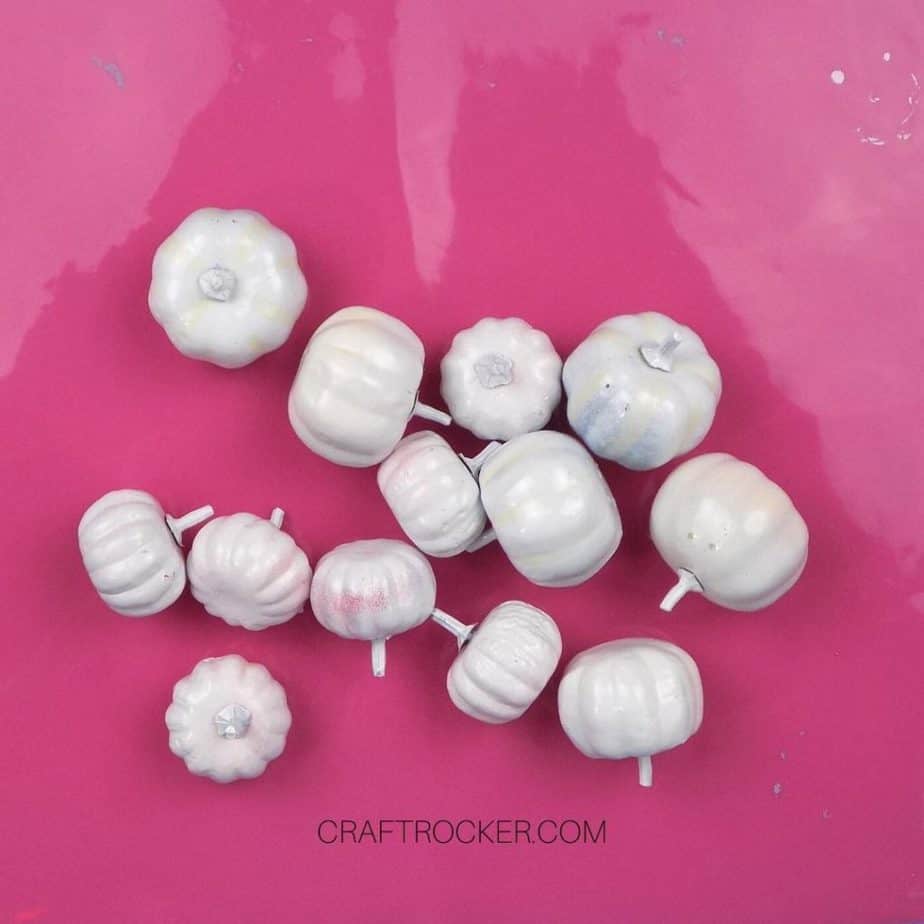

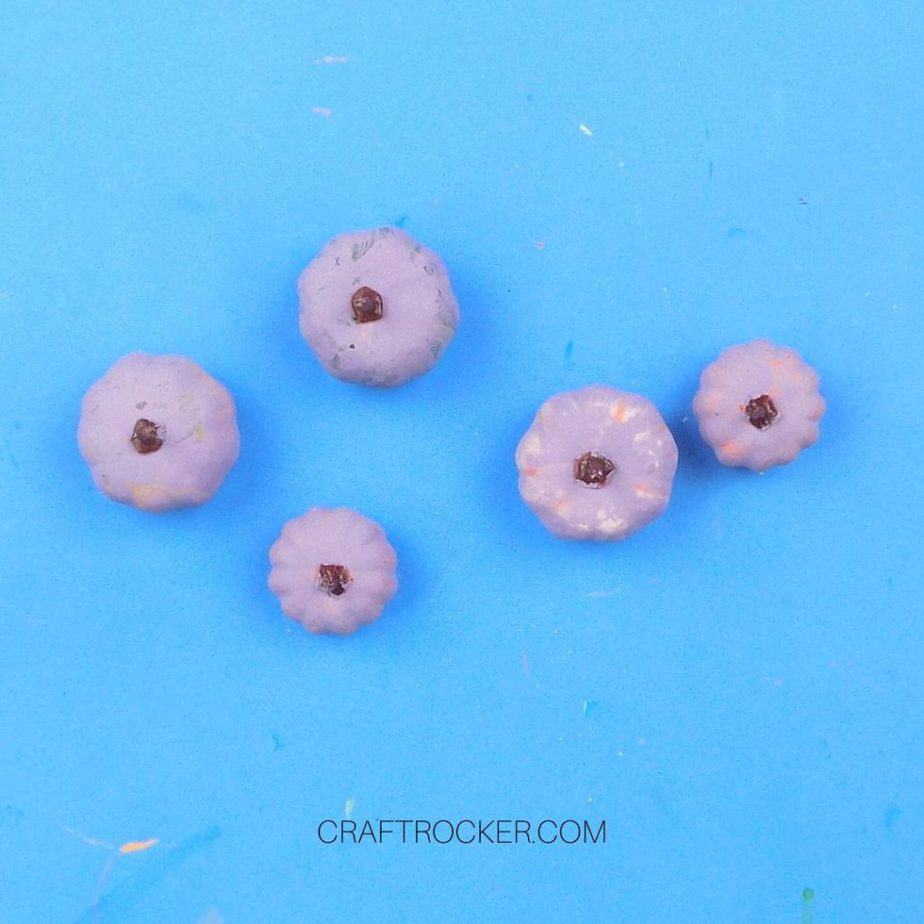
Note:
I tried painting these 2 ways. First I painted the acrylic paint directly onto the mini pumpkins. I then tried priming the mini pumpkins with white spray paint before adding the acrylic paint.
In the end, there was no benefit to priming them with white paint first. They still need at least 2 coats of acrylic paint.
Step 3
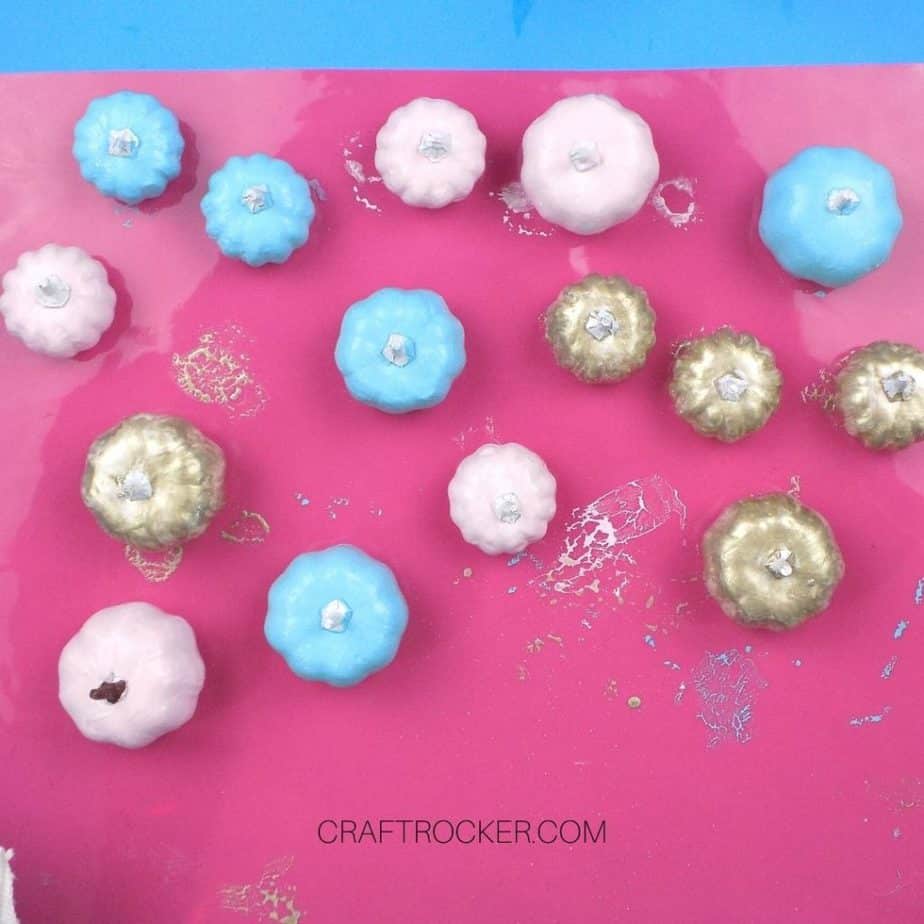
After the first coat of paint on your mini pumpkins is dry, add a second coat of acrylic paint.
I found that using the sponge daubers instead of a paint brush meant the pumpkins only need 2 coats of paint. If you only have a paint brush, it may require 3 to 4 coats of paint to totally cover them.
Step 4
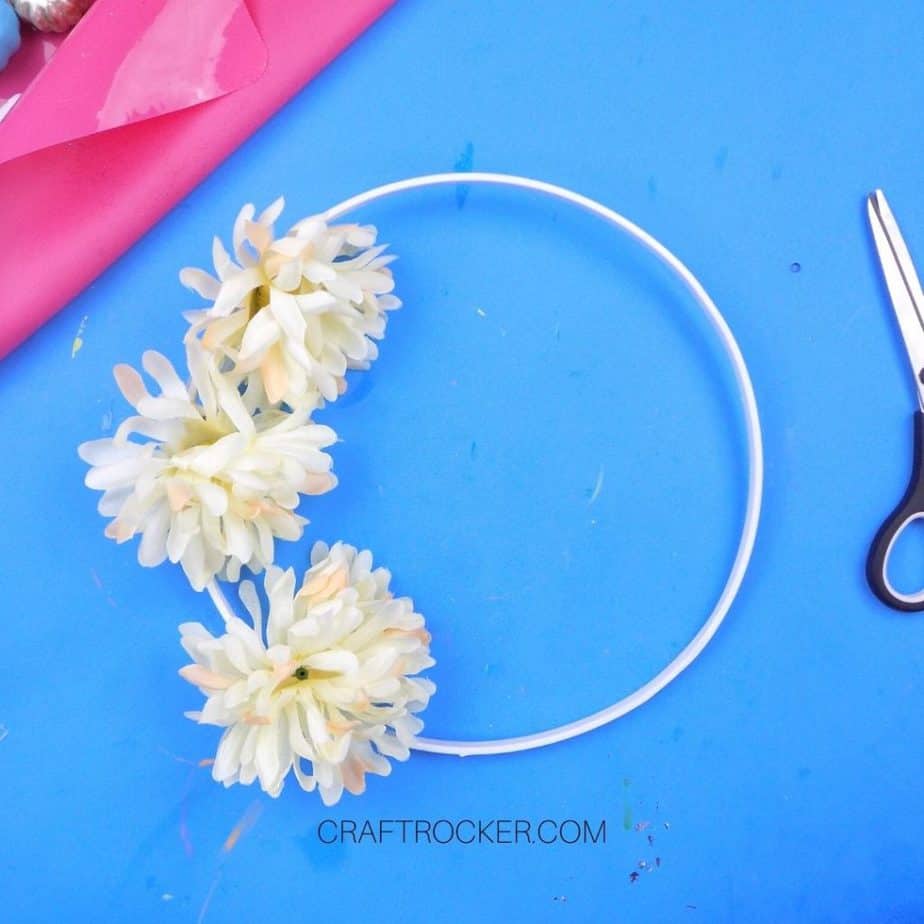
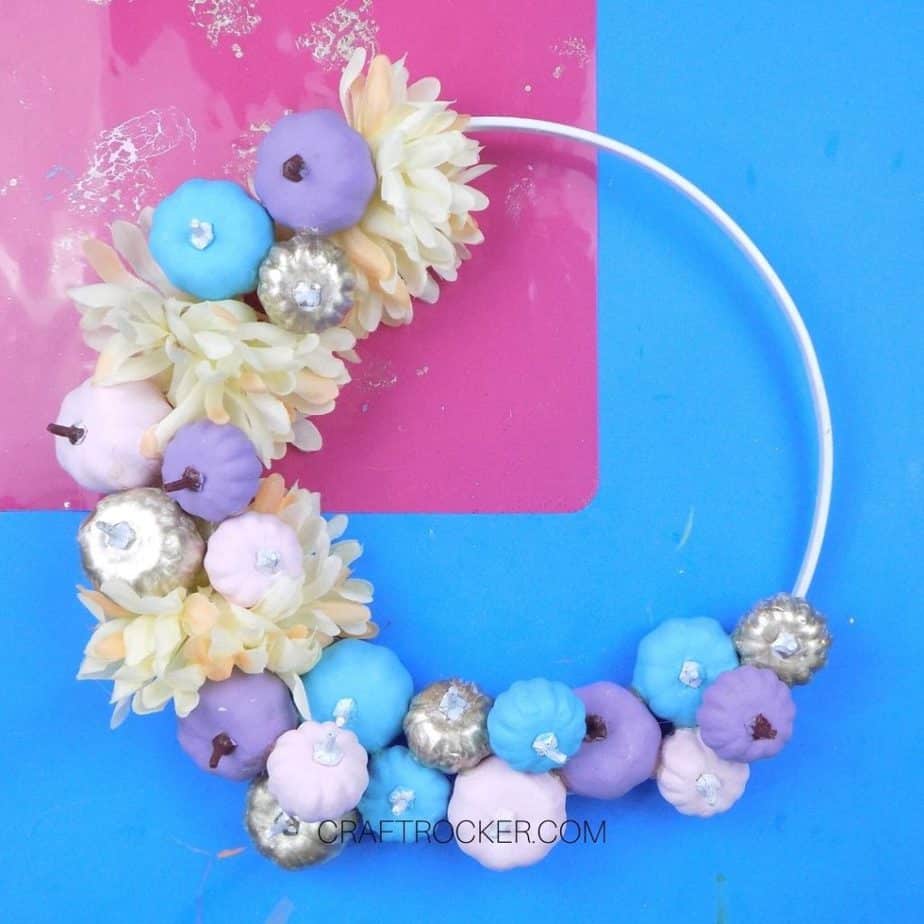
Next, hot glue your flowers to your painted wood hoop. Be sure to leave some space between that you will later fill in with mini pumpkins.
I wanted mine to cascade down the left side and leave a portion of the hoop exposed.
Step 5
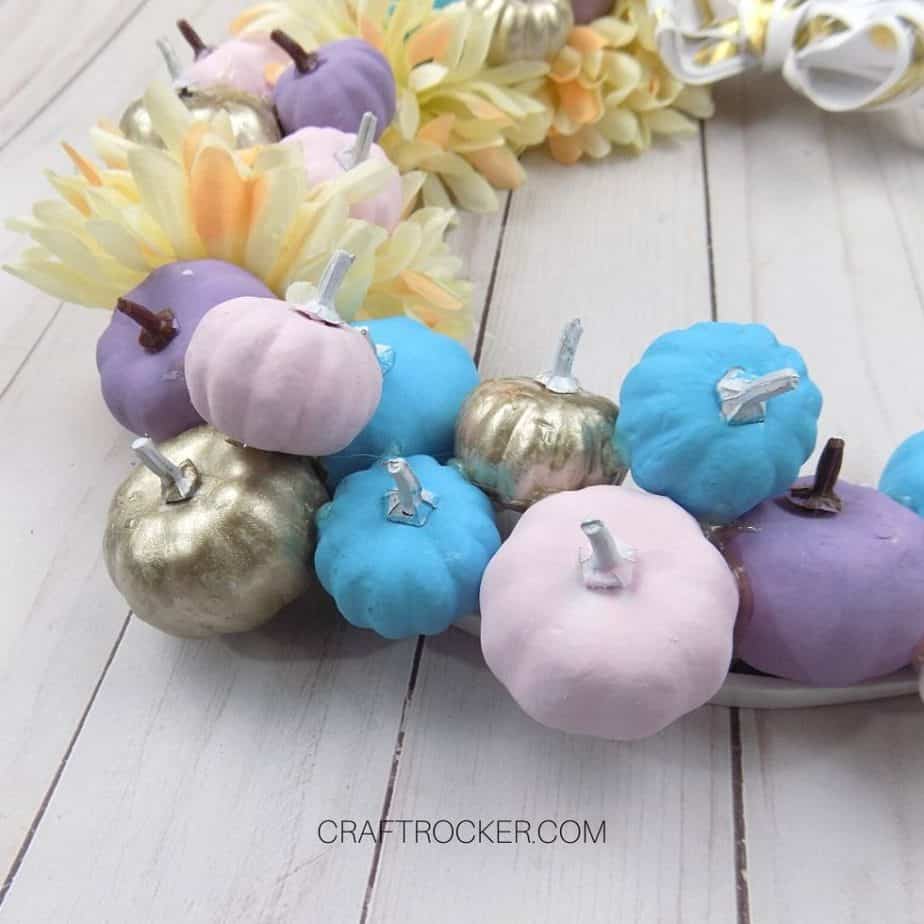
Then start hot gluing your dry, painted mini pumpkins to your wood hoop. Remember to leave part of the hoop exposed.
Step 6
Continue hot gluing your pumpkins to the wood hoop until all of them are attached. If they aren’t staying, flip your wreath over and add additional hot glue to them for better stability.

Step 7
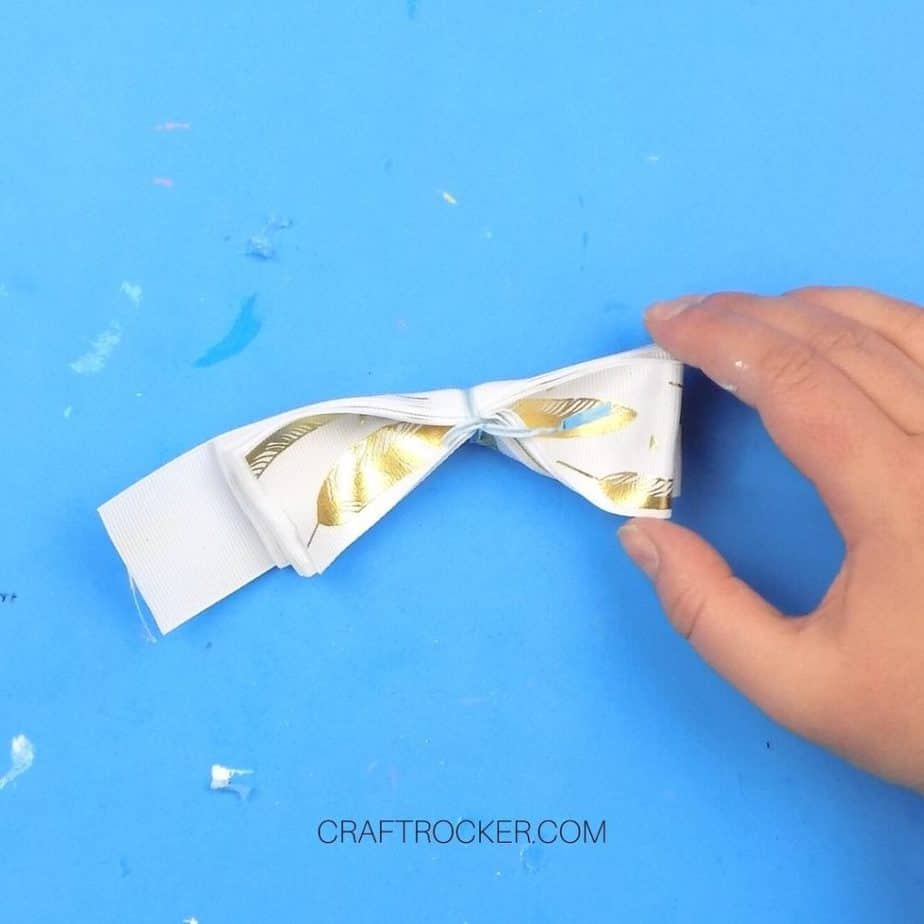
Next make a bow out of your ribbon. To do this, cut a length of ribbon that is roughly 40 inches long. Then fold it around itself until all of the ribbon is wrapped. The folded length should be about 4 inches long.

Lastly, secure a twist tie around the center of your folded ribbon and then fluff your bow.
Optional:
I took the loose end of the ribbon and wrapped it around the center of the bow. Then I secured it to the back with hot glue.
Step 8
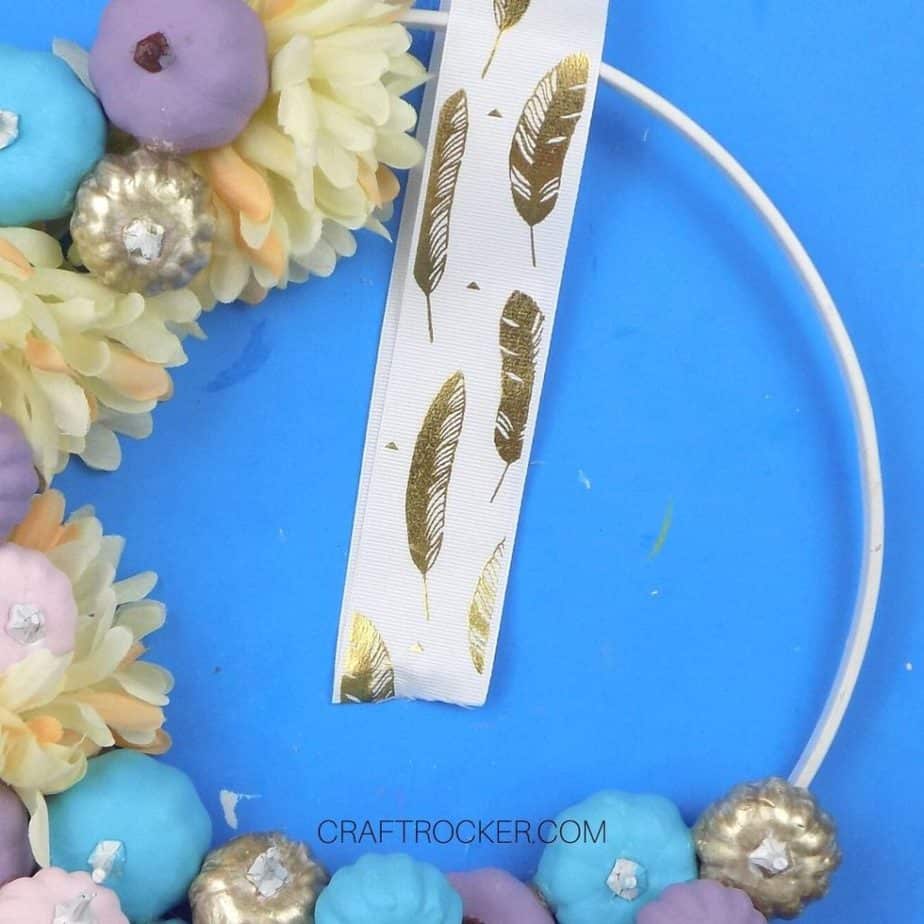
Cut a second length of ribbon that is 24 inches long. Thread one end through your wood hoop and then hot glue the ends together.
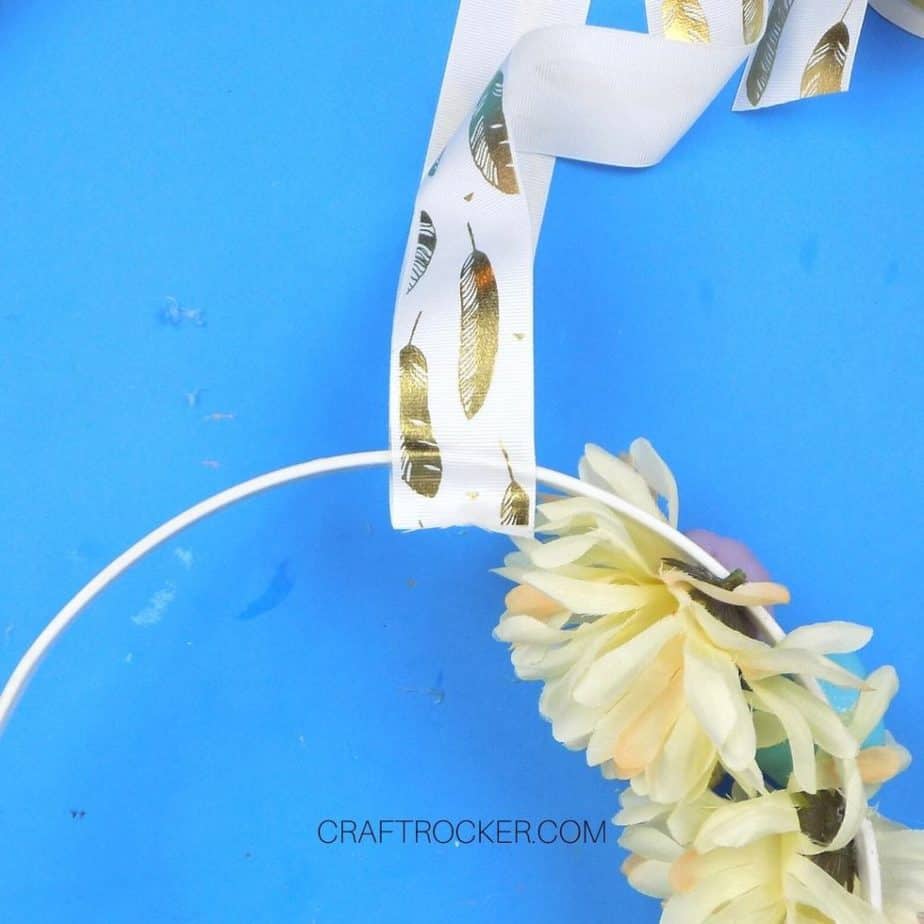
Step 9
Now, hot glue your ribbon hanger to the top of your hoop so that the wreath displays correctly when hanging.
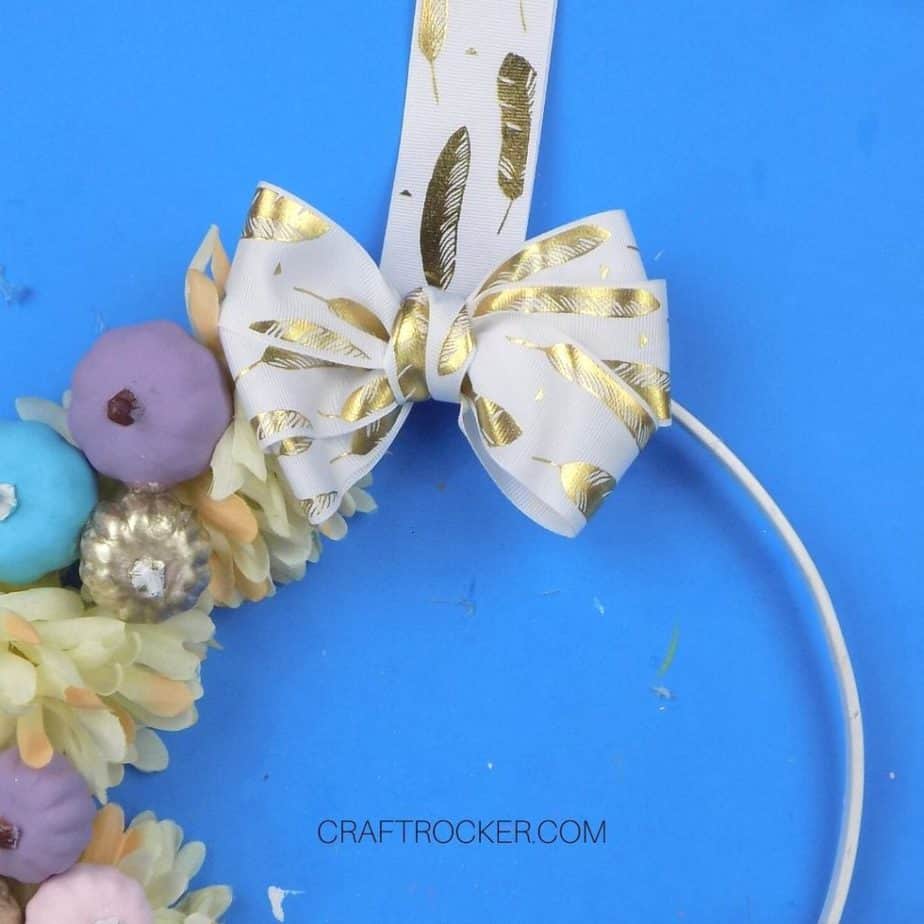
Step 10
Lastly, glue your bow to the hoop wreath where the ribbon hanger is.
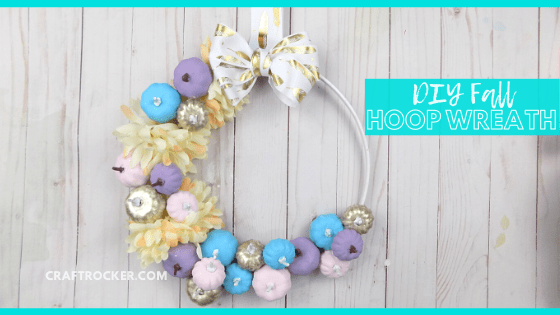
Isn’t this DIY fall hoop wreath beautiful? I love how it turned out!
If you’re looking for a unique piece of fall décor this season then this is it.
Don’t Forget to Pin It!
More Fall Crafts You’ll Love:
33 Dollar Store Fall Decor Ideas
DIY Fall Decor Pillow Wrap – Made in a Day
