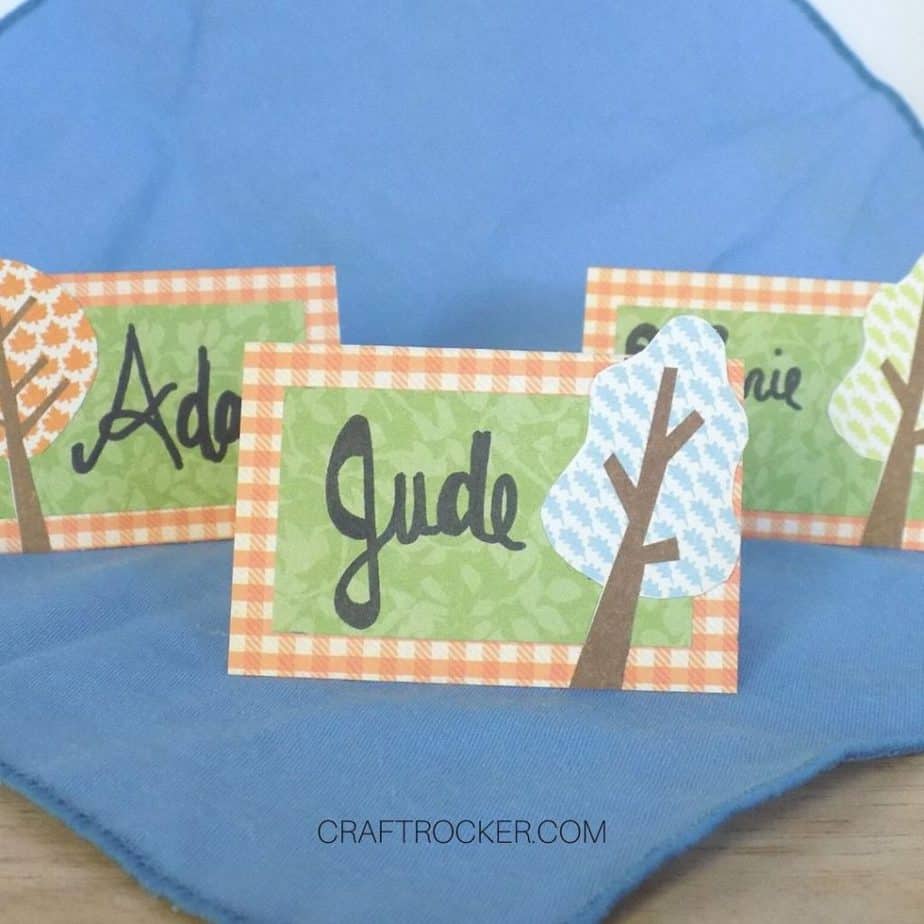
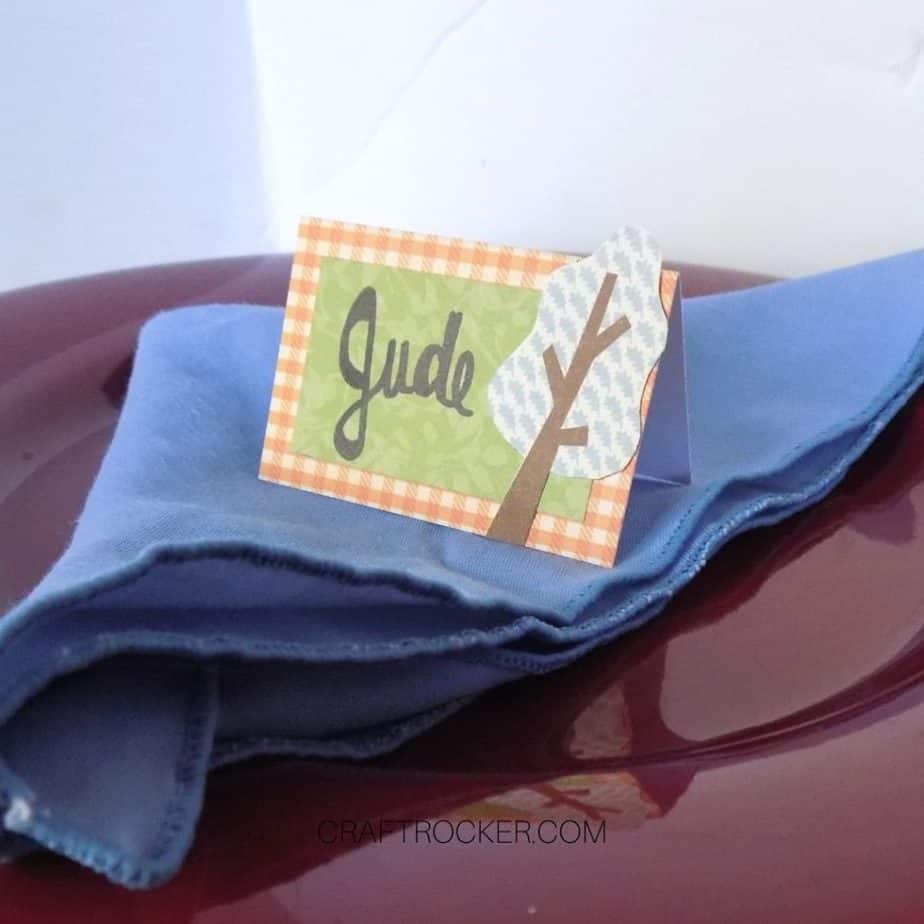
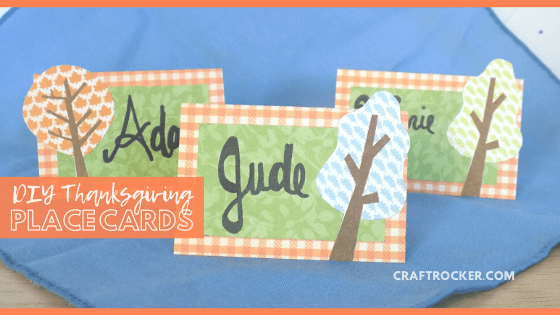
Add a personal touch to your table this year with these DIY Thanksgiving place cards.
Affiliate links may be used in this post. Ordering a product through these links may result in a commission at no extra cost to you. Read the full disclosure here.
Jump to the Tutorial

We don’t do fancy place setting at our big family Thanksgiving dinners. It’s more a “grab your food and pick a seat” sort of thing.
However, when we do it at home, I like to make it a little fancier since it is only the 5 of us.
We set a formal(ish) table not only to make it something special for the kiddos but also as a way to teach them how to do it. It’s a fun way to teach a small life skill.
This year I thought I’d add an extra fun element to our dinner at home with these DIY Thanksgiving place cards.
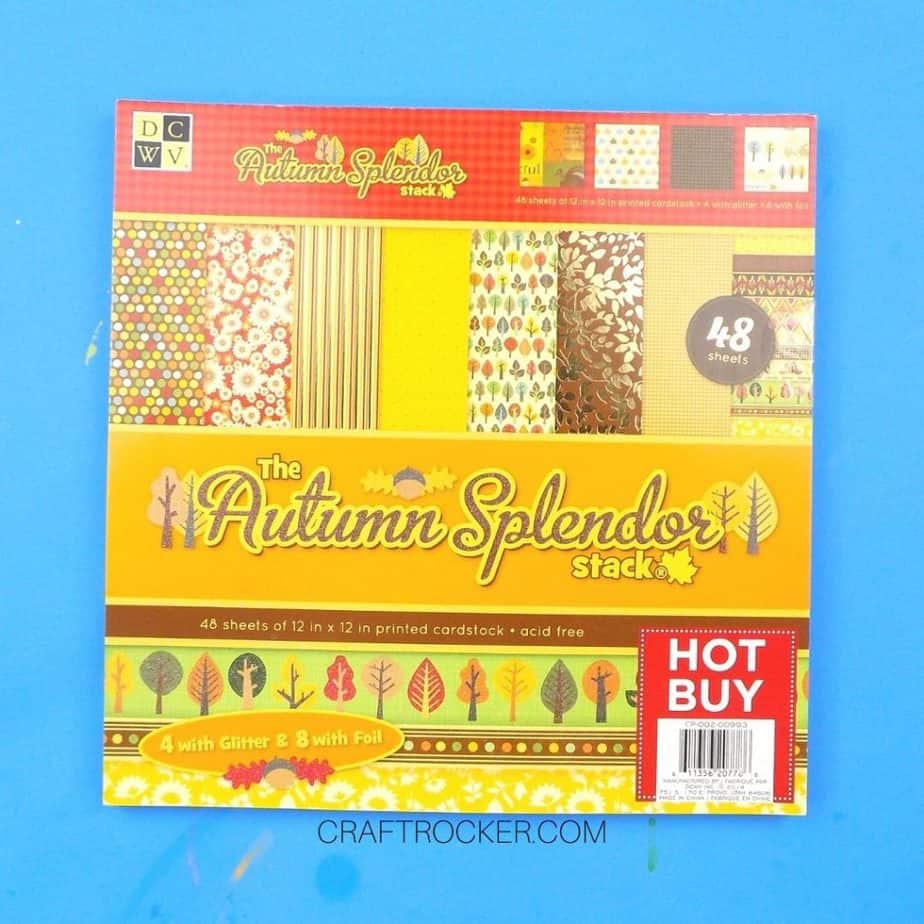
Although the paper pad I used is out of print, here’s a picture if you want to hunt it down on Ebay or some other website that sells discontinued paper pads.
Note that any paper similar to those used will work just fine so don’t kill yourself looking for the exact pad I used.
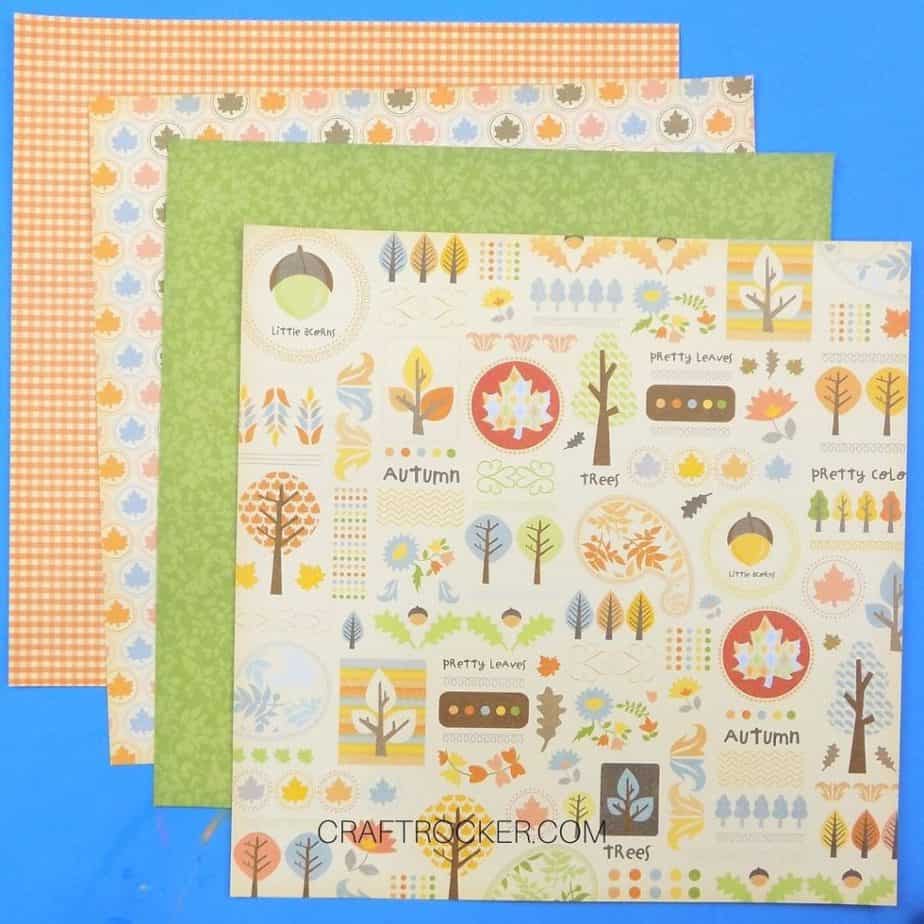
Materials Needed for Thanksgiving Place Cards
Orange Plaid 12×12 inch Paper
Green Leaves 12×12 inch Paper
Fall Designs 12×12 inch Paper
Standard Ruler
Pencil
Glue Runner
Black Permanent Marker

Step 1
First, use your ruler to mark every 3 inches on the edge of your orange plaid paper. Then cut the paper into 3 inch strips with your paper cutter using the marks as guides to line it up.
Be sure to mark your paper with a pencil so that you can erase it later if needed. However, small marks will do, you only need a small reference and your paper cutter will do the rest.
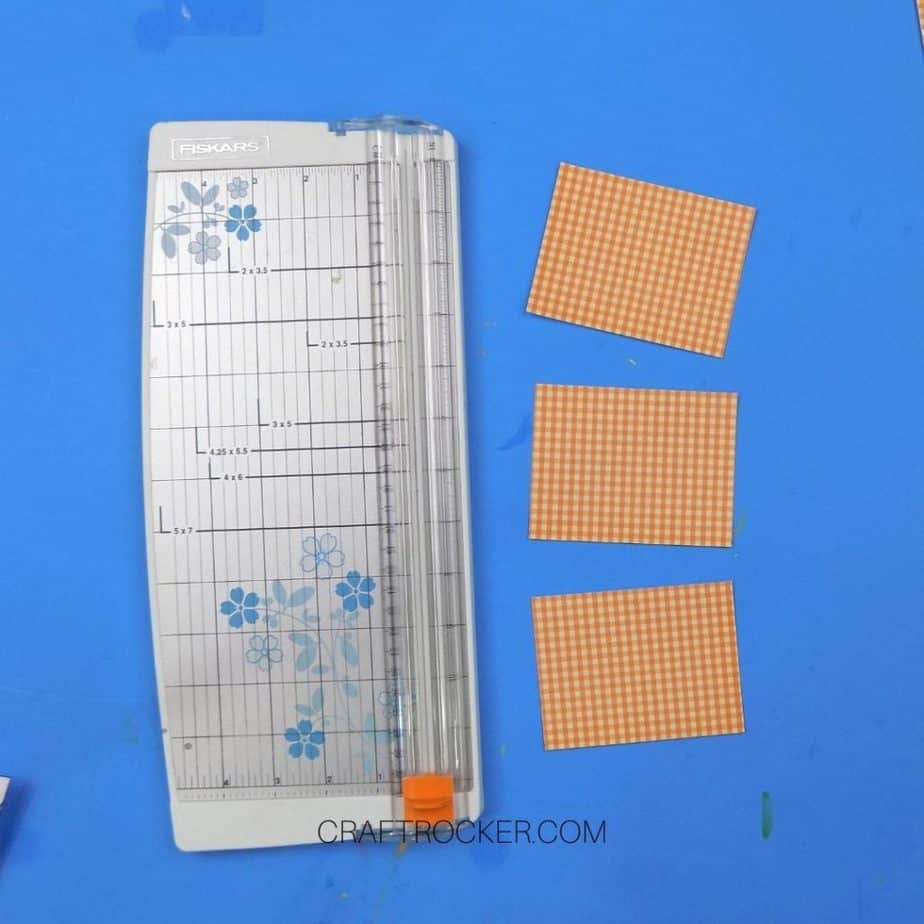
Step 2
Next, measure and mark every 4 inches along the long edge of your orange paper strips. Again, cut at the marks with your paper cutter.
Step 3
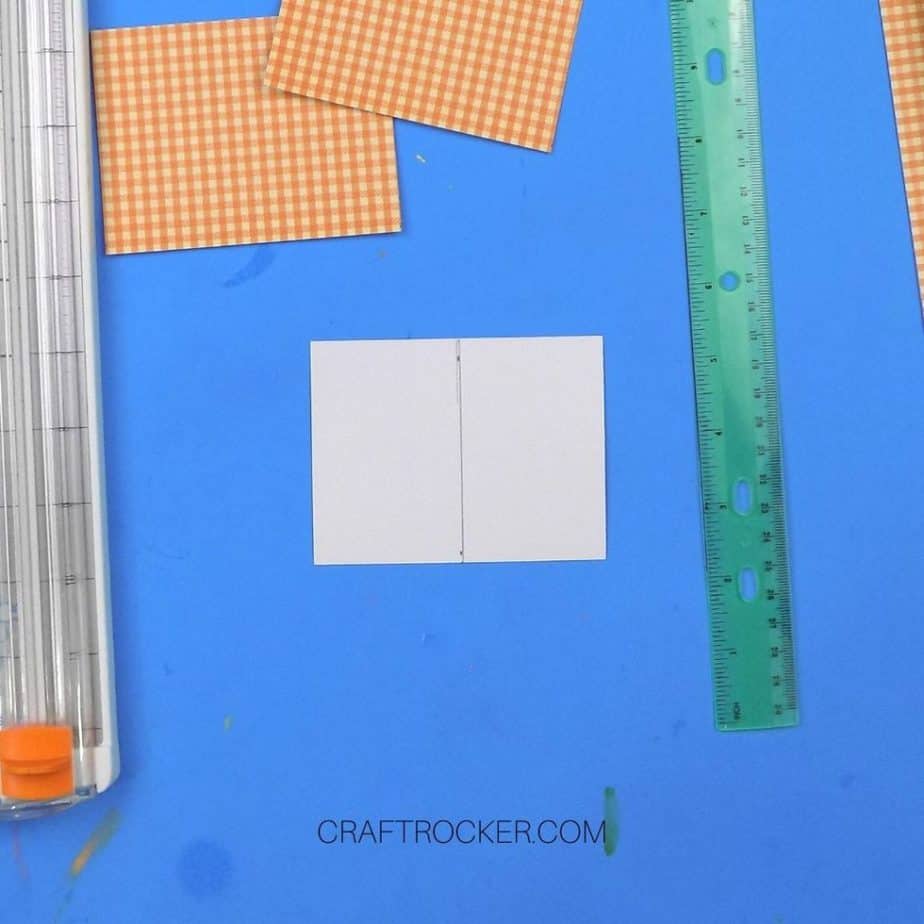
Take one of your orange paper rectangles and flip it over so that the white side is face up. Measure and mark the middle of each long side (2 inches from the edge) of the rectangle.

Step 4
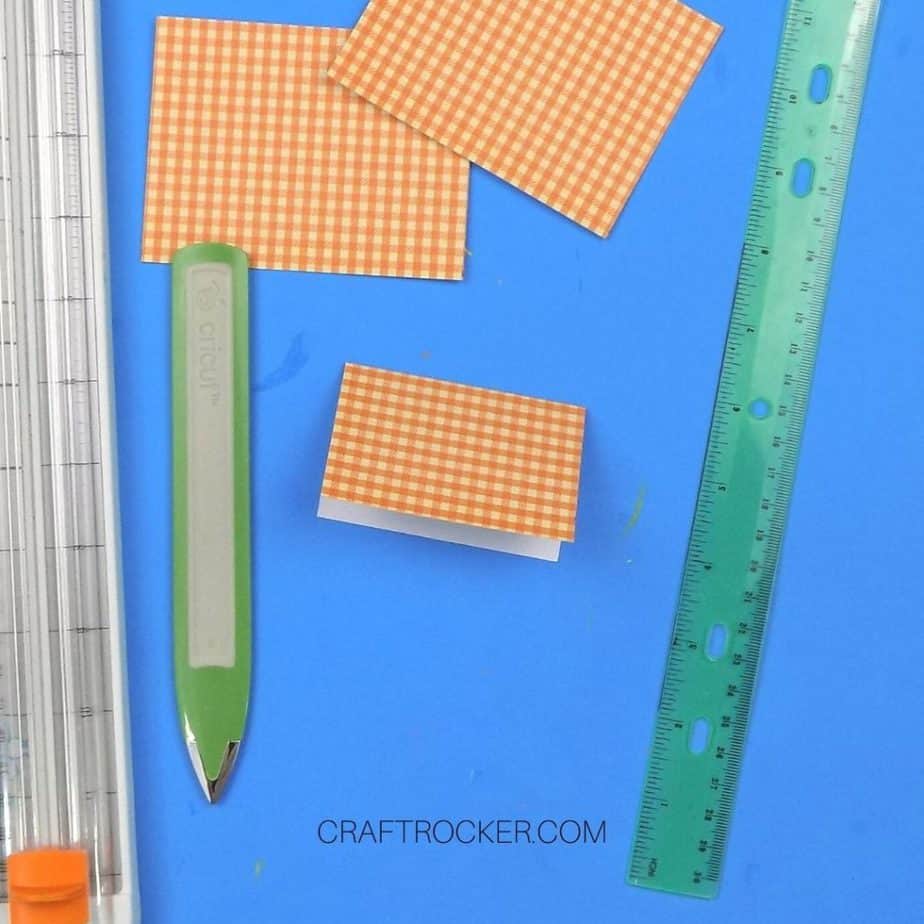
After the centers are marked, line up your ruler across them and use it as a guide to run your boning tool along. Then fold your rectangle along the created fold line.
Step 5
Repeat steps 3 and 4 for the remaining orange rectangles.
Step 6
Next, take your green leaves paper and mark every 2.5 inches along the edge. Then cut the paper into strips with your paper cutter using the marks as a guide.
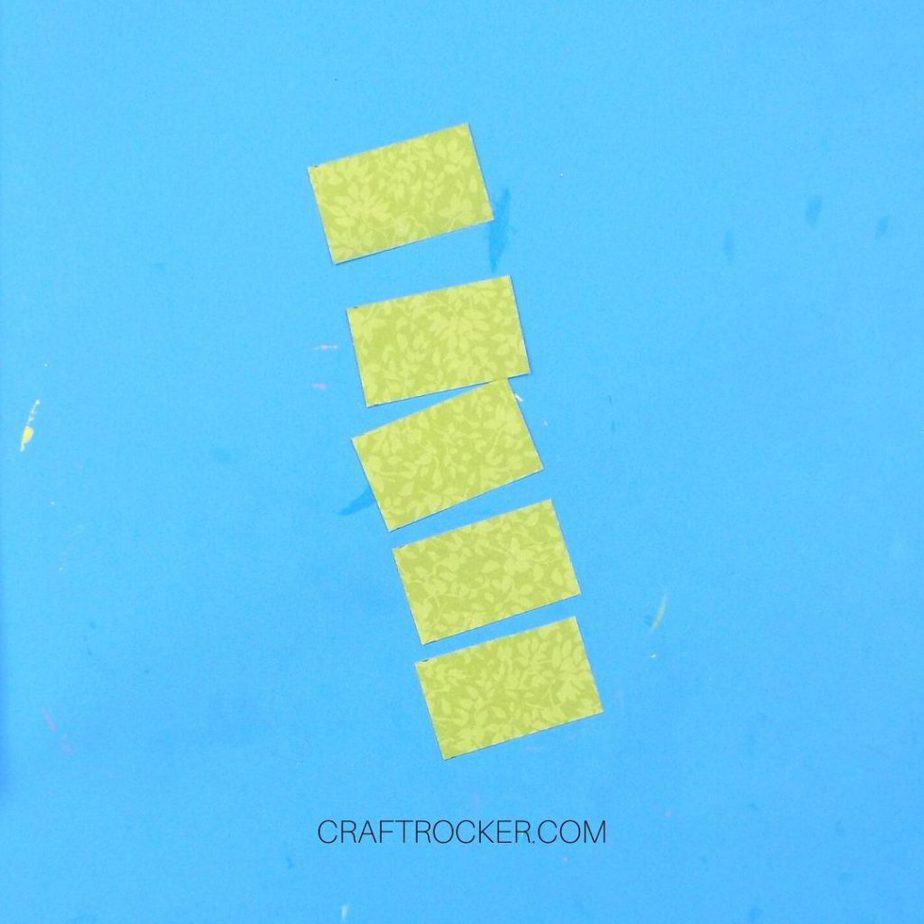
Step 7
Then measure along the long edge of your green paper strips and mark every 1.5 inches. Again, cut at the marks with your paper cutter.
Remember: One 12×12 inch sheet of paper only yields 12 place card bases so you only need to cut 12 smaller rectangles from your green leaves paper.
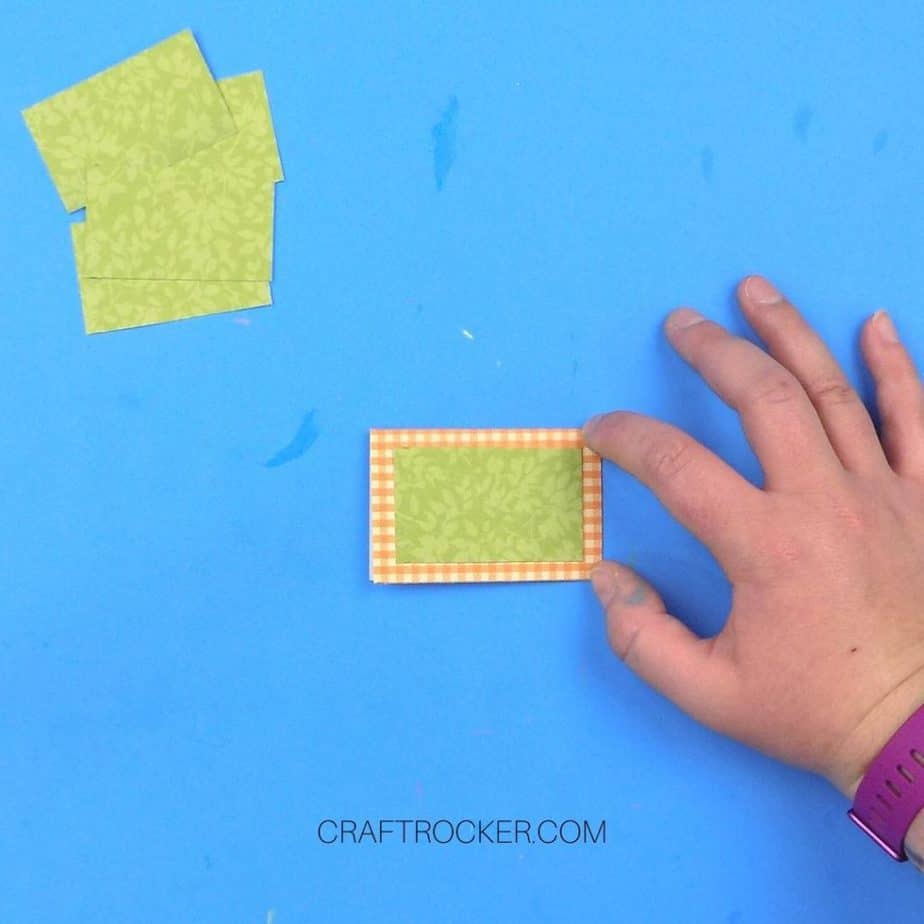
Step 8
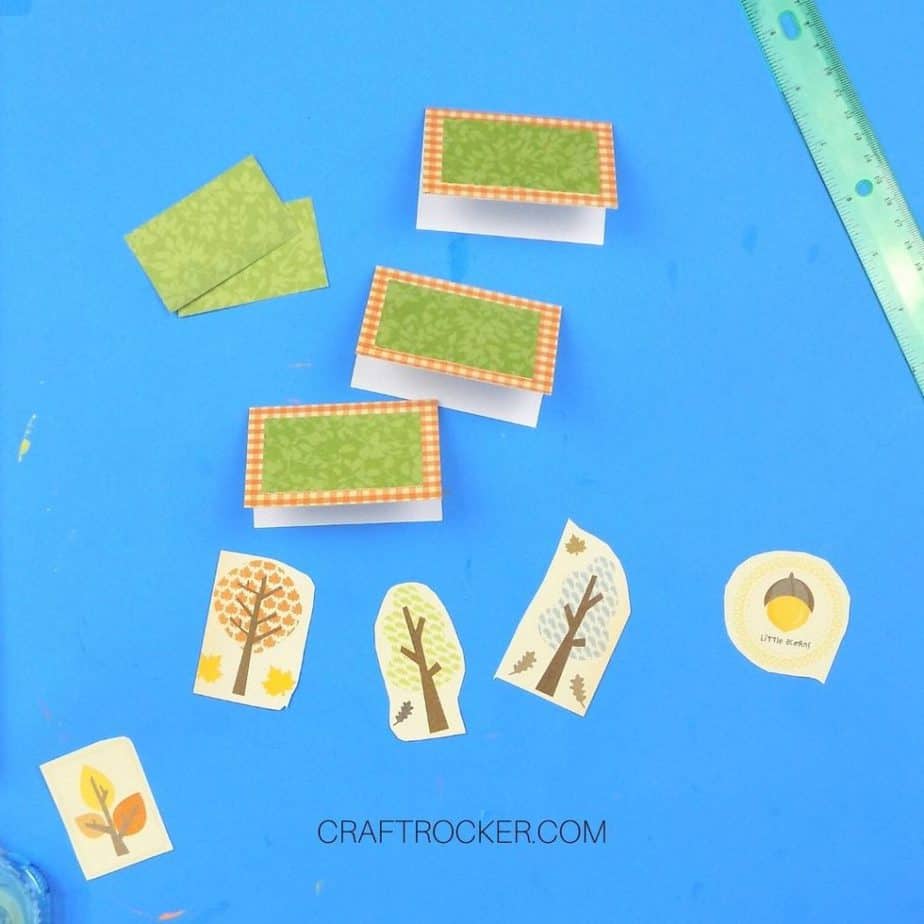
Now take a green paper rectangle and attach it to the center of one side of your folded orange place card with your glue runner.
Then repeat with the rest of your place cards.
Step 9
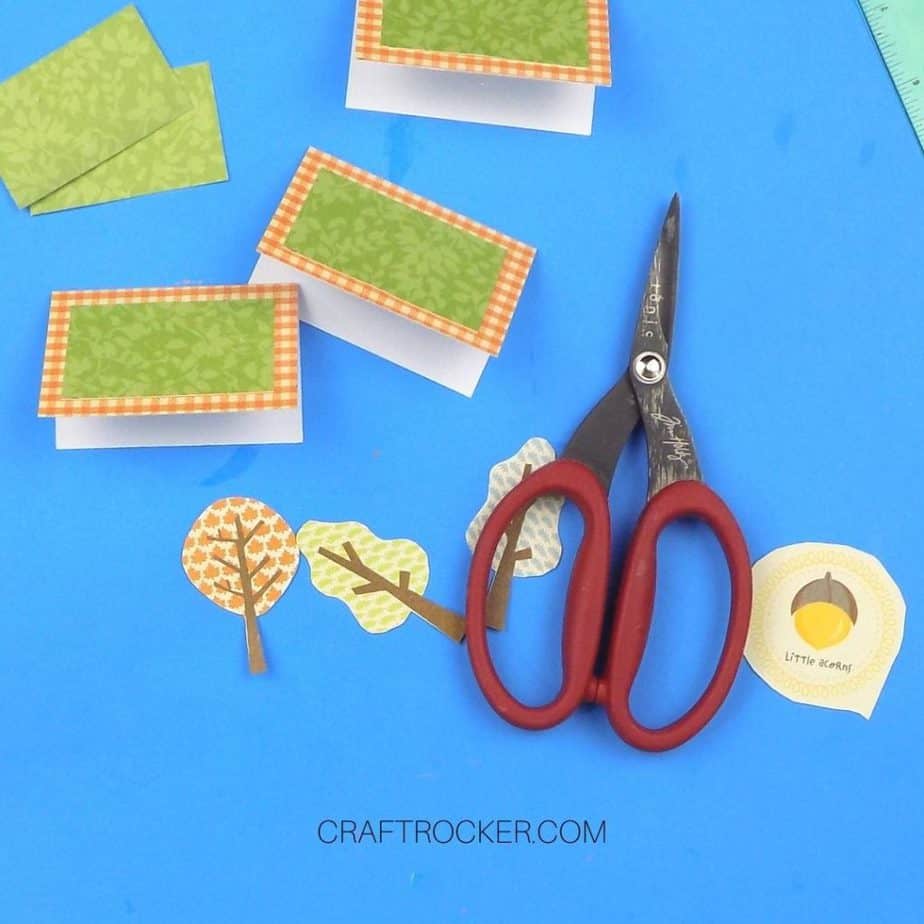
Next, cut some decorative elements out of your fall designs paper. I really liked the retro trees on my paper.
Don’t be afraid to choose designs that are taller than your place cards. It gives it more dimension and visual appeal in the end.
Tips for Cutting Intricate Designs Out of Paper
First, choose the right scissors. I seriously cannot say enough positive things about these Tim Holtz scissors. I use them in all of my paper crafting.
Secondly, cut your designs out of the paper broadly just to get them in more manageable pieces. Then go back and carefully cut out the intricate designs.
Step 10
After your designs are cut out, adhere them to the left of right side of your Thanksgiving place cards. There is no right or wrong way here. In fact, I chose to vary the sides I attached them to.
Step 11
Next, trim any overhang of your design elements from the bottom of your place cards. It’s fine is it overhangs on the top but if it does so on the bottom then your place cards won’t sit correctly.
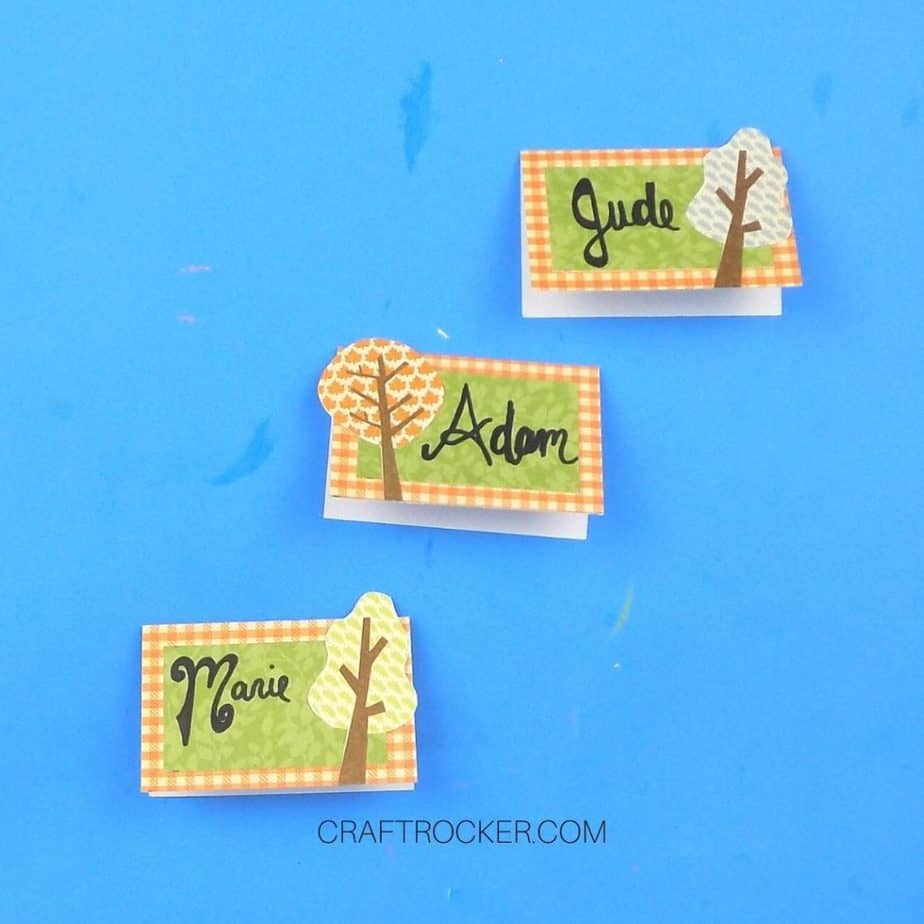
Step 12
Lastly, write the names on your place cards with black permanent marker. You could also try metallic permanent markers, although I tried it with silver and it was very hard to see. I recommend sticking with gold or copper.
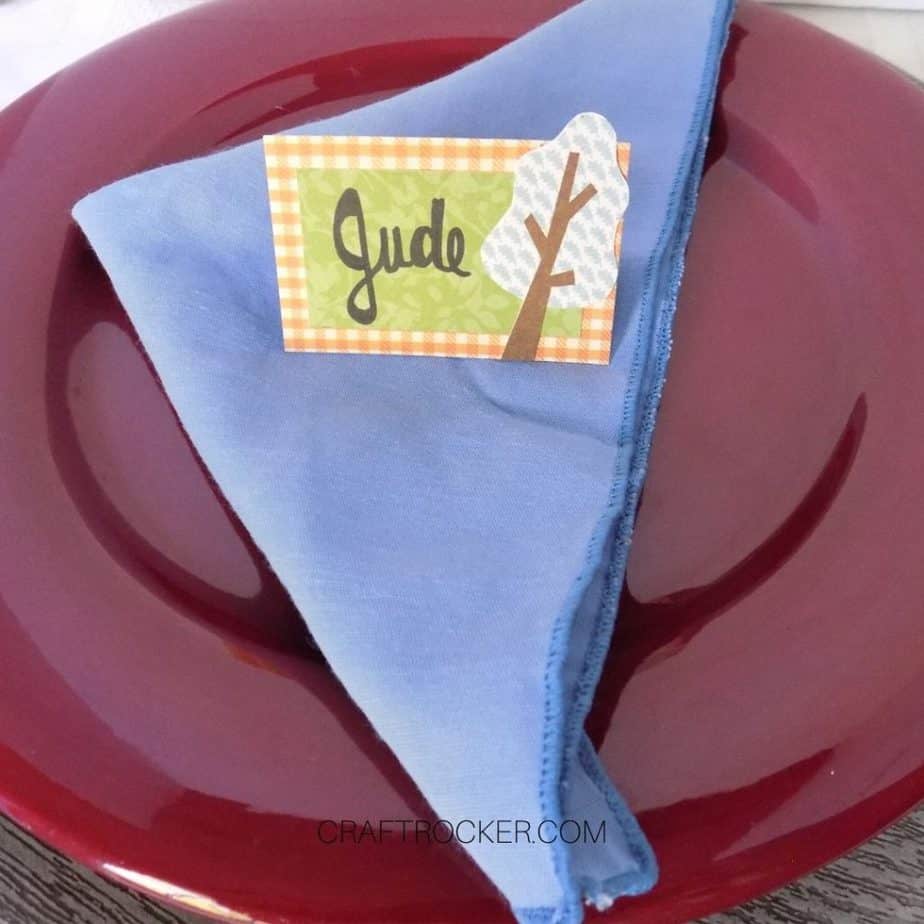
Now that I’ve made these DIY Thanksgiving place cards, I’m excited for the fun part: seeing if the kids can actually read their names in cursive!
Either way, I’m sure they’ll appreciate this special touch to our holiday table just as much as your own family will this year!
Want more paper crafts? I have a page for that! Check out all of my Paper Crafts here.
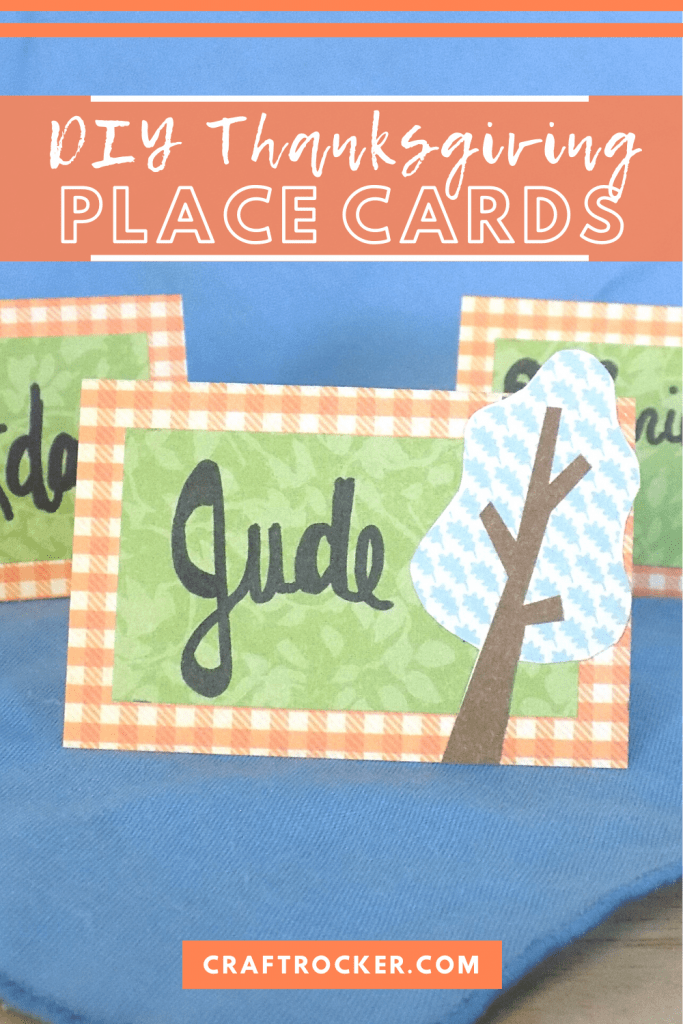
Don’t Forget to Pin It!
More Fun Fall Crafts You’ll Love:

Yarn Pumpkins - A Quick and Easy DIY
These yarn pumpkins are a quick and easy DIY project for fall. You can totally use them in a variety of ways too!

33 Dollar Store Fall Decor Ideas
Get your home ready for fall on a budget with these dollar store fall decor DIY projects!
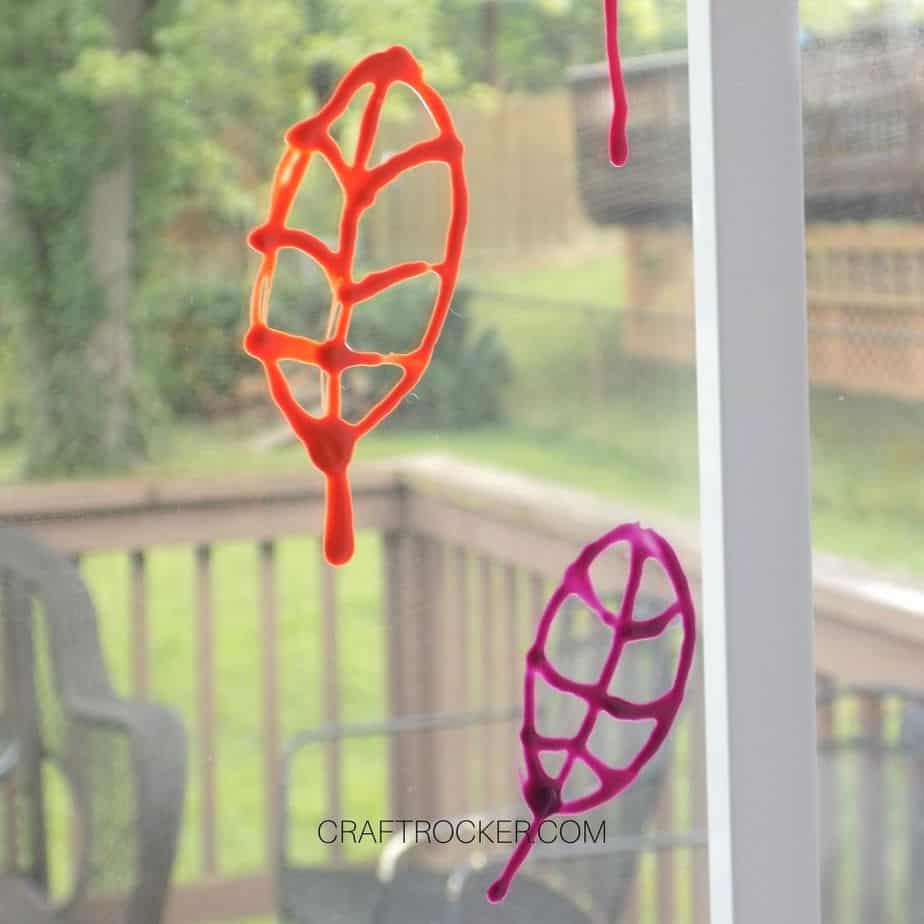
Fall DIY Window Clings
These DIY fall leaves window clings bring the season to your home even if it is still 80 degrees outside.

Fall Bucket List for Crafters
This fall bucket list for crafters is a new spin on an old tradition. Make a crafty list of fun things to do during the season for some self-care and fun!

Leave a Reply