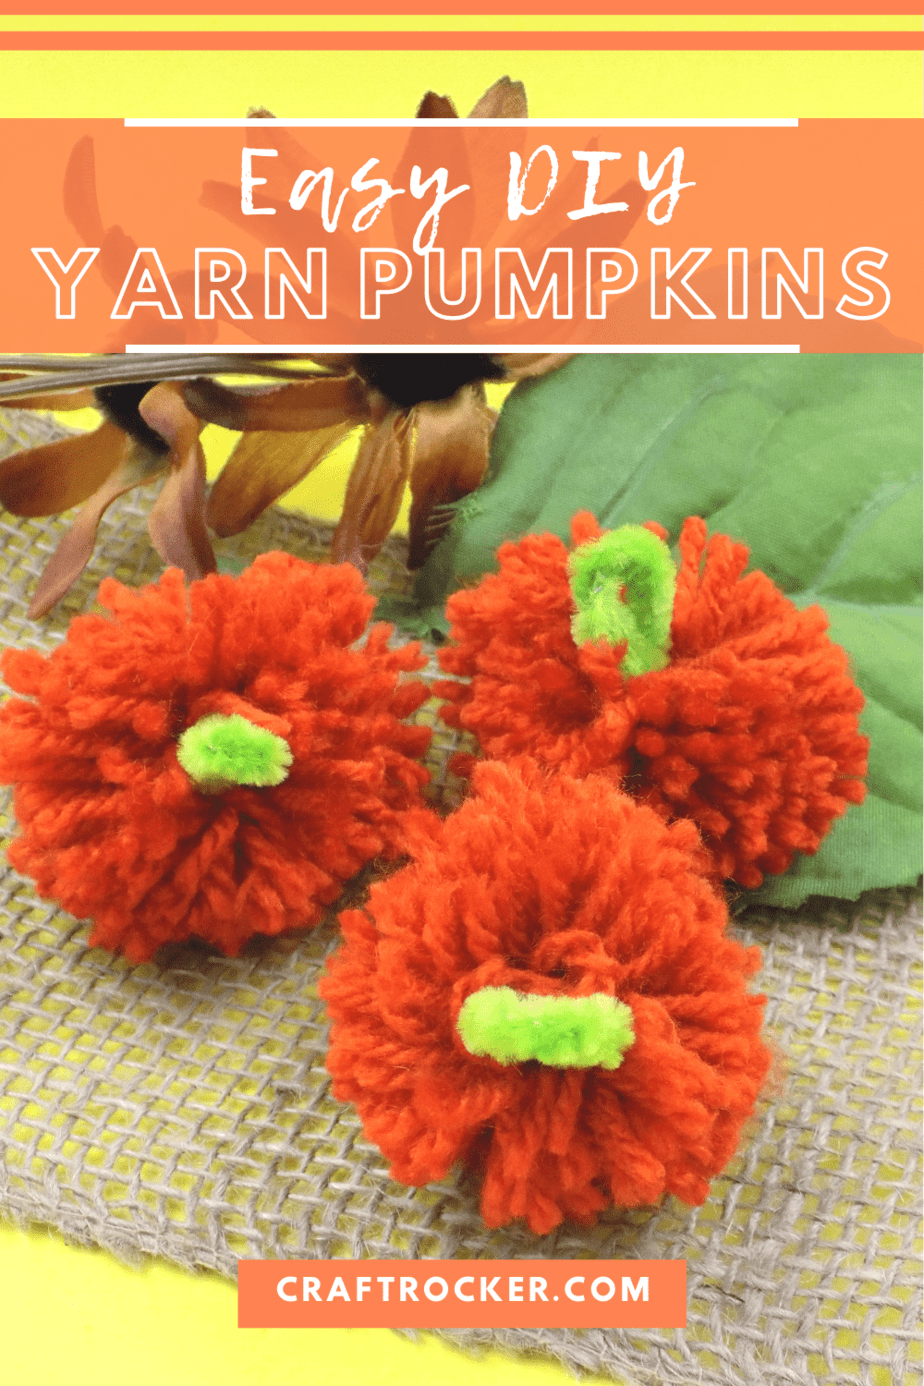
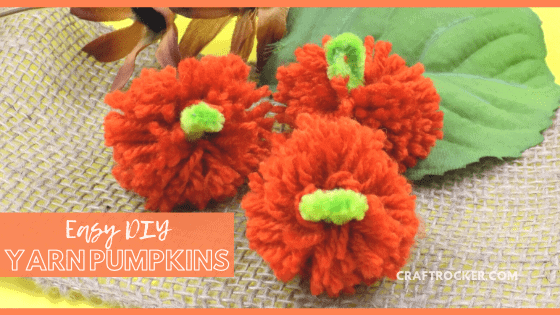
These yarn pumpkins are a quick and easy DIY project for fall. You can totally use them in a variety of ways too! Use them as vase filler, in centerpieces, or string them together for an adorable fall banner. So many possibilities.
Affiliate links may be used in this post. Ordering a product through these links may result in a commission at no extra cost to you. Read the full disclosure here.
There are a lot of different ways out there that claim to make yard pumpkins. I thought this would be a super quick project. Uh, nope.
I tried wrapping yarn around my hand and tying it off. That resulted in weird little pumpkin-esque tangles.
Then I tried wrapping yarn around a piece of cardboard and tying both sides (front and back). When I brought the sides together, it was less tangle mess but not exactly pumpkin looking either.
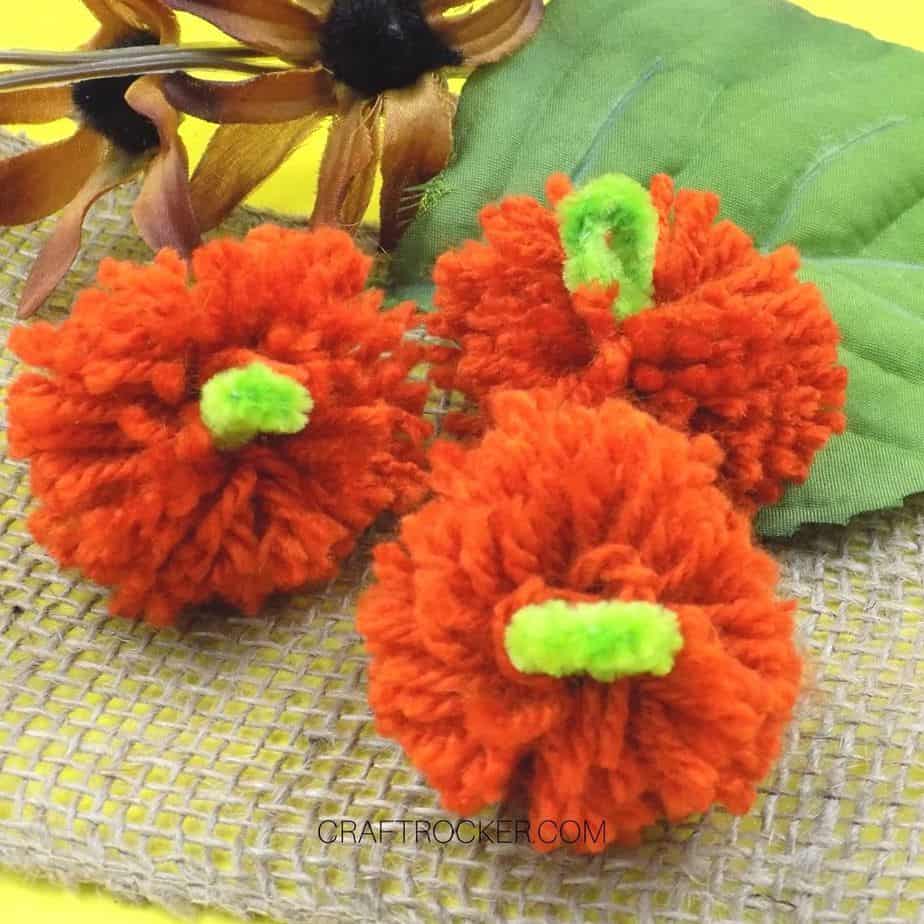
Finally, I said, “No more chaos! Stick with what you know.” So I pulled out my pom pom maker and boom! Adorable little yarn pumpkins, easy-peasy.
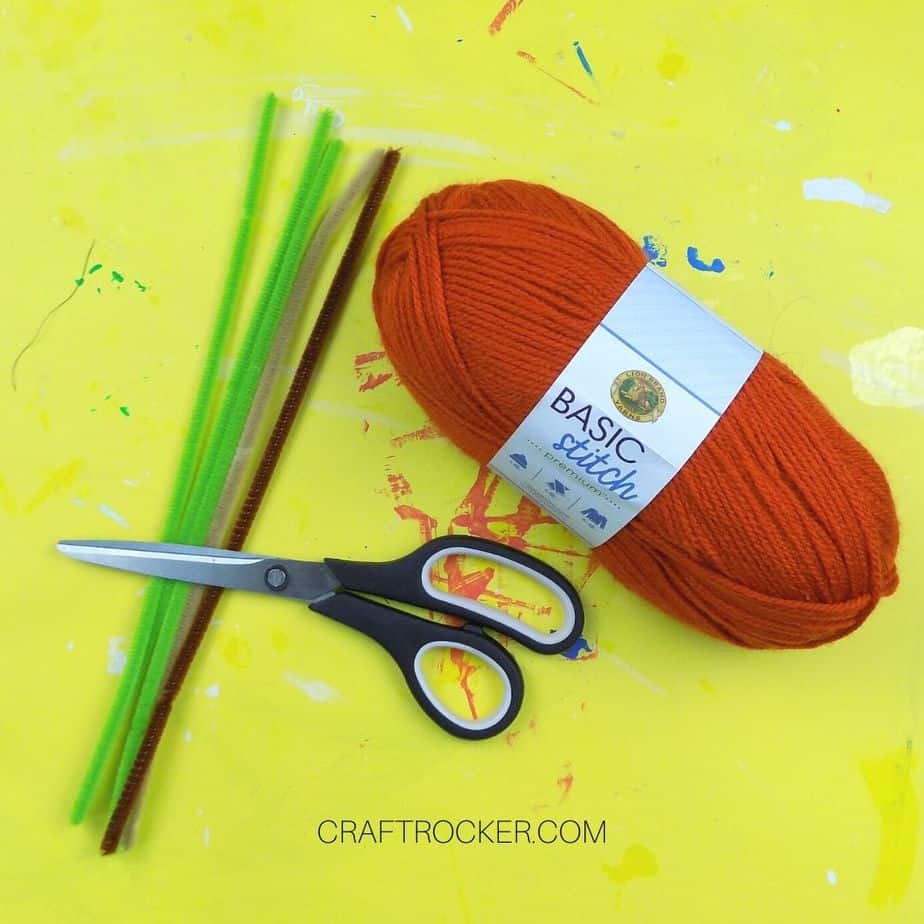
Yarn Pumpkins Materials
- Orange Yarn (any shade of orange works)
- Medium Pom Pom Maker (I used the pink one from this set)
- Green Pipe Cleaners (also called Chenille Stems)
- Scissors
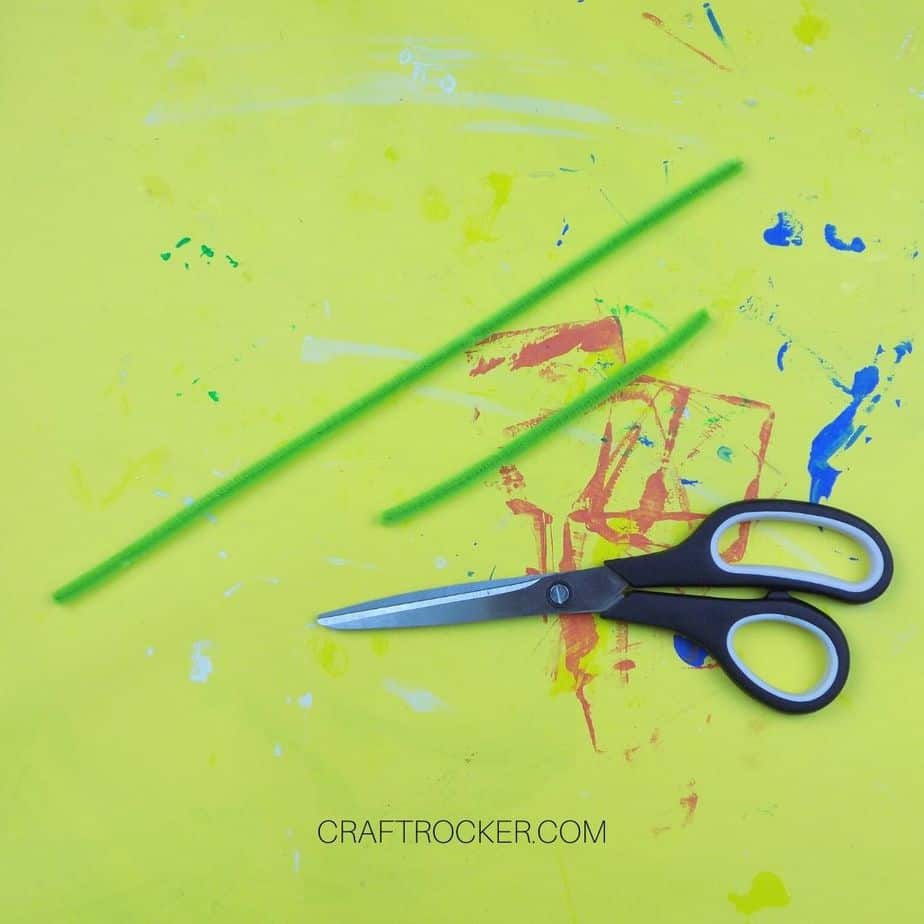
Step 1
First, prep your pipe cleaner by cutting it half. Cut the number needed for the number of yarn pumpkins that you plan on making.
Then set your pipe cleaner halves aside for now.
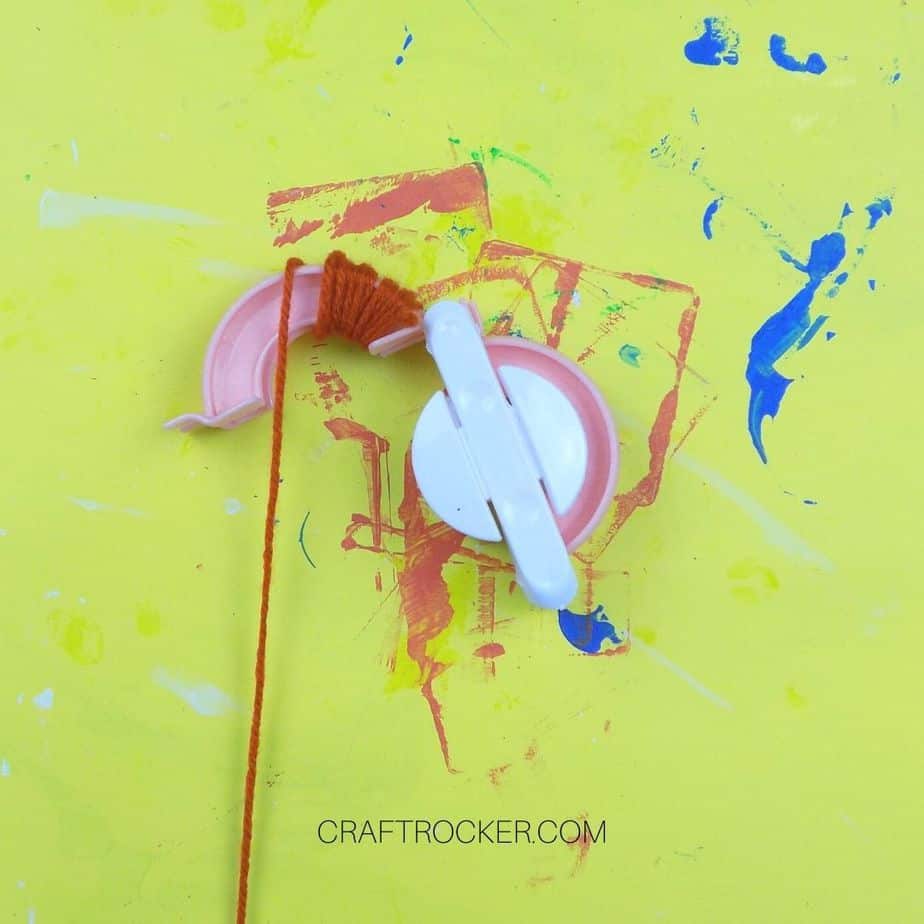
Step 2
Next, begin wrapping your yarn around one arm of your pom pom maker. Be sure to start at the hinged side of the arm.
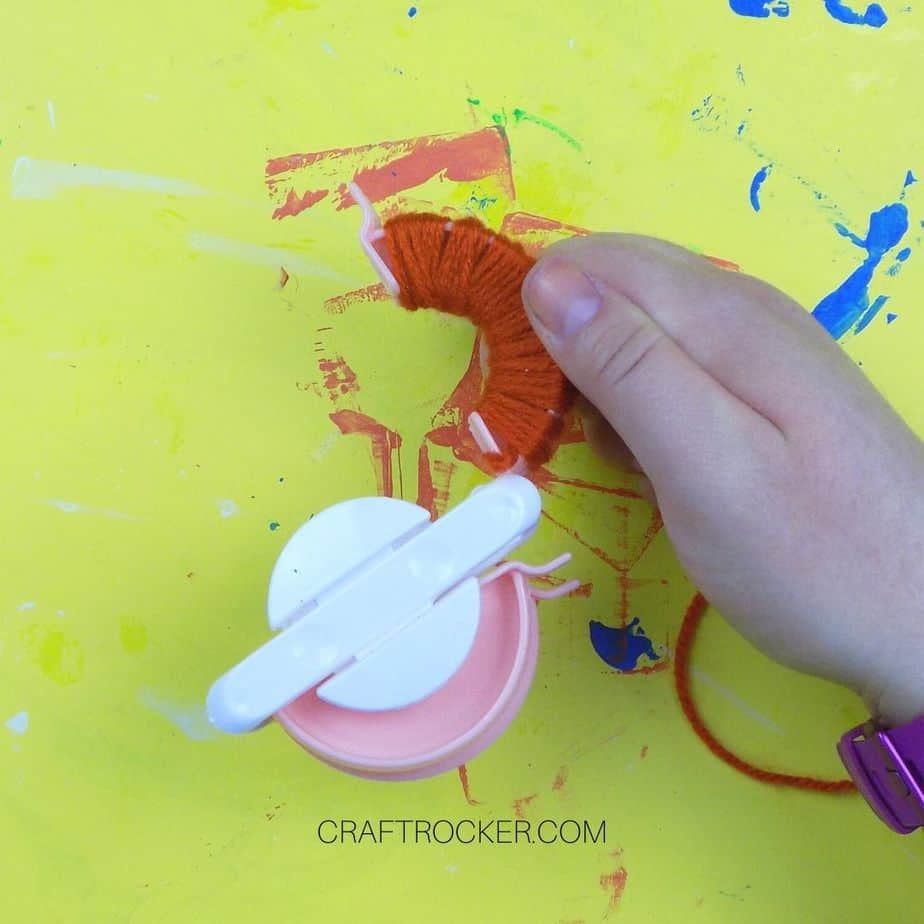
Step 3
Continue wrapping yarn around the arm of your pom pom maker until you reach the exposed end (the end that isn’t attached to the pom pom maker).
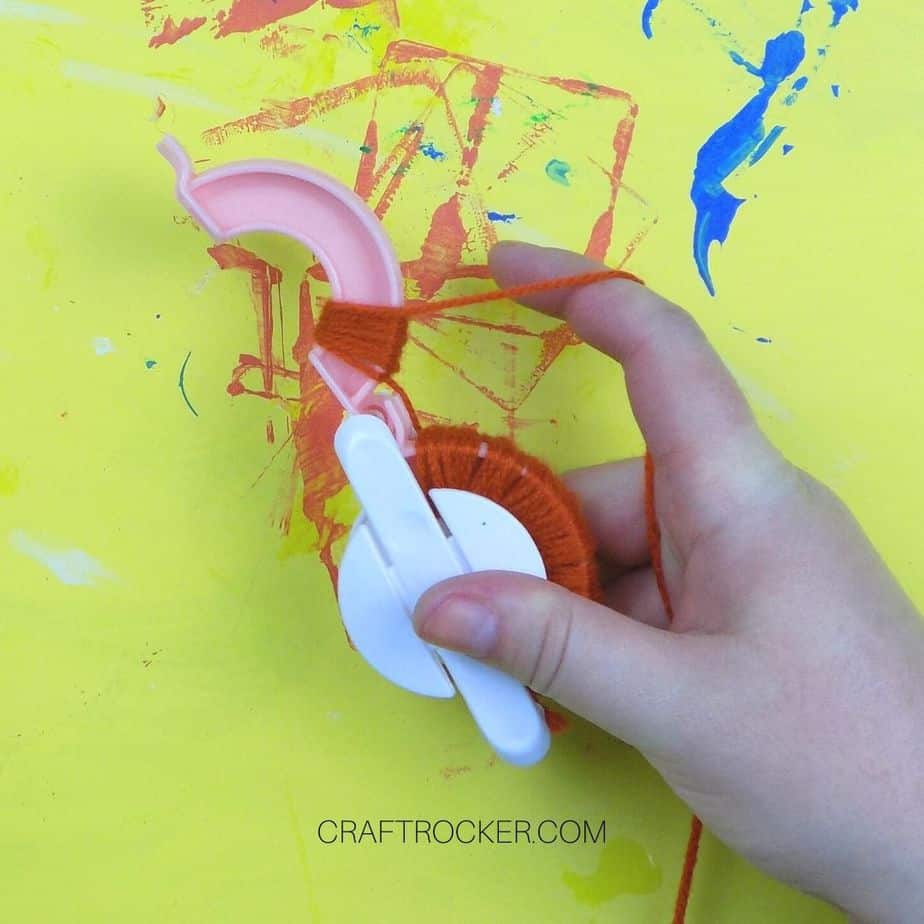

Step 4
Close the wrapped arm and open the second arm. Continue wrapping your yarn onto the second arm of your pom pom maker.
Step 5
Again, continue wrapping yarn until the second arm is completely wrapped. Then close the arm and cut wrapped yarn from the rest of the spool.

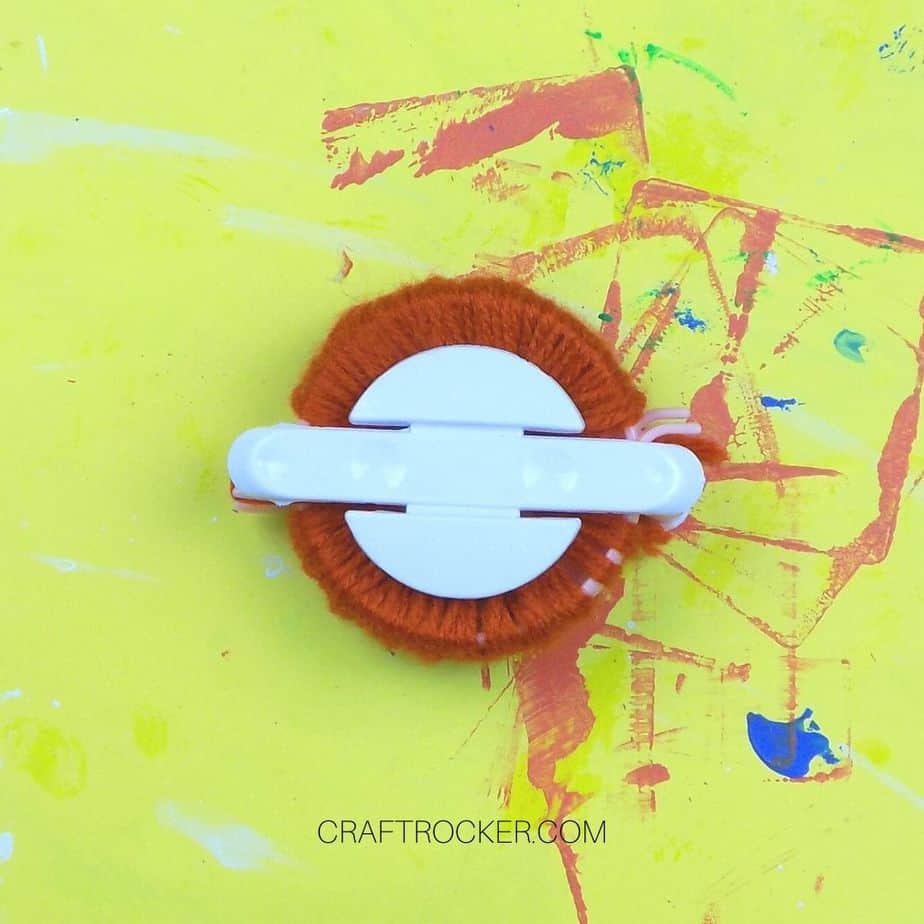
Step 6
Next, carefully cut through the center of the yarn wrapped around both closed arms of your pom pom maker.
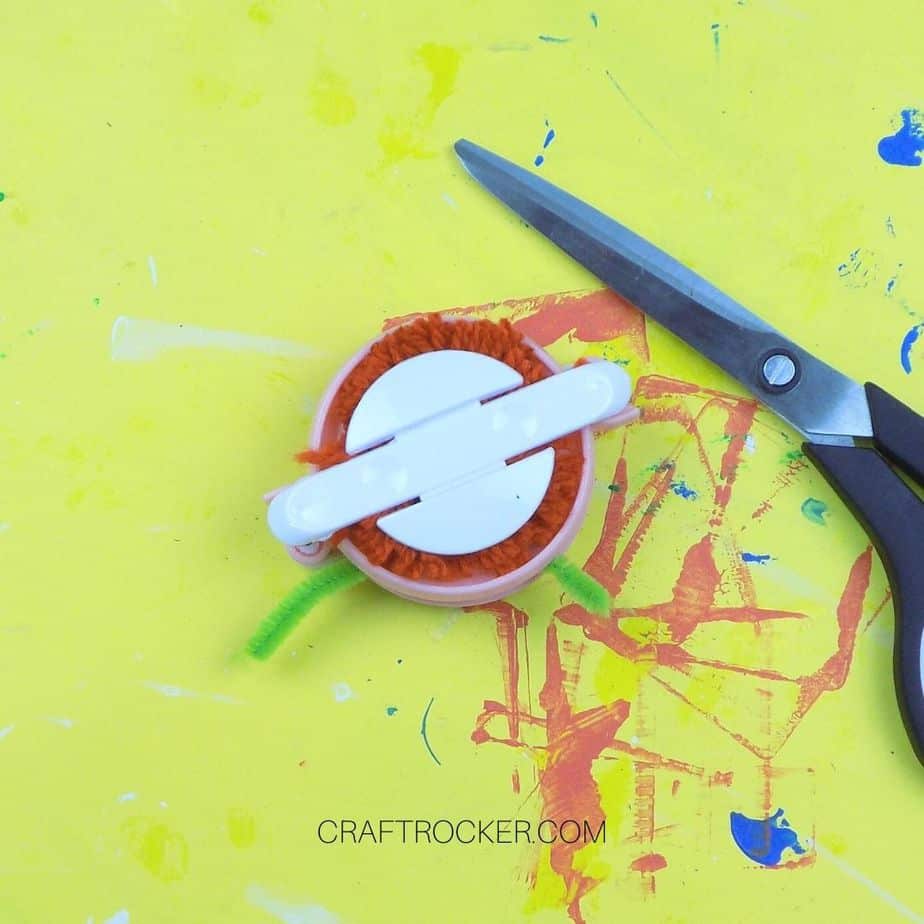
Step 7
Then wrap a pipe cleaner half around the center as tight as you can and twist the ends once.
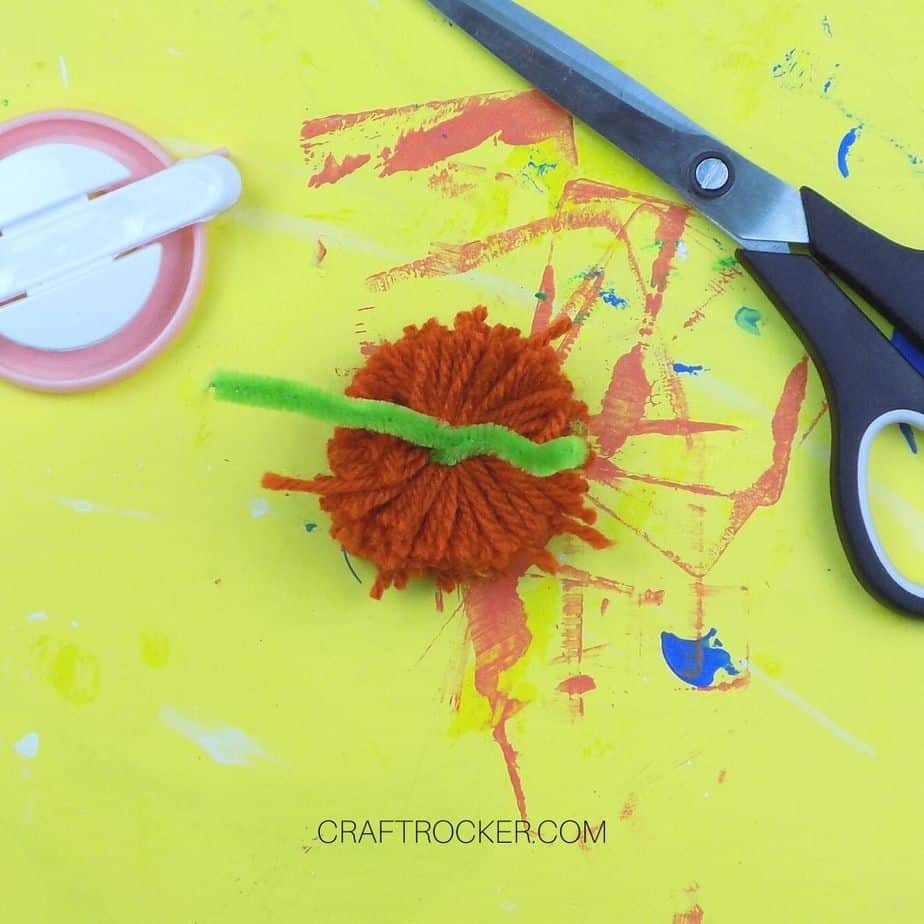
Step 8
Now carefully pull apart your pom pom maker. Make sure that you keep your pipe cleaner twisted tight so that none of your yarn pieces come out.
Step 9
After your pom pom is free from the pom pom maker, twist your pipe cleaner as tight as you can around your pom pom and then continue twisting until both ends are twisted into one.

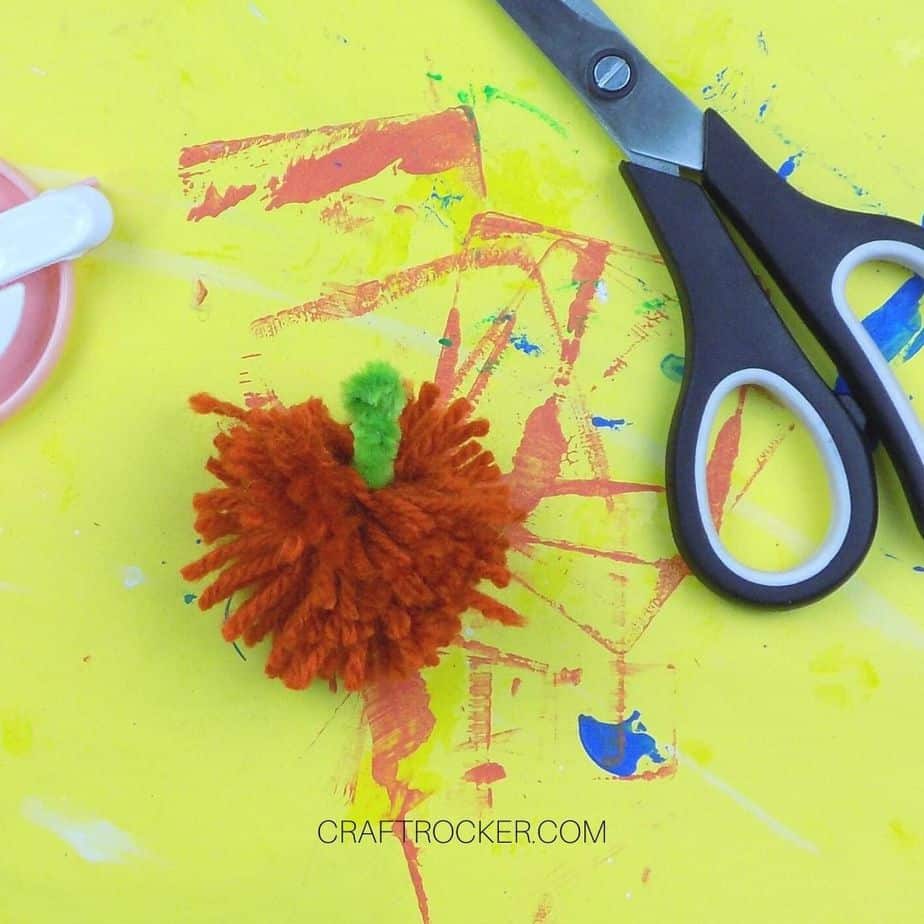
Step 10
Lastly, fold down your twisted stem and trim any long pieces of yarn to even up your pom pom. Make sure the sharp end of your pipe cleaners is towards the center of the finished pom pom.
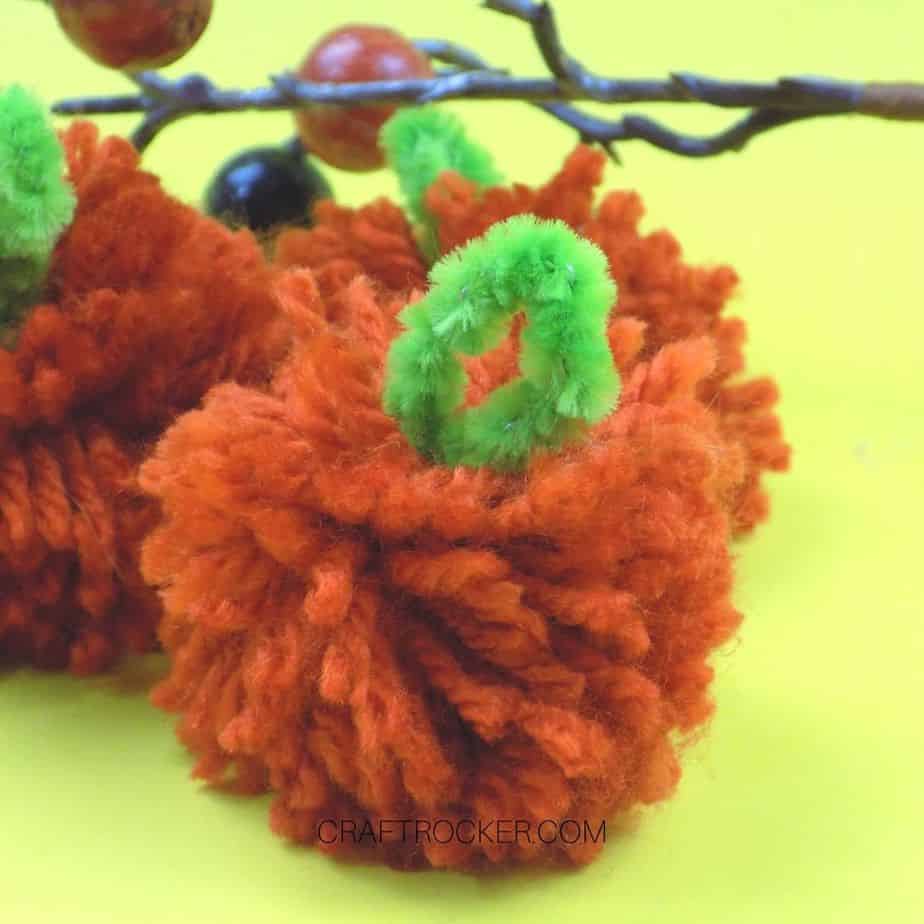
Now that you’ve made your yarn pumpkins what will you do with them?
I’m thinking about creating a wall hanging with mine, sort of mobile style, for a whimsical piece of fall decor. I’d love to hear your ideas in the comments!
Don’t Forget to Pin It!