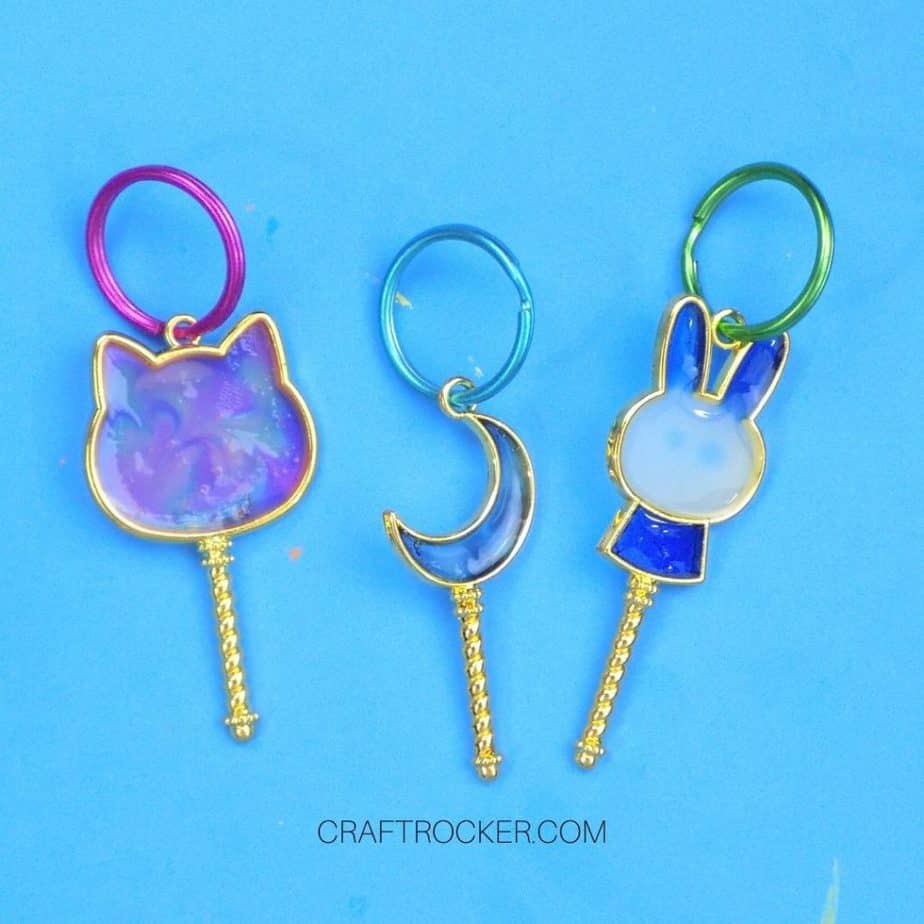
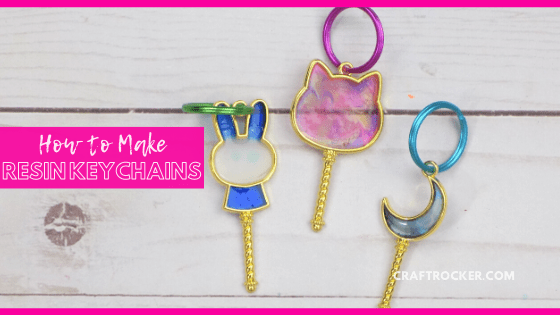
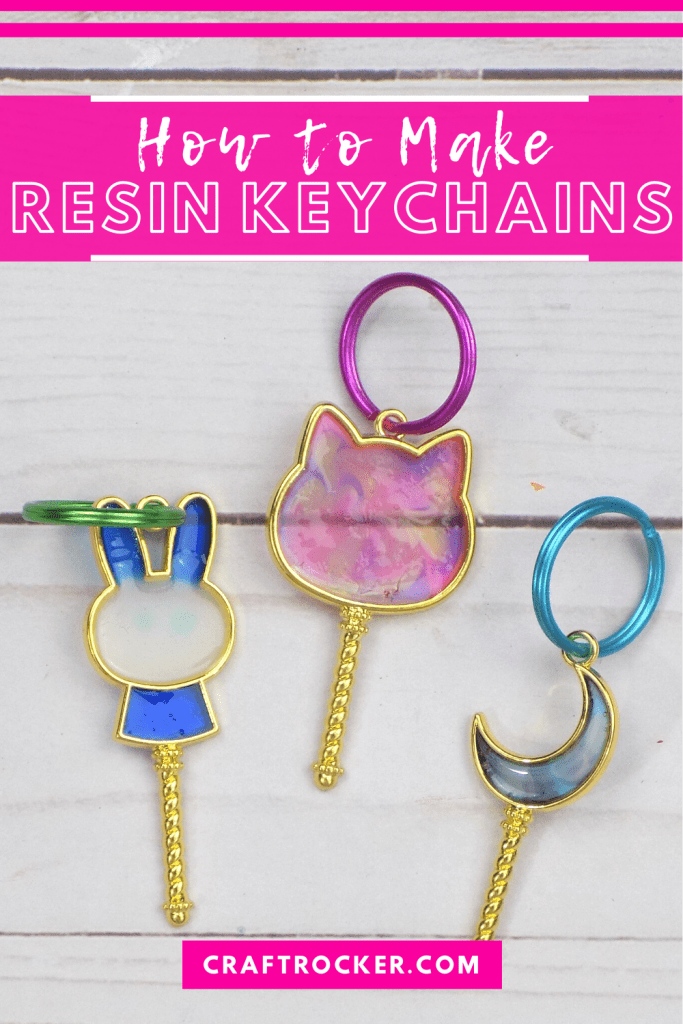
Wondering how to make keychains with resin? I’ve got you covered with 2 tutorials using 2 different types of resin below!
Affiliate links may be used in this post. Ordering a product through these links may result in a commission at no extra cost to you. Read the full disclosure here.
Jump to the Tutorials


It may only be October but I’m already getting a head start on my Christmas presents this year. These resin keychains are one of them and they are a great gift idea for many reasons.
They’re easy to make and customize by the molds you use and the color choices you make. In addition they are a heartfelt gift that friends and family will love. Plus, they’re totally small enough to be fun stocking stuffers!
What Resin Do You Use for Keychains
There are 2 types of resin you can use for keychains: 2 part casting resin and UV resin.
2 part casting resin, as its name suggests, requires 2 parts. One part is the resin and the second part is the hardener. This kind of resin is great if you have a silicon mold for your keychain and if you’re not doing intricate and detailed designs.
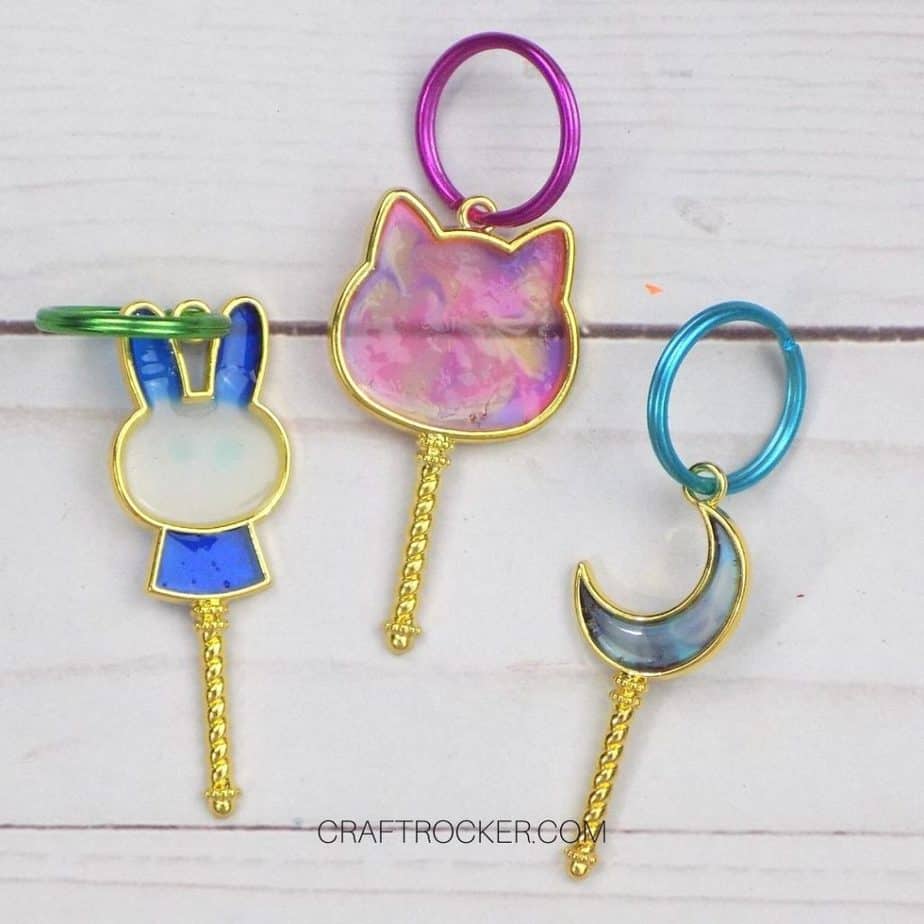
The second type is UV resin. It is ultraviolet resin and requires an ultraviolet light to cure it. This is good for making detailed designs and for use with open metal charms.
How to Make Resin Keychains with 2 Part Casting Resin
First, learn how to make a kechain with casting resin. As I said above, you need a silicon mold for this one. It also takes the longest to make only because the curing time is at least 24 hours.
Materials
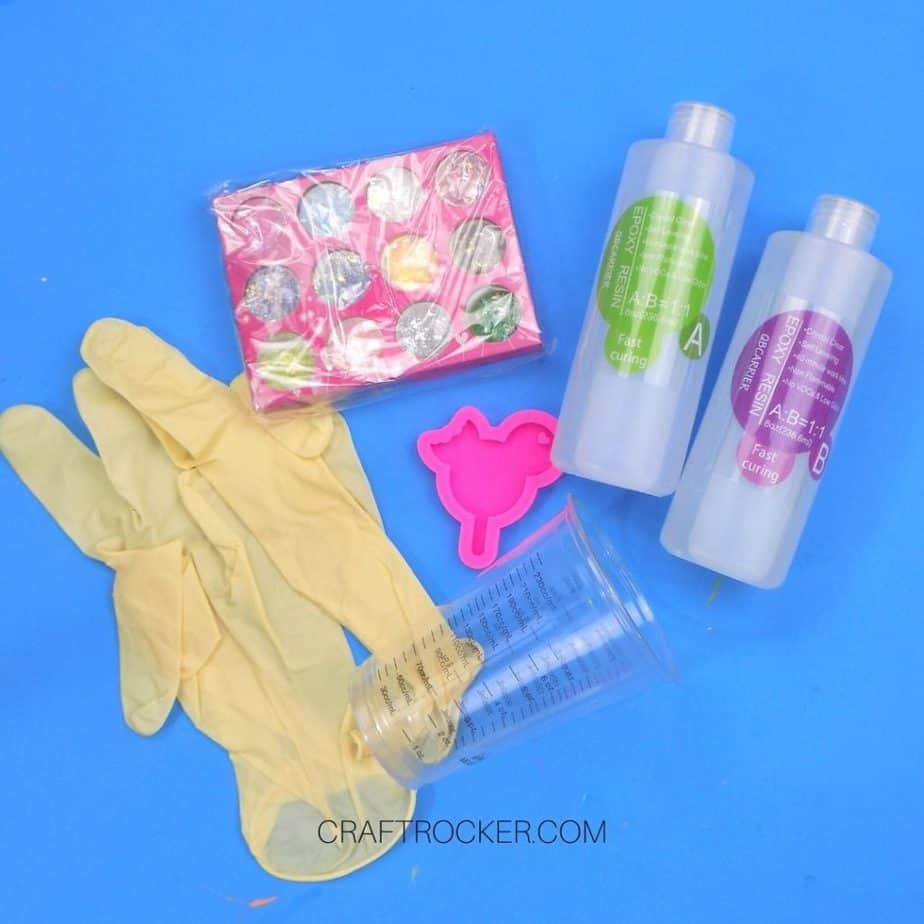
Protective Gloves – I always recommend wearing gloves when working with 2 part resin
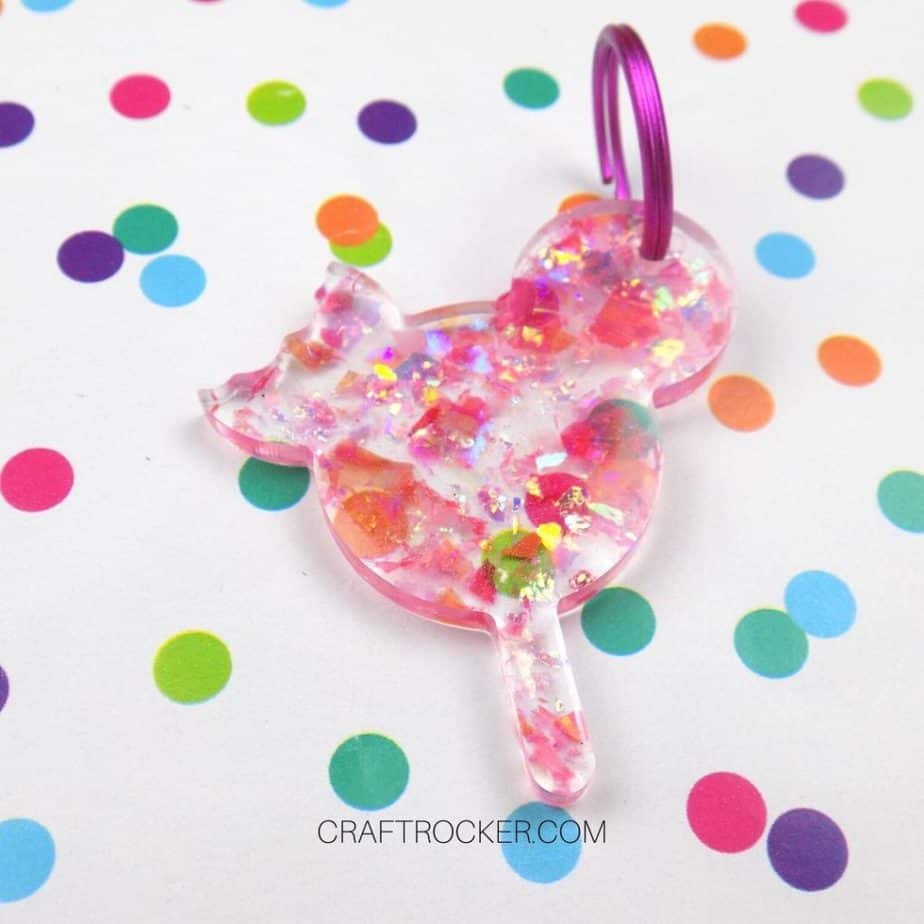
Silicon Mold (I used this adorable Mickey Popsicle Mold)
Heat Gun (Optional)
Step 1
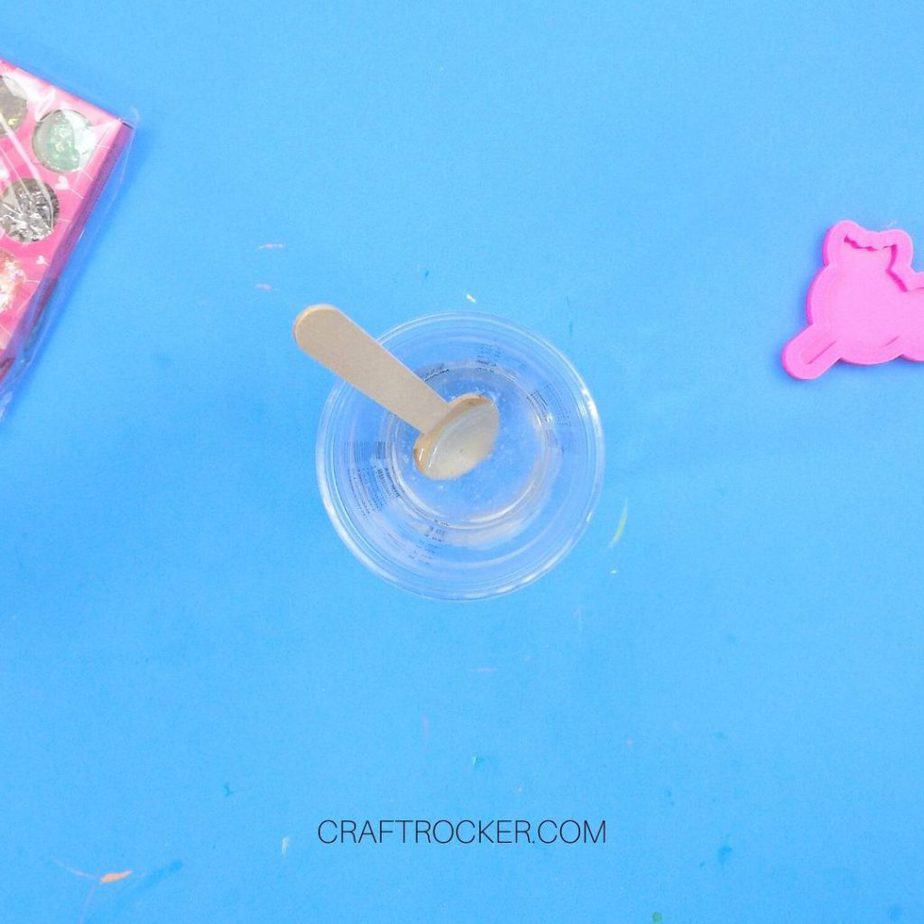
First, start by mixing your 2 part casting resin in a 1:1 ratio. I mixed 1 ounce of each together but that is way more than you need for 1 Mickey Popsicle mold.
I recommend either mixing up a smaller amount or simply making more than 1 keychain. If you choose to make more than 1, keep in mind that you will need multiple molds. Once your resin parts are mixed together, you need to use them within 20-40 minutes.
Step 2
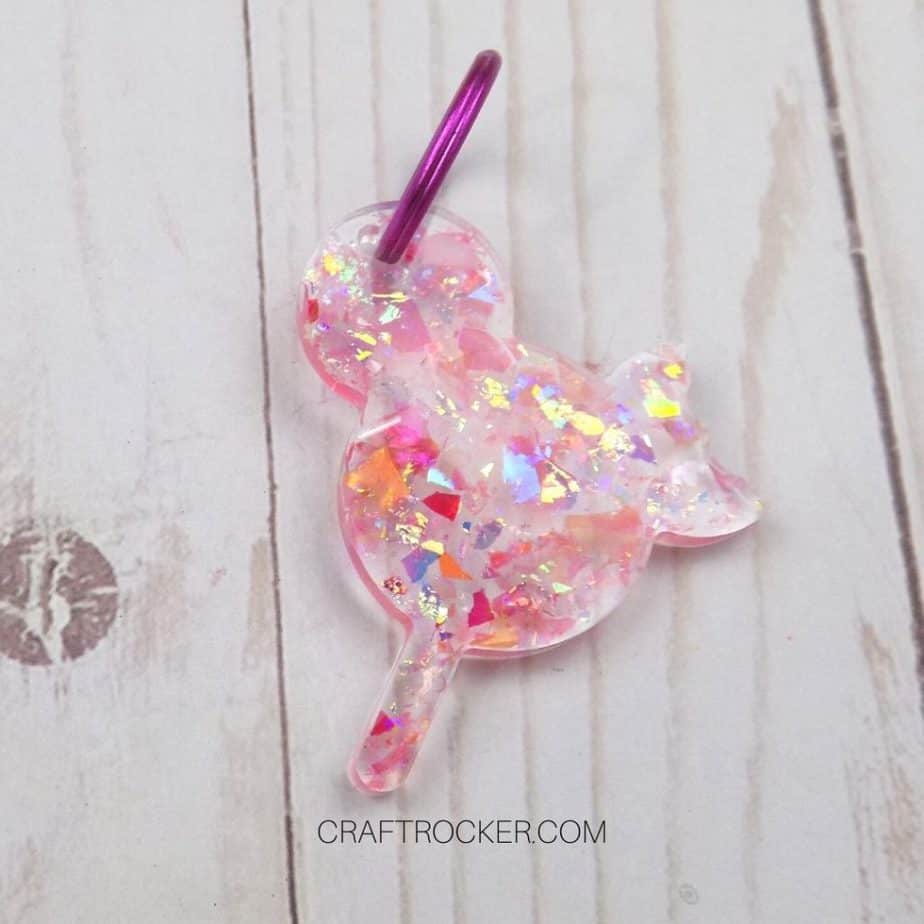
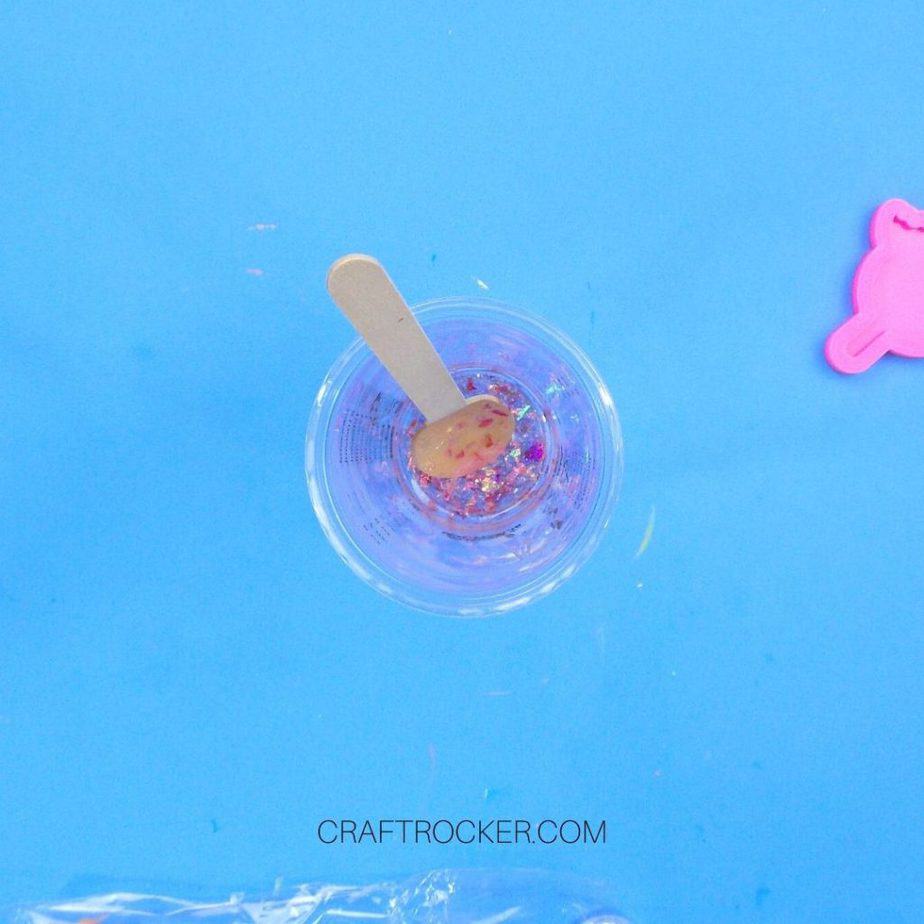
Next, mix your chunky holographic glitter into your resin mixture. Make sure that you get it thoroughly mixed throughout.
Step 3
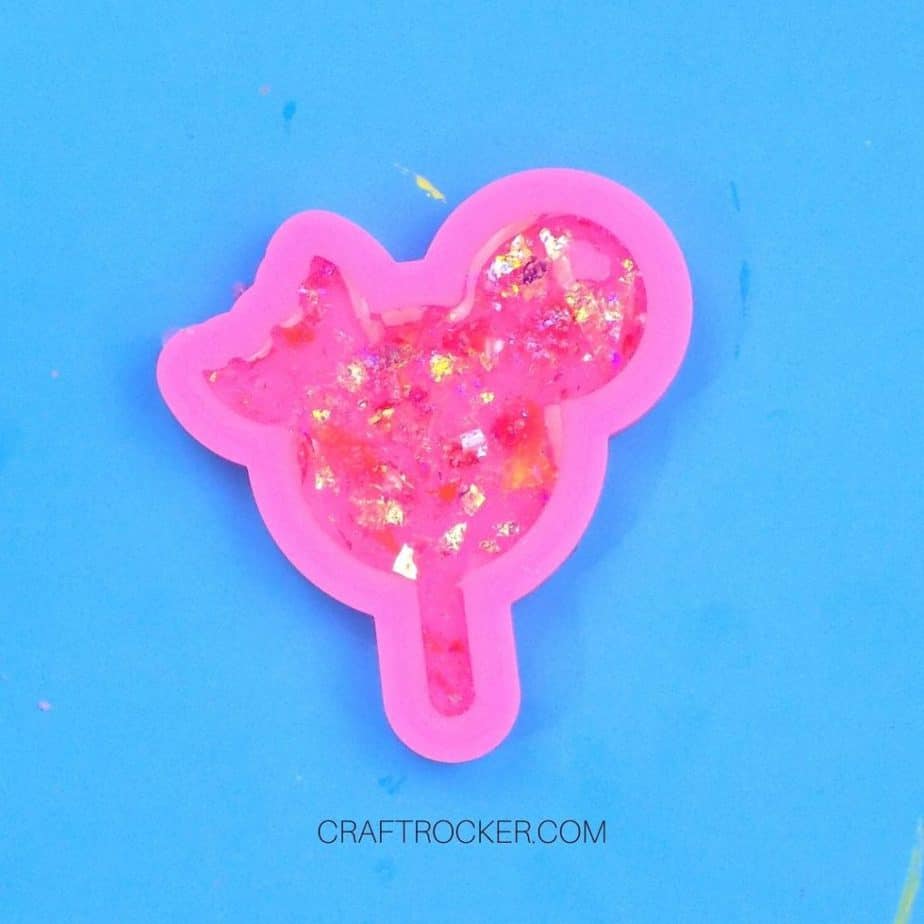
Then pour your glittery resin into your mold. Use your metal resin tool to spread it into the corners and hard to reach areas.
After you spread the resin, be sure to clean off your tool immediately with a paper towel or wet wipe.
Step 4
After your mold is filled, use your metal resin tool to pop any bubbles that have formed in the resin. You can also use a heat gun for this if you have one.
Step 5
Now set your filled mold aside somewhere flat where it will not be disturbed and allow it to cure for 24 hours (or according to your package directions).
Note:
Leave your resin undisturbed for the full curing time. Testing it before it has truly set can leave fingerprints in it and even if it feels hard to the touch, it might not be cured all the way through. Removing it early can ruin it and you’ll have to start over.

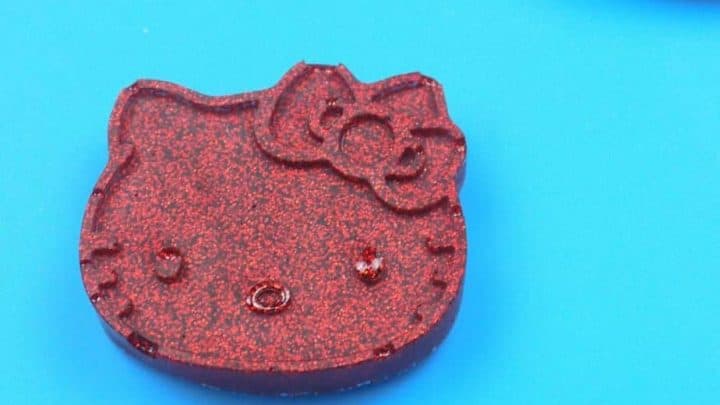
Step 6
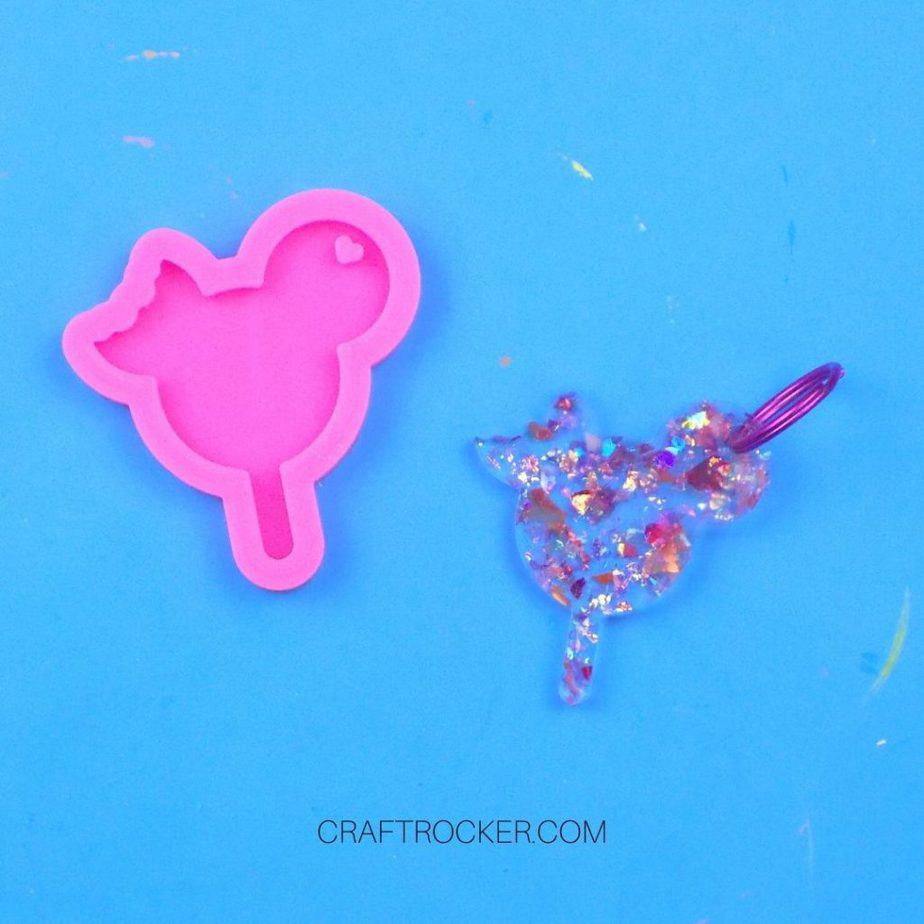
Once your resin is cured, pull the keychain out of the mold and attach your key ring to it.
How to Make Resin Keychains with UV Resin
UV resin is a lot quicker to work with because the ultraviolet light is what cures it. That cuts out the 24 hour wait time you have with 2 part casting resin.
Additionally, you can use it to make designs which you’ll see simply demonstrated in the tutorial below.
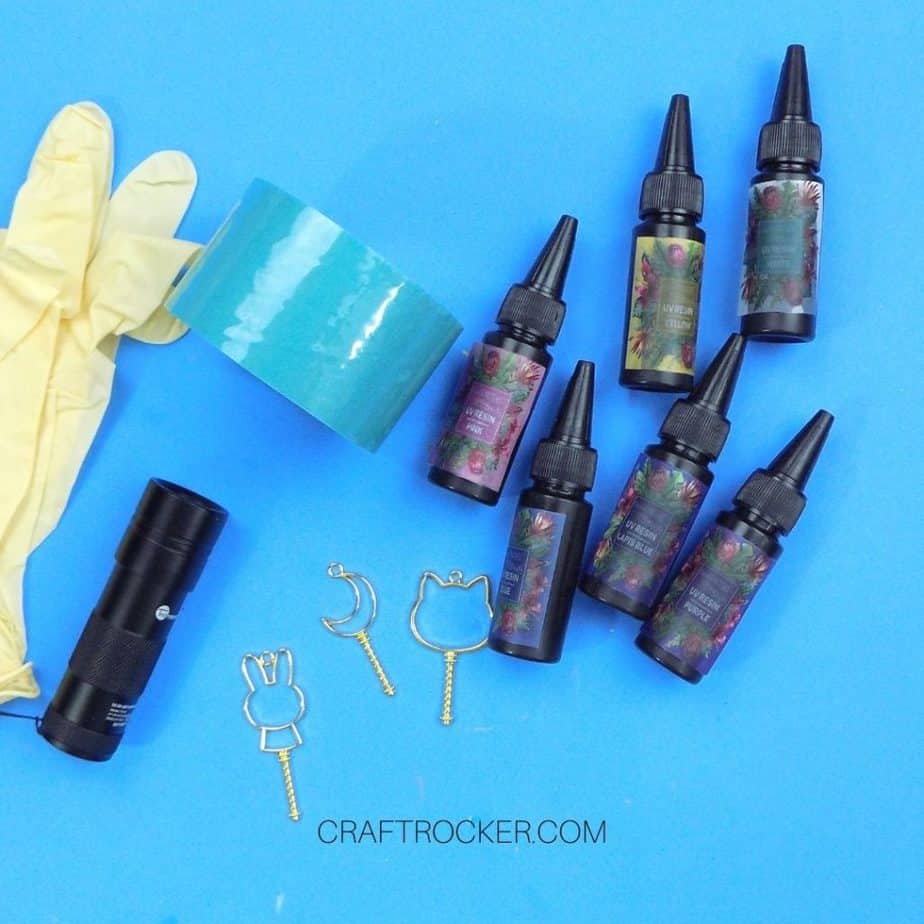
Materials
Note: In addition to listing out the materials individually, I want to share that I used this kit to make these keychains. It includes everything listed below except the scissors, key rings, and flashlight.
UV Resin in Your Choice of Colors
Metal Frame Open Bezels/Charms
Scissors
UV Resin Tape
UV Flashlight (You can also use the light that comes with the kit above)
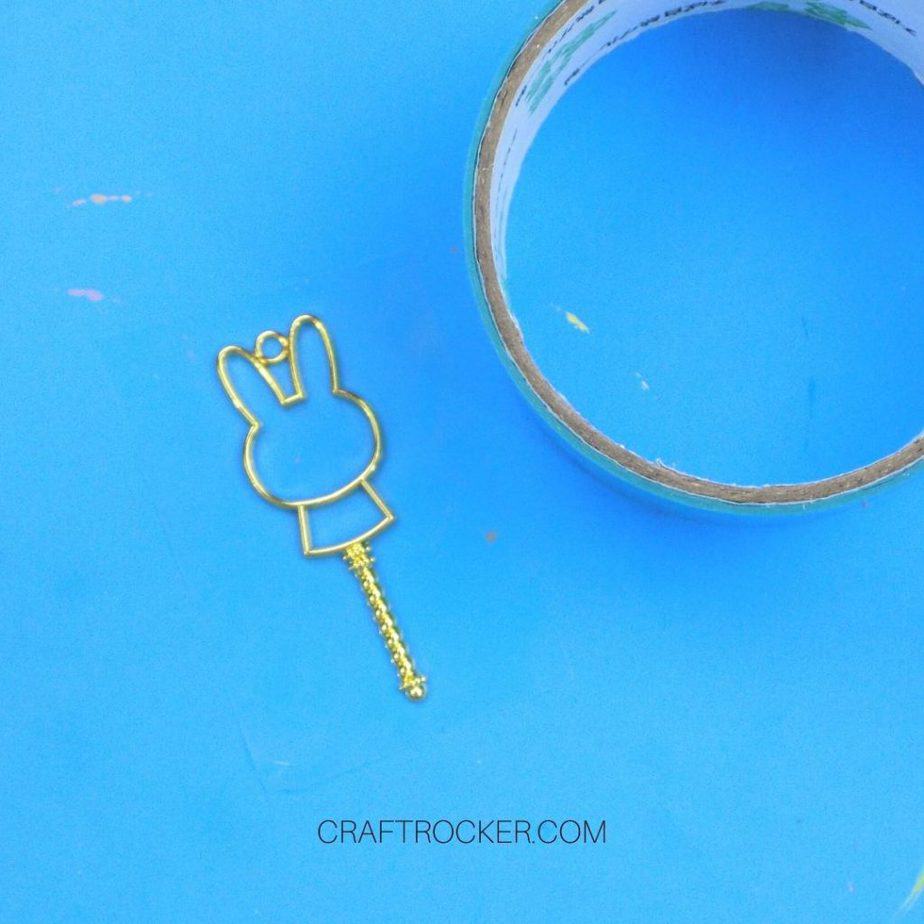
Step 1
First, cut a piece of UV tape large enough to hold your metal charm and attach it to the piece of tape. (It’s difficult to see in the picture but the tape is there.)
Be sure to press firmly along all of the edges of your charm so that no resin leaks out.
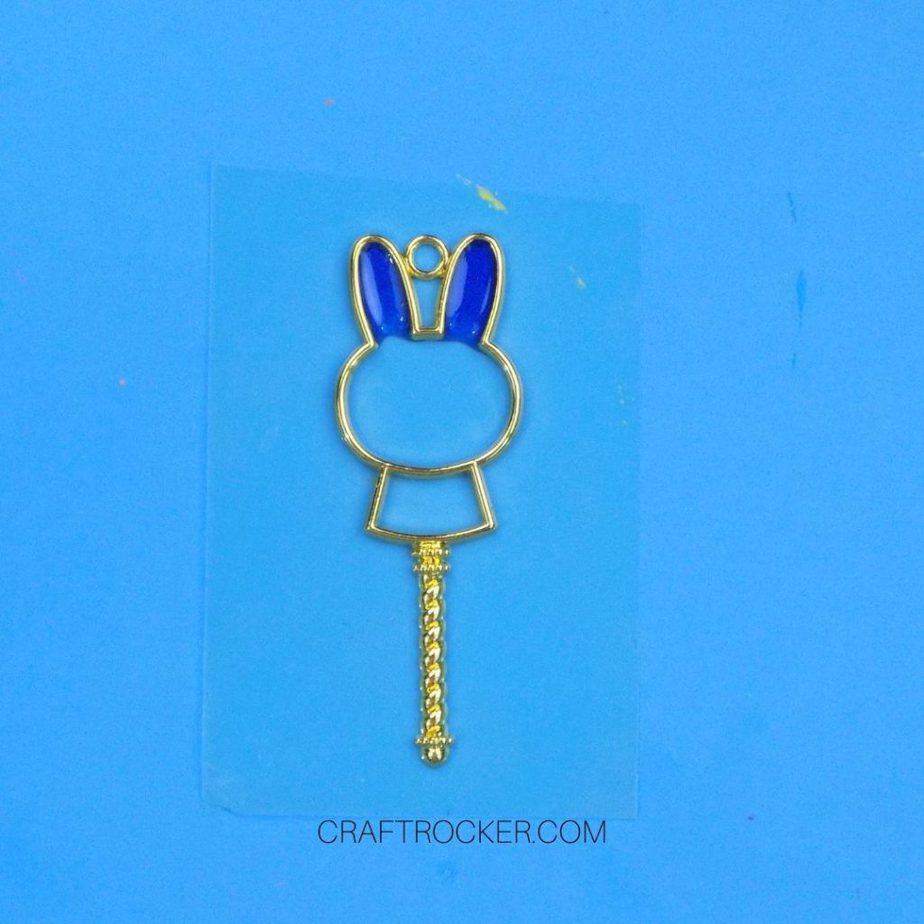
Step 2
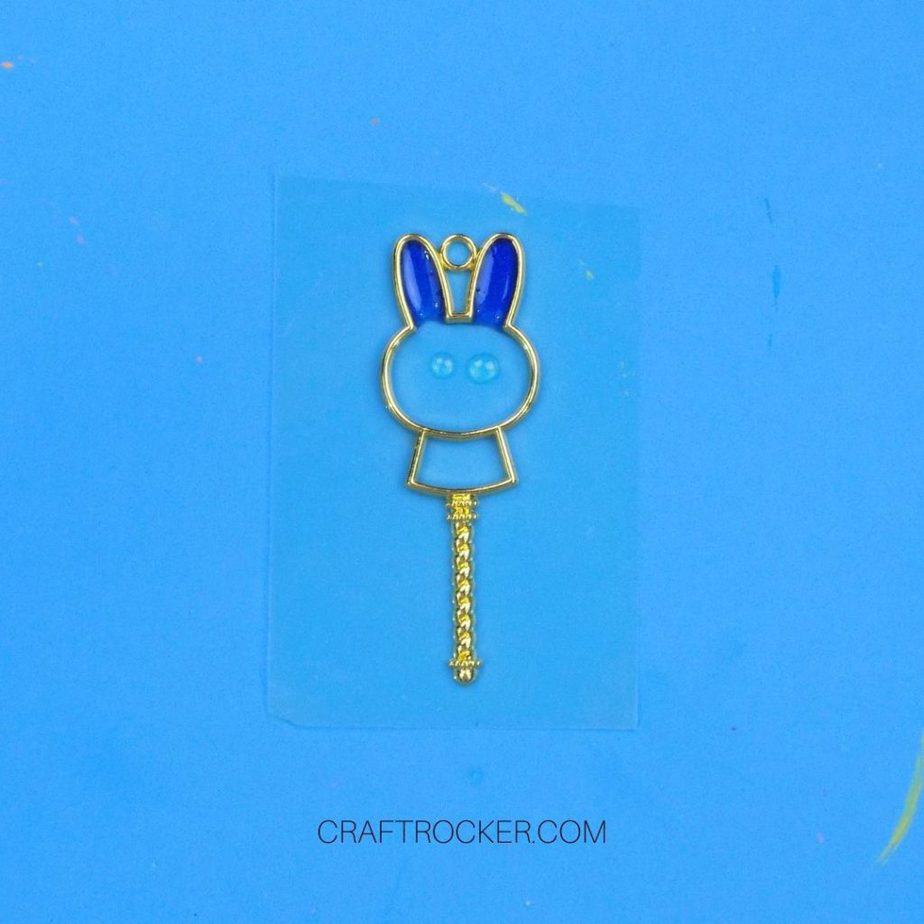
Next, add 1 color of UV resin to on part of your charm. For example, I added lapis blue to the ears of the bunny.
Then cure the resin with your UV flashlight.
Step 3
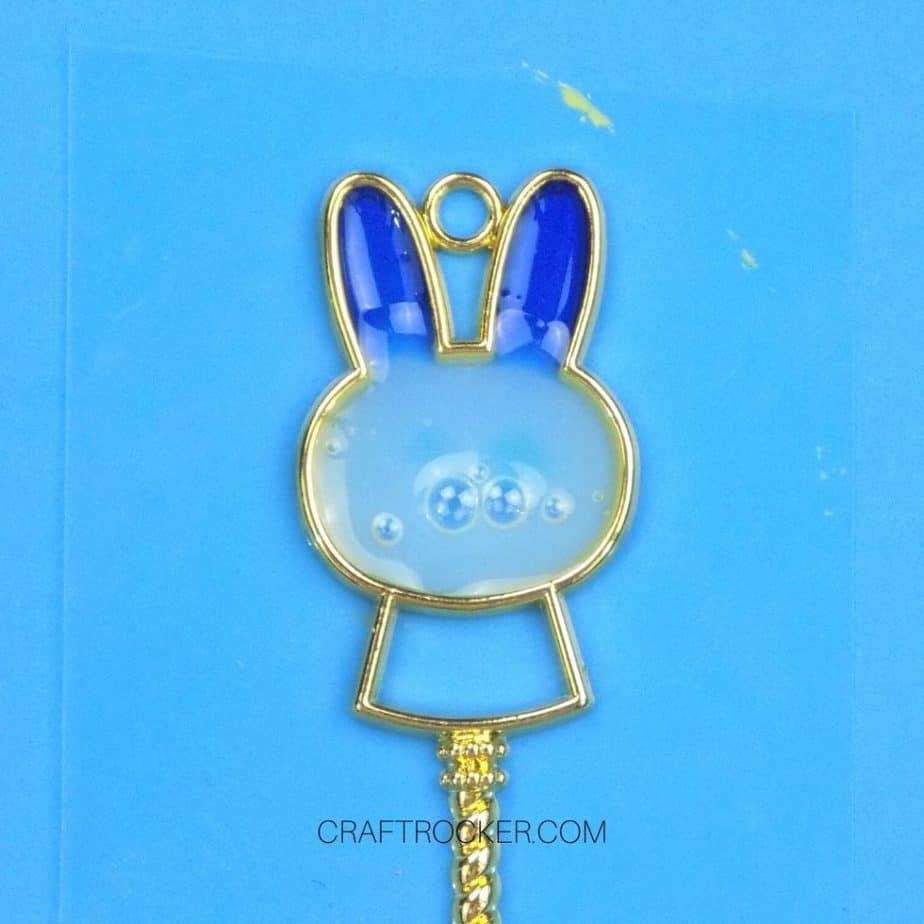
Then add more resin detail to your keychain. For example, I added some green eyes to my bunny.
Again, cure the detail with your UV or it will blend when you add more resin.
Note:
I am using translucent UV resin so the details show through. If you are not using translucent, wait to put your details on the keychain last.
Step 4
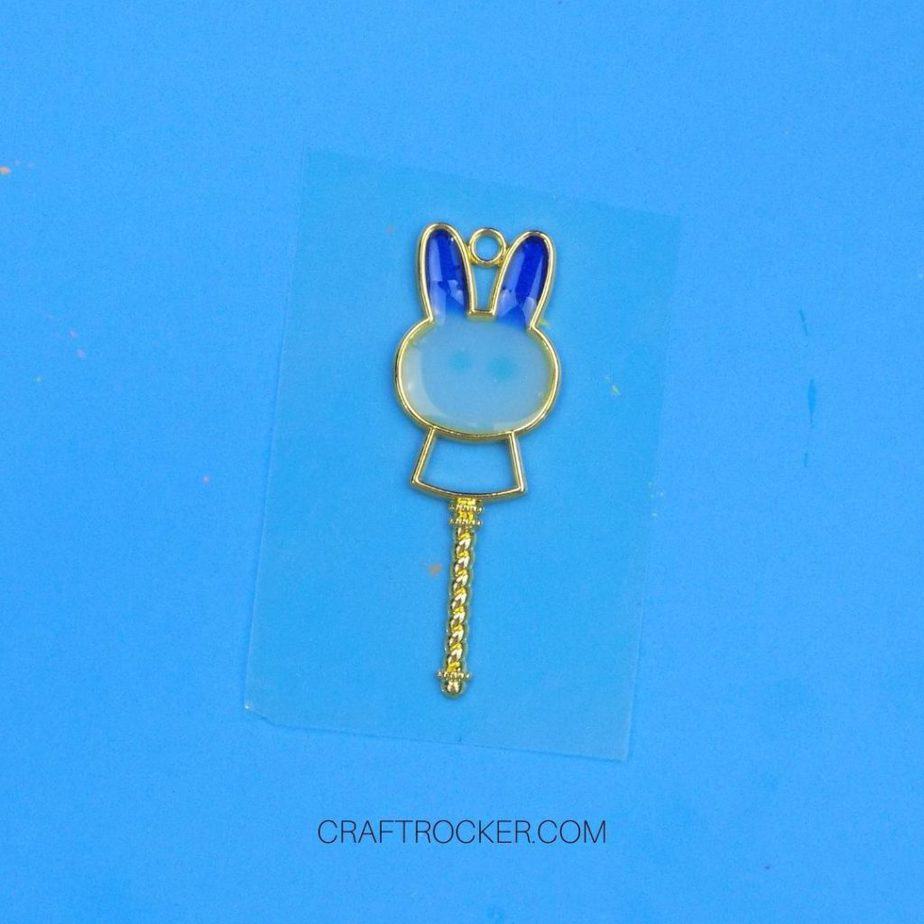
Next, fill in the rest of your base area with your color of choice.
Use your metal resin tool to pop any bubbles that have formed in the resin. If you want, you can also use a heat gun for this step if you have one.
Then cure your resin with your UV light.
Step 5
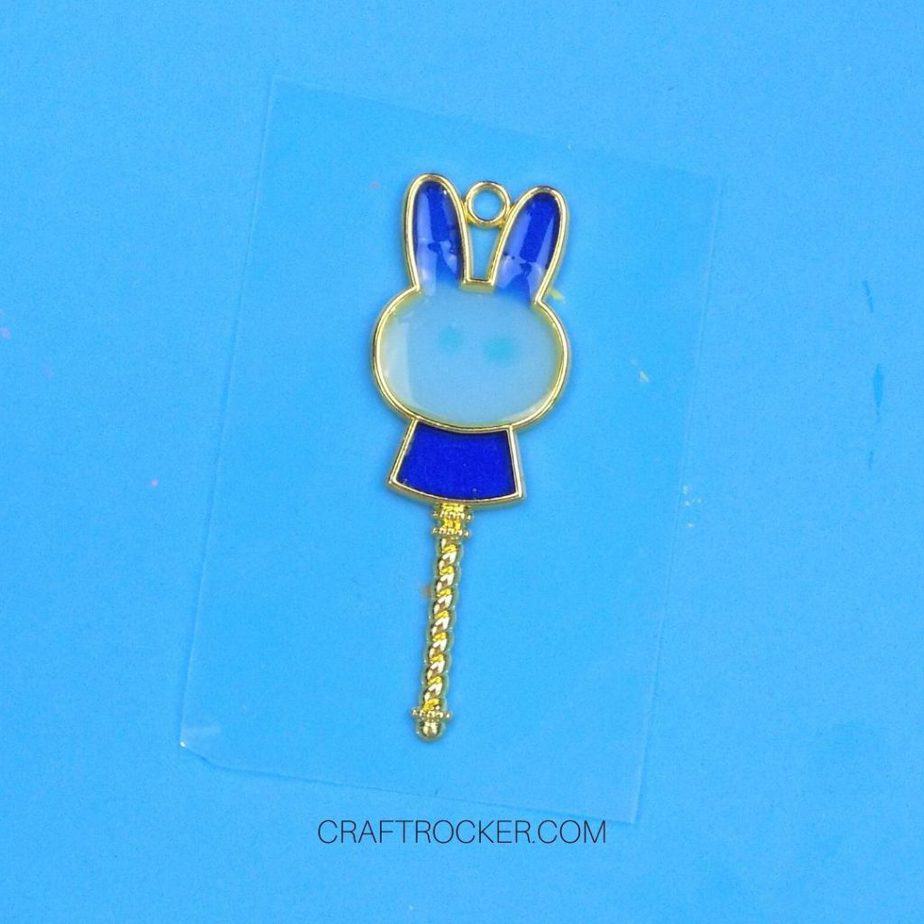
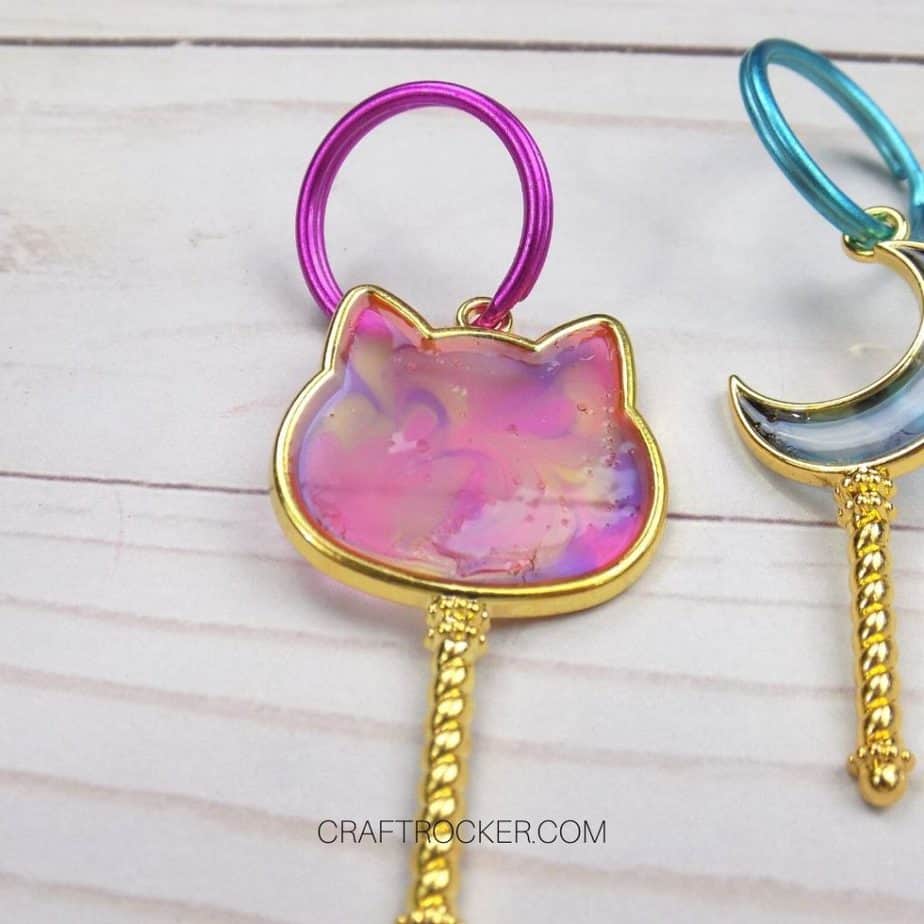
Lastly, fill in the remaining section with the resin of your choice and cure it with your UV light.

Step 6
Because your resin is already cured, there’s no need to wait to attach your key ring. If you’d like, you can add a jump ring first and then attach your key ring to that but it is totally optional.

Making resin keychains is a super easy craft that beginners can do. Once you master the basics, you can go on to create even more detailed designs for family and friends or to sell.
Don’t Forget to Pin It!
Check out more awesome resin crafts here:
Resin Magnets DIY
Making resin magnets is super easy. All you need is resin, colorant, and a mold to make your shapes.
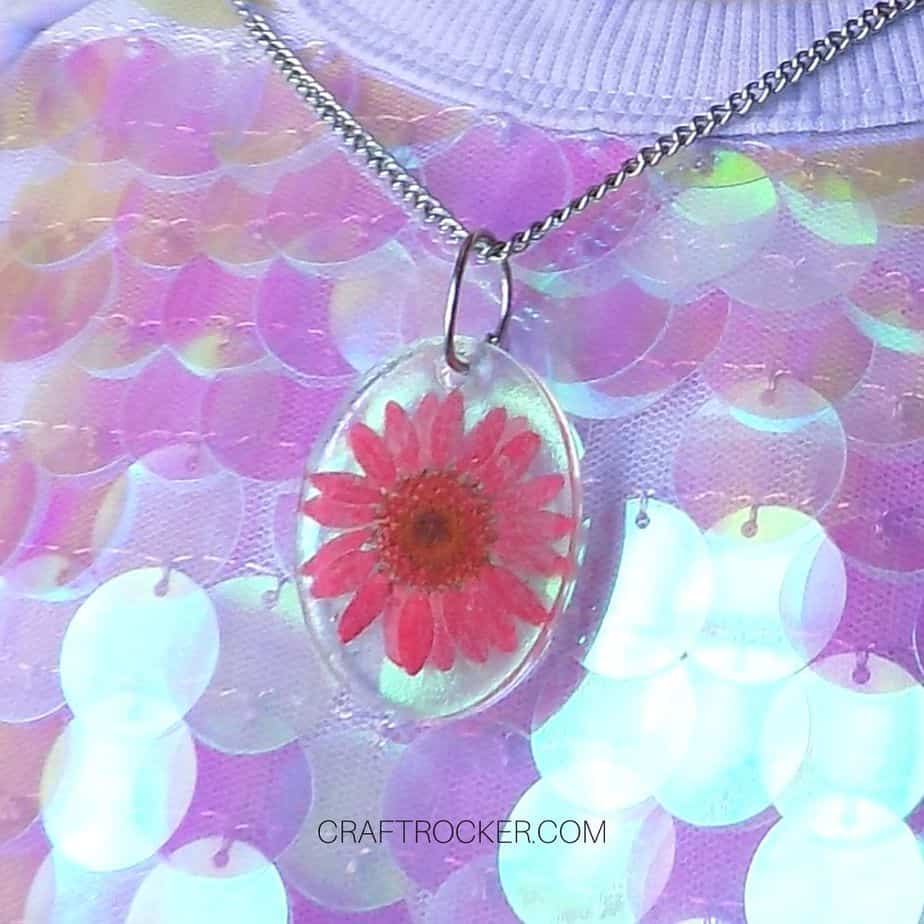
Pressed Flower Resin Pendant
A pressed flower resin pendant is an easy and beautiful accessory to add to your collection.
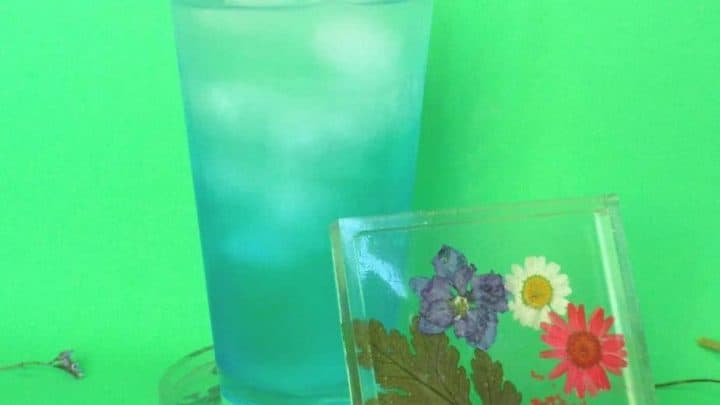
Pressed Flower Resin Coasters
Add a pop of botanicals to your table with these pressed flower resin coasters
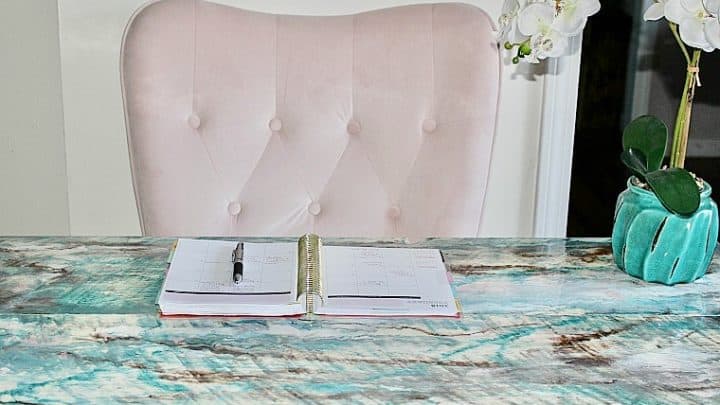
How To Make A Beautiful Epoxy Resin Desk
Come see how to make a beautiful epoxy resin desk that will totally become a statement piece in your home.
