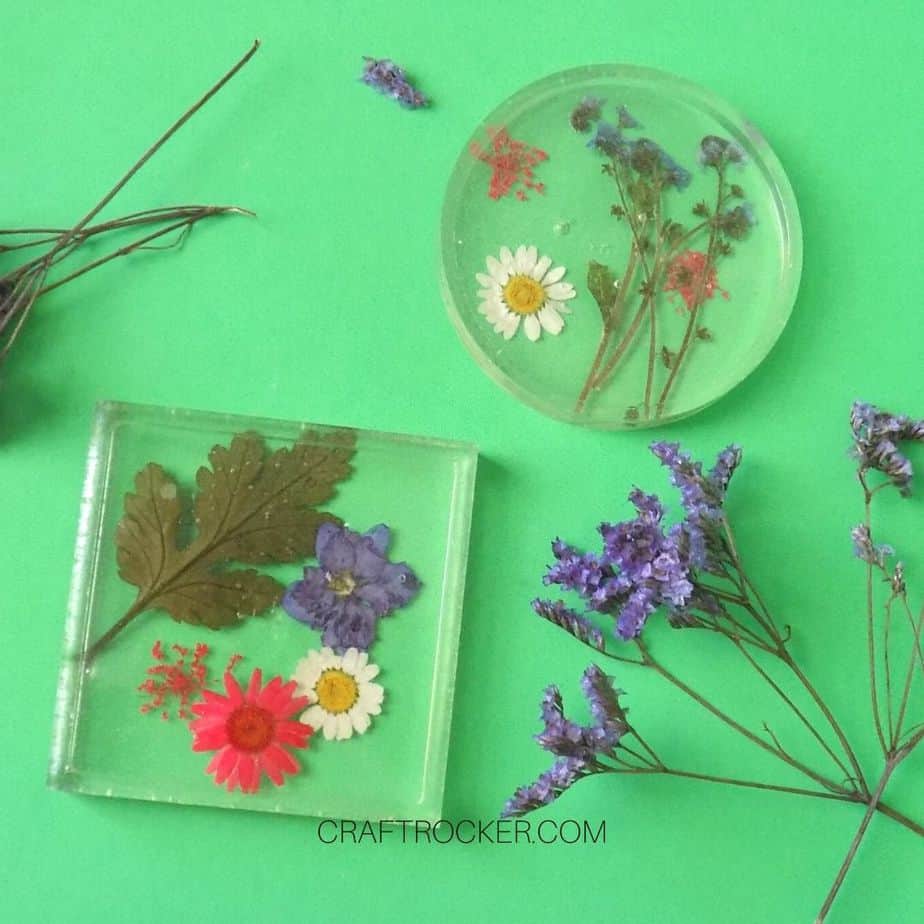
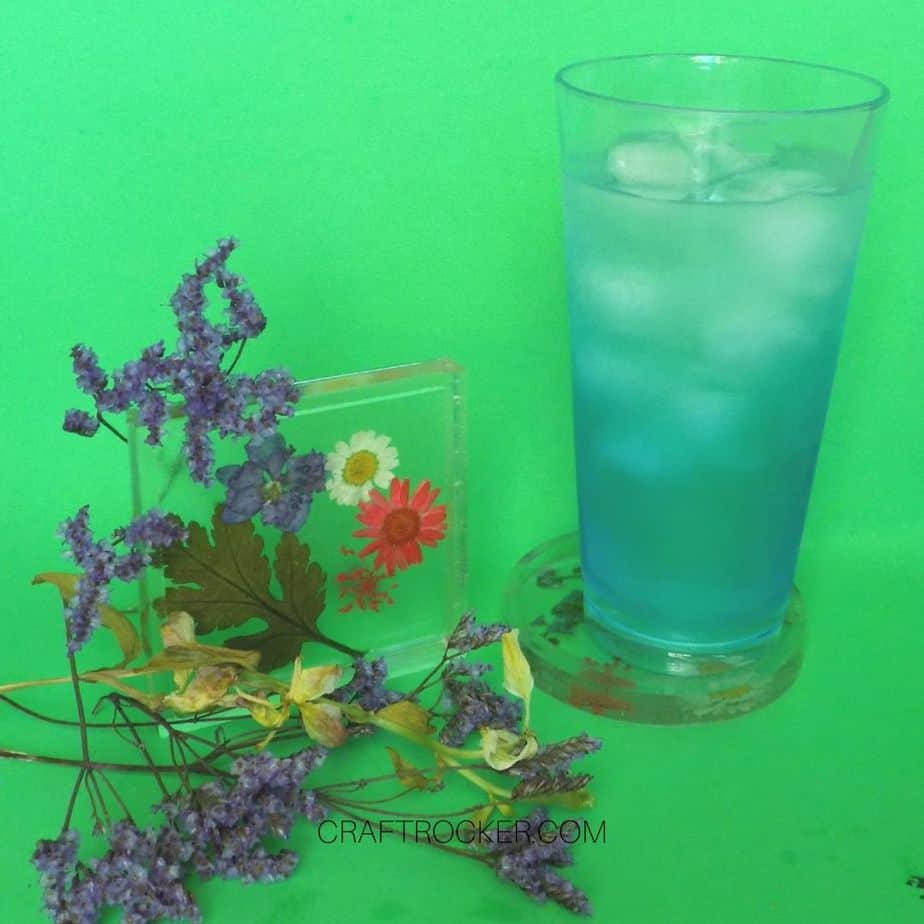
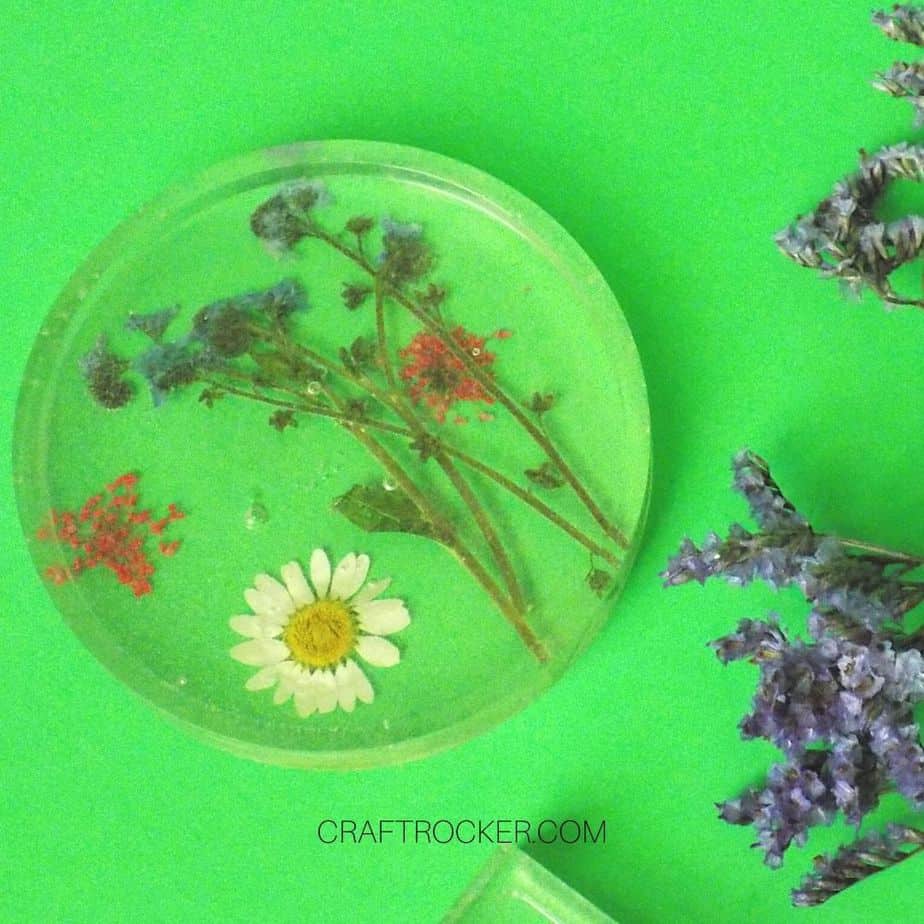
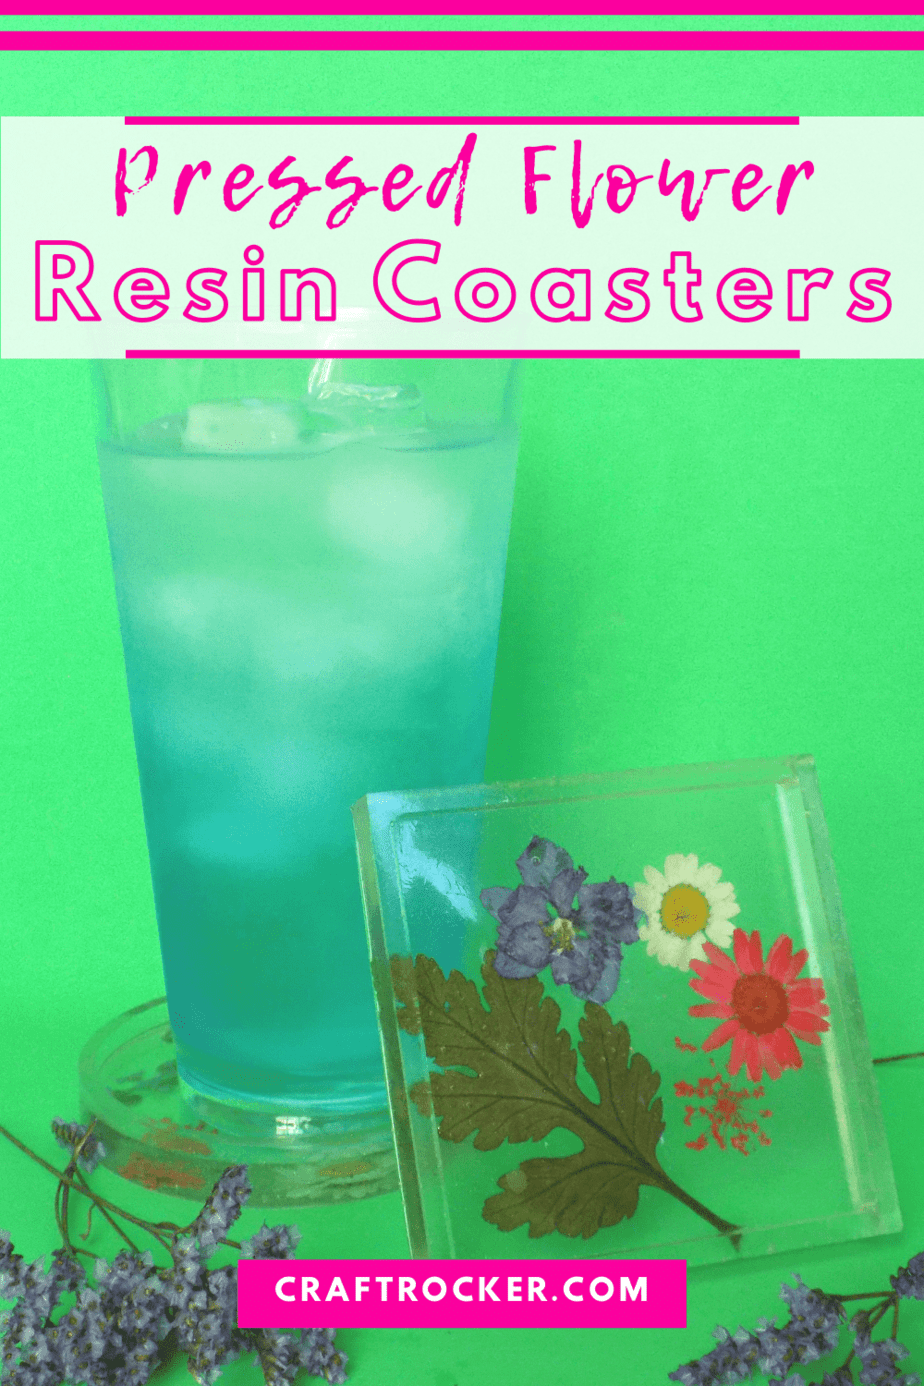
Add a pop of botanicals to your table with these pressed flower resin coasters. They’re a gorgeous way to protect your surfaces and still look beautiful when not in use.
Oh, and did I mention, they’re totally easy to make? Yay!
Affiliate links may be used in this post. Ordering a product through these links may result in a commission at no extra cost to you. Read the full disclosure here.
Admittedly I love resin because it’s such a versatile crafting medium. You can make everything from jewelry to home decor.
I was also intimidated by it for a long time. That meant years of putting off learning how to use it. That was absolutely a mistake. It’s so easy to work with, especially with a mold.
If you feel intimidated by working with resin like I did, let me bring you into the crafty fold with this super easy pressed flower resin coasters tutorial.
Bonus Tip:
My puppy got to one of these molds when I had them set out to work with. I got his hairs out of it by wrapping my finger in double-sided tape and tapping inside of the mold.
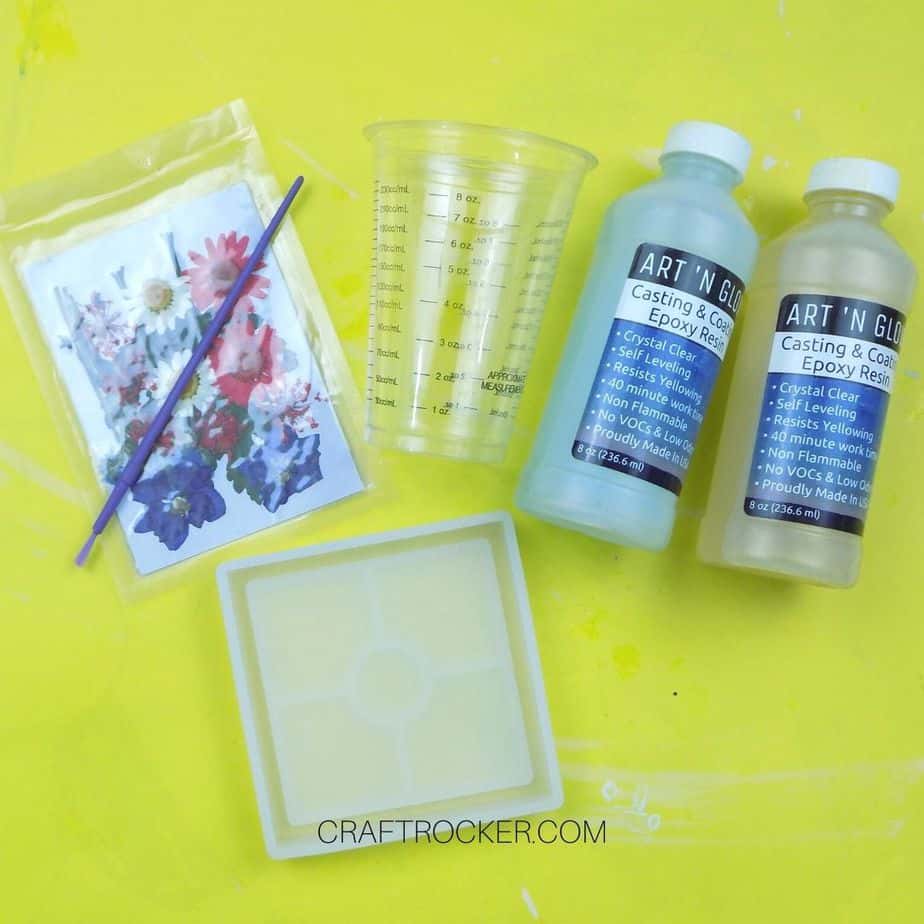
Pressed Flower Resin Coasters Materials
- 2 oz each of Resin Parts A and B (for each coaster)
- Pressed Flowers and Leaves
- Cup for Mixing
- Stick for Stirring
- Silicon Coaster Molds
- Metal Resin Tool (to press and move flowers in your resin)
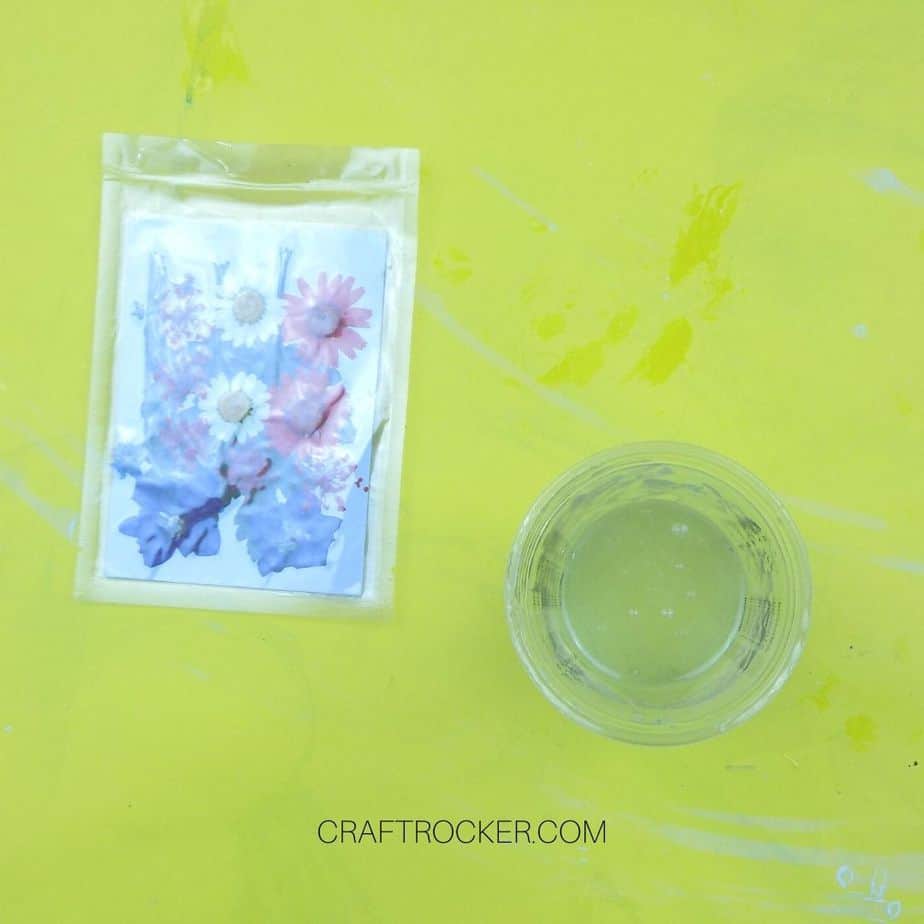
Step 1
First, mix 2 ounces of your resin parts A and B together. Ensure that they are mixed thoroughly together or your resin won’t cure correctly.
Step 2
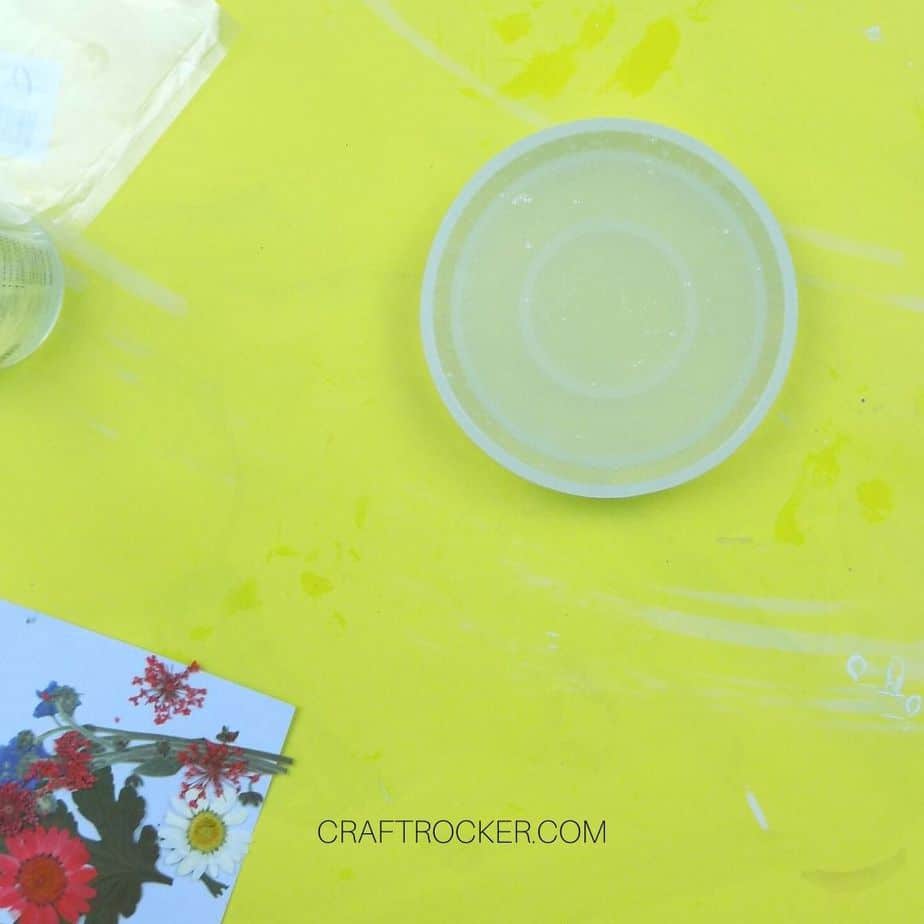
Next, pour enough mixed resin into your mold to create a thin base layer. Do not fill your mold completely yet.

Step 3
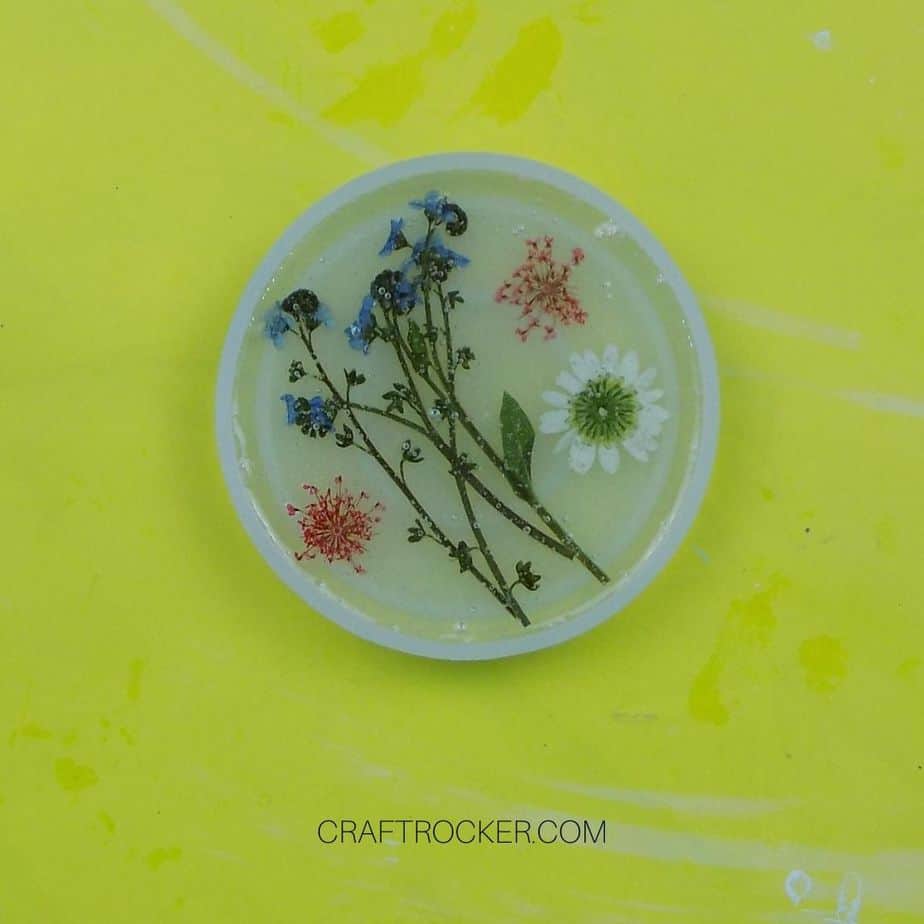
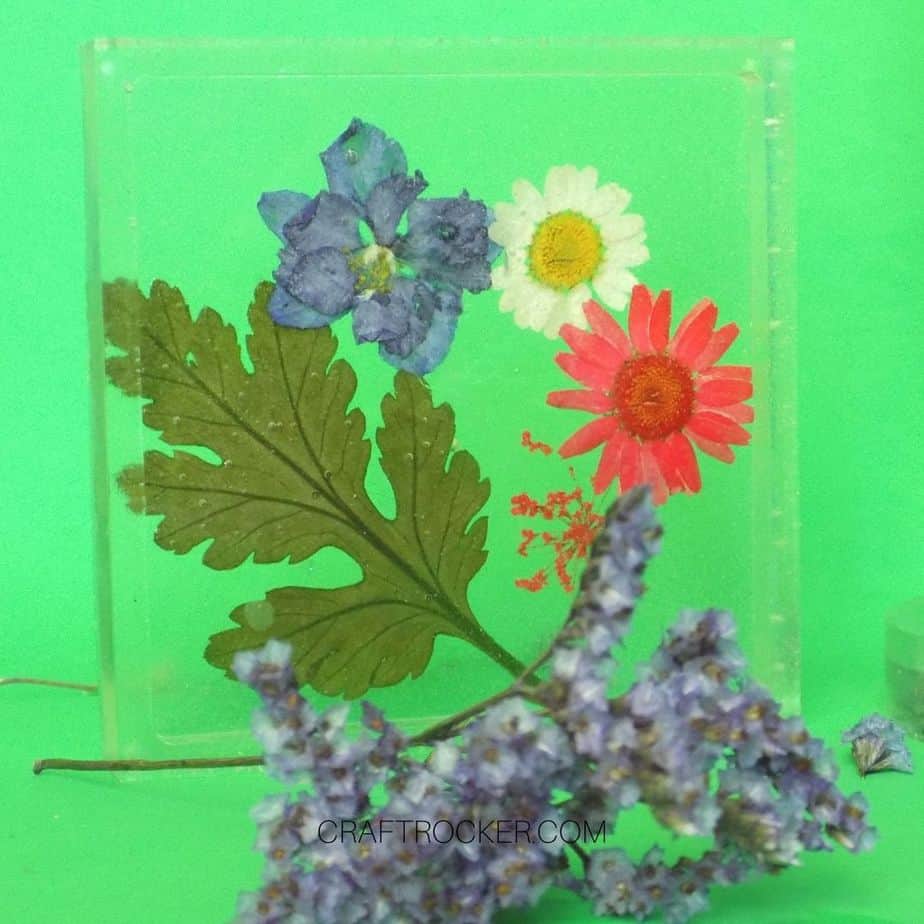
Now, press your flowers and leaves into your base layer of resin. Use your metal resin tool to push them into the resin.
Step 4
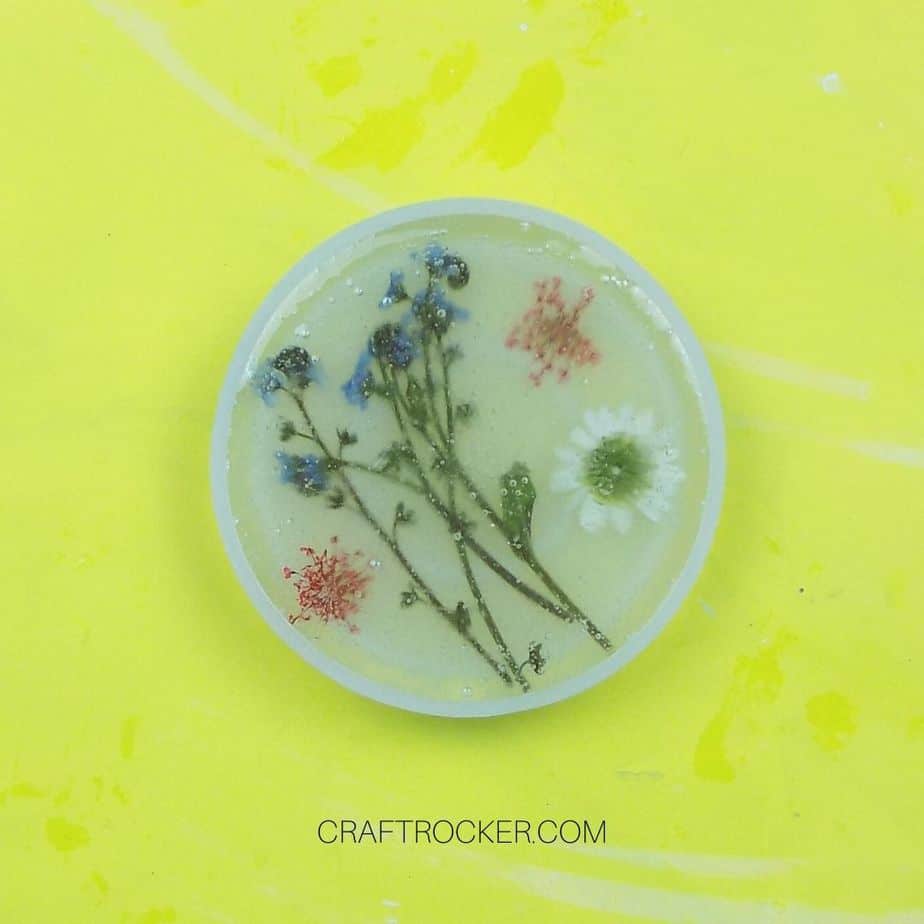
Then pour additional resin into your mold until it is full.
Step 5
Your flowers and leaves will move slightly when you pour in your additional resin. Use your resin tool to gently push them back into place.
Step 6
Next, allow your resin to cure according to your resin directions. I cured my coasters for 24 hours.
Tip:
Make sure that you place your mold on a flat and level surface to cure. This ensures that your coasters are even when they cure.
Step 7
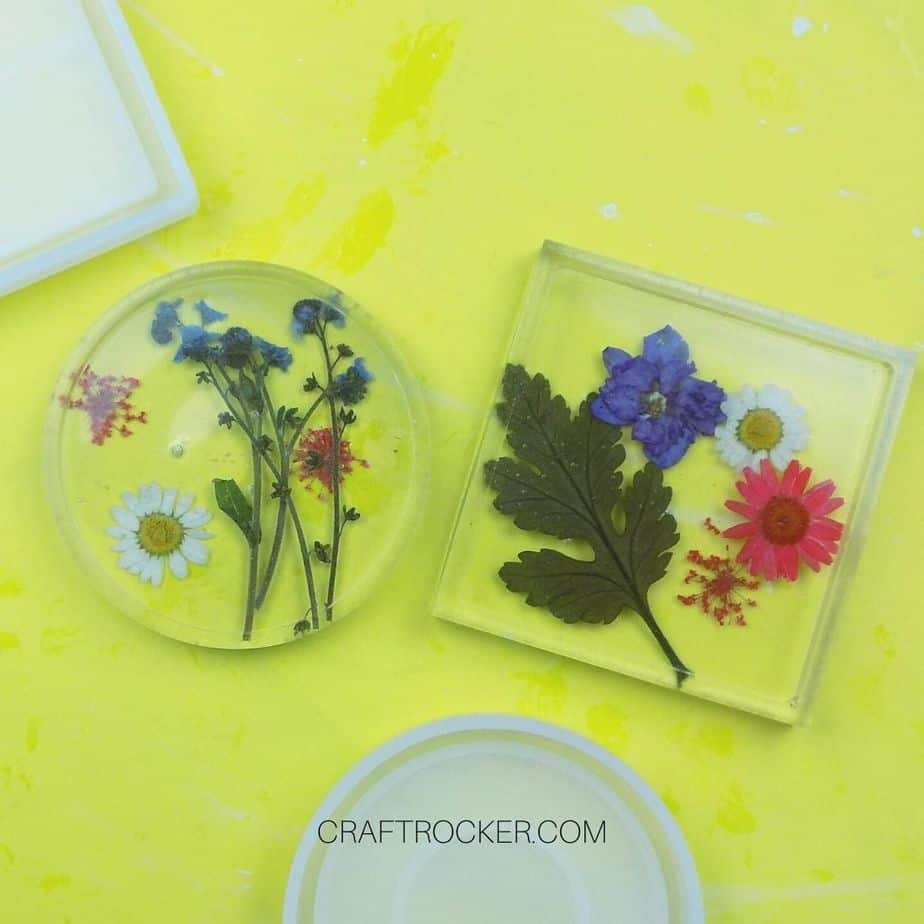
Once your resin has cured, carefully pop your coasters out of the molds.
Step 8 (Optional)
If you want, cut a base out of cork and glue it to the bottom of your coasters. I chose not to do this because I really like the clear look of these coasters without it.

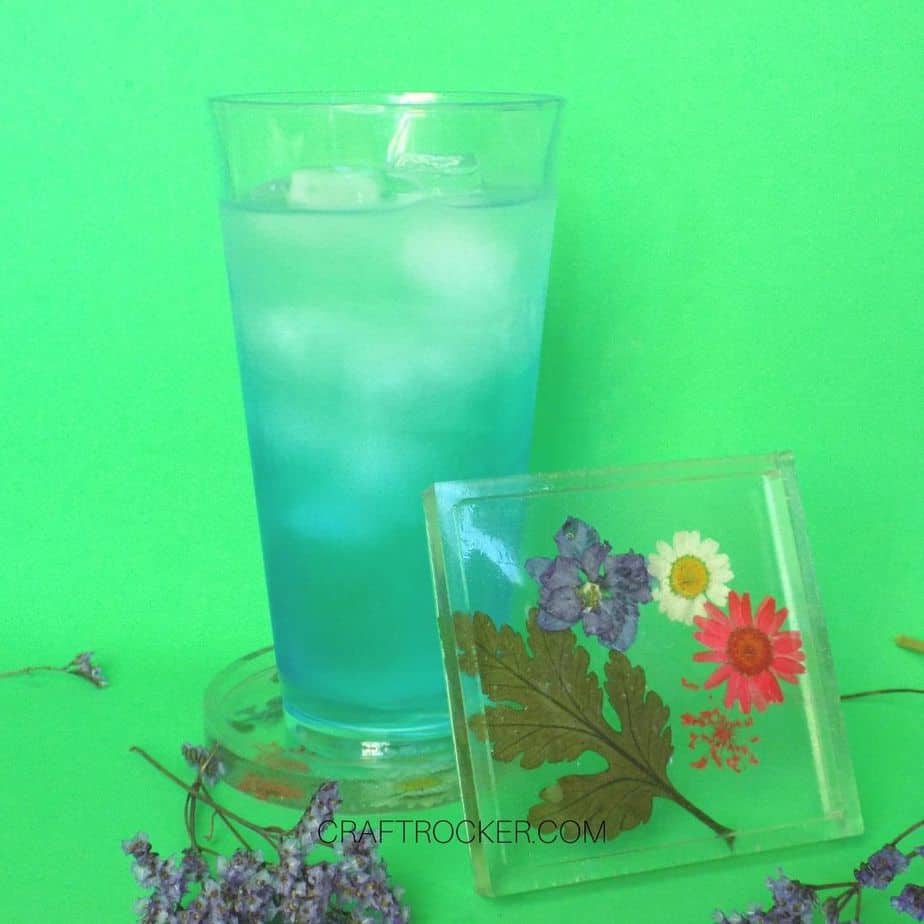
These pressed flower resin coasters are seriously a beautiful addition to your home. They also make a great handmade gift for friends and family. Tie a set up with a pretty ribbon and voila! You’re ready to go!
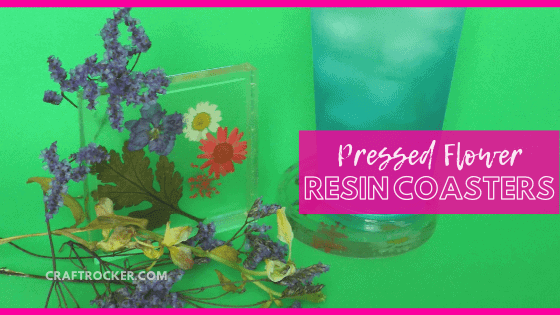
Don’t Forget to Pin It!
More Projects to Love:
Pink Glittery DIY Bookmark for Sparkling Book Lovers
DIY Resin Wood Slice Table – Our Crafty Mom
