These DIY fall leaves window clings bring the season to your home even if it is still 80 degrees outside. Even better, they’re super easy to make and reusable.
Affiliate links may be used in this post. Ordering a product through these links may result in a commission at no extra cost to you. Read the full disclosure here.
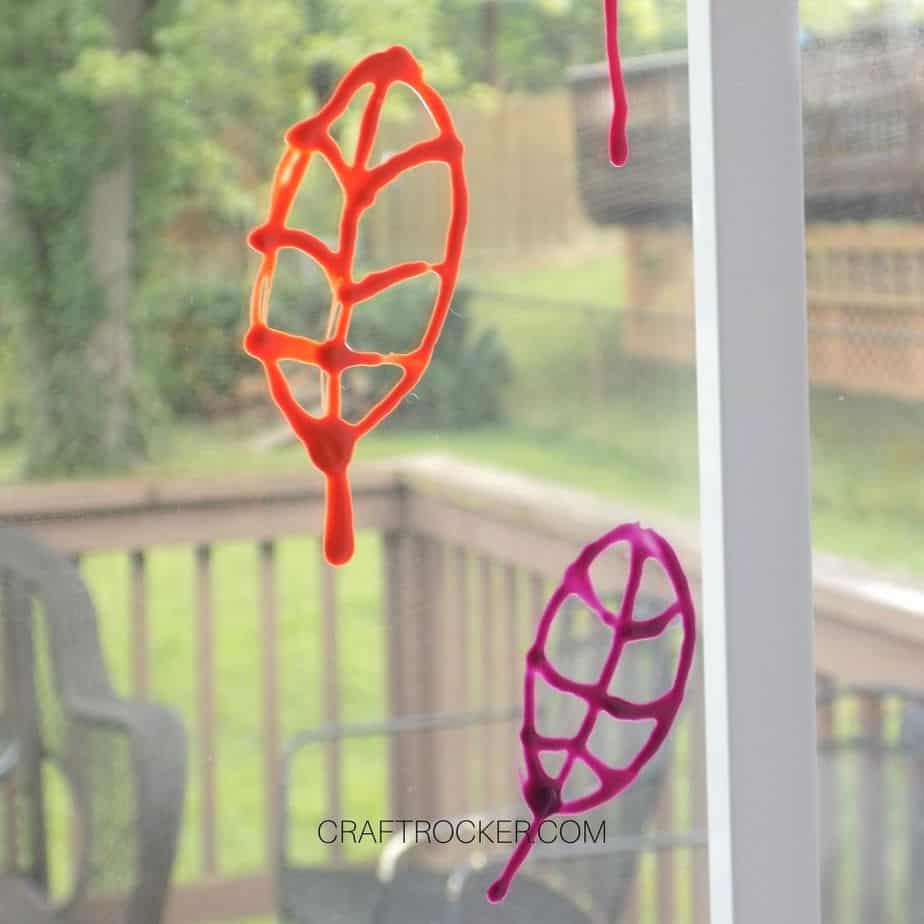
I am so excited for fall this year. Not only is it my favorite season but it also means that we are in the home stretch of 2020.
It is a deluge from here of birthdays and holidays. Pretty soon we’ll be ringing in the New Year.
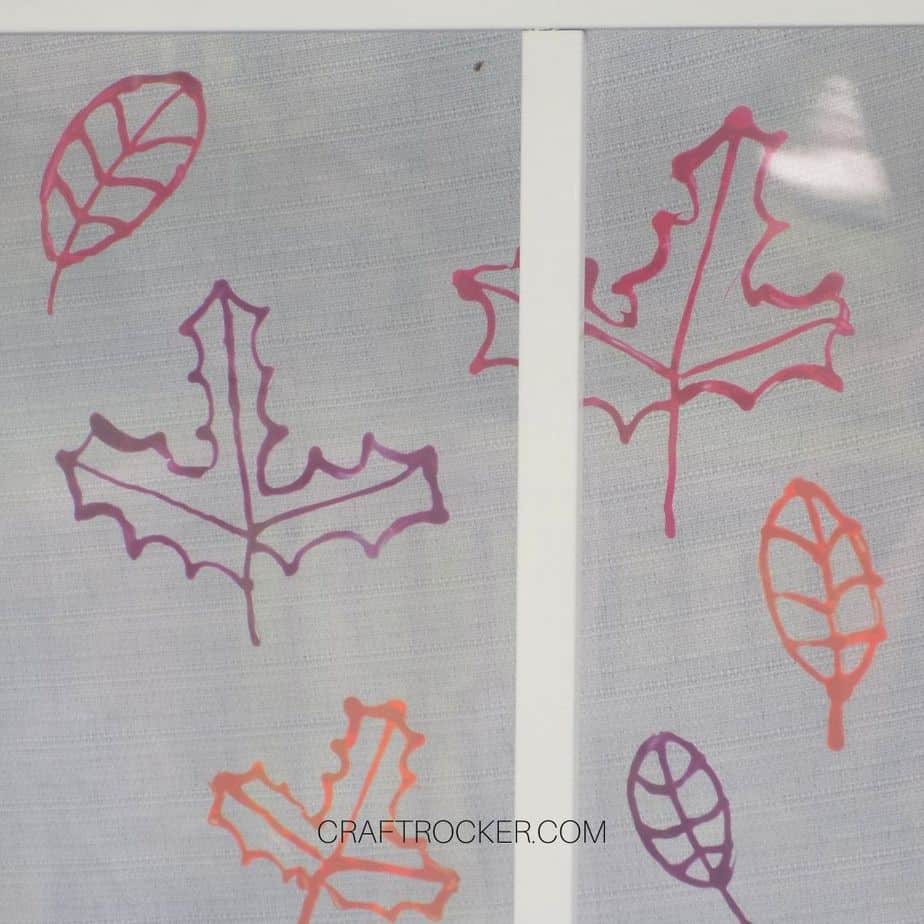
Of course, nature doesn’t have the same anxiousness for fall to arrive as I do. That’s why I’m bringing it to myself with these DIY window clings.
Make sure that you stick around after the tutorial to find out how to easily store these after the season.
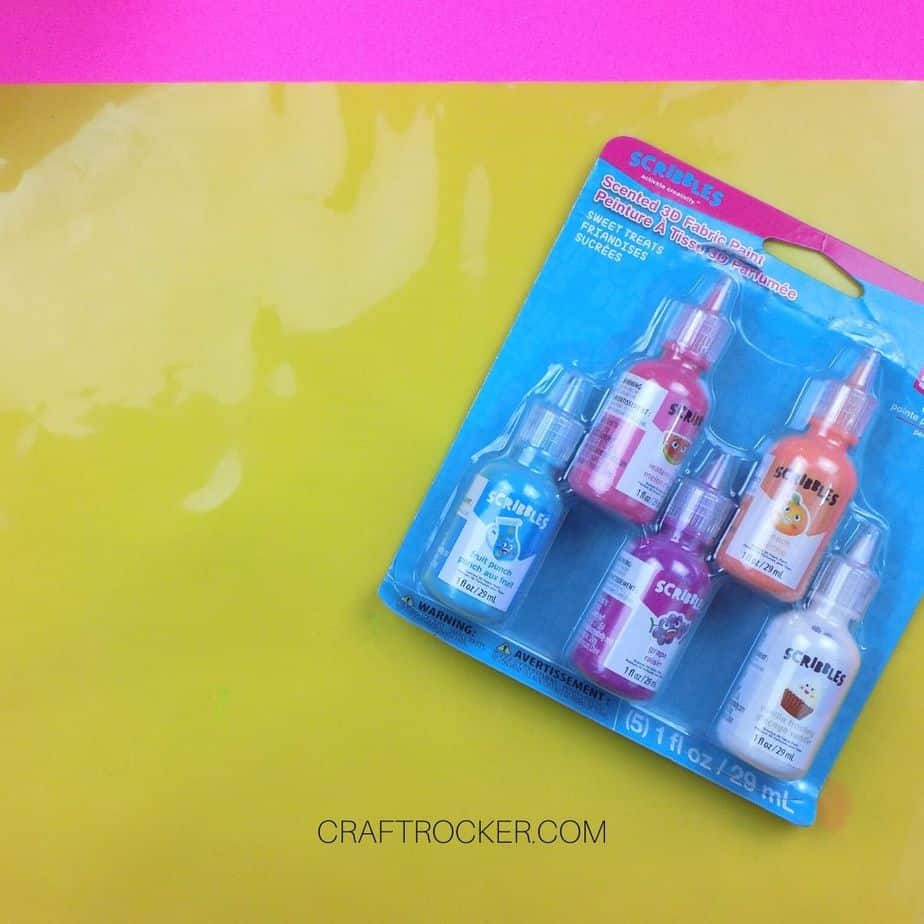
DIY Fall Leaves Window Clings Materials
- Non-Stick Mat (parchment paper or wax paper also work)
- Puffy Fabric Paint in an Assortment of Colors
Step 1
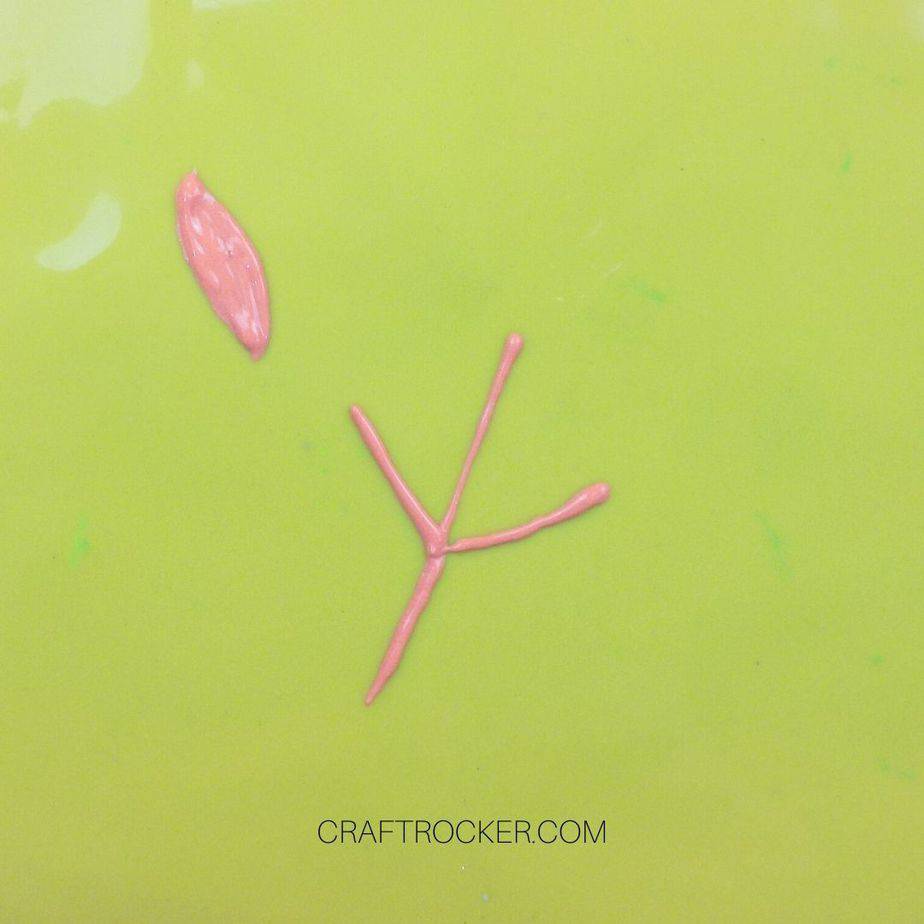
Start by making a straight line with your puffy paint on the non-stick mat. Then add 2 more smaller straight lines coming off of it at an angle about halfway down.
Step 2
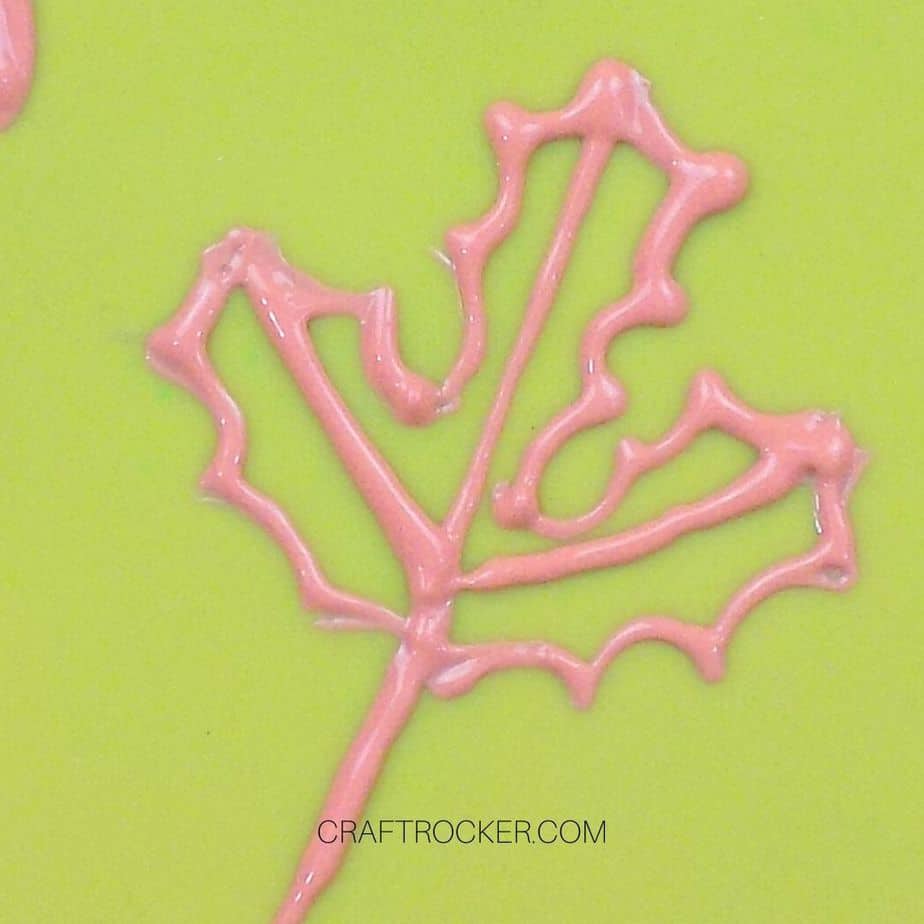
Next, starting at the top, add an inverted scallop design around the top spoke.
Step 3
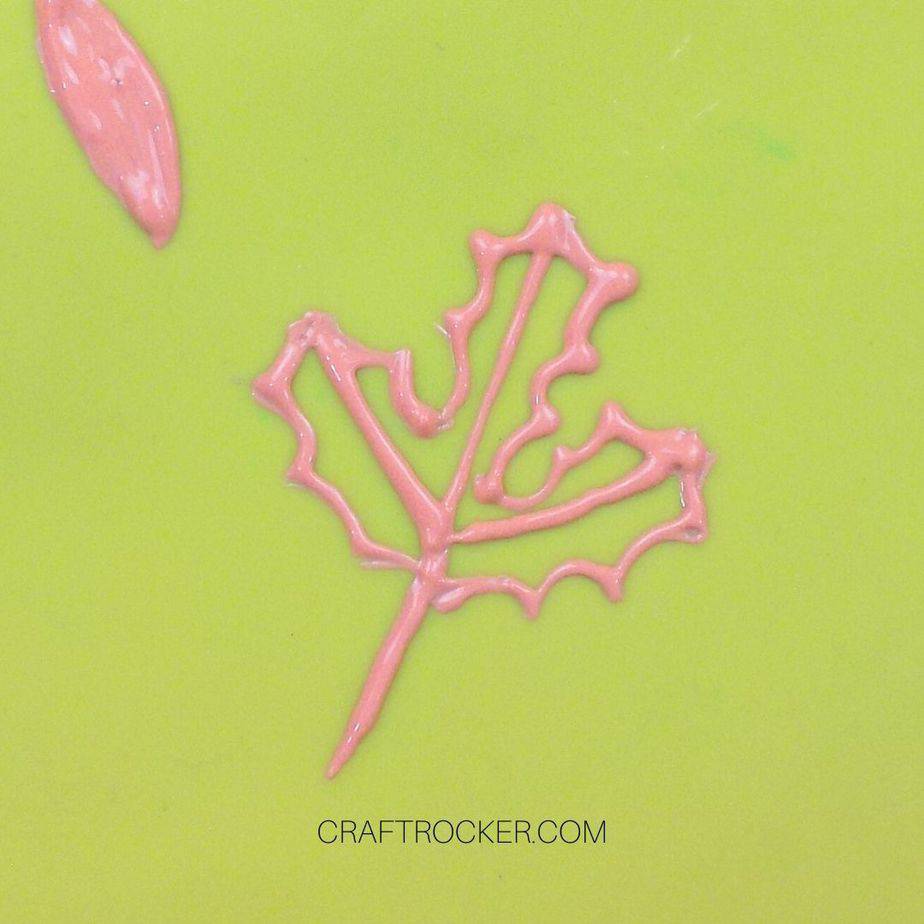
Continue adding the inverted scallop design until the top 3 spokes have it. Make sure that the bottom edges meet the “stem”.
Step 4
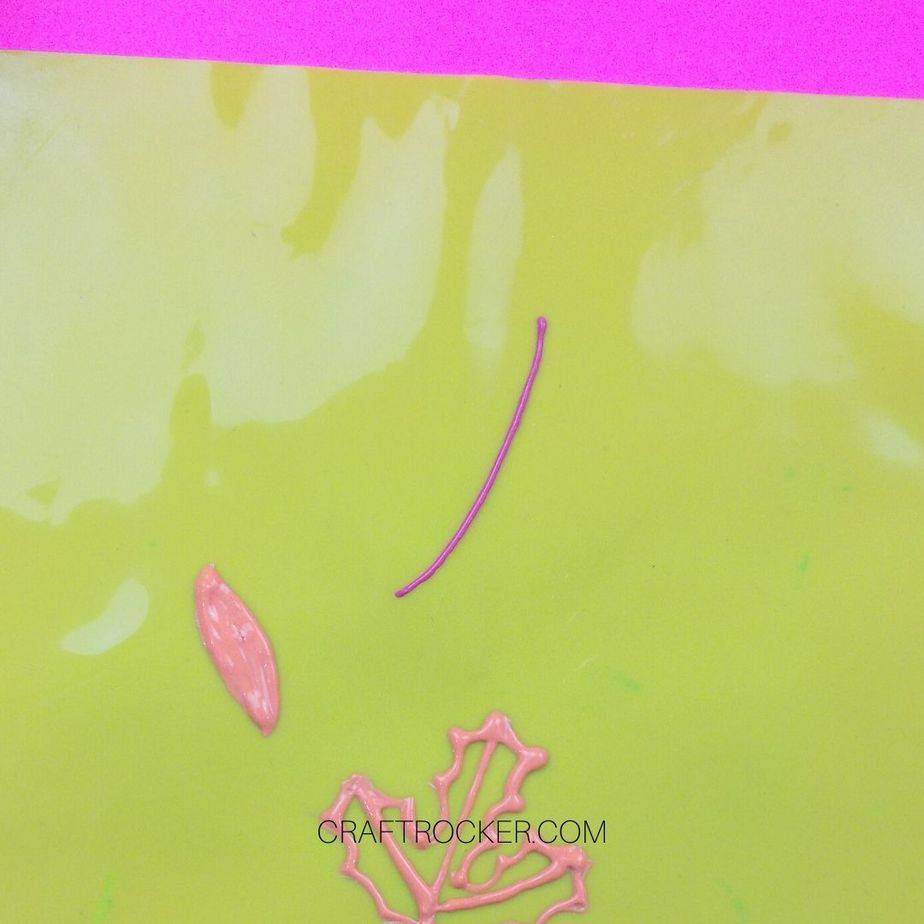
Now add a curved puffy paint line somewhere else on your non-stick mat. Don’t let it touch the leaf you already made. This is also a good point to change colors if inclined to do so.
Step 5
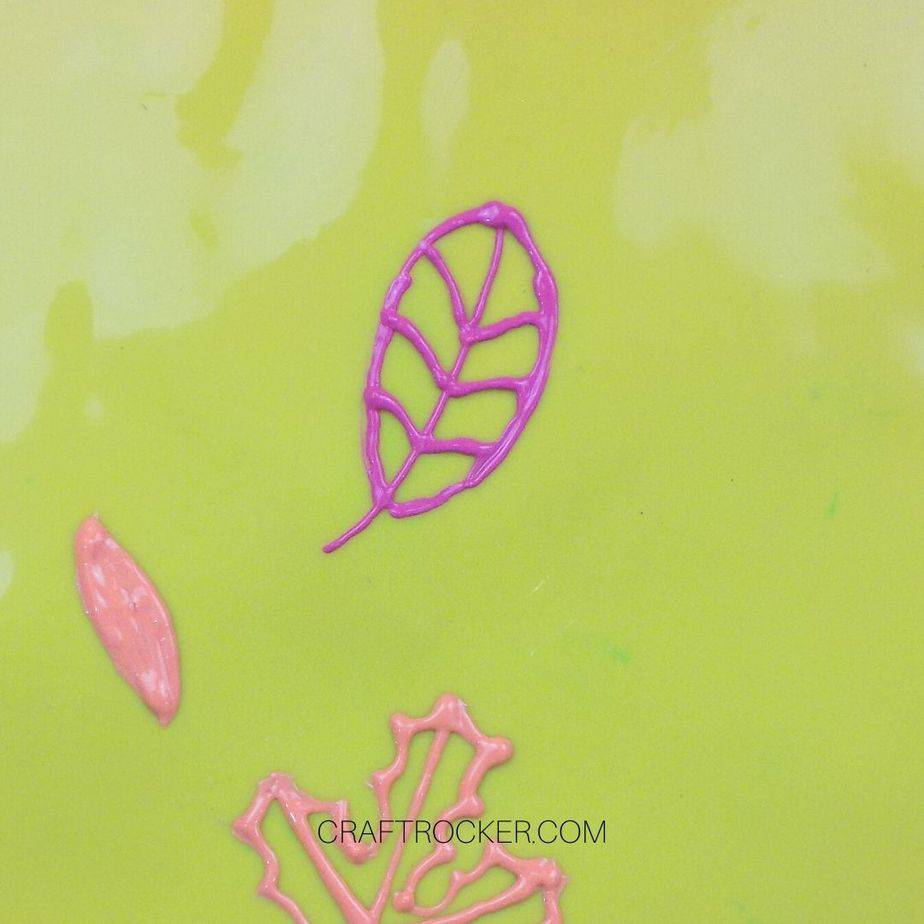
Then, start at the top of your curved line and add a second, wider curved line to the side that meets the original 1/4-1/2 inch from the bottom. Repeat it on the other side.
Step 6
Lastly, add straight lines from the outer edges of your leaf to the center. Make sure that the lines on either side meet at the same place in the center.
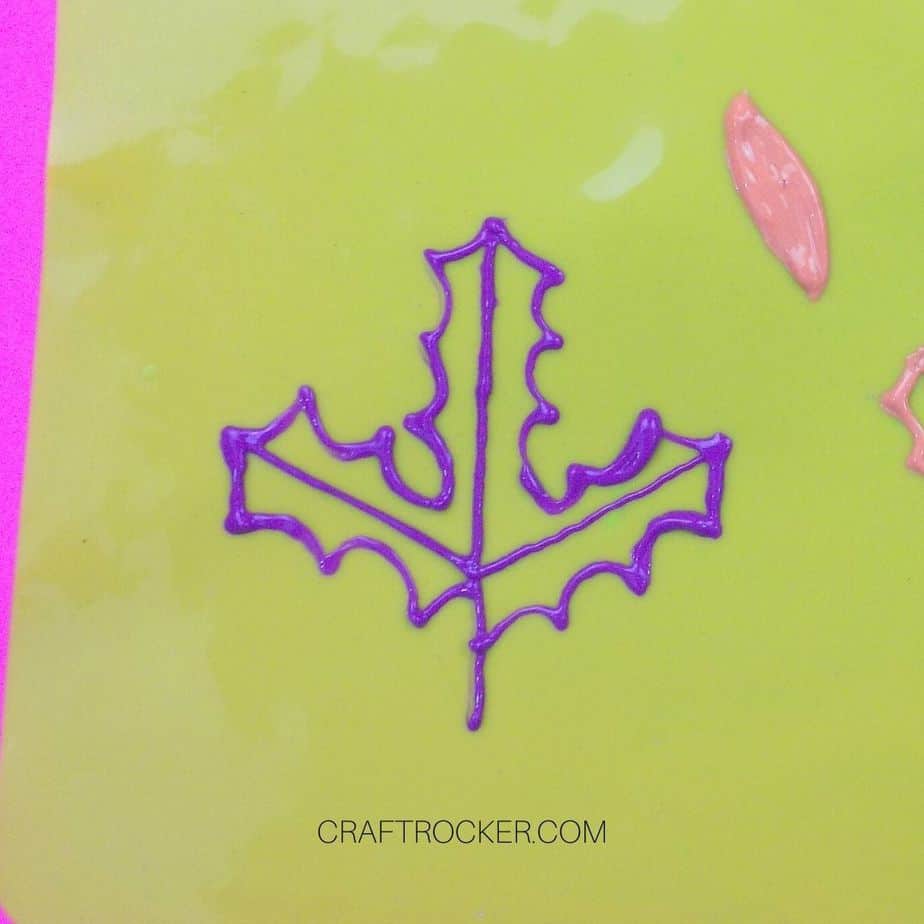
Step 7
Continue making leaves until you have your desired amount. Don’t forget to change up the colors and sizes of your leaves for a beautiful window display later.
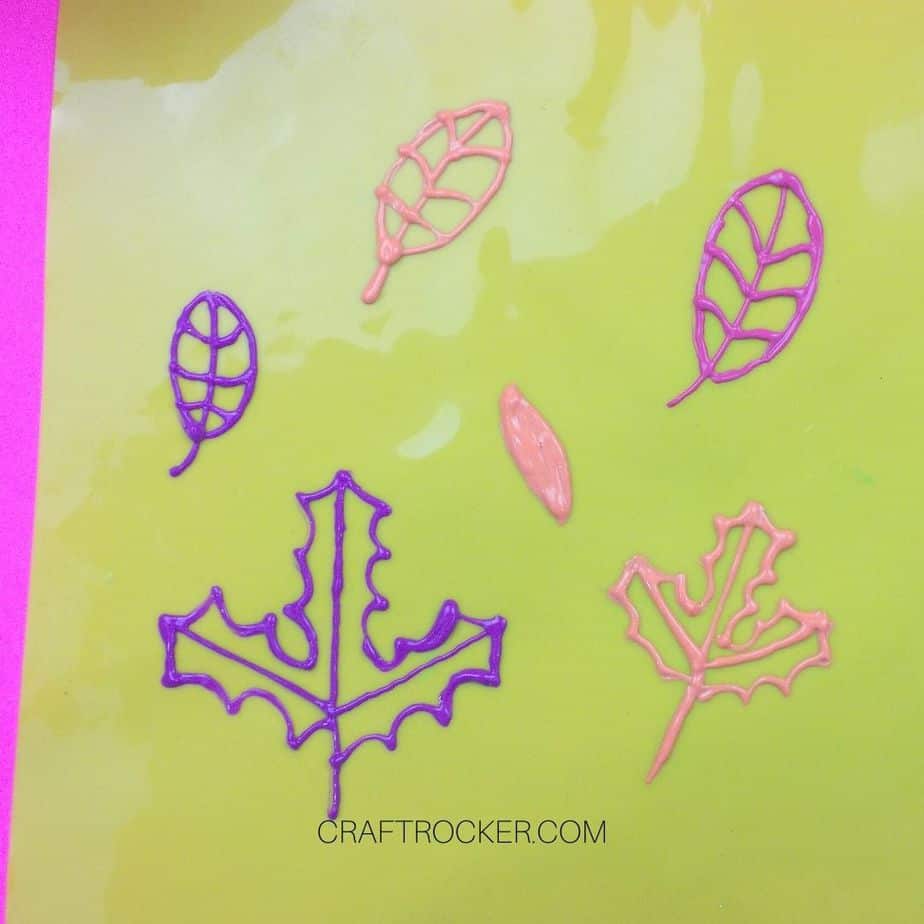
Step 8
Now set you leaves aside to let them dry.
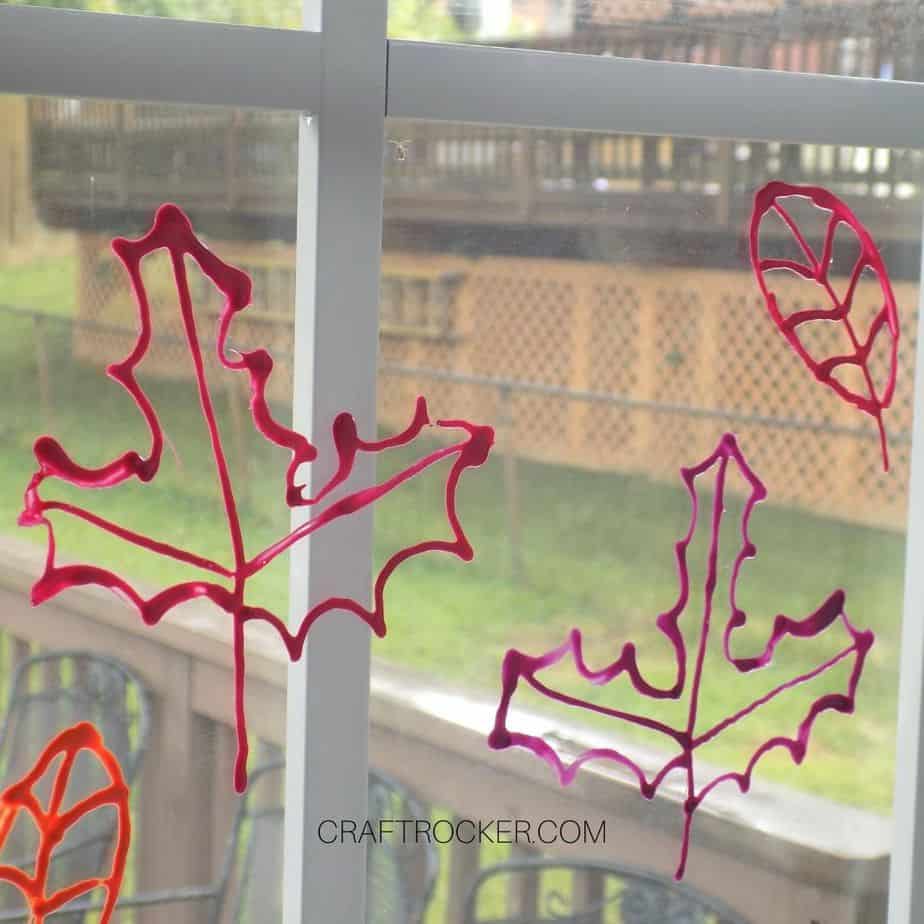
Step 9
After your leaves are completely dried, gently peel your leaves off of the non-stick mat and stick them to your window.
Tip:
- This can be a little tricky for the scalloped leaves. I recommend getting the straight lines attached first and then orienting the scallop accordingly.
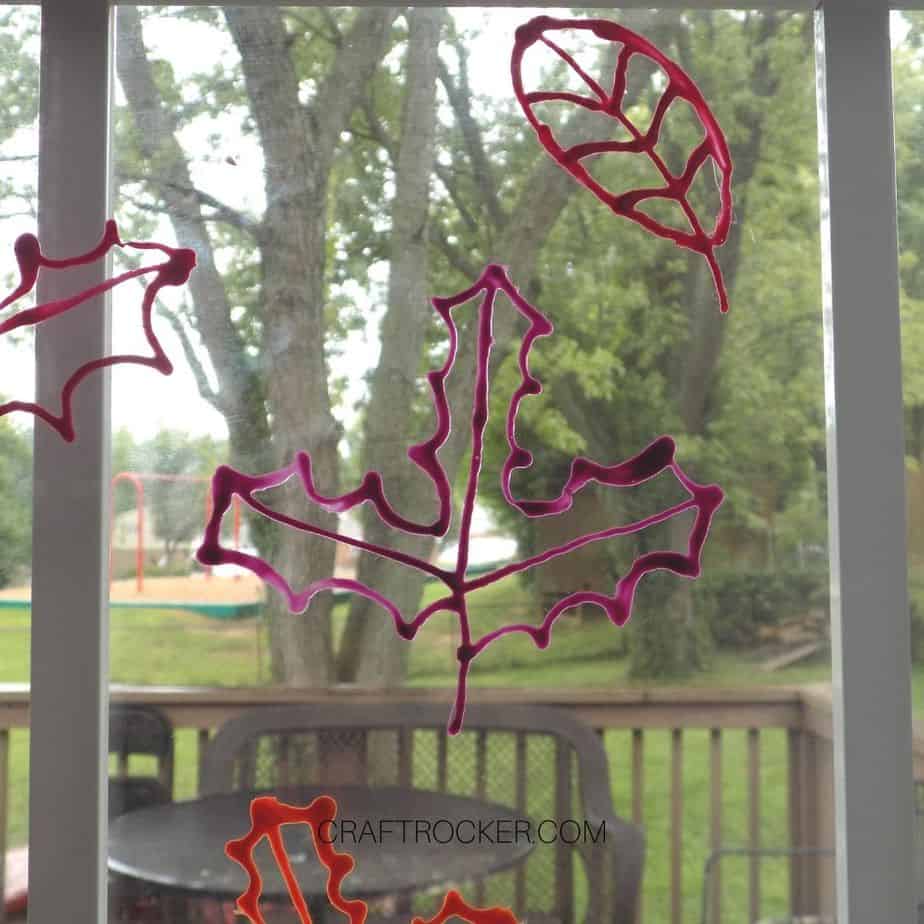
How to Store Your Window Clings
When it’s time to put them away for the season, lay your window clings on a piece of parchment or wax paper so that none of them are touching.
Then add a second layer of parchment or wax paper over the top and stick them in a 2-pocket folder until next year. The folder will protect them from curling or getting damaged during storage.
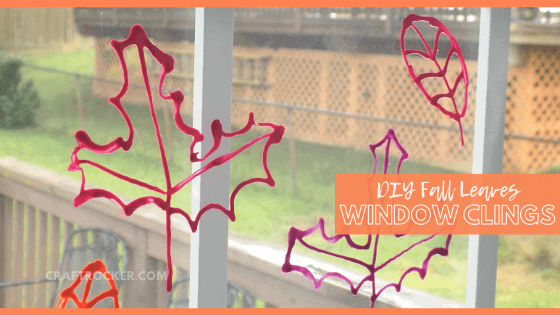
The colors of these DIY fall leaves window clings brighten up our back door so much, I love it! Just seeing them makes you smile.
What do you think: love the pinks and purples or do you prefer the more traditional fall colors? Let me know in the comments!
Don’t Forget to Pin It!
More Projects to Love:
- Popsicle Sticks Photo Frame Magnets
- DIY Fall Leaf Tree – Made in a Day


Leave a Reply