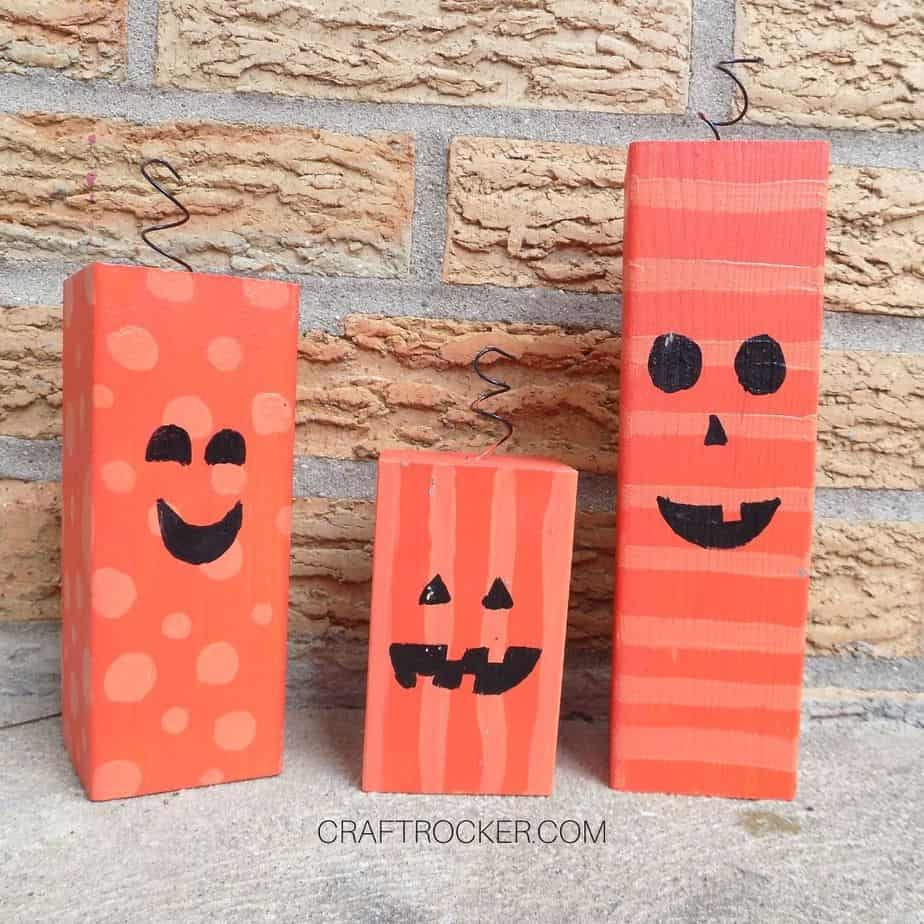
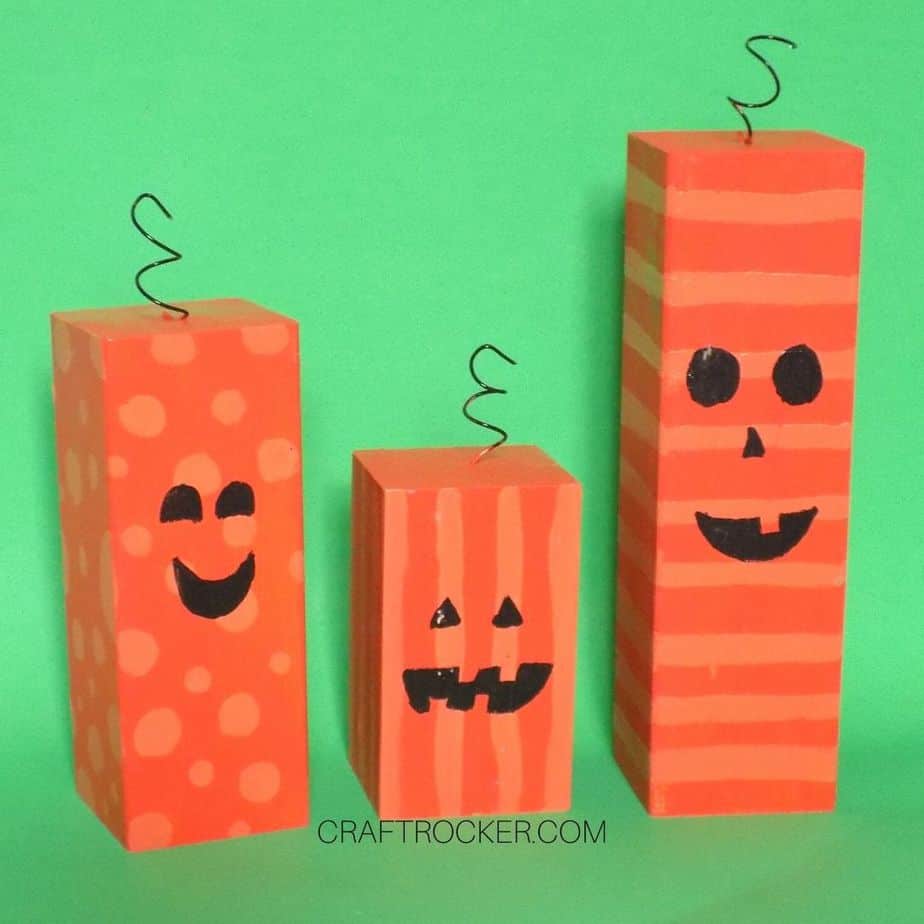
Get your fall crafting started with this wood painted pumpkins decor! They can be displayed indoors or outdoors (or both) this season after sealing making them the perfect start to your decorating.
Affiliate links may be used in this post. Ordering a product through these links may result in a commission at no extra cost to you. Read the full disclosure here.
I found these wood pillars on clearance at Michael’s last month with the curled wire attached. They were being sold as firecrackers for the 4th but I immediately saw pumpkins!
At something like $5 for the set, I had to scoop them up.
Luckily, even if you can’t find them in your store right now, they are still easy to make. Simply pick up a 2 or 3 foot long piece of 2 in by 2 in wood from the hardware store.
Then cut your wood down into 3 pieces of varying heights. Lastly, twist some wire curls and staple them to the tops of your pillars. Make sure to use an upholstery stapler though.
Note:
- If you have to cut your own pillars, that does make this more of an intermediate project as opposed to a beginner’s project. Please keep that in mind when trying to make these babies. Or, you know, get your hubs to cut the wood for you.

Wood Painted Pumpkins Decor Materials
- Two 2 in x 2 in Wood Pillars in Varying Heights
- 1” Paint Brush
- Small Flat Paint Brush
- Small Detailing Paint Brush
- Red and Yellow Acrylic Paint (or Orange Acrylic Paint)
- White Acrylic Paint
- Black Acrylic Paint
- Paint Palette (or Something to Mix Paint On)
- Spray Acrylic Sealant
Step 1
First, mix your red and yellow acrylic paints together until you get your desired shade of orange. If your are using orange acrylic paint, skip this step.
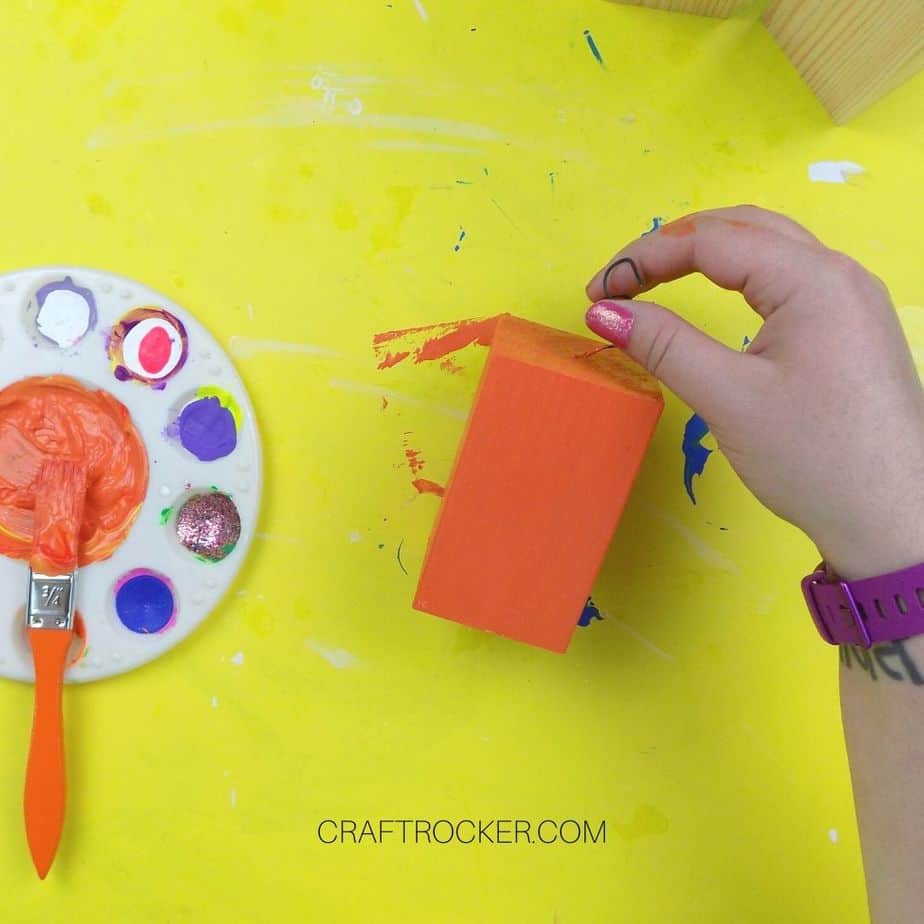
Step 2
Next, paint a coat of orange paint on each of your wood pillars and set them aside to dry.
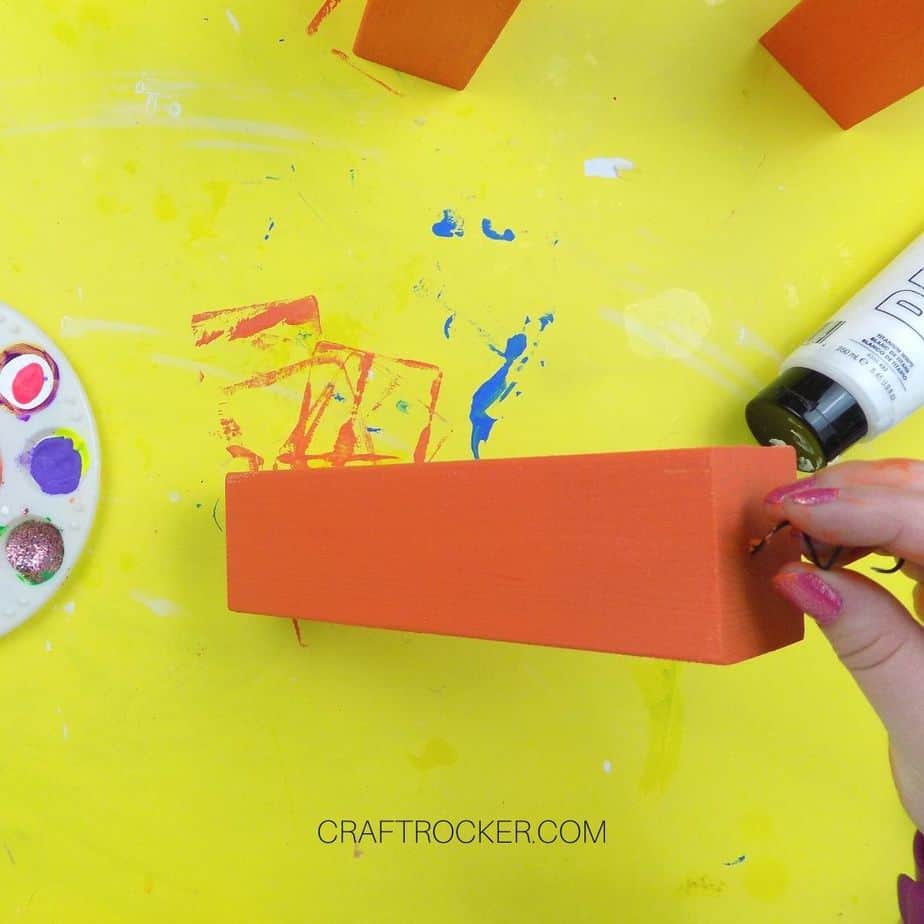
Step 3
Once your wood pillars are dry, mix some white acrylic paint into your orange paint to create a lighter shade of orange.
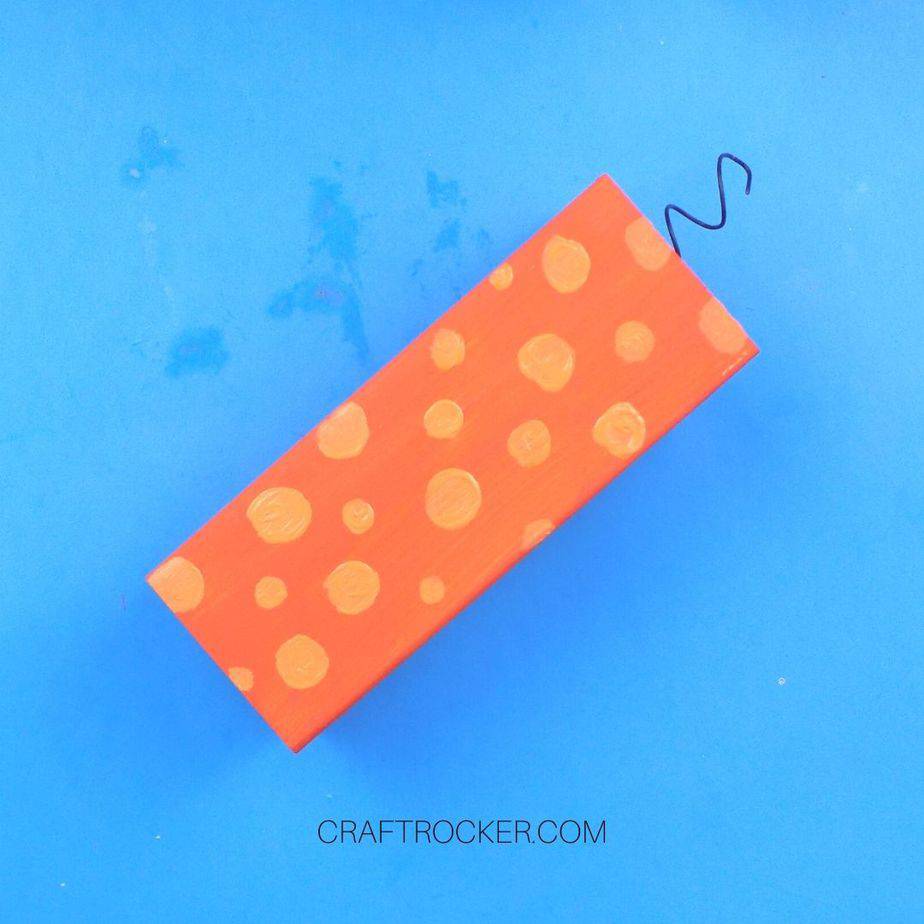
Step 4
After your paint is mixed, grab your medium pillar and paint light orange, multi-sized polka dots on the sides of it.
You may have to paint 3 sides, wait for them to dry, and then paint the last side.
For reference, I did not paint the top or bottom of my pillars with designs.

Step 5
Next, grab your large pillar and paint light orange horizontal stripes on it. Again, if needed, paint 3 sides and allow them to dry before painting the 4th side.
Step 6
Last, grab your small pillar and paint light orange vertical stripes on it.
Step 7
After all sides of your pillars are painted, set them aside to dry completely before moving on.
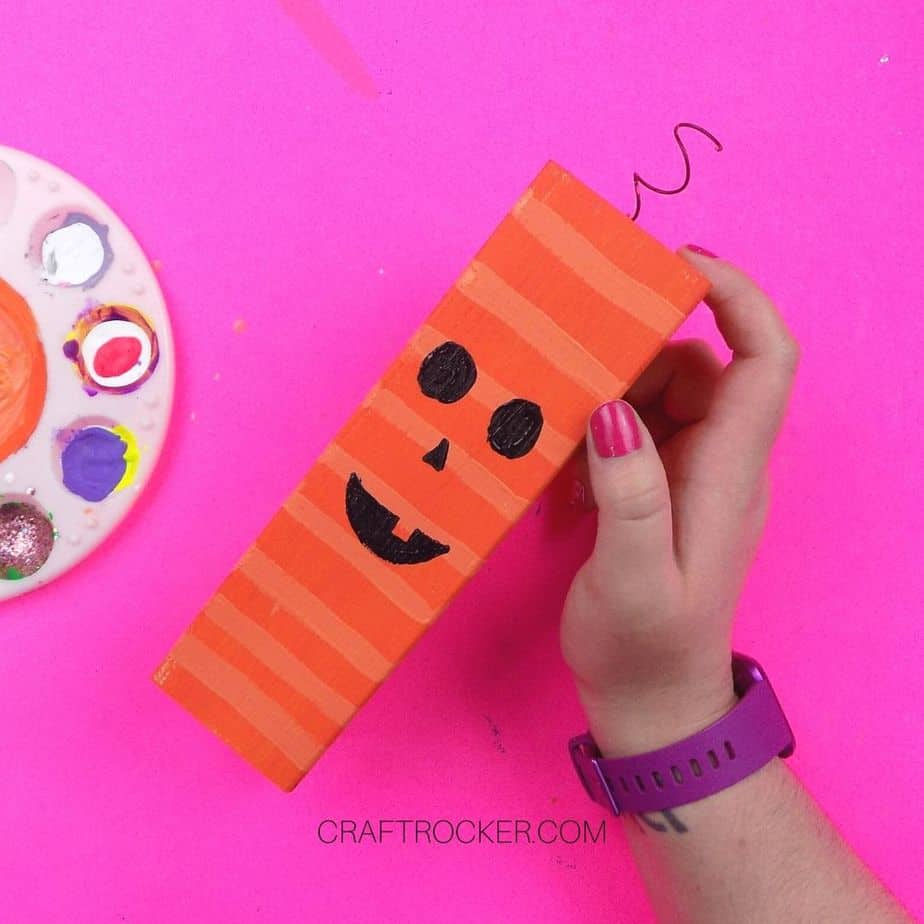
Step 8
Once your wood pillars are dry, paint faces on each one with black acrylic paint. Be sure to change up the faces on each one as we did with the light orange patterns.

Step 9
Allow the black paint to dry completely and then spray each pillar with acrylic sealant. Make sure that you seal every side, including the tops and bottoms, especially if you plan to display them outside. It’s not a bad idea to seal the wire on top as well to prevent rusting.
Step 10
Lastly, let your acrylic sealant dry completely before displaying.

These wood painted pumpkins decor are the perfect example of what makes crafters so awesome.
We see the world in a different way and that leads to awesome new projects and unique solutions to problems.
Keep rocking crafty momma!
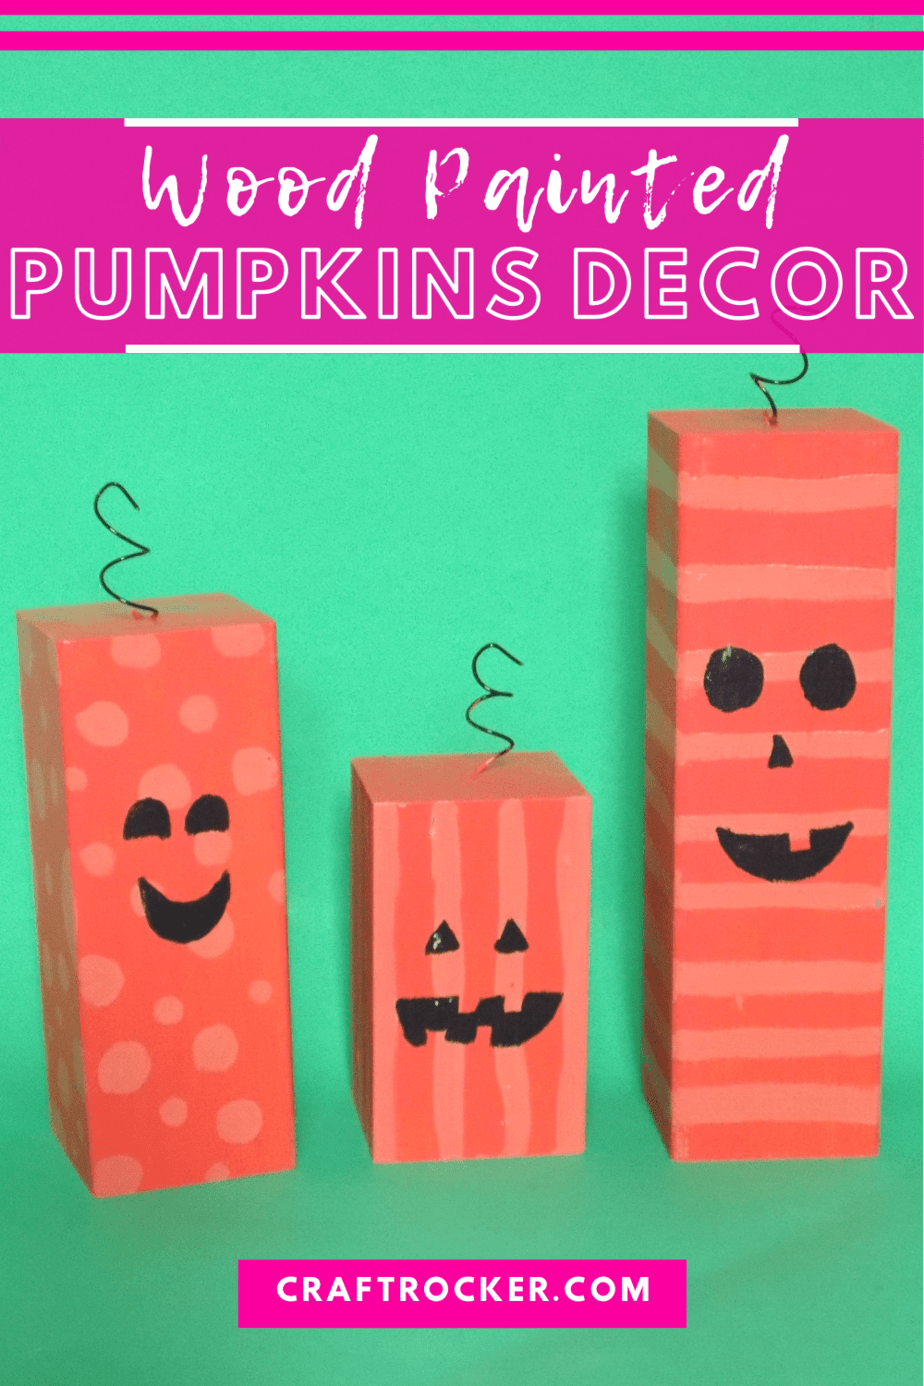
Don’t Forget to Pin It!
More Projects to Love:
- DIY Fall Leaves Window Clings
- How to Make Paper Beaded Bracelets
- Fall Napkin Dollar Store Pumpkin Makeover – Intelligent Domestications
