Get ready to craft some adorableness with these popsicle stick Halloween characters. They’re a great non-spooky decoration that even the kiddos can make (as long as mom does the hot glue).
Affiliate links may be used in this post. Ordering a product through these links may result in a commission at no extra cost to you. Read the full disclosure here.

I have no idea why but creating popsicle stick crafts is so much fun, even as an adult. Maybe it’s nostalgia from when we were kids or maybe it is the innate cuteness of them.
Whatever it is, combined with Halloween makes for a happy crafty momma in this house.
Popsicle Stick Halloween Characters Materials
- 24 Jumbo Popsicle Sticks (also called craft sticks)
- Hot Glue Gun and Glue Sticks
- Scissors
- Orange Acrylic Paint
- Green Acrylic Paint
- White Acrylic Paint
- Black Acrylic Paint
- Brown Acrylic Paint
- Paint Brushes (I recommend a variety of sizes)
How to Make a Popsicle Stick Ghost

Step 1
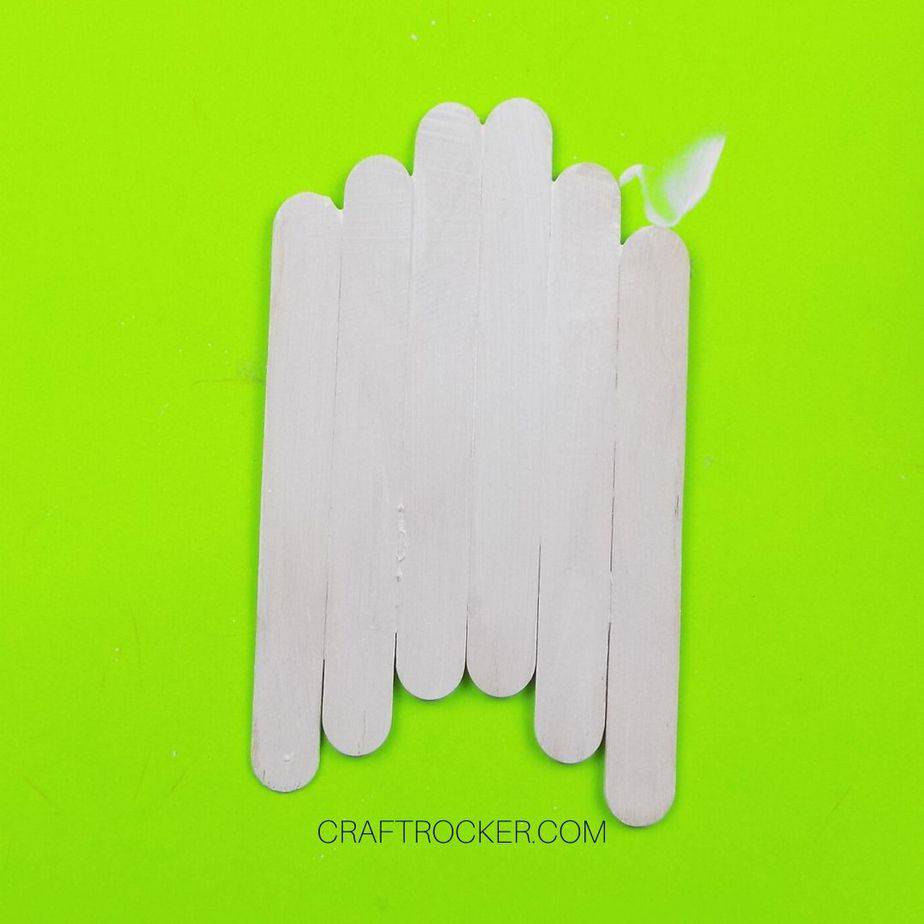
First, arrange 6 popsicle sticks so that the center 2 are highest and the remaining 2 on either side are slight lower. See the photo for reference.
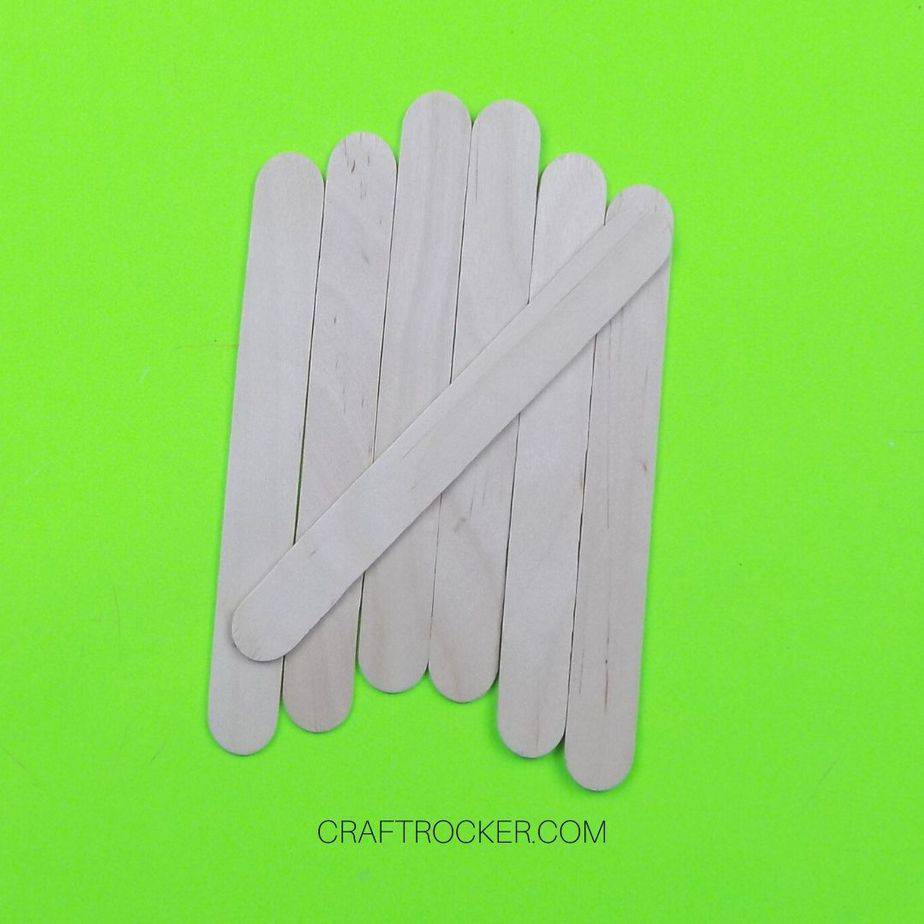
Step 2
Then carefully hot glue another popsicle stick diagonally across your arranges sticks. Make sure that you arranges sticks remain touching on the side while you do this. Also ensure that neither end of your diagonal popsicle stick hangs over the edge.
Step 3
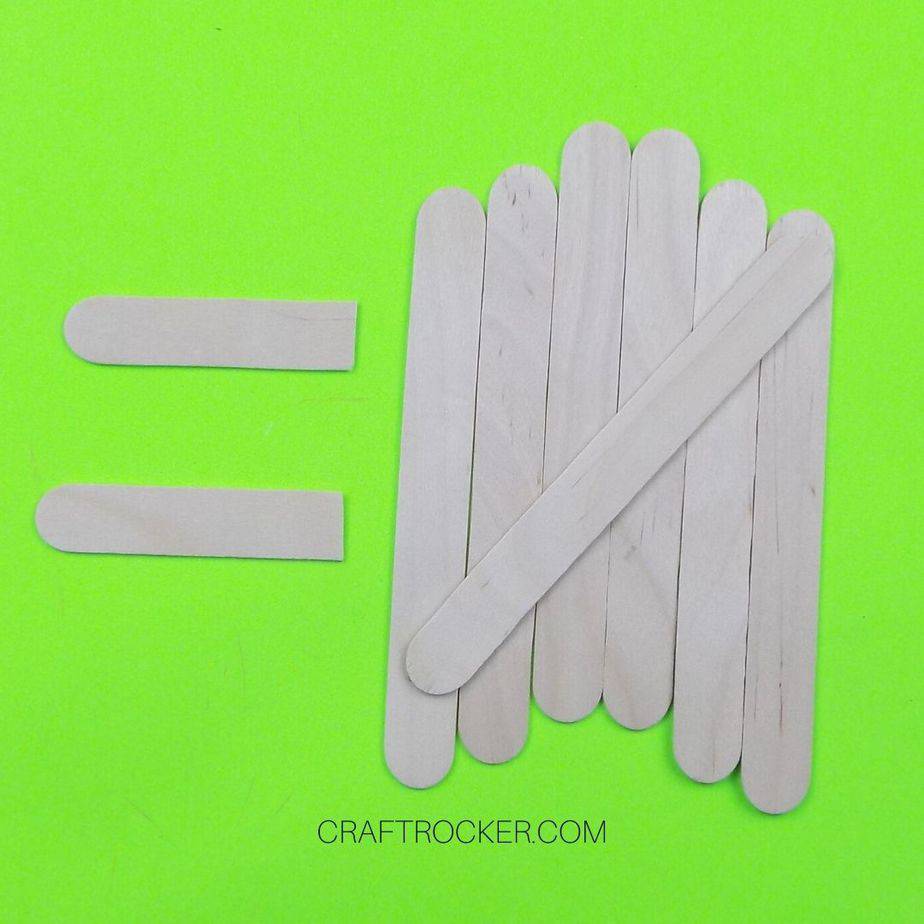
Next, take an eighth popsicle stick and cut it in half. You do not need to be precise. A rough estimate is fine.
Step 4
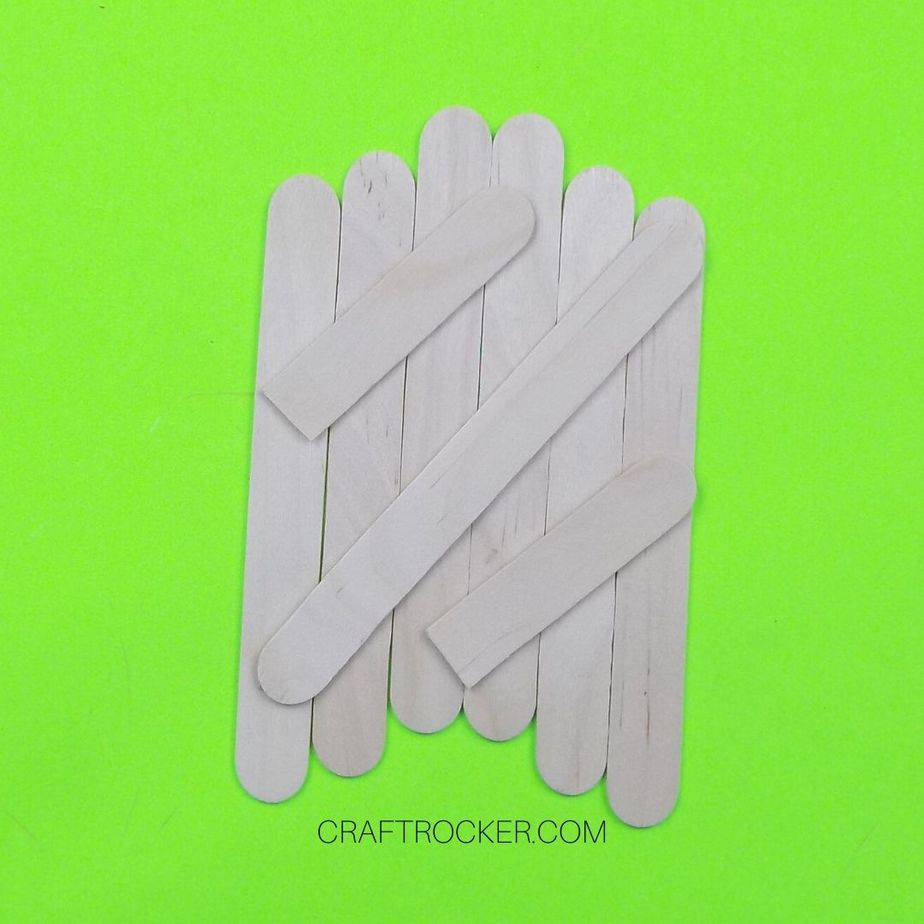
After you cut your stick in half, hot glue 1 half above the diagonal stick and the 2nd half below the diagonal stick.
Step 5
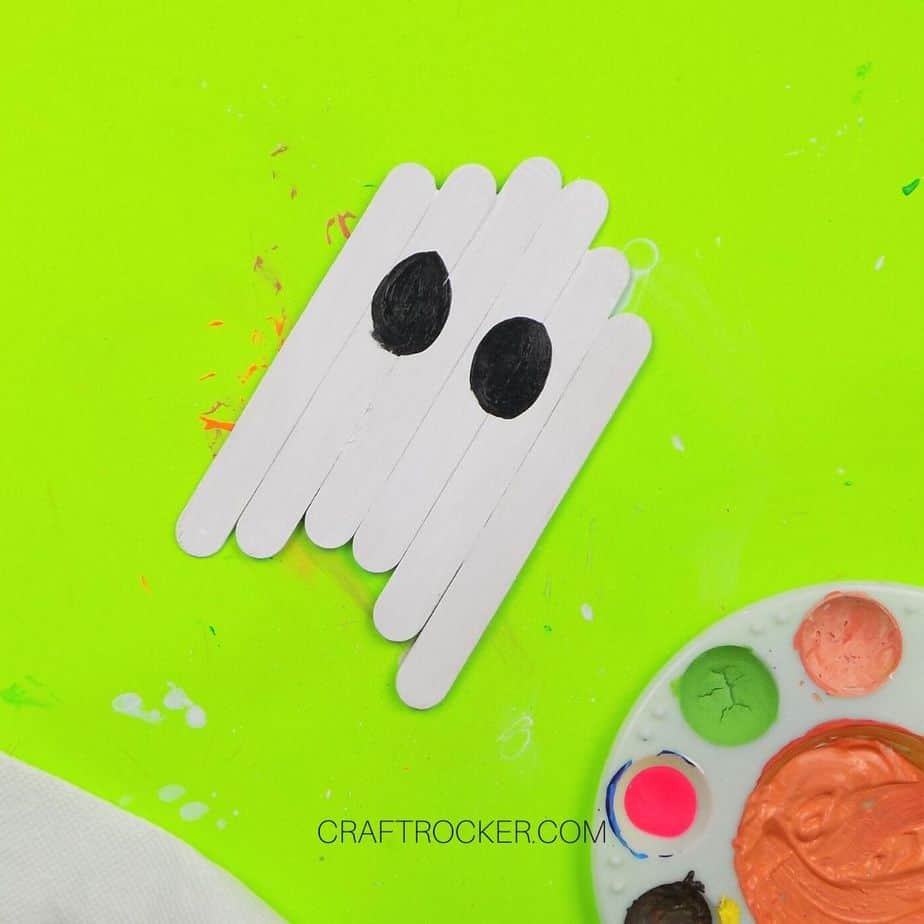
Now flip your glued ghost over and paint the entire thing with a coat of white acrylic paint. Then set it aside to dry.
Step 6 (Optional)
Once the paint it dry, add a second coat of white paint. You don’t have to do this but I felt the white wasn’t bright enough on mine without a second coat. You do you.
Again, set it aside to dry if adding a second coat.
Step 7
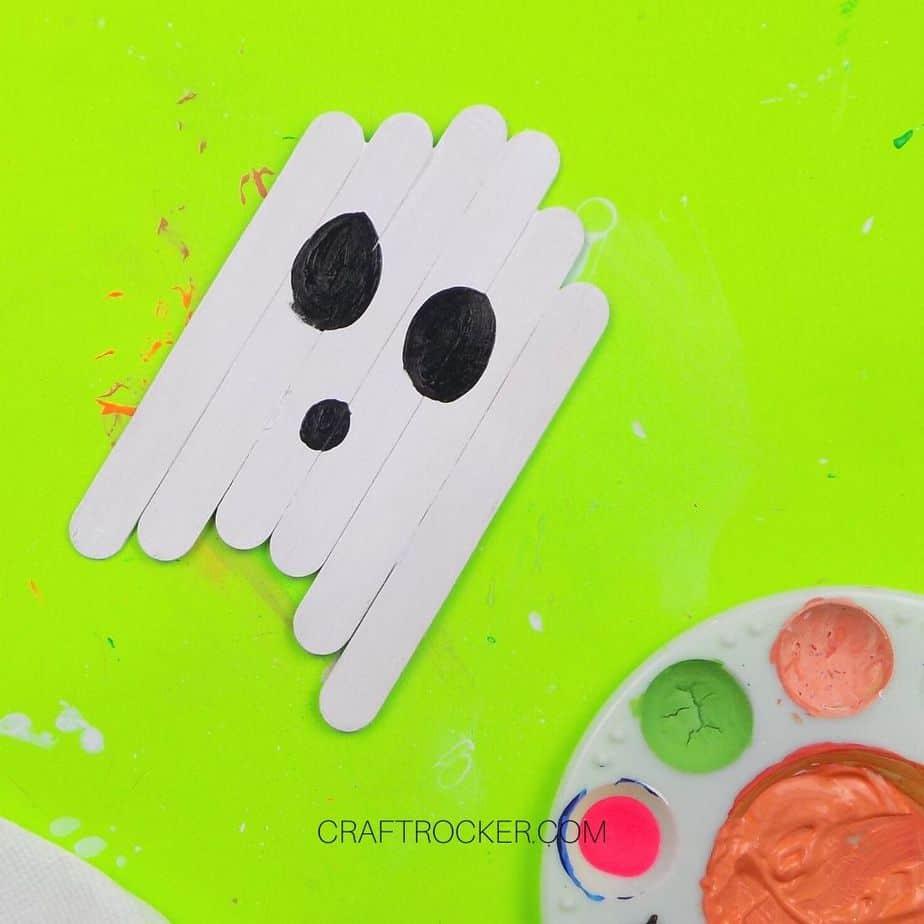
Next, paint large black oval eyes on your ghost.
Step 8
Lastly paint a small black circle for the mouth and allow all of the paint to dry completely.
How to Make a Popsicle Stick Frankie

Step 1
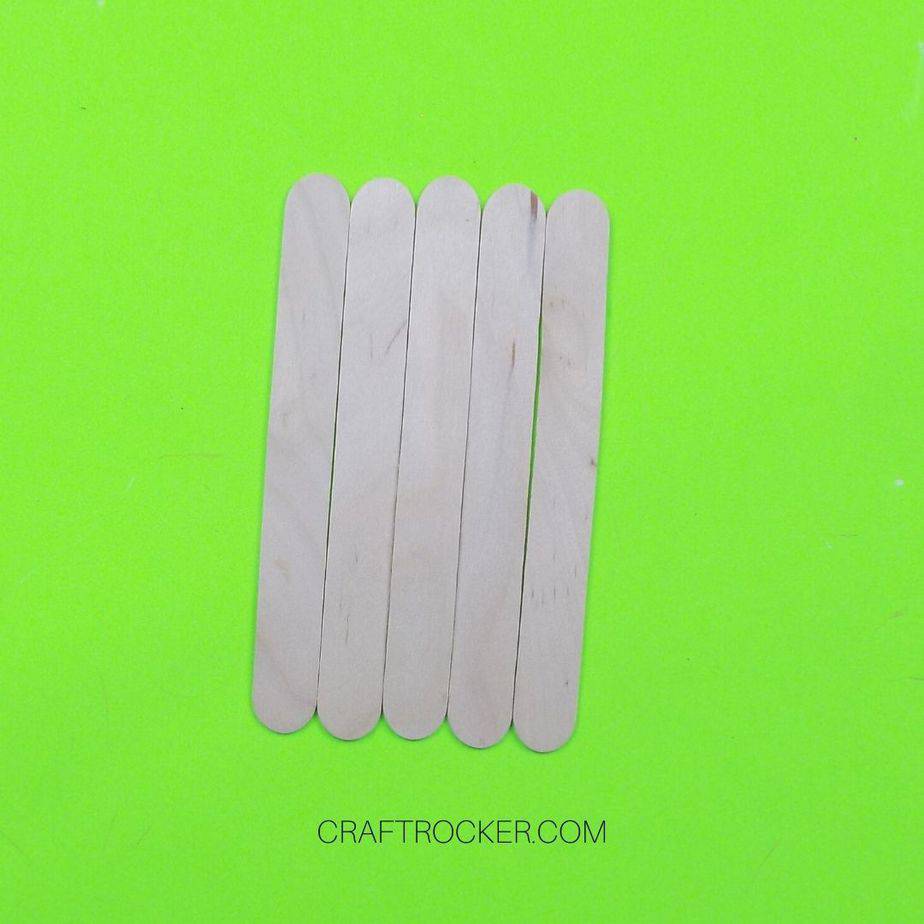
First, line up 5 popsicle sticks next to each other with their sides touching.
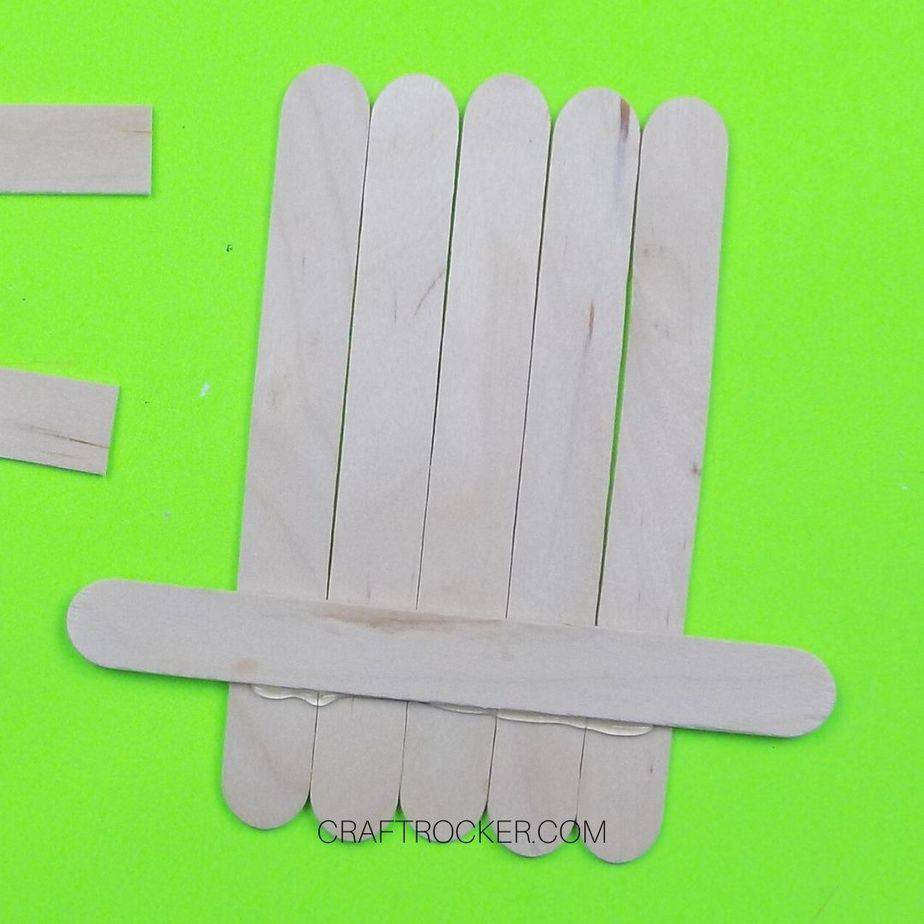
Step 2
Next, hot glue a 6th stick across the bottom of your lined up popsicle sticks. Make sure that it does hang over on each edge and also that your lined up sticks remain touching on the sides.
Step 3
Now grab another popsicle stick and cut it in half. Again, it doesn’t have to be exact.
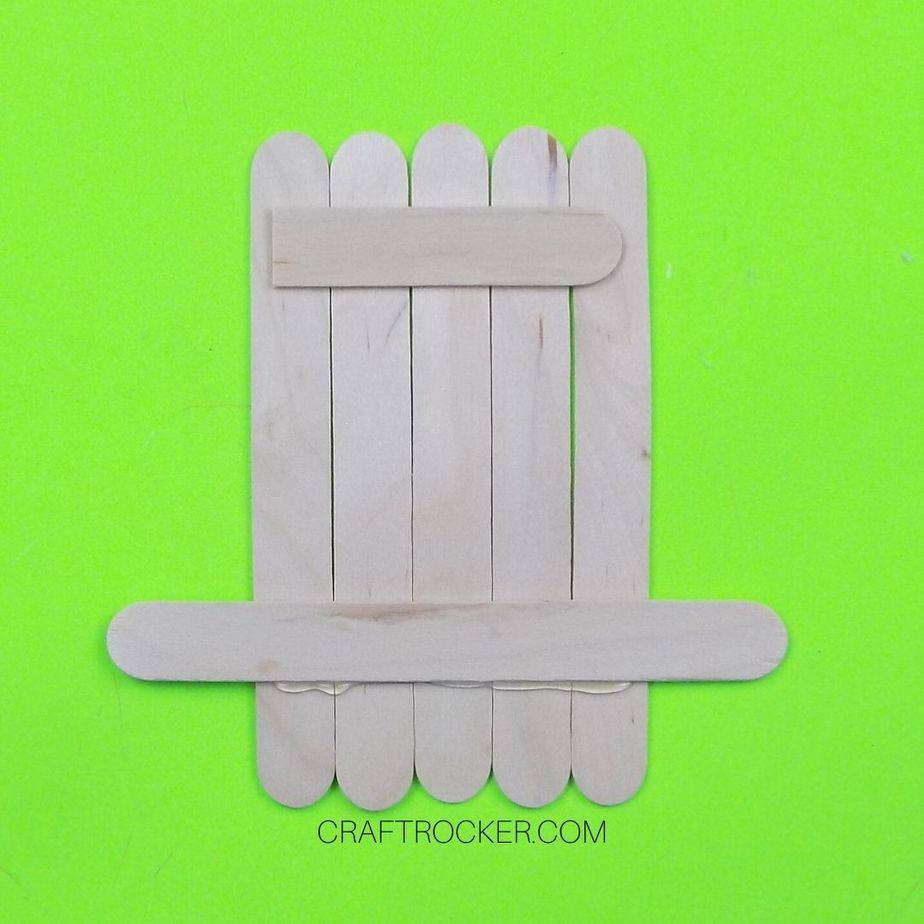
Step 4
After you stick is cut in half, hot glue one half to the top of your 5 lined up sticks. This time make sure that it does not hang off of the edge. You don’t want to see it from the other side.
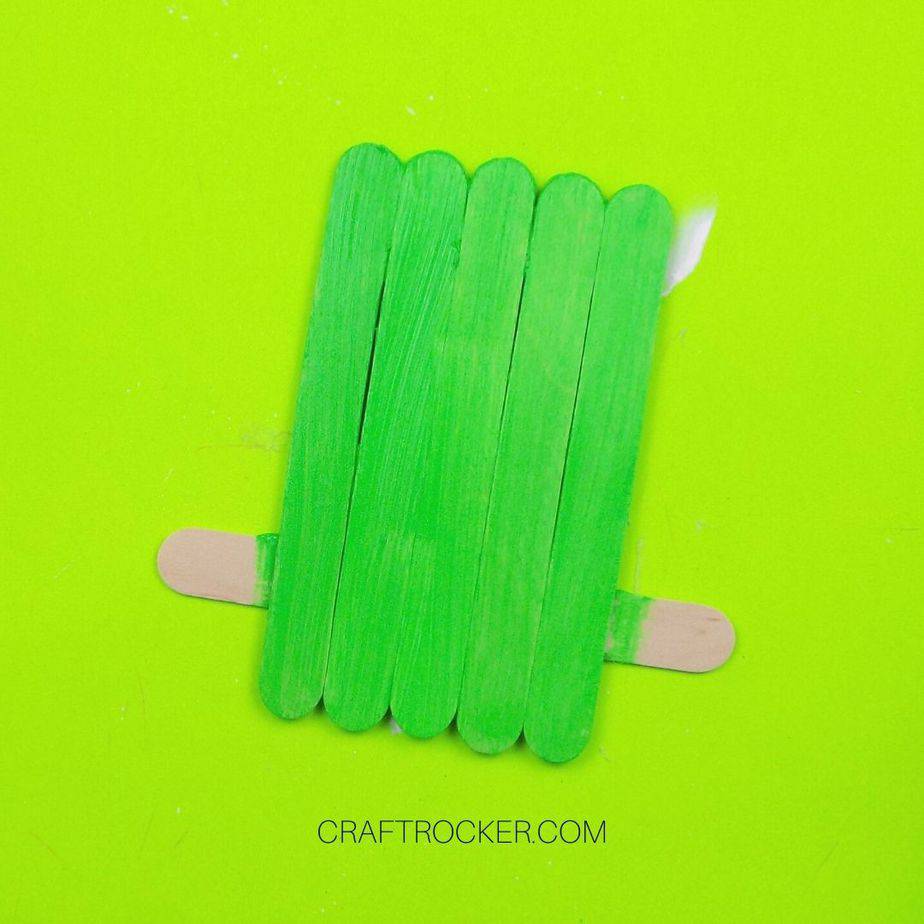
Step 5
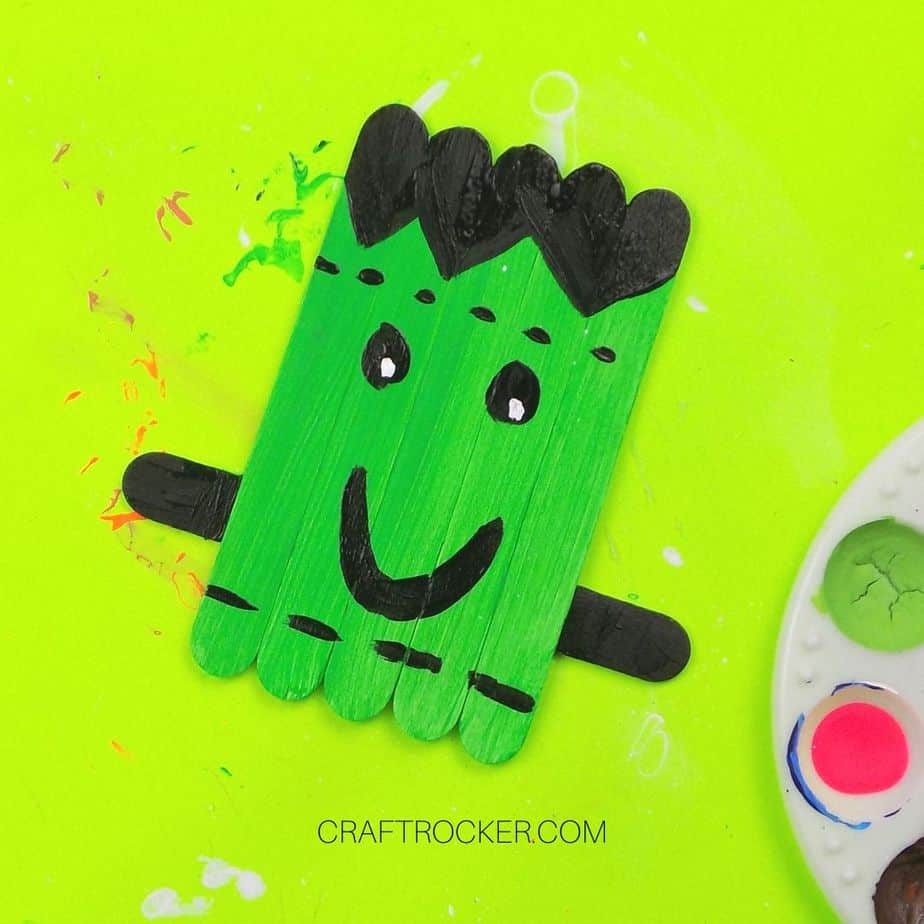
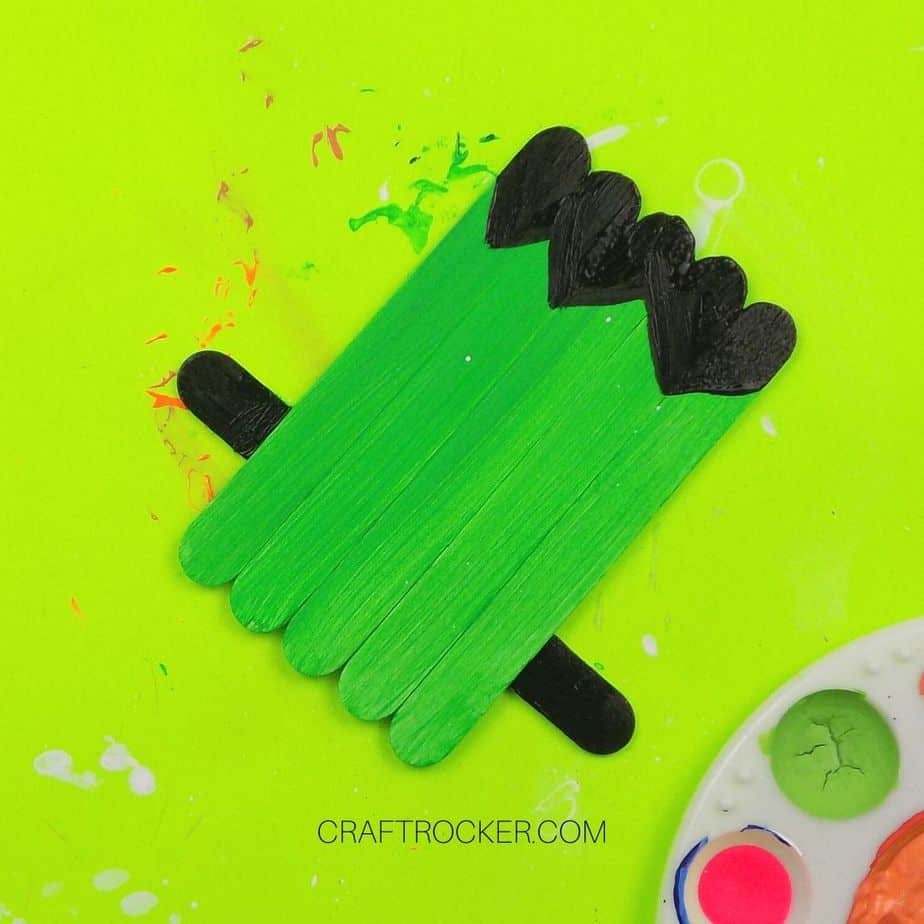
Then flip your frankie over and paint the vertically lined up sticks green. I chose a neon green because I liked it’s vibrancy but any shade of green will work. Once it is painted, set it aside until dry.
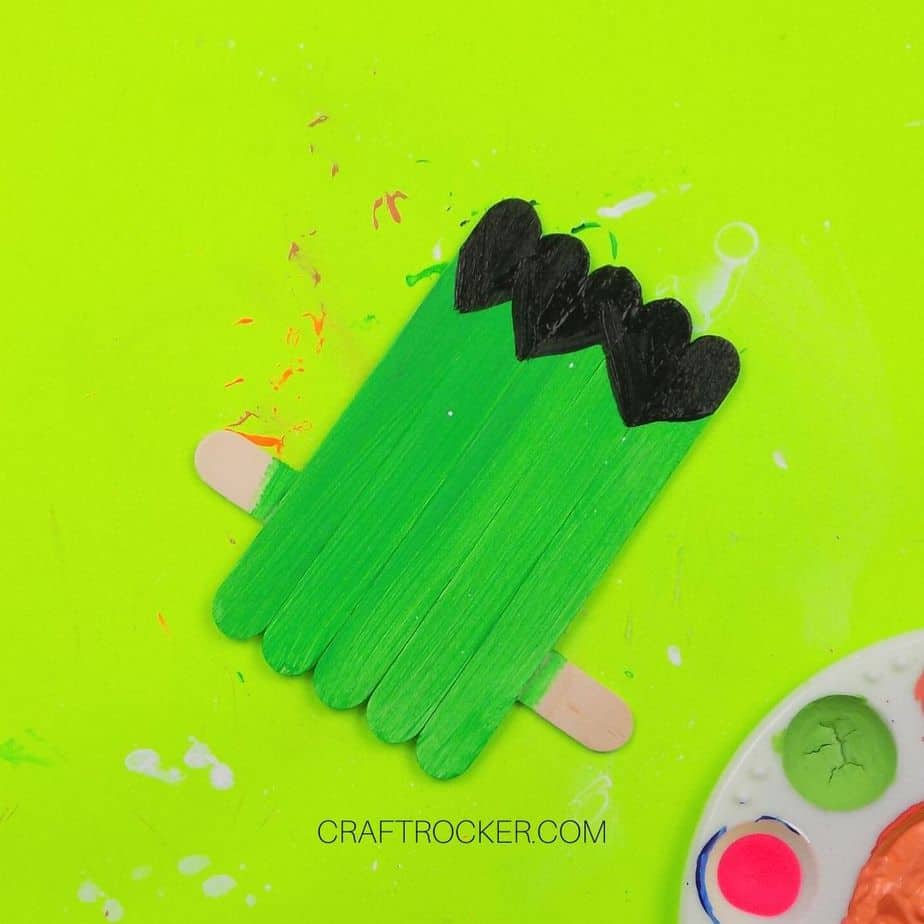
Step 6
Next, paint the black hair at the top of your frankie. Start by painting a large zig-zag about an inch from the top. Then fill in the area between the zig-zag and the top of your frankie with black paint.
Step 7
Now paint the “bolts” (the ends of the perpendicular stick at the bottom) with black acrylic paint.
Step 8
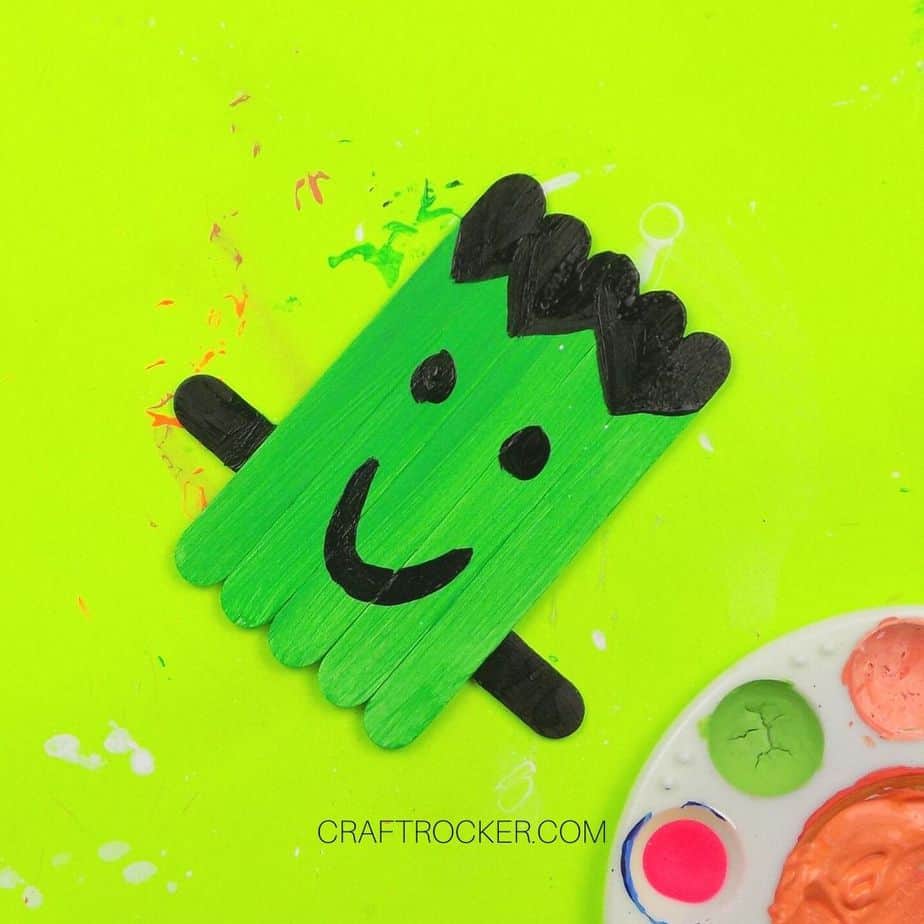
Then paint 2 eyes and a smile on your frankie.
Step 9
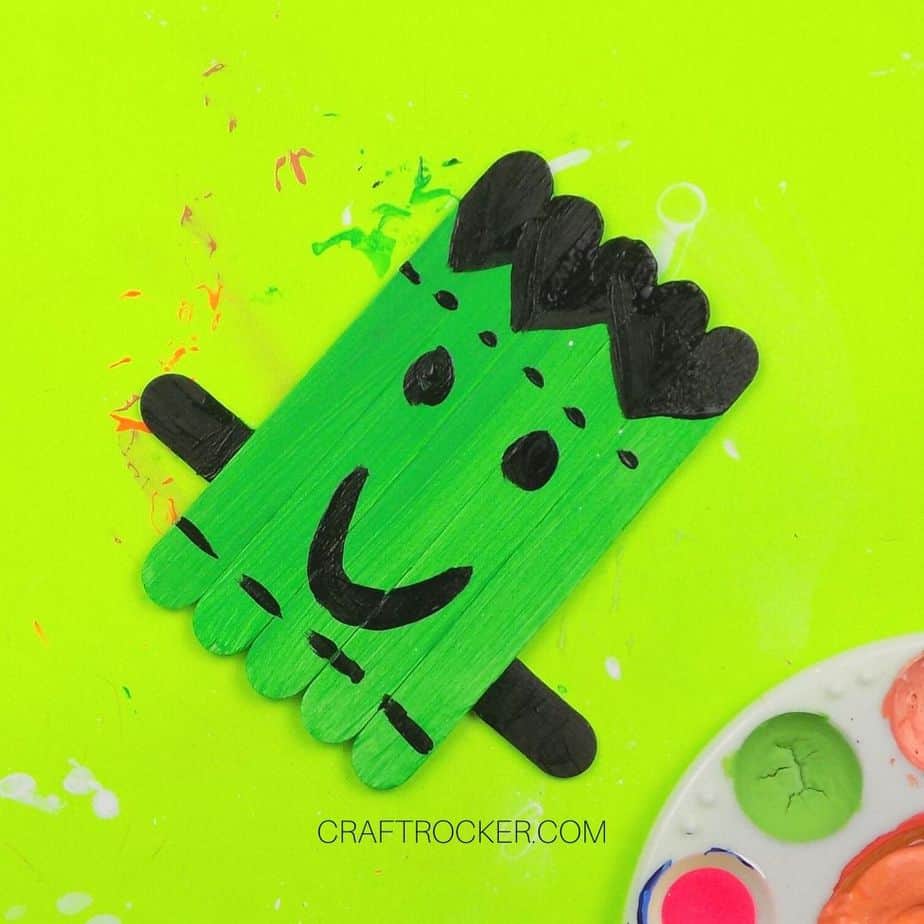
Next, paint black dashes above and below his face for his stitches. I painted smaller dashes at the top and then longer, thicker ones on the bottom.
Step 10 (Optional)
Lastly, add 2 small white dots to his eyes. Note that this step is totally optional but it adds a level of cuteness and makes him look extra friendly. Again, be sure to let the paint dry before displaying your creation.
How to Make a Popsicle Stick Jack-o-Lantern

Step 1
Start by lining up 7 popsicle sticks horizontally with their edges touching.
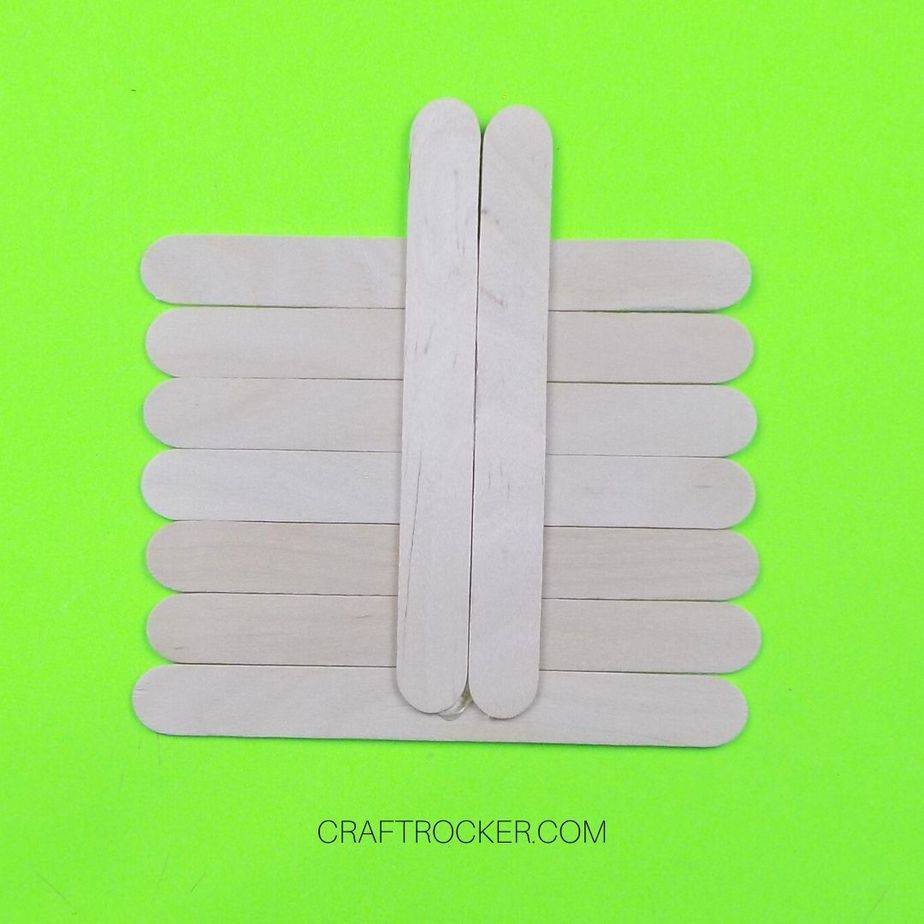
Step 2
Next, hot glue 2 popsicle sticks perpendicular in the center of your lined up sticks. Do this so that the ends of the perpendicular sticks hang over the edge only at the top of your lined up sticks.
Also make sure that the edges of your lined up sticks remain touching when you hot glue the 2 perpendicular sticks on.
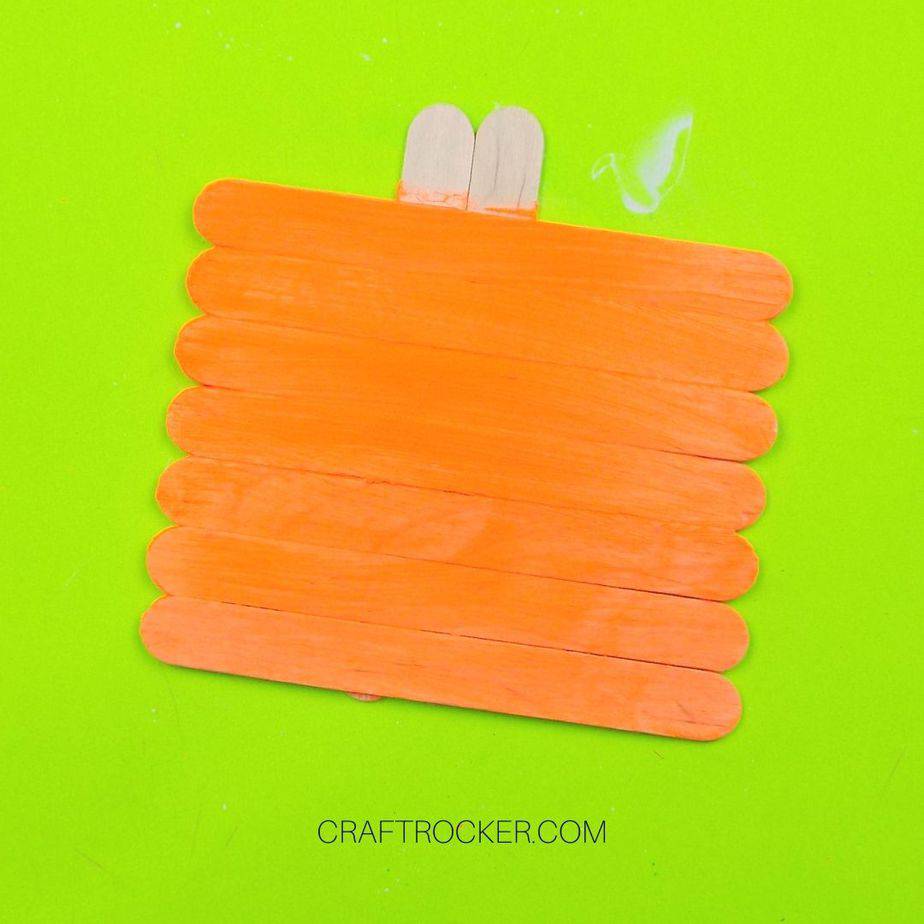
Step 3
Now flip your jack-o-lantern over and paint the lined up sticks orange. Let the paint dry before moving on.

Step 4
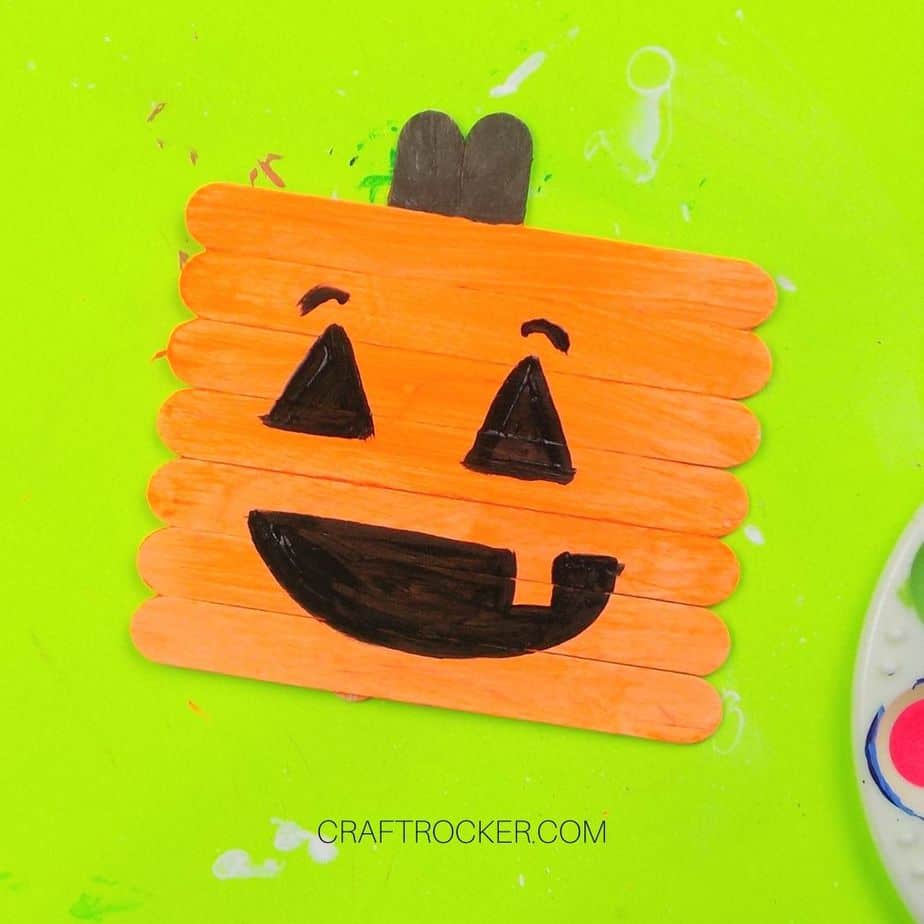
After your orange paint is dry, paint a jack-o-lantern face with black acrylic paint on the orange area.
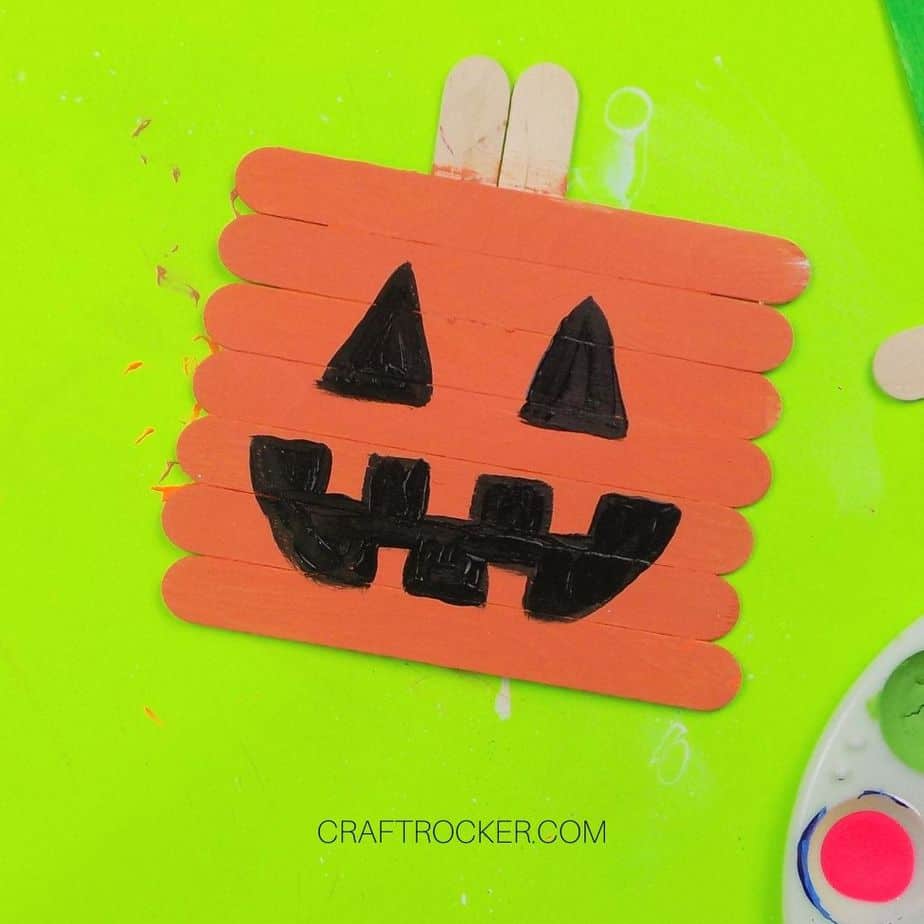
Feel free to play around with different faces. The second face I made was a lot more traditional that the playfulness of the first one.
Step 5
Next, paint the “stem” (the perpendicular sticks at the top) of your jack-o-lantern brown. Set the entire thing aside to dry completely.
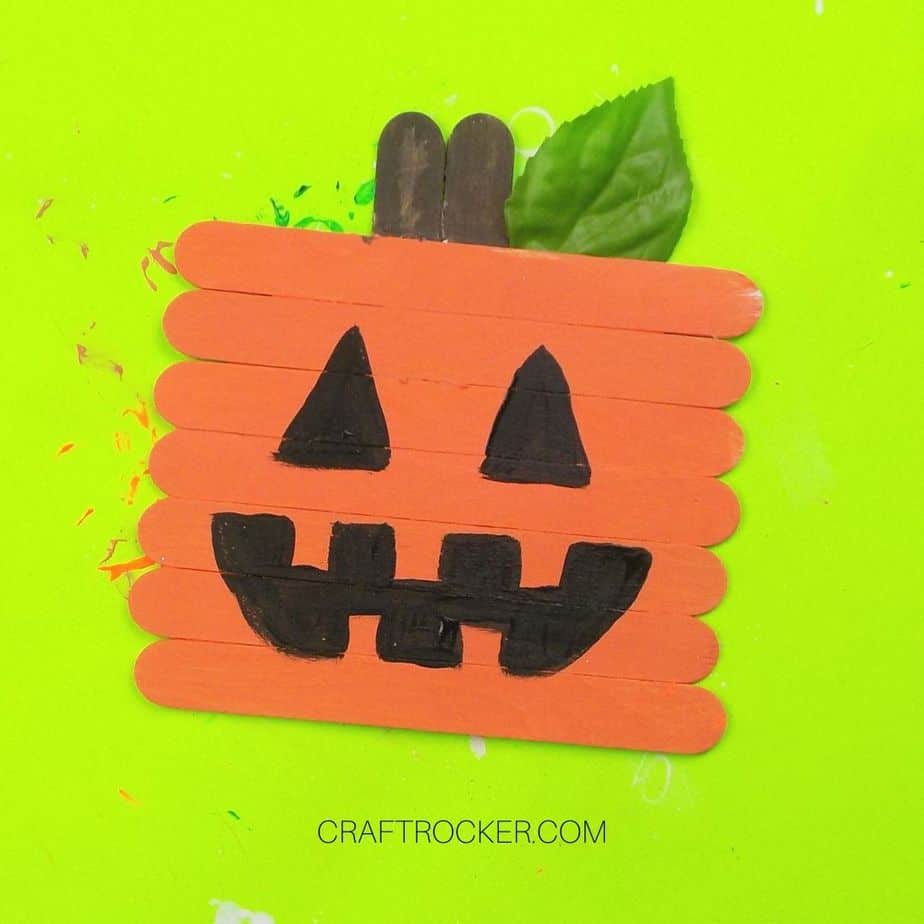
Step 6 (Optional)
Lastly, if desired, hot glue a small leaf to the top of your jack-o-lantern by the stem. I made 1 with a leaf and 1 without. Both are still cute as can be.
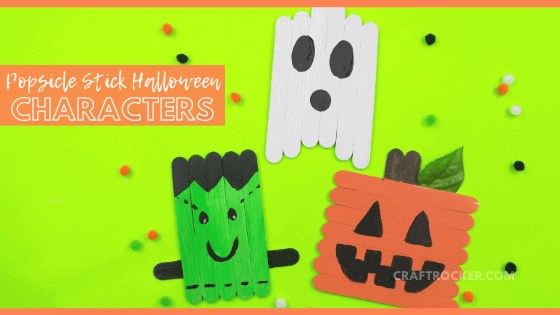
Which of these popsicle stick Halloween characters is your favorite?
I have no idea why but I’m in love with the little ghost. He’s just so dang cute even if he is the simplest one to make.
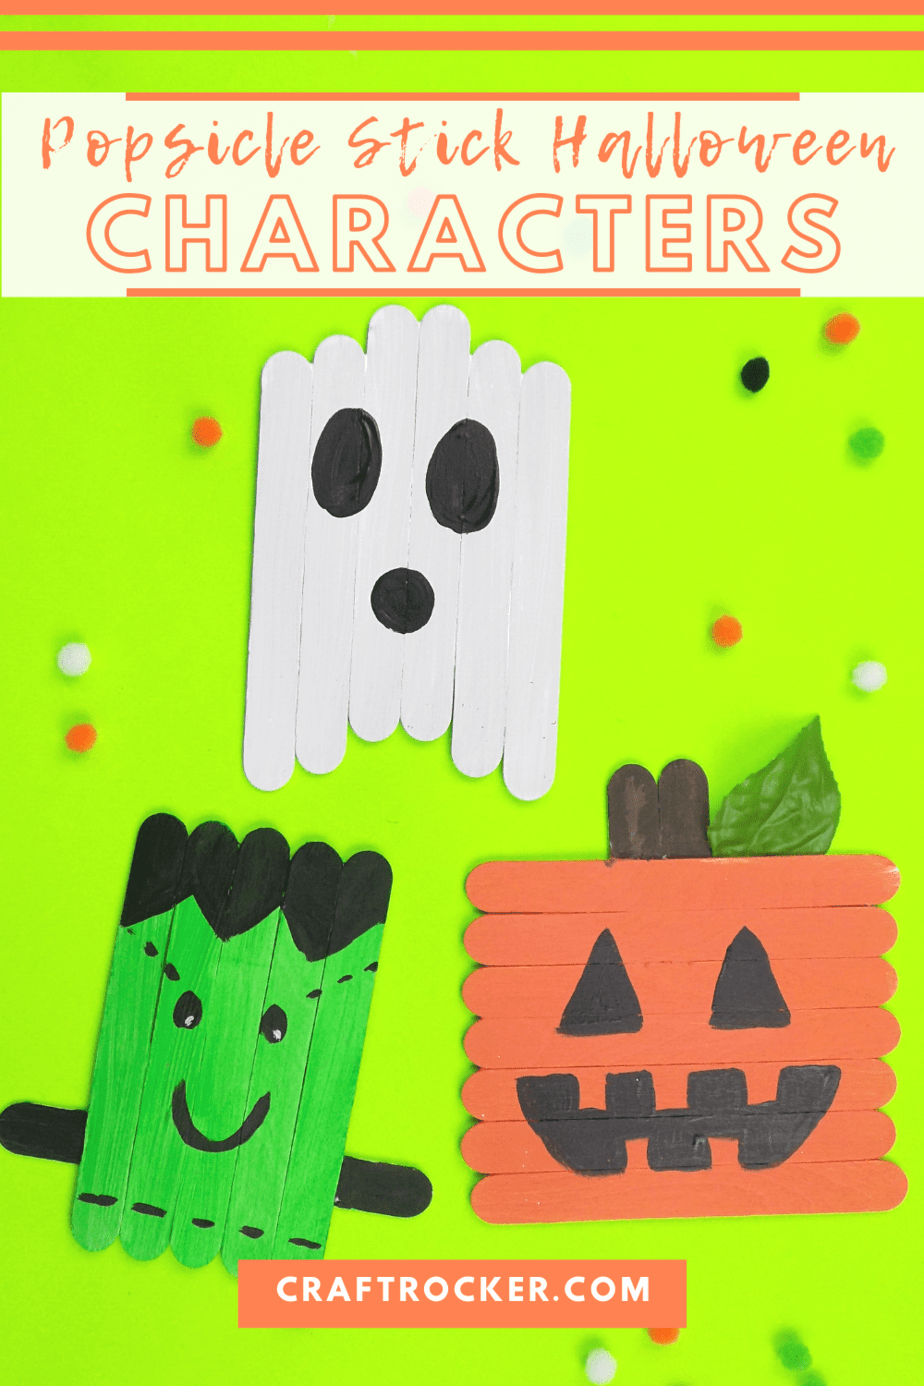
Don’t Forget to Pin It!
More Projects to Love:
- Wood Painted Pumpkins Decor
- Popsicle Sticks Photo Frame Magnet
- Halloween Jar Lanterns for Kids – Cookies, Coffee, and Crafts
