Create an awesome DIY Christmas gnome from dollar store finds with this easy step-by-step tutorial.
Affiliate links may be used in this post. Ordering a product through these links may result in a commission at no extra cost to you. Read the full disclosure here.
Jump to What You Want


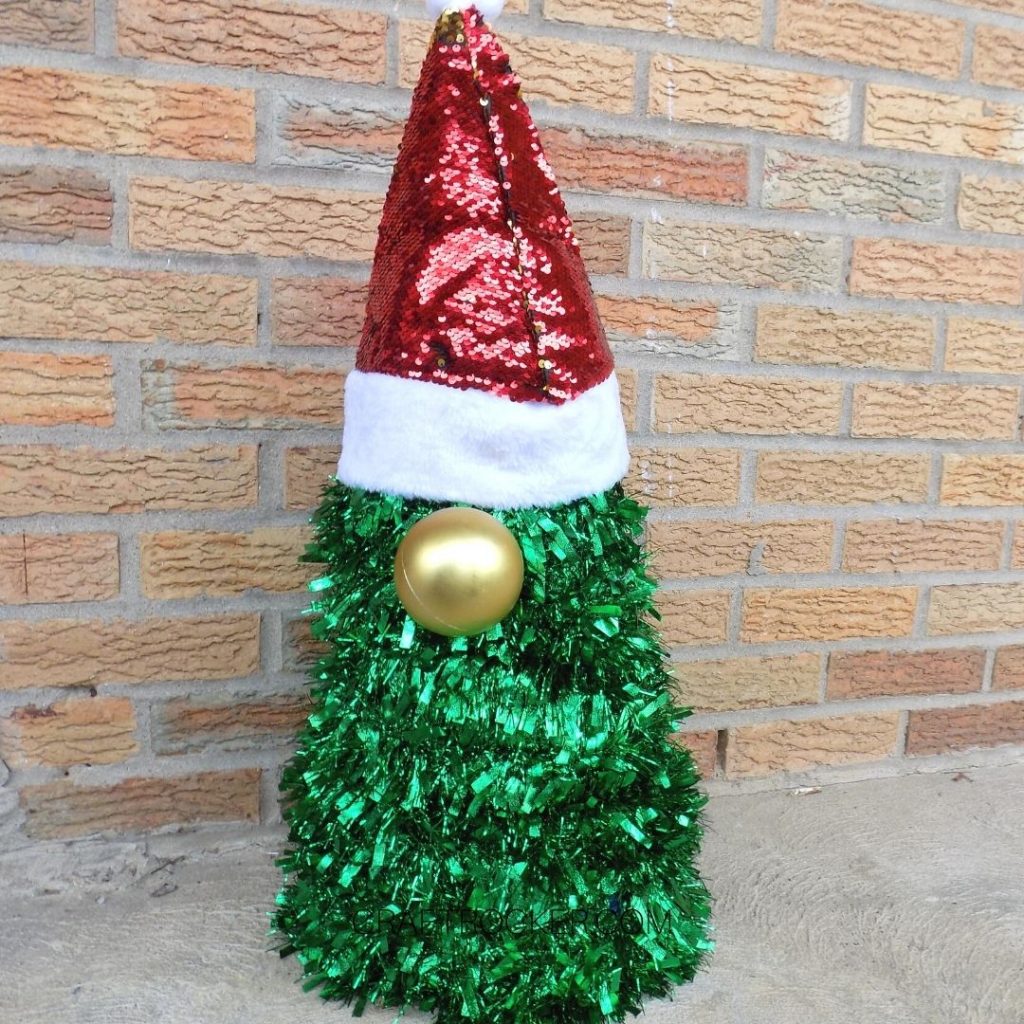
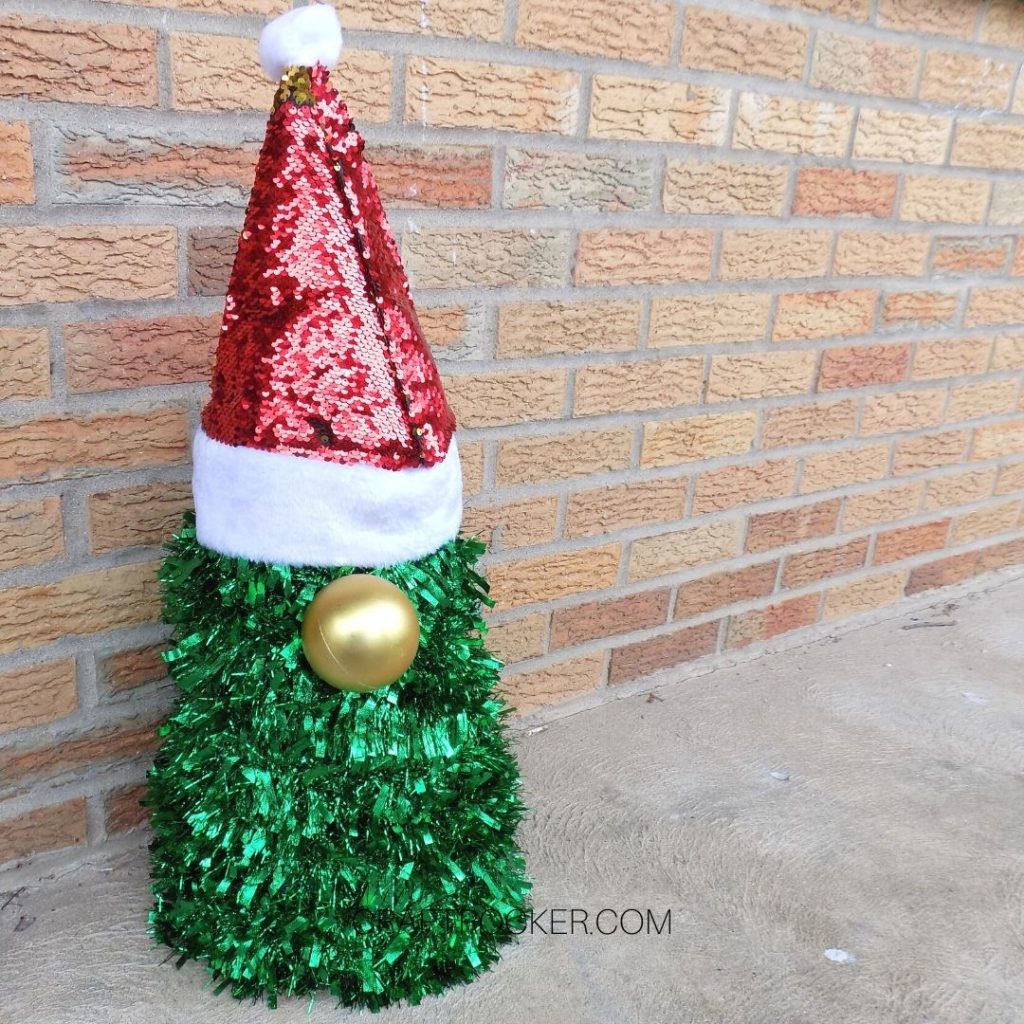
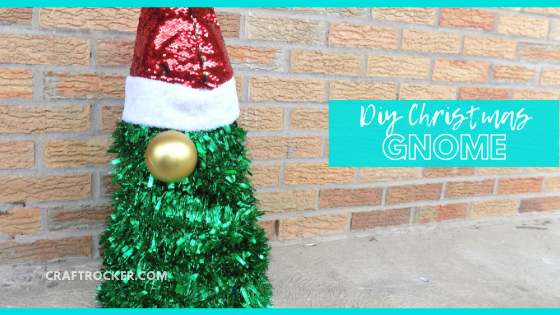
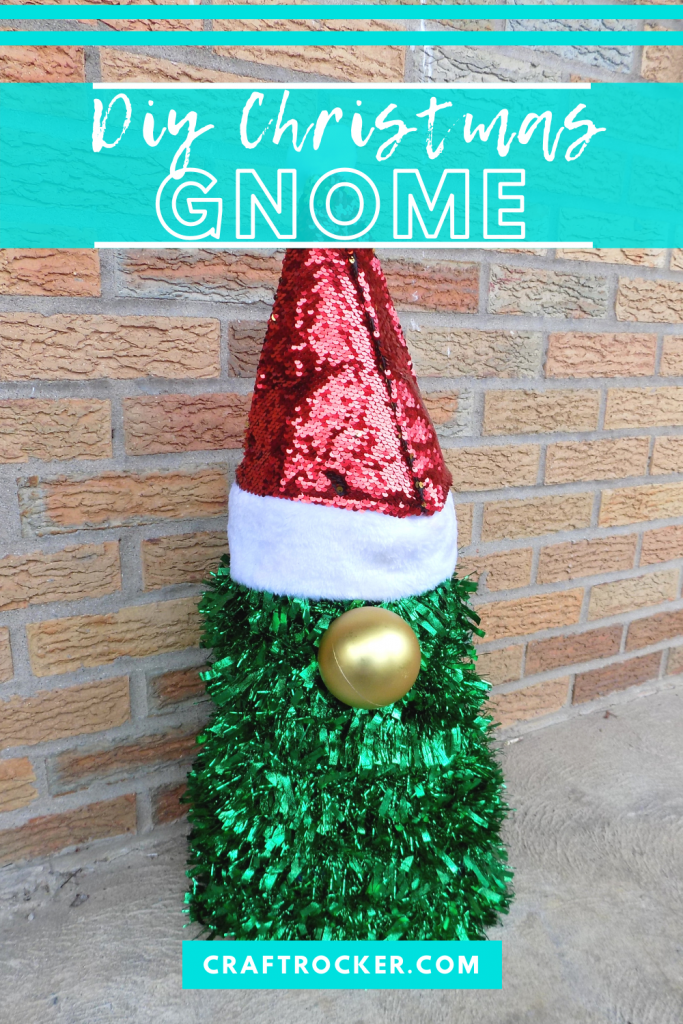
Have you seen those super pretty fir trees that people have made to look like giant gnomes? I don’t have any of those trees in my yard (yet) so I wanted to make my own sparkly version out of garland.
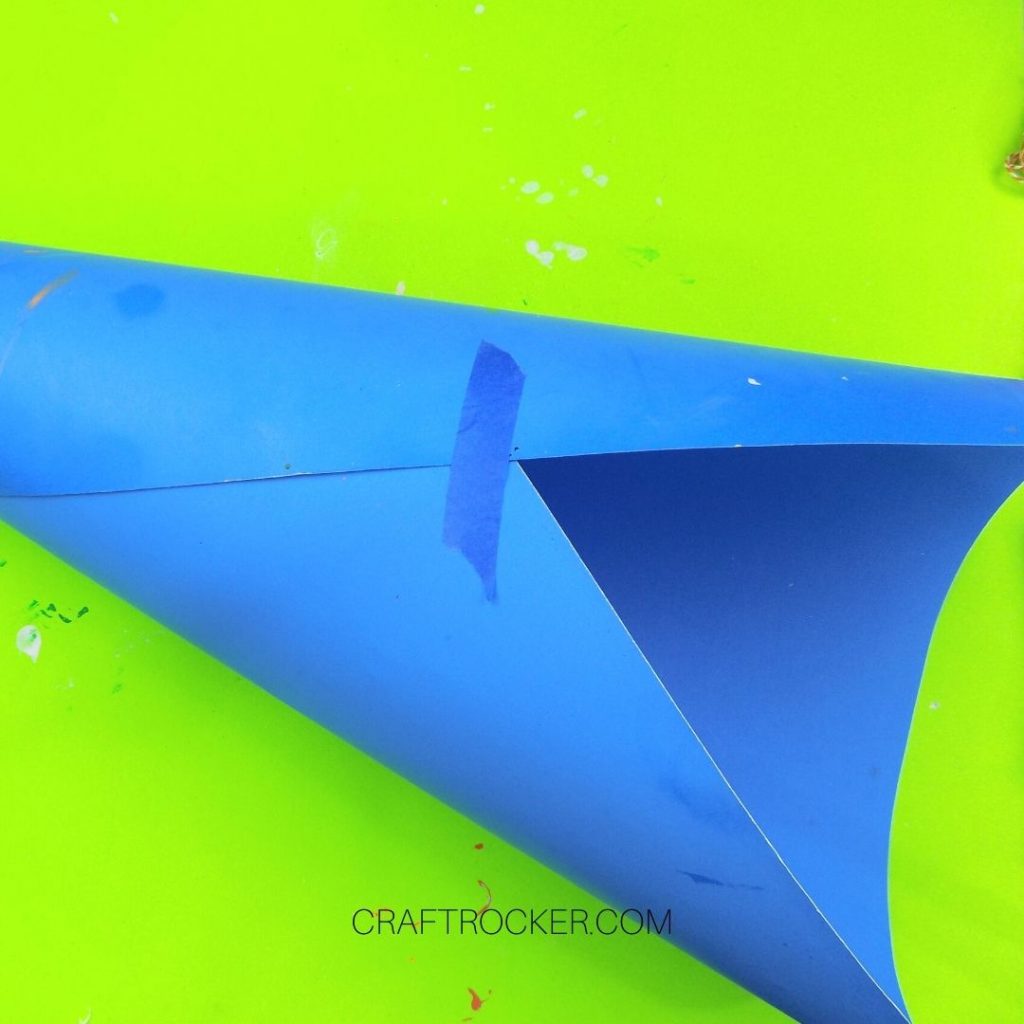
A quick trip to the Dollar Tree and I had everything needed to make this little guy. You’ll notice that I used blue poster board for him.
That was not my first choice, I actually recommend using green. Unfortunately, they didn’t have any at the store I was at, so you work with what you have.
In the end, this DIY Christmas gnome still turned out awesome and he is very happy chilling out in our house this season.

Festive Christmas Season Blog Hop
Welcome back to year 6 of our Festive Christmas Event where we team up with a bunch of talented blogging friends to bring you a plethora of creative ways to celebrate your holiday season.
We will be creating awesome treats for you, sharing some party games, making some handmade gifts like this Snow Globe Shadow Box, doing some ornament crafting, and sharing our Christmas movies family fun.
There will be breakfast recipes and, as always, our decorated Christmas Trees which is always a fun tour of homes.
New this year are Gift Guides
We are right there with you shopping from home due to Covid-19 and we understand how hard that can be. That is why we have been busy little Elves doing tons of research to create fabulous Gift Guides to help you with your holiday shopping.
Check out 50+ Best Gifts for Crafters and 100+ DIY Christmas Gifts for Everyone on Your List!
Find new ideas every Monday and Wednesday between Oct. 19th through Nov. 18th. Scroll all the way down to the end of the post to find all the ideas linked at the end.
DIY Christmas Gnome Materials
1 Sheet of Poster Board
Tape (I used painters tape but any tape will work)
4 9ft Lengths of Green Garland
Red Sequin Santa Hat (Adult Sized)
Hot Glue Gun and Glue Sticks
Scissors
Step 1
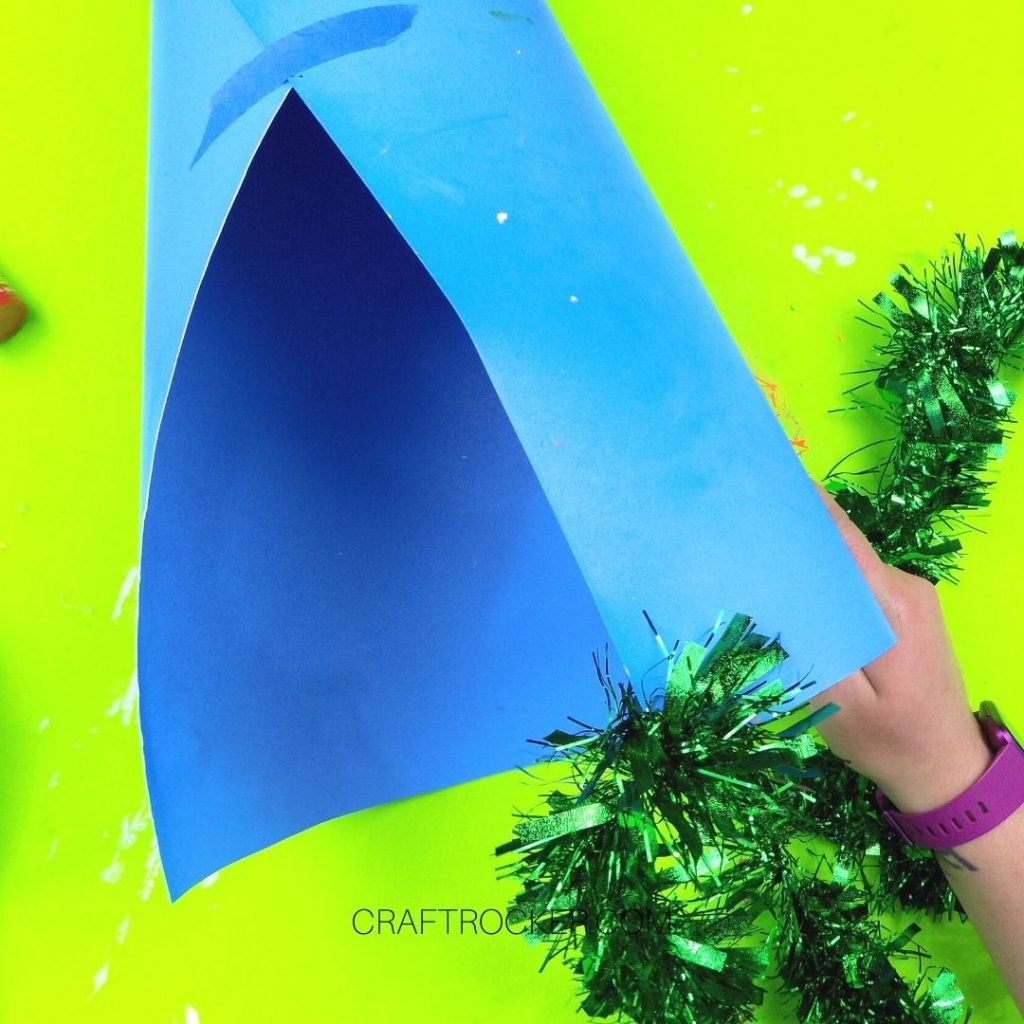
First, curl your piece of poster board into a cone. The bottom will not touch completely so use the photo for reference to make sure that it is the correct size.
Then tape the edges so that it holds its form.
Step 2
Next, start at the bottom of the cone (on the edge that is open) and hot glue your green garland to the paper cone.
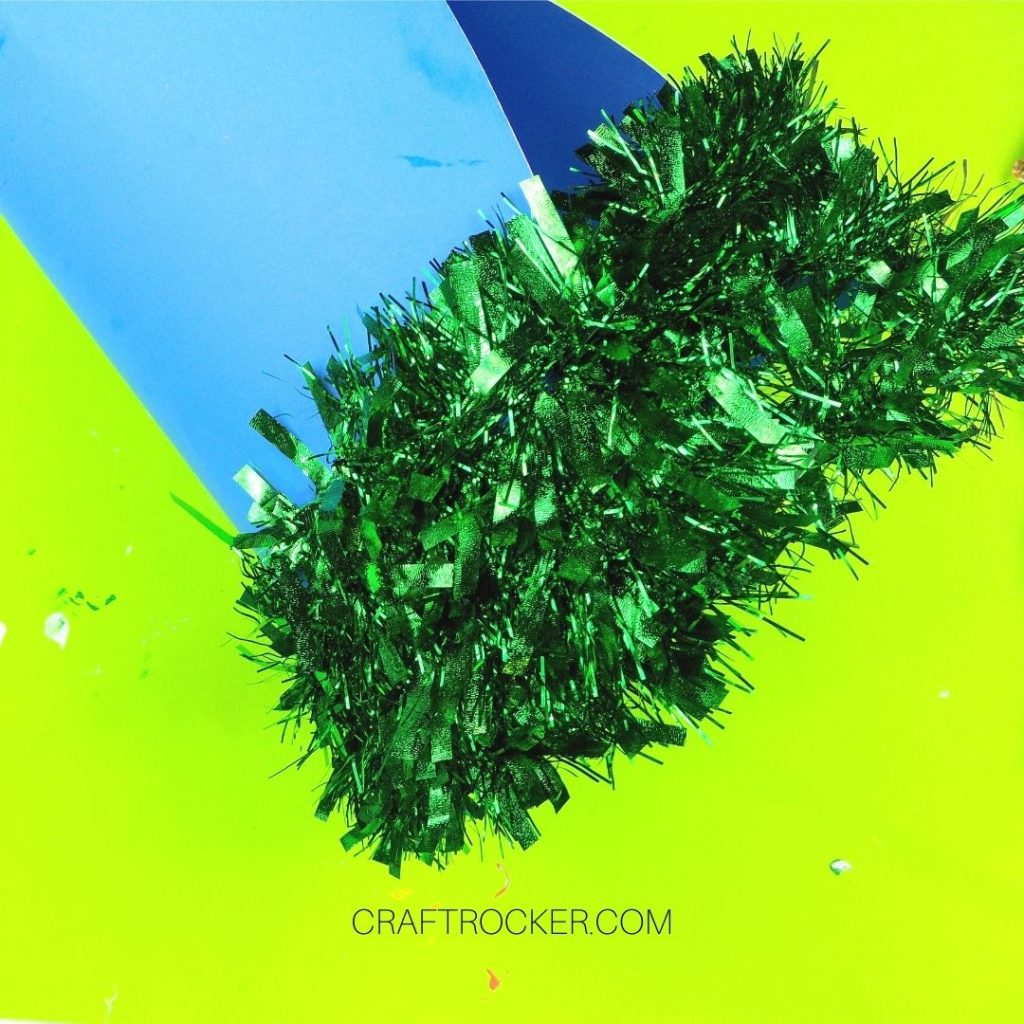
Step 3
Continue wrapping and hot gluing the garland around the cone until all 4 strands are attached. Make sure that you keep the rows tight so that none of the poster board shows through.
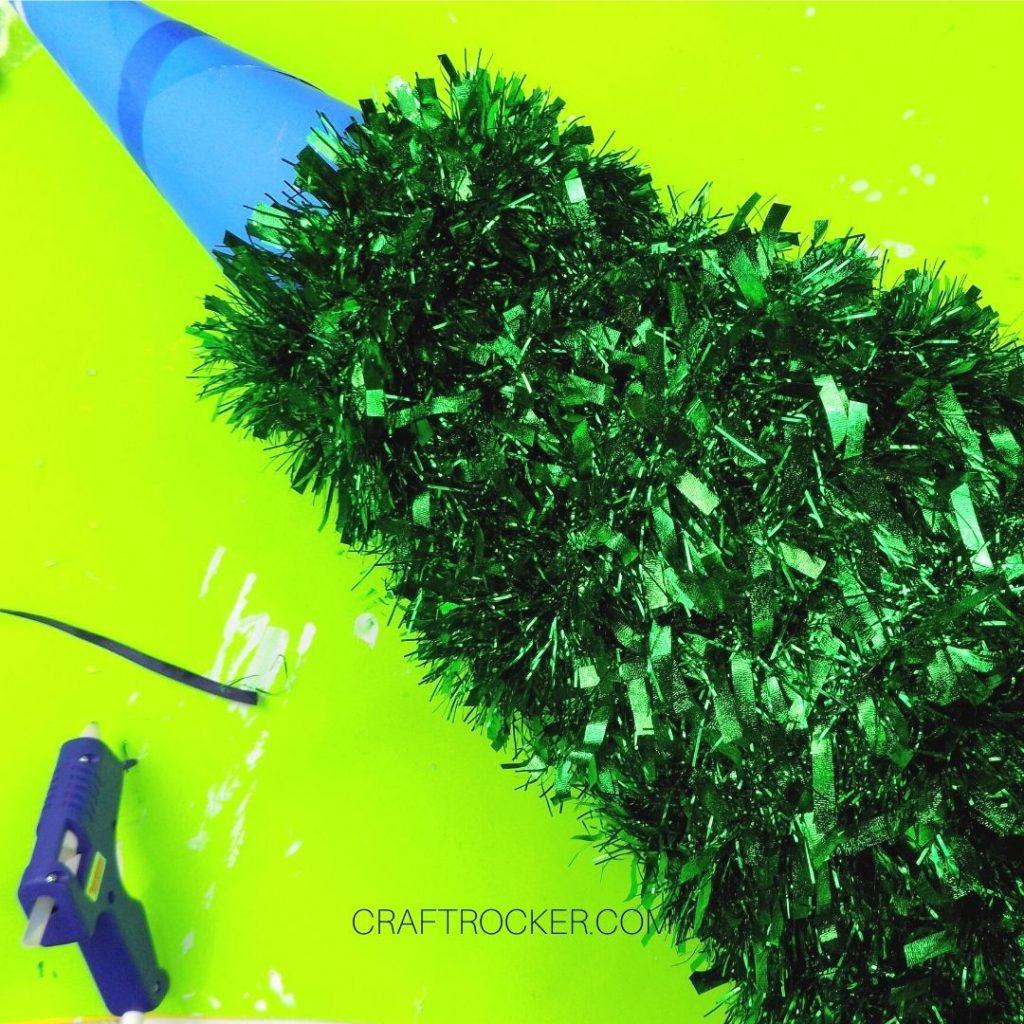
Step 4
Once all of your garland is attached, add more tape closer the to edge of your garland and then cut off the top of your cone. If needed, add more tape to make sure it is secure.
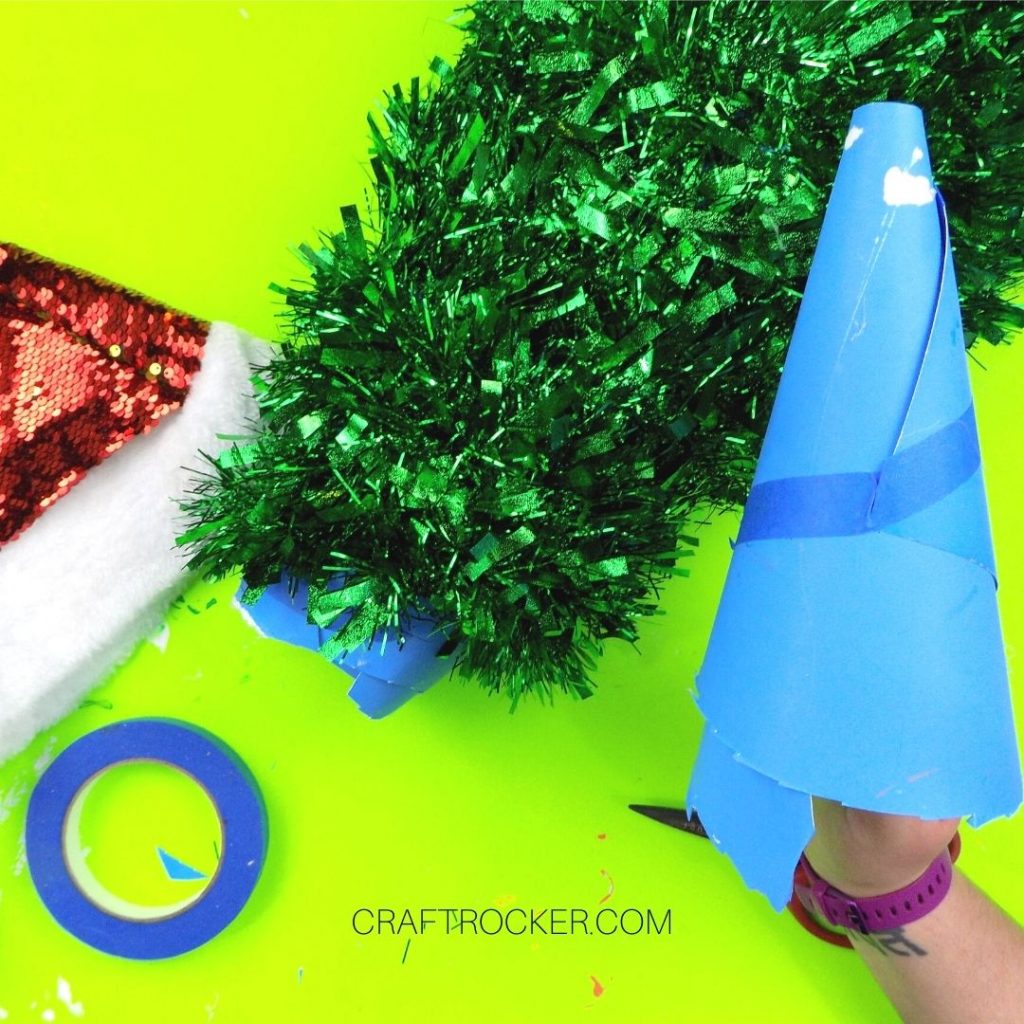
Step 5
Now carefully put your hat onto the top of your garland covered cone. Then add hot glue under the lip of the hat in the front and the back. Be sure to press it down firmly so that it is stuck well.

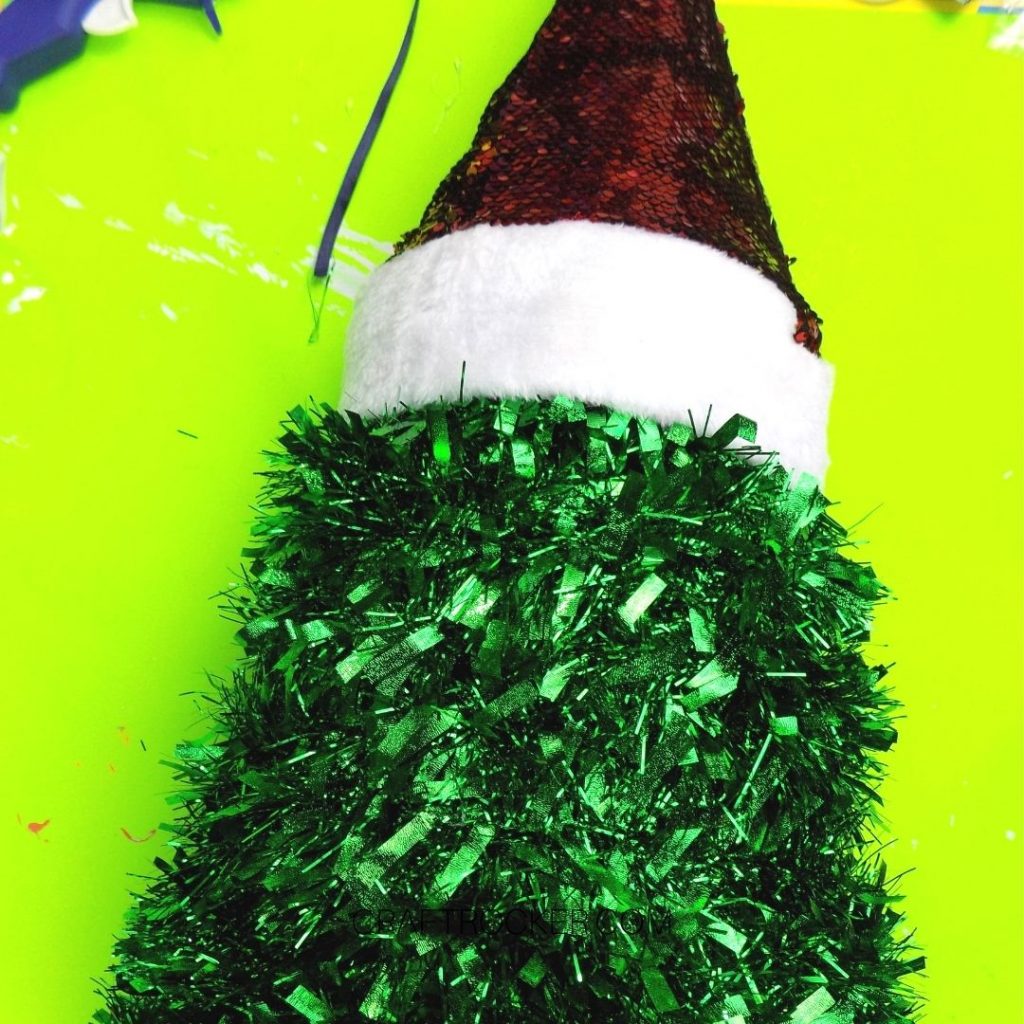
Step 6
Lastly, remove the hanger from your ornament and then hot glue the ornament to your garland covered cone just under the edge of the Santa hat.
This DIY Christmas gnome turned out so stinking cute! Now I want to try making one in different colors. I’m thinking silver and blue, what do you think?
Before you go, be sure to scroll down and check out the other awesome Christmas decorations from my friends below!
Don’t Forget to Pin It!

More Christmas Décor Ideas from My Awesome Blogging Friends
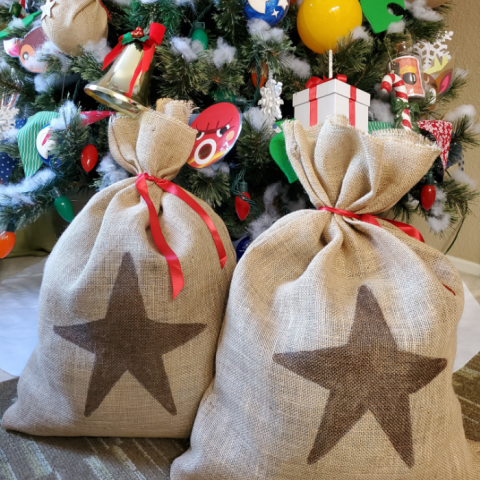
DIY Giant Animal Crossing Money Bags for Gifts
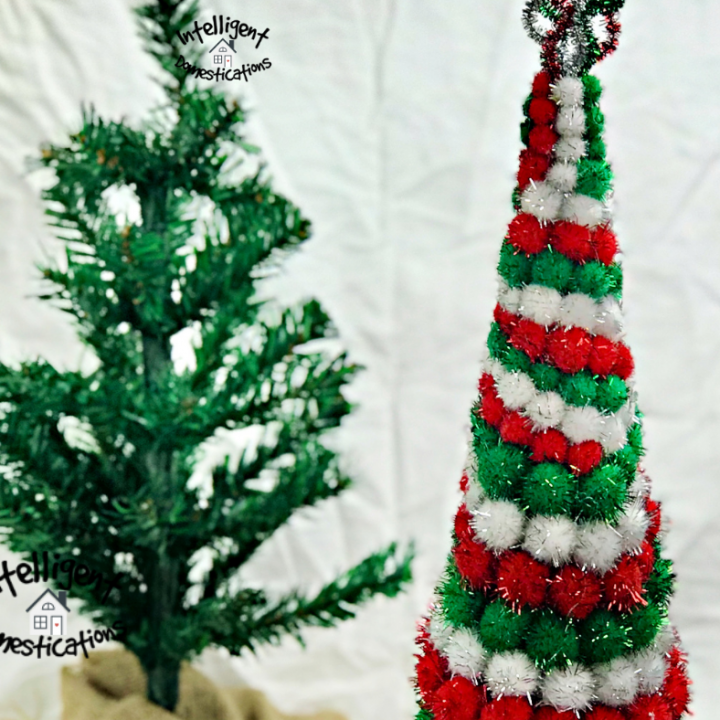
Make This Festive Glittery Pom Pom Cone Christmas Tree
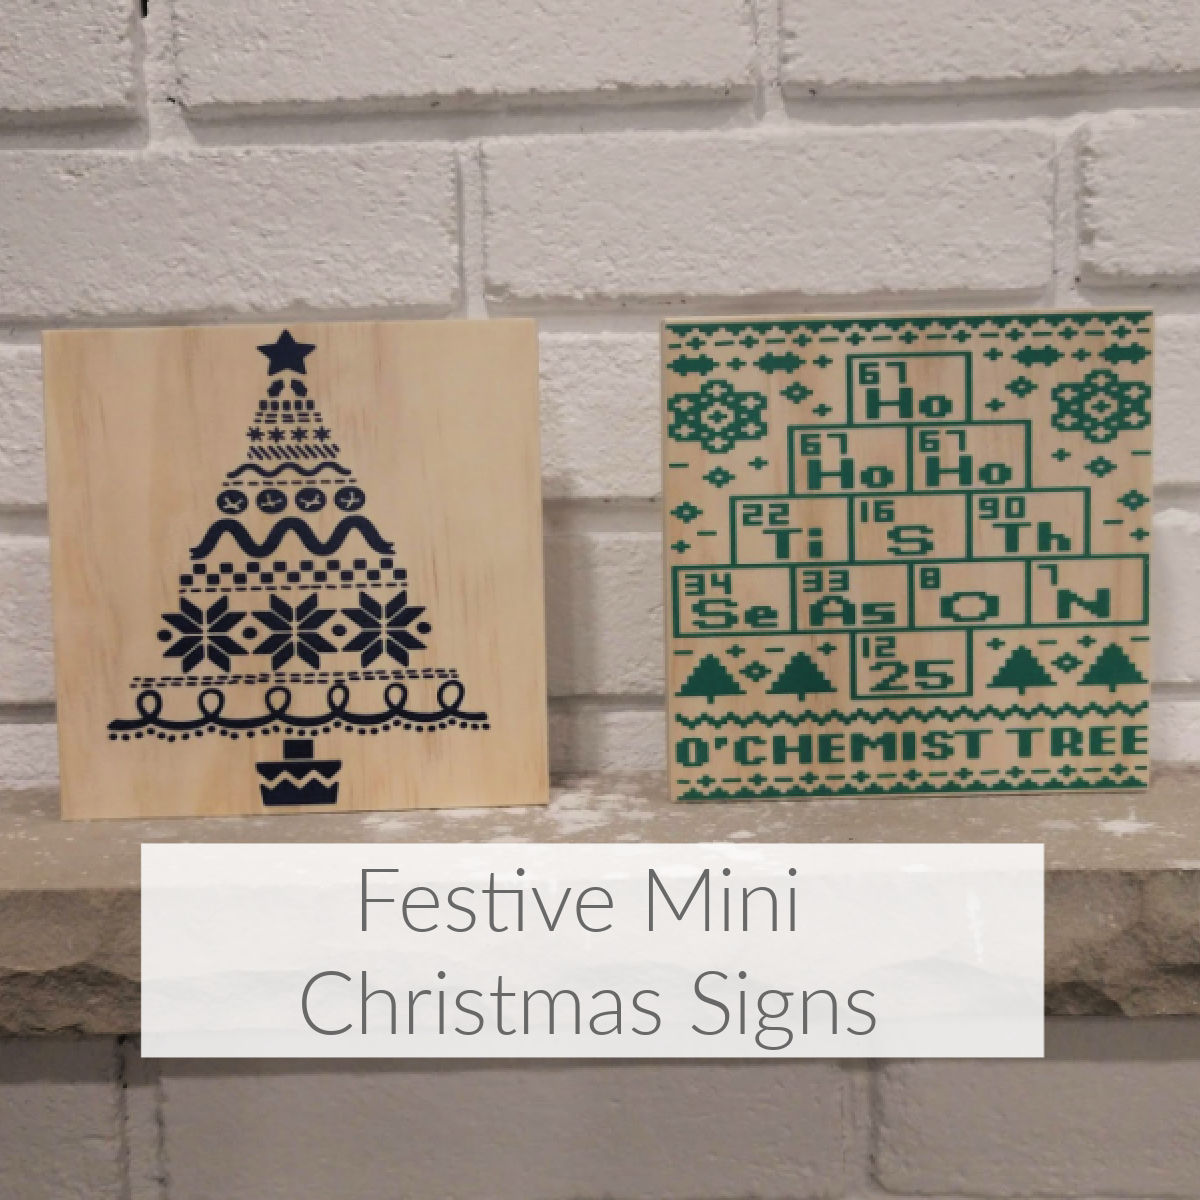
Quick Festive Mini Christmas Signs
Decorating with Buffalo Plaid for Christmas!
Dollar Store Picture Frame Snowman
DIY Bell Christmas Garland

Tabletop Christmas Decor
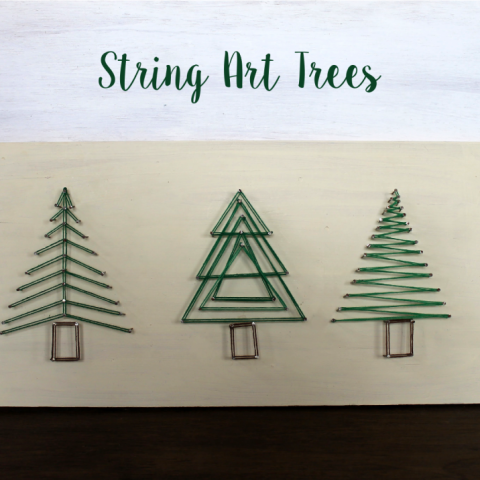
String Art Trees - As For Me and My Homestead

DIY Milk Carton Christmas Village

DIY Grinch Wreath (An Easy Grinch Christmas Door Decoration)
Neutral Farmhouse Christmas Centerpiece for the Kitchen

Ugly Sweater Wreath
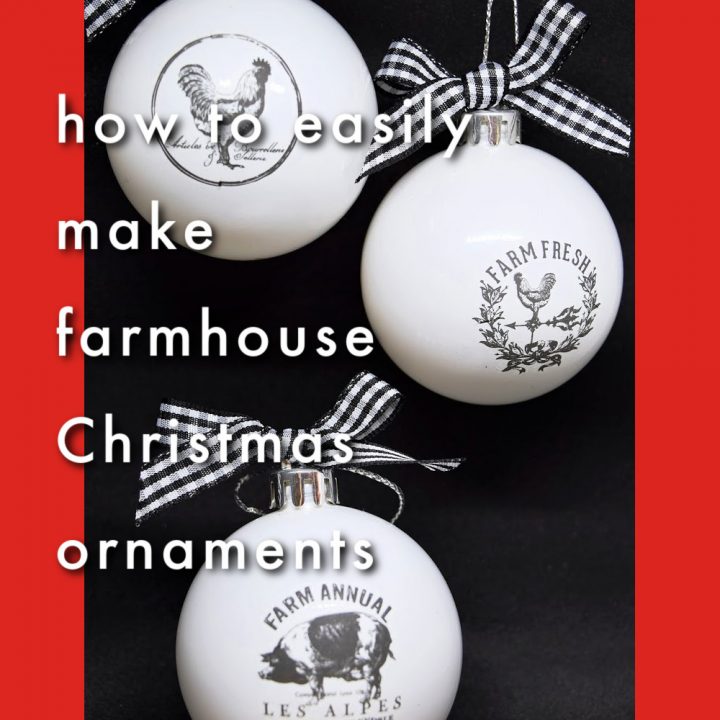
How To Easily Make Farmhouse Christmas Ornaments

Easy Glamping Christmas Mantel Decor
Repurposed Cabinet Door Christmas Signs
DIY Wood Christmas Decorations
How to Decorate a Snowy Christmas Window

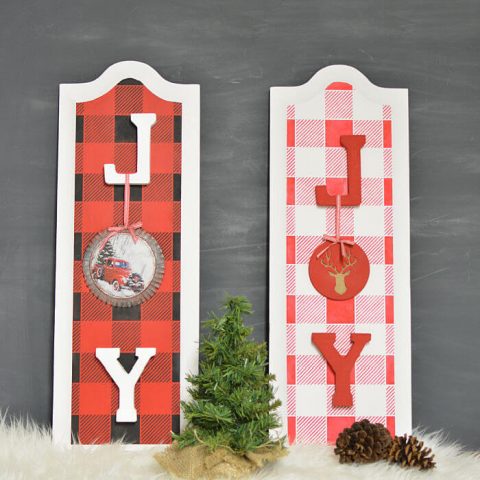
Christmas Joy Decor

Red, White & Gray Christmas Entry Table 2020
Free Christmas Printables
Cardboard Gingerbread House Garland

DIY Red and White Christmas Wreath

Getting Ready for Christmas on the Trails

Very cute outdoor decoration idea! Love how easy and inexpensive they are to make too. Showing my daughter these!
Thanks, Marie! I can’t wait to make him a friend.
Oh my! He’s too cute. I love how easy he is to make.
Omgee, this is too too cute! Love this idea and I have a ton of garland that I bought from the Dollar Tree.