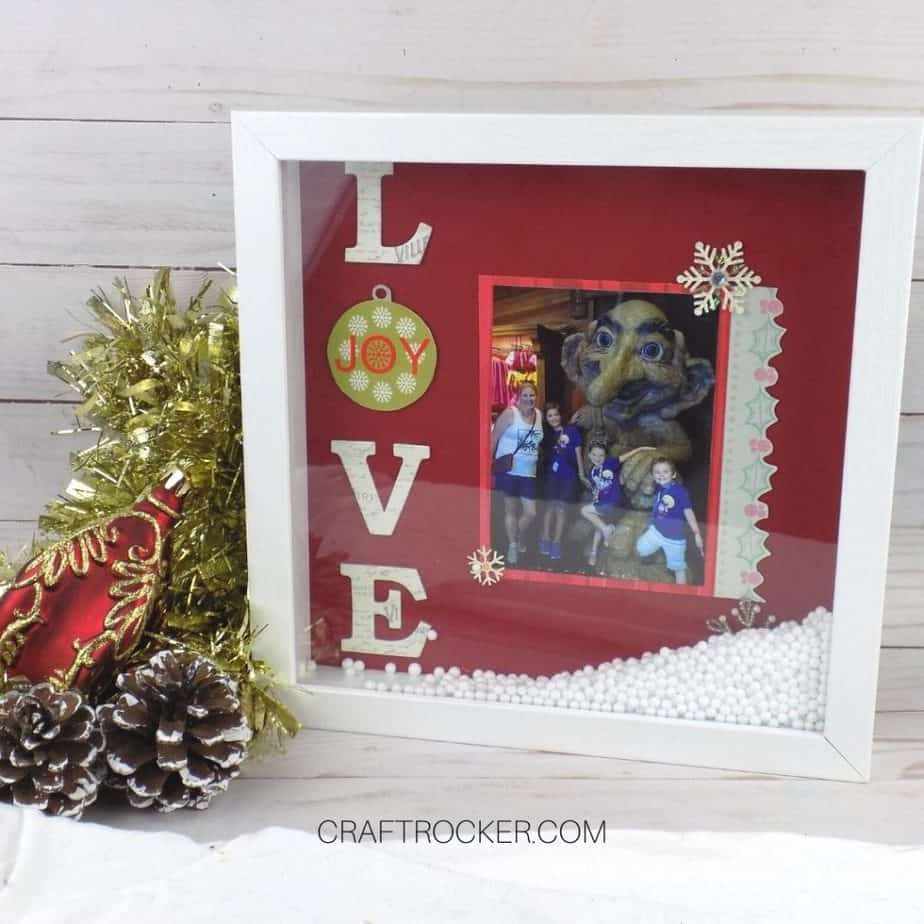
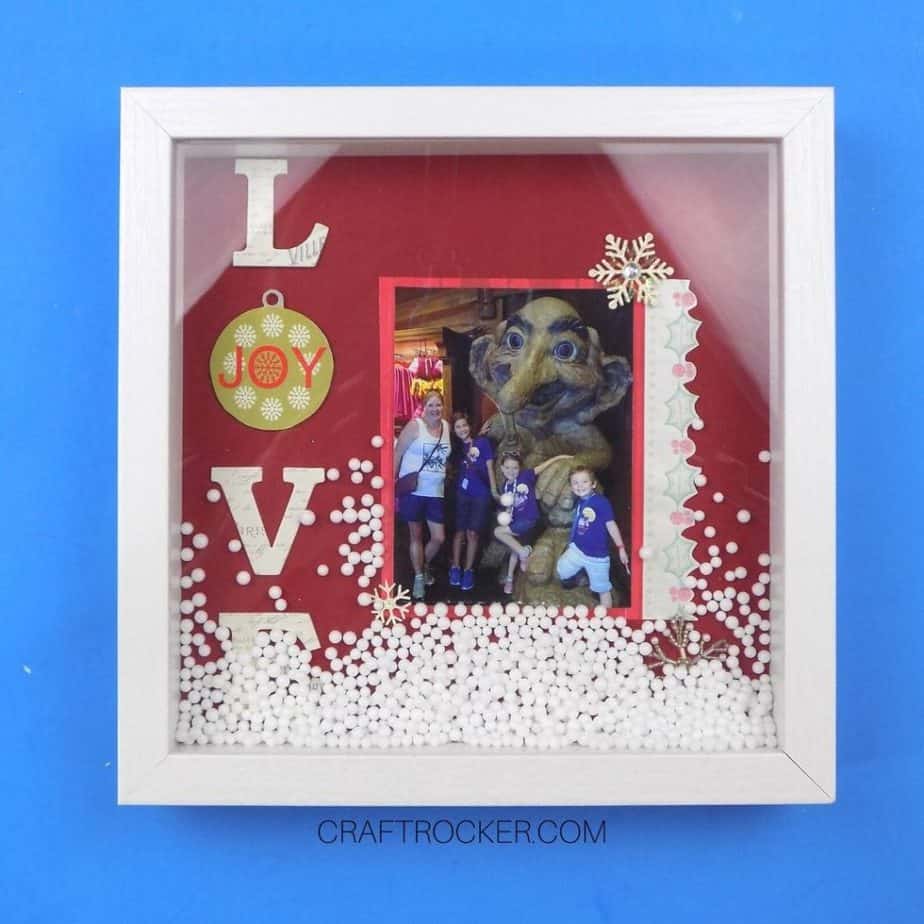
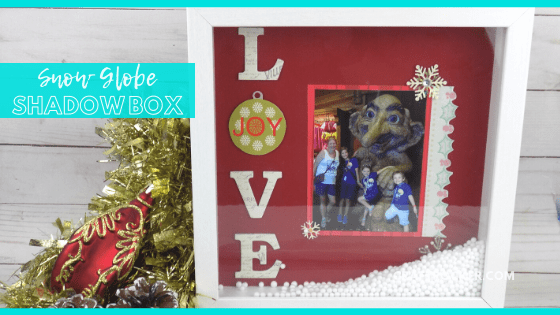
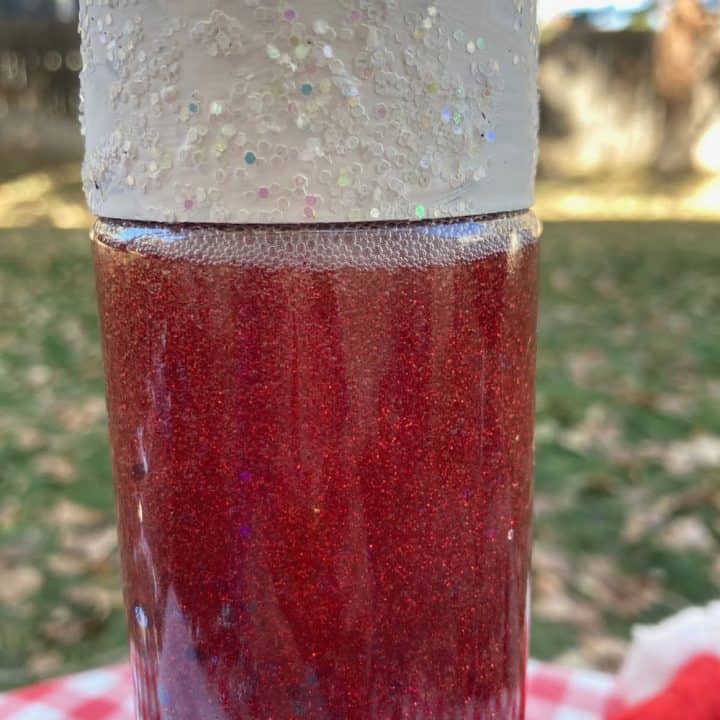
This snow globe shadow box makes an awesome thoughtful gift this Christmas! It’s easy to make and totally customizable too.
Affiliate links may be used in this post. Ordering a product through these links may result in a commission at no extra cost to you. Read the full disclosure here.
Jump To What You Want


Festive Christmas Season Blog Hop
Welcome back to year 6 of our Festive Christmas Event where we team up with a bunch of talented blogging friends to bring you a plethora of creative ways to celebrate your holiday season.
We will be baking some cookie recipes for you, sharing some party games, making some handmade gifts (that’s Today!), doing some ornament crafting, and sharing our Christmas movies family fun. There will be breakfast recipes and, as always, our decorated Christmas Trees which is always a fun tour of homes.
New this year are Gift Guides. We are right there with you shopping from home due to Covid-19 and we understand how hard that can be. That is why we have been busy little Elves doing tons of research to create fabulous Gift Guides to help you with your holiday shopping.
You will find new ideas every Monday and Wednesday between Oct. 19th through Nov. 18th. Scroll all the way down to find all the ideas linked at the end.

Materials for Snow Globe Shadow Box
9×9 White Shadow Box (I got mine from Michael’s)
Red Heavy Cardstock
Sheet of Striped Red Paper
Decorative Christmas Paper (can be scrap)
Pencil
Glue Runner
4×6 Photo of Choice
Paper Cutter
Scissors
Chipboard Letters
Paper Ornament Embellishment (roughly the same size as your letters)
Snowflake Embellishments
Fake Foam Snow (I found mine at the Dollar Tree)
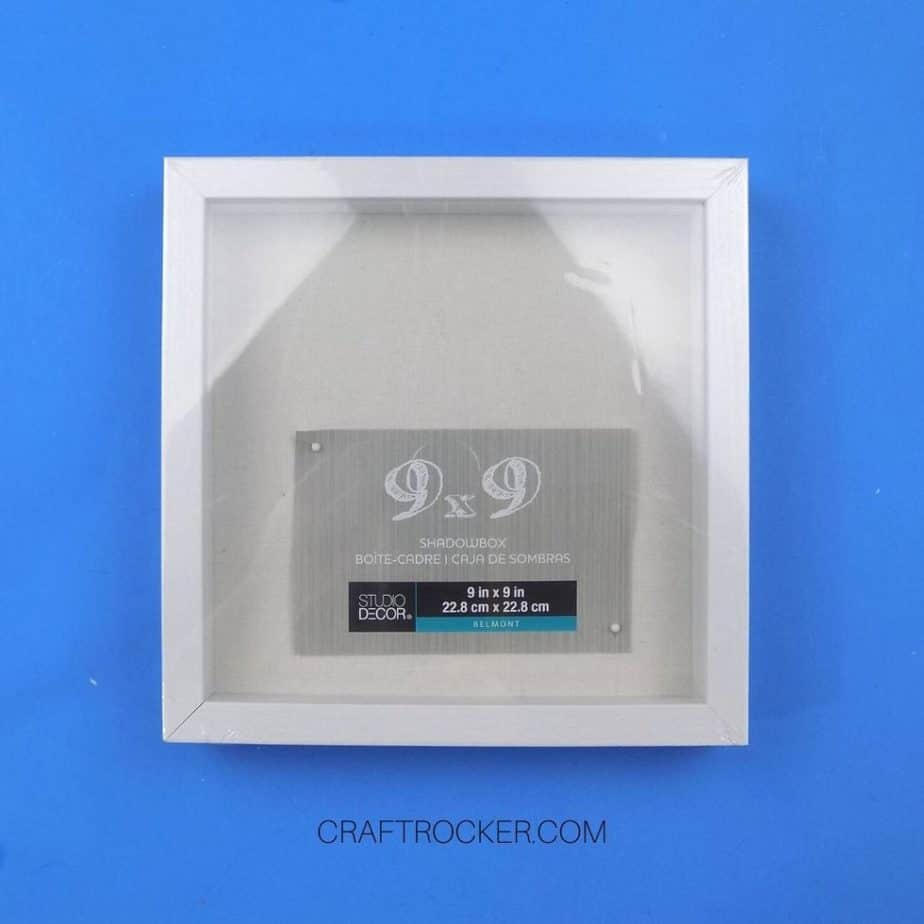
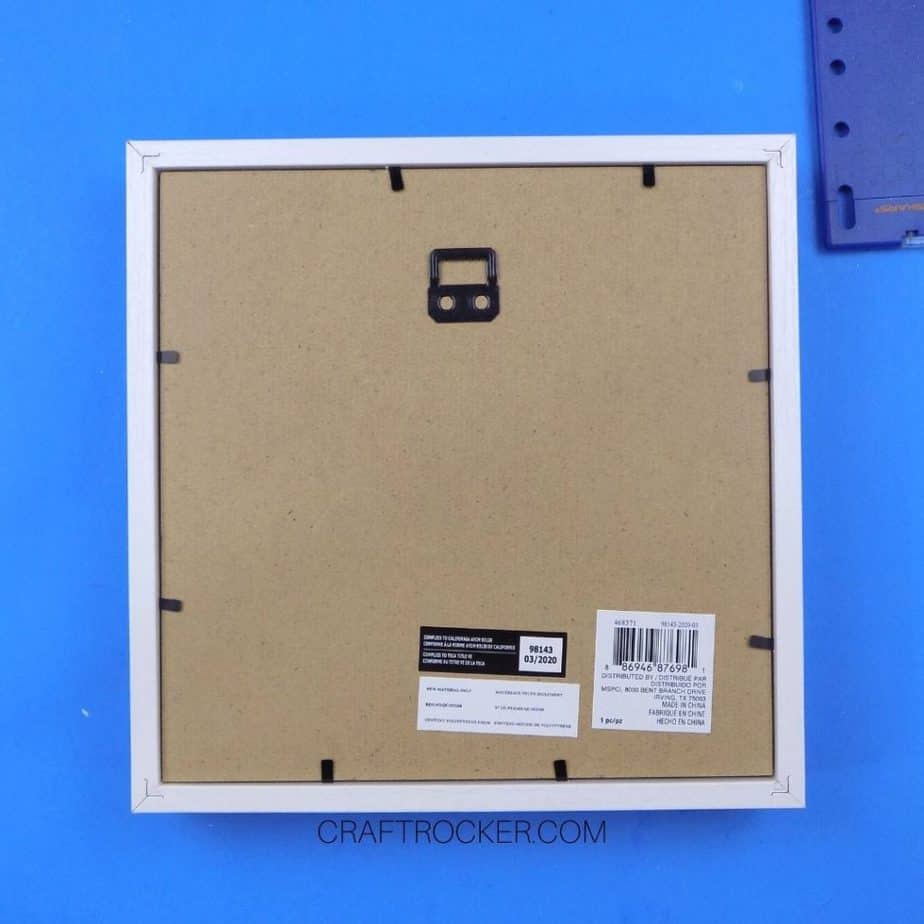
Step 1
First, remove the packaging from your shadow box and remove the backing. Also take the pins and label off of your backing.
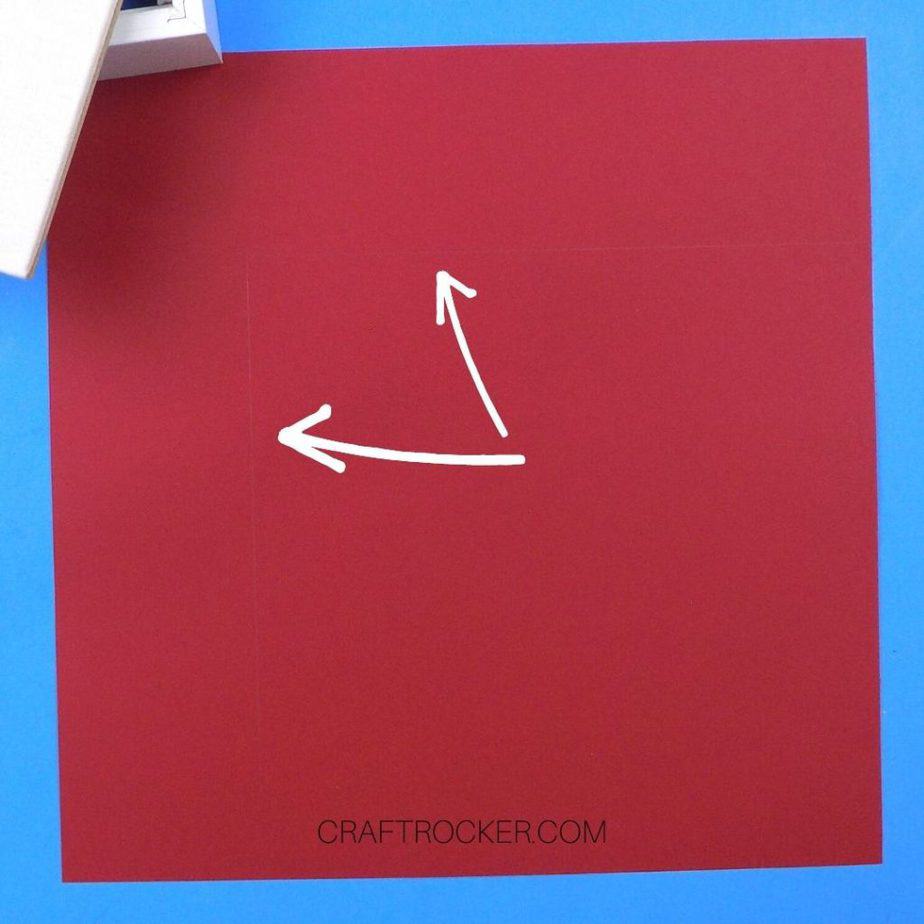
Step 2
Next, use you backing as a guide and trace around it with your pencil on the red heavy cardstock. It’s hard to see them in the photo but the arrows are pointing to the pencil lines.
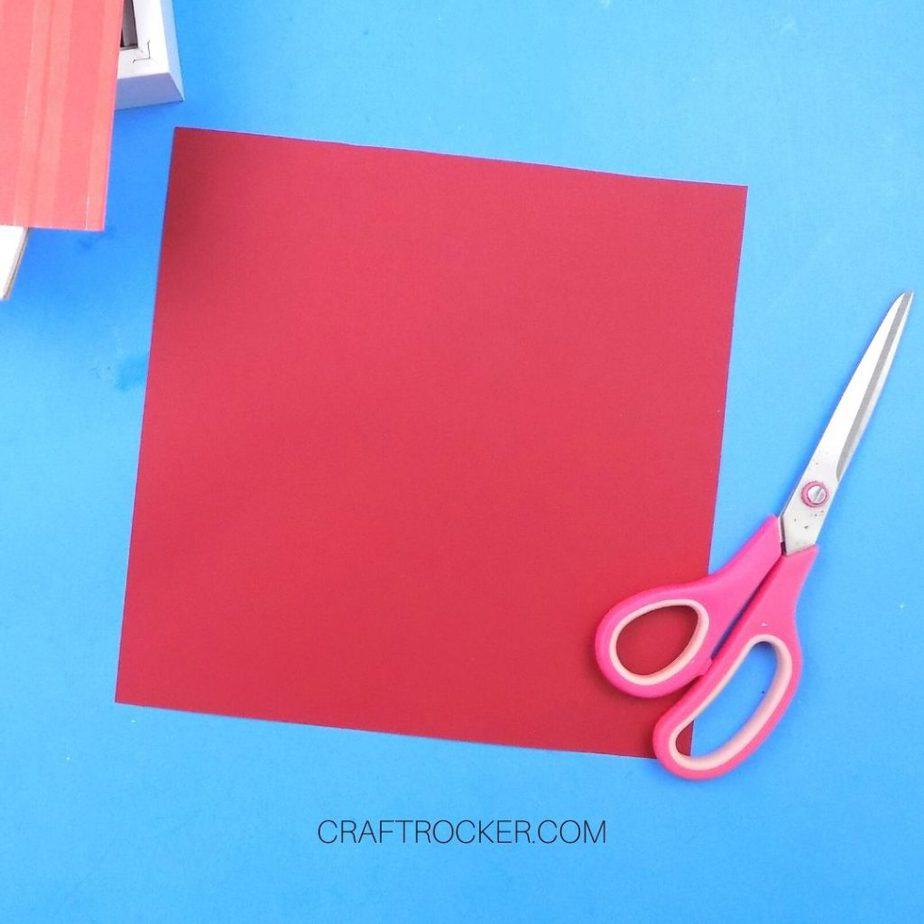
Step 3
Then cut along your pencil lines so that you have a 9×9 piece of paper. Measure it by placing it in your shadow box to be sure it fits before moving on.
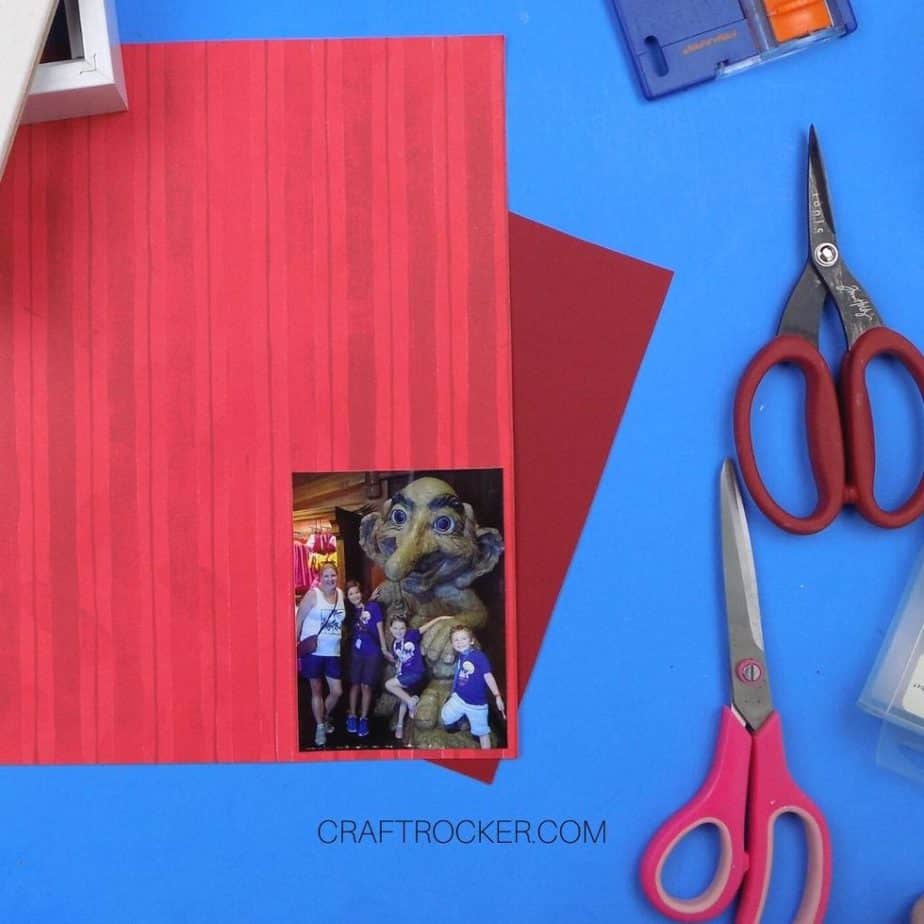
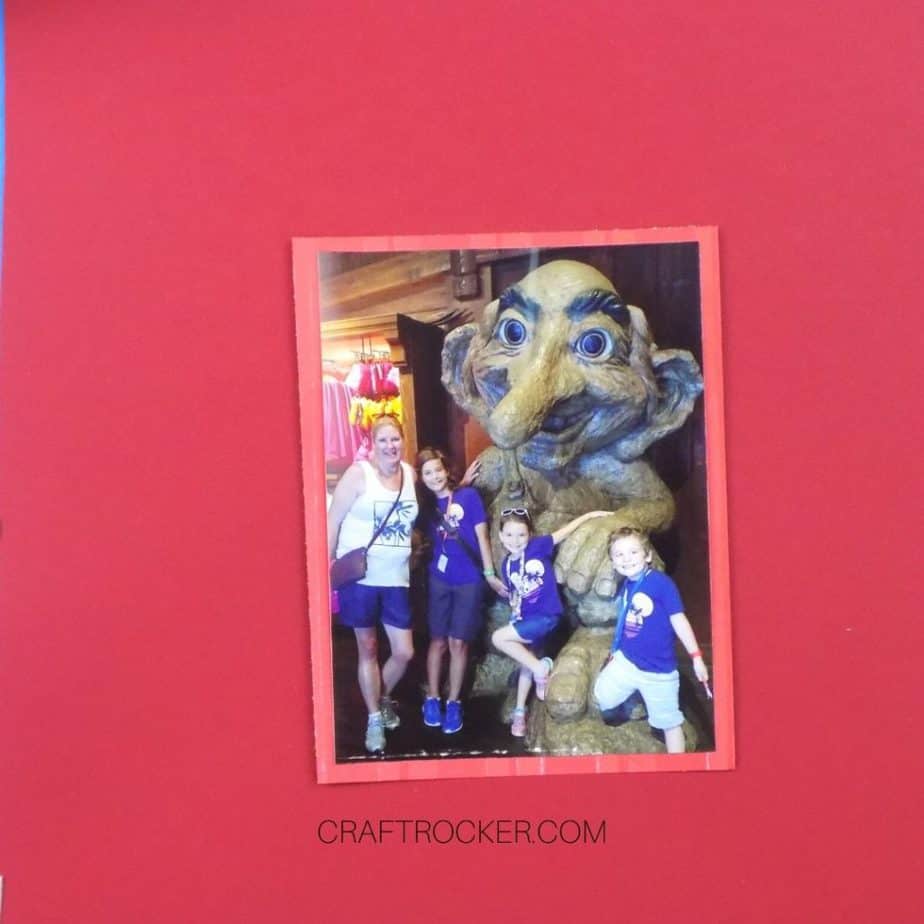
Step 4
Next, mat your photo by adhering it to the corner of your striped red paper. Then cut out around it leaving a small section of paper on all sides.
Need help with some of the terms? Check out Scrapbook Terms Every Beginner Should Know.
Step 5
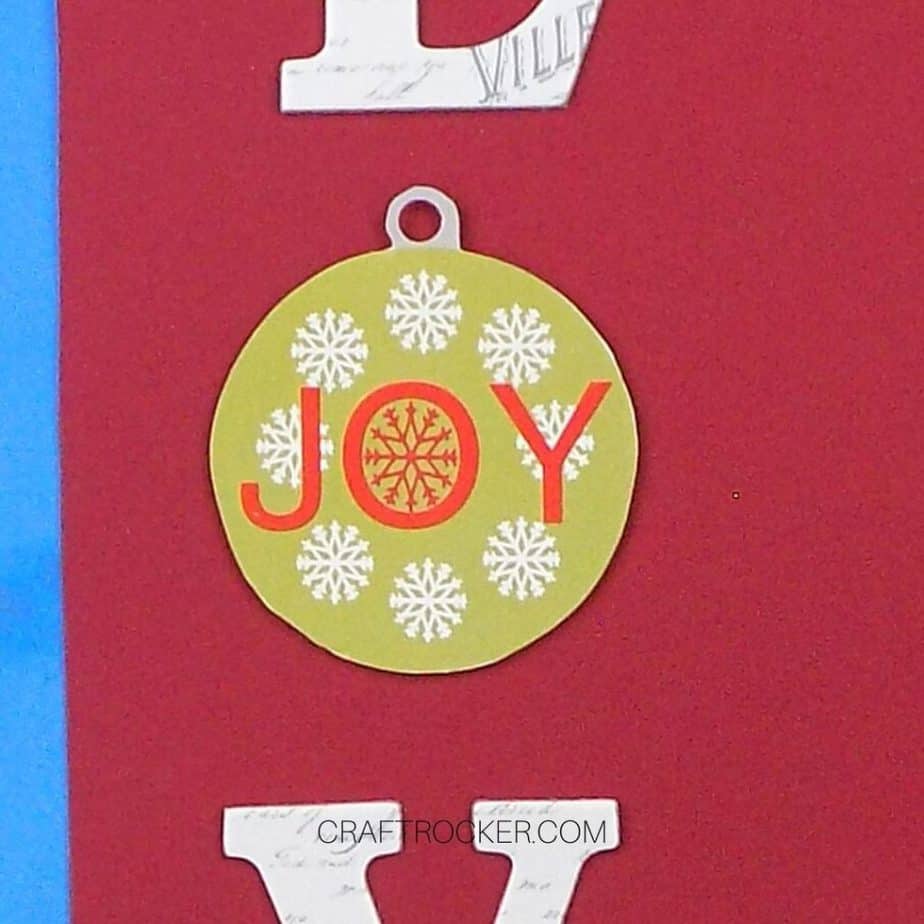
After your photo is matted, set it aside and glue your paper ornament to a chipboard “O” letter.

Step 6
Then line up the chipboard letters to spell “LOVE” on the left side of your red cardstock with your ornament as the “O”. When you are happy with their placement, adhere them to the cardstock with your glue runner.
Step 7
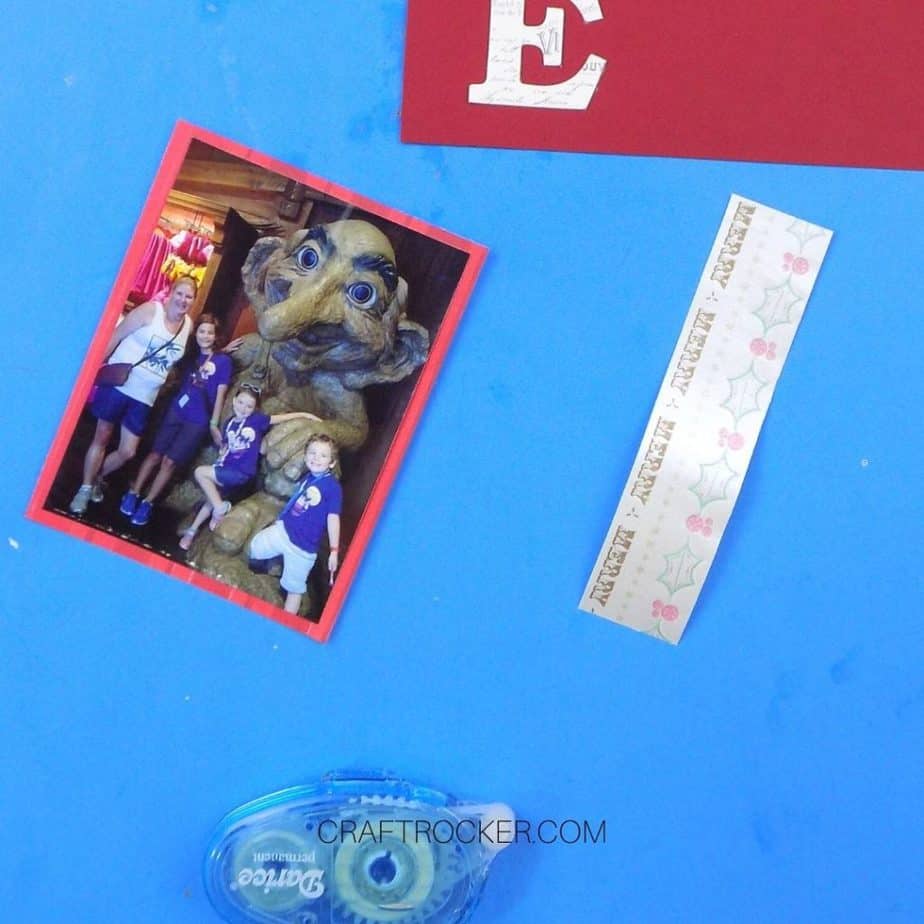
Next, trim a piece of decorative paper to the height of your matted photo. It doesn’t need to be as wide as your matted photo. It only needs to be wide enough that you can attach it to the matted photo with the decorative part hanging over.
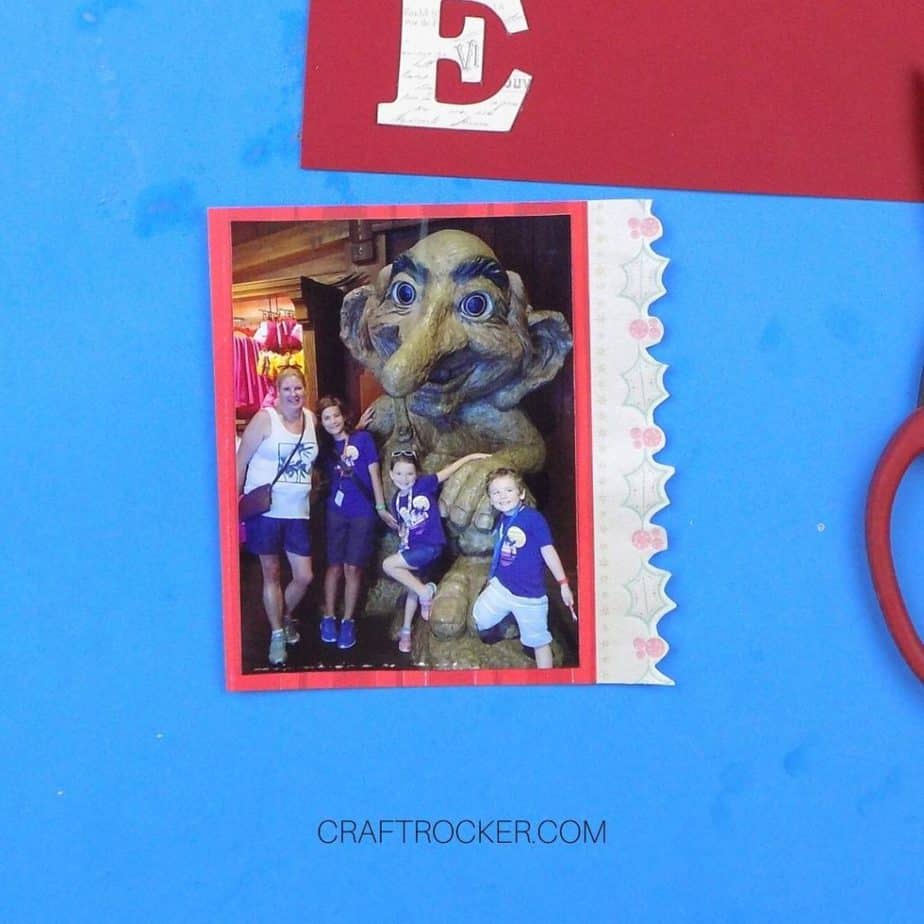
Step 8
Now attach the decorative paper to the right side of your matted photo with your glue runner. Make sure that it hangs over so that the decorative part is showing
I chose to trim mine with scissors to the shape of the holly. This is totally optional and won’t work with all decorative designs.
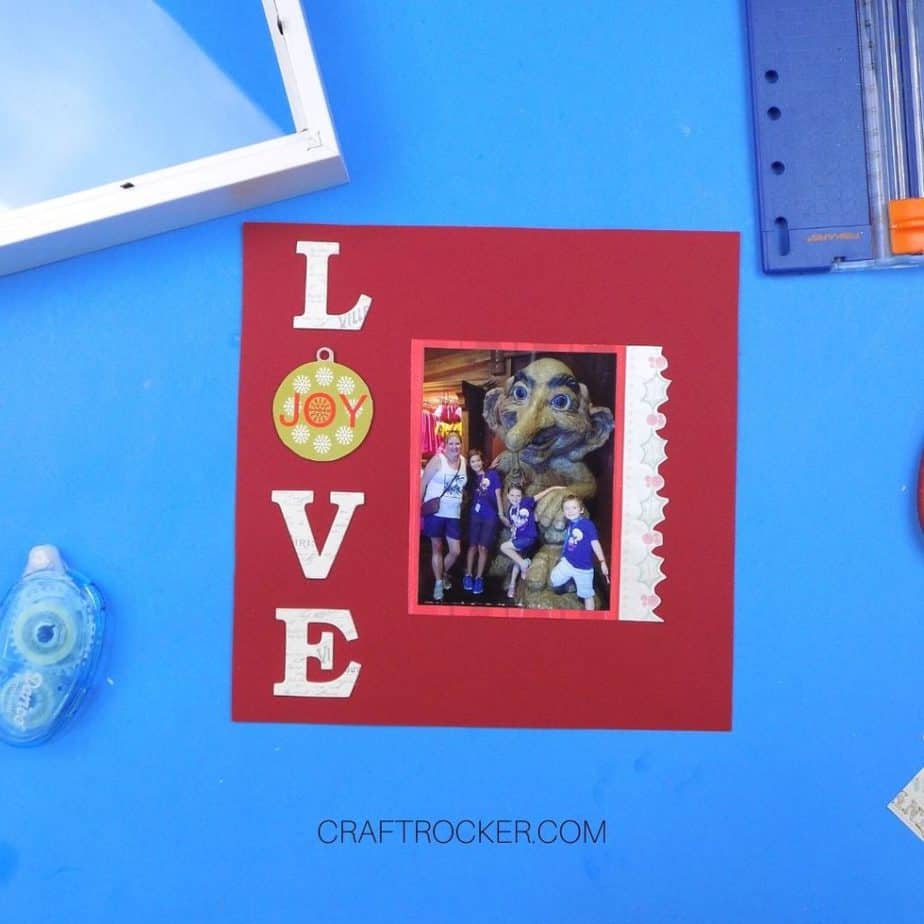
Step 9
After your paper is attached to your matted photo, glue it to the center of your red cardstock, to the right of your chipboard letters.
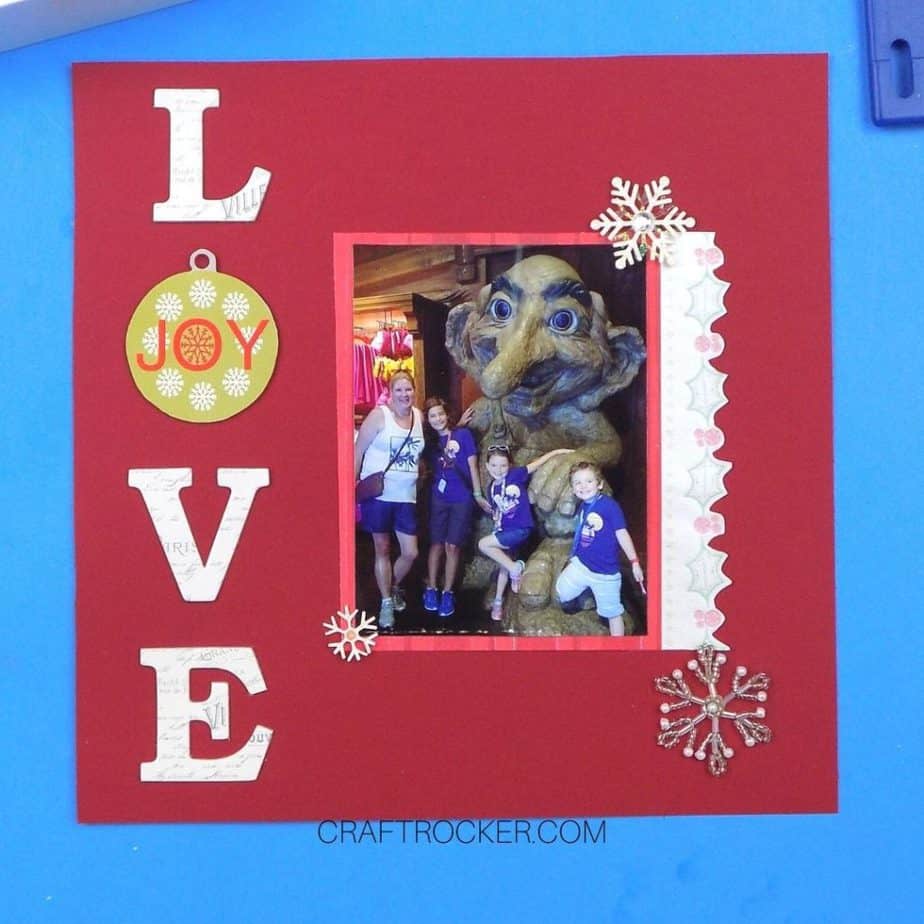
Step 10
Lastly, add 2-3 snowflake embellishments to your page.


Step 11
Next, add some of your fake snow to your shadow box. I put in 4 small handfuls.

Step 12
Now put your decorated red cardstock face down into your shadow box. Then return the backing and re-secure it with the hook hanger at the top.
Tips and Tricks
If you have trouble getting your cardstock back out of the shadow box, use a utility knife to slide between the wood and the paper. Then very carefully lift out the corner until you can grab it.
Go light with your fake snow. The first time I just dumped the whole package in because it didn’t look like much. When I put the shadowbox back together, the snow took up half of the shadow box.
Also, make sure that you check your snow level before securing the back. Those little tabby things are a pain in the butt to continually lift up.
I absolutely love how this snow globe shadow box looks! It makes a great handmade gift idea that you can personalize for everyone on your list this year.
Don’t forget to check out 100+ DIY Christmas Gifts for Everyone on Your List for even more awesome handmade gift ideas. Before you do, scroll below to see the handmade Christmas gifts my friends are sharing!
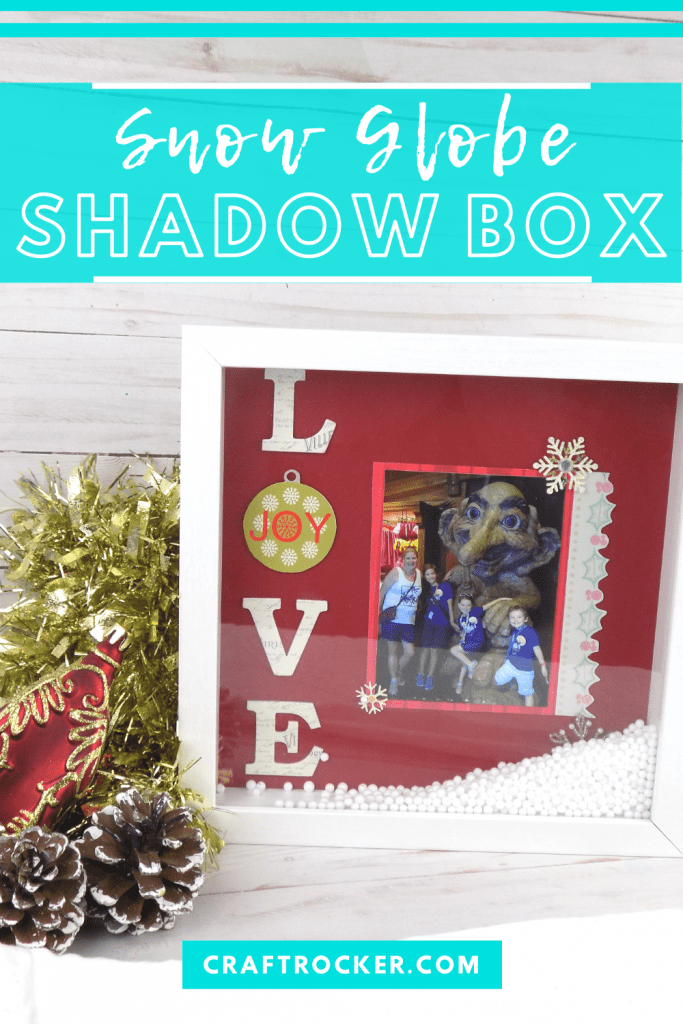
Don’t Forget to Pin It!
More Awesome Handmade Gifts from my friends
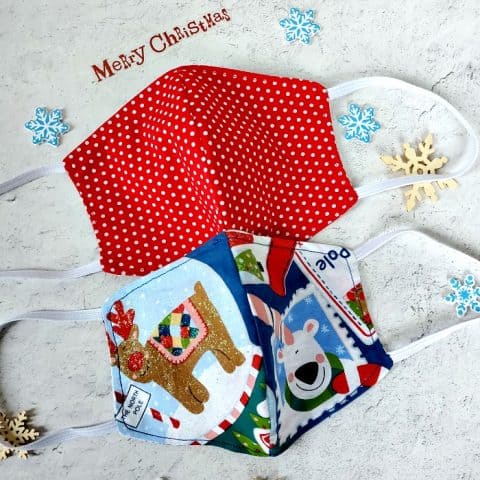
DIY Face Mask with Center Seam - Handmade Gift Idea
Make This Dollar Store Gift Elf Cam Mug Using Cricut

DIY Monogram Tray – The Handmade Gift
Festive Christmas - Handmade Earrings
Christmas Treats Rock Art Tutorial #FestiveChristmas

DIY Herb Markers with Cricut
How to Make a Coca Cola Clock
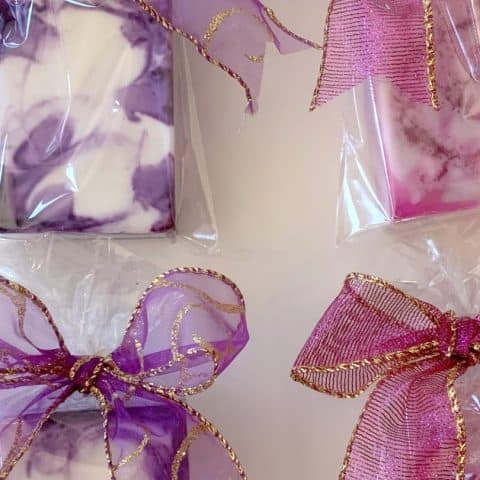
Handmade Soap Gift
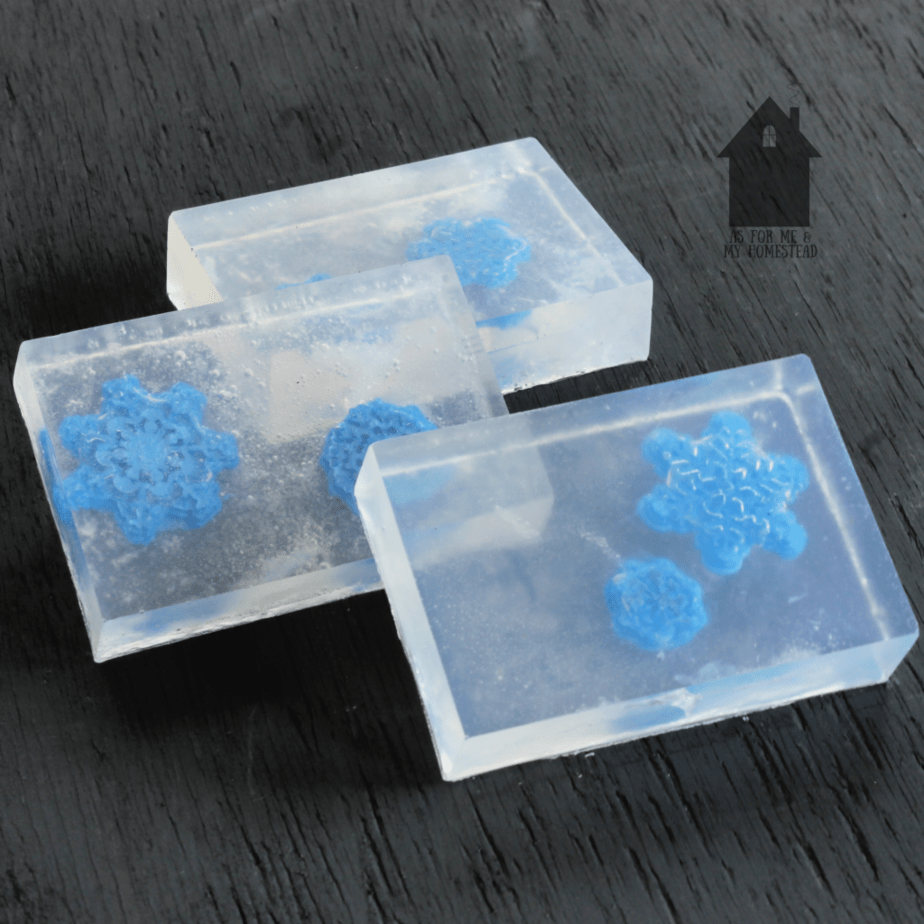
DIY Snowflake Soap

DIY Car Care Gift Bag For Her - Festive Holiday Ideas - Homemade Gifts!
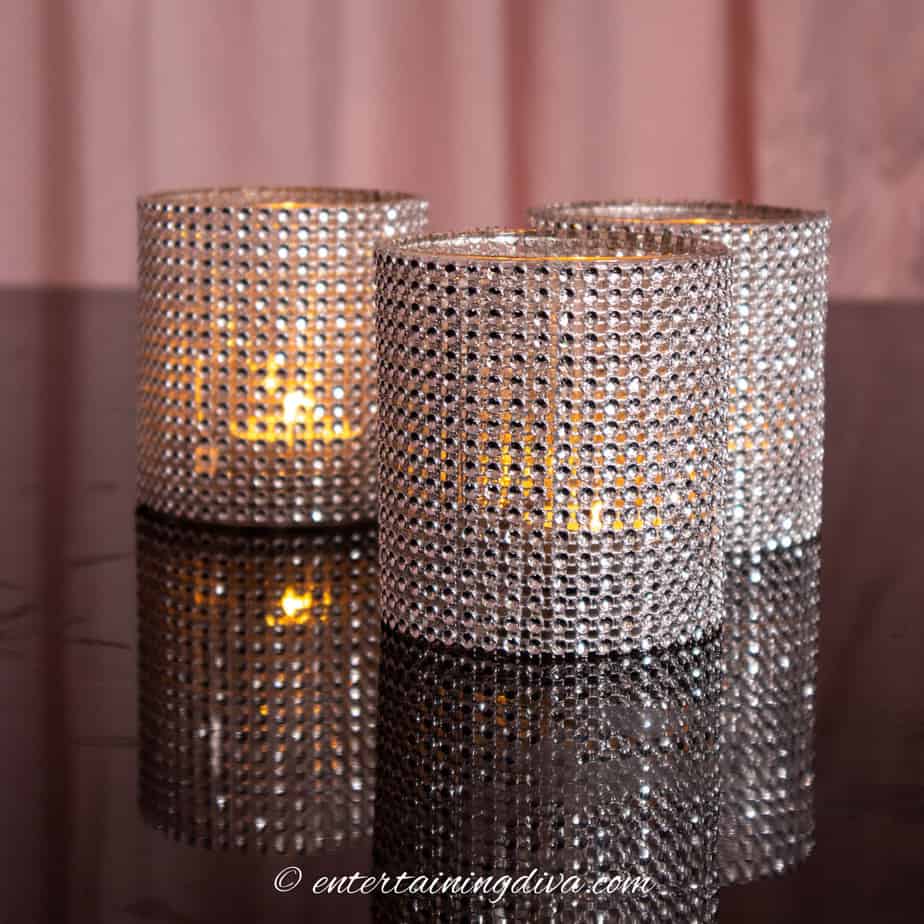
ZGallerie-inspired DIY Glam Candle Holders (Two Ways)
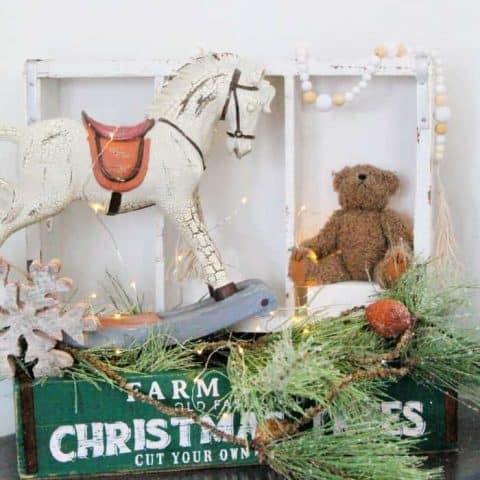
Farmhouse Bead String DIY Christmas Gift Idea
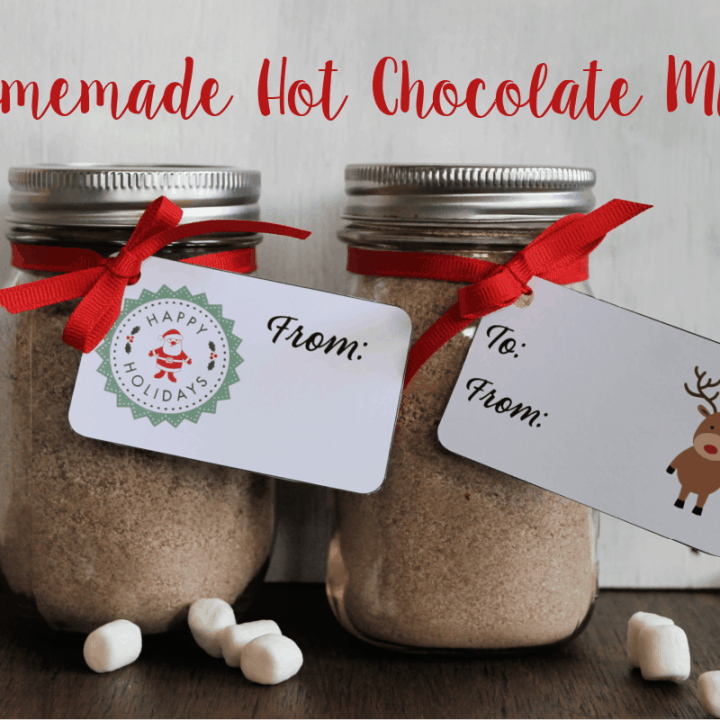
Homemade Hot Chocolate Mix
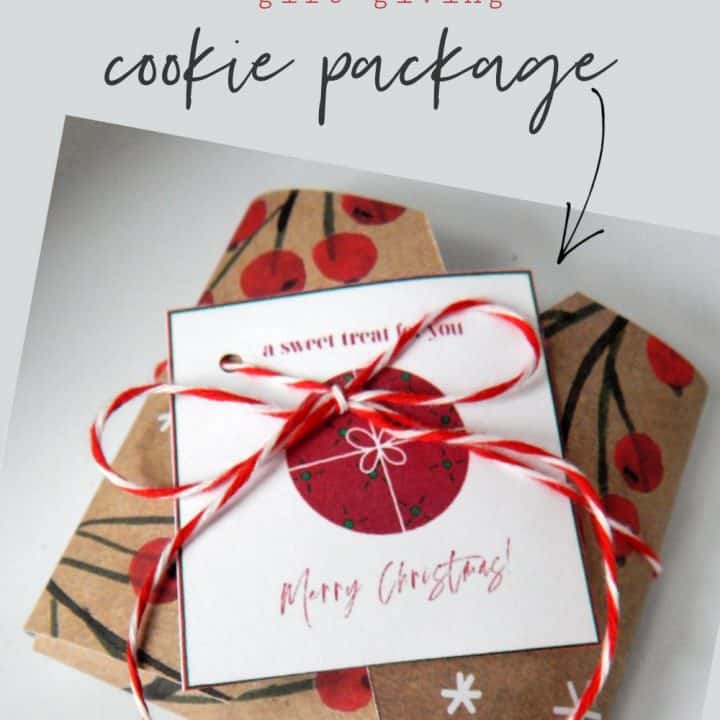
How To Package A Cookie For Christmas Gift-Giving
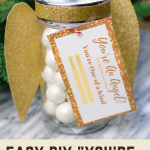
Easy DIY Angel Mason Jar Gift
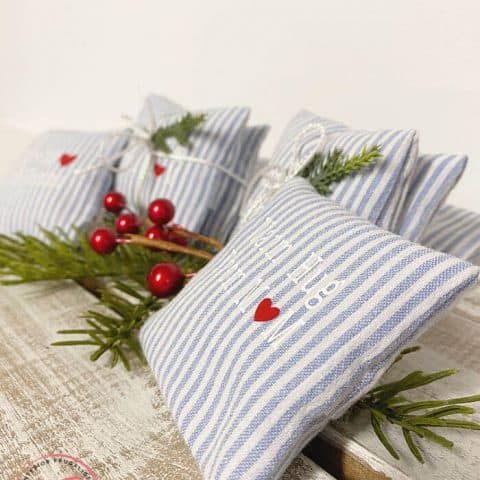
Memory Garment Hand Warmers Homemade Gift Idea
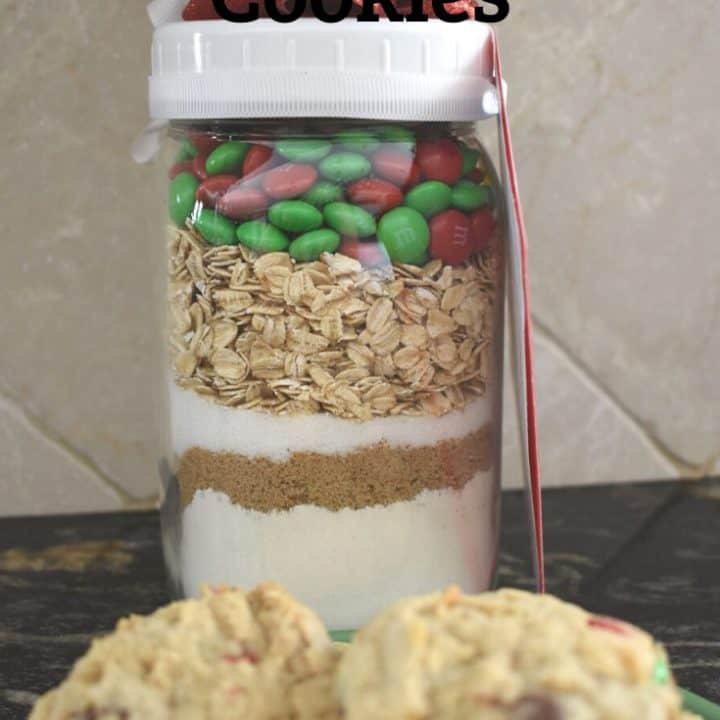
Christmas Cookies in a Jar with Free Printable
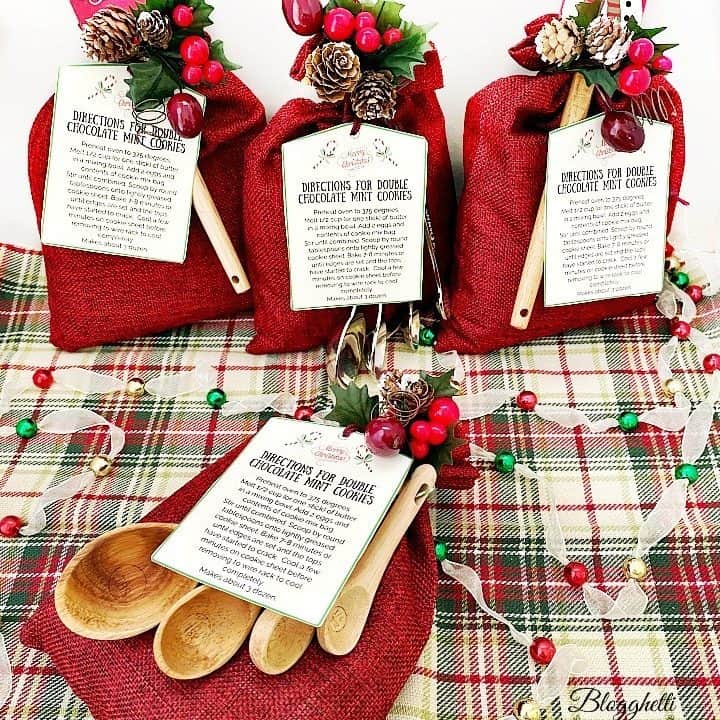
Holiday Cookie Mix Gift Sack with Printable Gift Tags
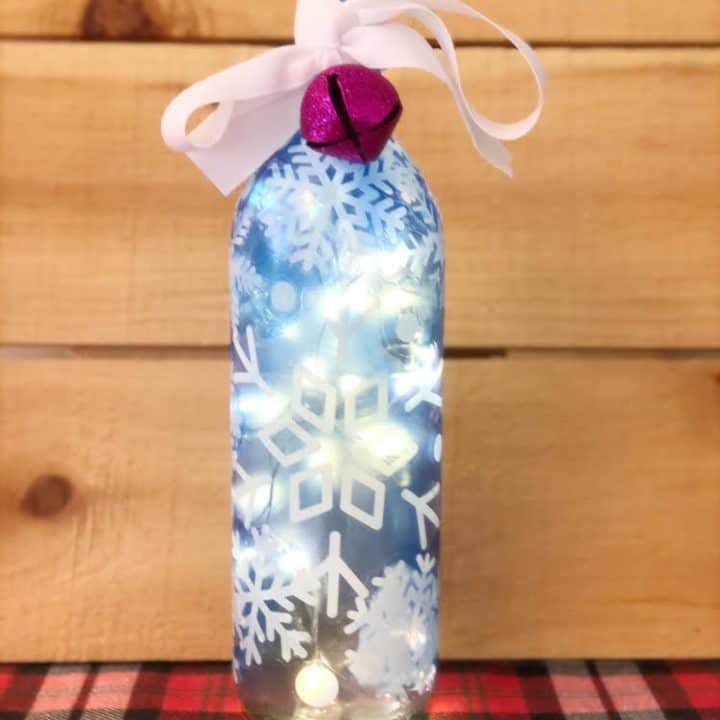
Lighted Snowflake Wine Bottle (DIY Christmas Gift)
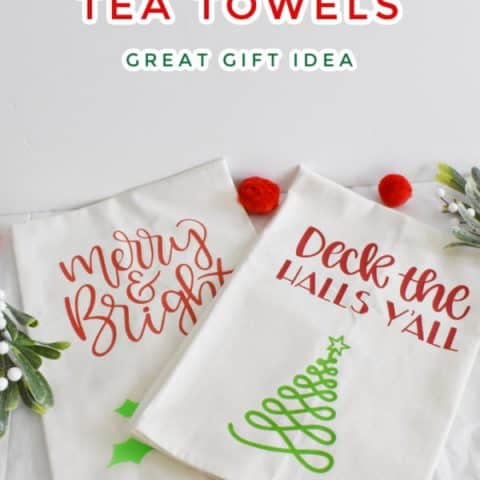
Christmas Tea Towels Using Cricut Easy Press | Across the Blvd
Haylee Scarf – Free Crochet Pattern
DIY Gifts For Teens By Teens
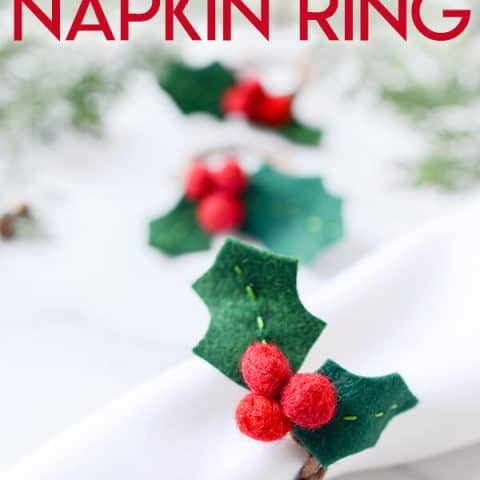
Felt Holly Christmas Napkin Rings
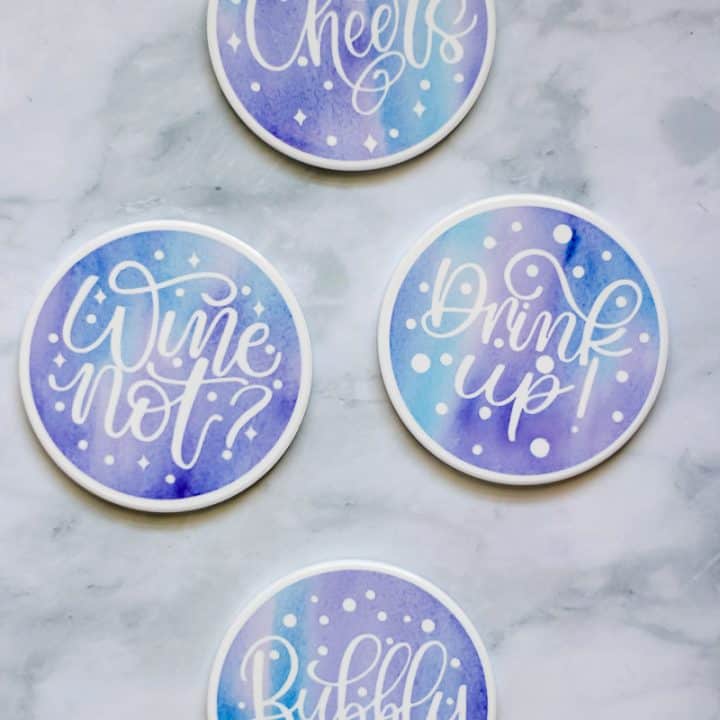
DIY Coasters with Infusible Ink

Love this cute idea! Such a cute DIY gift!
Thanks, Lauren!!
That’s so cute! I have to show this to my daughter because I know she’d love this idea for her home during the holidays.
Thank you so much Marie!
Marie, this is great! I need to put one of these together for my daughters-in-law with my grandchildren’s photo. They would love them. This is going on my to do list.
Thanks, Beverly! I hope they love it 🙂
Oh! This is so cute!
Tania
Thank you! 🙂
Now this is darling! I have a few of those shadowbox frames in my craft closet already
This is such a thoughtful gift! Thank you for sharing!
I never thought to make a snow globe shadow box! That’s such a cute idea.