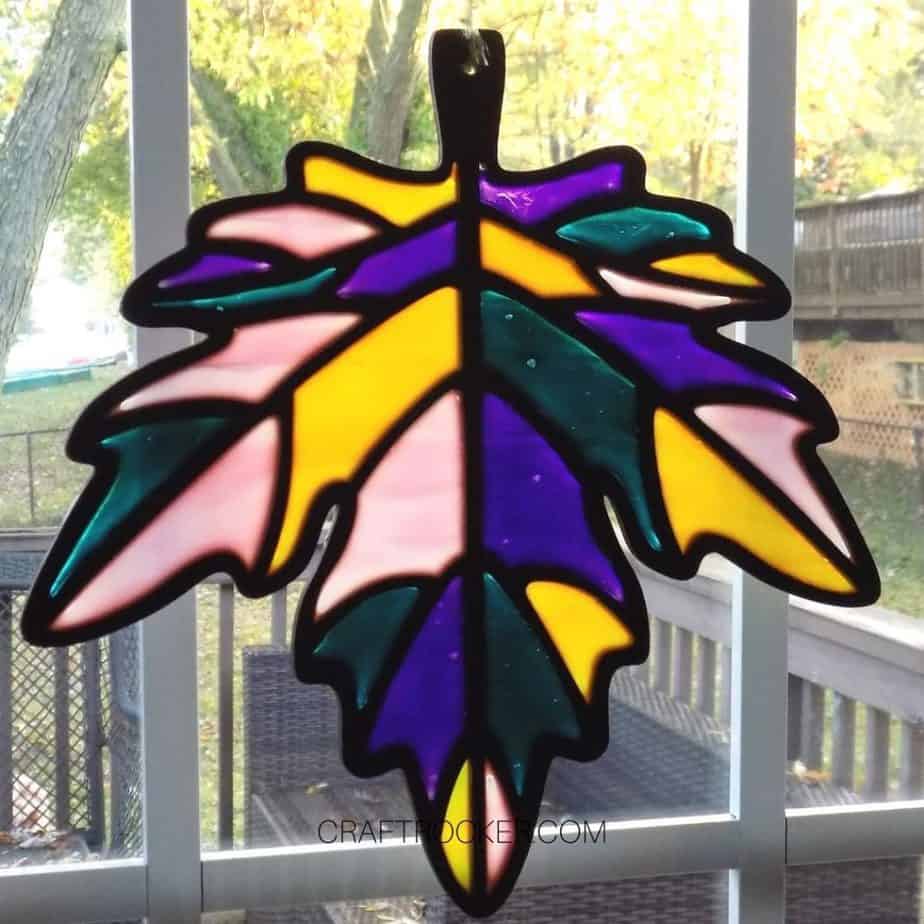
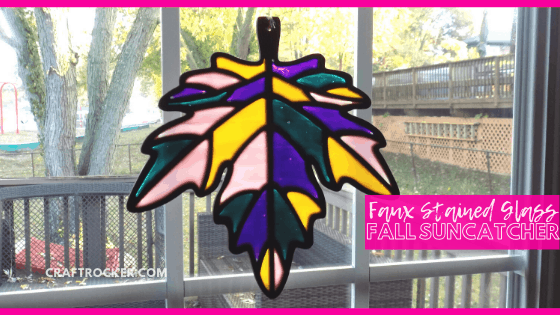
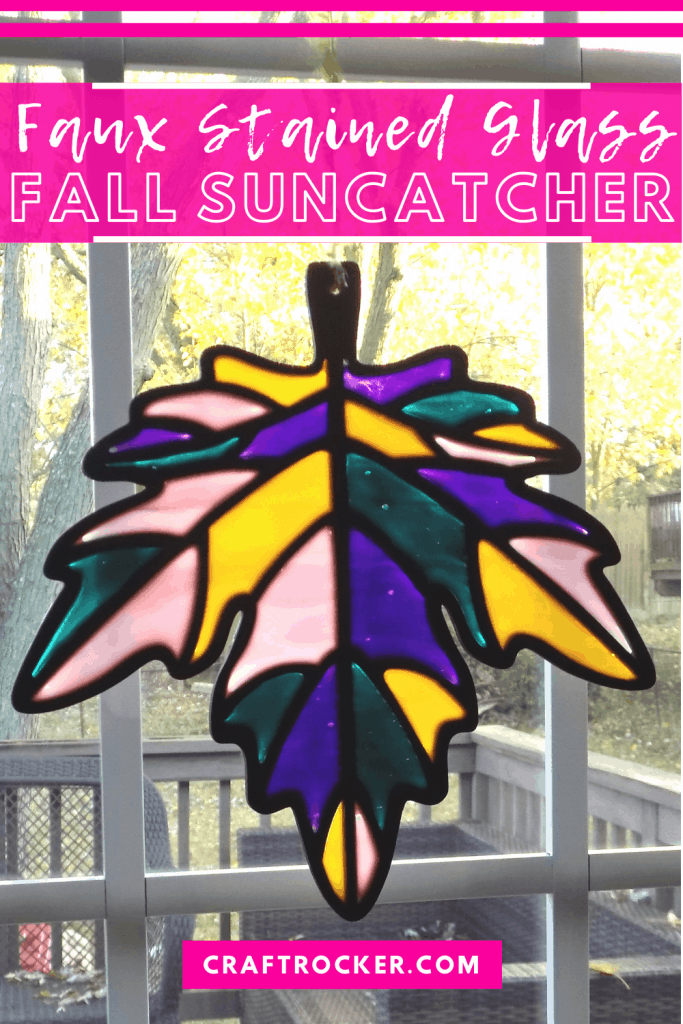
Make your own beautiful faux stained glass fall suncatcher with this super easy, step-by-step tutorial.
Affiliate links may be used in this post. Ordering a product through these links may result in a commission at no extra cost to you. Read the full disclosure here.
Jump to What You Want


How Do You Make Fake Stained Glass
There are actually multiple ways to make fake (faux) stained glass. Today I am focusing on using Gallery Glass paint because it is awesome and totally easy.
Next time I’ll try making stained glass with glue and with Mod Podge so that you can compare to the 2 methods. Definitely be sure to come back and check that out.
What Kind of Paint Do You Use for Faux Stained Glass
Again, this depends on what method you are using. For this tutorial you only need Gallery Glass paint for the stained glass part.
However, you can also make faux stained glass by mixing regular acrylic paint and glue. I’ve even seen some made using sea glass paint because of its transparency.

Faux Stained Glass Fall Suncatcher Materials
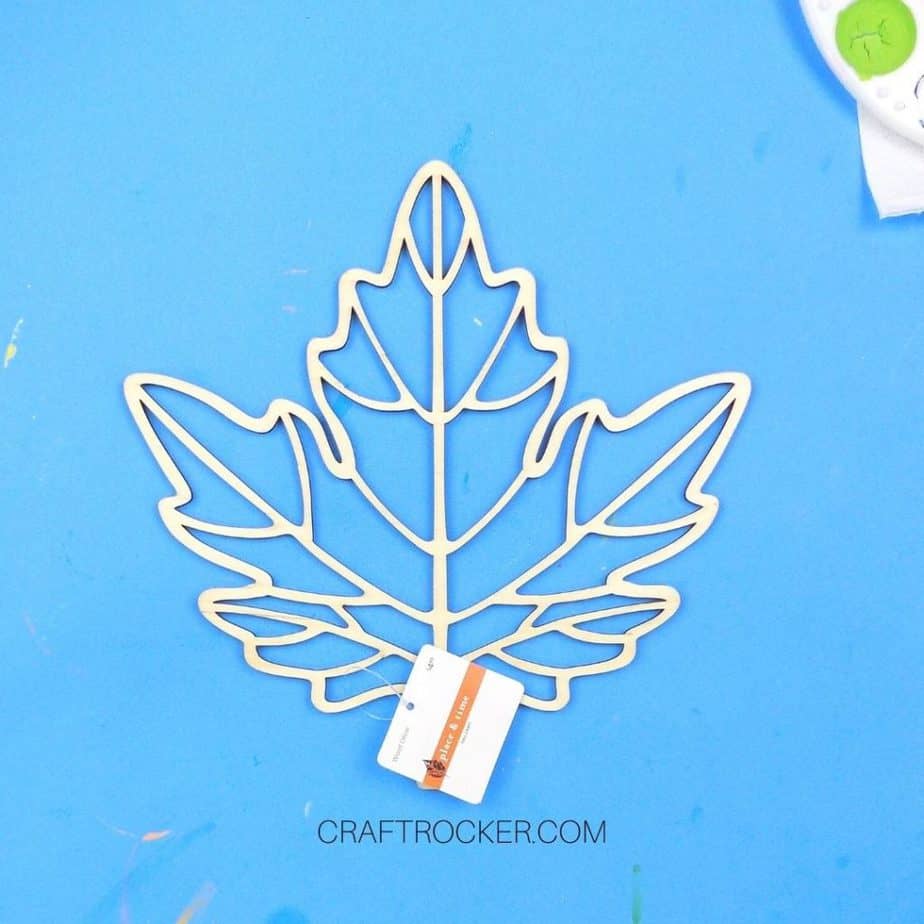
Laser Cut Wood Leaf (I found mine at Michael’s)
Deep Maroon Acrylic Paint
Small Paint Brush
Gallery Glass Paint in Amethyst, Sunny Yellow, Turquoise, and Rosy Pink
String of Choice for Hanging
Scrap Piece of Wood
Scissors
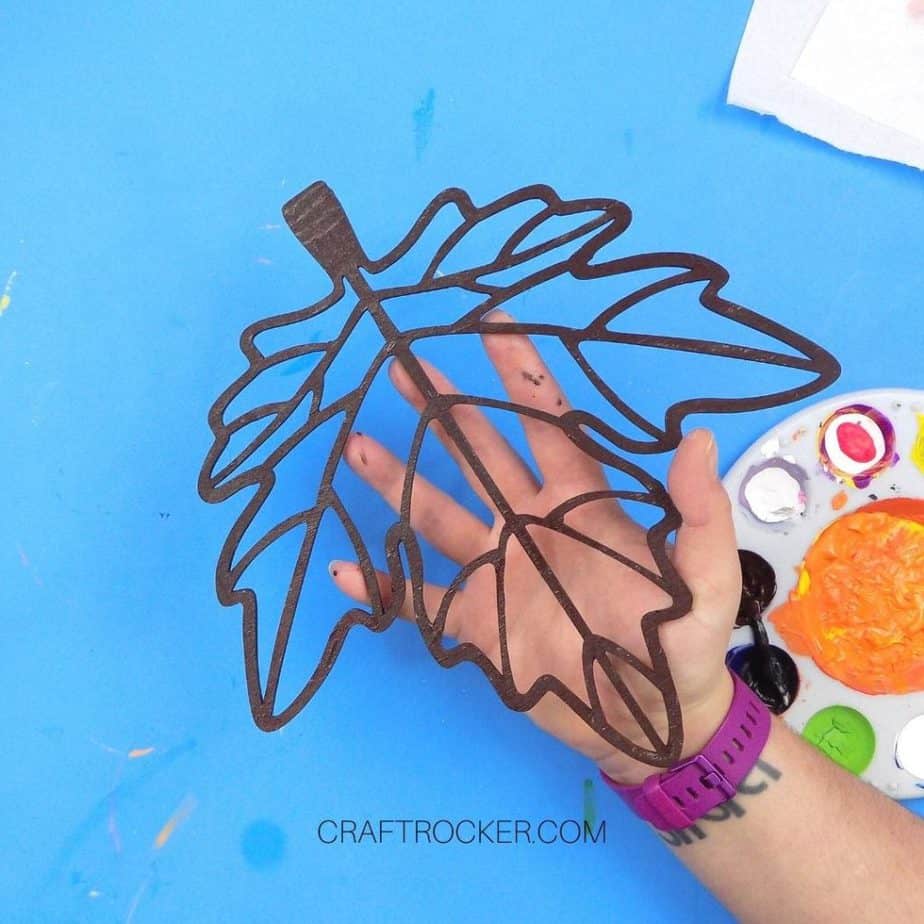
Step 1
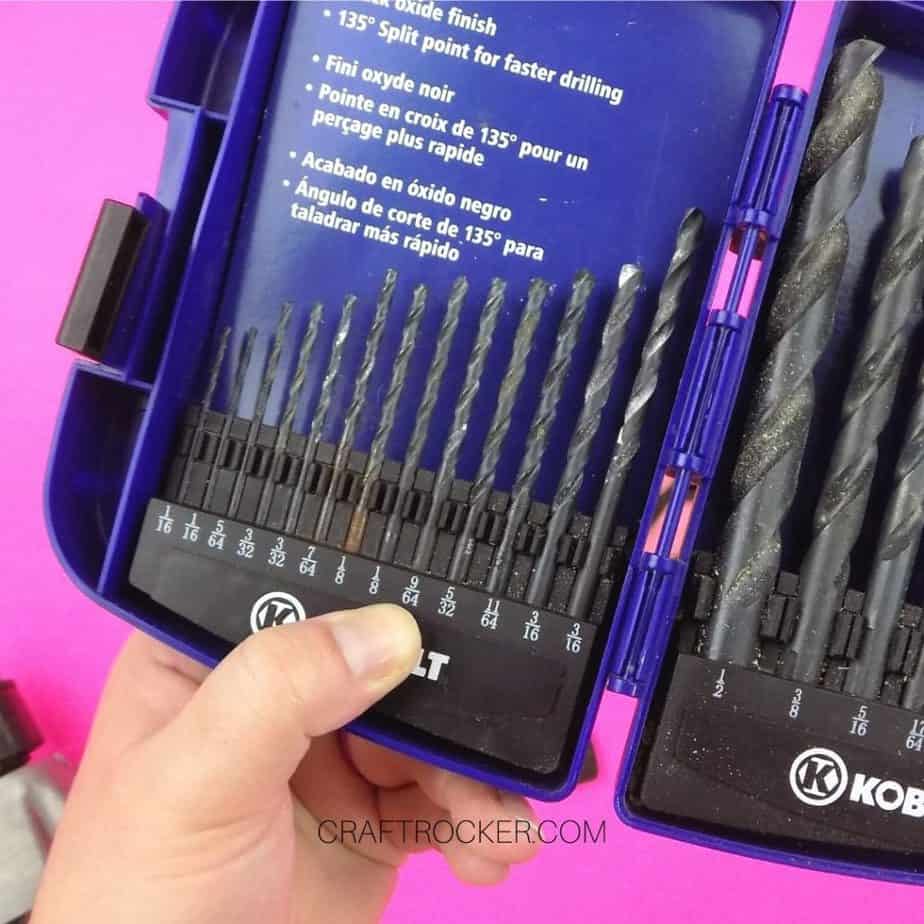
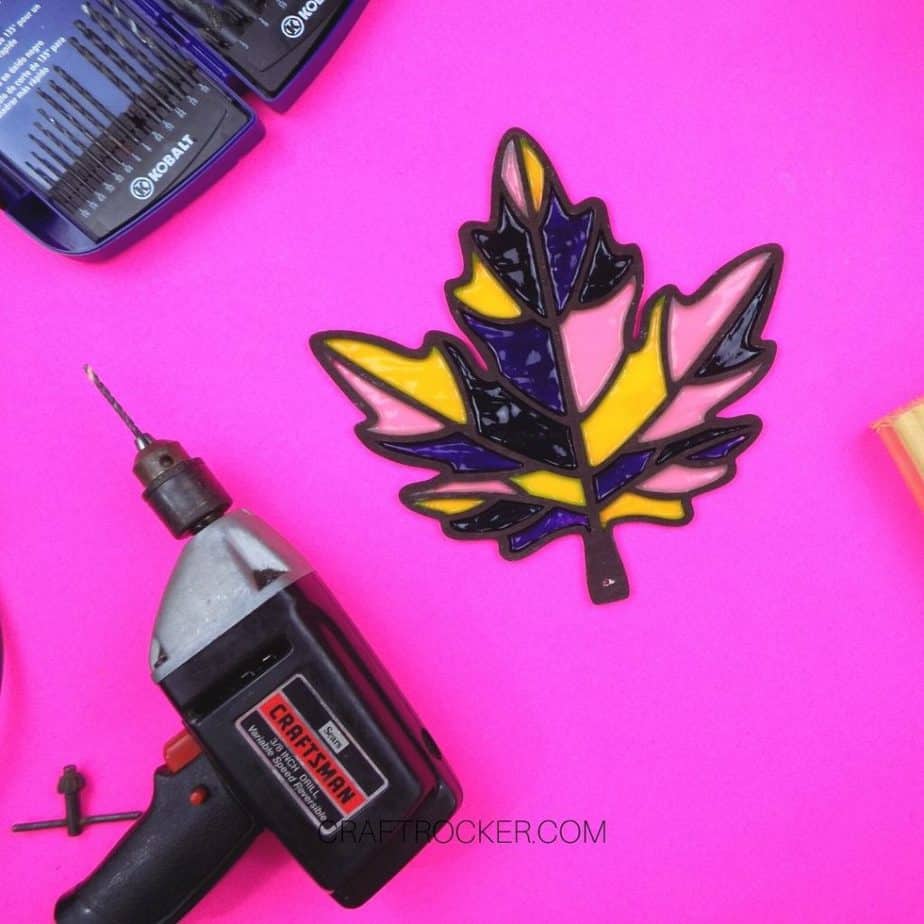
The very first thing you want to do is remove the tags from your wood leaf and drill a hole in the stem using a 9/64” bit. Be sure to set a scrap piece of wood underneath the stem so it doesn’t splinter when you drill it.
Note:
I did this after my leaf was painted and the Gallery Glass was dry because originally I planned to staple the string hanger to the leaf. That didn’t work out so well and I ended up having to drill the hole anyway and then touch up the paint.

Step 2
After you hole is drilled, paint both sides of your wood leaf with the deep maroon acrylic paint. If needed, paint 1 side first then let it dry before painting the second side. Allow both sides to dry completely before moving on.
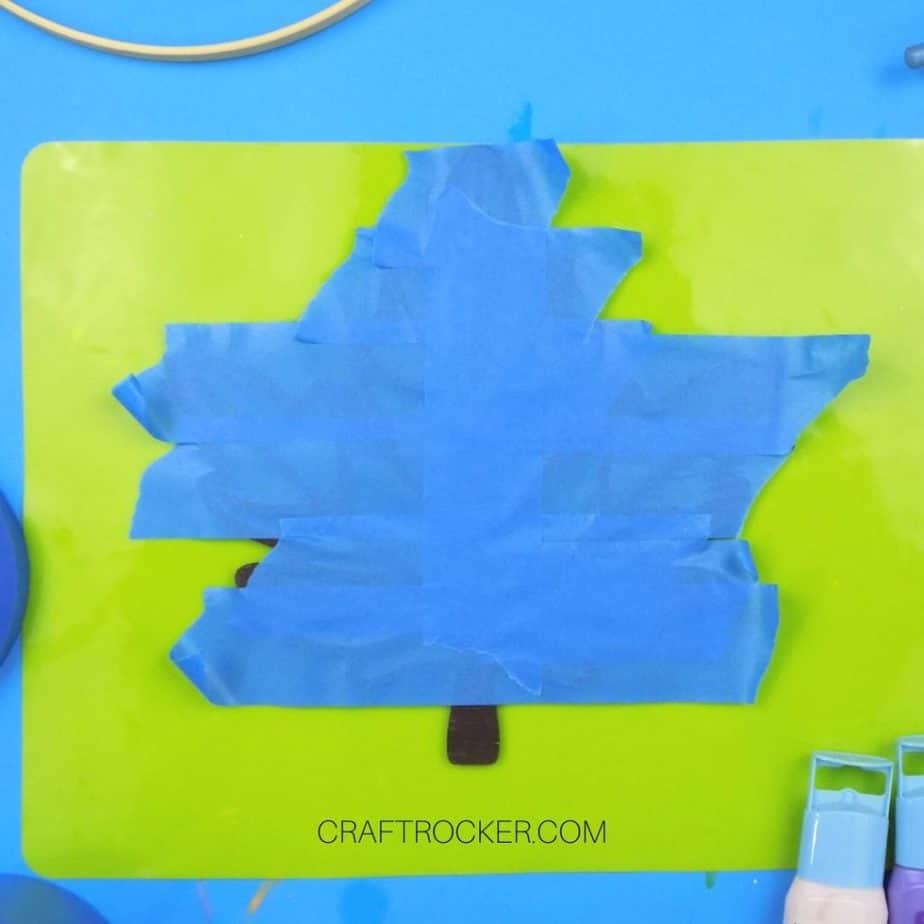
Step 3
Once the acrylic paint is dry, add strips of painters tape to the back of your leaf. Make sure that there are no gaps in the tape and ensure that your entire wood leaf is covered.
Step 4
Next, flip your leaf over and firmly press down on all of the lines so that they are attached well to the painters tape. You don’t want your Gallery Glass paint to seep while drying.
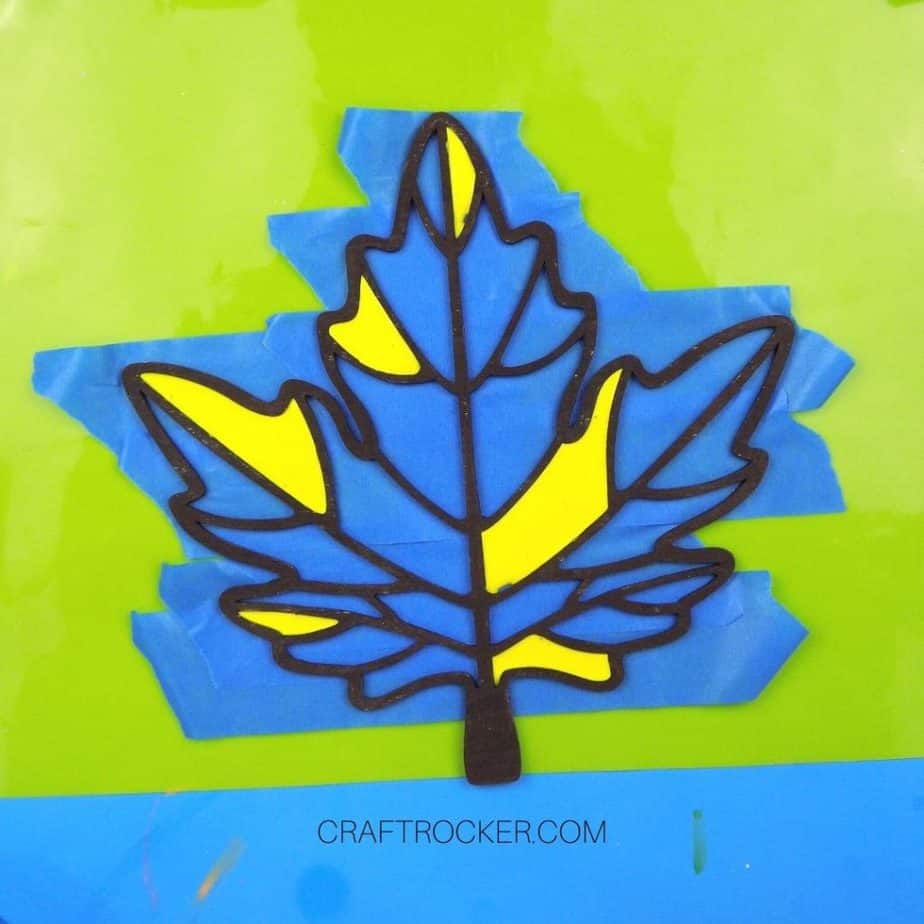
Step 5
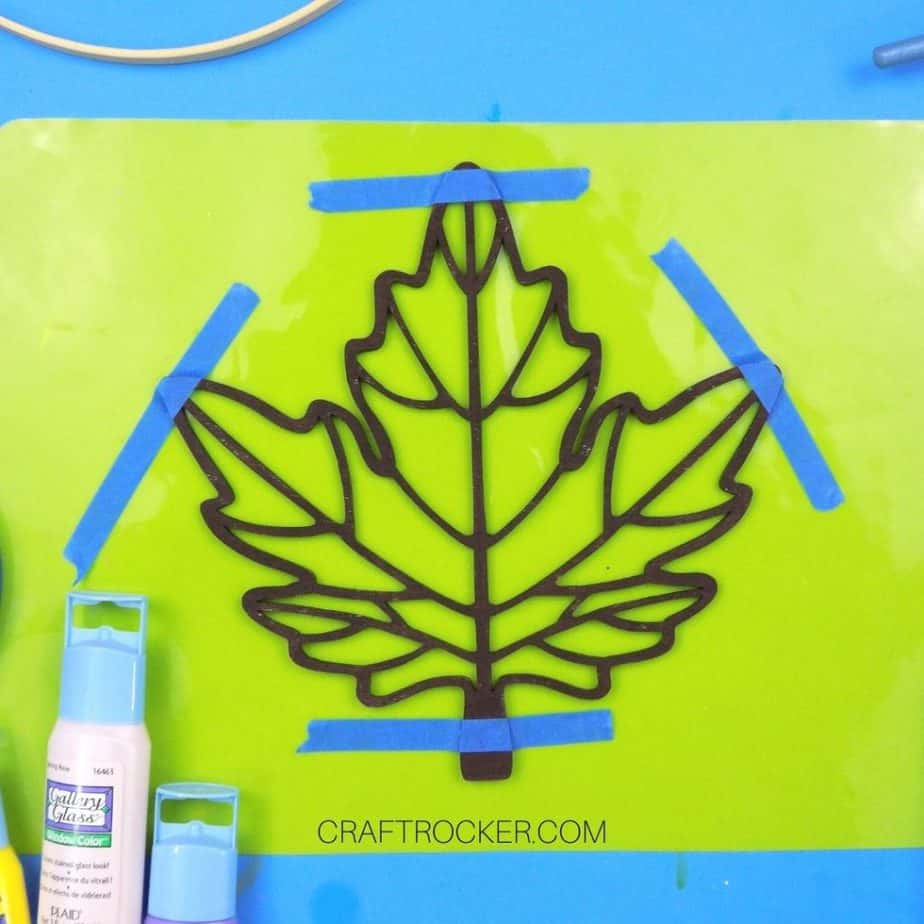
After your painters tape is firmly attached to your leaf, pull out one color of Gallery Glass paint and fill in random sections of your leaf with that color. Be sure to thickly fill in the sections.
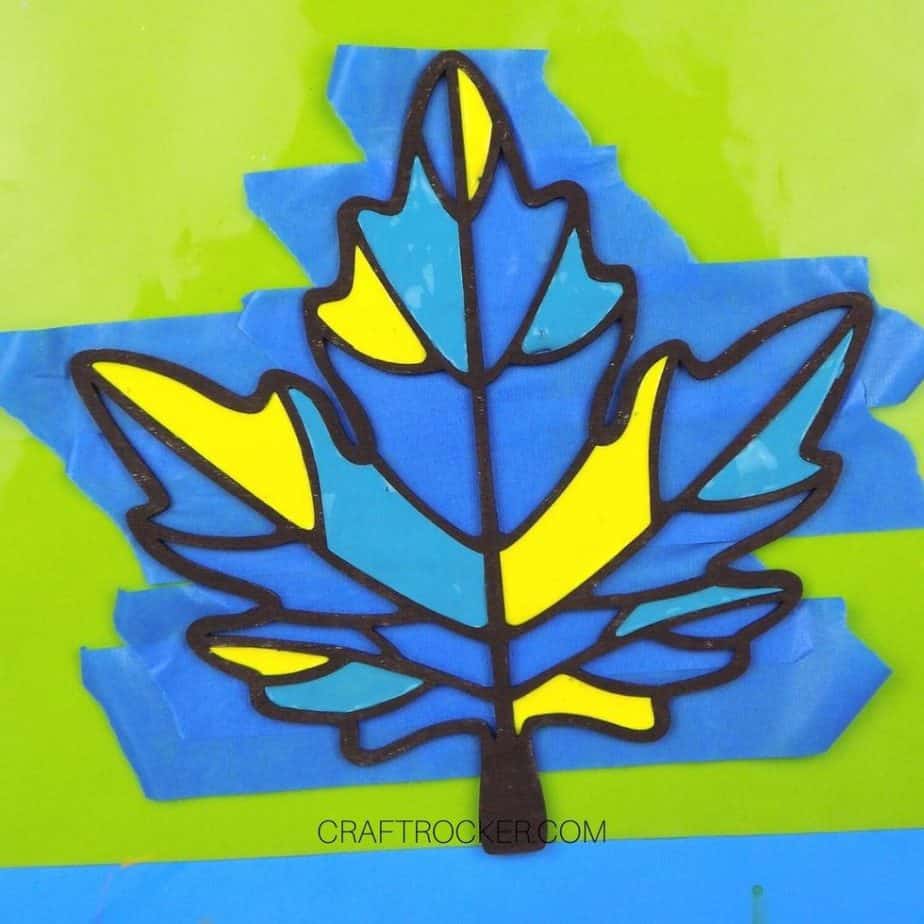
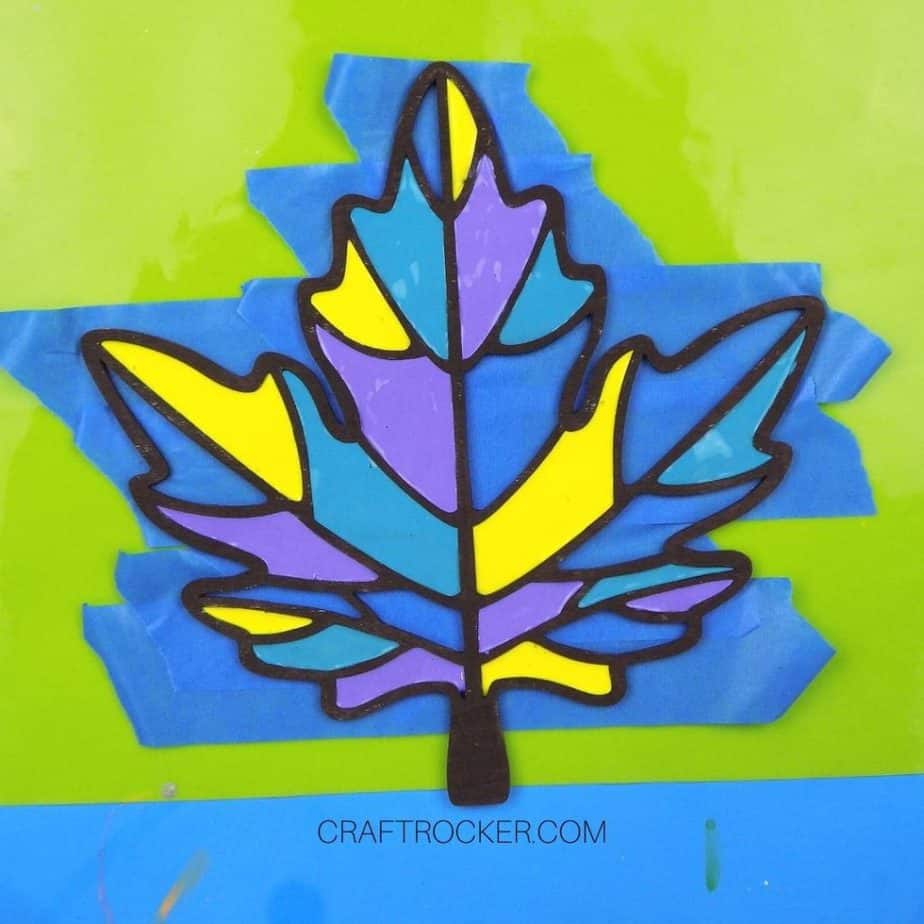
Step 6
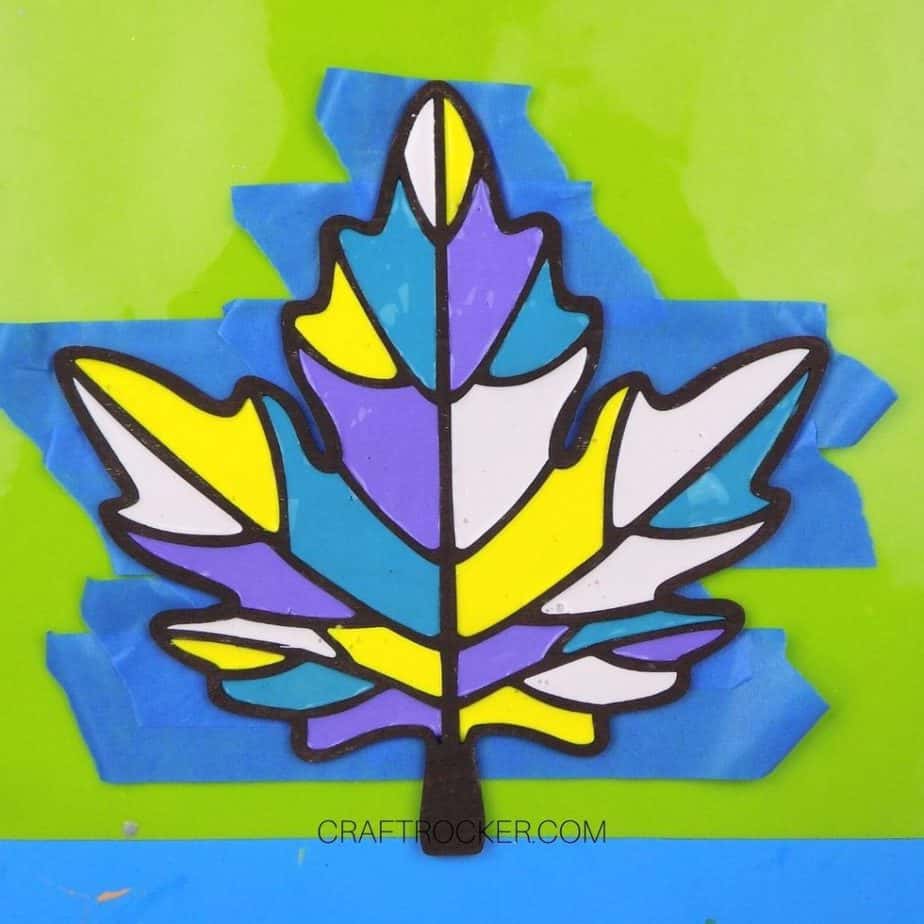
Continue repeating step 5 with each color of Gallery Glass paint until each section of your leaf is filled in completely. Then set your filling in leaf somewhere flat and dry to allow your paint to dry completely. Leave the painters tape on while your paint dries.
Step 7
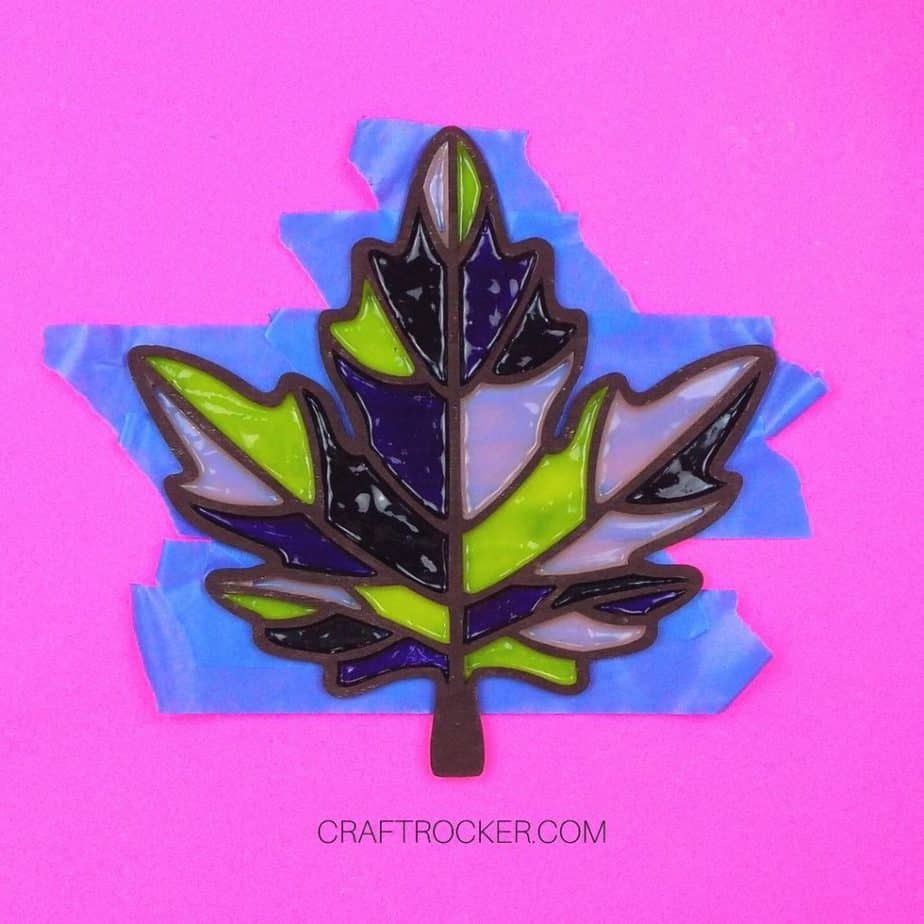
Once your Gallery Glass paint is completely dry, carefully peel off you painters tape. It may stick in a few areas. If that happens, use a utility knife to very carefully cut the tape from your paint.
Step 8
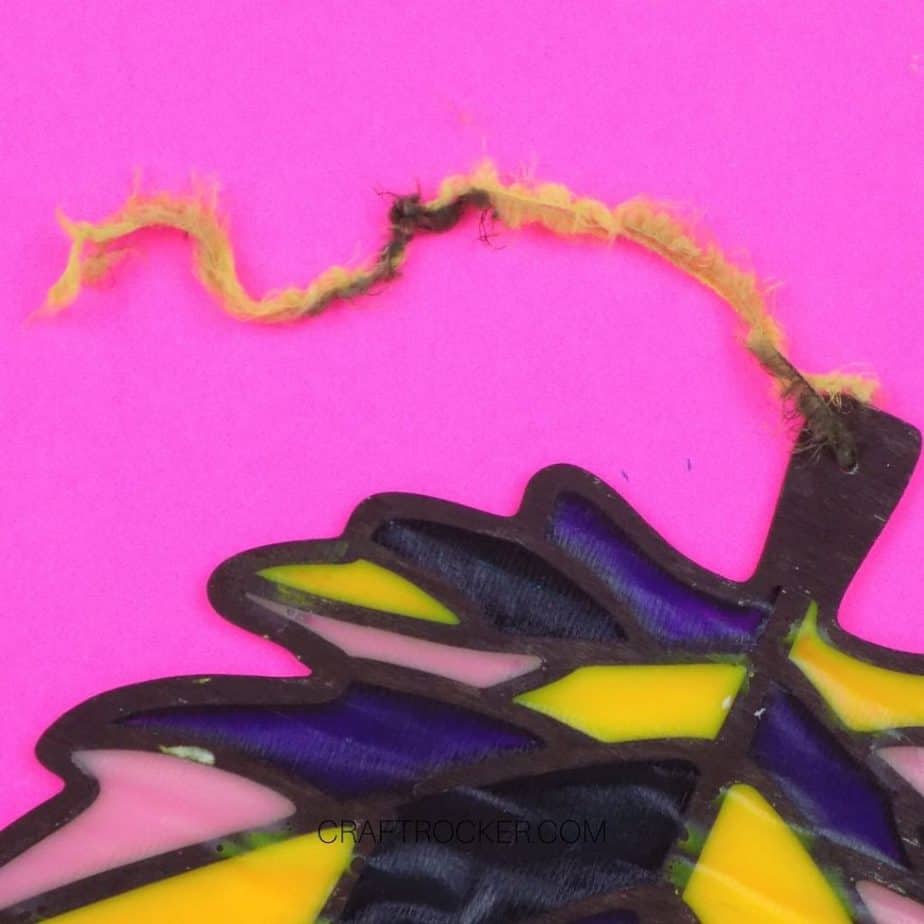
Next, cut a length of cord that is roughly 17 inches long. Then thread the cord through the drilled hole and knot the ends together.

Step 9
Lastly, trim any excess cord from your knot.
Tips and Tricks for Success
The painted tape made lines in the back of the dried Gallery Glass paint that I didn’t love. If I had it to do over again, I would try my luck with Press-n-Seal film instead.
Make sure that you go thick with your paints. This is especially important with this project because there is no actual glass behind the paint.
Also, if you can’t find a dark maroon acrylic paint or simply want to use something that you already have, feel free to use any other color. If you want a more traditional stained glass look, stick with dark colors like steel gray, black, and dark brown.
Don’t try taping your wood leaf to a non-stick mat. I tried that method first and the paint leaked a lot. Stick with the painters tape or the press-n-seal. See the photo above this list for reference.
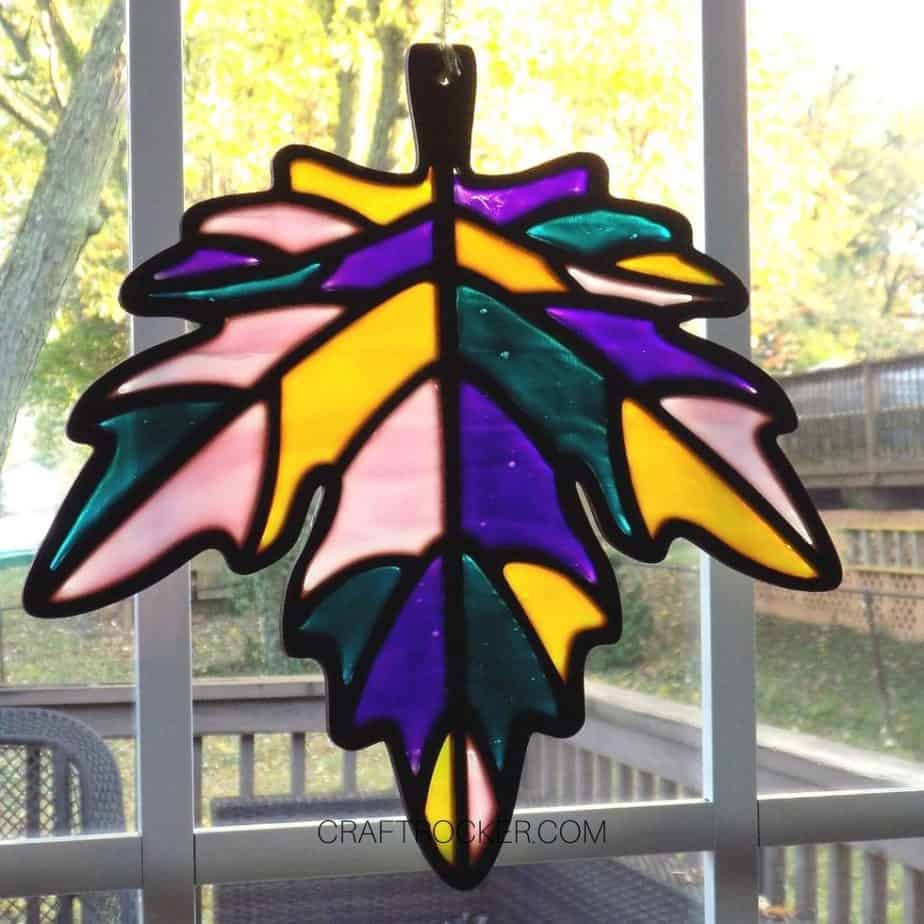
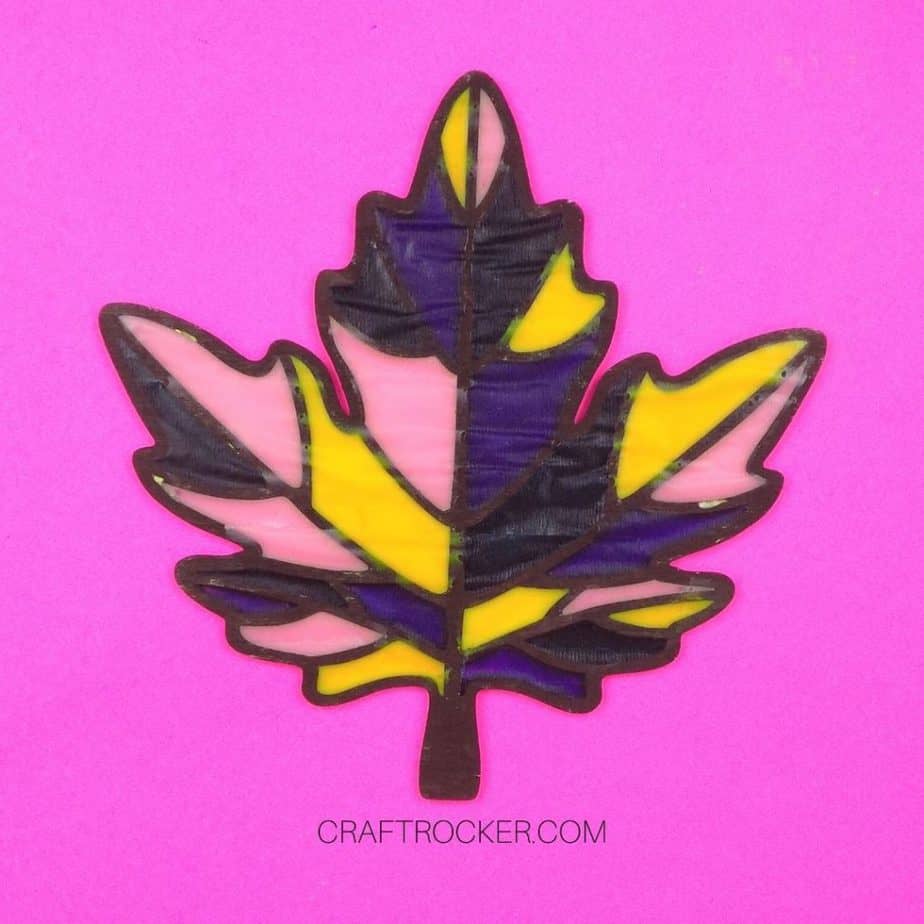
To hang your faux stained glass fall suncatcher, use on of these suction cup hooks. Stick it to your window and slip your cord hanger over the hook, easy-peasy.
I love how this beautiful piece of décor turned out. It looks fantastic on my window, just as I know it will on yours this season!
Don’t Forget to Pin It!
More Projects to Love:
Wooden Pumpkin Fall Sign – Domestically Creative
