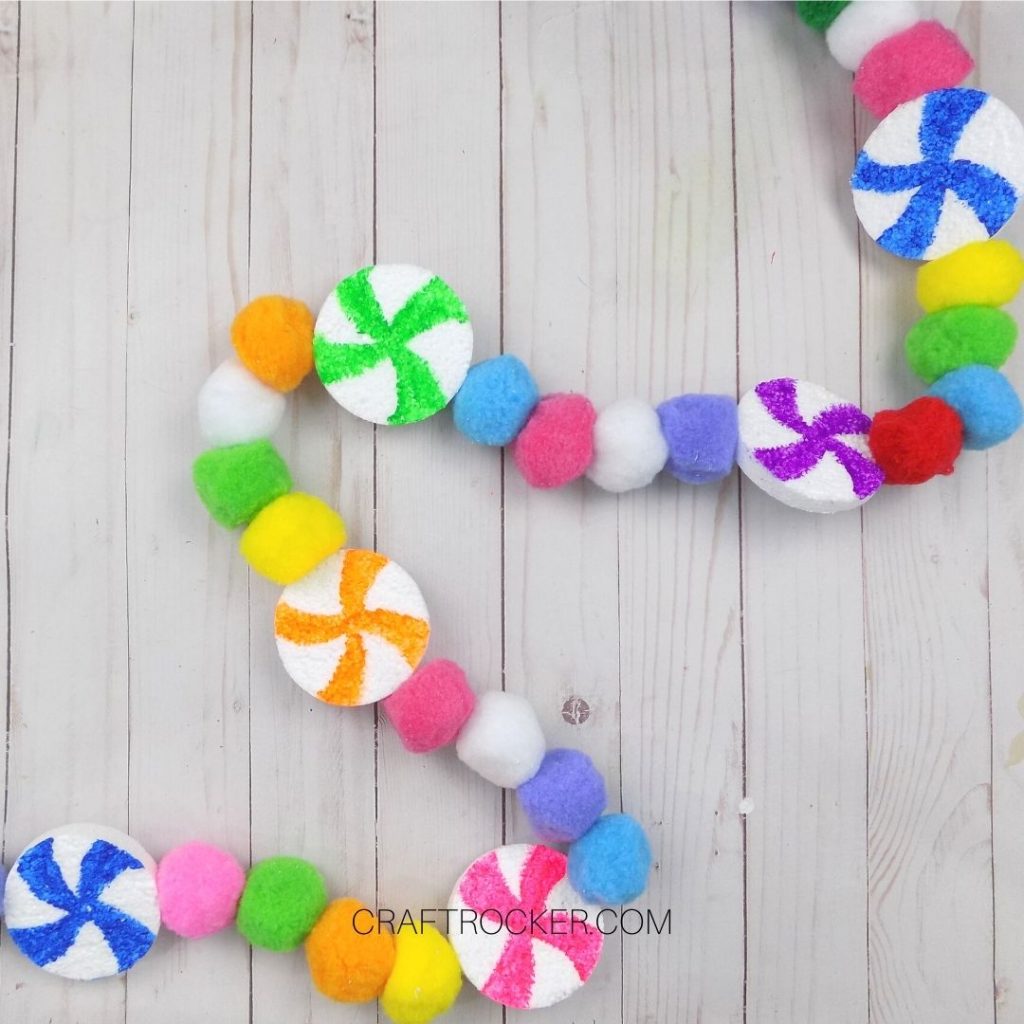
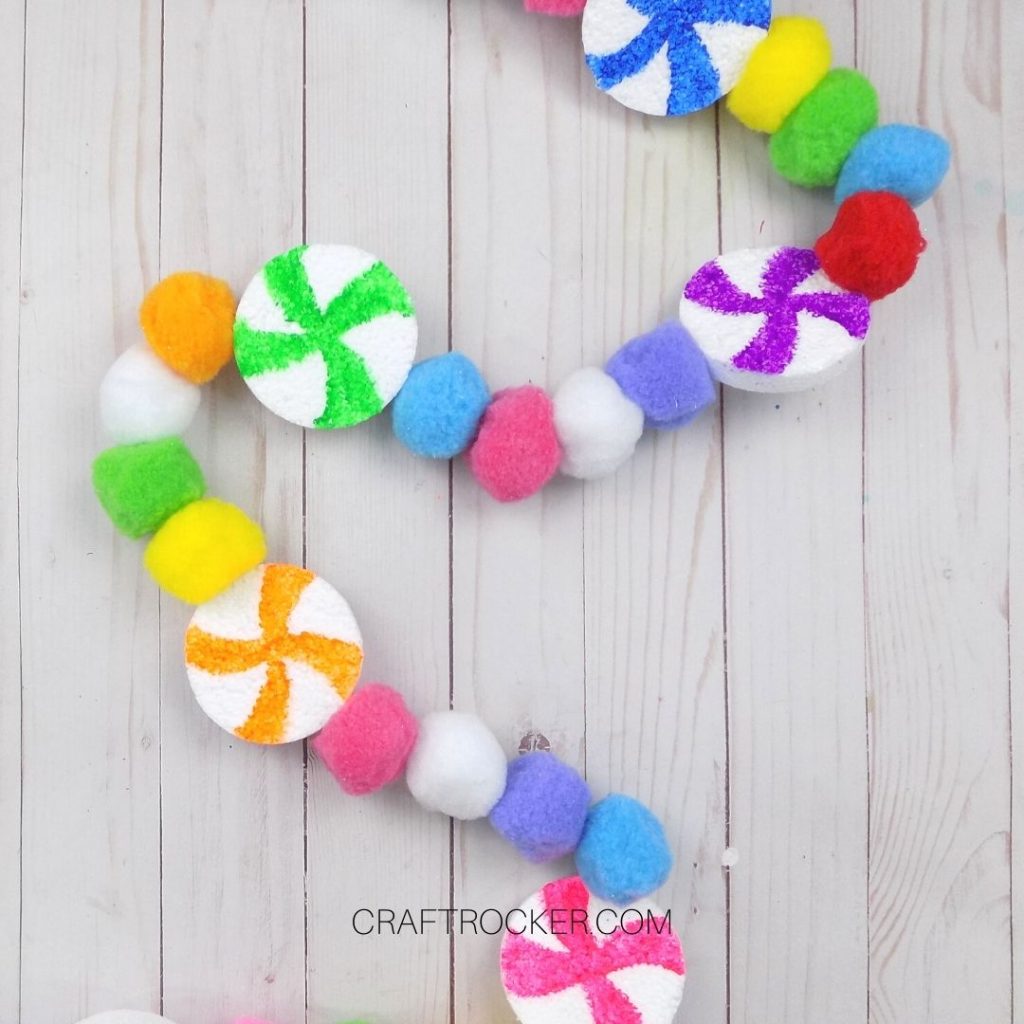
This candy pompom garland is like something from my sugarplum fairy dreams! It’s super easy to make and comes together quickly once your candies are painted.
Affiliate links may be used in this post. Ordering a product through these links may result in a commission at no extra cost to you. Read the full disclosure here.
Jump to What You Want


Have you seen the prices to buy candy garland? Omgosh, they’re crazy expensive for like a 4-foot length of garland especially if you want it big enough for a 7 foot tree. Yikes!
Instead, I decided to make my own with pompoms and foam disks and it turned out wonderful. Plus the whole thing only costs about $30 for over 40 feet of garland. That’s incredible.
You can save even more by making your own pompoms with this easy tutorial for how to make yarn pom poms easily.
However, if you have a lot on your holiday plate, like me, then save yourself some time and buy the ones I used in the materials list below.
Candy Pompom Garland Materials
2 Bags of 100 Assorted 2 in Pompoms
Serrated Saw or Knife
Needle and Thread
Awl or Similar Tool
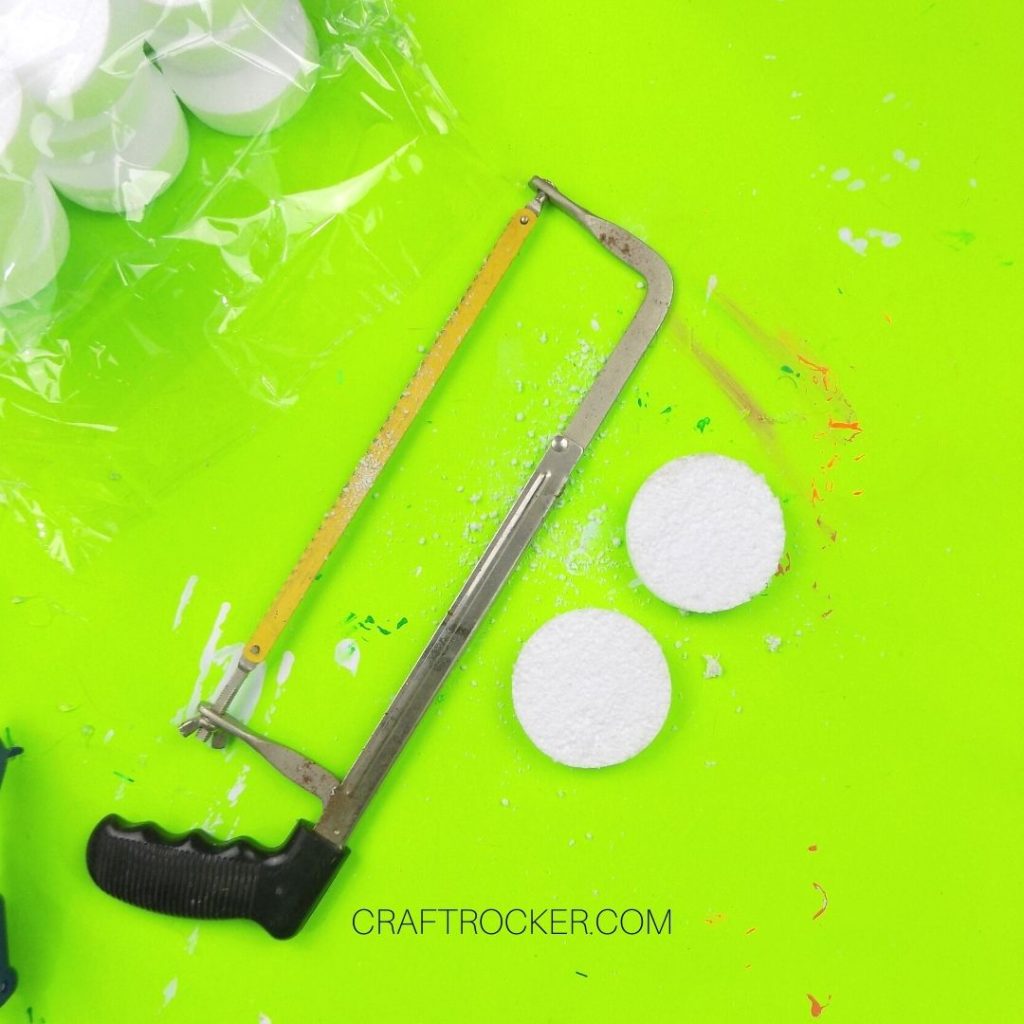
Step 1
First, take all of your foam disks out of their packaging and carefully cut them in half with your saw or knife. After you cut them all in half, be sure to brush off any loose foam from the cut disks.
I will warn you that this part is super messy. Styrofoam gets everywhere and I used painters tape to get it all up off of my work station. This is definitely a situation where this mini vacuum would have come in very handy!
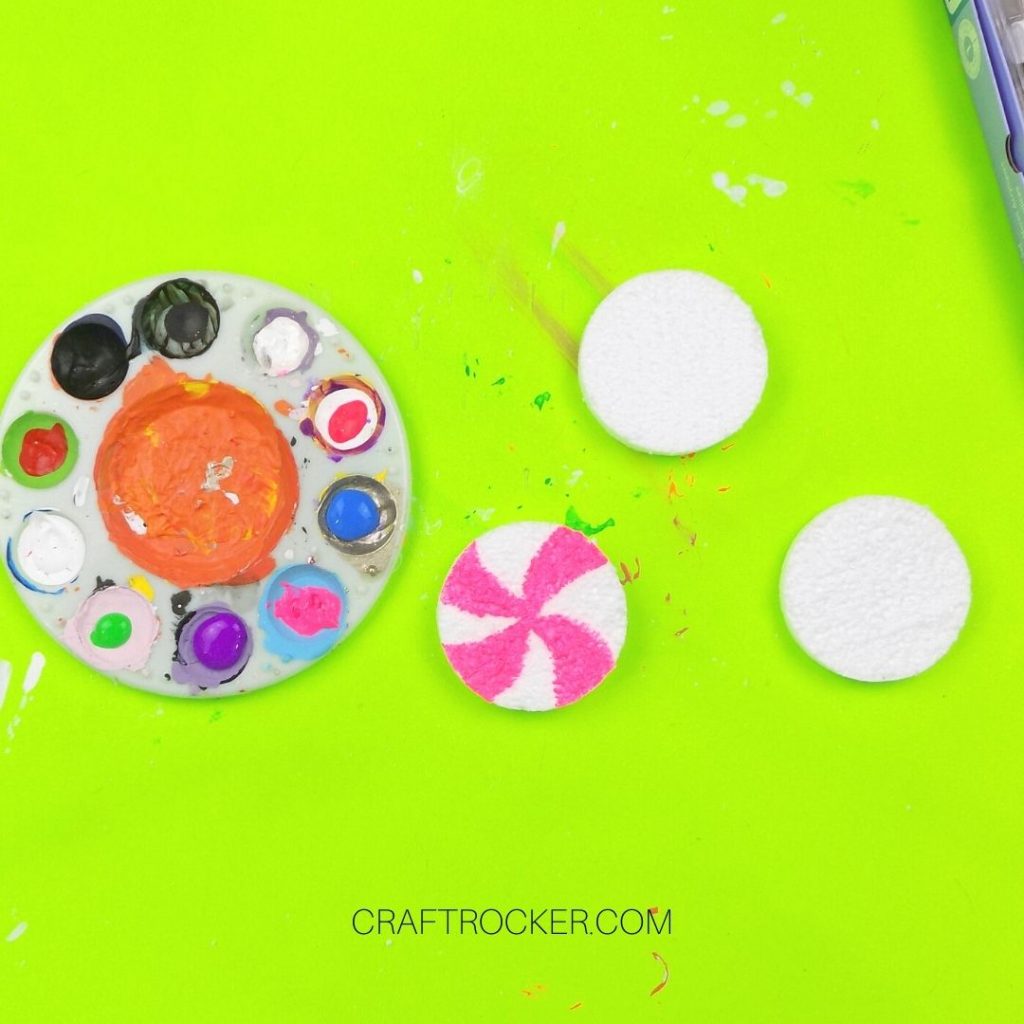

Step 2
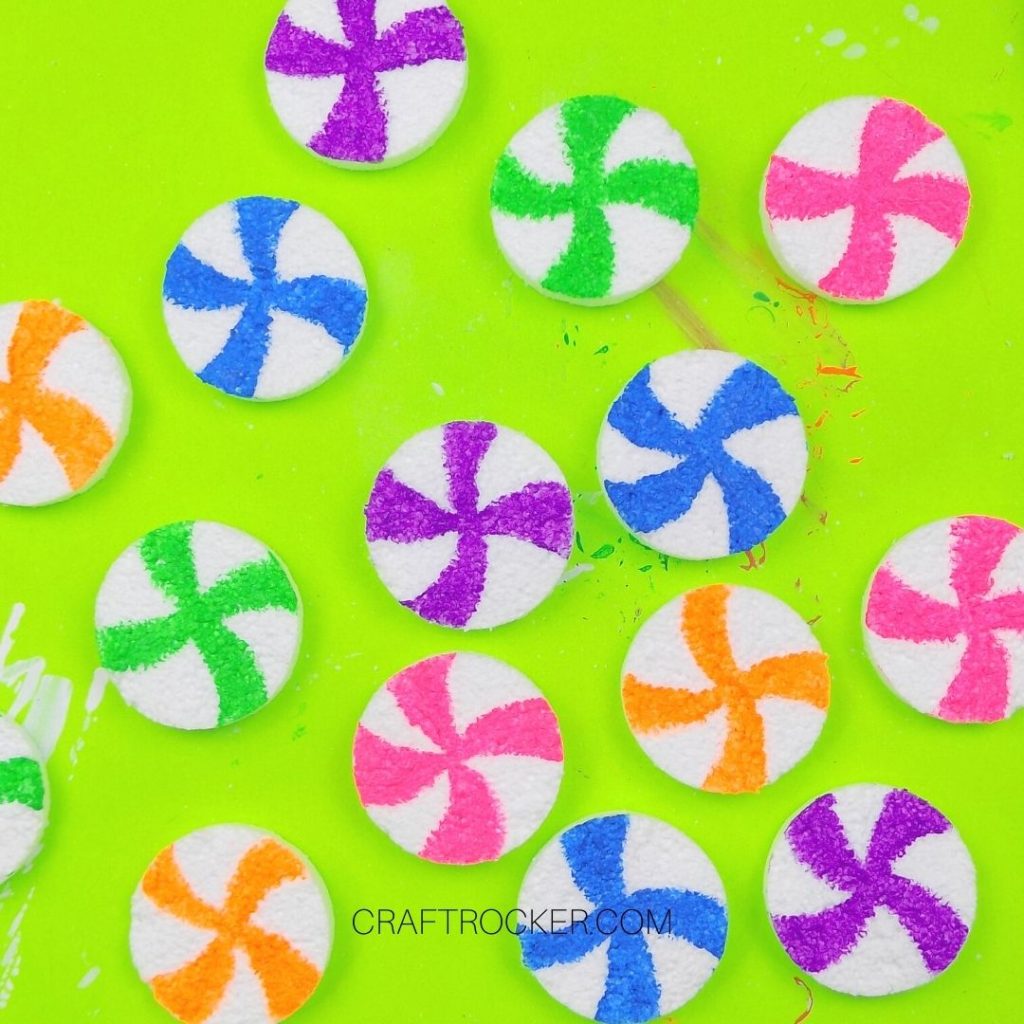
After all of your disks are cut in half and your work area is cleaned up, paint each disk to look like a candy. Start on the cut side to get it out of the way because it is more difficult than the flat side. Then set your disks aside to dry.
Step 3
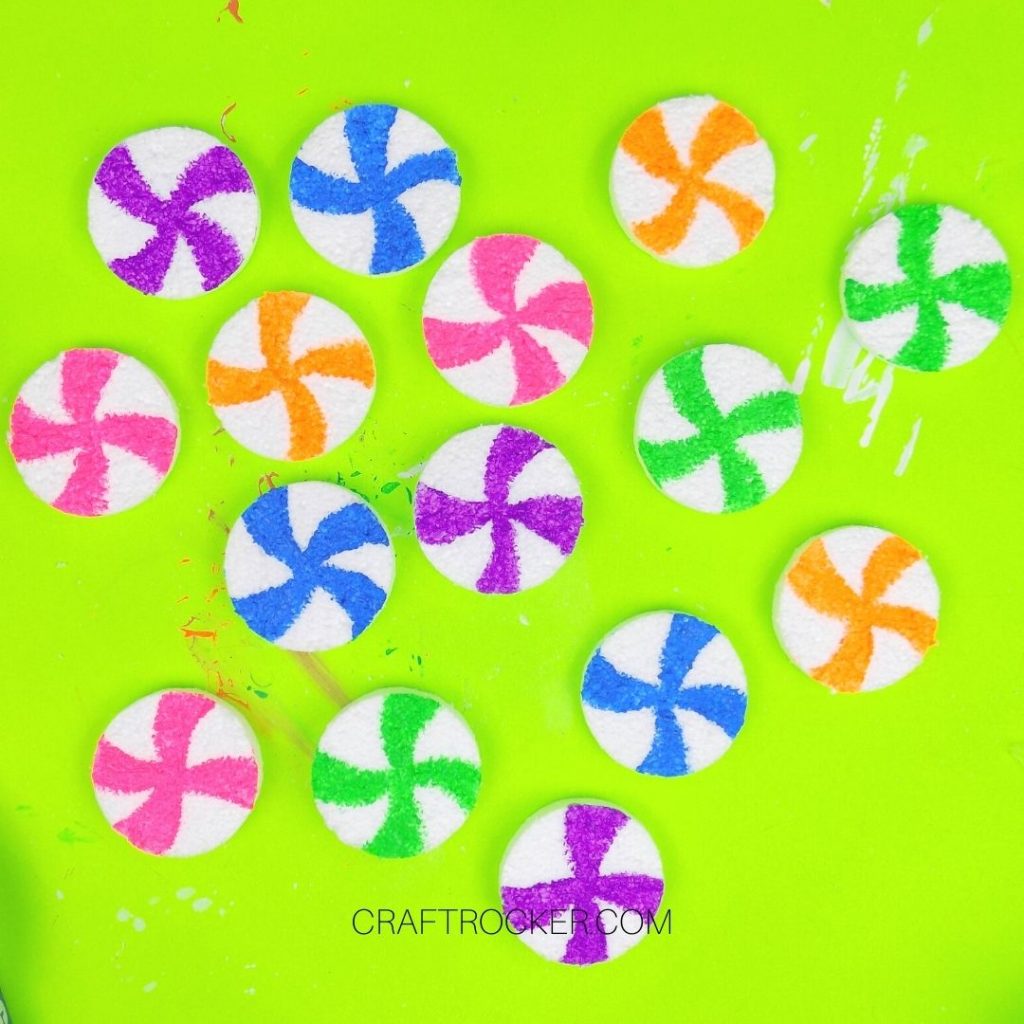
Once all of your paint is dry, flip your disks over and paint them to look like candy on that side. You want to make sure that both sides look pretty in case they flip when you hang your garland or put it on your tree.
Again, let the paint dry before moving on.
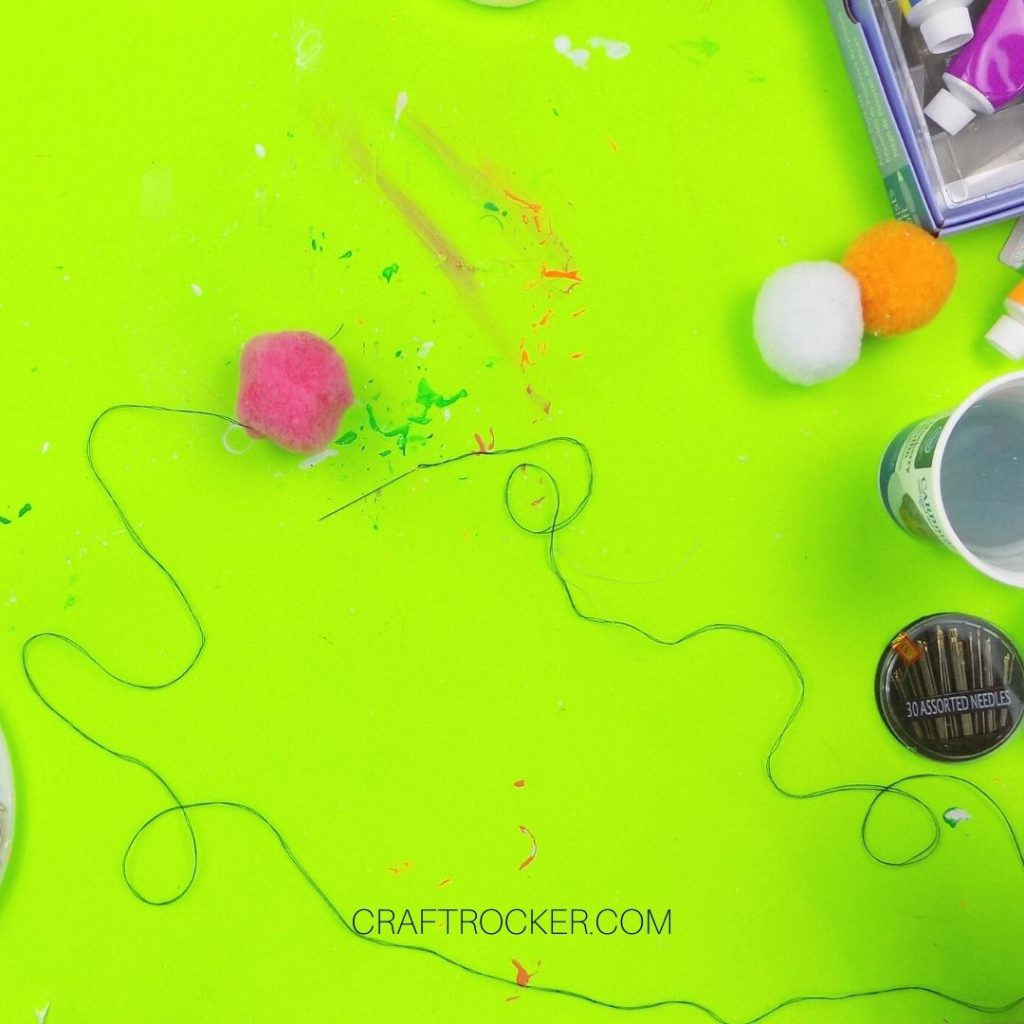

Step 4
Next, cut a length of thread and thread your needle so that your thread is doubled. Knot the ends together and start threading your pompoms together. Thread 4 together and then carefully thread a candy onto the garland.
I recommend cutting as long of a piece of thread as you can reasonably work with because it will cut down the on the number of times you have to add more.
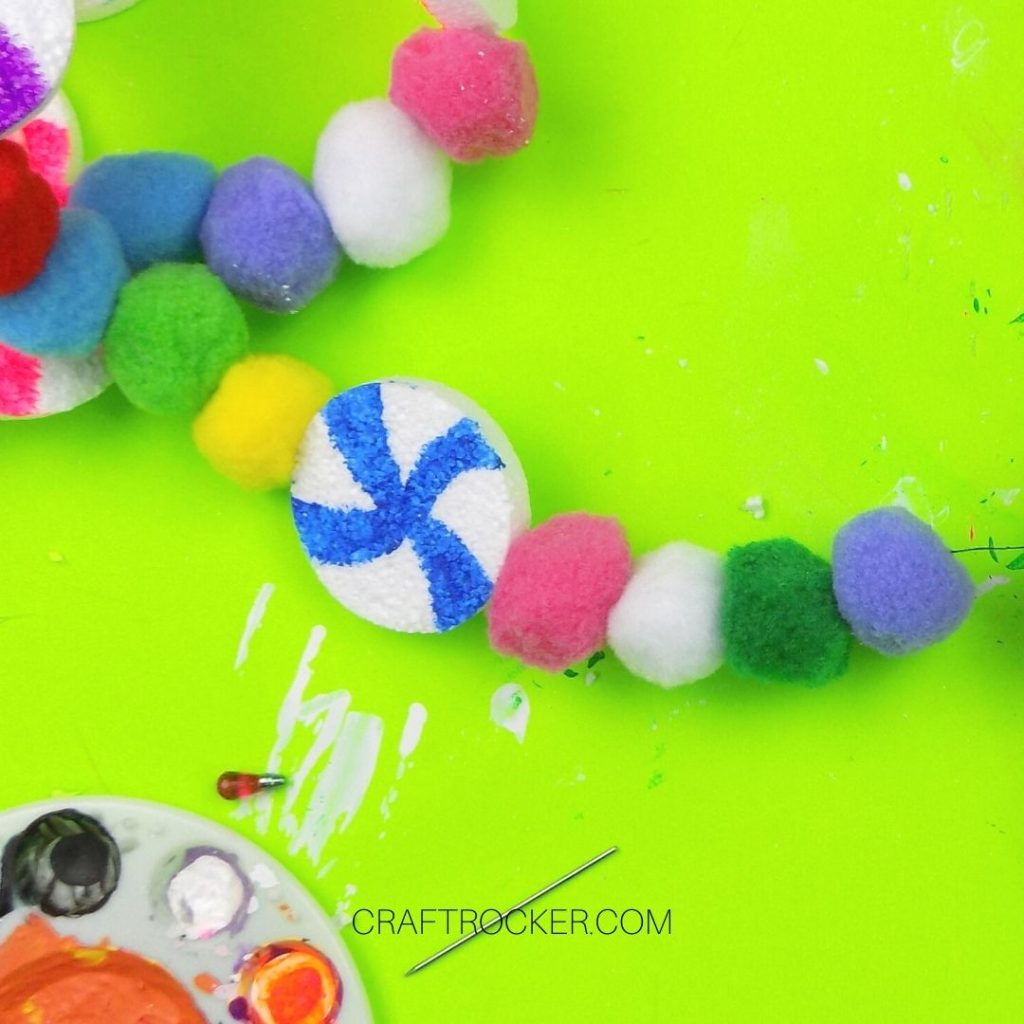
Step 5
Continue threading 4 pompoms and a candy until you reach the end of your thread. Make sure that you end on a pompom. Then cut the thread from your needle and knot the end to secure it.
Step 6
Then cut another long length of thread and thread it through your needle. Start at the last pompom on your garland and thread your needle from the left (where the rest of the garland is) to the right.
This attaches your new length of thread to the garland and you can continue adding pompoms and candies.
Step 7
Repeat step 6 until all of your candies are threaded onto your garland. If you have extra pompoms left over, save them for another project.
Again, make sure that you end your garland with a pompom because the thread is less likely to pull back through the pompom after you knot it.
Tips for Success
When painting the cut side of your disks, I recommend getting a rough outline and then dabbing the paint to fill it in. That allows the paint to get in all of the crevices of the foam.
If you can, use a very long needle. I used the longest one I had and still have to use my awl to push the needle through my candies. It is doable but a lot more effort and a little frustrating at times.
I also recommend using a heavy thread like quilting thread. You want your garland to hold up through the years.
After I finished this, I kind of wished I put some glitter on the candies. While it’s not necessary for a beautiful candy pompom garland, but as a total glitter lover I might go back and add some.
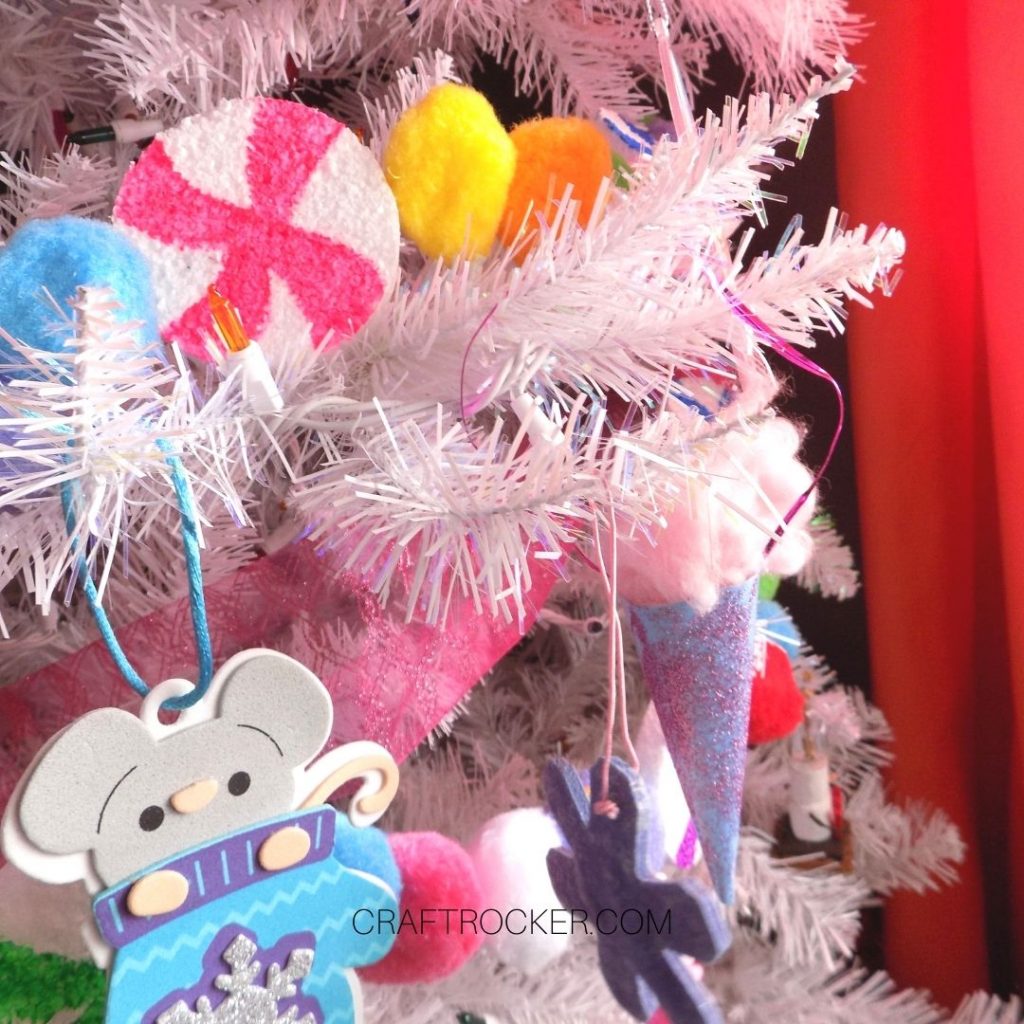
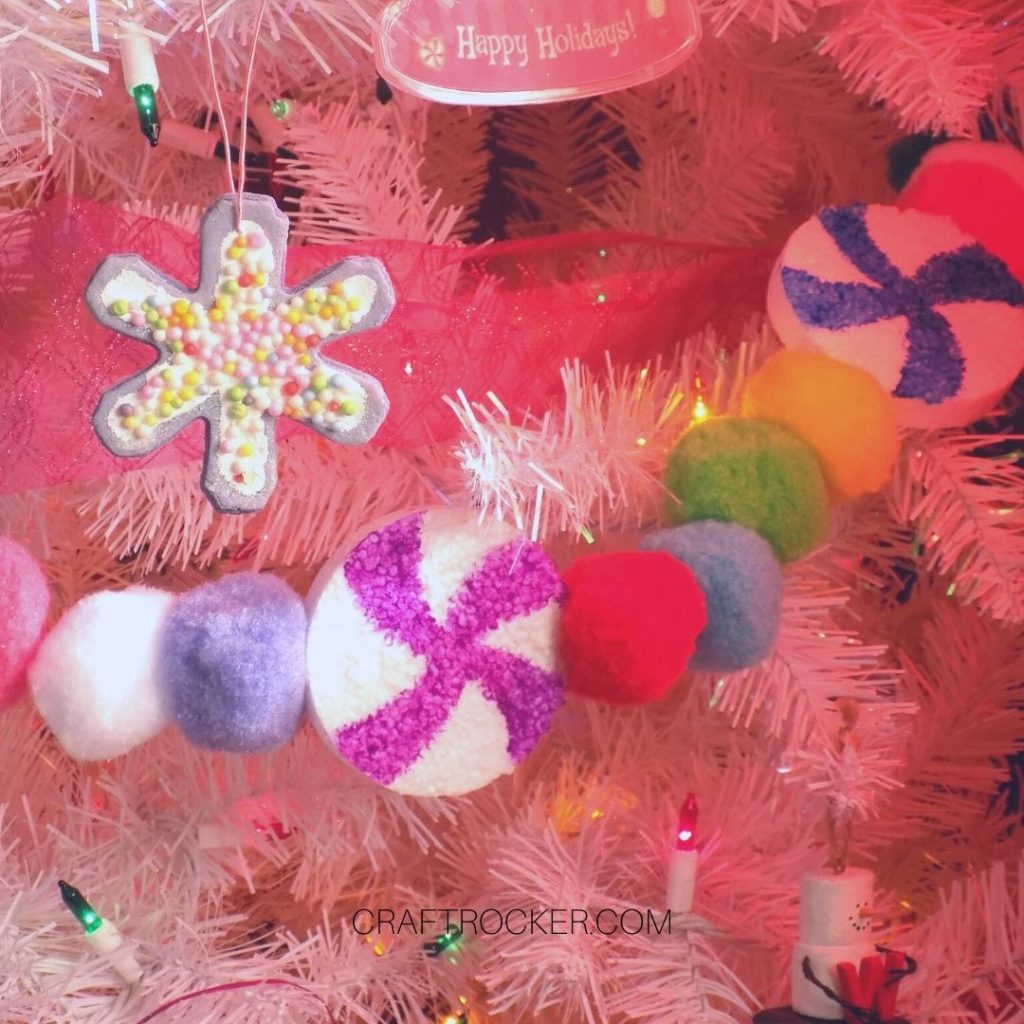
I am totally in love with this candy pompom garland! It goes perfectly with my candy Christmas tree and I can’t wait to make more awesome candy-themed decor to turn the entire living room into a winter candy land!
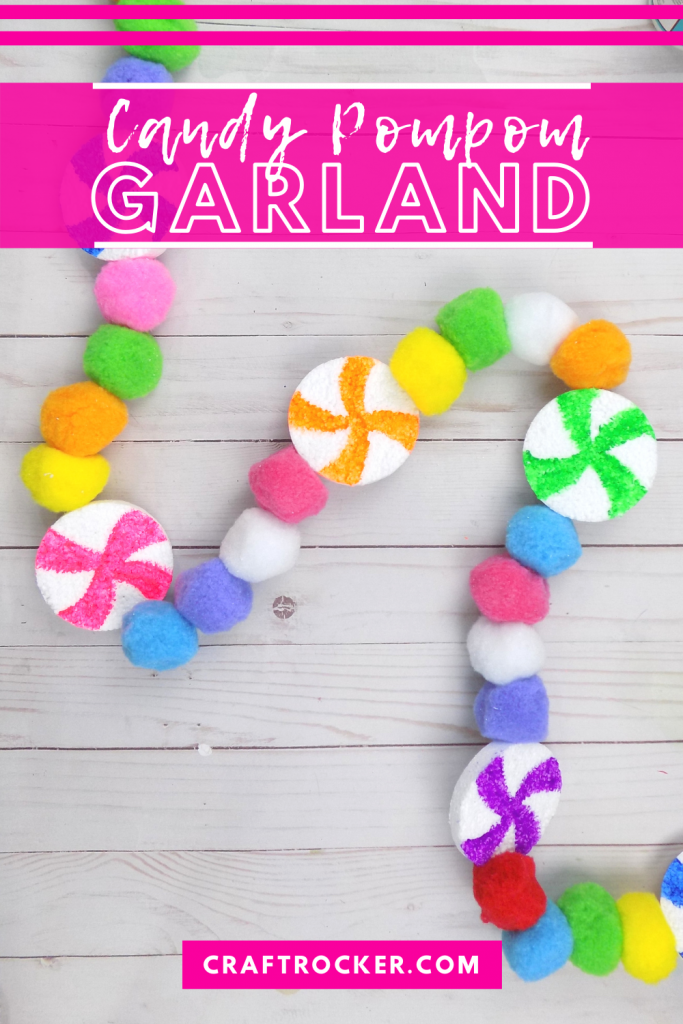
Don’t Forget to Pin It!
More Awesome Christmas Fun:
How to Make a Paper Chain Advent Calendar
Glittery DIY Candy Ornaments with Your Cricut
