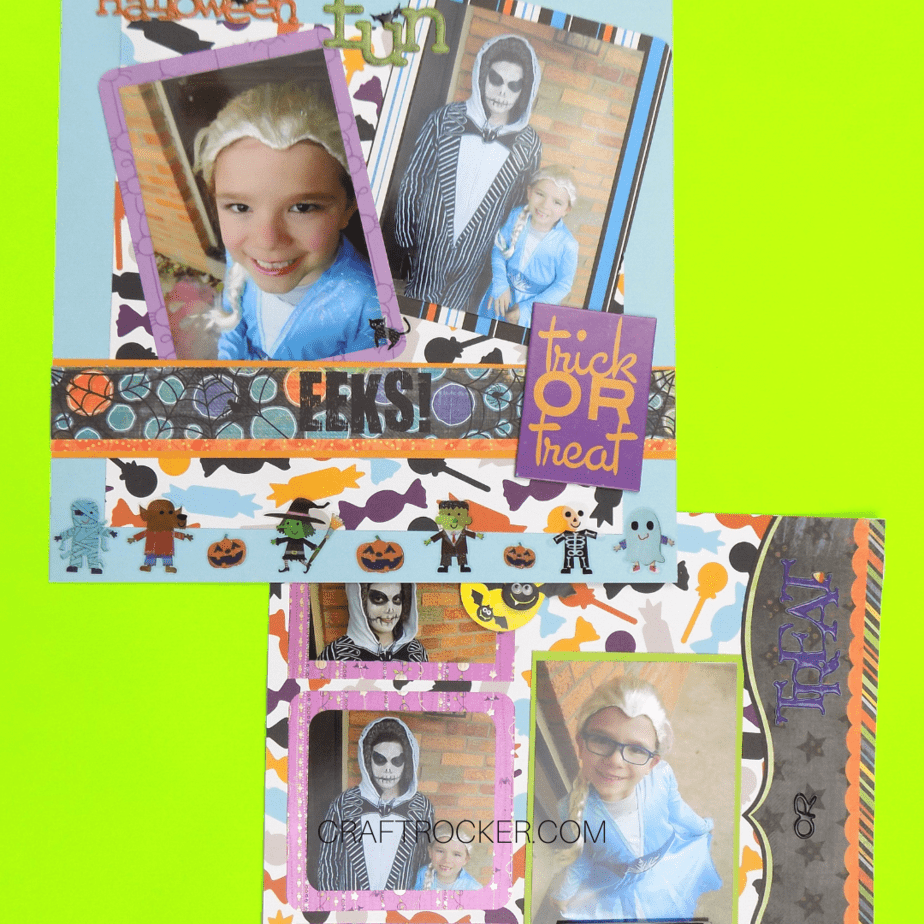
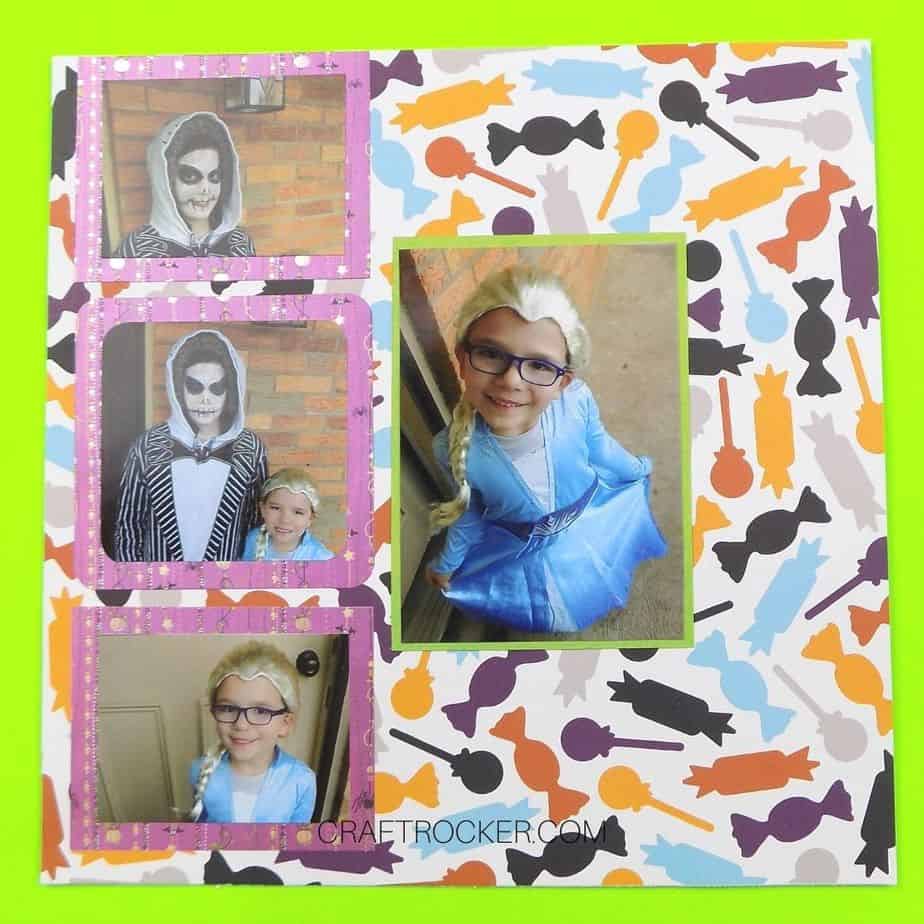
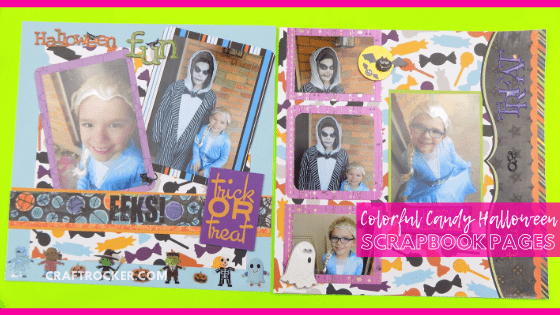
These colorful candy Halloween scrapbook pages prove that you can be bright and fun for those mandatory costume photos.
Affiliate links may be used in this post. Ordering a product through these links may result in a commission at no extra cost to you. Read the full disclosure here.
Believe it or not, I have never made a Halloween scrapbook page before I made these. I’ve done my birthday pages which is almost always Halloween-themed (October 27!) but I’ve never made dedicated Halloween pages until now.
Lately, though, I have been craving scrapbooking… yes, like you might crave sweets. Clearly I’m addicted to crafting but that works out for you.
Creating these adorable Halloween pages killed 2 birds with one stone (a very Halloween-y saying by-the-way). I tried out new page ideas and get some crafty fun to share with you too!
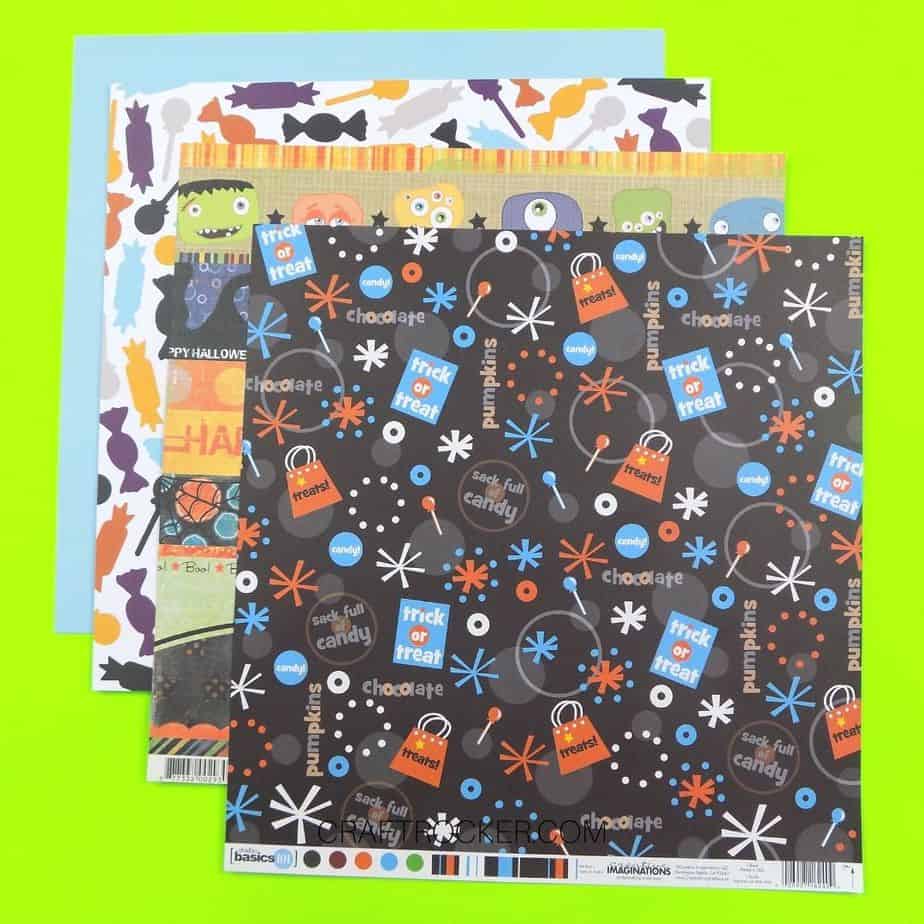
Candy Halloween Scrapbook Pages Materials
- 3 Sheets of Double Sided 12×12 Candy Paper (make sure that the second side is a plain color)
- 2 Sheets of Complimentary 12×12 Paper
- 1 Sheet of Halloween Borders Paper
- 12 inch Paper Cutter
- Glue Runner
- Scissors
- Halloween Sticker Embellishments of Choice
- 1 8×10 in. Photo
- 5 4×6 in. Photos
- Large Corner Rounder
Note: If you don’t recognize any terms used in this tutorial, check out Scrapbooking Terms for Beginners to Know.
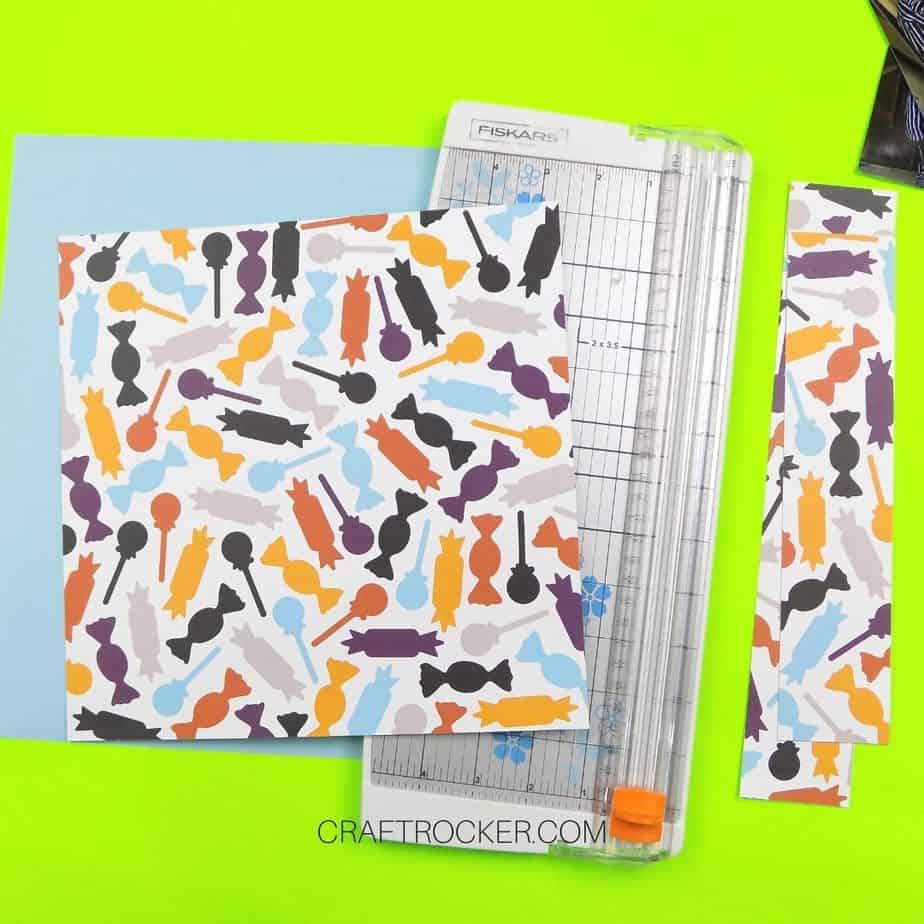
Step 1
First, trim 2 inches off the top and right side of 1 piece of candy paper.

Step 2
Then cut a strip from your Halloween borders paper that has a saying on it.
Make sure that you choose one that has colors that compliment your candy paper.
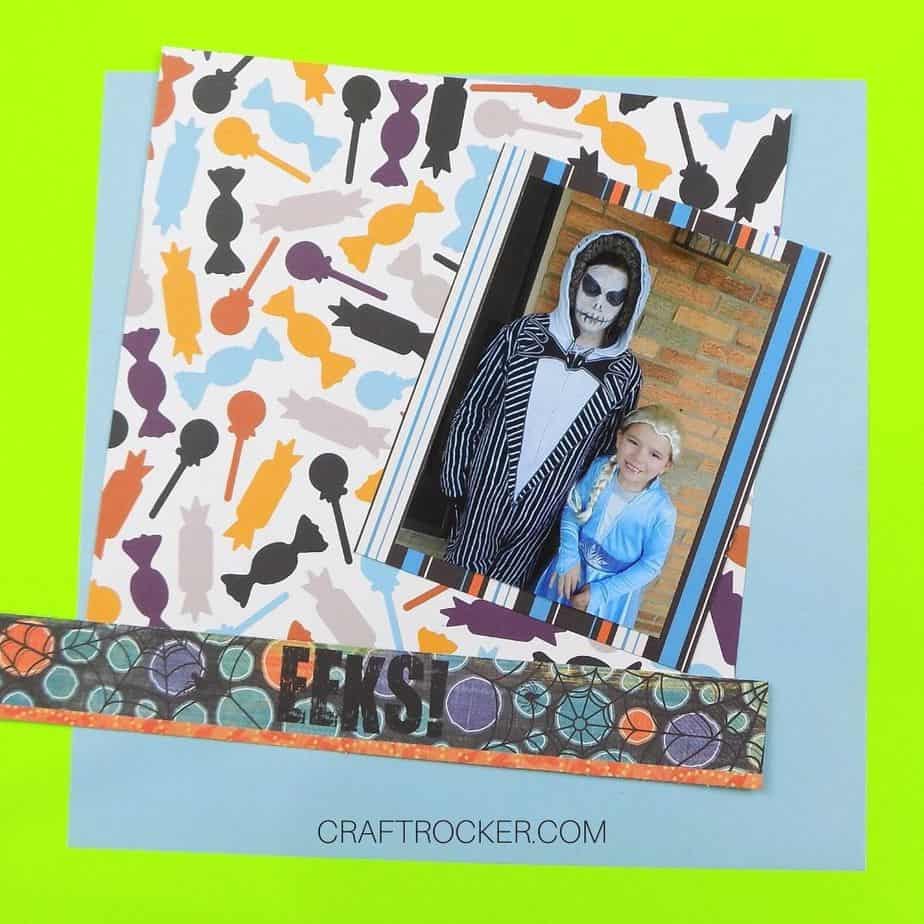
Step 3
Then take your 8×10 photo and mount it to one of your complimentary 12×12 papers.
I chose a sheet with vertical striped because I really wanted to play with the patterns.
Note:
- I trimmed my photo down some before mounting.
Step 4
Next, cut out your mounted photo, leaving 1/2 inch of paper around the edges of your photo.
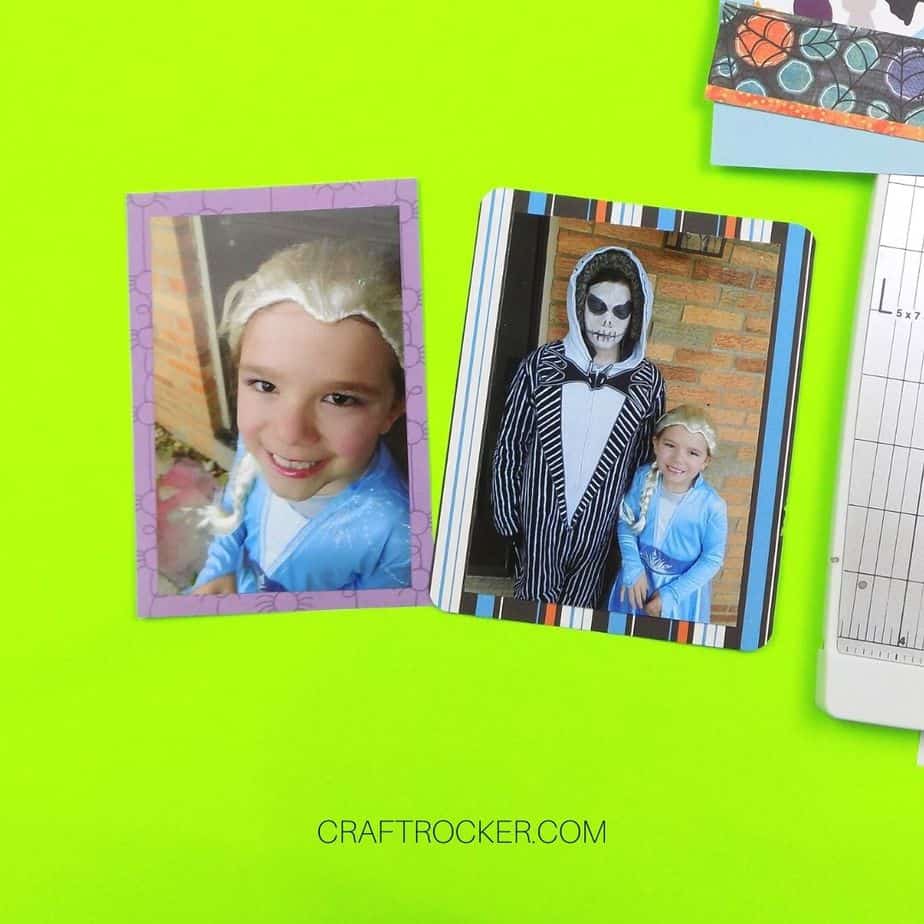
Step 5
Repeat steps 3 and 4 with one of your 4×6 inch photos. Be sure to trim closer to the photo edges on this one. You don’t want the matting as thick on your second photograph.
You also want to use a different coordinating paper for matting your second photo.
Optional:
Round the corners on your matting with your large corner rounder.

Step 6
Now it’s time to piece your page together. Start by attaching your trimmed candy paper to the plain side of a second candy sheet with your glue runner.
Make sure that it is centered on the page.
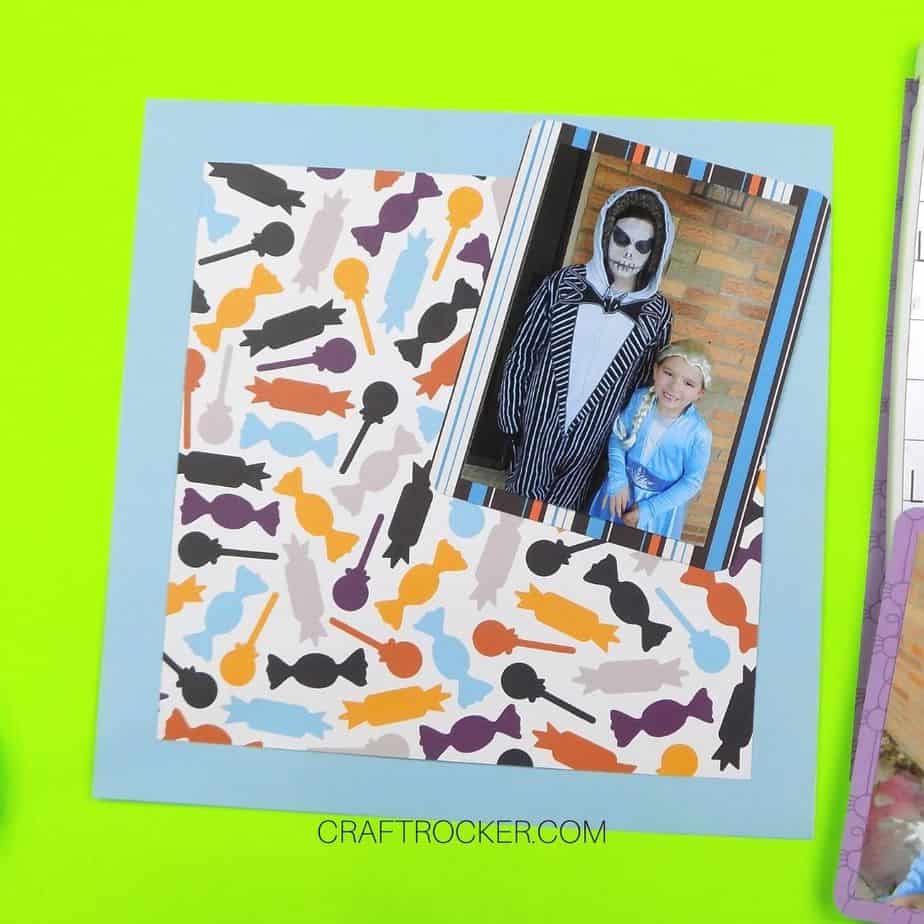
Step 7
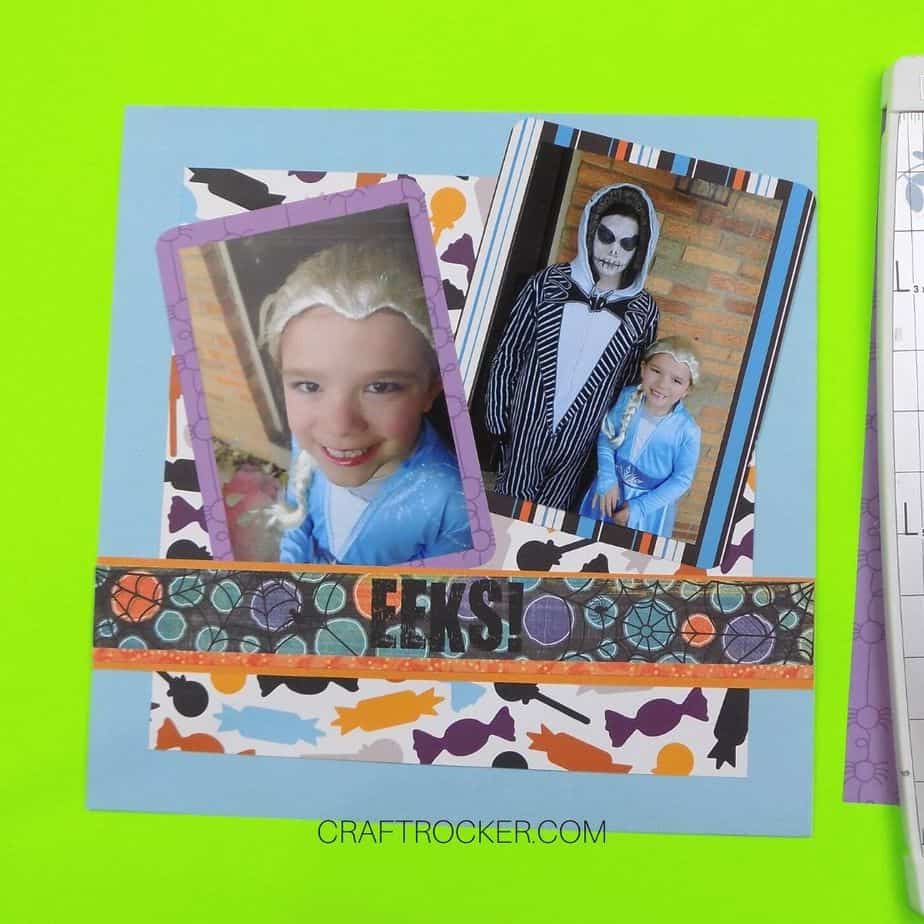
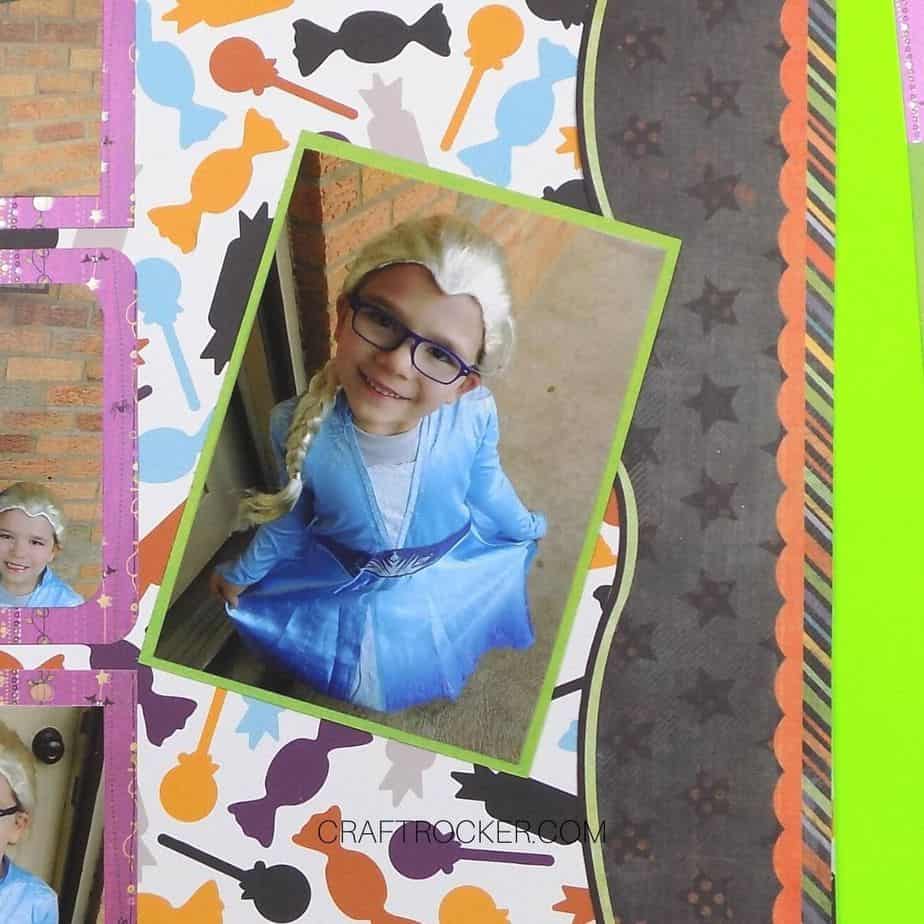
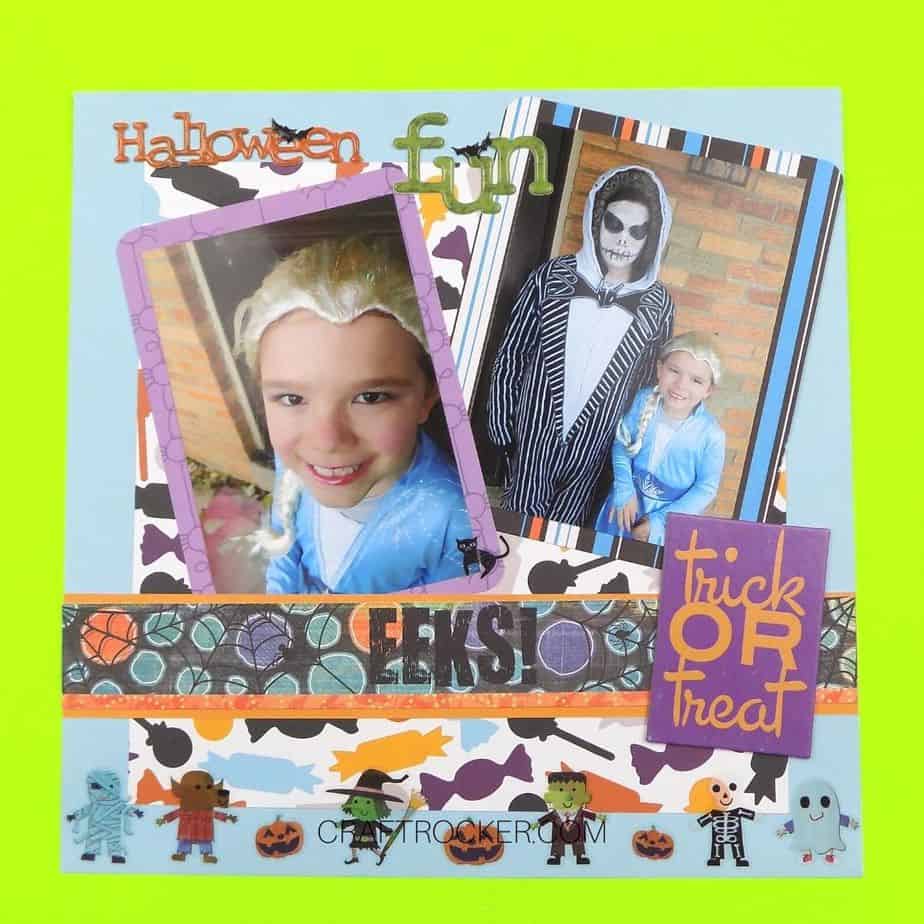
Then attach your matted 8×10 photo at an angle in the top right corner of your scrapbook page.
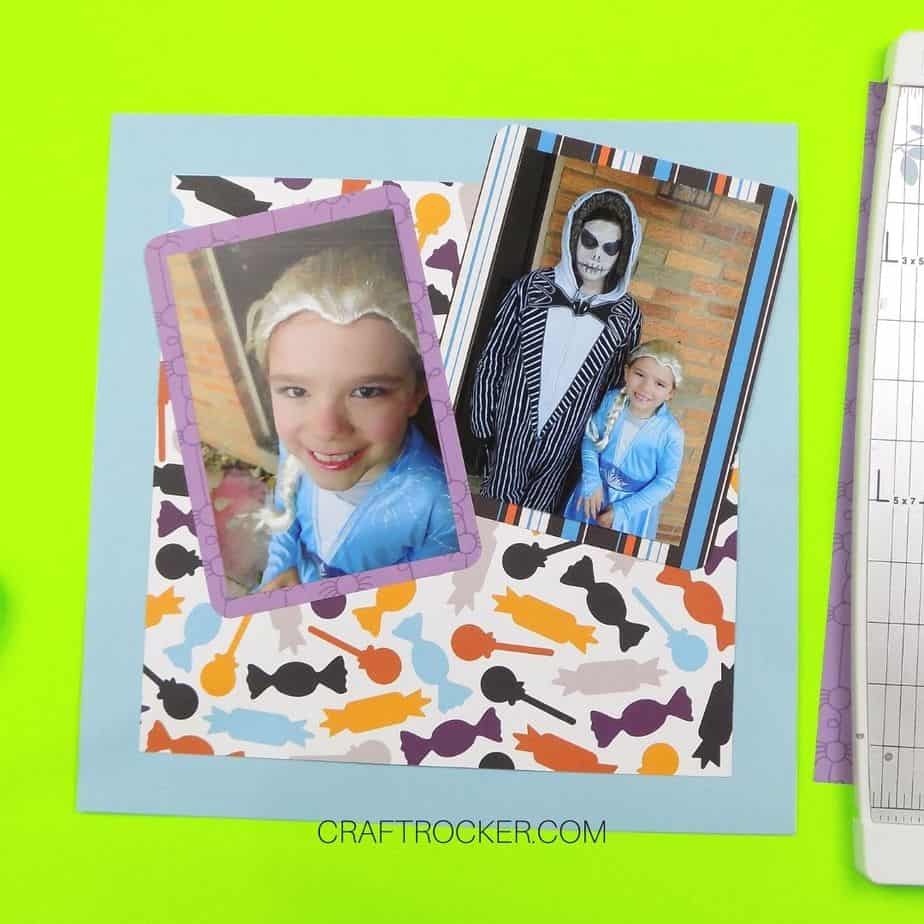
Step 8
Next, attach your second matted photo to the page so that the top faces the left corner and the bottom slightly overlaps your 8×10 photo.
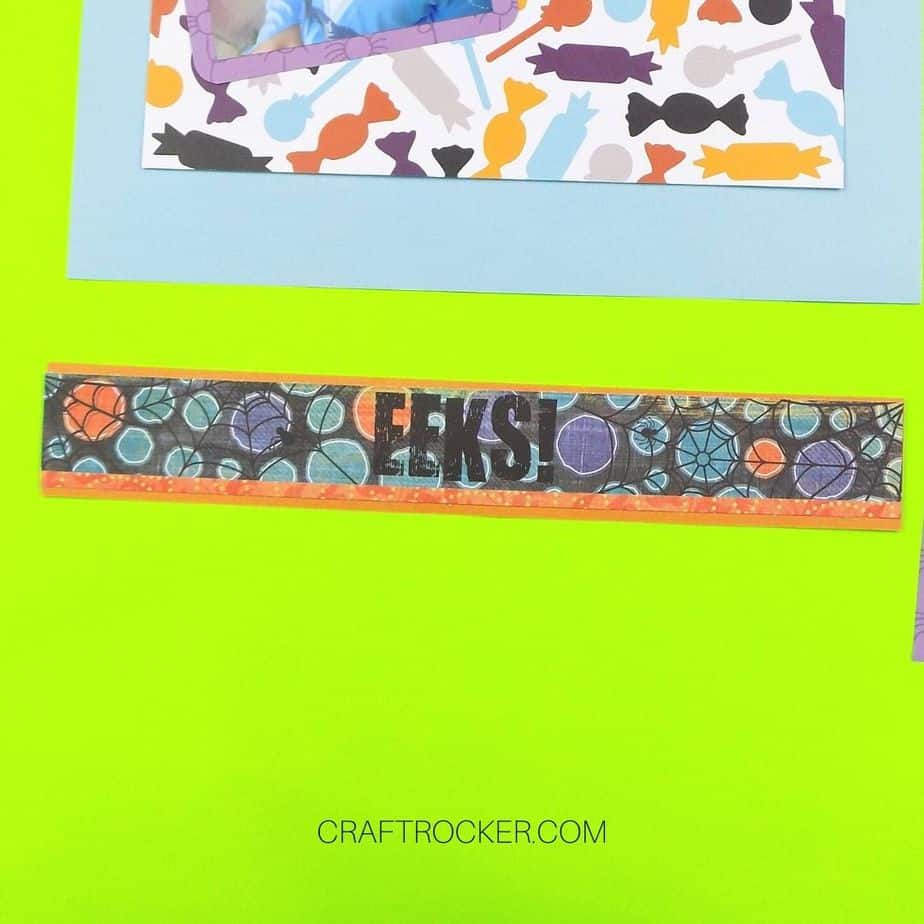

Step 9 (Optional)
I didn’t like the look of my boarder piece alone so I matted it to a piece of orange paper. It pops from the page more with the matting.
Step 10
Now, attach your border across your scrapbook page with your glue runner so that it slightly covers the bottom left corner of your 4×6 matted photo.

Step 11
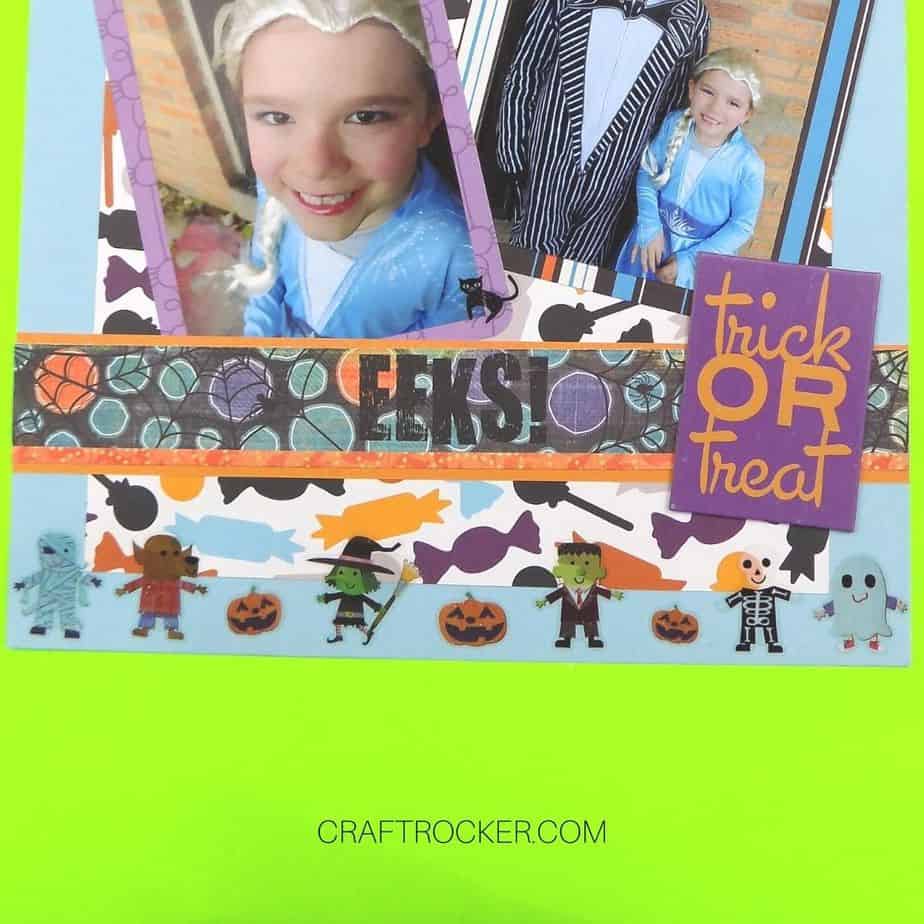
Next, attach a sticker title to the top left of your Halloween scrapbook page. Also place a large chipboard embellishment on the right of your border piece.
Tip:
- Cut out your chipboard embellishment with the backing still attached to play with placement on your pages. This makes it easy to get the placement just right without ruining your page or the adhesive on the chipboard.
Step 12
Lastly, add a little trick-or-treater stickers to the bottom of your scrapbook page.
I also added a small black cat to the bottom right corner of my matted 4×6 photo. This is totally optional.
Step 13
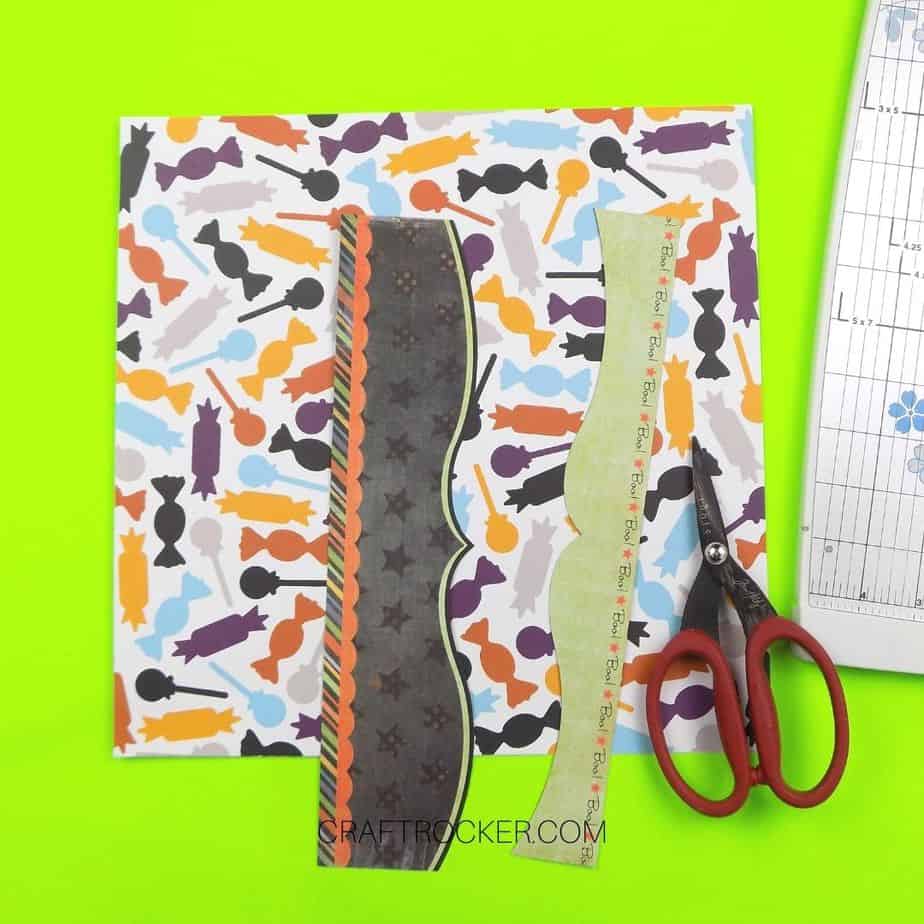
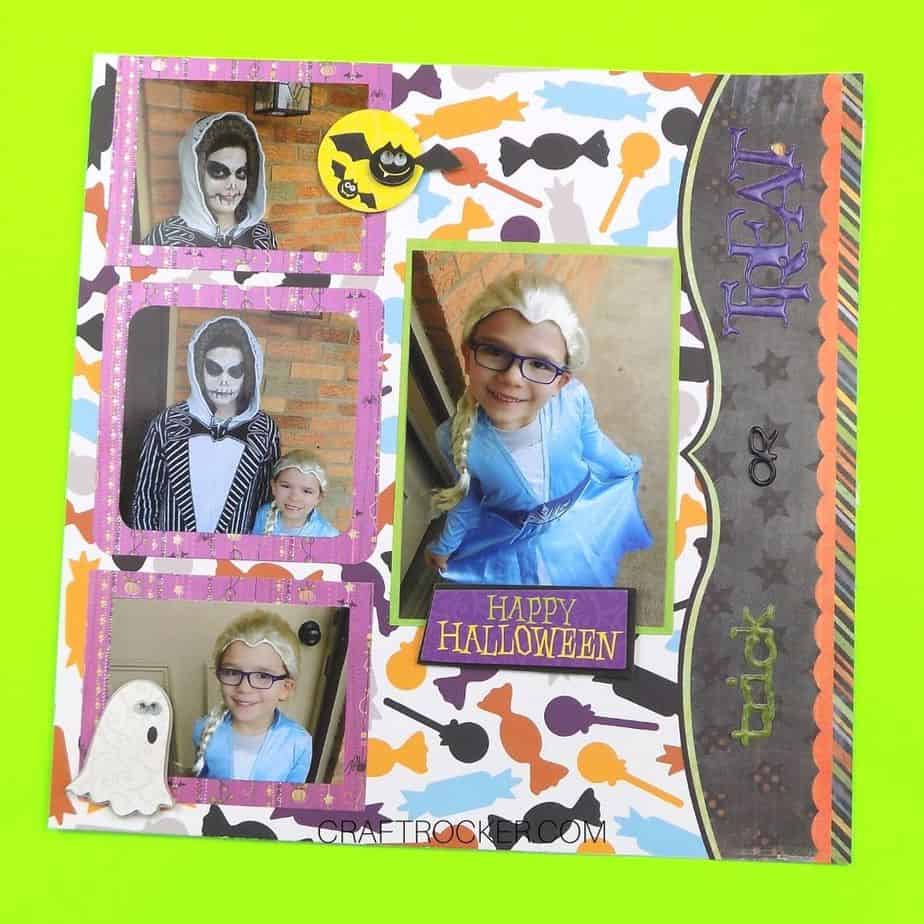
Now it’s time to start on your second page. First, grab your Halloween border paper again and cut out a wide, decorative border.
If it is scalloped or curved like mine, use scissors to cut it. You can use your paper cutter if it’s a straight edge.
Step 14
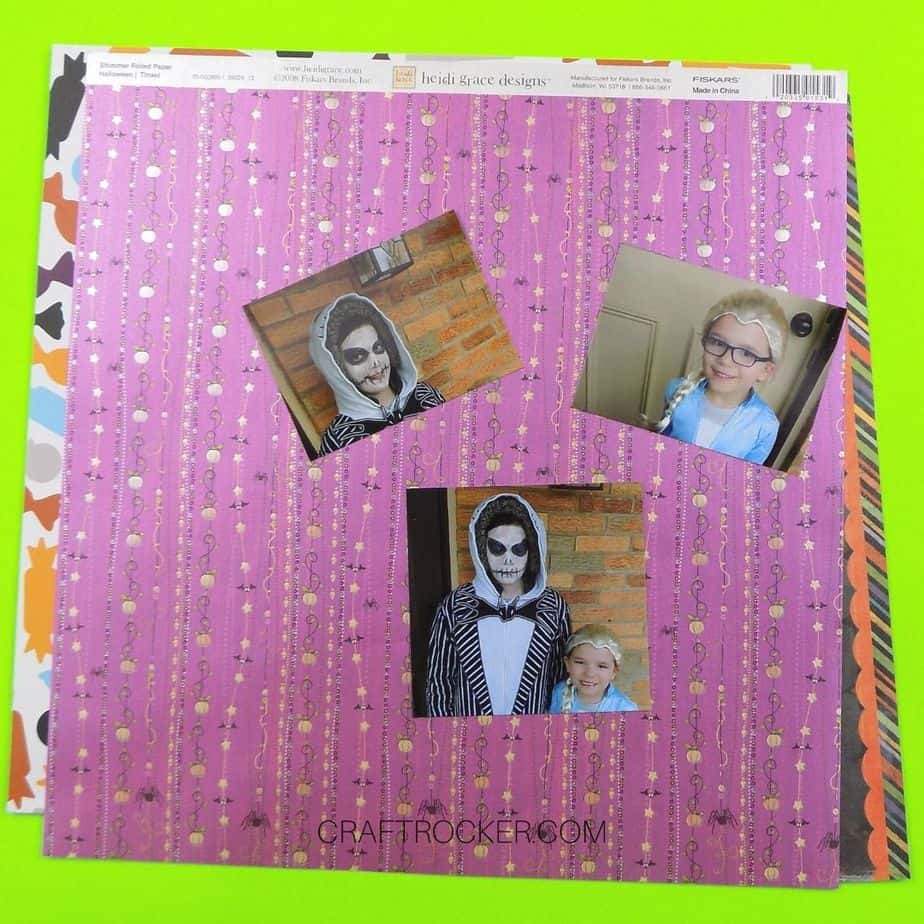
Next, take 3 of your 4×6 inch photos and crop them down so that you have 1 square image (roughly 2.5 inches) and 2 smaller rectangle images that are the same width as your square.
Use your large corner rounder to round the corners of your square photo.
Step 15
After your photos are cropped, adhere them to another complimentary paper and cut them out. Leave about 1/2 inch of the paper around the edges as matting.
Step 16
Once your photos are matted, use your larger corner around again on the matting around your square photo.
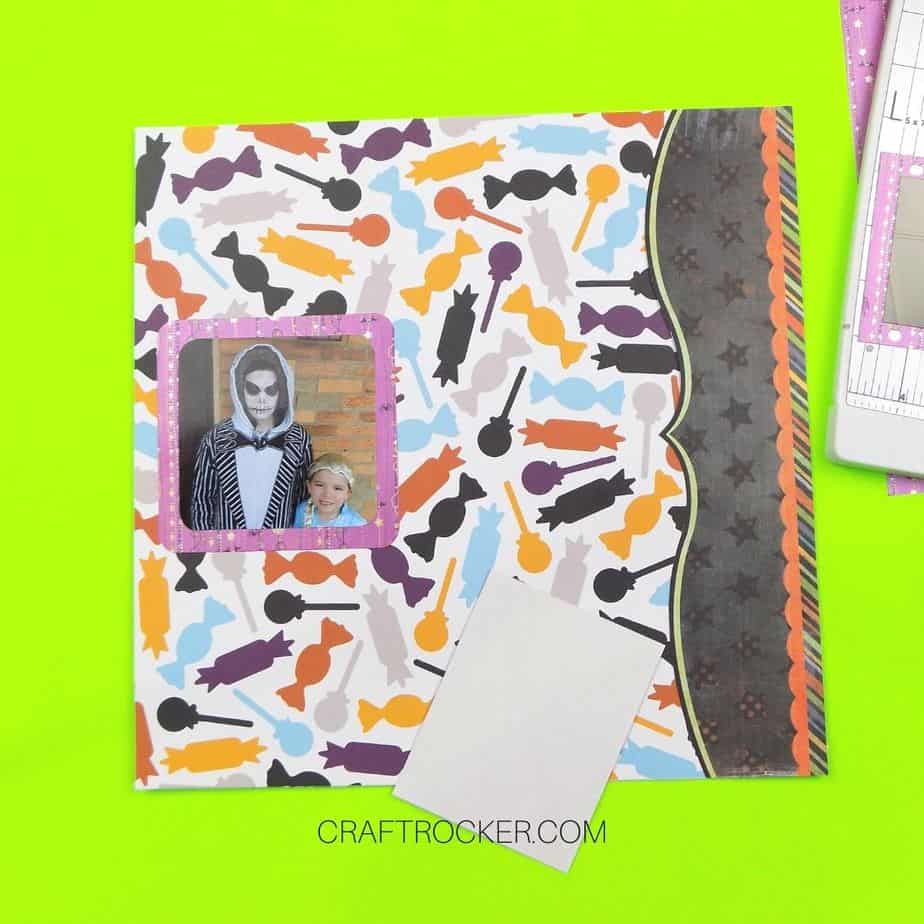
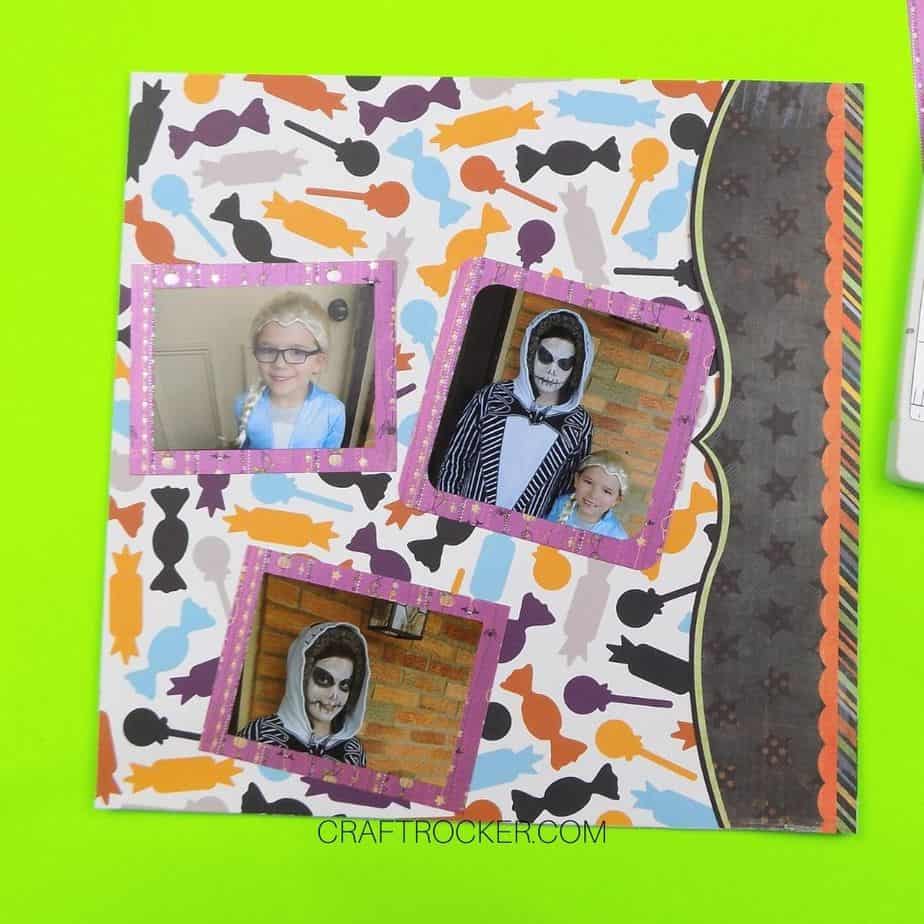
Step 17
Next, adhere your matted square photo in the center of the left side of your candy paper. Make sure to leave an edge of the candy paper showing on the left of your matted photo.
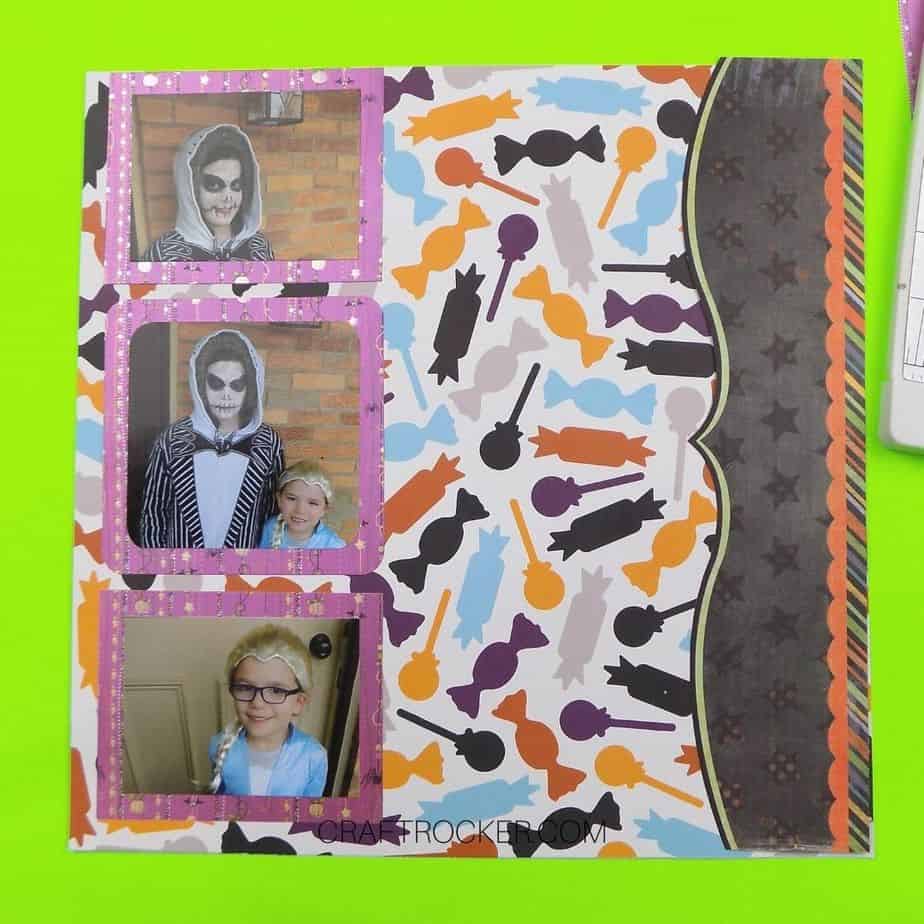
Step 18
Then adhere your two matted rectangle photos above and below the square photo. Keep the edges of the matting aligned and leave space between the photos.
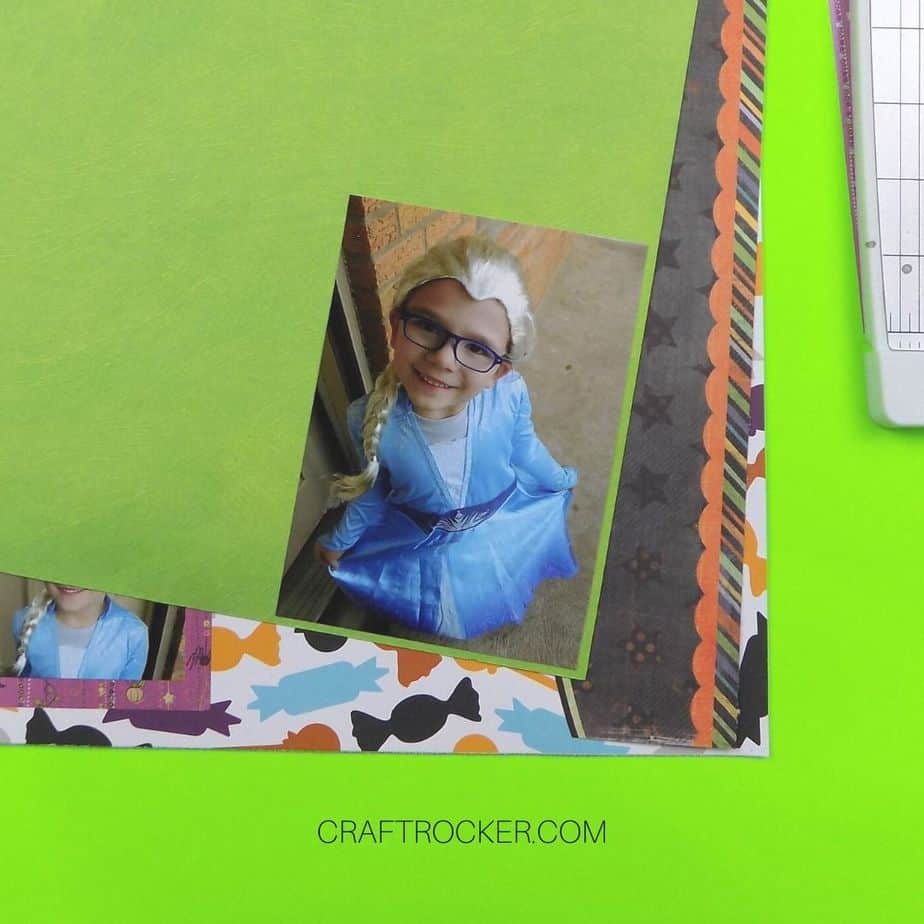
Step 19
Pull out your final 4×6 inch photo and adhere it to the corner of a complimentary paper.
Step 20
Now trim your photo leaving a very thing edge of paper showing around the photo.
Step 21
Next, adhere your matted photo centered on the page (top to bottom) and to the right of your square and rectangle photos.
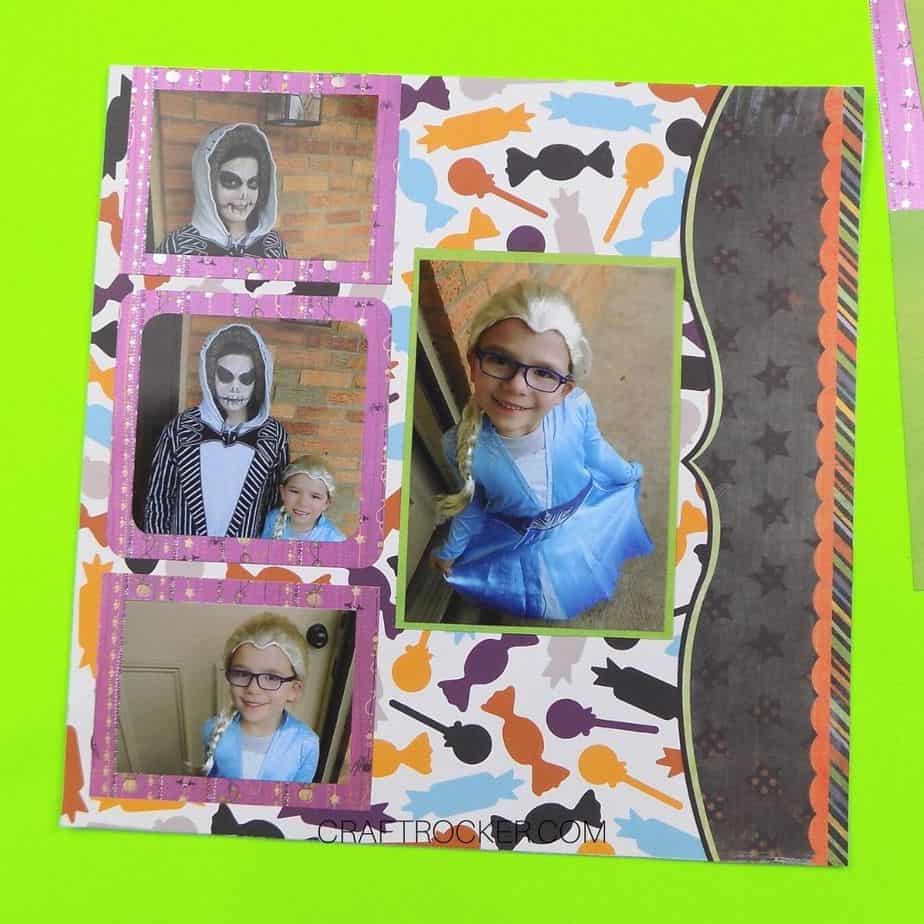
Step 22
Then it’s time to attach your paper border that you cut out in step 13. Adhere the border to the right side of your scrapbook page.
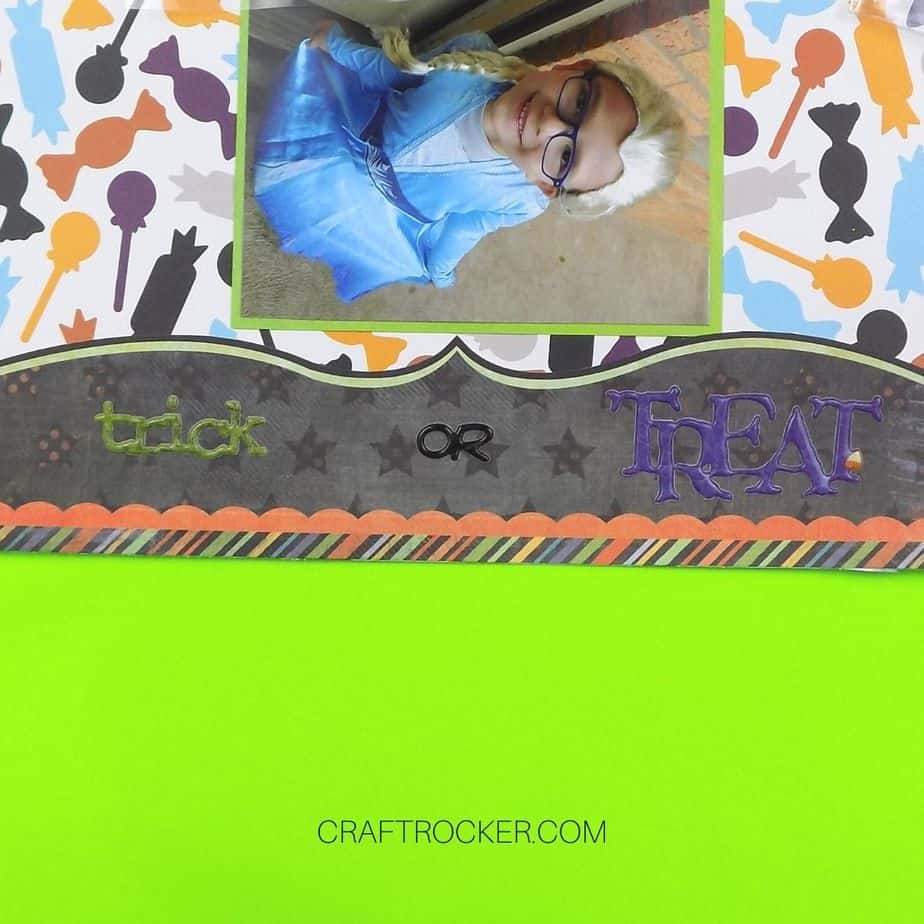
Step 23
After your border is attached, turn your scrapbook page border-side down (facing you) and add the title “Trick or Treat”.
I had stickers that said this but you could also use letter embellishments or simply hand write it.
Step 24
Finish you page by adding a few 3-D embellishments around your photos.
These colorful candy Halloween scrapbook pages turned out so great! I hope you’re motivated to grab those adorable photos out of whatever shoe box they’re sitting in and finally make those pages.
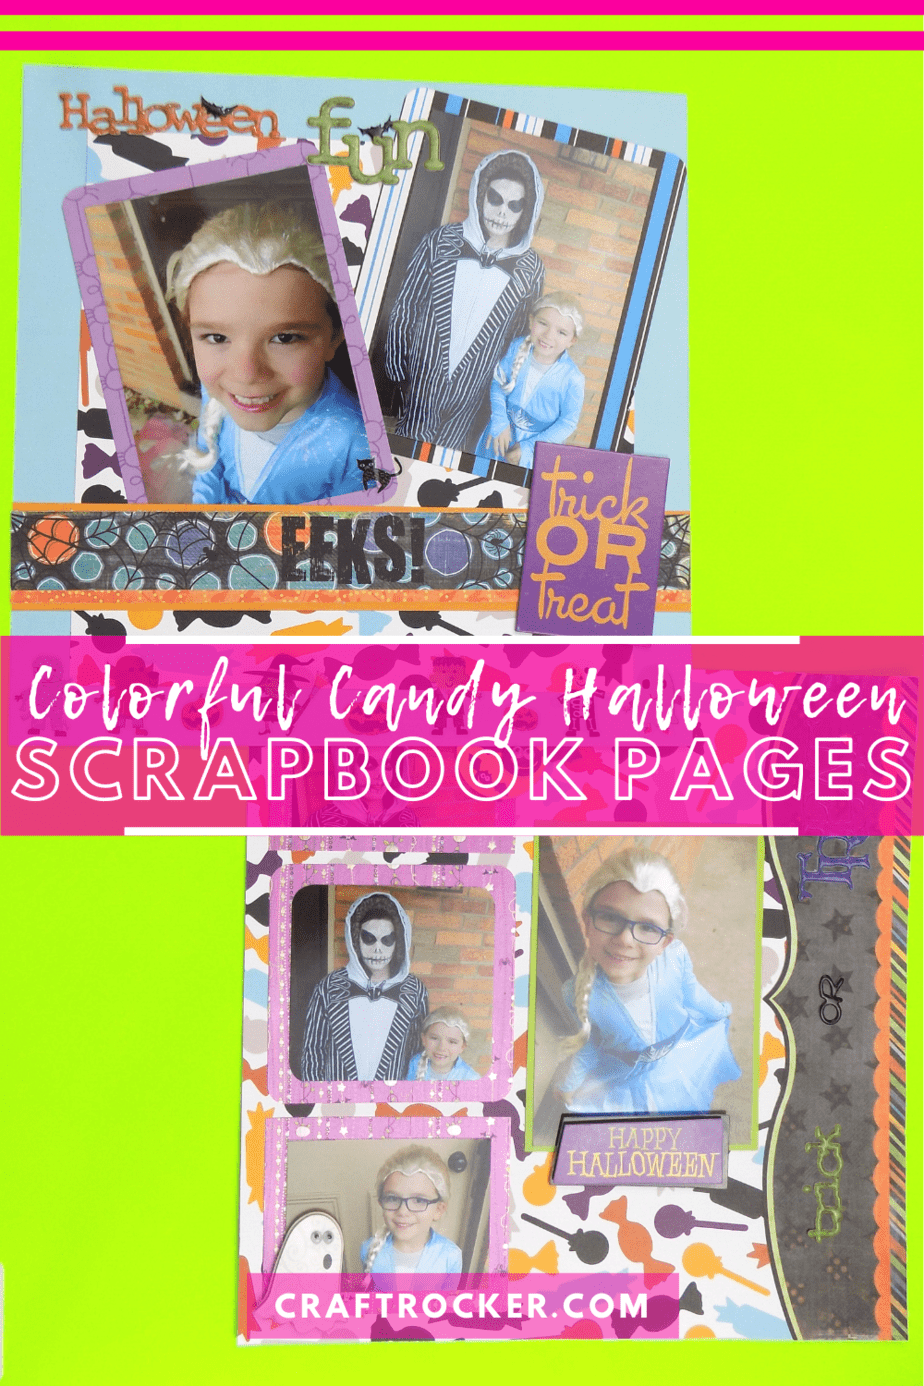
Don’t Forget to Pin It!
More Projects to Love:
- How to Scrapbook
- Scrapbooking Terms for Beginners to Know
- Outdoor Scrapbook Page Ideas
- Scrapbooking Made Easy – Cats and Bats – Glitter on a Dime

Leave a Reply