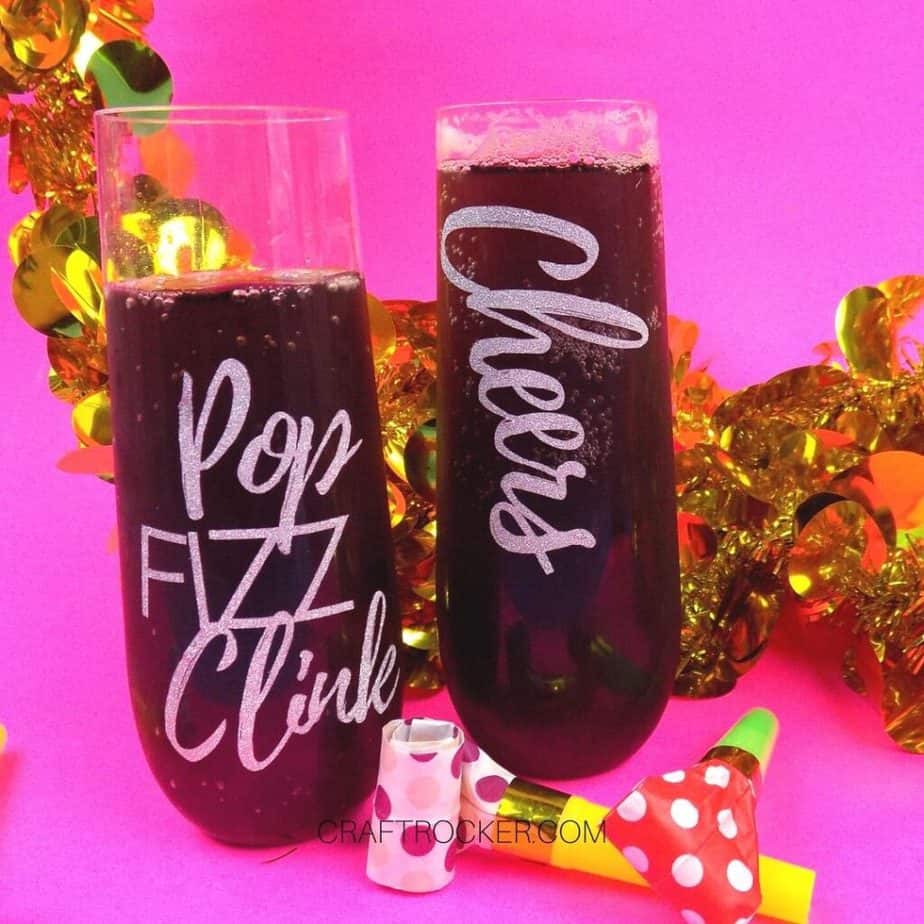
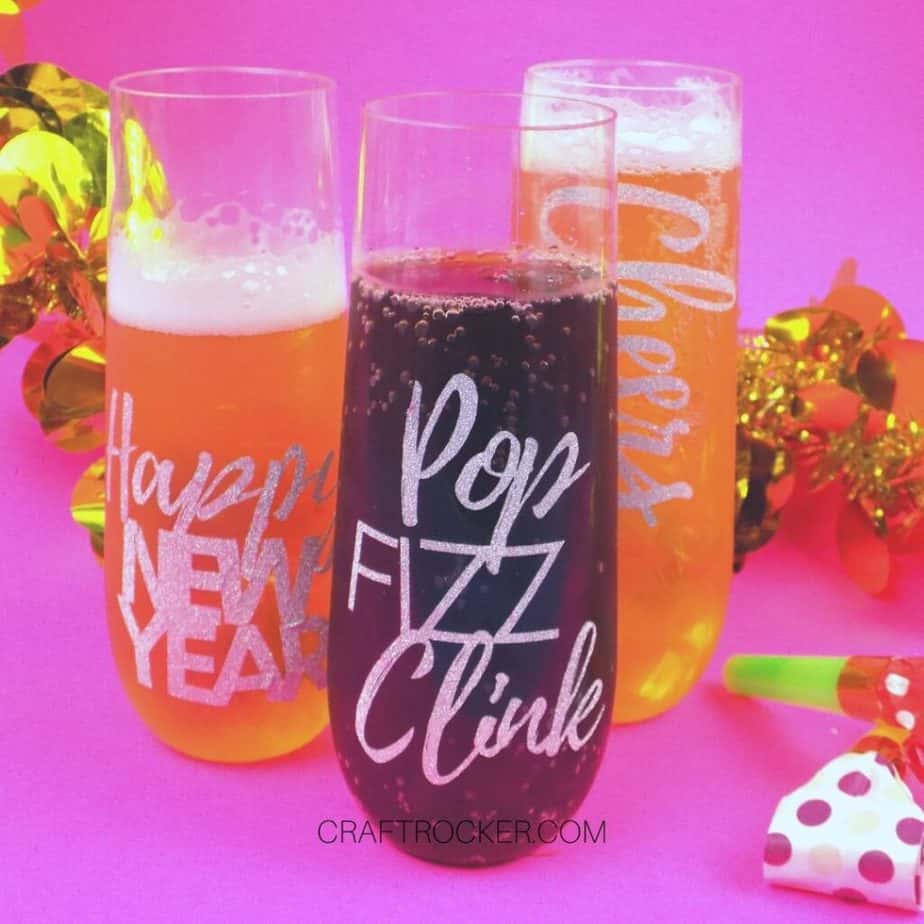
These festive DIY New Year’s champagne flutes are an easy way to add some sparkle to your festivities this year. They’re super easy to make and (as long as you get the plastic flutes like I did) totally kid-friendly.
Affiliate links may be used in this post. Ordering a product through these links may result in a commission at no extra cost to you. Read the full disclosure here.
Jump to What You Want


I am so looking forward to New Years this year. Even though not all of 2020 was bad, I’m still more than ready to put this year behind us.
That’s why I’m making things a little extra special for our family this year, starting with these glittery DIY New Year’s champagne flutes!
Oh, and did I mention that you can totally reuse them? Because they are made with permanent vinyl, as long as your gently hand wash them you’re good to go.
Materials for DIY New Year’s Champagne Flutes
Plastic Champagne Flutes (I got this plastic set on Amazon)
Light Grip Cutting Mat
Transfer Tape
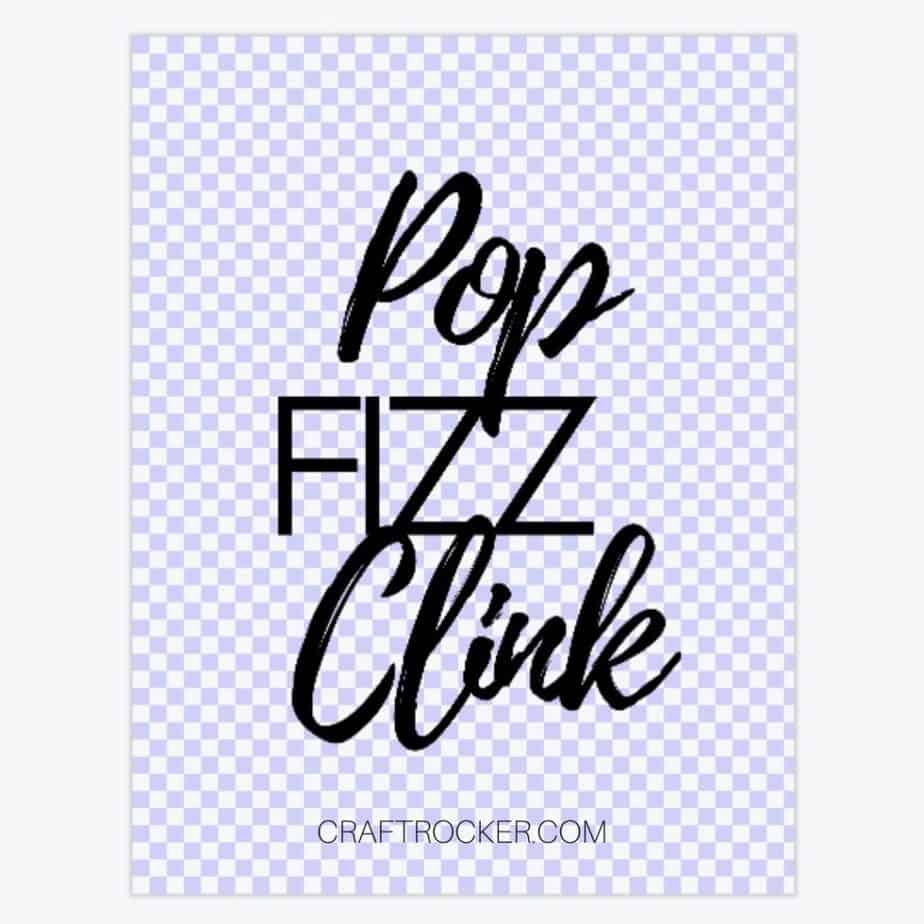
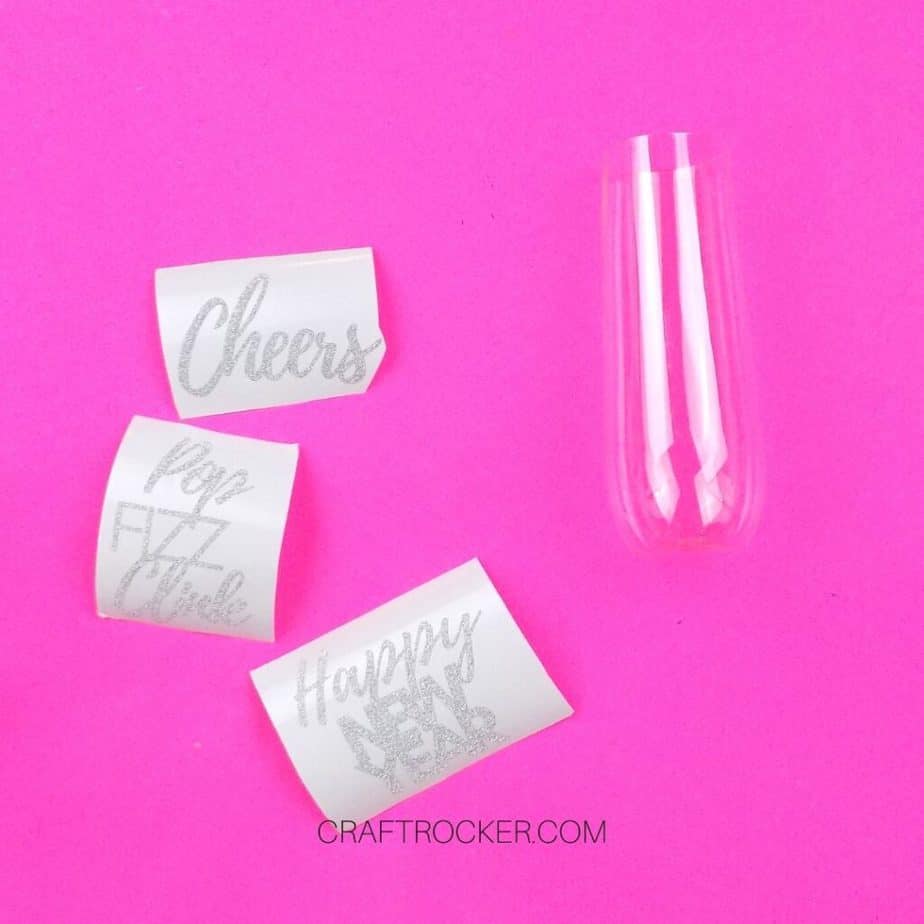
New Year’s Sayings Images (Pop, Fizz, Clink – Happy New Year – Cheers)
Weeding Tool
Scraper or Brayer
Step 1
First, download the New Year’s sayings images above to your computer. To do this, click on the links in the materials list.
When they come up in a new browser tab, click on the download button to save them to your computer.
Step 2
Then open up Cricut Design Space and open up a new project. On the canvas screen, click on the upload button in the bottom left corner.
Step 3
Once your image is added, click the upload image button on the left, not the fill pattern one.
Step 4
On the next screen, select the browse button and look in your downloads folder for the Pop, Fizz, Clink image. Select it and click upload.
Step 5
Then upload the file as a simple image (the top option on the right of the screen).
Step 6
Next it will bring up a screen to remove the background from your image.
You do not need to do this step because I have already removed the background for you.
Simply click on continue in the bottom right of the screen.

Step 7
Lastly, click to save your file as a cut file (not Print and Cut).
Step 8
Once your file is uploaded to your designs, select it and click insert to add it to your canvas.
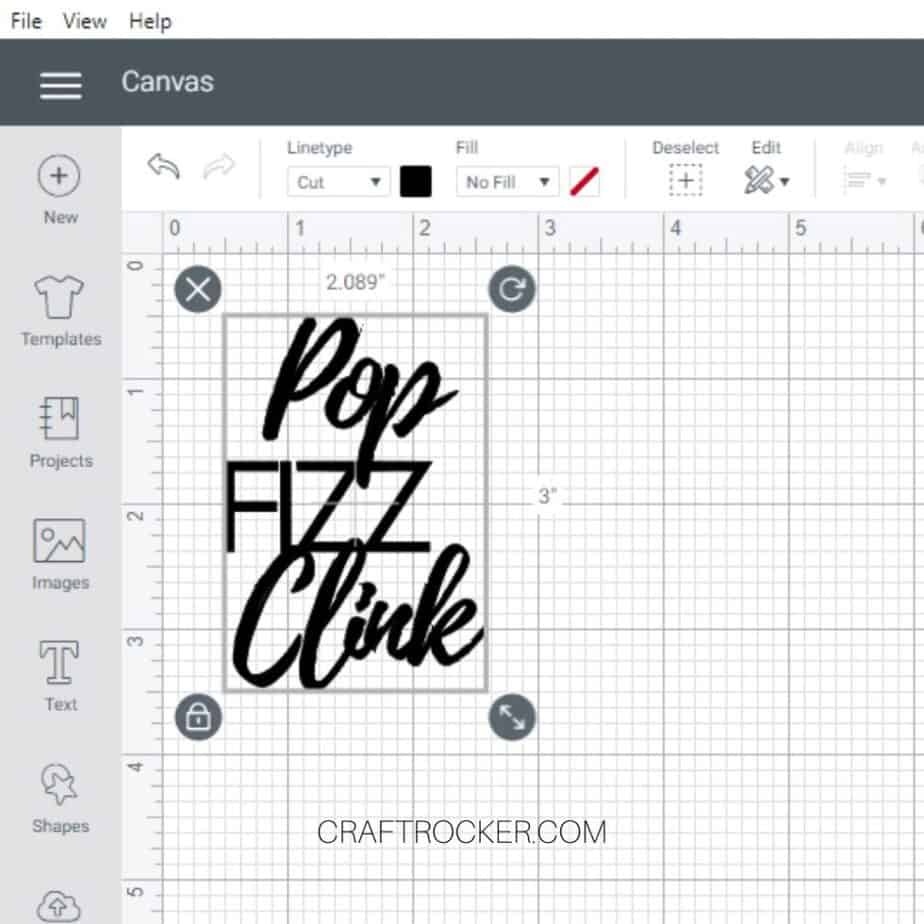
Step 9
After the file is inserted into your canvas, resize it to fit your glasses. I made mine 3 inches tall.
Then click on the make it button in the top right corner of your screen.
Step 10
On the next page, put 8 in the number of cut images box if you have 24 glasses like I do. You want to cut enough to attach to 1/3 of your glasses.
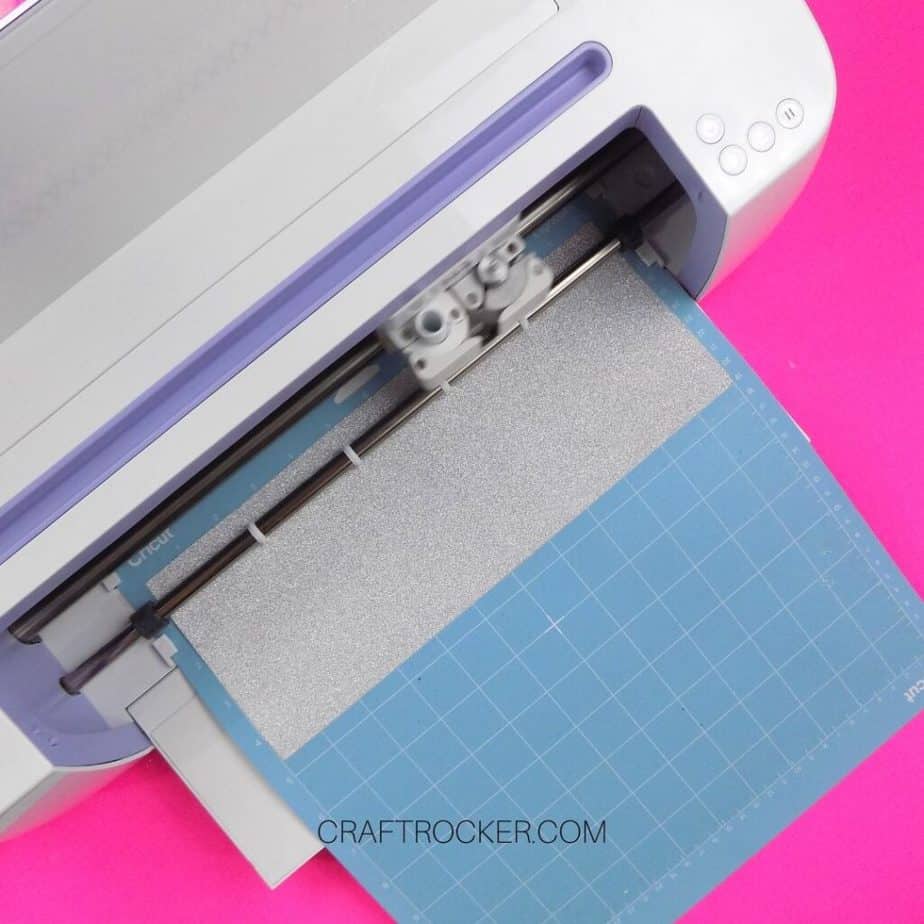
Step 11
Next, be sure you’ve selected the correct material (either on your Cricut Air dial or in the materials menu for your Maker) and then cut your images.
Step 12
After the images are cut, weed them so that you are left only with the designs on your mat.
Step 13
Then cut a small piece of transfer tape and cover one of your cut files on the mat. Go over it with your scraper tool to make sure it is well-adhered to the transfer tape.
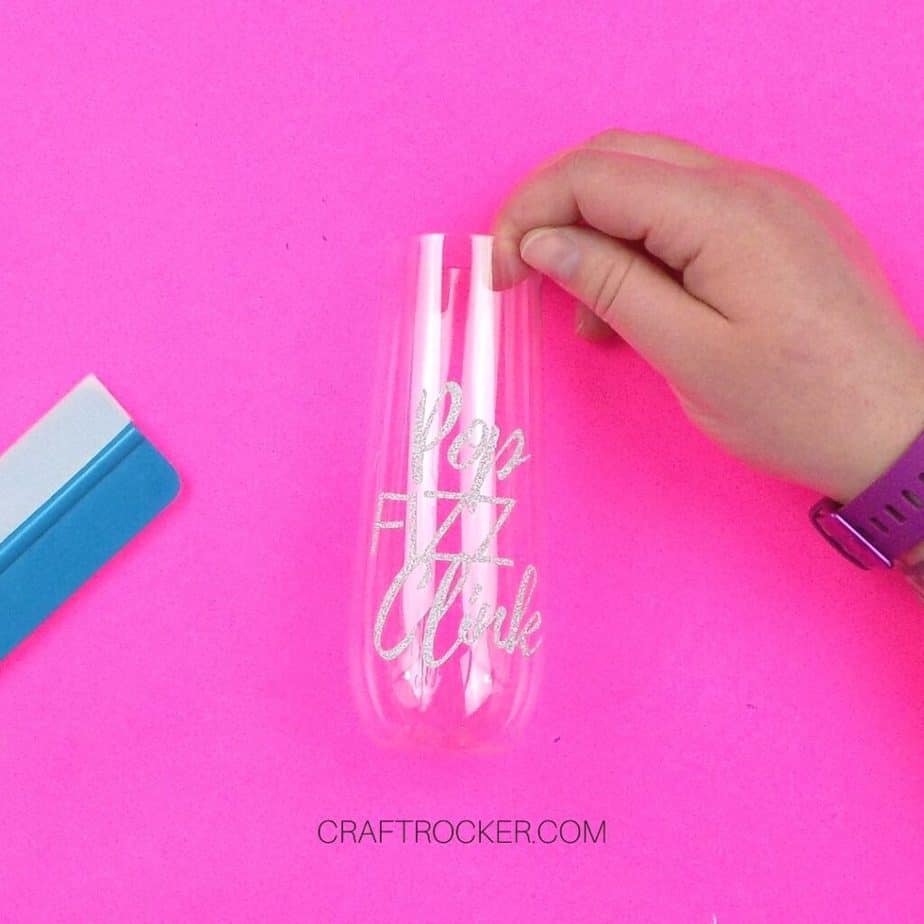
Step 14
Then pull the tape and the design off of your mat and attach it to your champagne flute.
Step 15
Repeat steps 13 and 14 until 1/3 of your champagne flutes have the saying on them.
Step 16
Now go back and repeat the entire process again for each of the other 2 sayings.
Note:
I made the Happy New Year saying 3 inches x 2.519 inches.
The Cheers saying was resized to 3 inches x 1.806 inches.
How to Care for Your New Year’s Champagne Flutes
You can actually reuse these plastic flutes year after year. Make sure that you gently hand wash them (no dishwasher) and allow them to dry completely before boxing them up.
I also don’t recommend soaking them as it can’t eventually cause the vinyl to come off.
Of course, the great thing about them is that you don’t have to keep them if you don’t want to do dishes at the end of the night.
I went with plastic for my DIY New Year’s champagne flutes because we are celebrating with the kiddos and, frankly, my kiddos are just as klutzy as their momma.
We love to fill them with sparkling cider because it’s a nice treat for the little ones plus it’s delicious.
If sparkling cider isn’t your jam, feel free to add your favorite New Year’s drink to them and don’t forget to “Clink” at midnight!
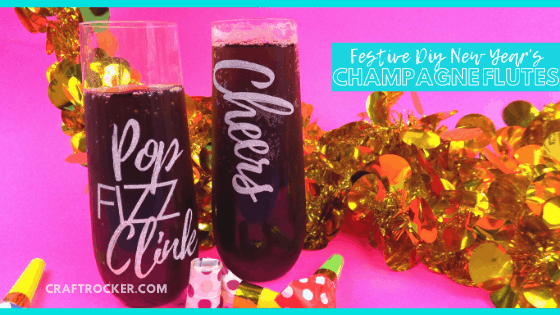
Don’t Forget to Pin It!

More New Year’s Ideas:
New Year’s Resolutions for Crafters
How to Make Tissue Paper Pom Poms
Adult New Year’s I Spy Game – My Pinterventures

Super cute project Marie! And I love those stemless champagne glasses 🙂 Happy Holidays!