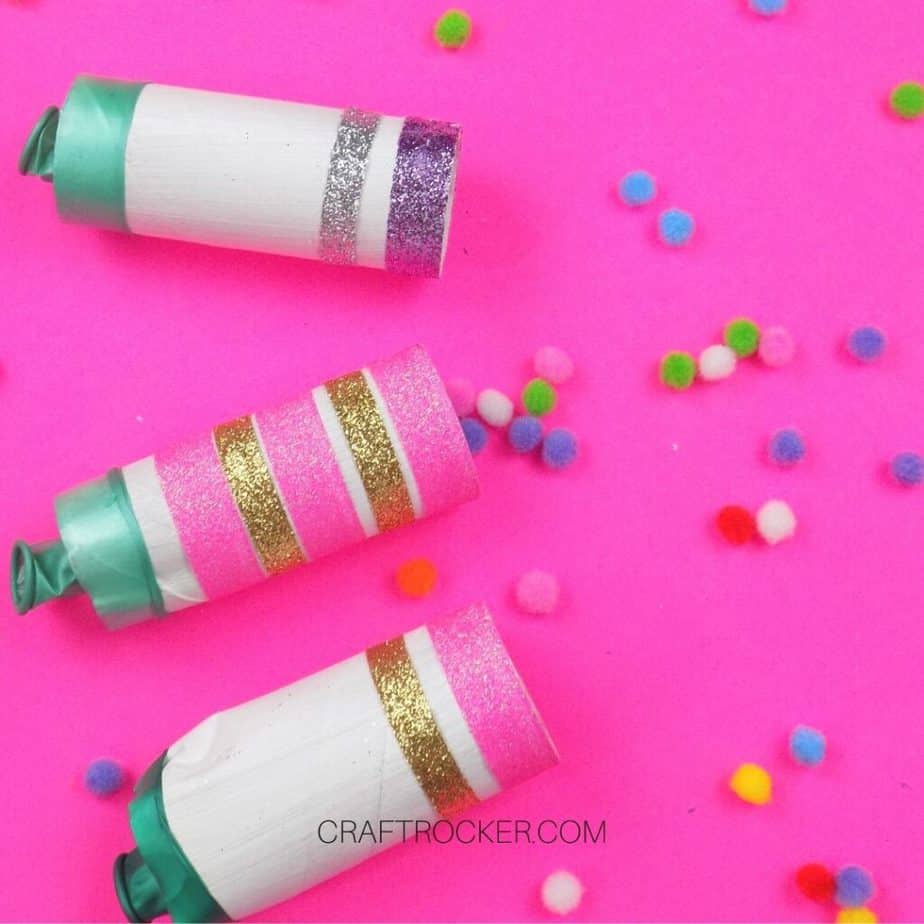
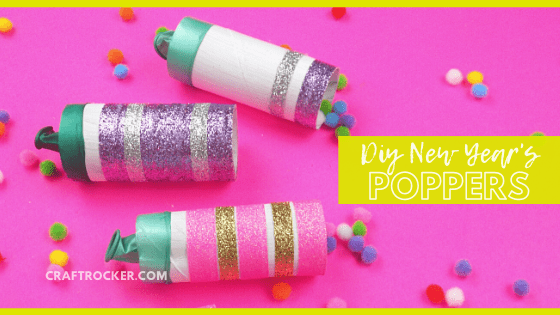
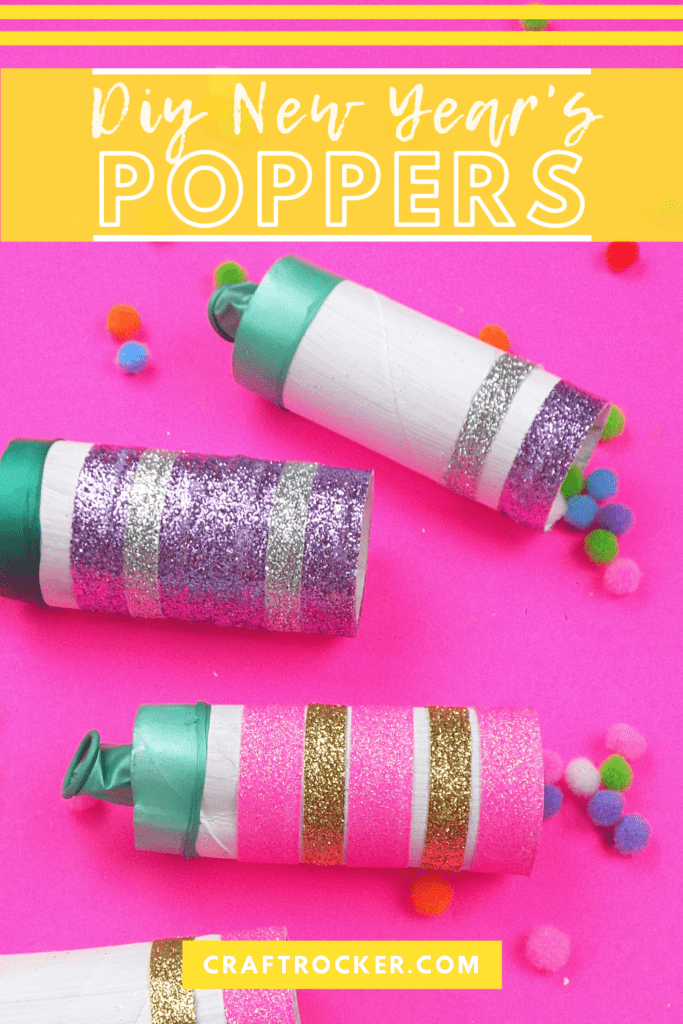
Get ready for giggles and fun with these DIY New Year’s poppers! They’re an easy DIY favor for your New Year’s celebration whether your at home with the fam or having a big bash.
Affiliate links may be used in this post. Ordering a product through these links may result in a commission at no extra cost to you. Read the full disclosure here.
Jump to What You Want


As you probably know by now, I love glitter and shiny stuff. However, I recently discovered that even I have a limit.
While confetti poppers may look gorgeous raining down, the thought of cleaning up the resulting mess paralyzes my heart.
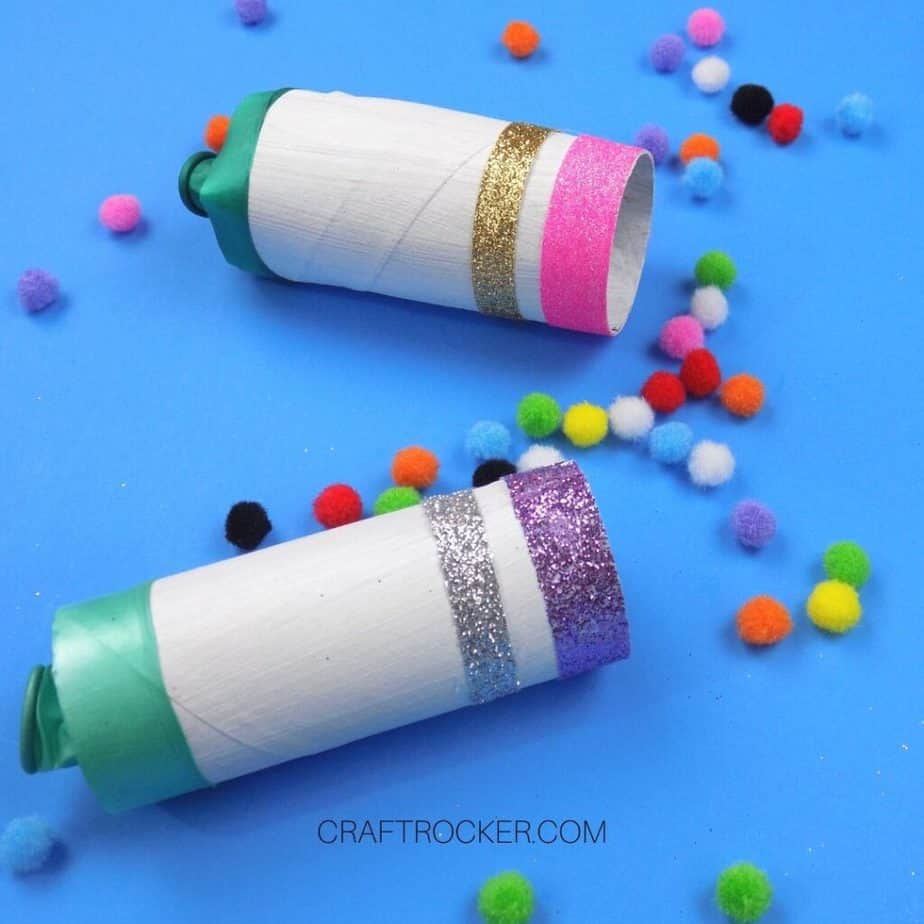
That’s why I decided to fill these New Year’s poppers with colorful (and reusable) pompoms.
Materials for DIY New Year’s Poppers
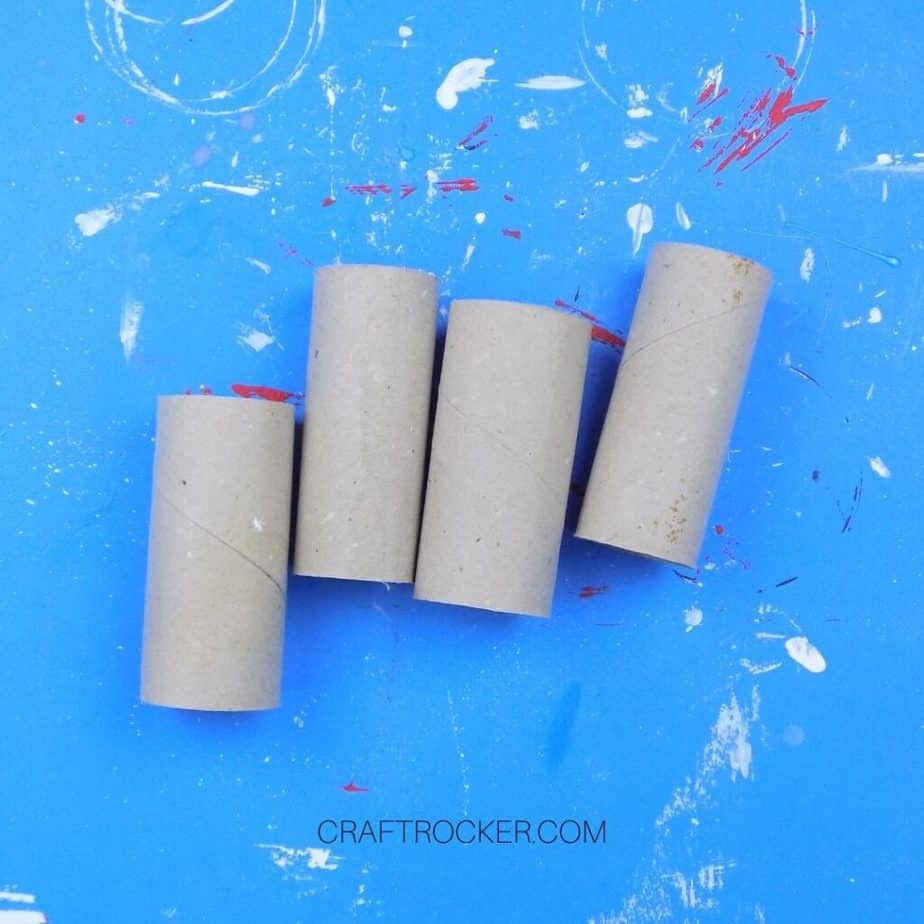
Toilet Paper Tubes (1 for each popper you need)
White Acrylic Paint
Glitter Ribbon
Hot Glue Gun and Glue Sticks
Scissors
Optional Materials
Pencil
Thin Cardboard (I used some packaging from some craft supplies)
Step 1
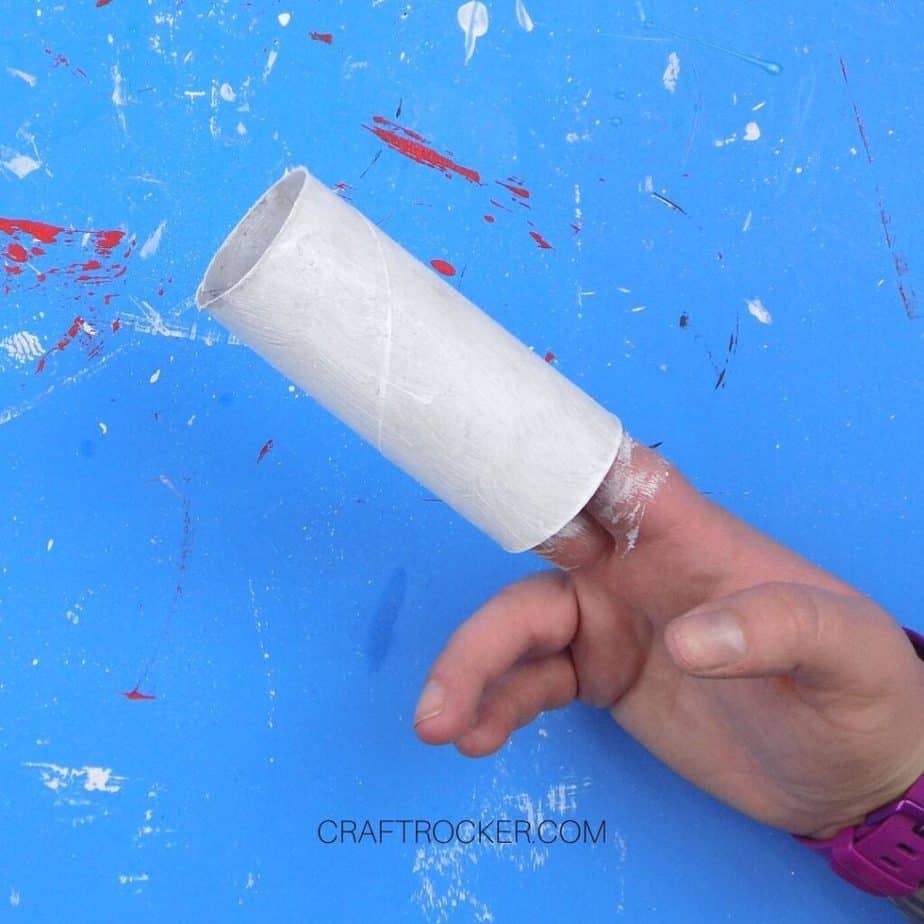
First, paint each of your toilet paper tubes white with your acrylic paint.
It’s best to do multiple light coats of paint if needed instead of heavy coats like I did. The cardboard become less sturdy with too much paint.
Be sure to let them dry completely before moving on.
You’re going to be decorating them more later so don’t worry about achieving that perfect bright white.
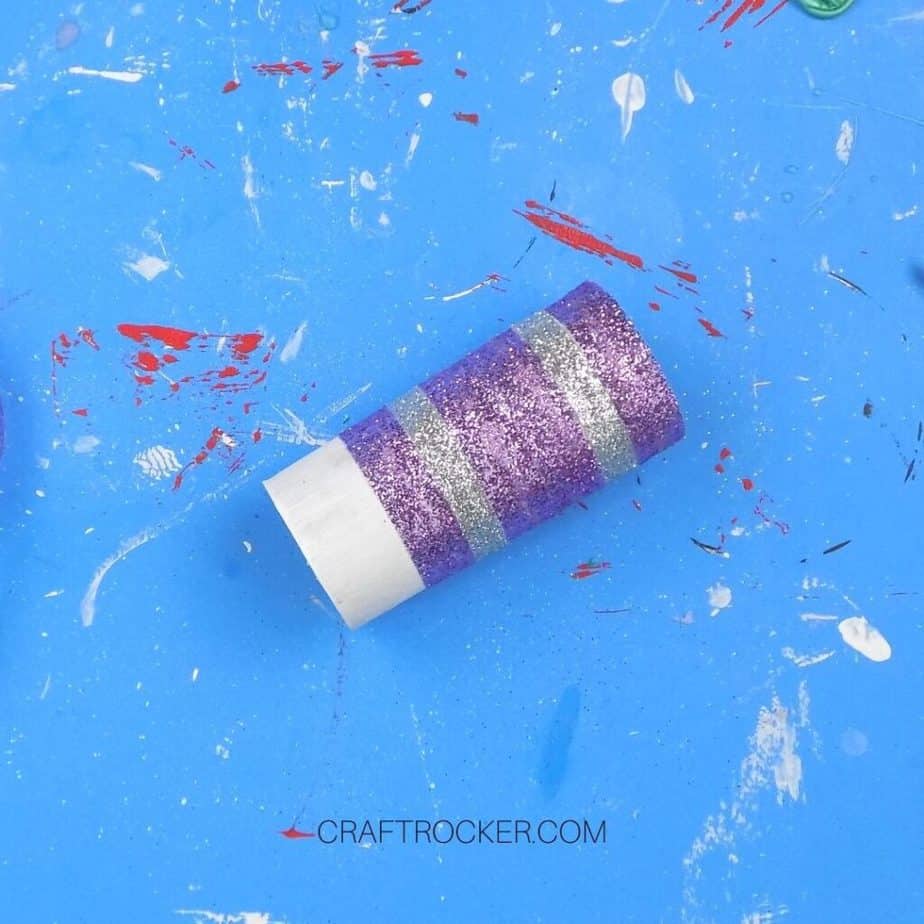

Step 2
Next, decorate your painted tubes with your glitter ribbon and hot glue.
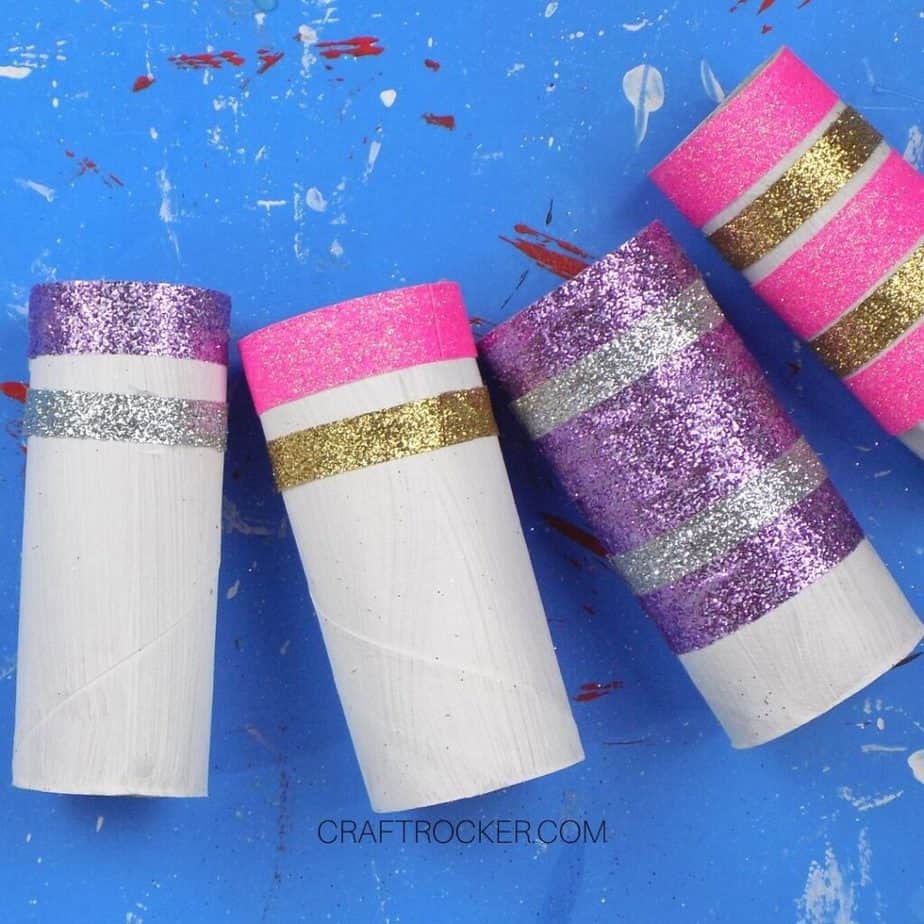
I did multiple different designs by my favorite color combination was the hot pink and the gold. They look so festive together.
Step 3
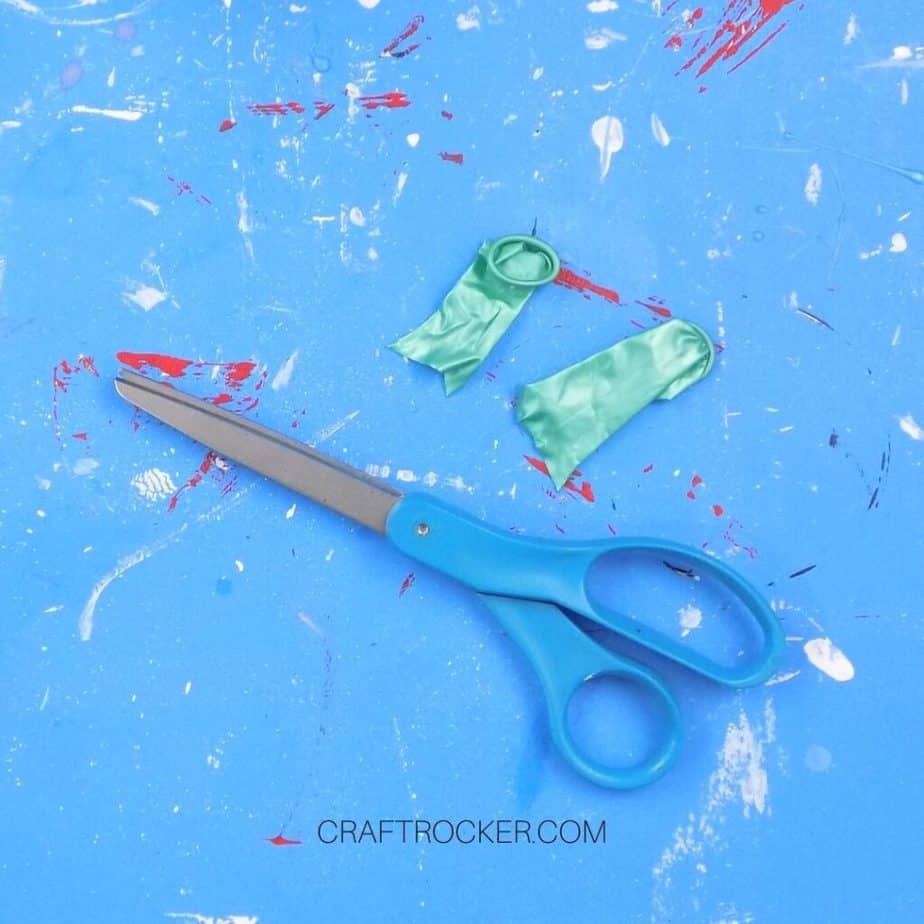
After your tubes are decorated, pull out 1 balloon for each tube.
Then cut the top of the balloons off so that you only have the narrow end and about 1/4-1/2 inch of the bulbous part of the balloon left.

Step 4 (Optional)
If you used too much paint like I did, place the end of your decorated tube on your thin piece of cardboard (the end where you’ll add the balloon) and trace around it with a pencil.
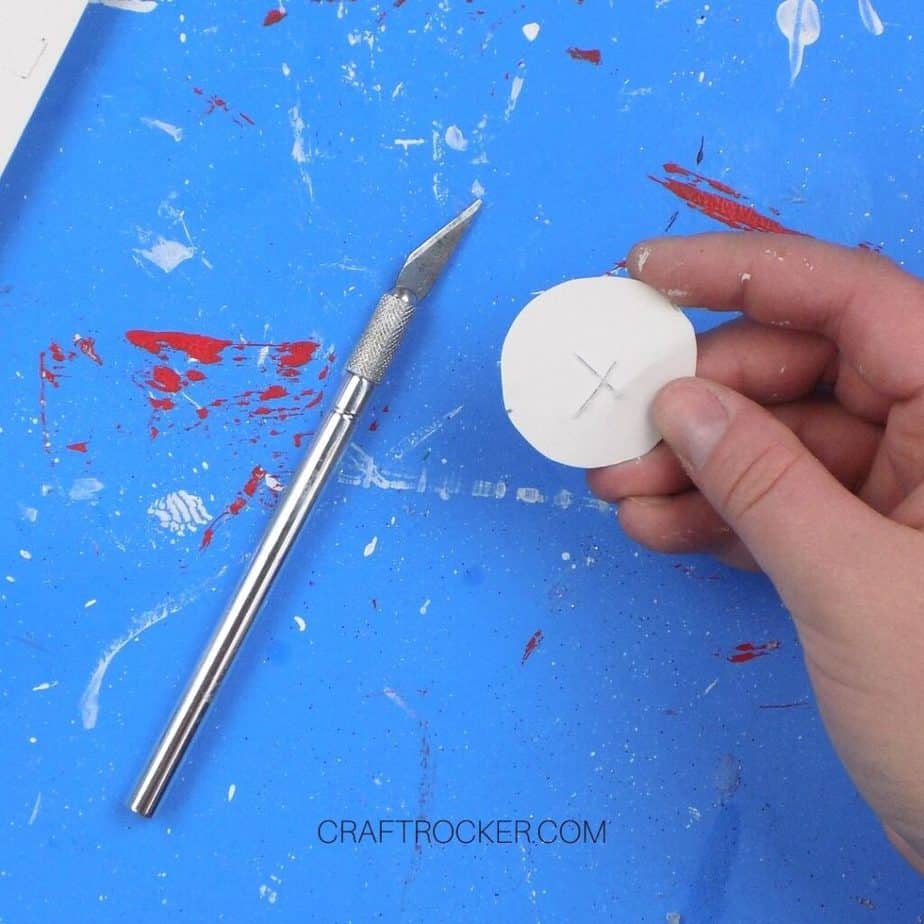
Step 5 (Optional)
Then cut out your traced circle inside the traced line and check to see that it fits inside the end of your cardboard tube. If so, cut an “x” in the center of the circle and bend back the flaps so that air can get through.
Then hot glue it inside the end of your cardboard tube so that your balloon pull doesn’t crush it. Allow the glue to cool completely before moving on.
Step 6
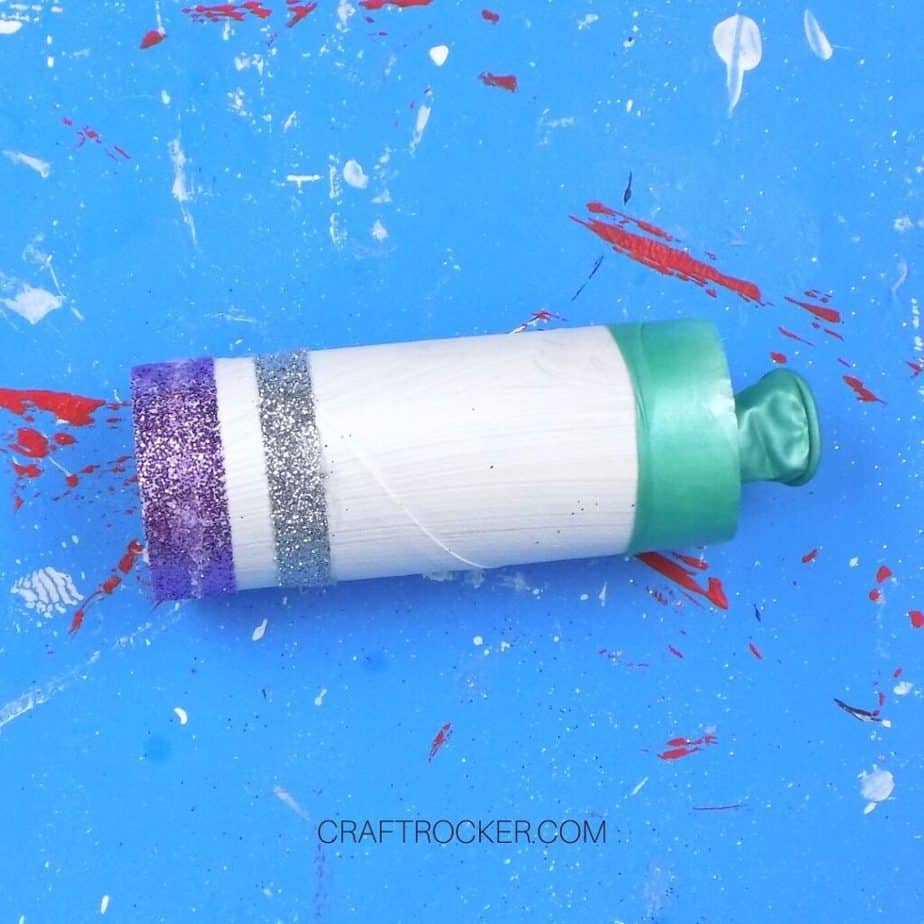
Now, carefully stretch a balloon piece over the end of each decorated tube.
I found that the best way to do this is to use your fingers to stretch it out and then center the small hole in the narrow end over the center of the tube.
Then place it over the end and let go.
Step 7
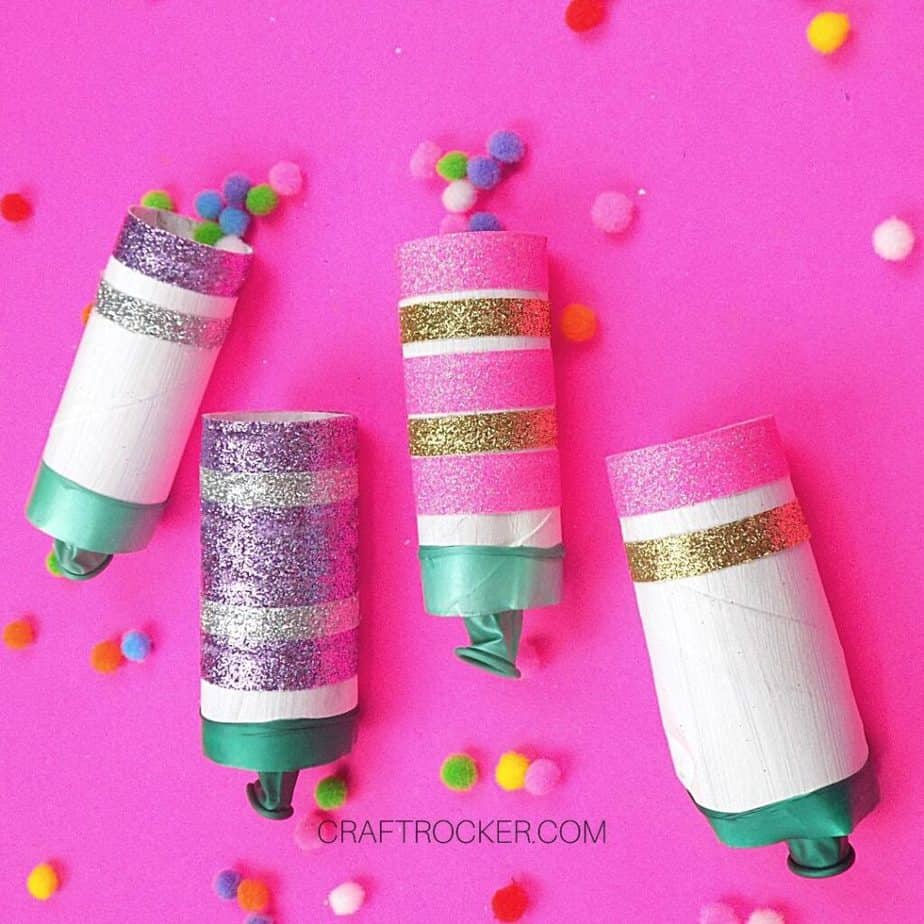
Lastly, add your pompoms to your New Year’s poppers and enjoy!

Tips for Success
If I made this project again, I would use cardstock to cover the cardboard tubes instead of paint because of how much more work it was to stabilize the ends.
You can also use washi tape to decorate your poppers. I couldn’t give up the sparkle completely which is why I went with the glitter ribbon.
Don’t overfill your poppers with pompoms. Too many prevent air from flowing through and they won’t fly as far which is no fun.
How to Use Your New Year’s Poppers
These poppers are super simple to use. Simply load them up with a few pompoms and then pull down on the narrow piece of the balloon and let go!
These DIY New Year’s poppers are perfect for the kiddos because they don’t have to save them until midnight.
They can shoot them off and then simply pick up the pompoms and reload it. Then they can do it all over again!
Don’t Forget to Pin It!
Thinking about your resolutions yet? Check out New Year’s Resolutions for Crafters for a fun new take on resolutions you’ll actually enjoy rocking in the New Year!
