Find out what a hot mess canvas is and how easy they are to make with this step-by-step tutorial!
Affiliate links may be used in this post. Ordering a product through these links may result in a commission at no extra cost to you. Read the full disclosure here.
Jump to What You Want


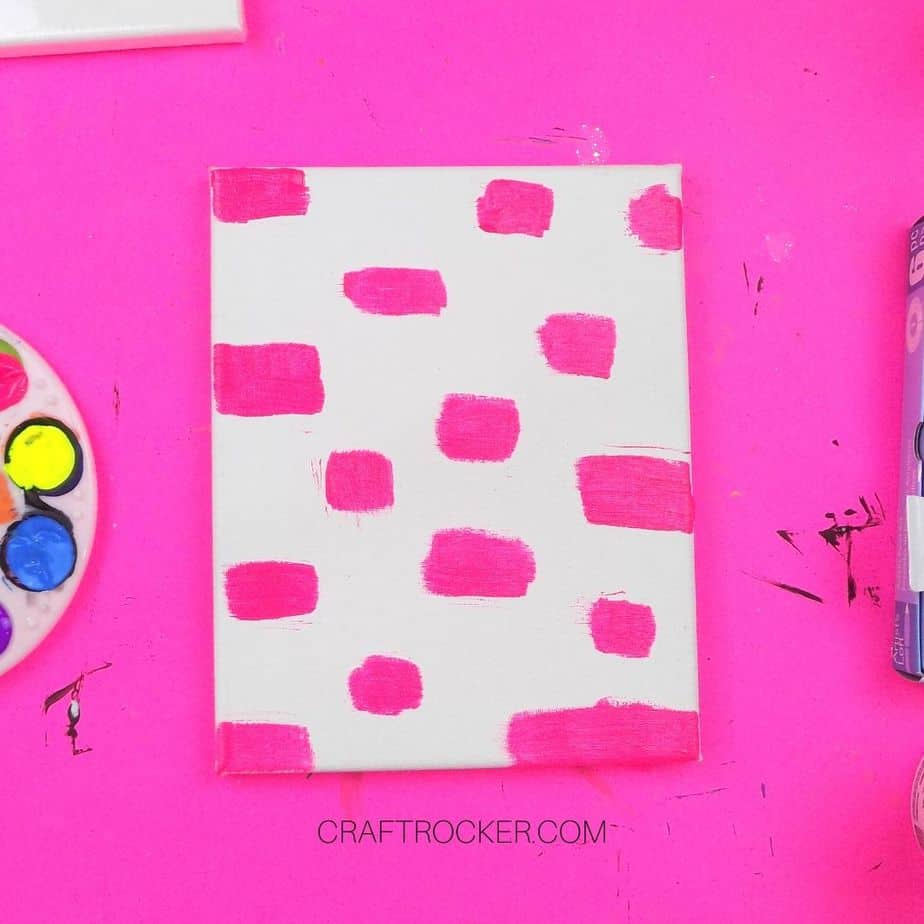
One thing I didn’t expect when making these hot mess canvases was how much I loved them before putting the design on.
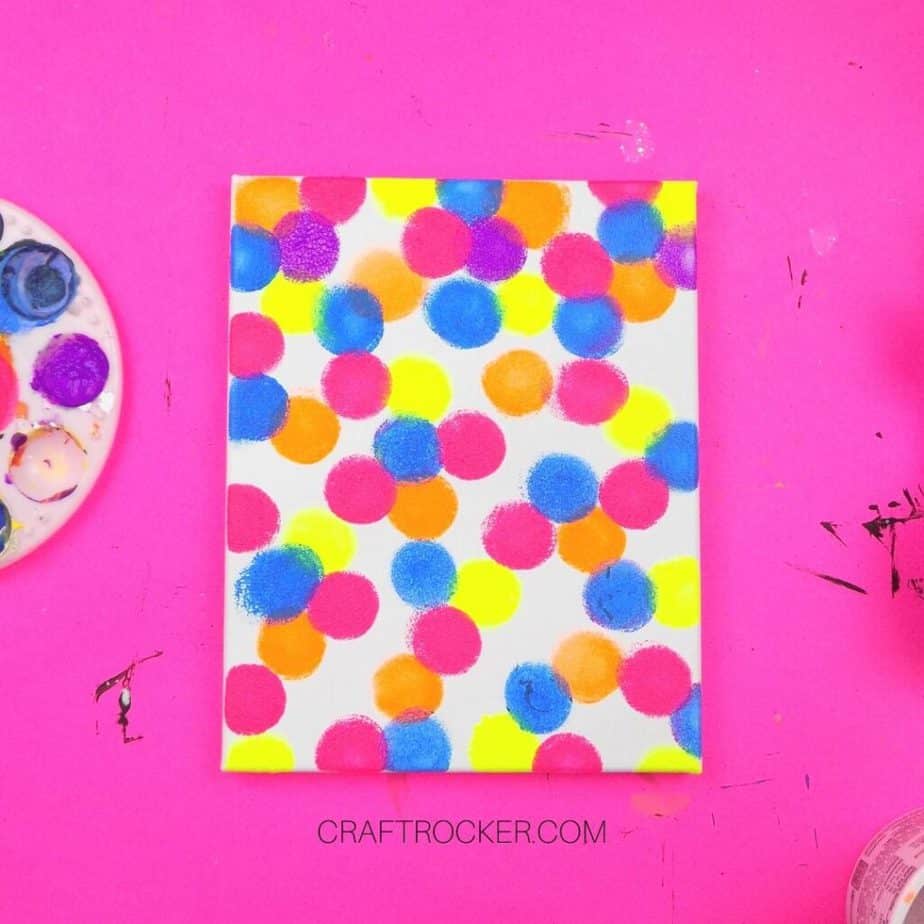
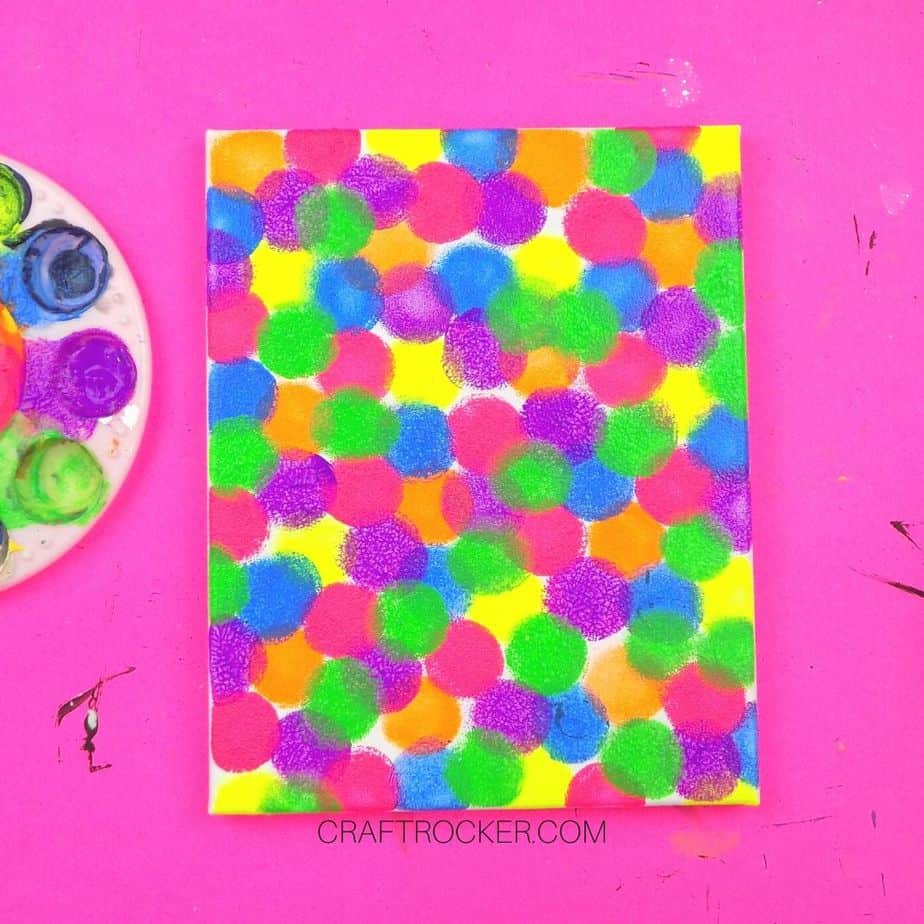
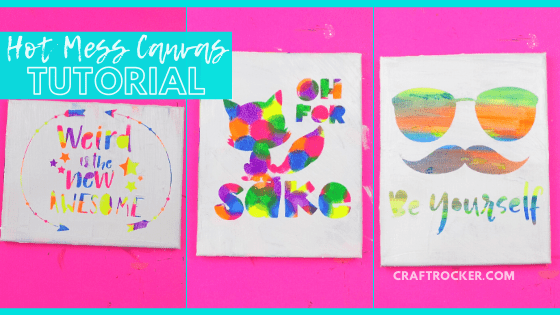
The polka dot one especially was hard to cover. Pretty sure that’s what part of my brain looks like… so colorful and fun.
Luckily, I think they look pretty awesome now… also, I’m totally going to make another polka dot piece of wall art because it’s so fun!
What is a Hot Mess Canvas
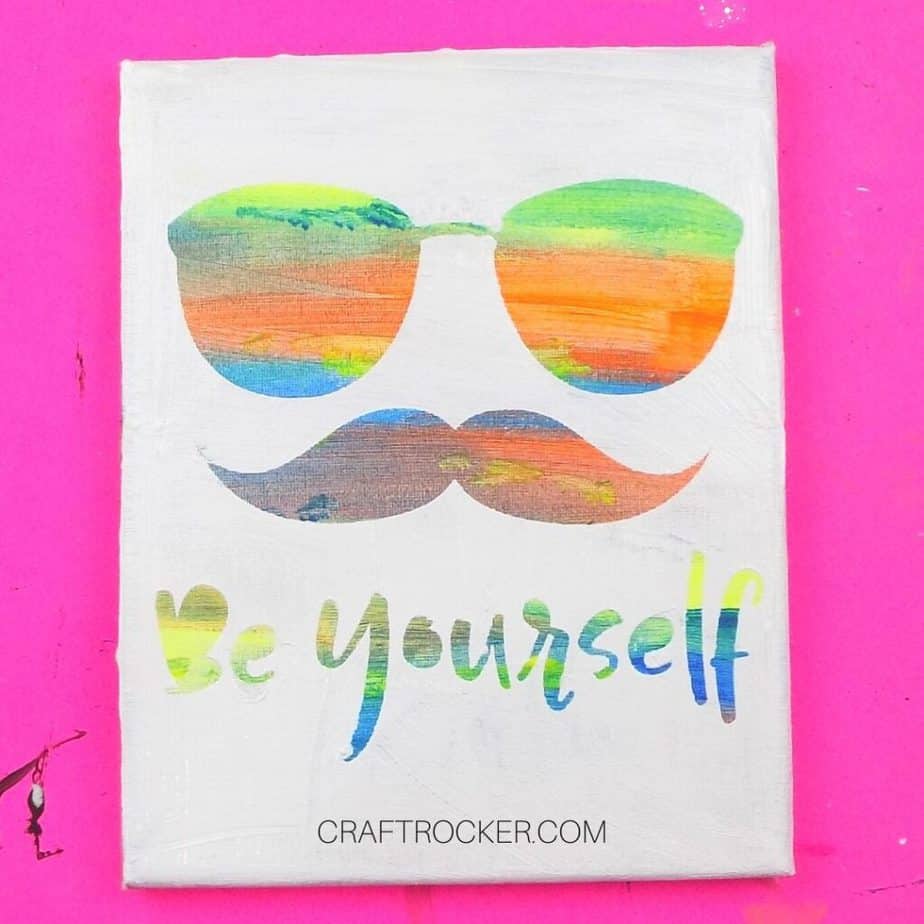
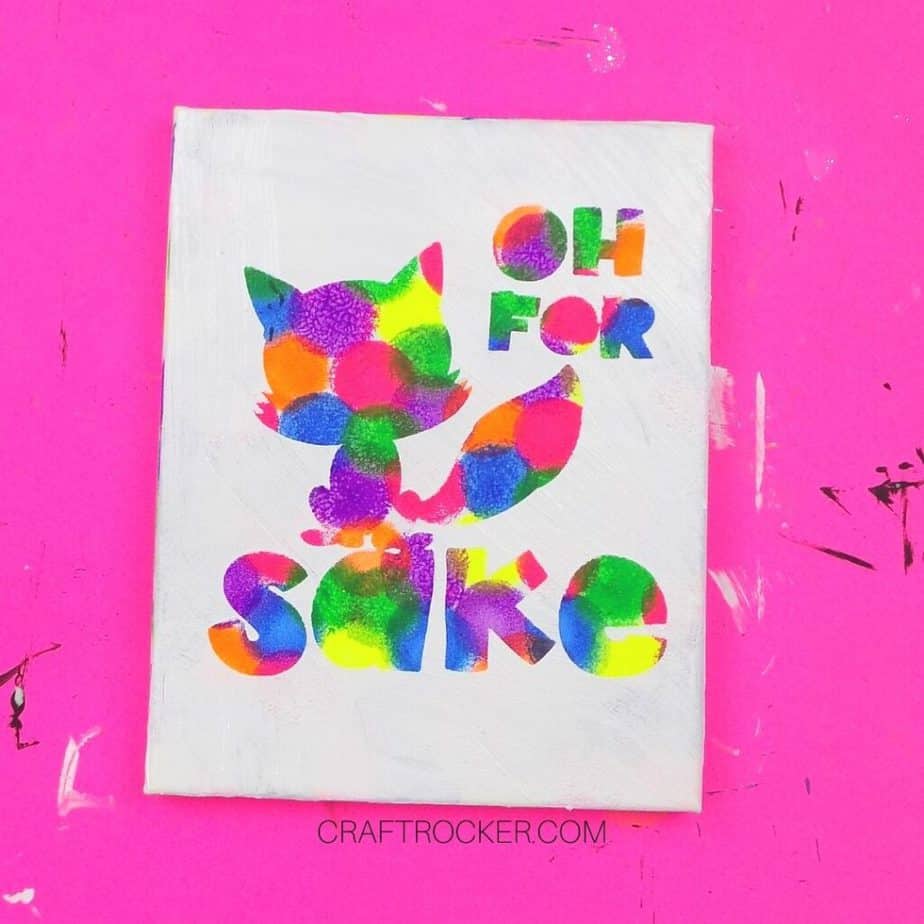
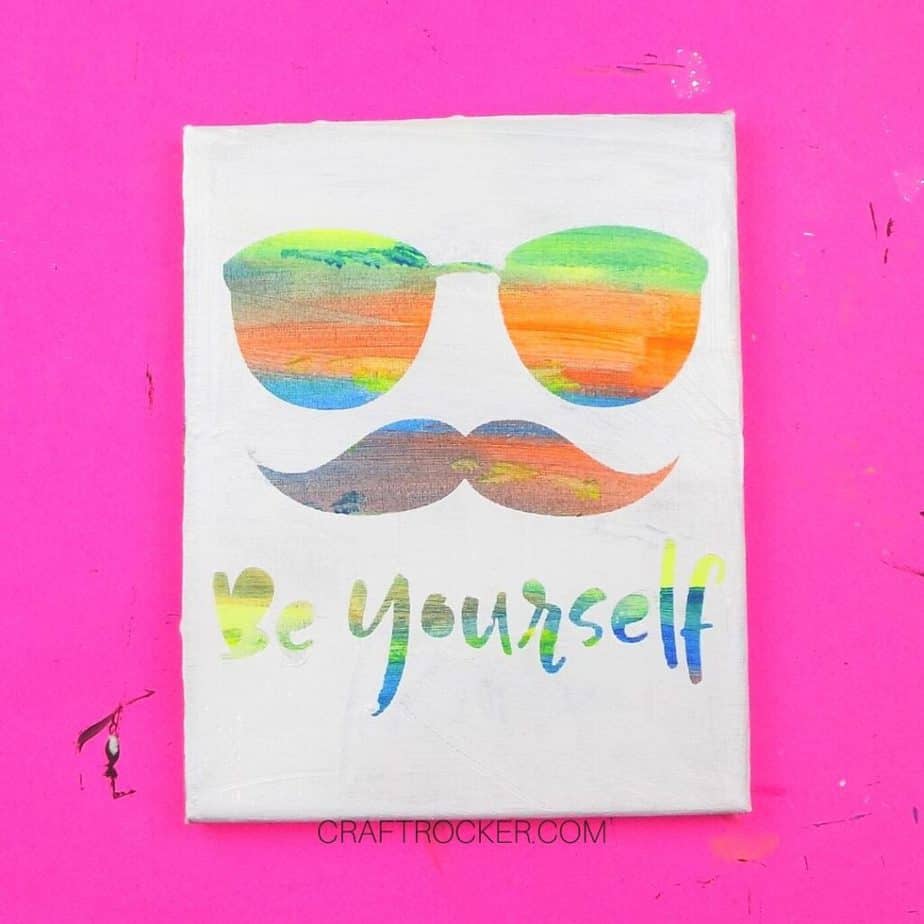
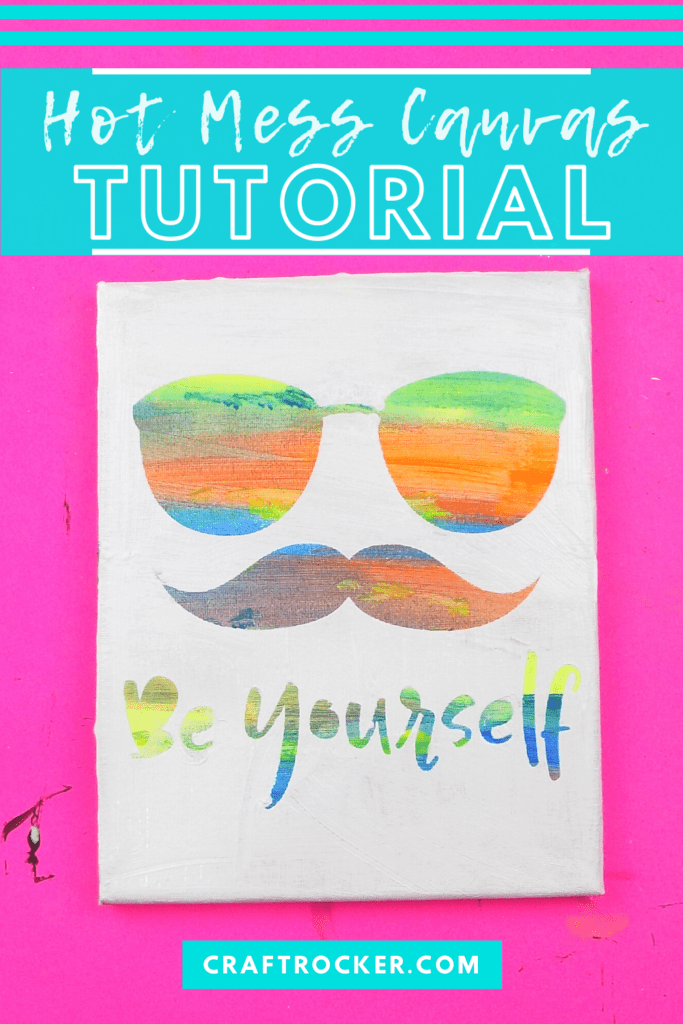
A hot mess canvas is a piece of artwork made by throwing a bunch of colors onto a canvas and then using vinyl (or stickers) to create a colorful inverse design.
The best part about it is that it takes zero artistic ability so literally anyone can make one. The end result is still an amazing piece of artwork to hang on your wall.
Hot Mess Canvas Materials
Canvas
Multiple Colors of Acrylic Paint (I used this neon set)
White Acrylic Paint
Design or SVG File of Your Choice (I got mine on DesignBundles)
Paint Brushes
1 inch Foam Brush


Step 1
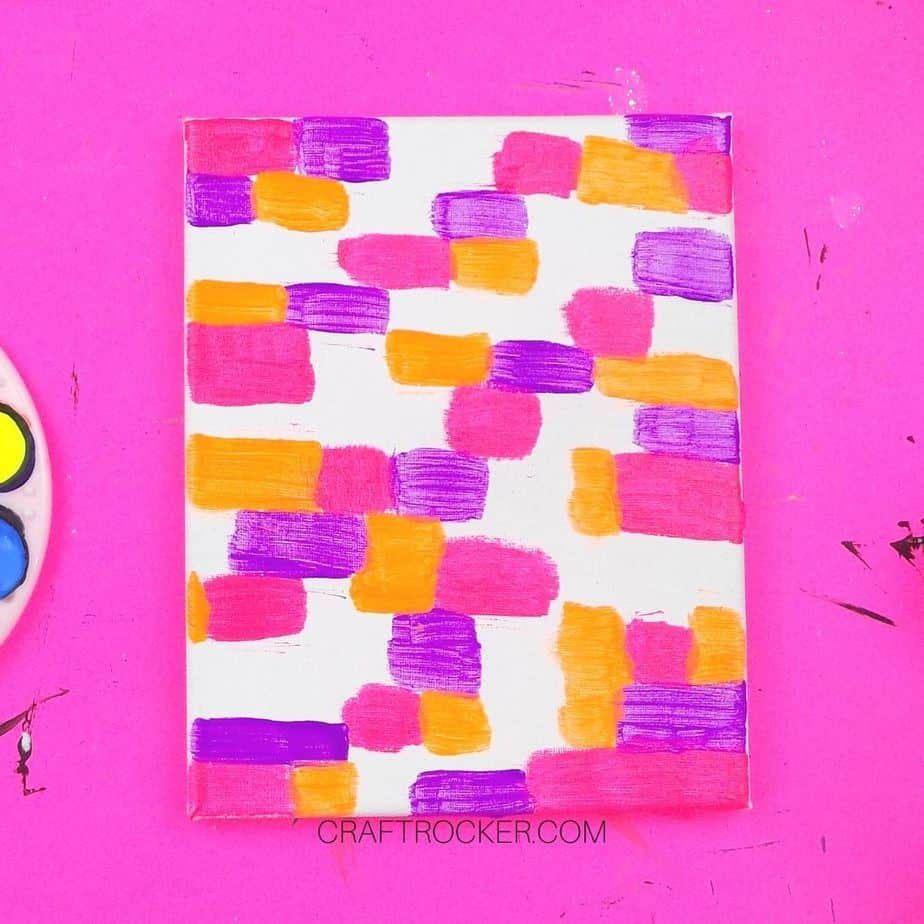
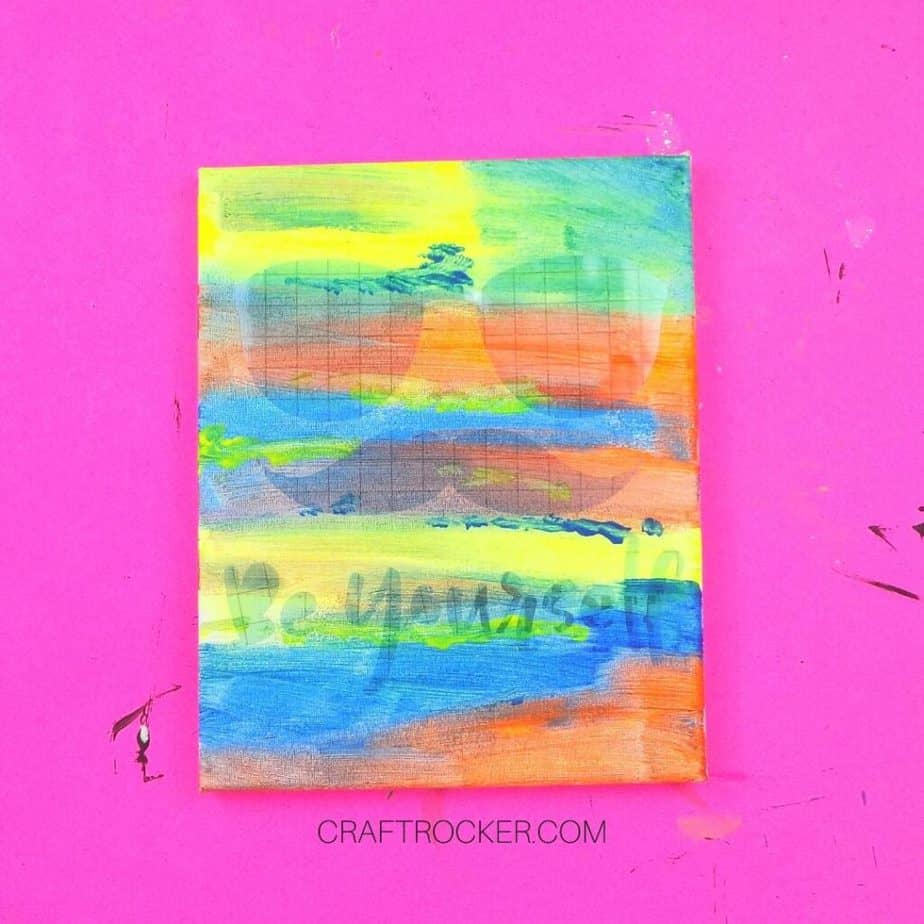
The first step in creating a hot mess canvas is the most fun. Simply start adding colorful paint to your canvas.
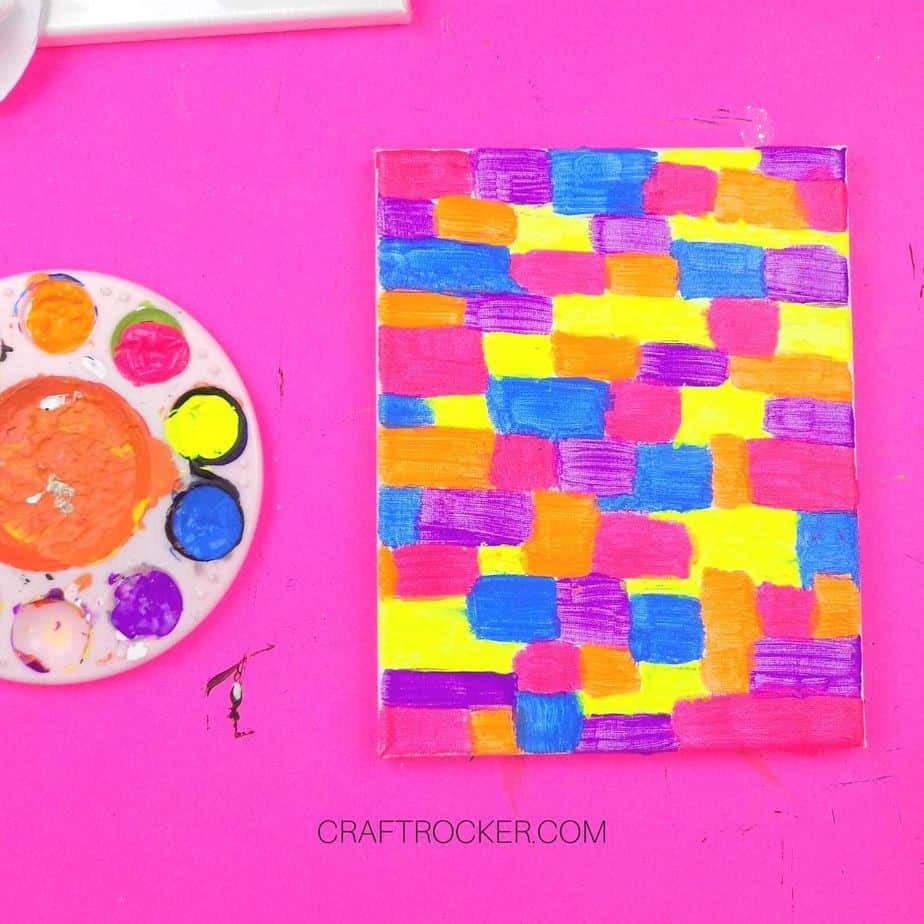
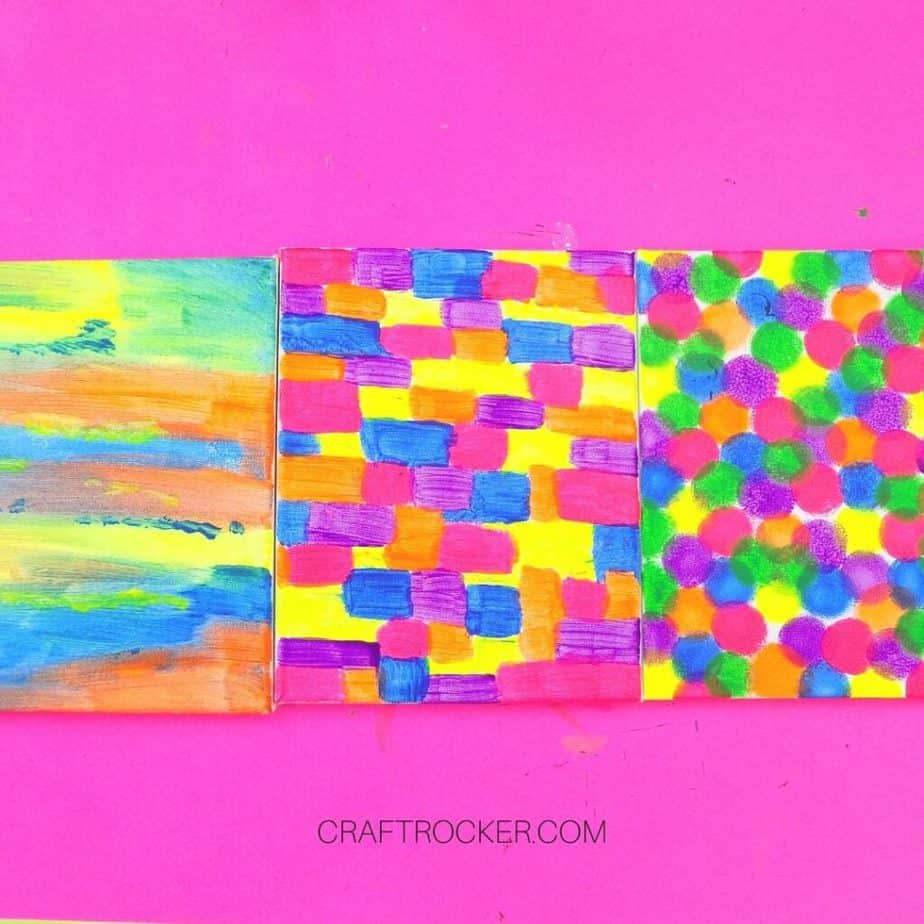
You can do this is a variety of ways from sweeping different colors across the canvas, creating little colored boxes, or even making multi-colored circles all over the canvas.


Step 2
Continue adding colors to your canvas until it is completely covered. Then set the canvas aside to dry. Depending on how thick you went with the paint, it may take a while to dry. I let mine sit overnight.
Step 3
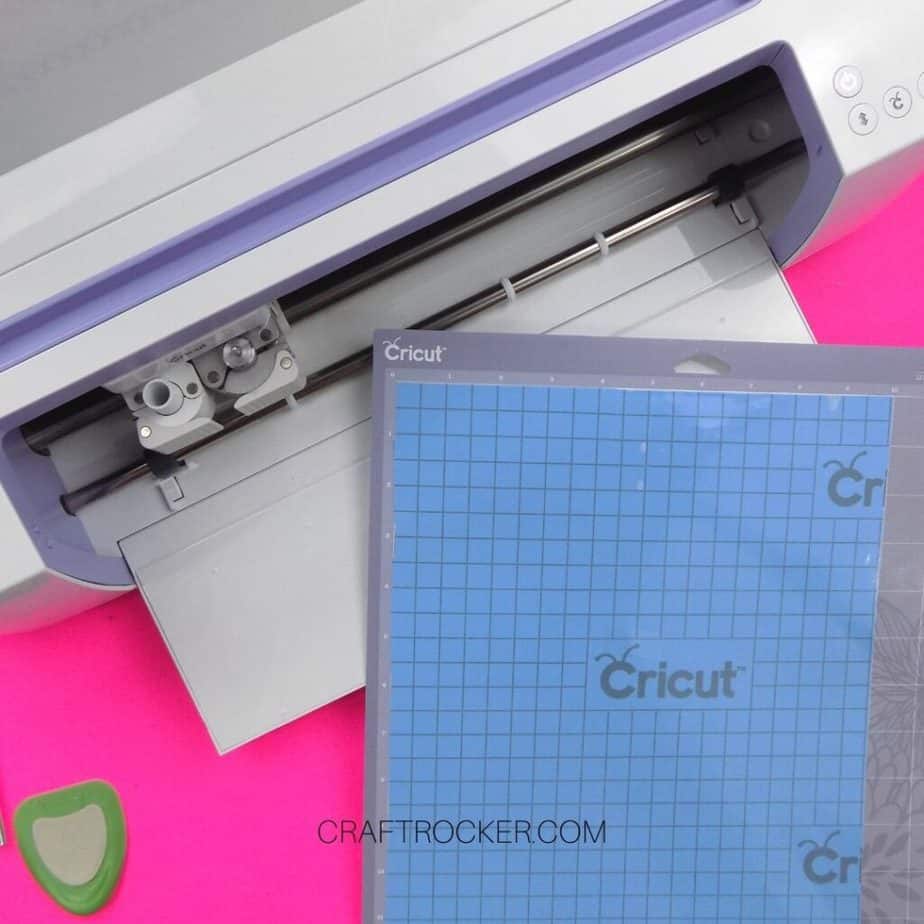
After your paintings are dry, prep your cutting mat by placing your vinyl on it. Keep in mind that even though the stencil vinyl is what is pictured, I do not recommend using this vinyl. It is seriously a pain in the butt to transfer to the canvas.
Step 4
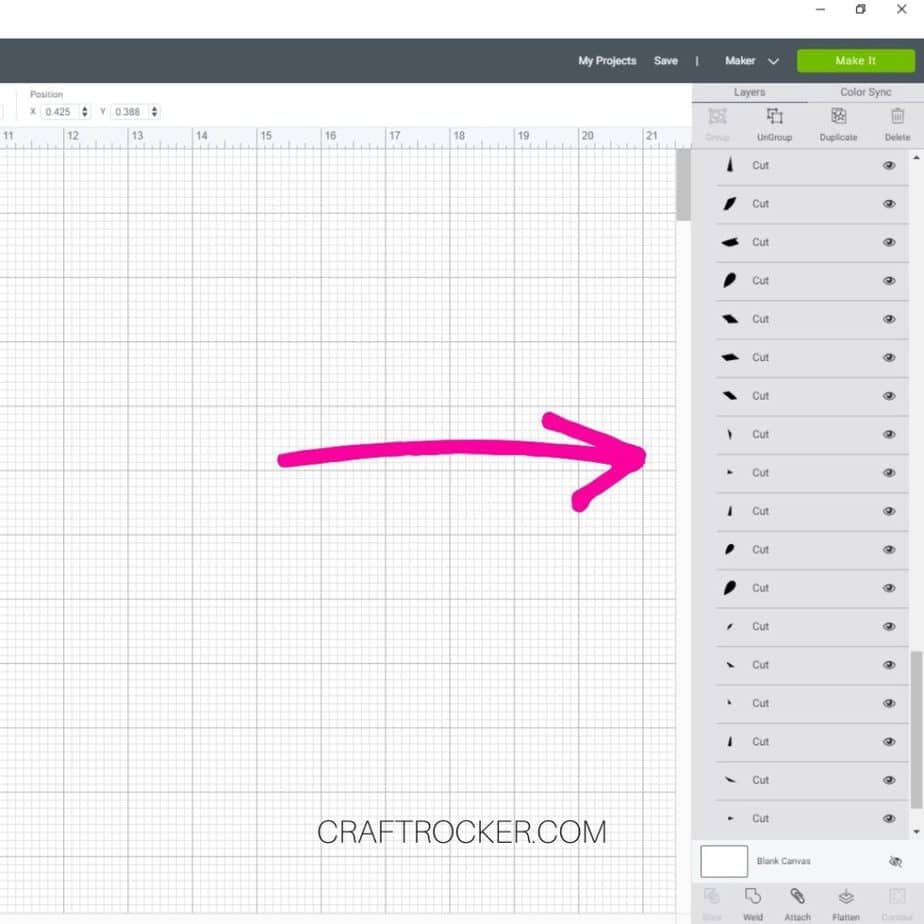
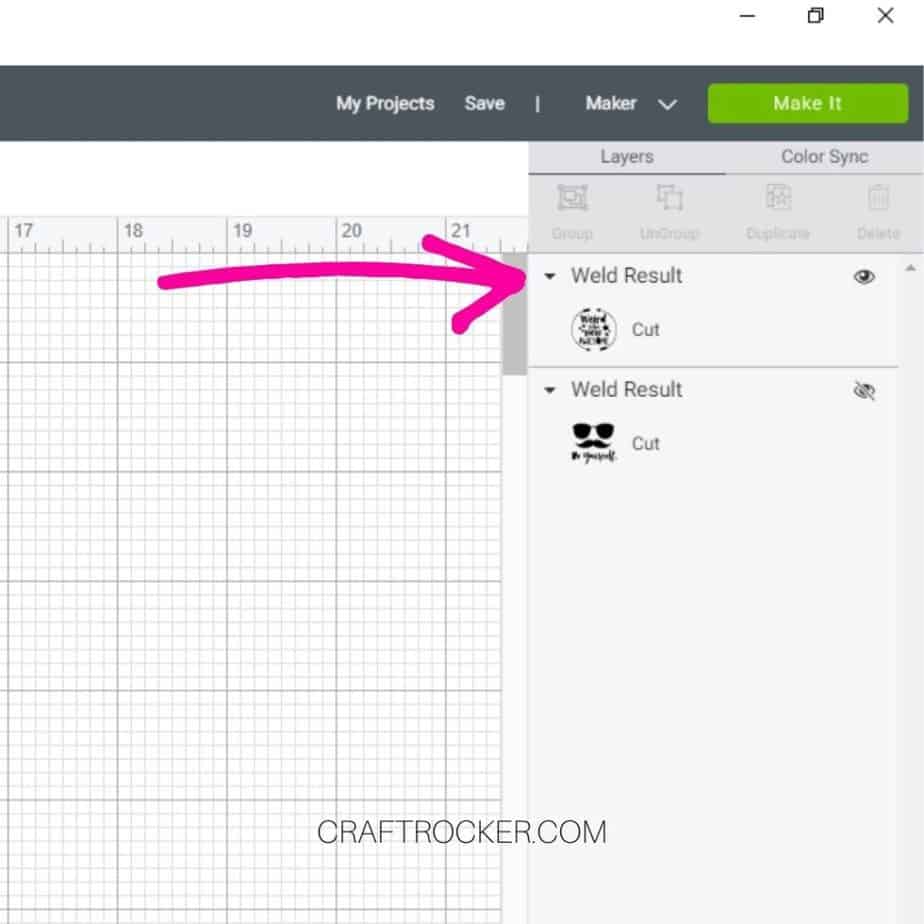
Once your cutting mat and vinyl are prepped, pull up Cricut Design Space and add your SVG file to your canvas.
If each layer of the cut file is separate, select them all and click on the “Weld” button in the bottom right hand corner. You want the file to cut altogether, not as separate pieces.
Then cut your file.
Step 5
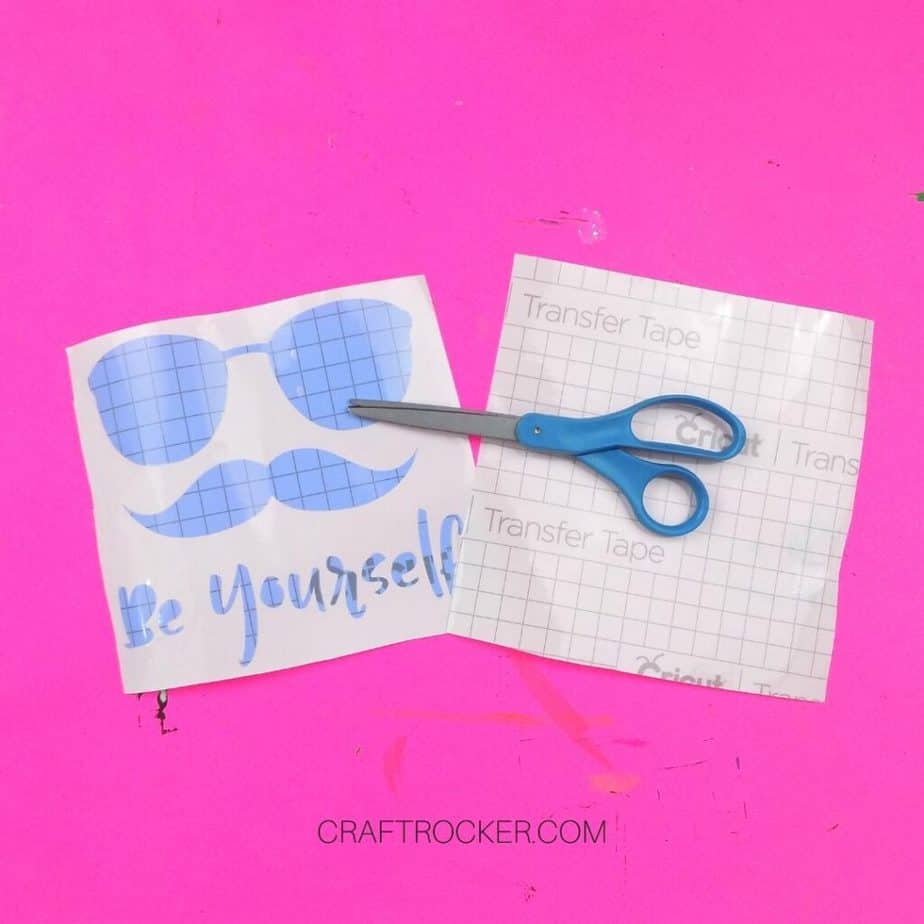
Once your design is cut, weed the design and trim down the vinyl if necessary. Then cut a piece of transfer tape that is about the size of your design.
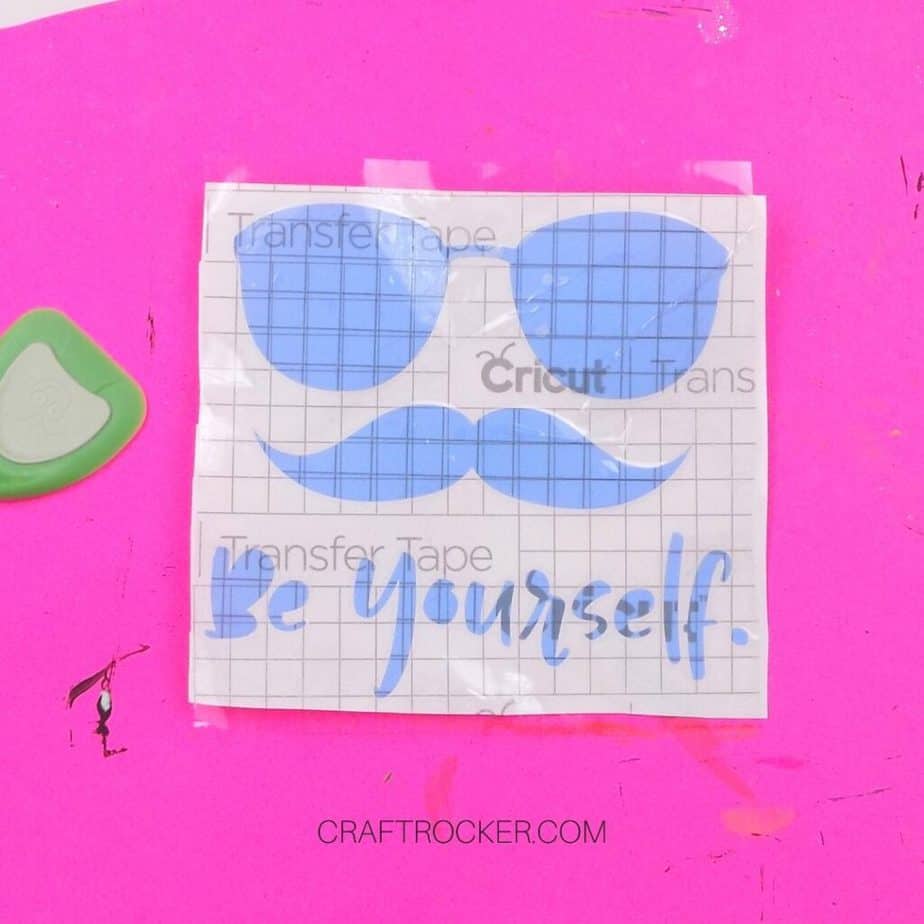
Step 6
Next, remove the backing from your transfer tape and smooth it over your weeded vinyl design. Go over the design with your scraper or your brayer to make sure that it is well-adhered to the transfer tape.
Then remove the backing from that as well.
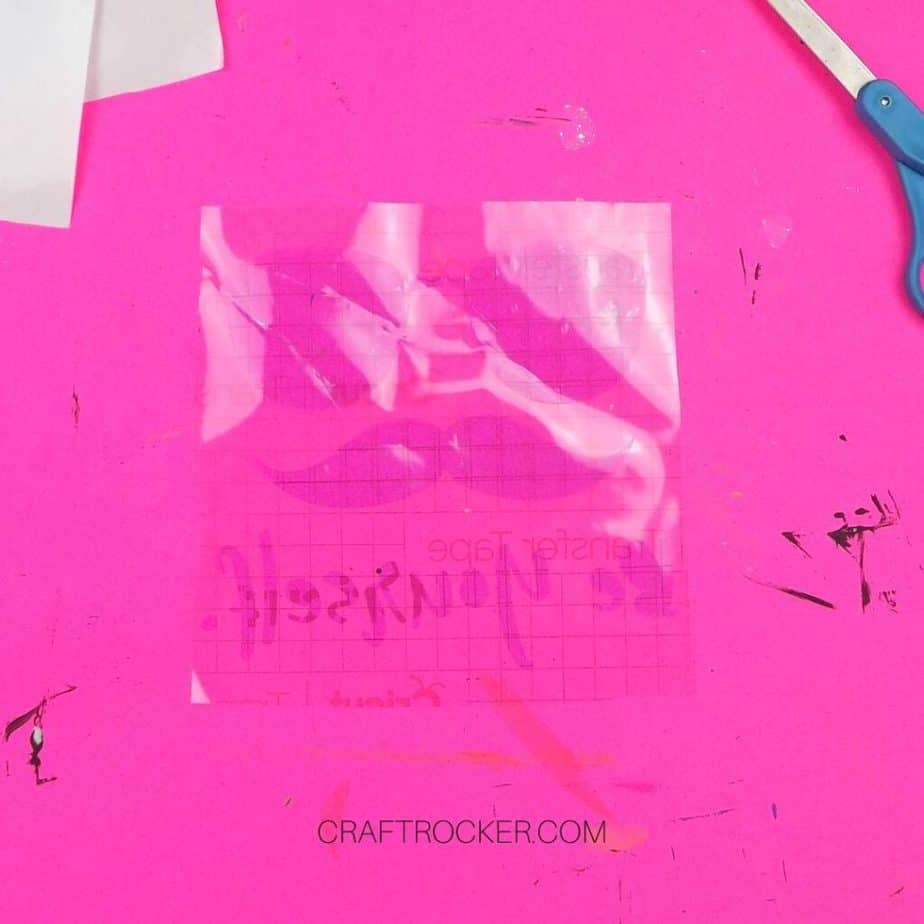
Step 7
After your design is on your transfer tape, place it on your painted canvas. To make sure that it is well secured, flip your canvas over and run your scraper or brayer firmly over the back.
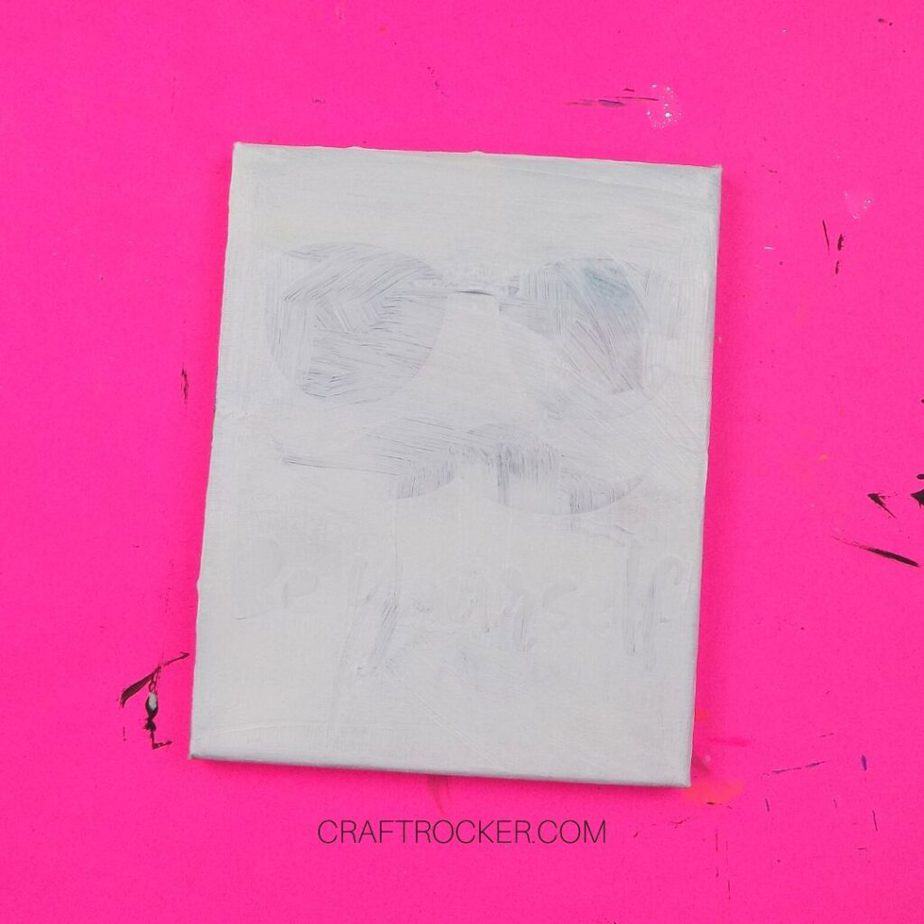


Step 8
Then paint over your entire canvas, including the vinyl design, with white acrylic paint. Move on to the next step without waiting for the paint to dry.


Step 9
Lastly, use your weeding tool to pull off the vinyl pieces and reveal your colorful design. I found it was best to pull from the bottom of the vinyl pieces and then grab the edge and pull up.
Tips, Tricks, and FAQ’s
I said this above but it is so important that I’m going to mention it again: Don’t use the stencil vinyl to make these. It is designed to come off a lot more easily than removable vinyl. It does not like to stick to the painted canvas and I ended up placing A LOT of it by hand.
The bigger/thicker the design the better you are. You can see that that the “Weird is the New Awesome” hot mess canvas is not as clear as the other 2. I recommend choosing chunky and simple designs.
Can you make hot mess canvas on wood?
Absolutely! You make it the same way as the above tutorial but I would make sure that you sand the wood first so that the vinyl doesn’t pull off your paint later.
What kind of vinyl do you use for hot mess canvas?
You can use any non-permanent (or removable) vinyl for these. You don’t want to use permanent or heat-transfer vinyl because you will be immediately be taking it off after covering it with white acrylic paint.
With a hot mess canvas you can create your own awesome wall art with no painting experience at all! They are so pretty and so easy to make that you can decorate your whole home easy-peasy.
Don’t Forget to Pin It!
More Paint Fun:
Faux Stained Glass Fall Suncatcher
French Memo Board – DIY Memo Board Idea
