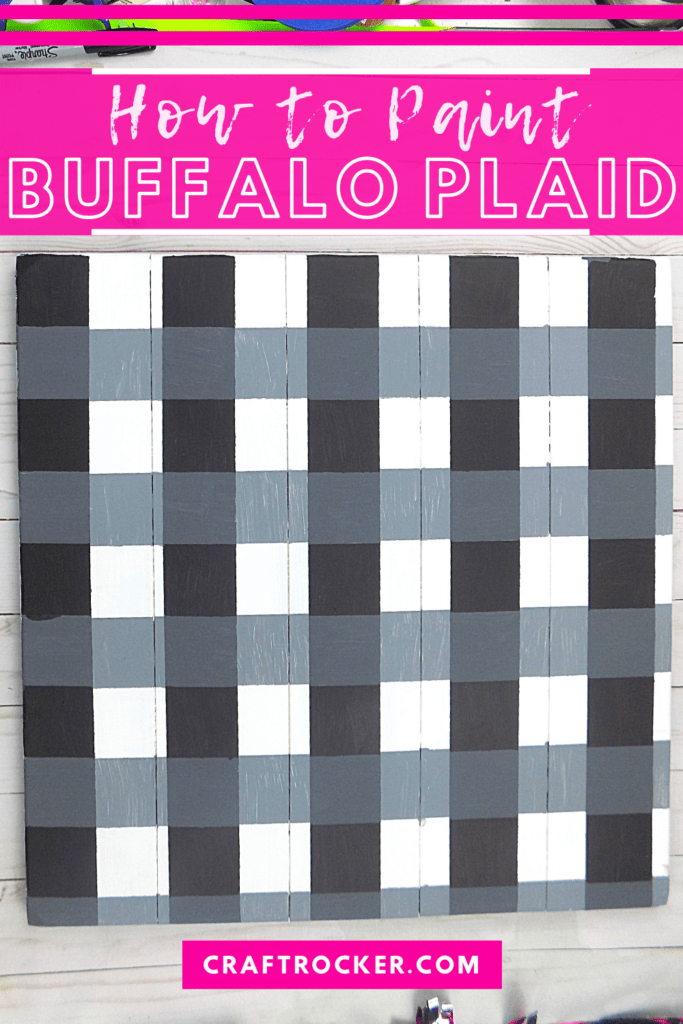
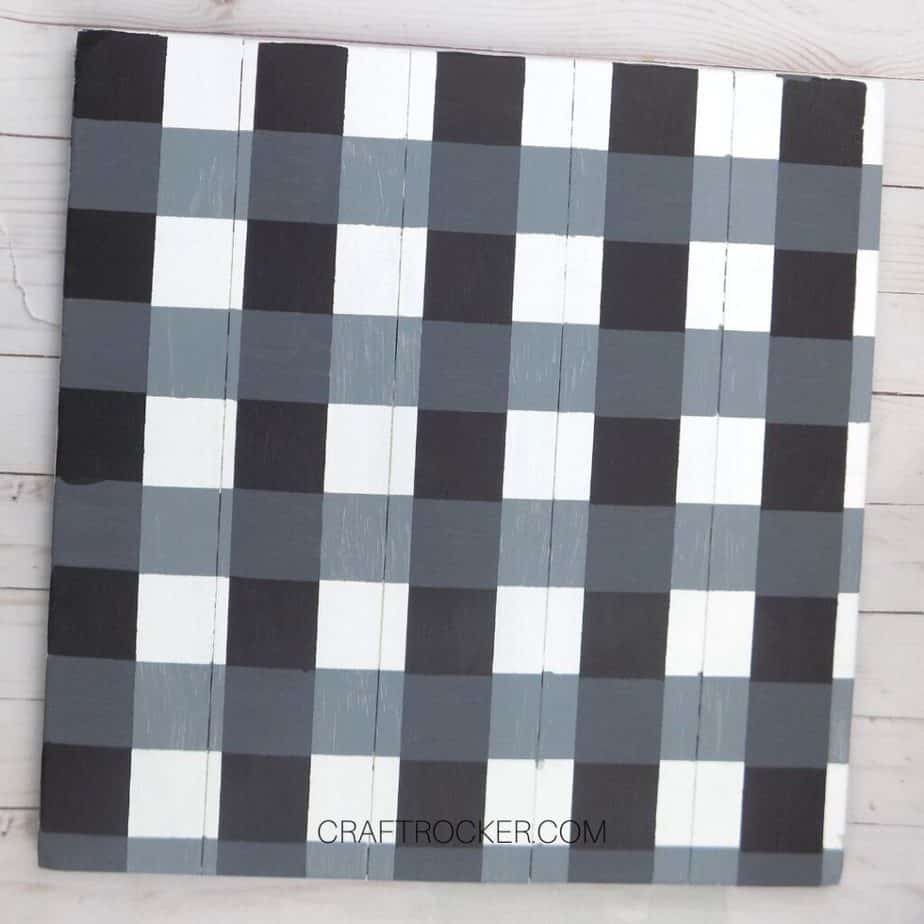
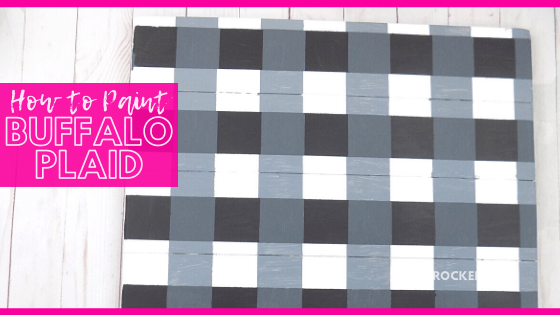
Ready to learn how to paint buffalo plaid? It’s super easy and once you have the basics you can replicate the process for multiple sizes and mediums.
Affiliate links may be used in this post. Ordering a product through these links may result in a commission at no extra cost to you. Read the full disclosure here.
Jump to What You Want


My husband got this awesome pallet art set for me last year because he new I’d love to make something with the bases.
It took a while for me to decide if I wanted to make something that is another set or if I wanted to split them up.
Because of their size, I finally decided to split them up and the first project I’m making with it is buffalo plaid!
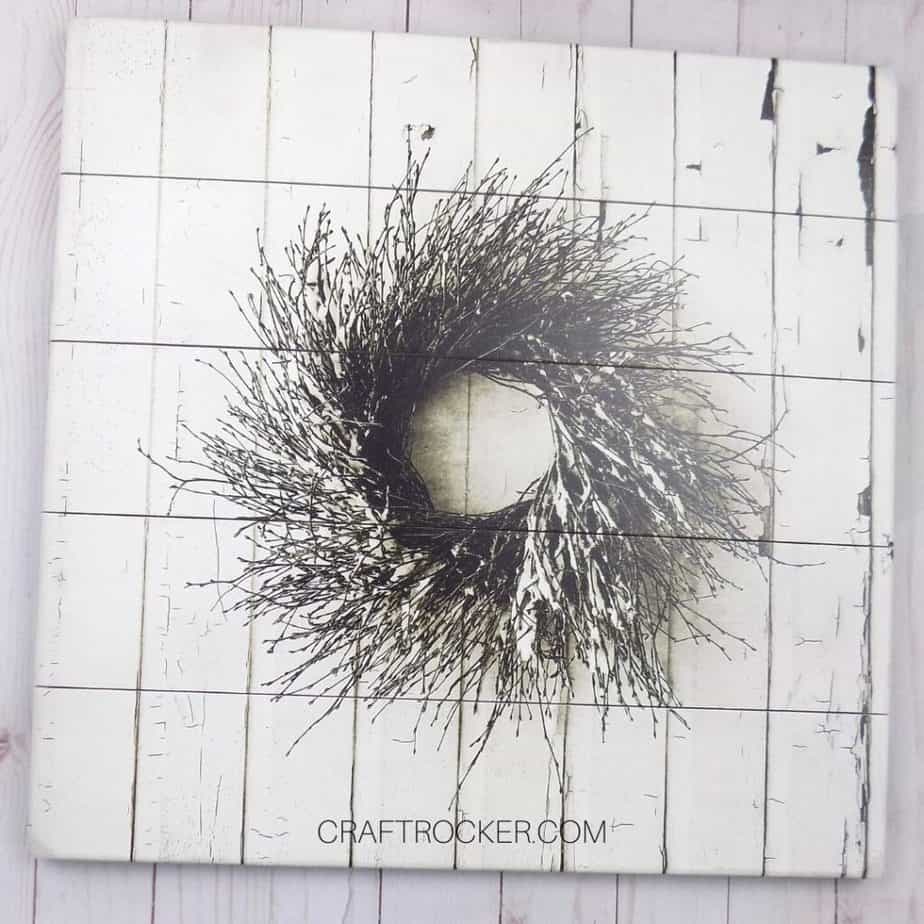
Eventually I’ll add a vinyl design (there are so many options!) but for now, it still looks awesome without anything over the buffalo plaid.
Materials for Painting Buffalo Plaid
Base Object (I used a large piece of wood pallet art)
3 Small Cups (or other containers for mixing paint)
Wood Craft Sticks for Stirring
Painters Tape (I used 1.88 in Wide)
Paint Brushes
Step 1
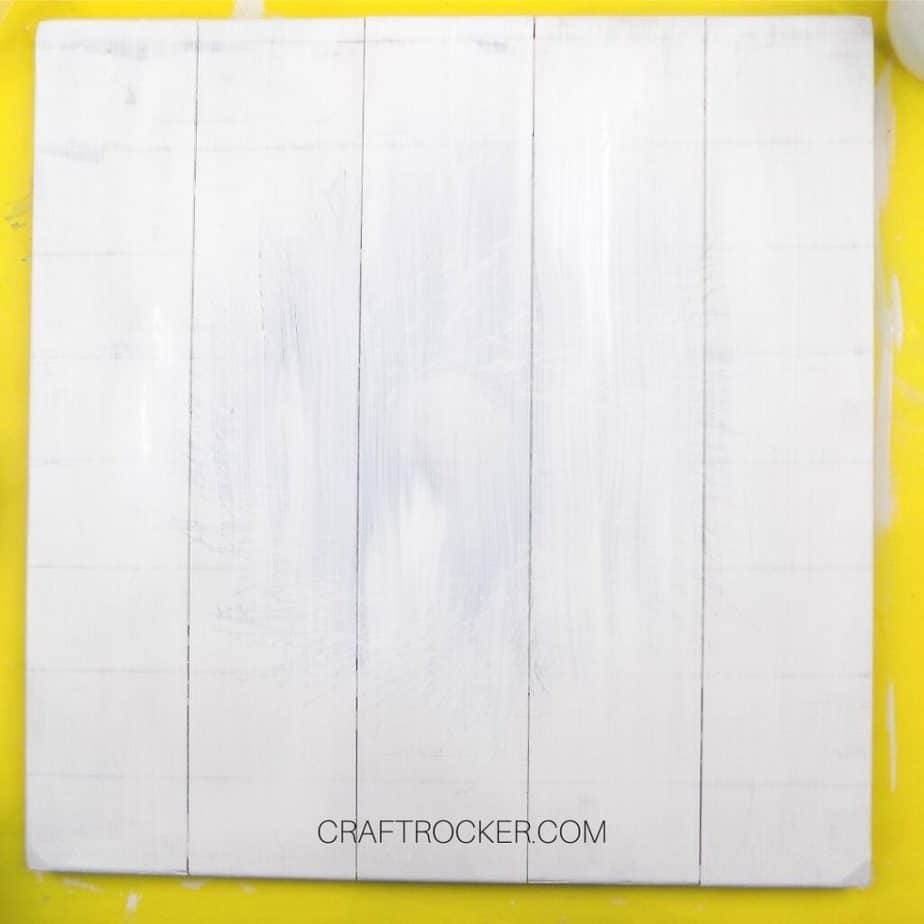
First, you want to coat your base object in white acrylic paint. Depending on your base object, you may require 2 coats before moving on.
Looking for a base for this project? Check out my post on where to buy craft blanks!
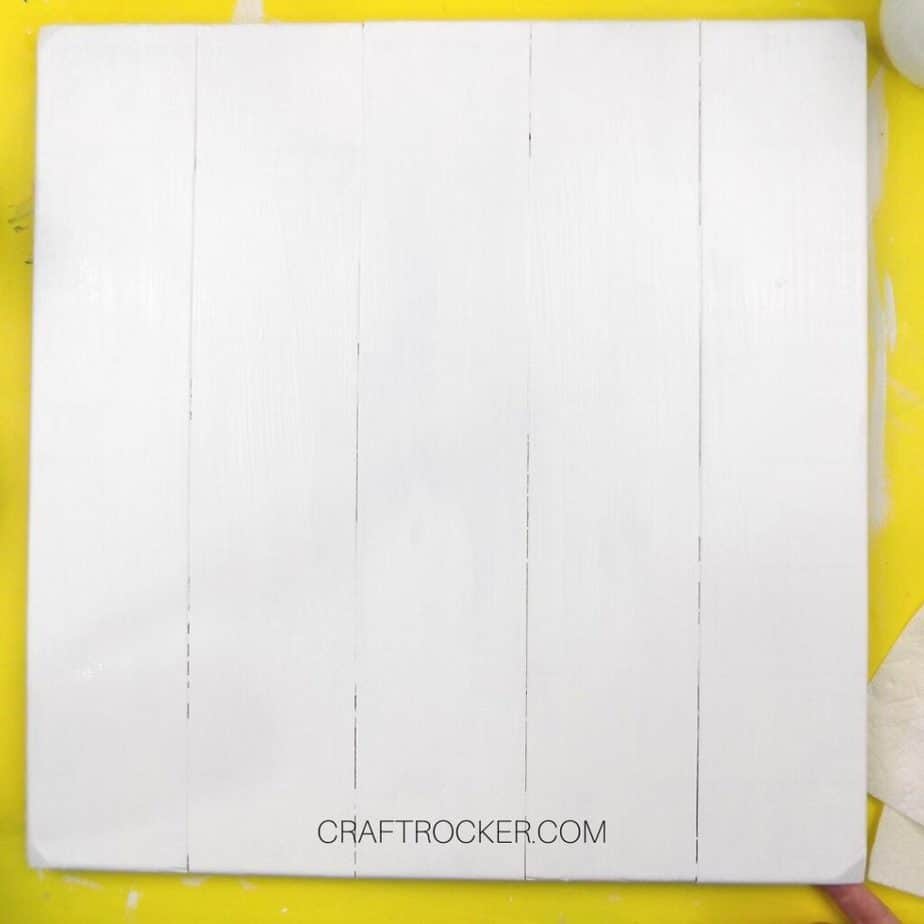
I did 2 coats because my base was originally a large piece of store-bought artwork. If your base object is a wood tray, for example, you could only need one coat.
Allow your paint to dry before moving on.

Step 2
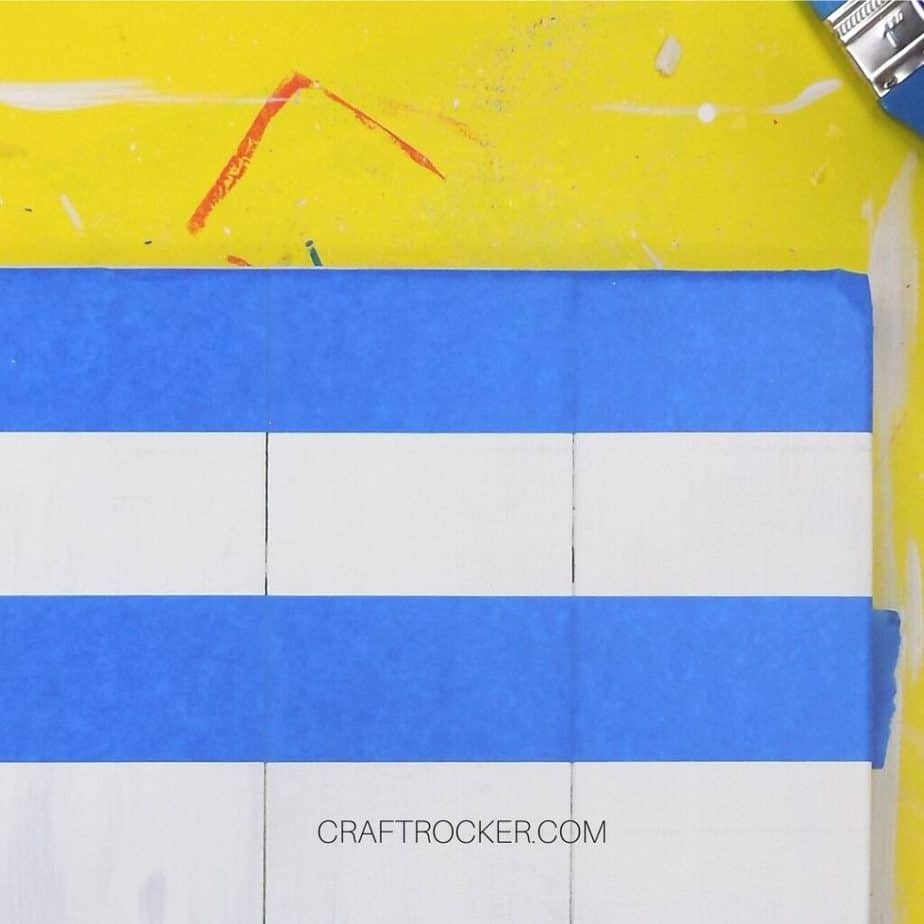
After your paint is dry, it’s time to tape your base. Start at the top edge and add a piece of painters tape horizontally across the top.
Be sure to keep it lined up with the edge and press it down firmly to your base.
Then add a second piece of painters tape directly underneath that piece of tape. Make sure that your tape edges are touching.
Do the same with a 3rd piece of tape underneath the second. Then remove your second piece of tape and firmly press the third piece of tape down. This ensures that your rows are even.
Step 3
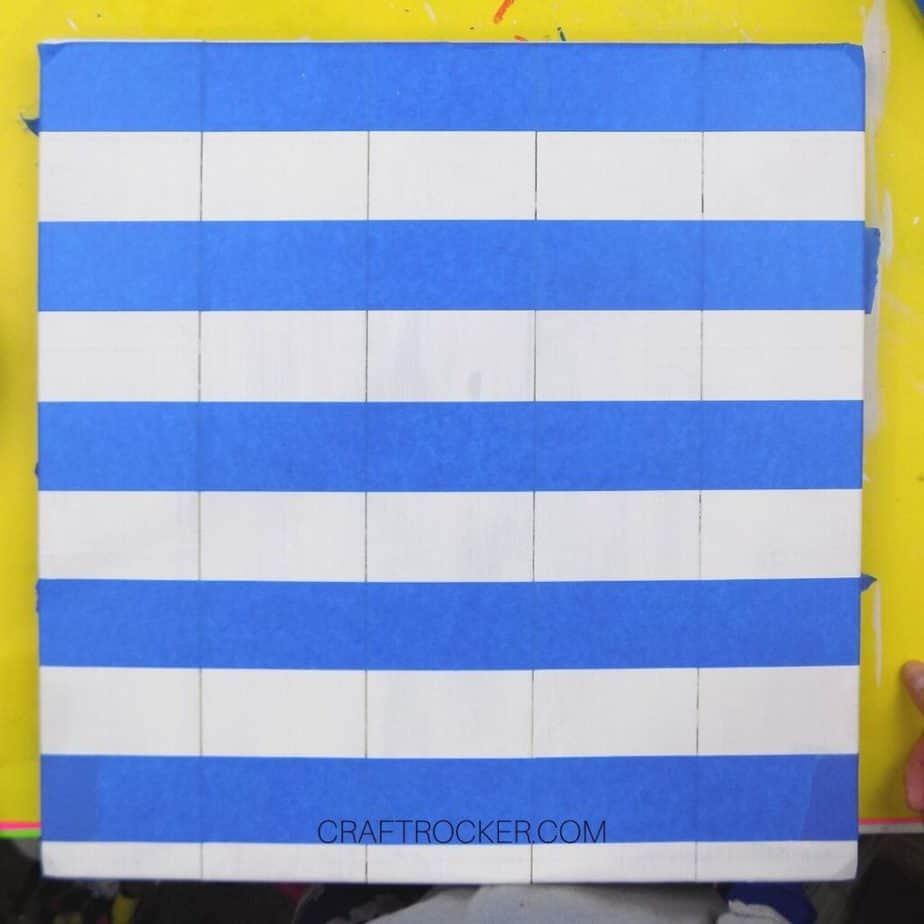
Continue adding a piece of tape directly underneath the one above it as you did above until all of your base is taped with even, horizontal lines.
Step 4
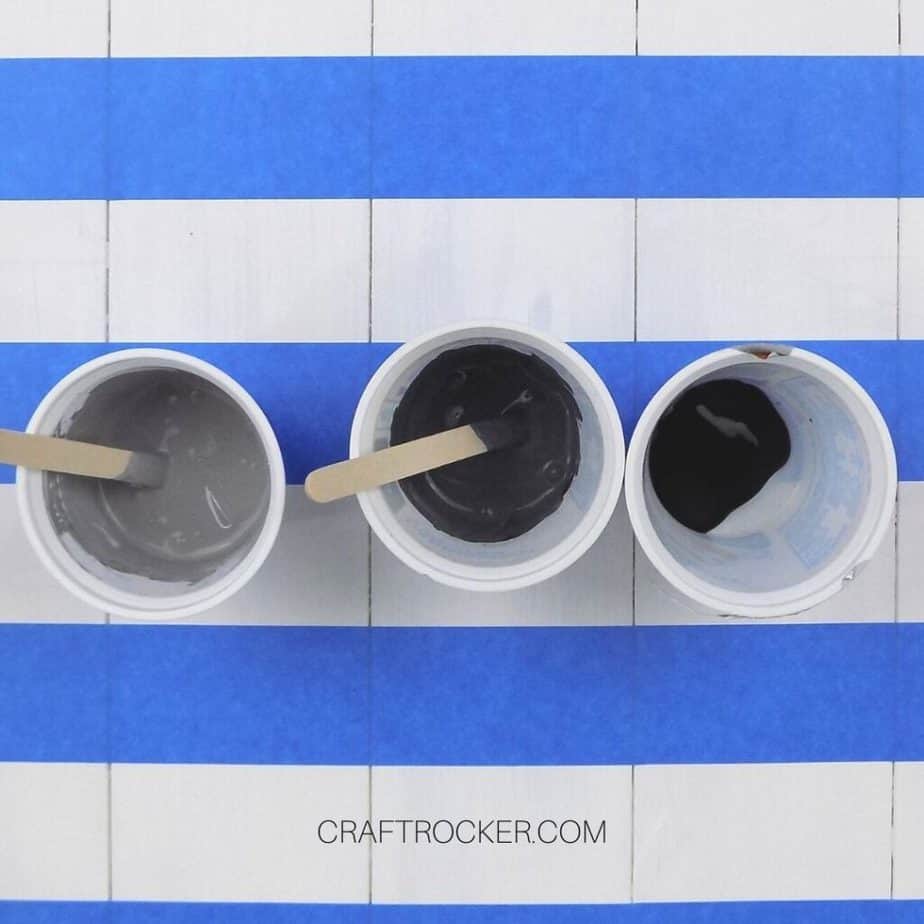
Once your base is taped, mix your paint. Combine white acrylic paint with a small amount of black to create a very light gray.
In a separate cup, mix a dark gray. Lastly, add a small amount of black paint to your third cup.
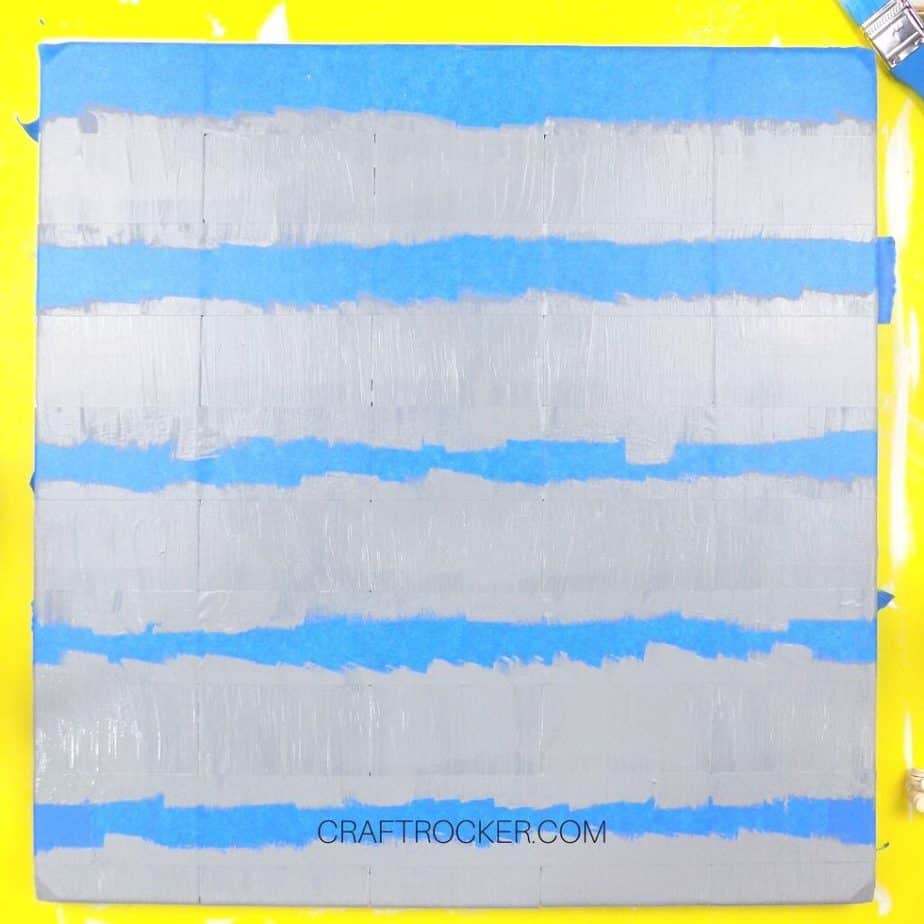
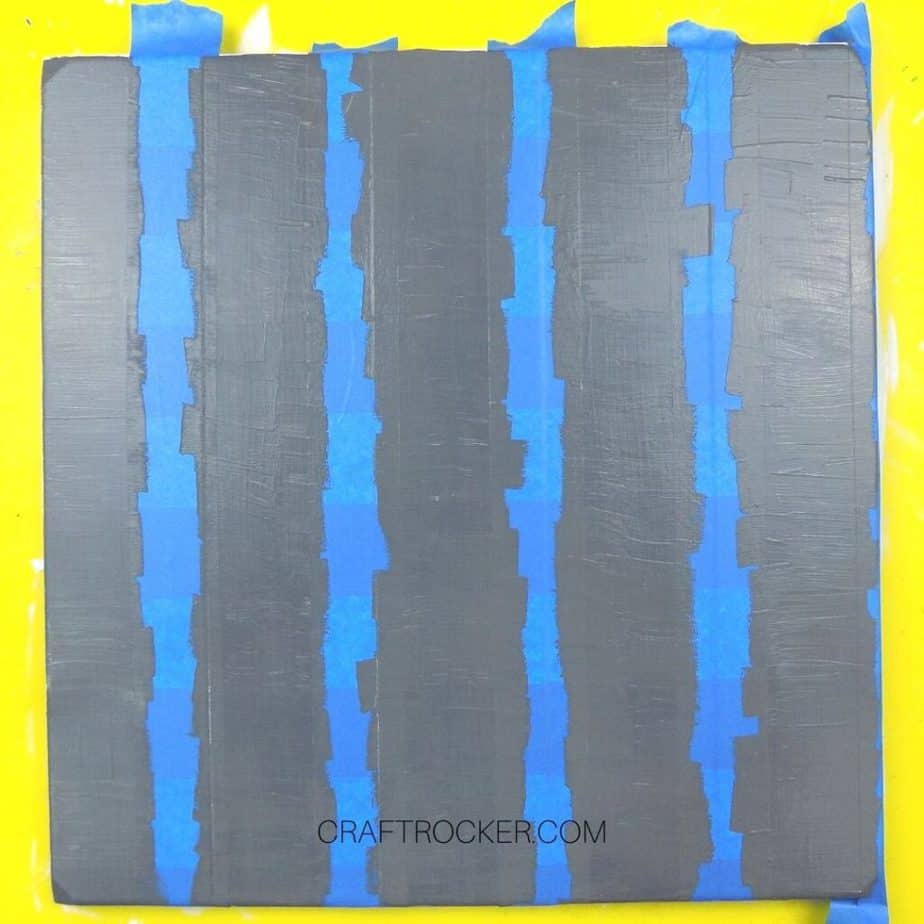
Step 5
Now paint over your taped pallet with the light gray paint. You only need to paint the white areas.
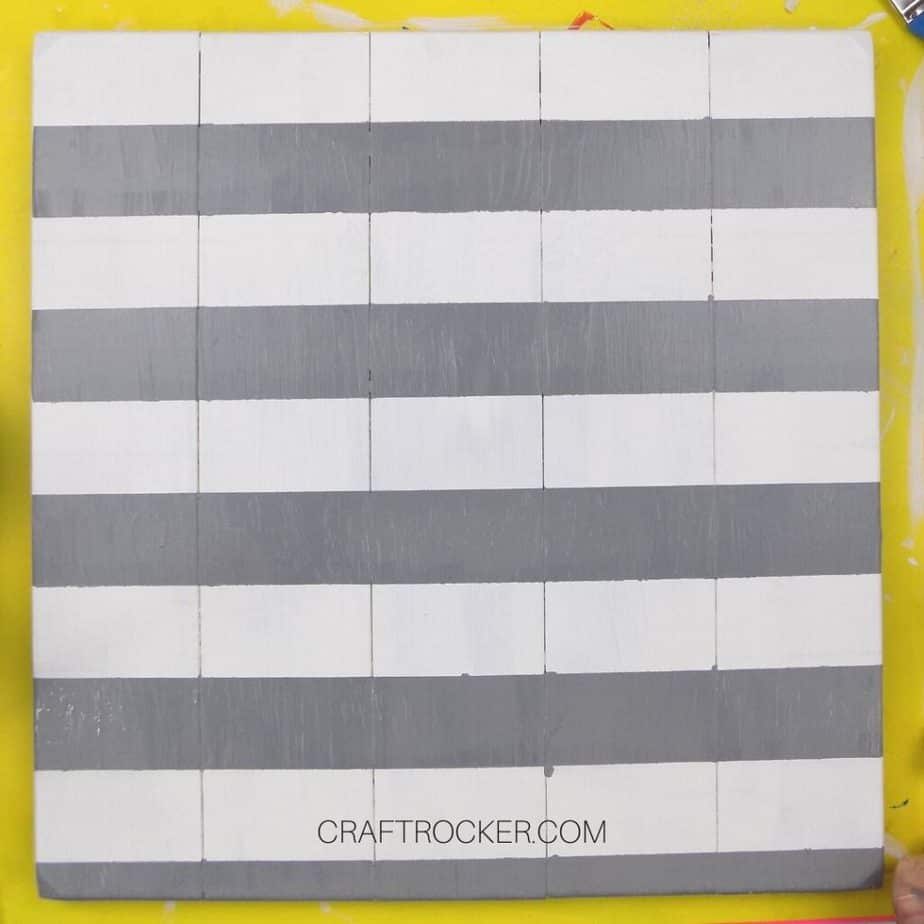
Step 6
Next, without waiting for your paint to dry, carefully pull off your tape strips. You need to make sure your tape strips do not touch your pallet because the paint on the tape is also wet.
Once the tape is off, allow your paint to dry.
Step 7
After the paint is dry, it’s time for the second round of tape. This time, add a strip of tape along the left vertical edge of your base.
Again, add a second piece of tape right next to it but then remove the first piece of tape that is along the left edge.
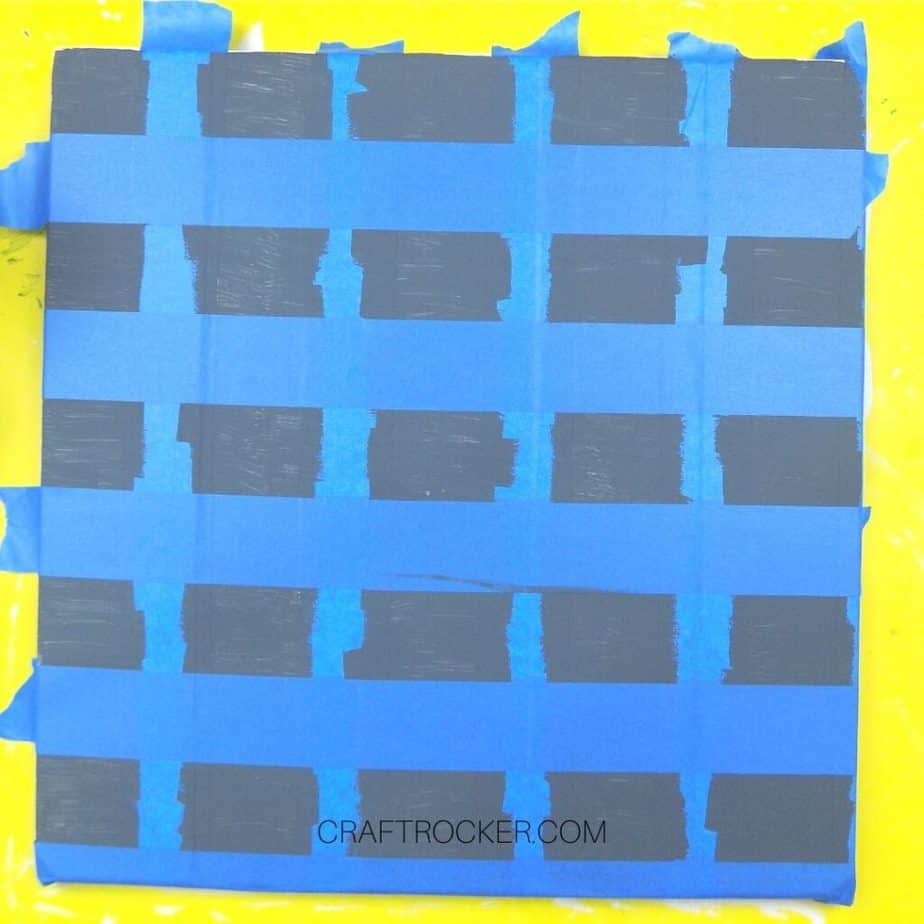
Step 8
Continue step 7 until you have all of your vertical strips of tape in place.
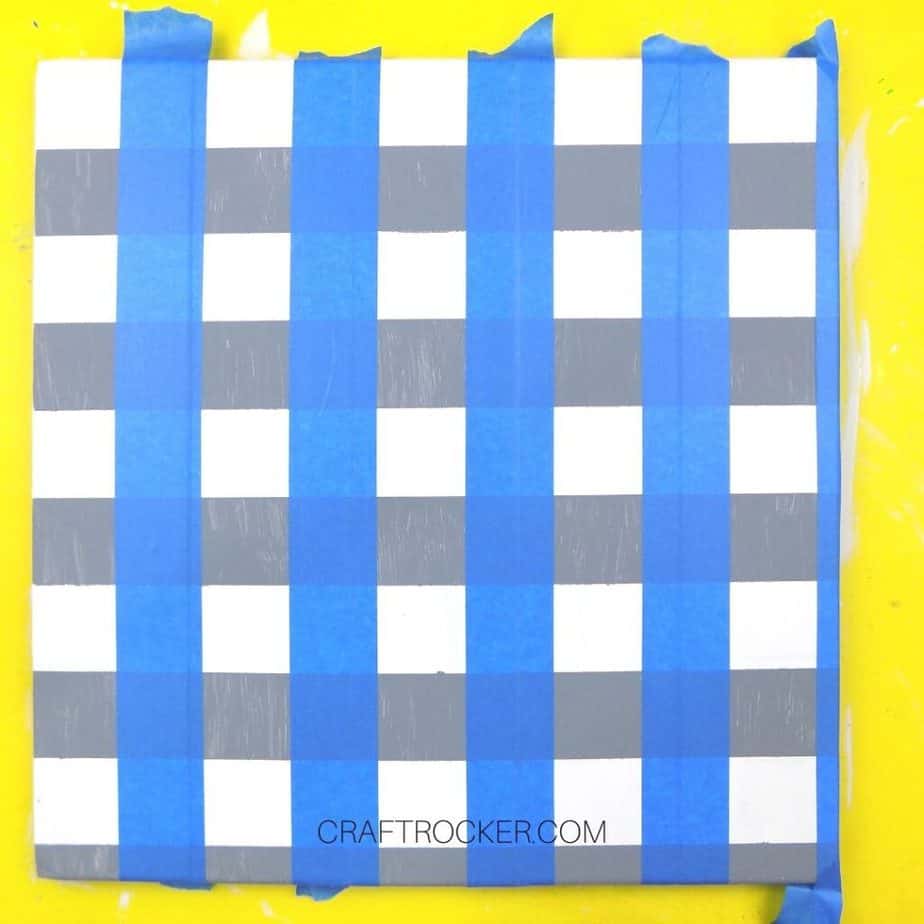
Step 9
Once the strips of tape are on your base, paint the vertical lines with your dark gray paint. This time, leave the tape on after painting while you allow the paint to dry.
Step 10
When you paint is dry, it’s time for the third round of tape. Again, starting at the top place horizontal strips of tape as you did in steps 2 and 3 only this time, remove the top piece of tape and leave the second strip on the base.
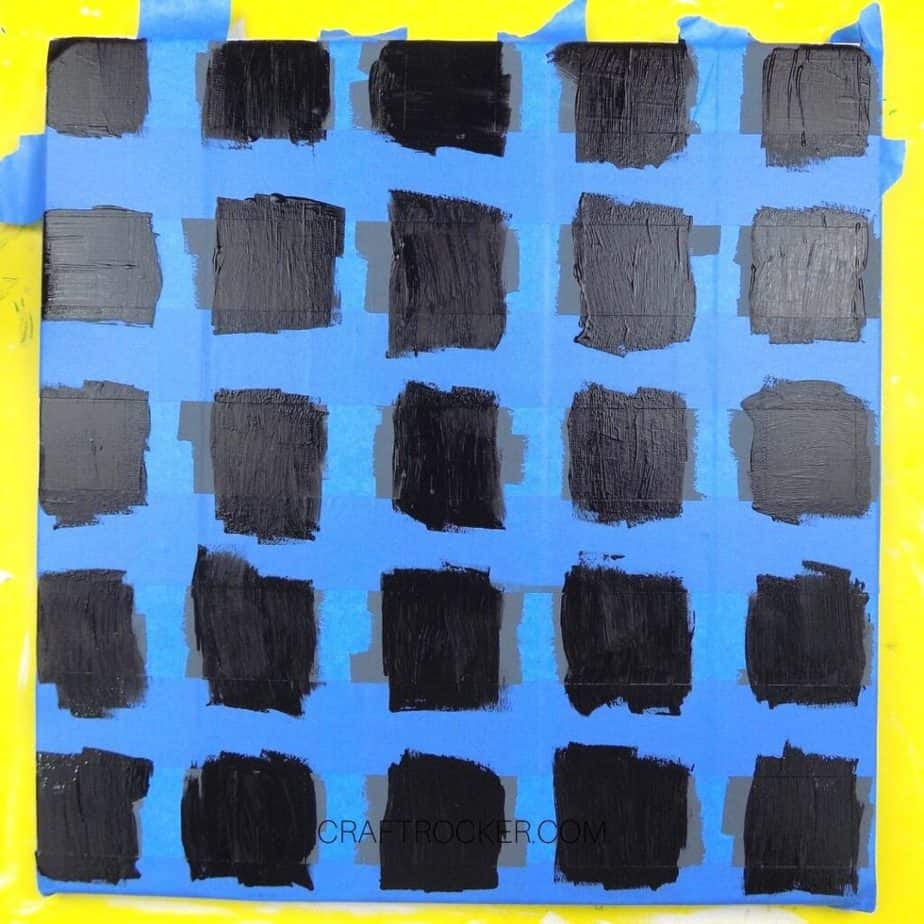
Step 11
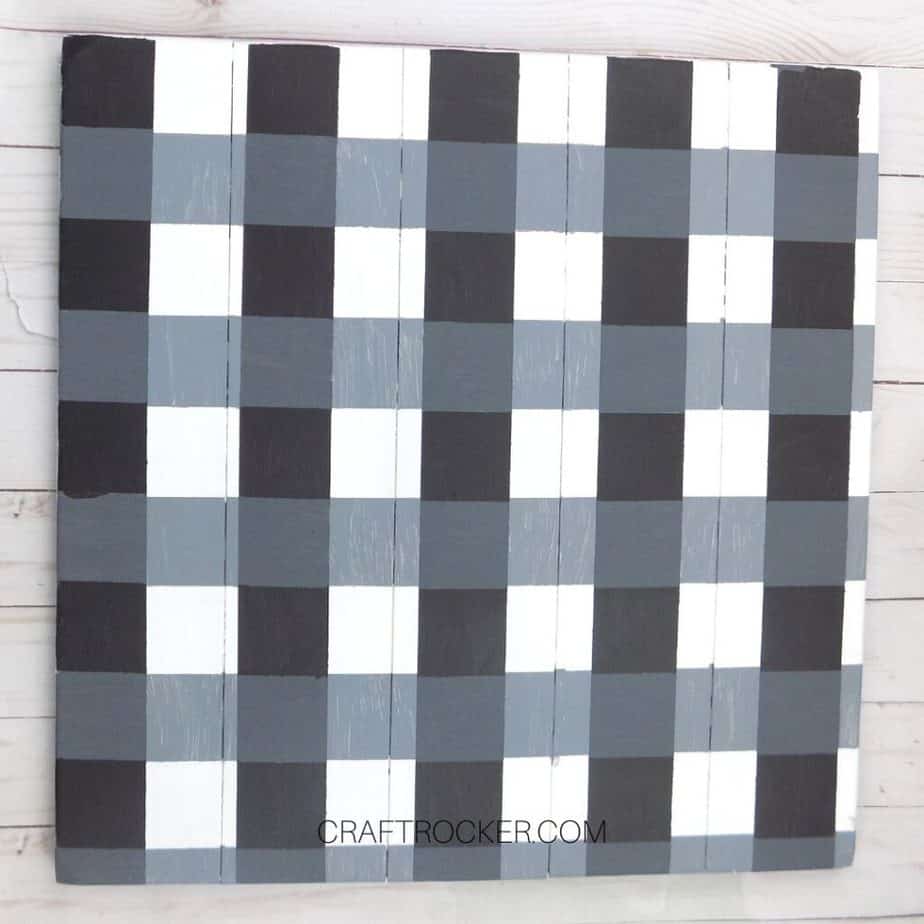
After all of your horizontal strips of tape are on the base, paint over the dark gray squares with black paint.

Step 12
Again without waiting for the paint to dry, carefully pull off all of your strips of tape. Then set your base somewhere flat to finish drying.
FAQ’s and Tips
What is buffalo plaid?
Buffalo plaid is a type of plaid with large blocks that are formed by intersecting colors.
What colors do you use for buffalo plaid?
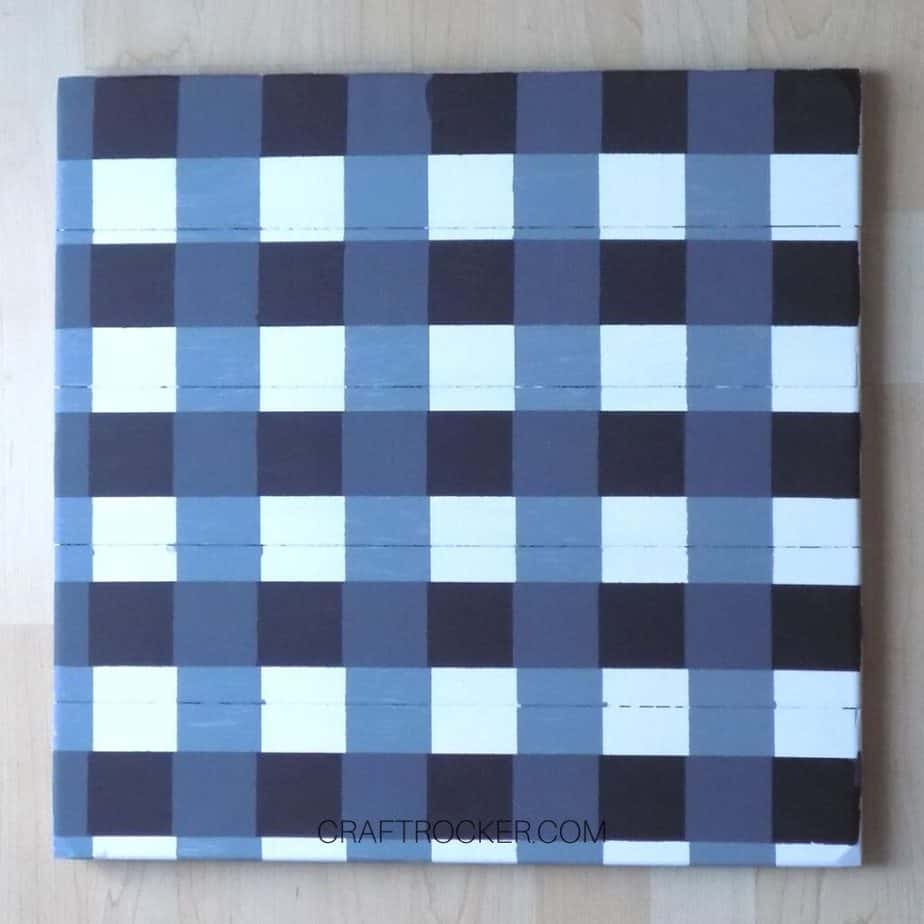
Traditional buffalo plaid is made with red and black. That being said, you can use any colors you want to make buffalo plaid. Make it totally fit your style.
How do you paint buffalo plaid on a wall?
Painting buffalo plaid on a wall is very similar to this method. The difference is you’re unlikely to find tape wide enough to use as your measuring guide.
Instead you will need to measure and mark your lines. Then place painters tape on both edges of every other stripe. The same goes for the vertical lines.
Tip 1
I found that painting towards the center of the lines (away from the tape) created cleaner lines.
Tip 2
I wish I had made my light gray even lighter. That would have given me more contrast on my buffalo plaid. If you use the same colors, I recommend making your light gray extremely light.
Tip 3
This was pointed out above in the tutorial but it bears mentioning again: Be very careful when taking your tape off with wet paint.
Take each piece off one at a time and throw it away before taking the next piece off. Otherwise, you’ll have this large messy ball of tape that you can drop onto your work and ruin it.
It’s so easy to learn how to paint buffalo plaid. As I said above, once you get the basics down you can apply them to all sorts of projects.
What’s the first thing you’re going to make with your new skill? Let me know in the comments!
Don’t Forget to Pin It!