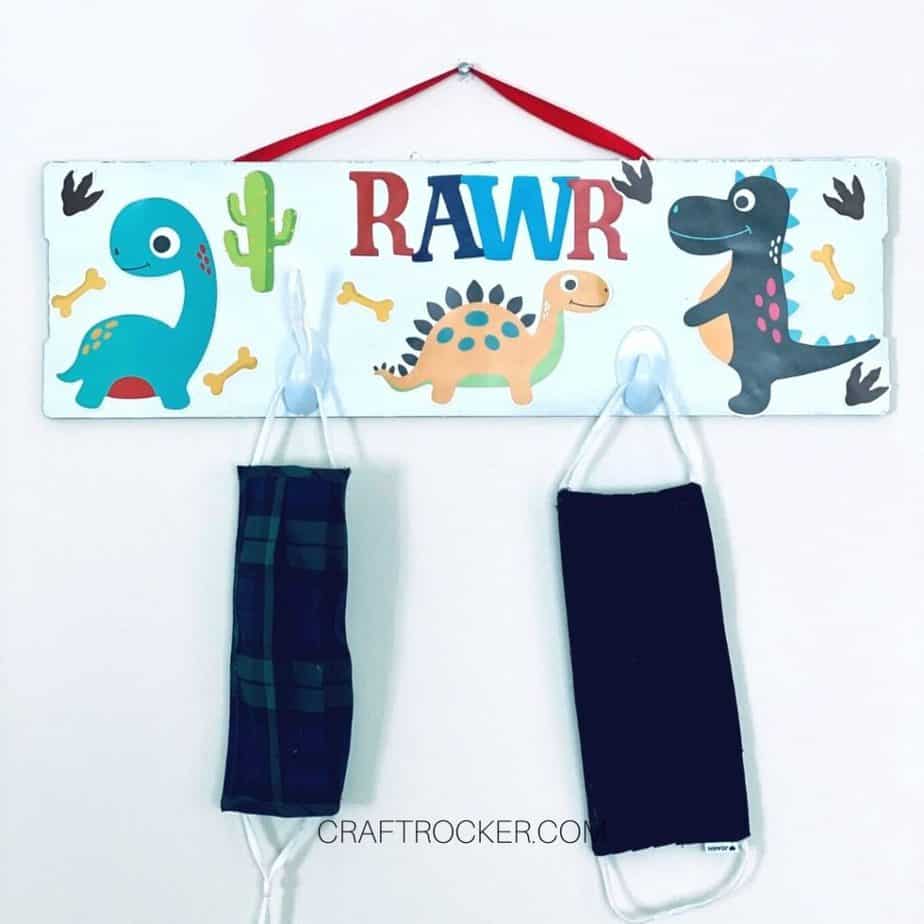
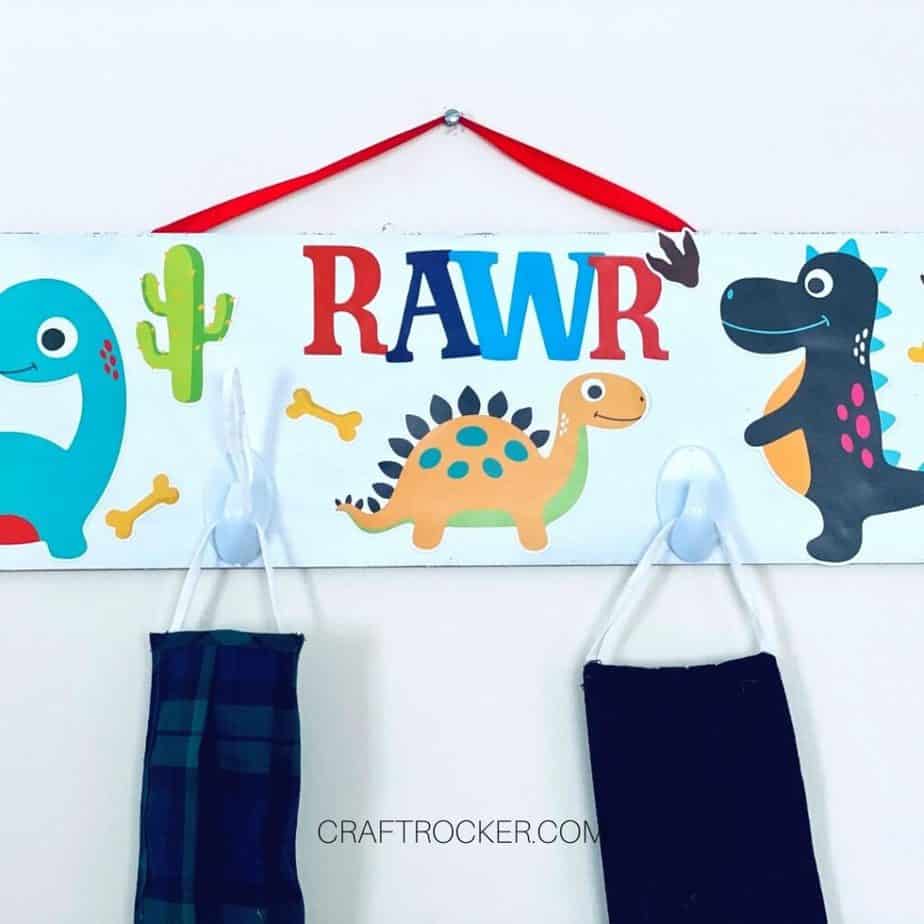
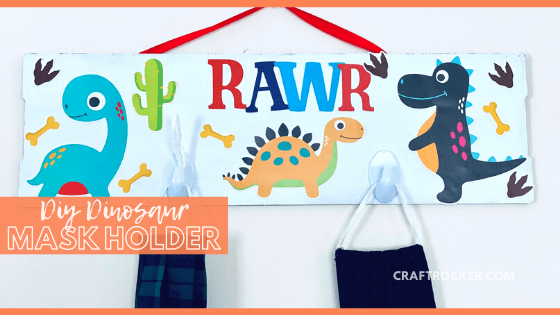
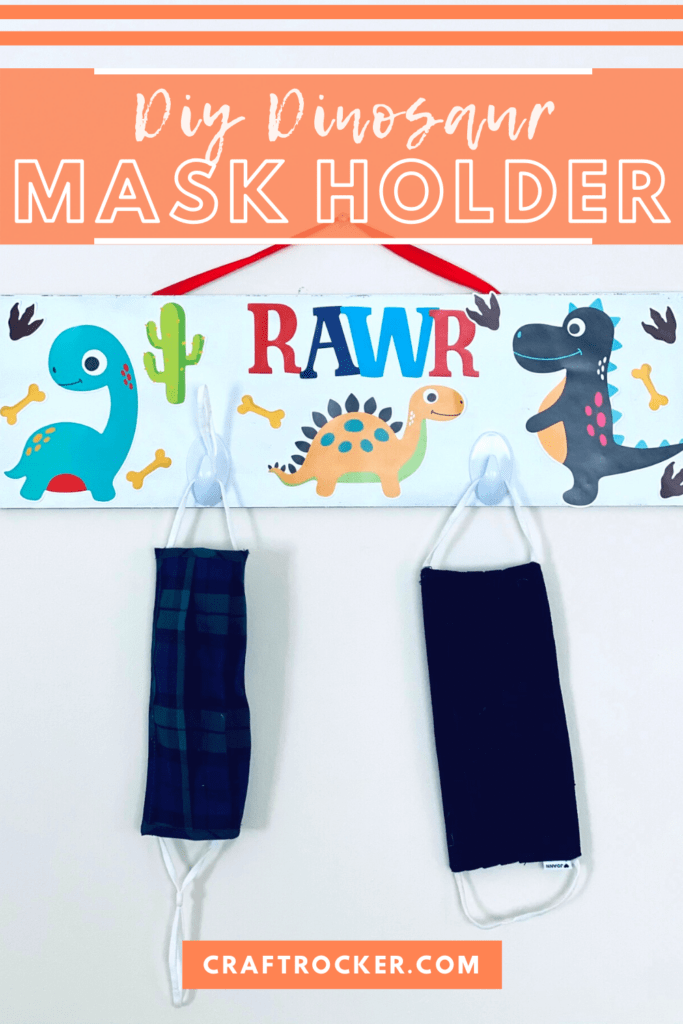
This DIY dinosaur mask holder is an adorable way to wrangle kids’ masks so they don’t get lost in the house. Even better, it’s totally easy and inexpensive to make with a few dollar store items.
Affiliate links may be used in this post. Ordering a product through these links may result in a commission at no extra cost to you. Read the full disclosure here.
Jump to What You Want


We’ve all been there this year. You go to leave the house and your kid is like, “I don’t know where my mask is.”
It’s always when you’re trying to walk out the door too.
What’s worse is that because we don’t really go anywhere (maybe to the grocery once a month), there’s no chance of them remembering where they last had it.
That’s why I love this mask holder. You can hang it by the door and as soon as kids come in, they hang them on the hooks.
Then, when it’s time to leave they can grab them off the hooks on the way out the door. Easy-peasy.
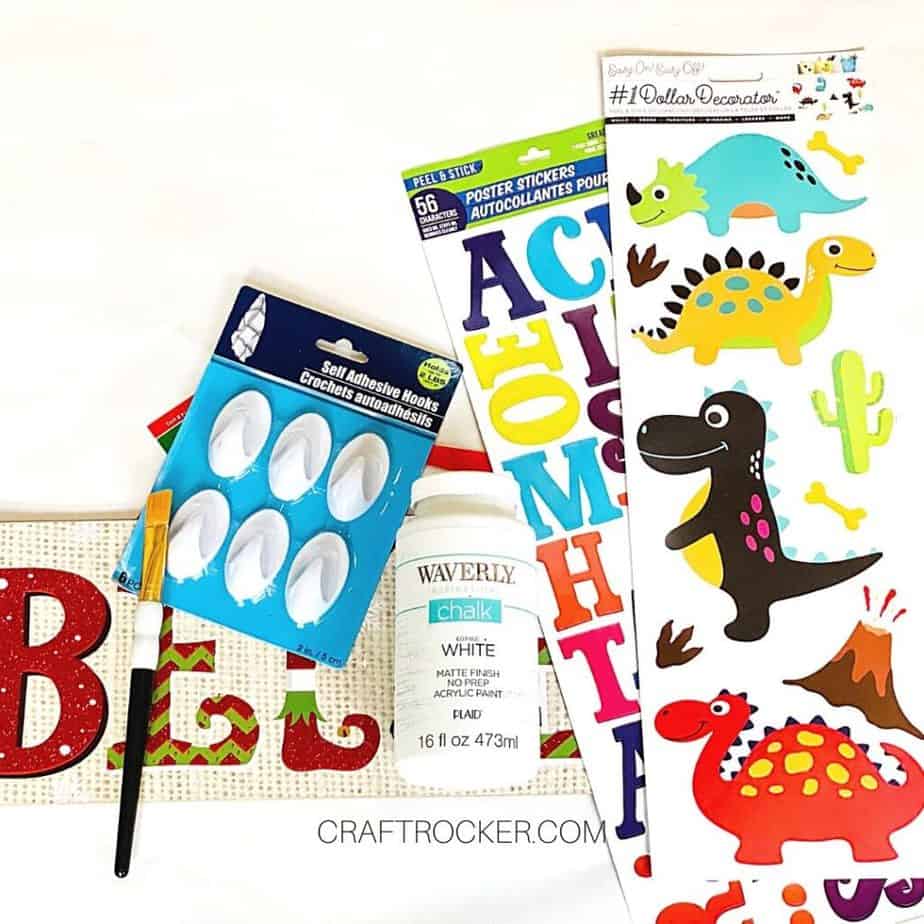
Materials for DIY Dinosaur Mask Holder
Dollar Tree Rectangle Sign (I had a Christmas one but any of their seasonal signs will work)
Dollar Tree White Command-Type Hooks (You can also use the silver ones if your dollar store has them)
Flat Paint Brush
Waverly White Chalk Paint
Dollar Tree Dinosaur Wall Stickers
Dollar Tree Colored Poster Stickers
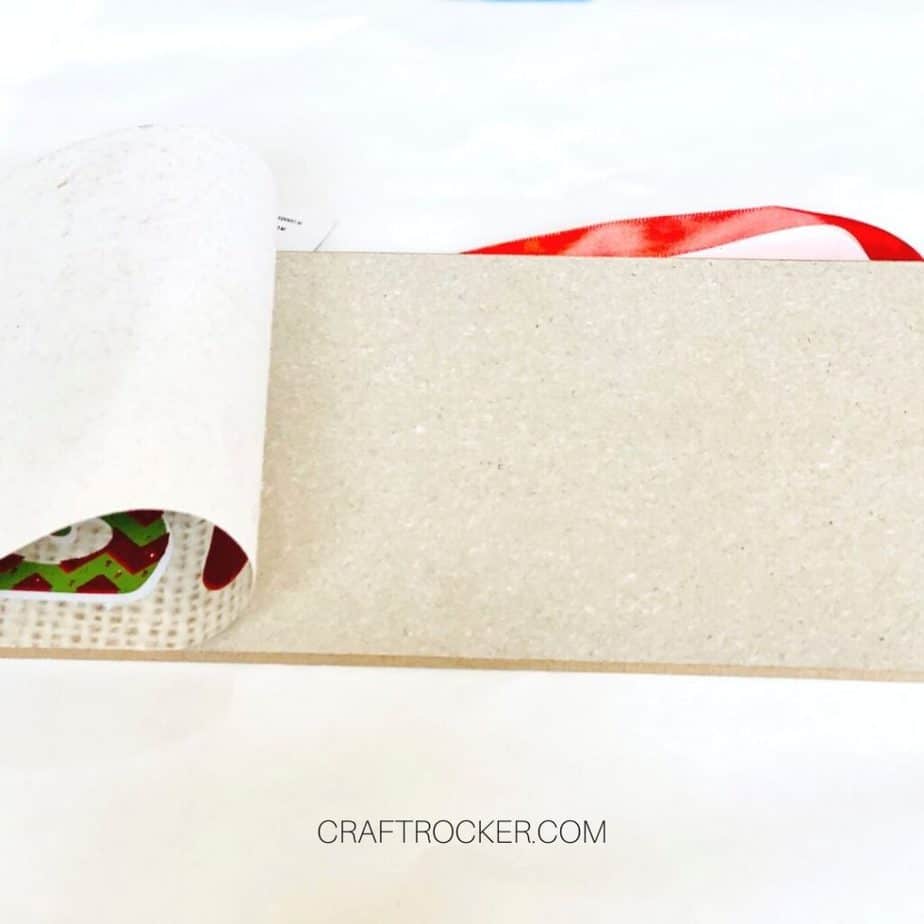
Step 1
First, peel off the front of your Dollar Tree sign. It comes off easily so you shouldn’t have any trouble.
Be sure to leave the ribbon hanger attached to the back.
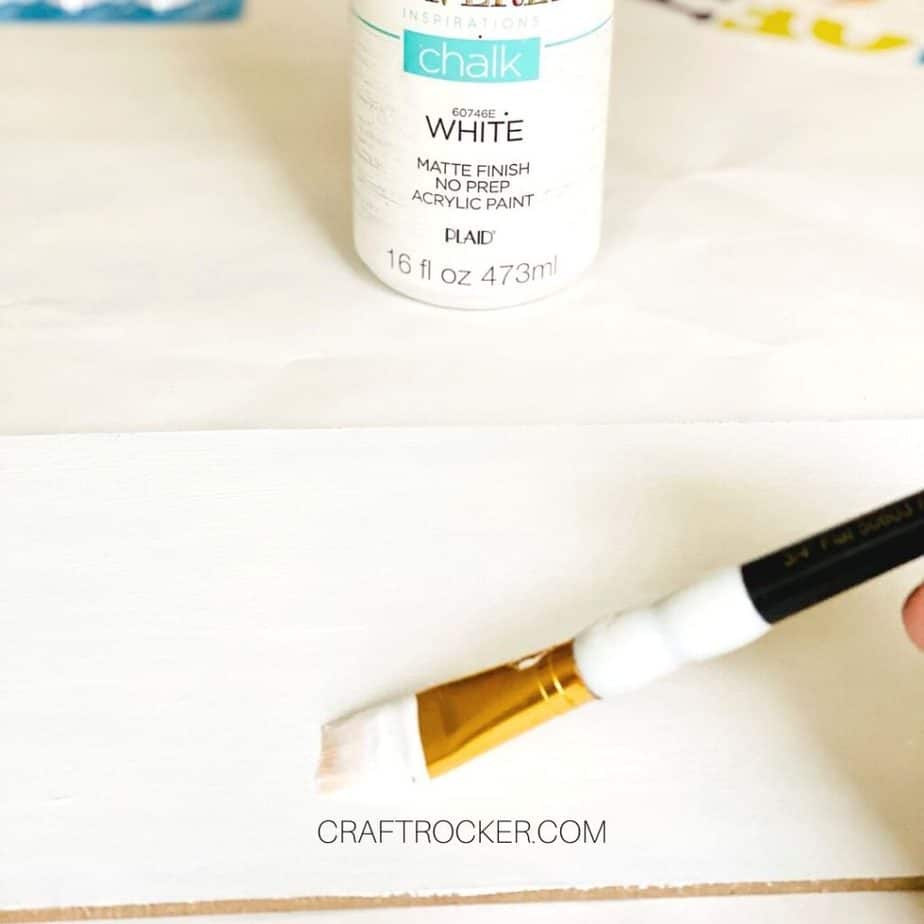

Step 2
After the front of the sign is pulled off, apply 2 coats of Waverly white chalk paint (or regular white acrylic paint) to the sign.
Chalk paint works well for this project because it dries faster so you have less wait time.
Wait until the paint is completely dry to move on or the stickers will not stick to your sign.
Step 3
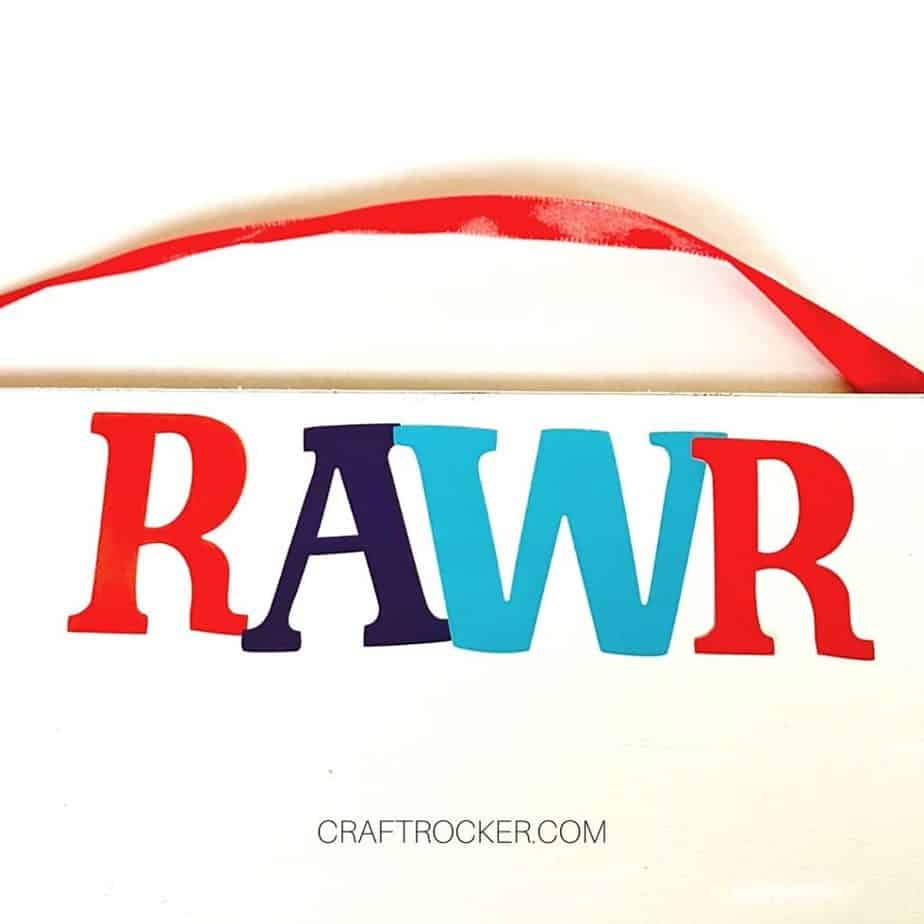
Next add the letters for “RAWR” to the top center of your sign.
Step 4
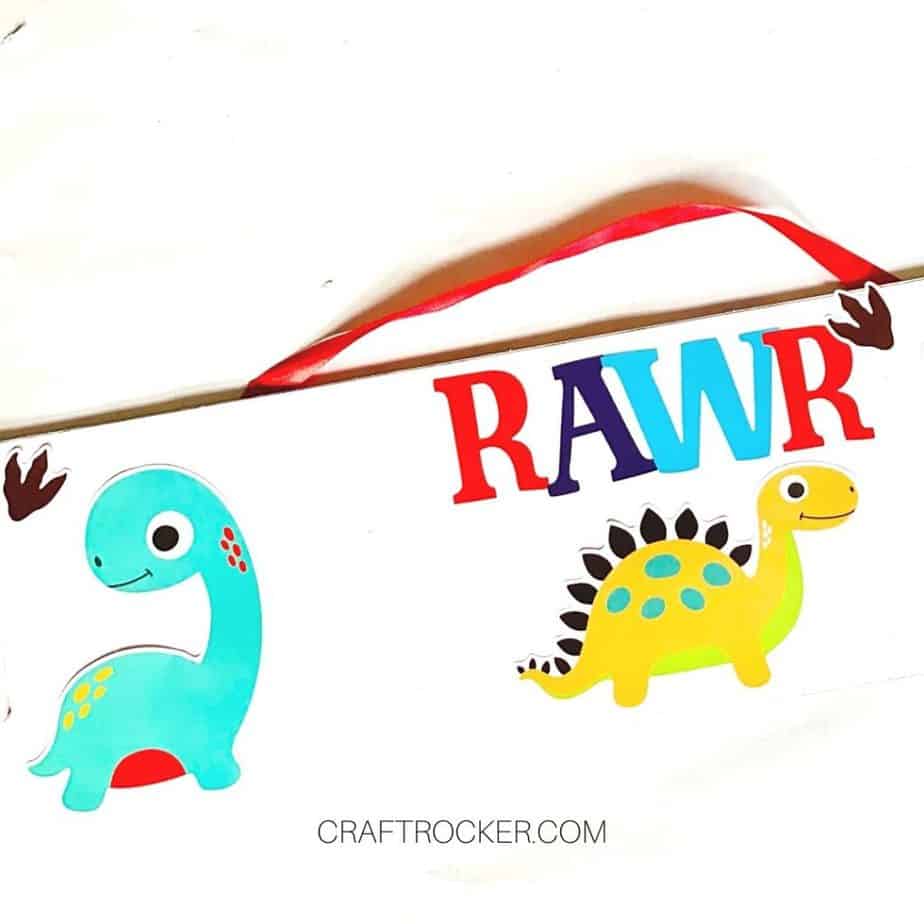
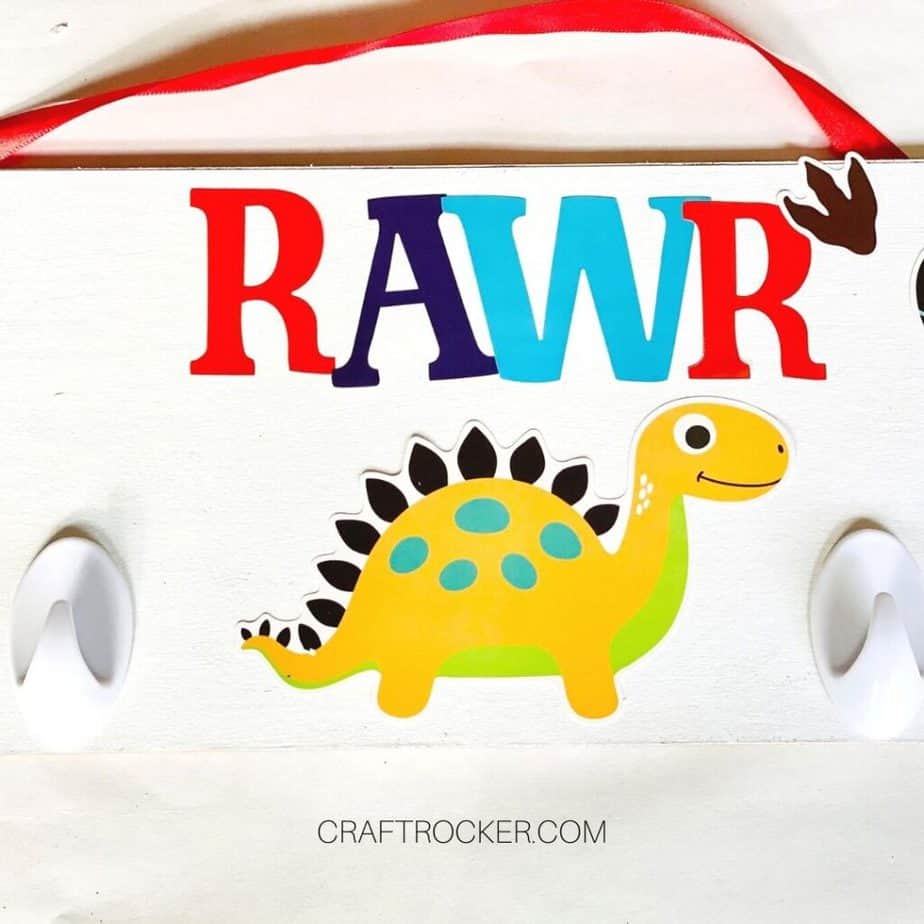
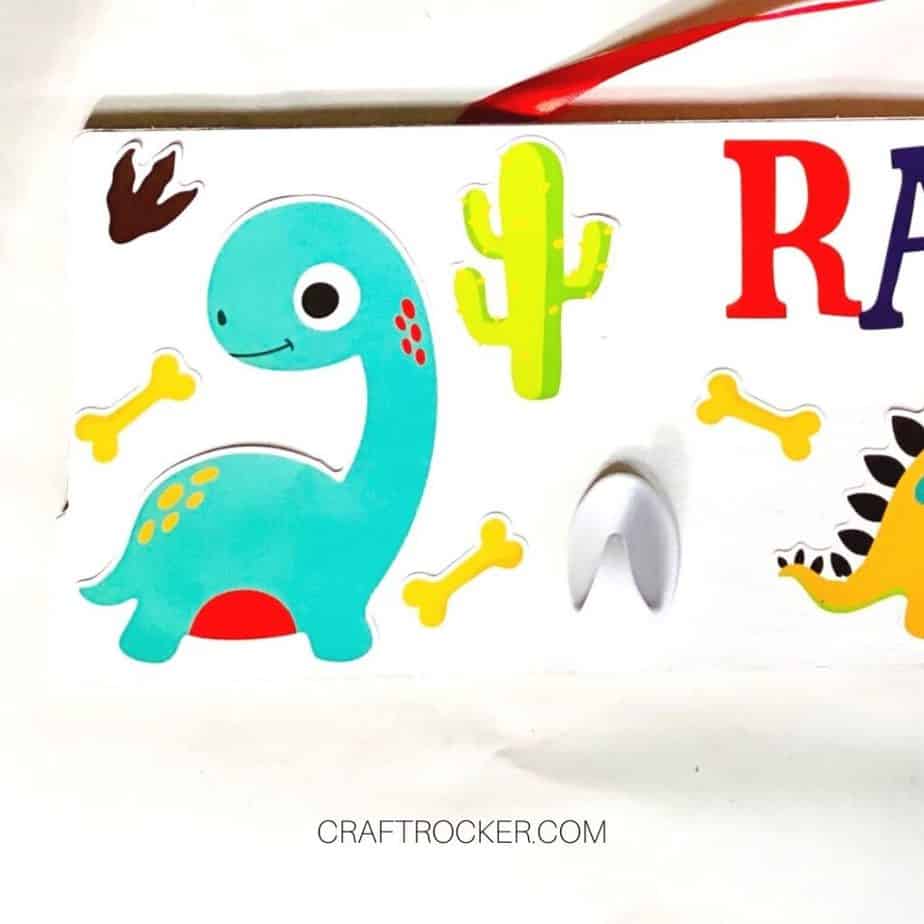
After your letters are attached, decorate the sign using your choice from the dinosaur stickers. Be sure to leave space at the bottom to attach your hooks later.
Step 5
Then add the command-type hooks to the bottom of your sign. They have a sticky part on the back so simply peel off the covering and firmly press them to your sign where you want them to be.
Step 6
Lastly, go back in with your stickers and add some smaller ones to further fill-out any large gaps in the sign.
How to Hang Your Mask Holder
This sign is so light that you can easily hang it on the wall with a push pin or nail. However, since it’s likely to be used by kiddos, I recommend using something a little sturdier like a Command Hook.
You can use the hooks from the Dollar Tree but I recommend getting the true Command Hooks.
The hooks from the Dollar Tree are permanent and can damage your walls when you take them off. The Command hooks allow you to easily remove/relocate the sign and hook later without damage.
Isn’t this DIY dinosaur mask holder too cute?
It can totally be used to hold other things too, like these clip-on beaded lanyards and even hats or gloves. It’s a fun and colorful way to help keep your little one organized!
This mask holder is also the perfect place to hang those masks to dry. After the wash simply hang them up and allow them to air dry. It’s a win-win so they don’t get lost!
Don’t Forget to Pin It!
More Awesome DIY Projects for Your Home
Mini Mason Jar Salt and Pepper Shakers
French Memo Board – DIY Memo Board Idea
DIY Dollar Store Spring Craft – Intelligent Domestications
