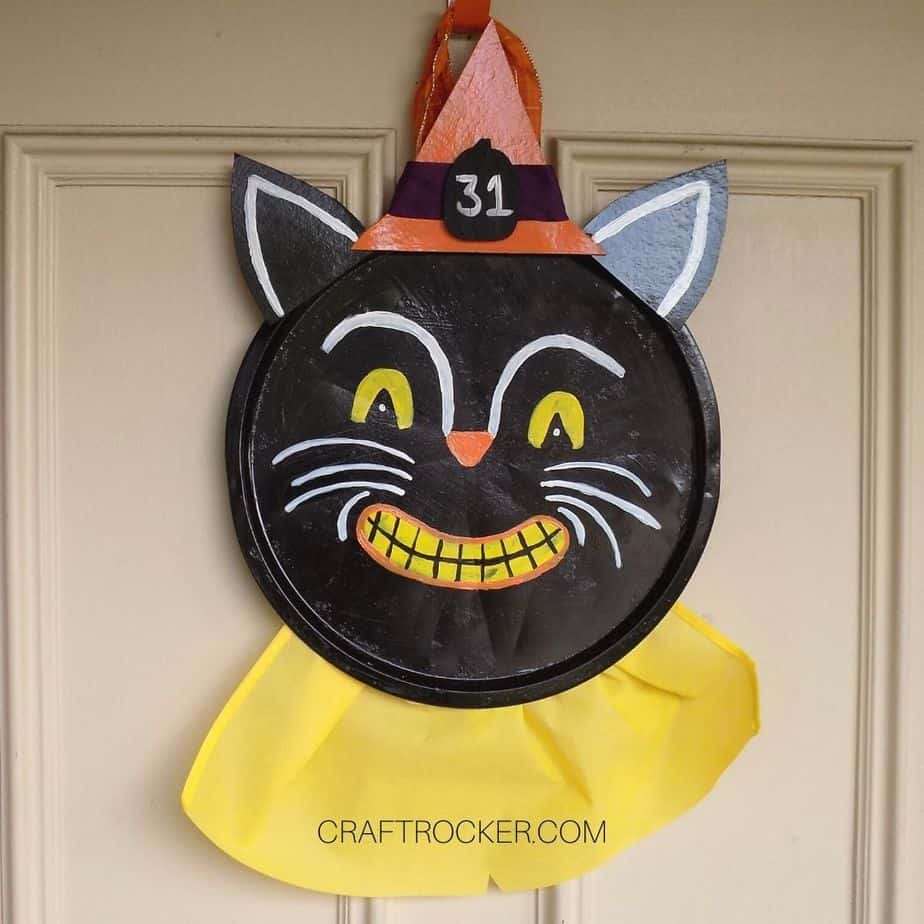
This vintage Halloween pizza pan wreath is everything you didn’t know your door needed this October!
Affiliate links may be used in this post. Ordering a product through these links may result in a commission at no extra cost to you. Read the full disclosure here.
I’ve been wanting to try my hand at making a pizza pan wreath for a couple of months now. When a challenge showed up in one of my crafty Facebook groups (this one if you’d like to join), I considered it fate.
Of course, what I didn’t think about was the current tin shortage. Eek! I went to 4 different Dollar Tree stores multiple times and not one had a pizza pan.
Since I don’t give up easily, I went with plan B. I own a pizza pan from the dollar store already that I actually use for, you know, pizza.
That is the pan I used for this wreath and I’ll buy a replacement when they’re available again.
Vintage Halloween Pizza Pan Wreath Materials
- Dollar Tree Pizza Pan
- Black Acrylic Paint
- Paint Brushes
- Printable Ears and Hat Pattern
- 8.5 X 11 in Cardboard
- Scissors
- Stiff Yellow Fabric
- Hot Glue Gun and Glue Sticks
- Orange Acrylic Paint
- White Acrylic Paint
- Yellow Acrylic Paint
- Spray Acrylic Sealant
- 2 in Purple Ribbon
- 2.5 in Unfinished Flat Wood Pumpkin
- Orange Wired Ribbon (20 inch long piece)
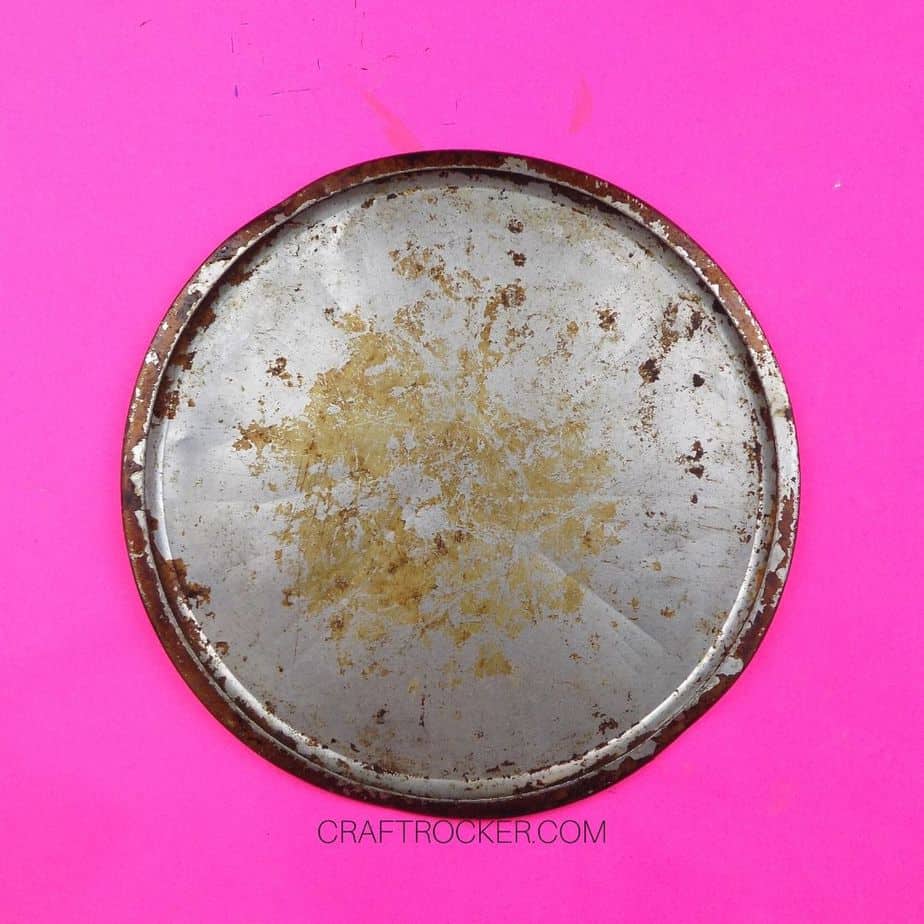
Step 1
First, remove any tags from your pizza pan and clean it. Mine looks a little grungy because it has been used for over a year but luckily, the black paint will hide that.
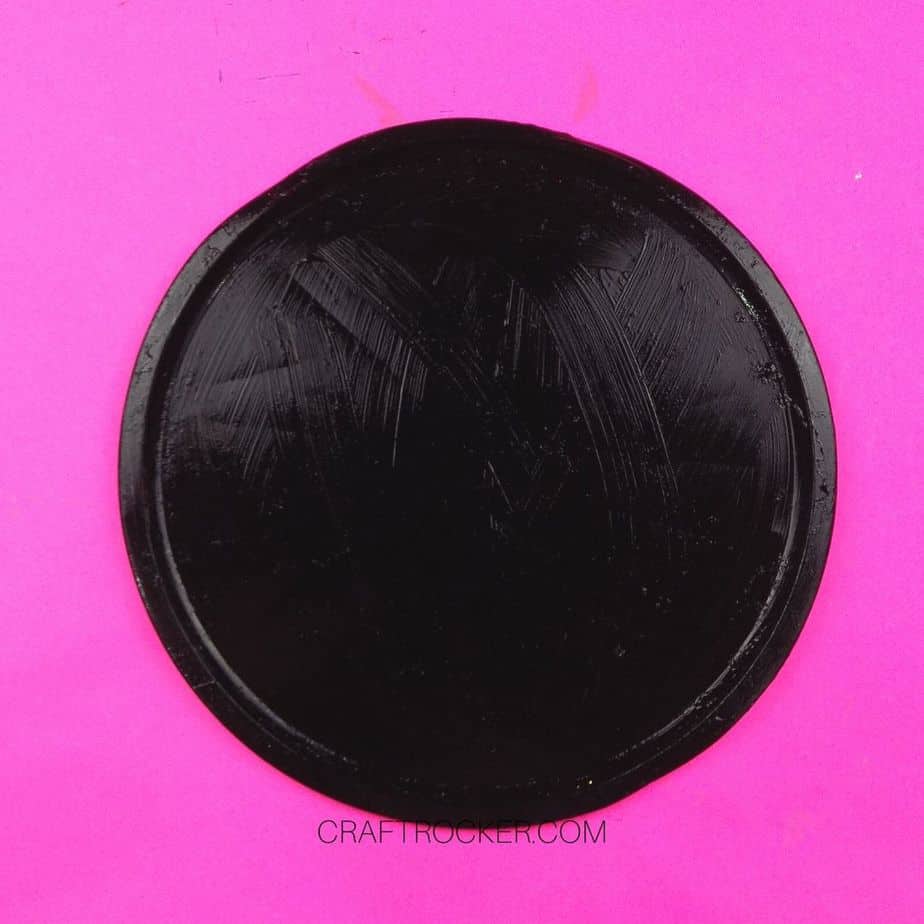
Step 2
Next, cover the entire front side of your pan with a coat of black acrylic paint. Set it aside to dry.
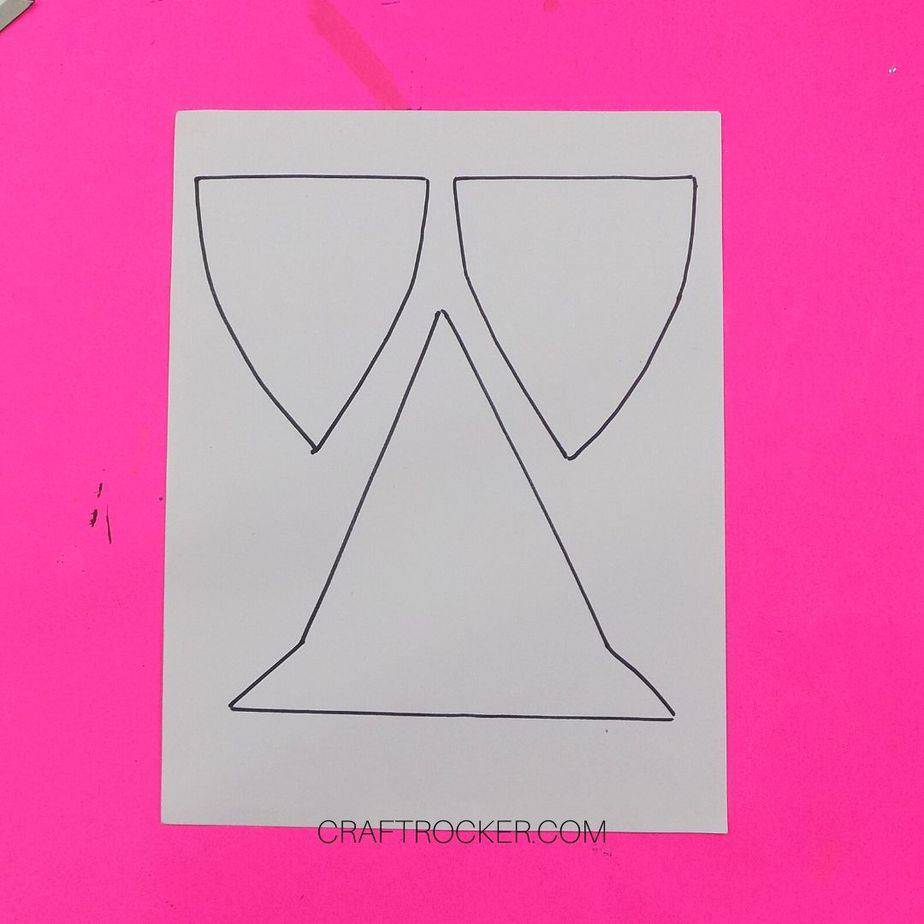
Step 3
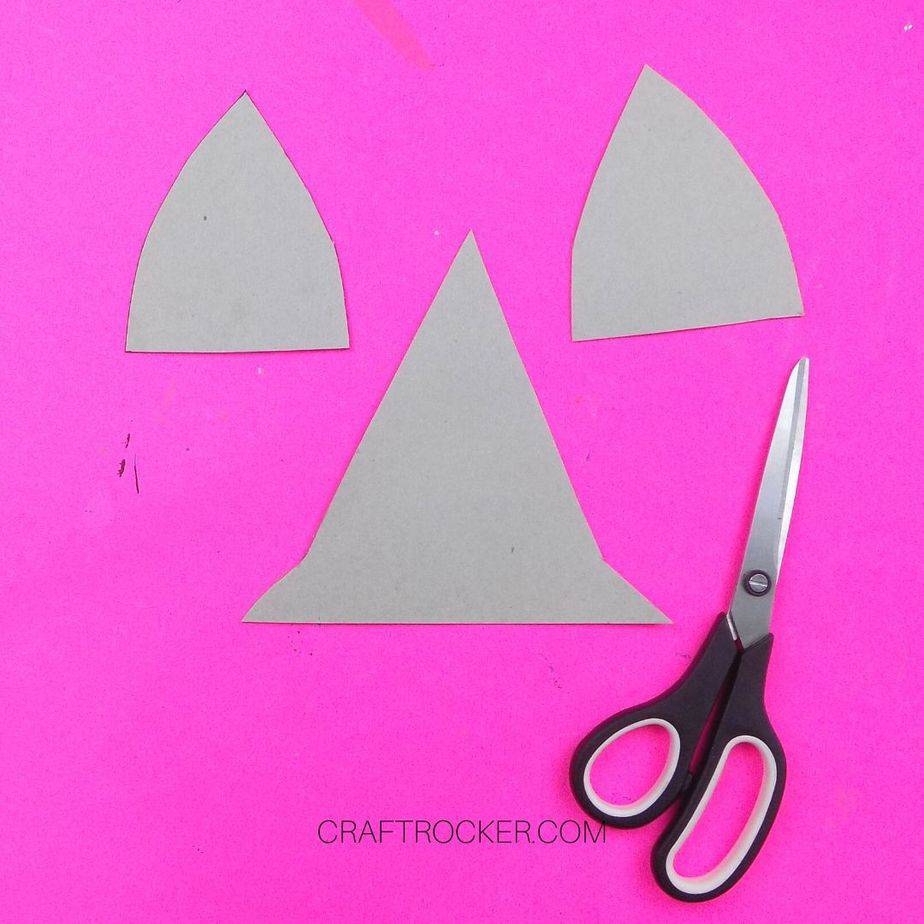
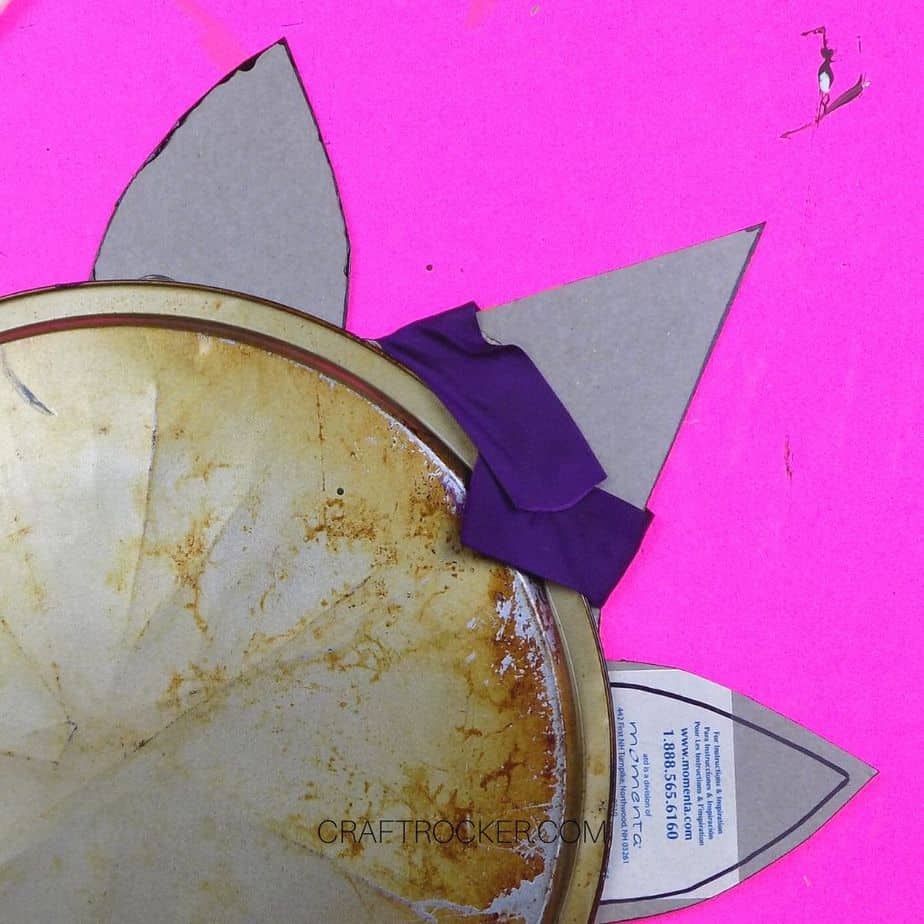
Now use your printable pattern to trace the ears and hat onto the piece of cardboard and cut out each piece.
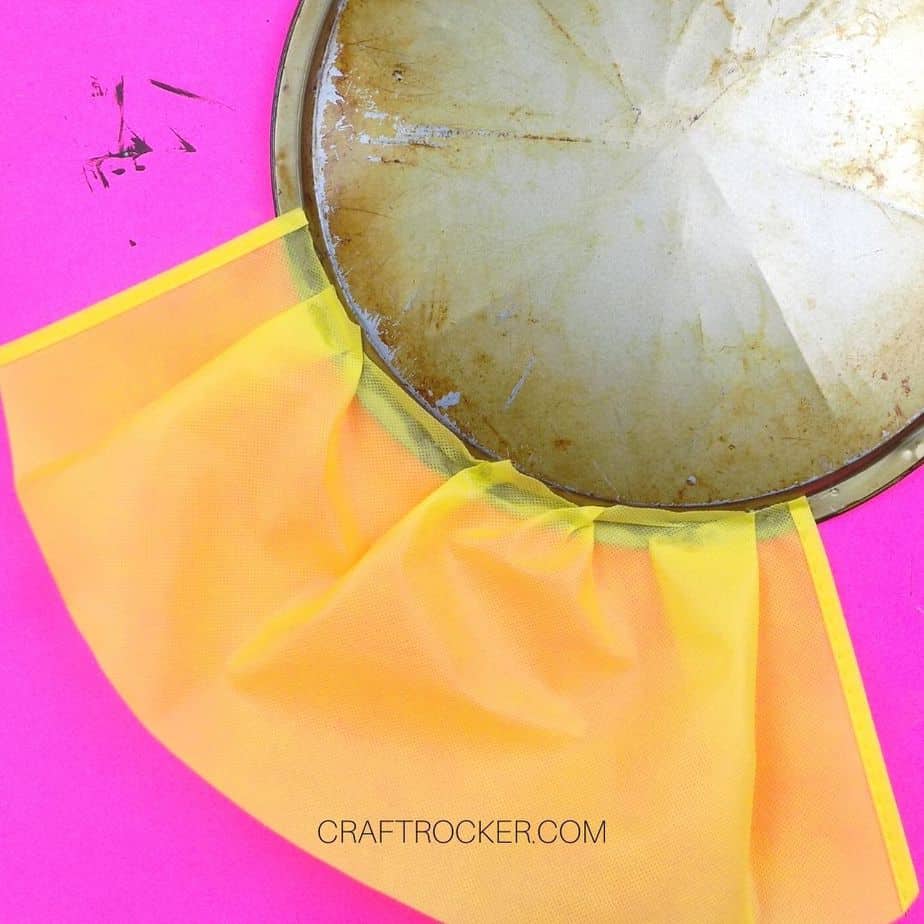
Step 4
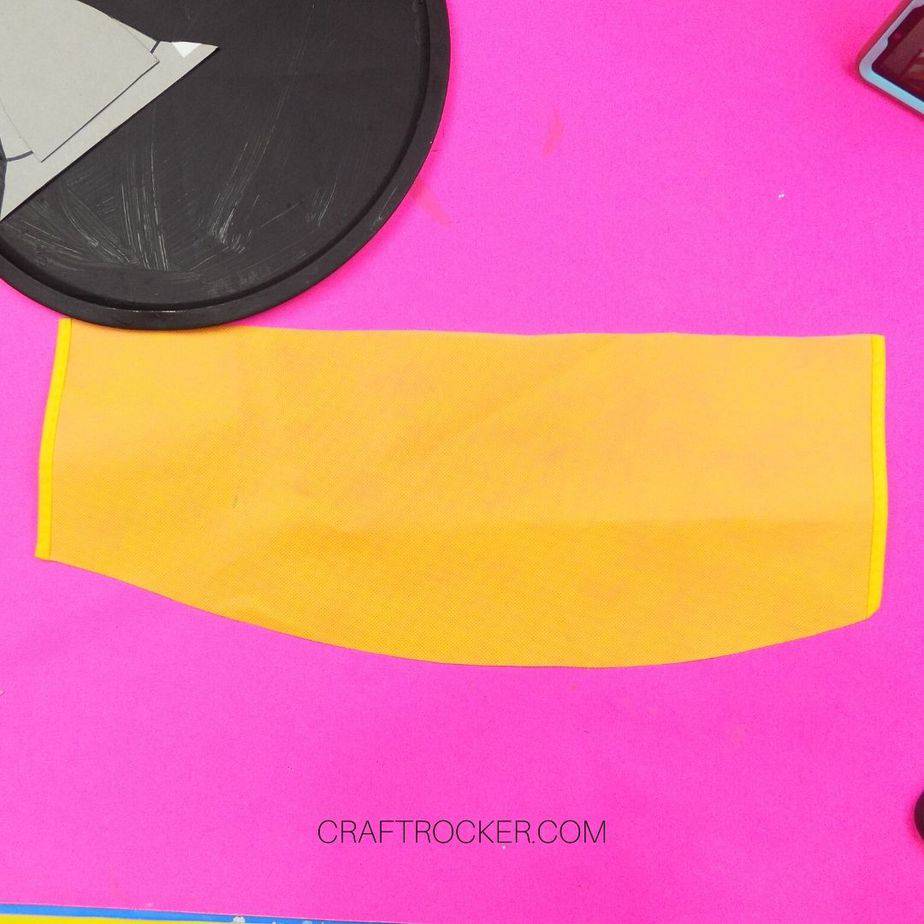
Also cut a 48 inch long and 5 inch wide piece of yellow fabric with a slight curve on one of the long edges. Set it aside until later.
Note:
- Because you are gluing folds in this later, it doesn’t need to be perfect.
Step 5
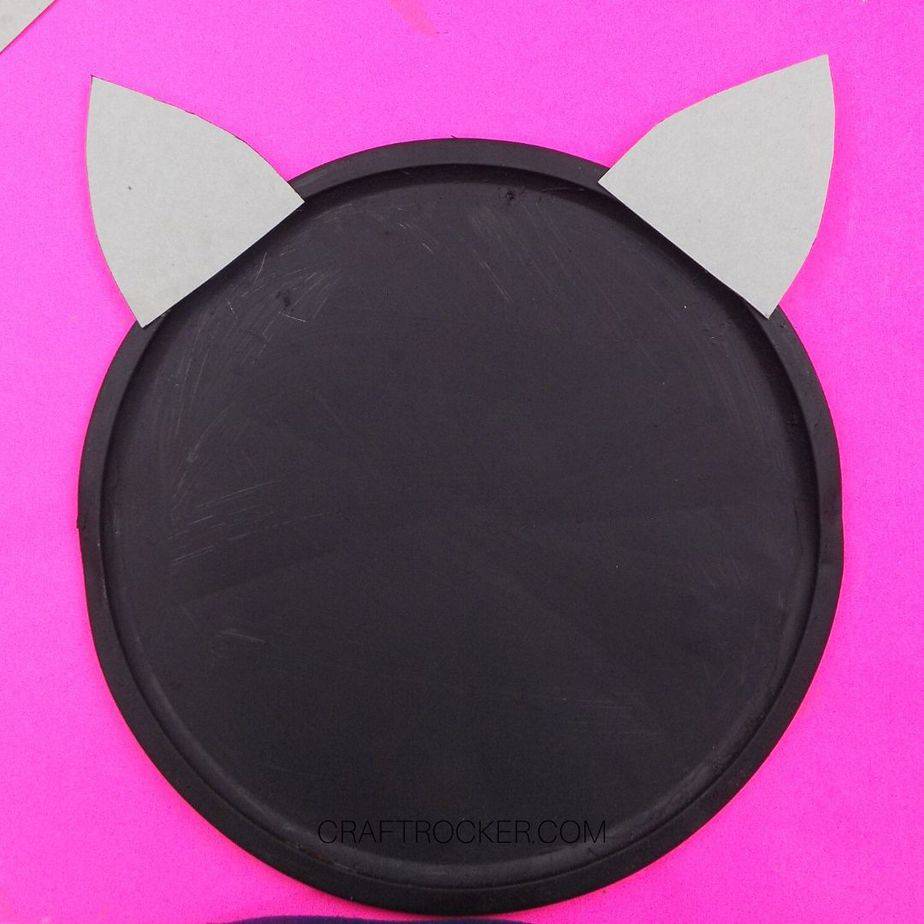
After your pizza pan is dry, hot glue your ears to the top of it. Use your hat to make sure that they are far enough apart from each other. There should be a slight overlap on each side when you glue your hat on later.
Step 6
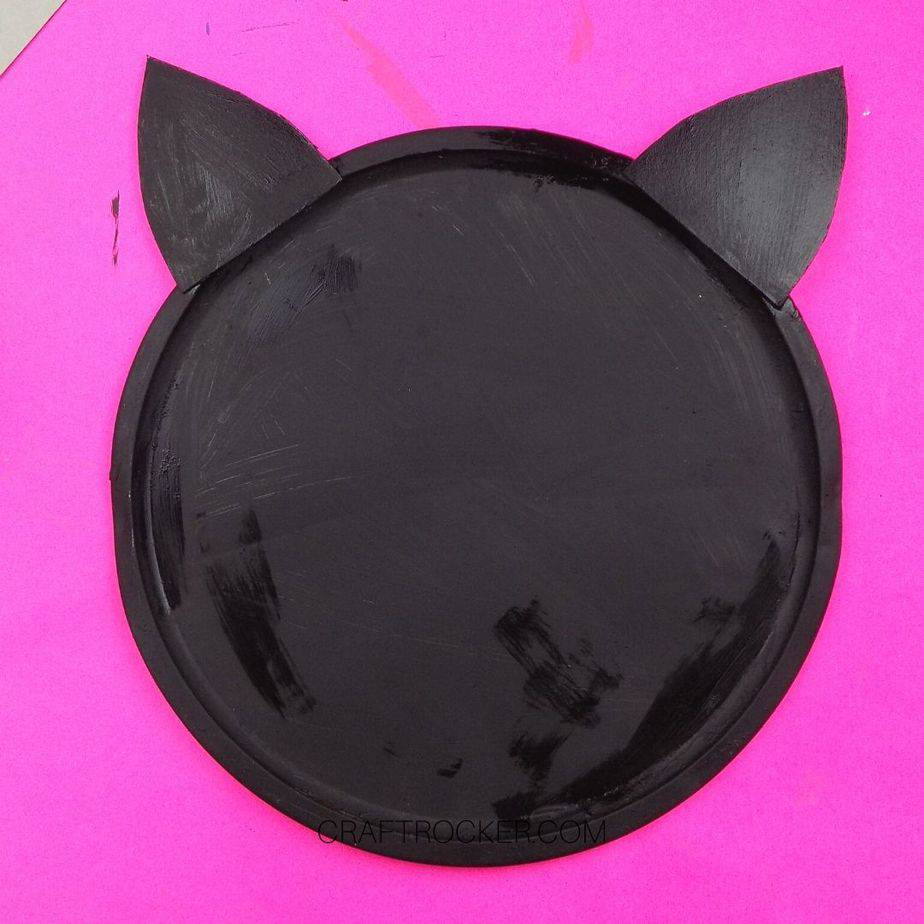
Then paint your ears black and allow them to dry. Make sure that you paint the edges of the cardboard as well as the top.
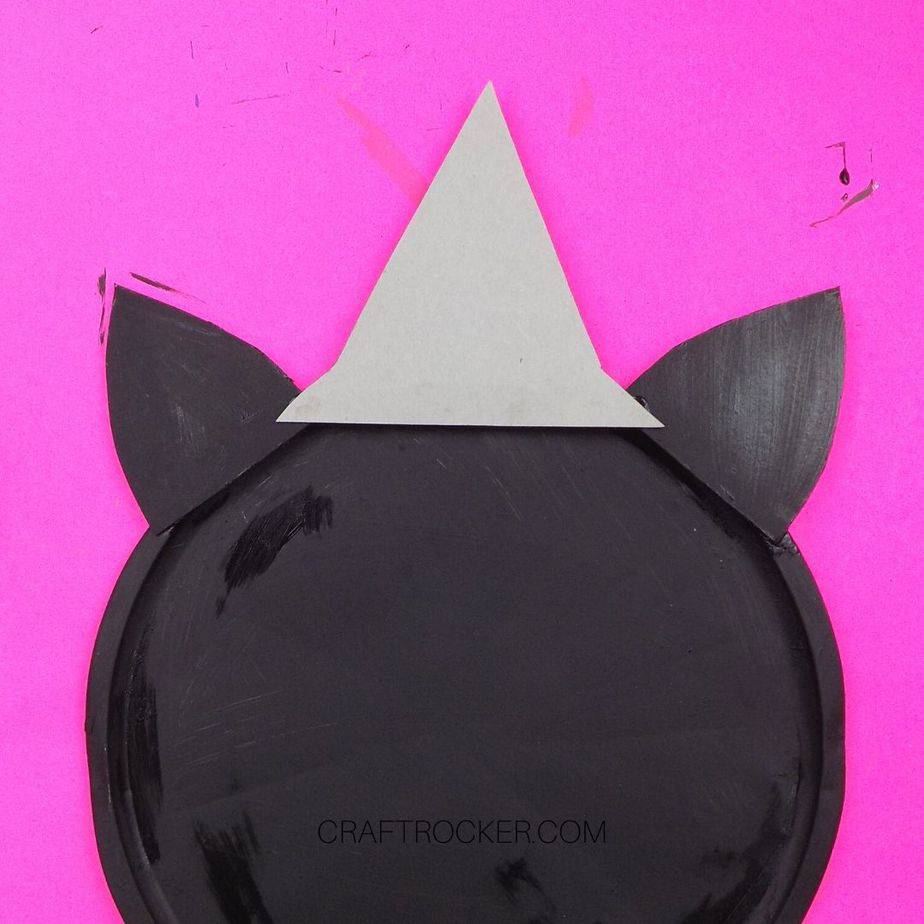

Step 7
Next, hot glue your hat to the top center of your pizza pan between the ears.
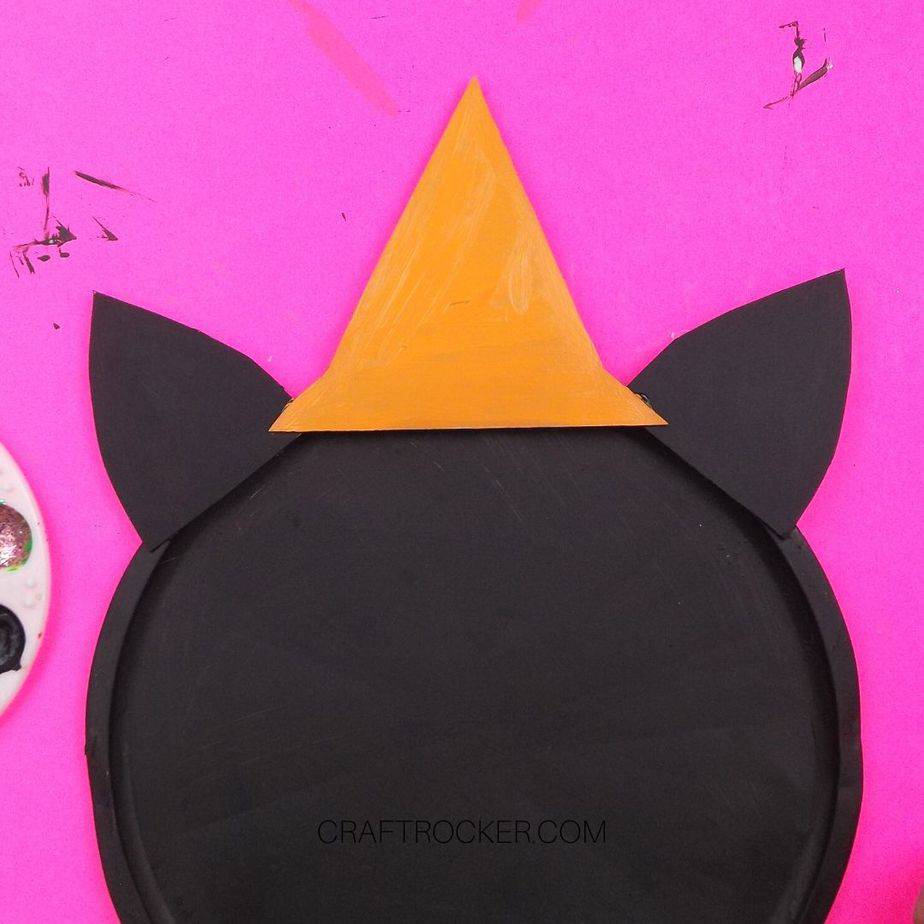
Step 8
Once your hat is glued to the pan, paint it orange with acrylic paint. Again, make sure that you paint the edges of the cardboard as well as the top.
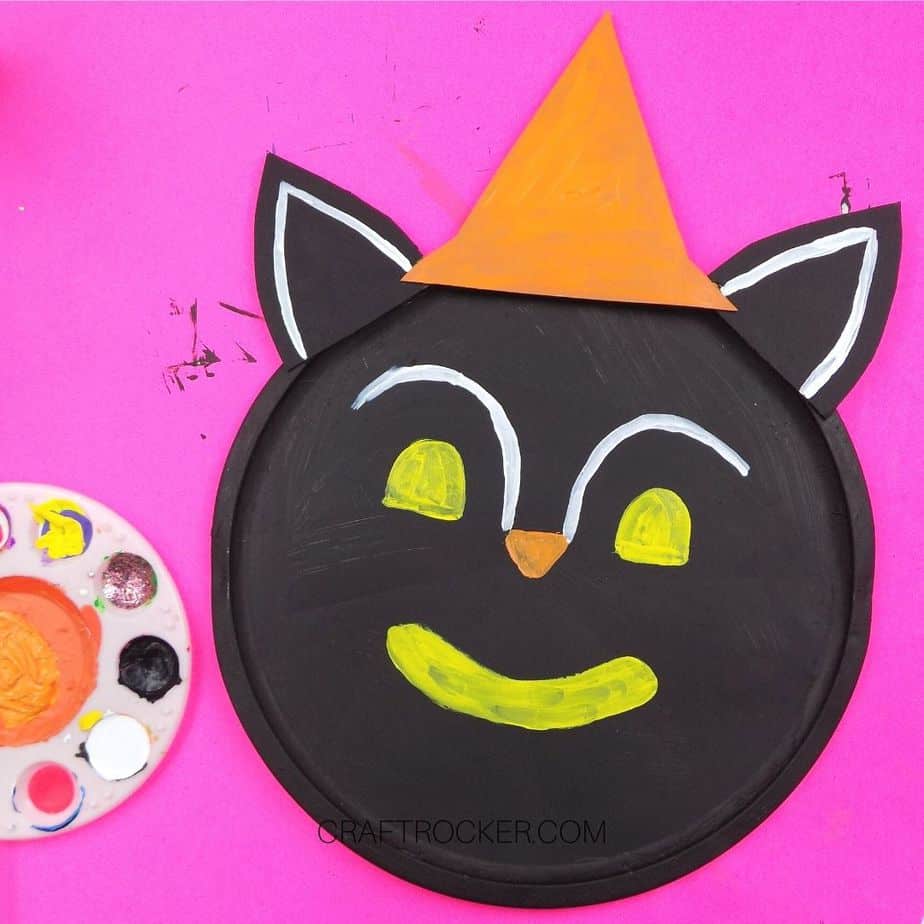
Step 9
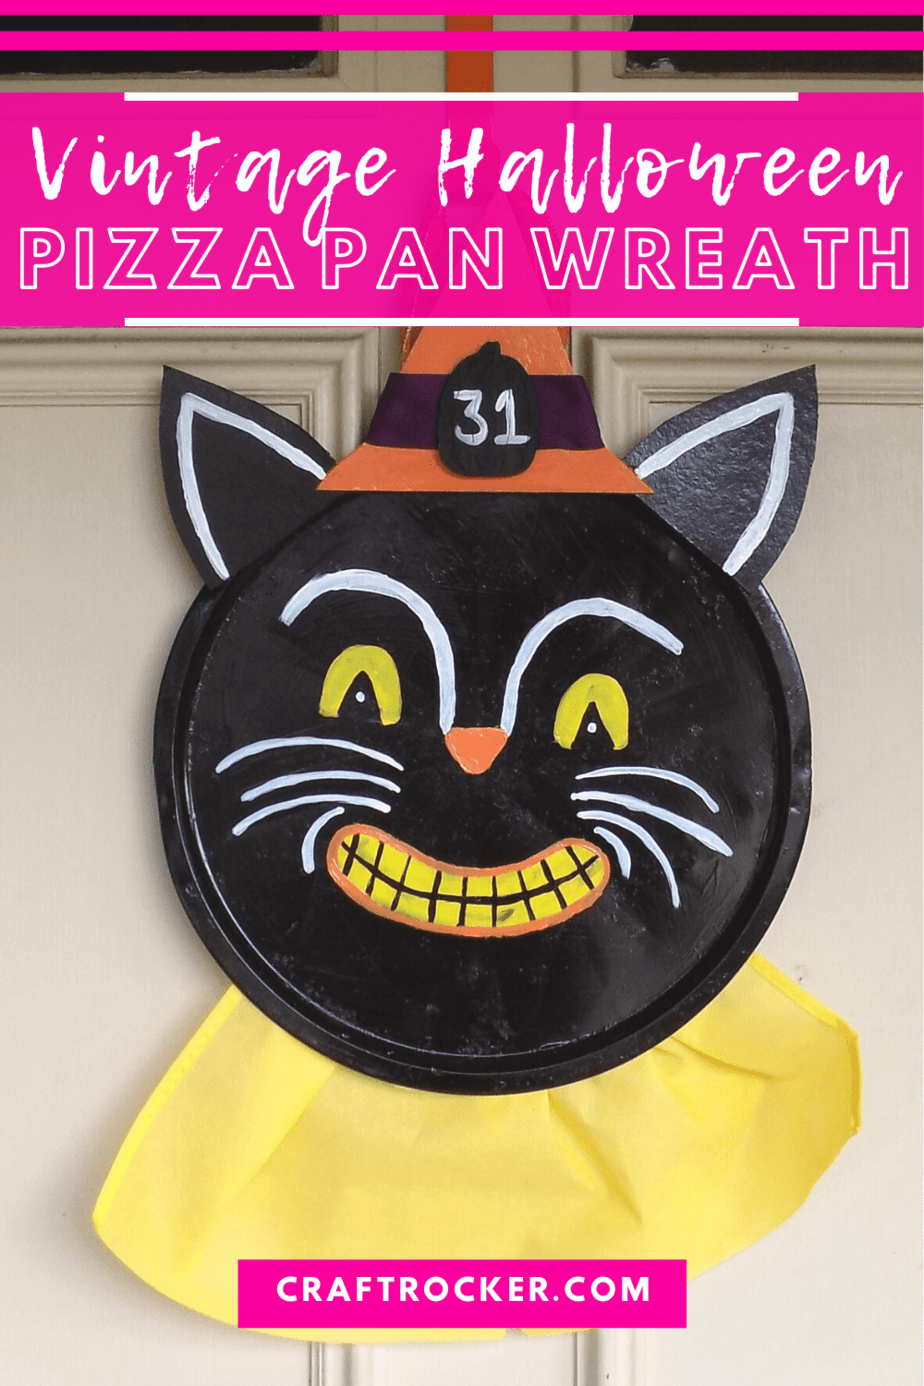
After your hat is painted, paint the white detail lines on your ears. Then paint the outline of the face on your pizza pan.
Start by painting the orange nose in the center, then paint the white lines from the nose and up into eyebrows. Lastly, outline the eyes and the mouth in yellow.
Note:
- You may need more than one coat of paint on the outlines to get crisp colors over the black. I put 3 coats on mine.
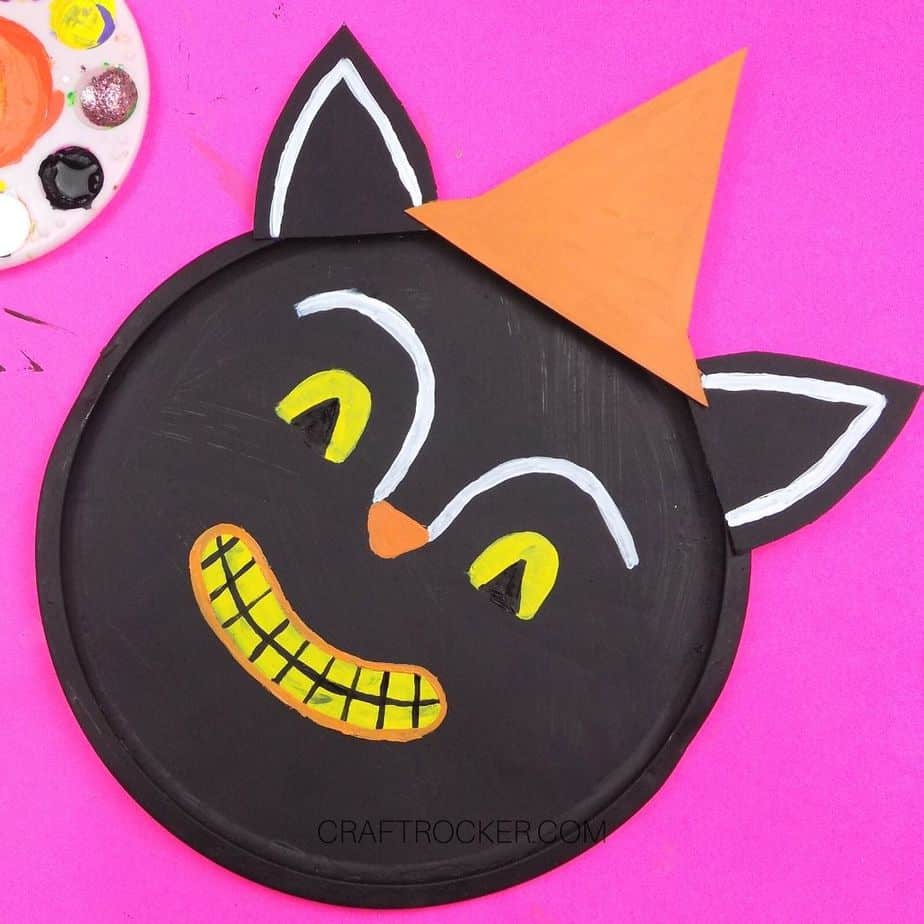
Step 10
Next, paint the eye and mouth details on your pizza pan. The eyes should have black triangles with white dots on them. The mouth needs black lines for the teeth and then outline the entire mouth with orange paint.
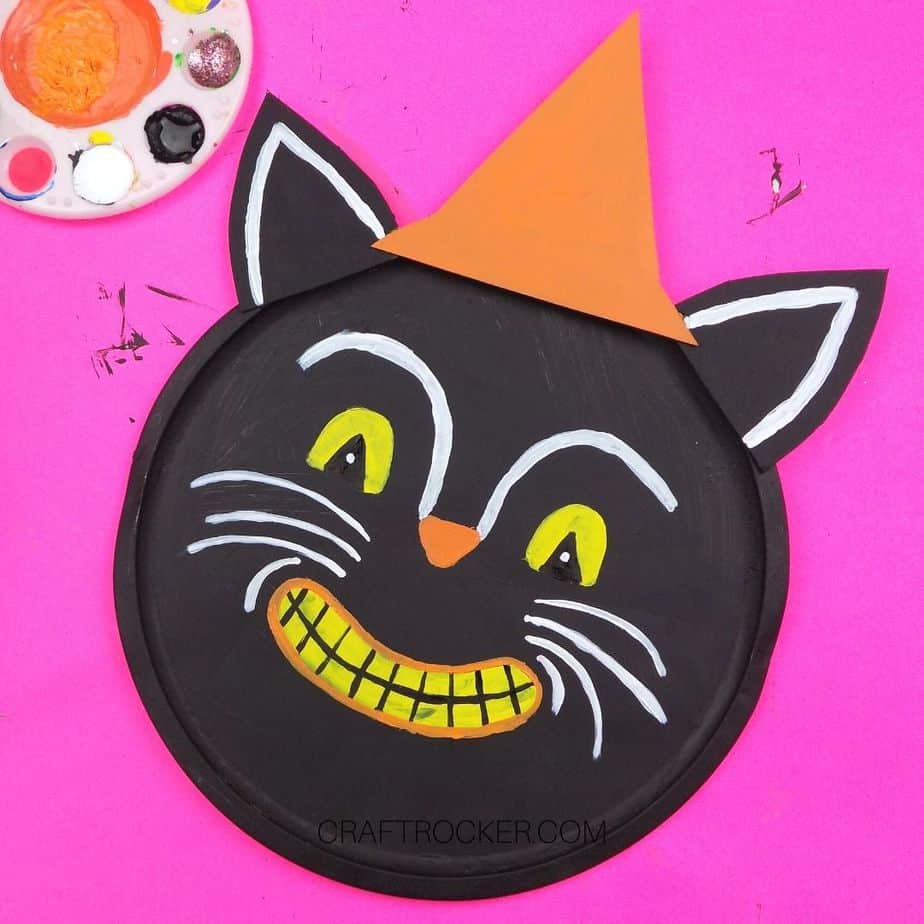
Step 11
Lastly, add white smile lines on the sides of the mouth and 3 white whiskers on either side of the nose. Let all of the paint dry before moving on.
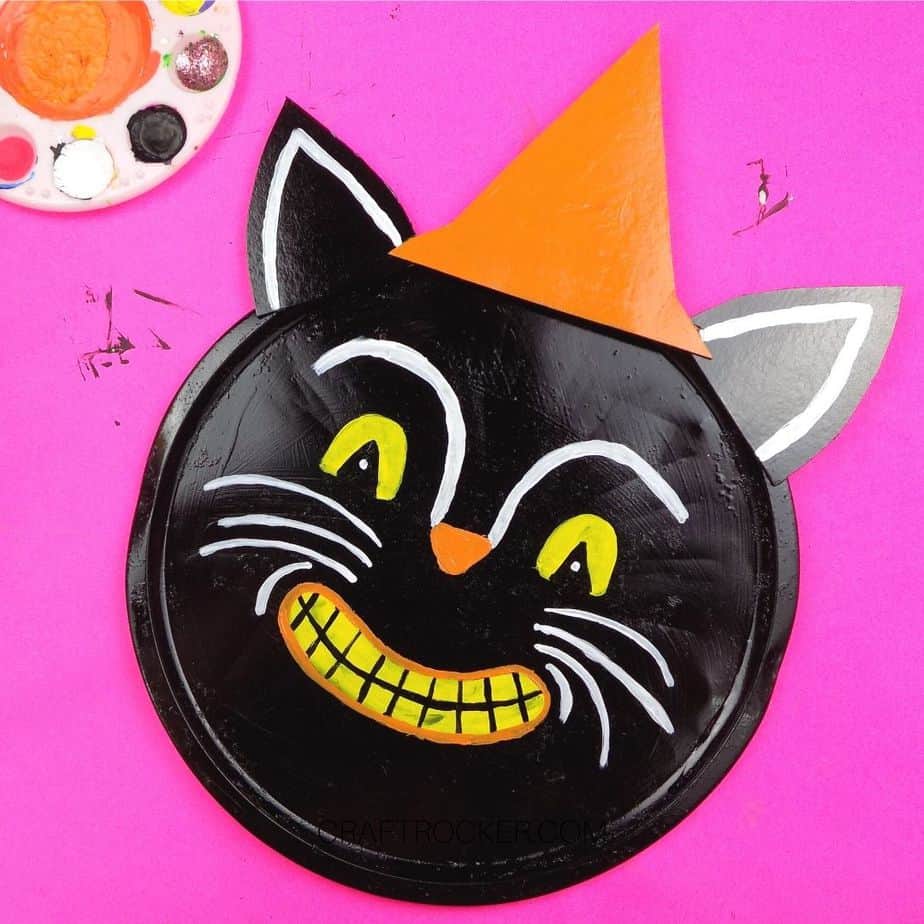
Step 12
After the paint is dry, seal your cat (front and back) with spray acrylic sealant and allow it to dry.
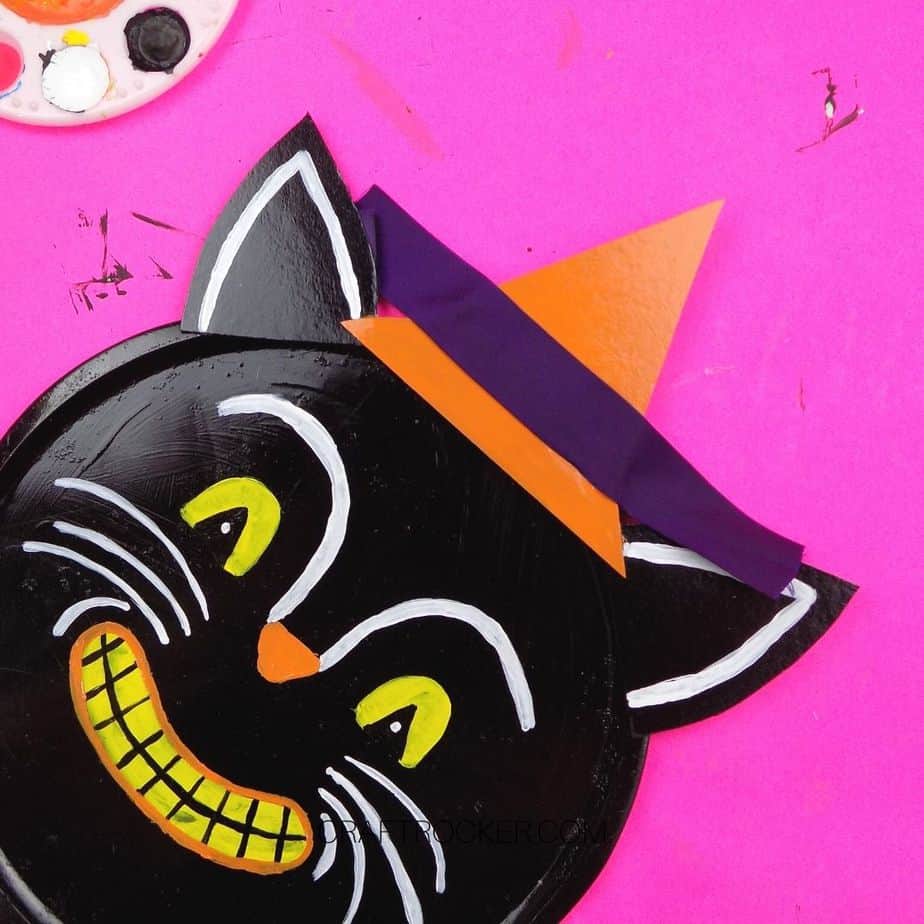
Step 13
Once the sealant is dry, hot glue a piece of purple ribbon to the base of the orange hat. Then flip your cat over and secure the ends of the ribbon to the back of the hat with hot glue.
Step 14
Next, glue your yellow fabric to the bottom back of the pan in the center. Make sure that you fold it in some places as you attach it to the pan.
Step 15
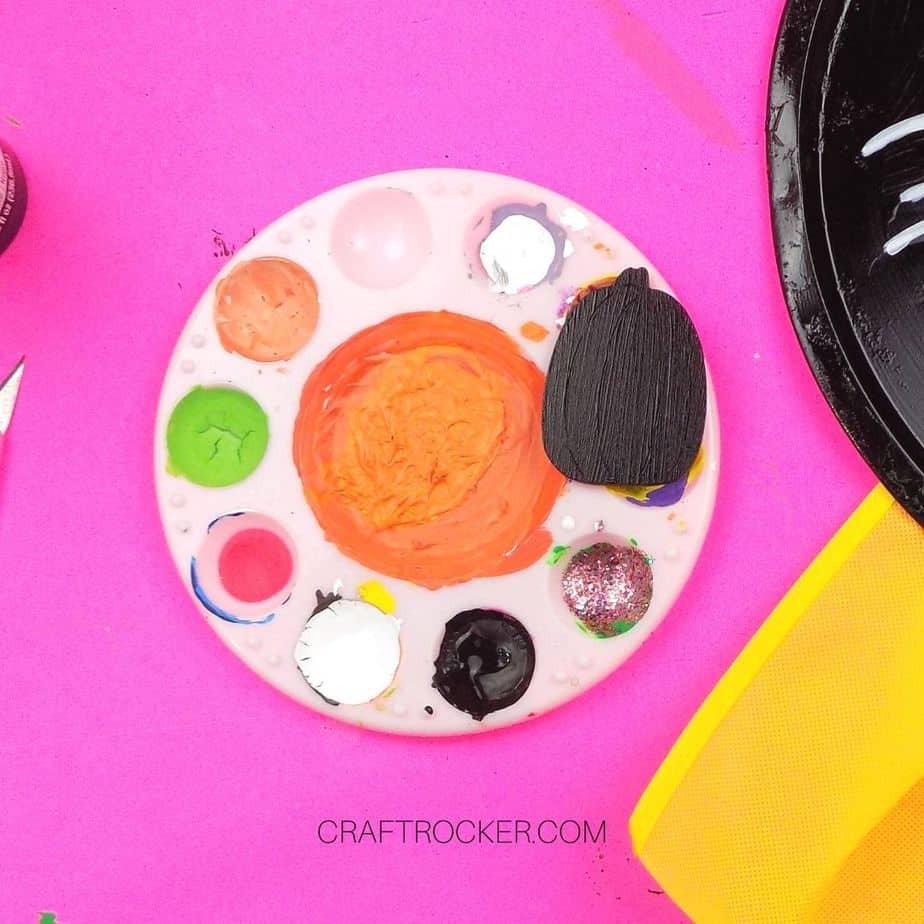
Set your pizza pan aside and pull out your small wooden pumpkin and paint it black. Then allow it to dry.
Step 16
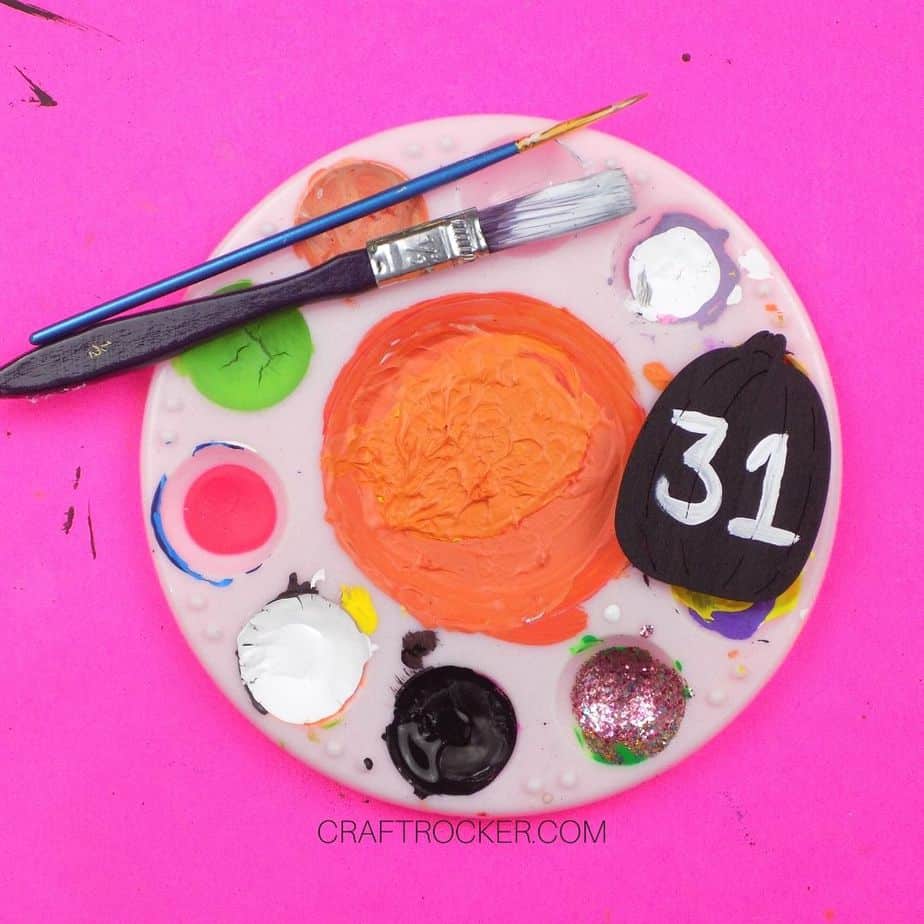
Then paint the number “31” in white on the pumpkin. Again, allow it to dry.
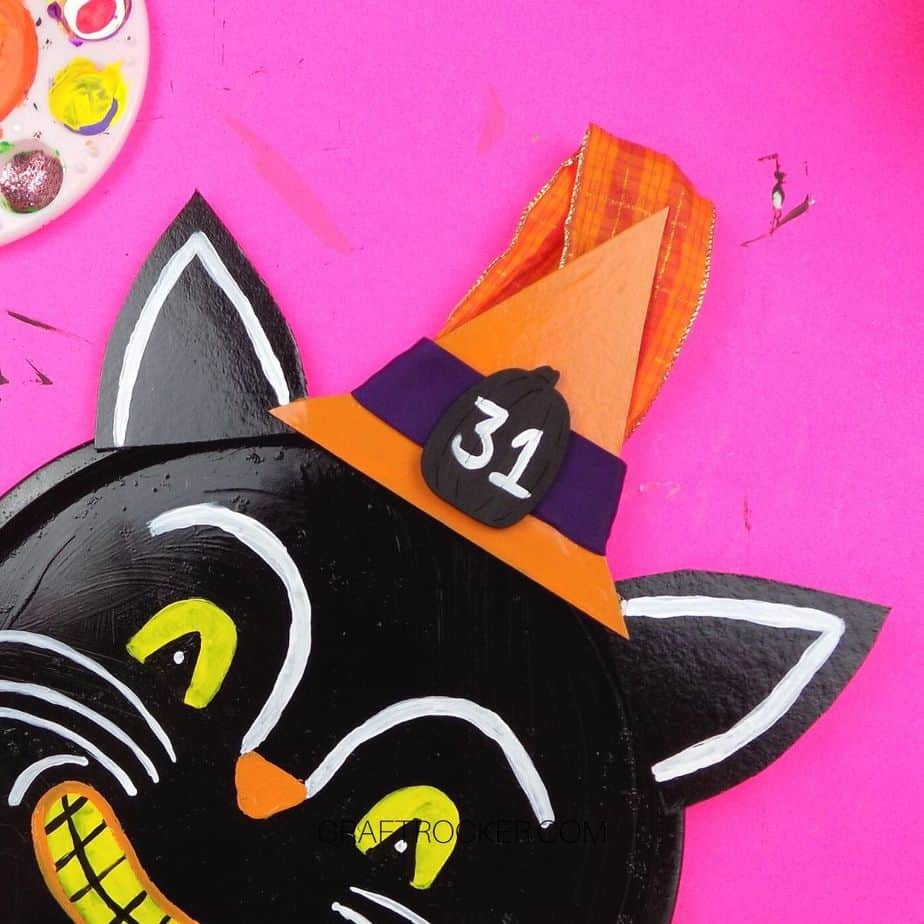
Step 17
Now glue the pumpkin to the center of the ribbon on the witch hat.
Step 18
Lastly, hot glue your length of orange ribbon to the back of your wreath so that the folded end barely reaches above the top of the hat.
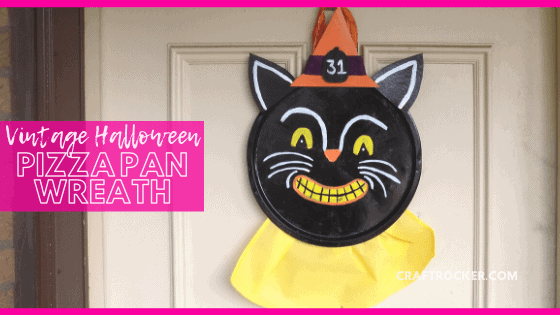
To say I’m obsessed with this vintage Halloween pizza pan wreath would be an understatement.
You know how some projects light a fire in you and you feel that true inspiration? That was this project for me. I’m in love with it!
This project is perfect for vintage Halloween lovers!
Don’t Forget to Pin It!
More Projects to Love:
- Wood Painted Pumpkins Décor
- Hanging Ghosts Porch Décor
- Fall Dollar Tree Pizza Pan Craft – Cookies, Coffee, and Crafts

I LOVE this!! That cat is just perfect. I think using the pan you already had gave it even more character. Such a fun project!!
Thanks, Heather! I had sooo much fun making it and you’re totally right. Using a pan that had been used gives it a more vintage-y feel!
Too cute and adorable, Marie!
Thank you so much, Gail!