Make your own personalized candles as gifts or gorgeous home décor on a budget with this super simple how-to.
Affiliate links may be used in this post. Ordering a product through these links may result in a commission at no extra cost to you. Read the full disclosure here.
Jump to What You Want


I have always been a big fan of meditation but have used it casually and just sitting in my bed in the morning. Nothing fancy or even really planned with it.
Recently, I read The Magic of Manifesting which puts a lot of emphasis on living in the now (which I really need) and aligning your heart and mind.
One way to do this is through practicing mindful meditation. You focus on your breath and when your thoughts wander, you gently bring them back to your breath.
I tend to fret about the past and the future which is likely due to my depression. This year I want to get serious about meditating to train myself to live in the current moment only, let go of the past, and worry less about the future.
One thing that the book recommends is creating a relaxing space for meditating to help it be more effective. What better way to create a relaxing space than to make it something warm and beautiful?
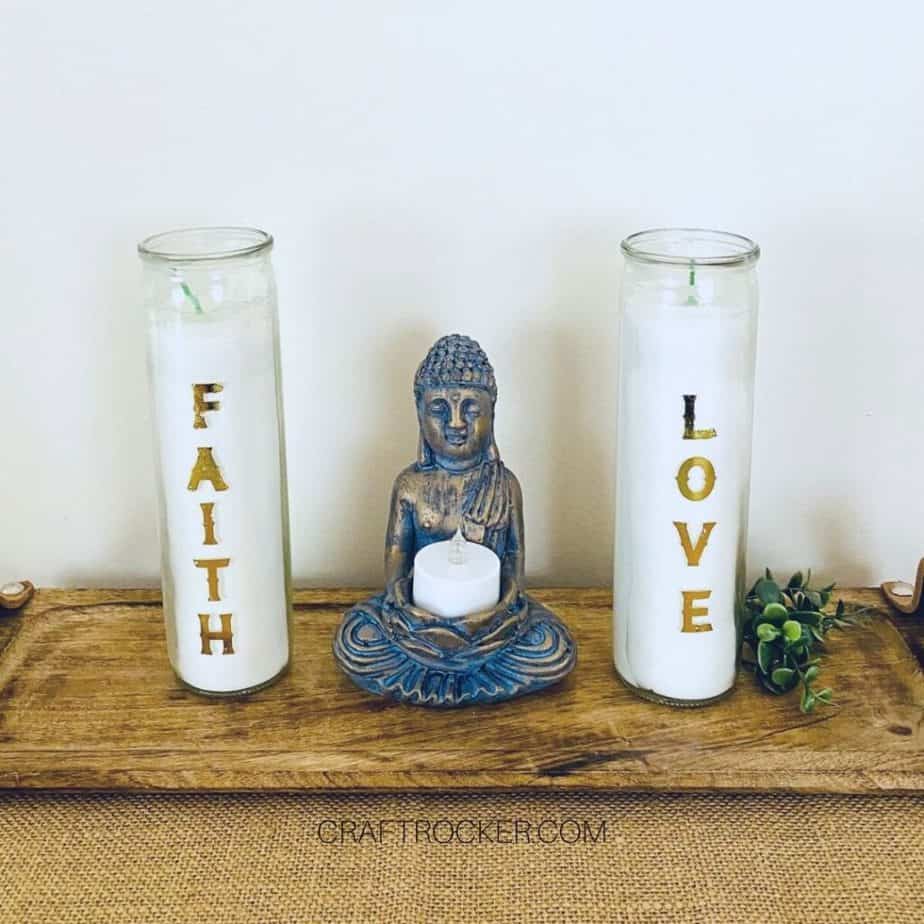
That’s why I love these personalized candles. They’re made gorgeous decor that doesn’t take up a lot of space (we’re a family of 5 living in a 3-bedroom, one bath house so space is tight).
Additionally, they help create an area for me that is comforting and useful during meditation.
Even if you’re not into meditation, these candles are so easy and inexpensive to make that you can make some that fit your personal style or to give as gifts for special occasions.
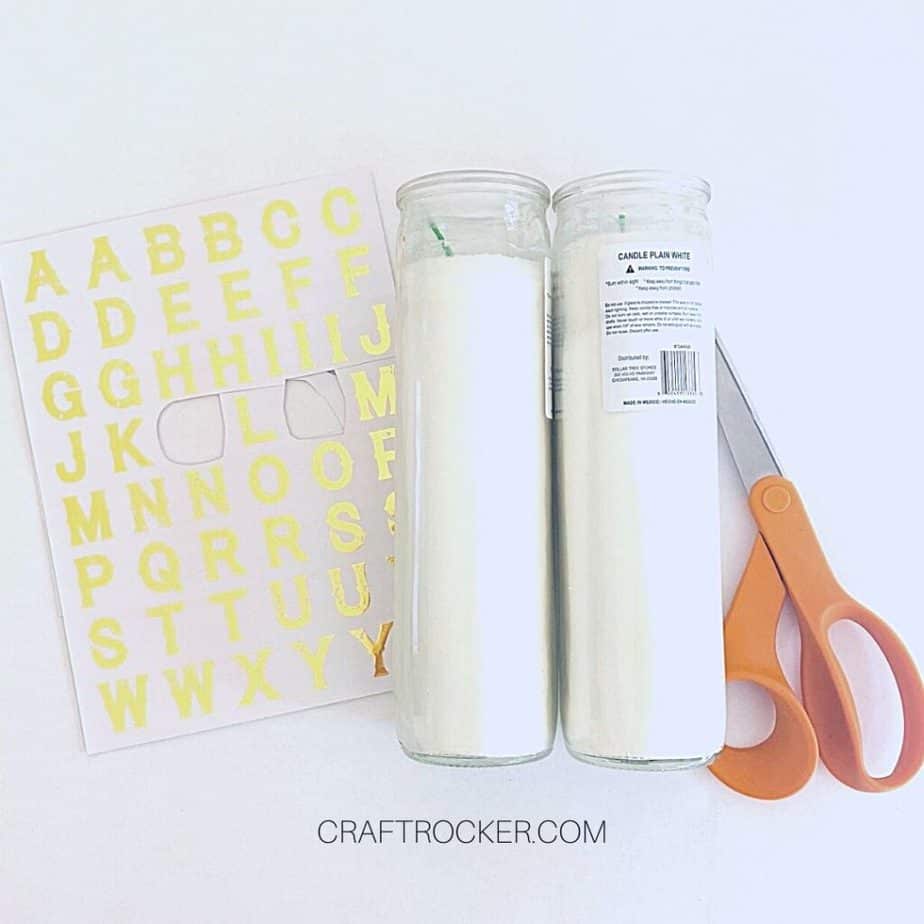

Personalized Candles Supplies
2 Dollar Tree White glass pillar candles
Gold Rub-on Letters (Also from the Dollar Tree)
Scissors
Rubbing Alcohol and Cotton Ball
Optional: Spray Acrylic Sealant
Step 1
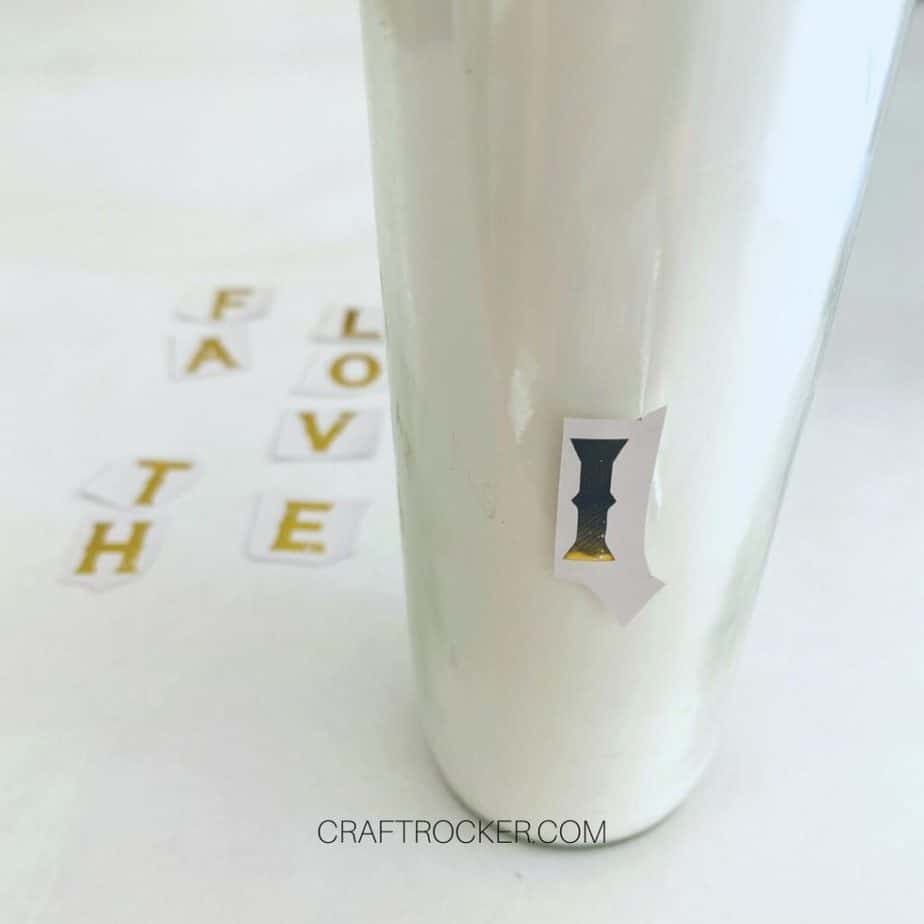
First clean the outside of the glass of your candles with a cotton ball with rubbing alcohol on it to make sure there is no residue on them. This helps the rub-on letters adhere better.
Step 2
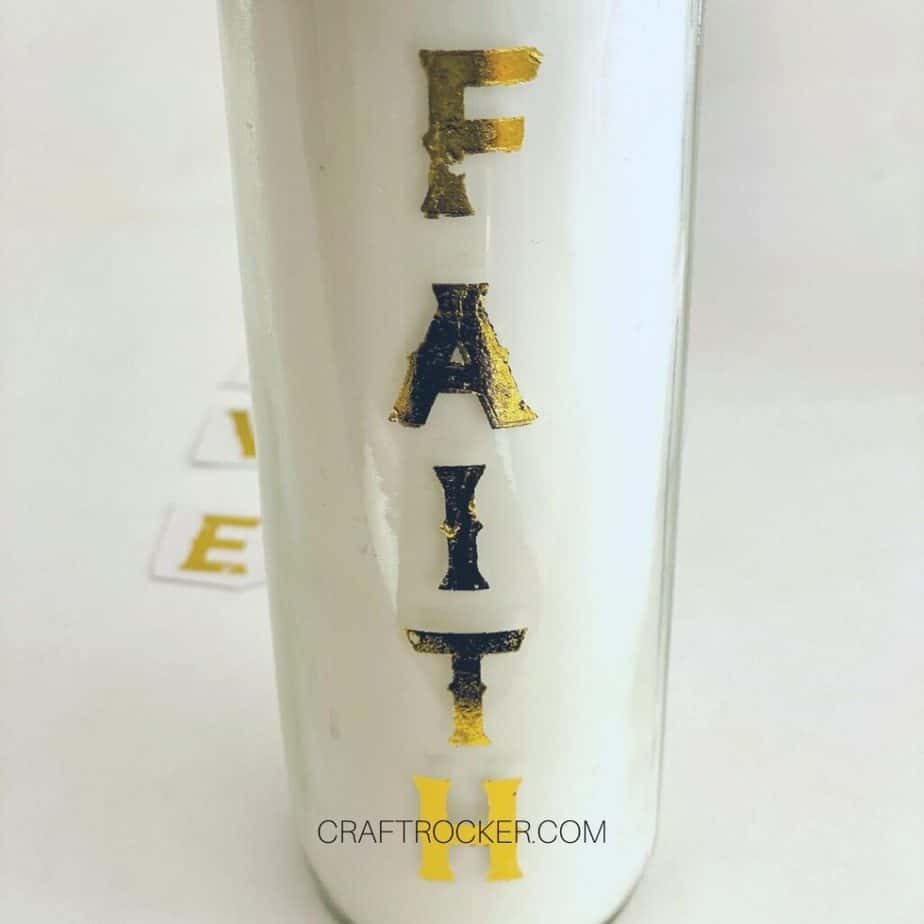
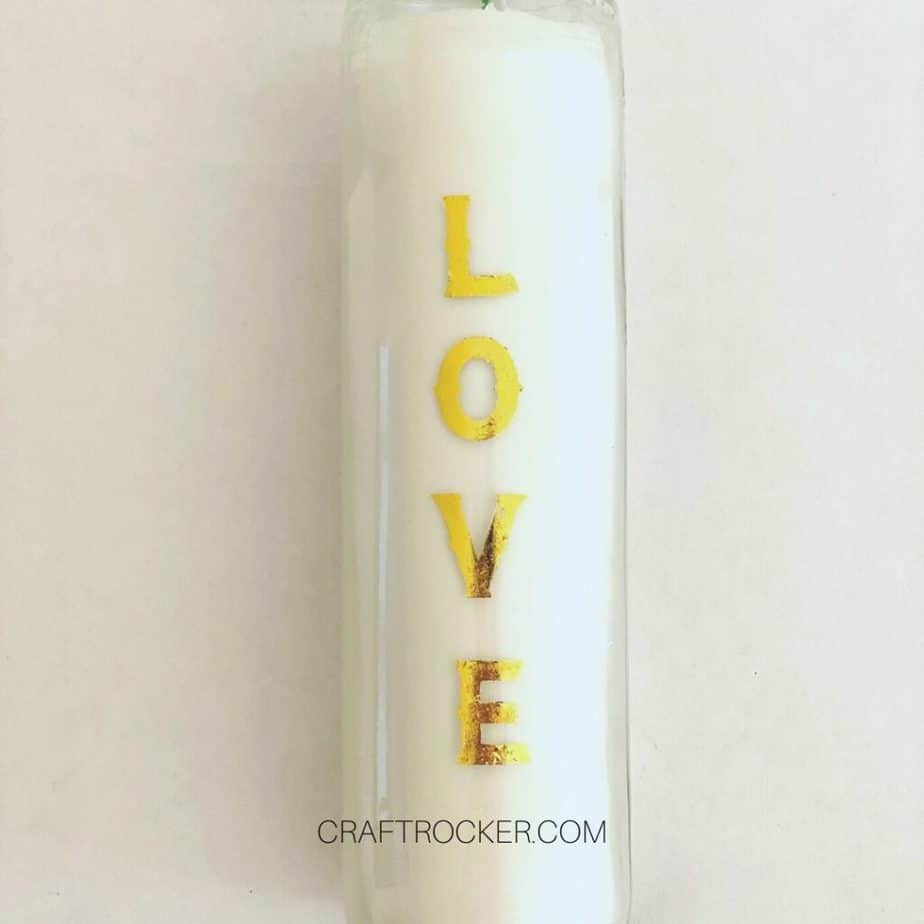
Next, cut out the rub on gold letters to spell out the words you want to put on your candles.
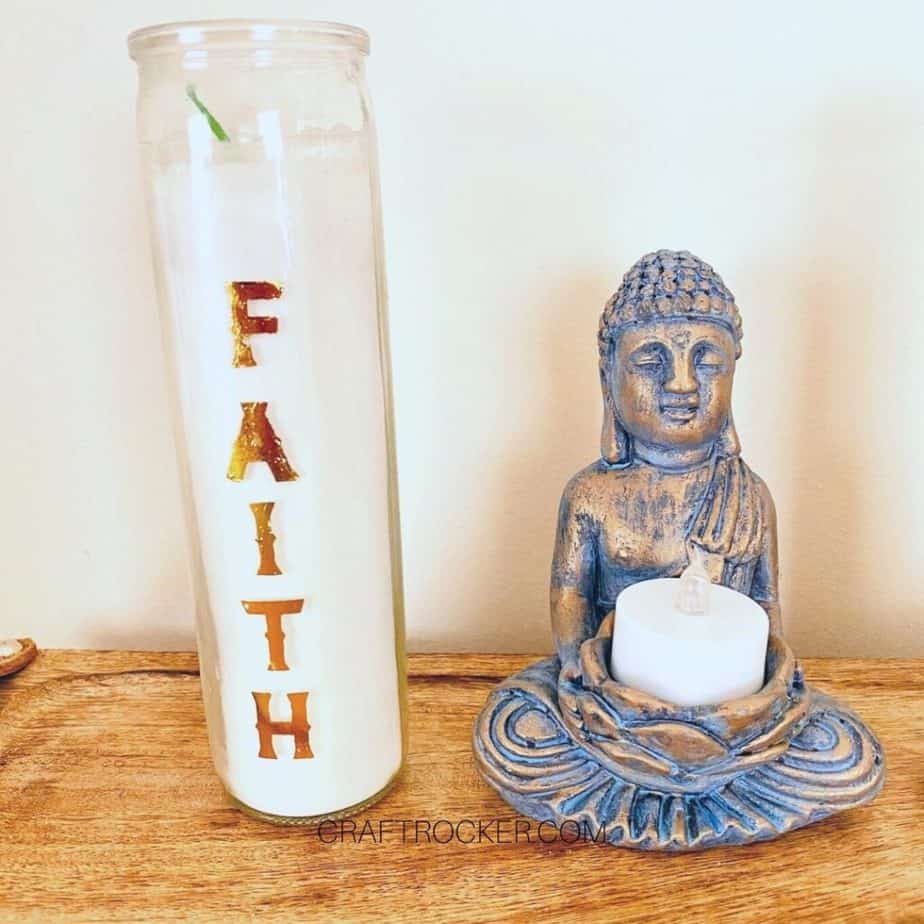
This can be names if you’re planning to give them as gifts or you can go with “Faith” and “Love” like I did for a home décor piece.
Step 3
Then lay out your letters where you want them placed on your candles. These tall candles lend themselves well to vertical personalization but you could also do horizontal if you prefer.
Step 4
After your letters are aligned where you want, use your finger nail or a small wooden craft stick to apply them on the candles.
Step 5 (Optional)
Finally, help prevent your letters from coming off when you clean your candles later by sealing them with a coat of spray acrylic sealant.

Tips, Tricks, and Care
When lining up your letters, start with the center letter or letters. This ensures that the words are aligned evenly and centered on your candles.
Although the sealing is optional, I highly recommend it. You don’t want your letters coming off of the candles with use.
When it is time to clean or dust, gently wipe down with a soft cloth. Do not submerge in water or use soap on them or it can ruin your design.
You can also use other rub-on letters or images (like these) to make these candles. If gold isn’t your style, don’t be afraid to change it up. There are so many options to choose from.
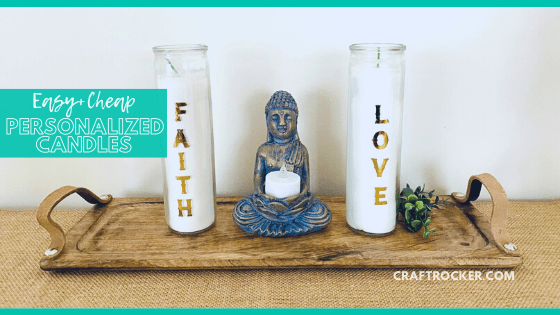
Aren’t these personalized candles so pretty? Hard to believe that they’re made with a few Dollar Tree items. The gold adds a luxury touch that instantly perks up any space.
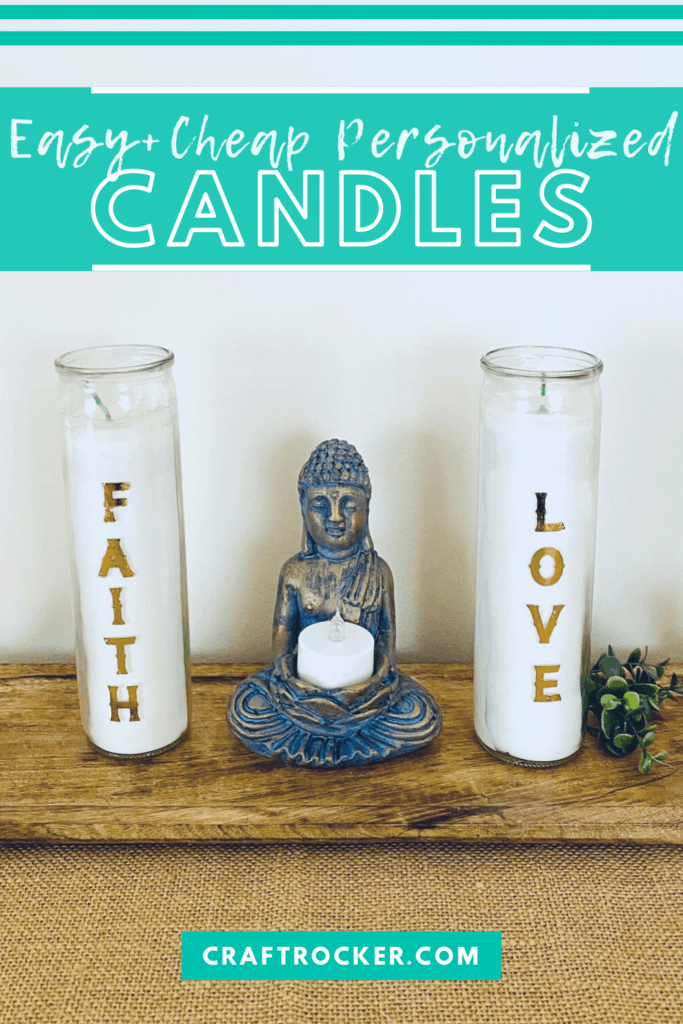
Don’t Forget to Pin It!
More DIY Home Décor Ideas:
Hot Mess Canvas – What Is It and How to Make One
Mini Mason Jar Salt and Pepper Shakers
DIY Custom Canvas Map Art – Domestically Creative
