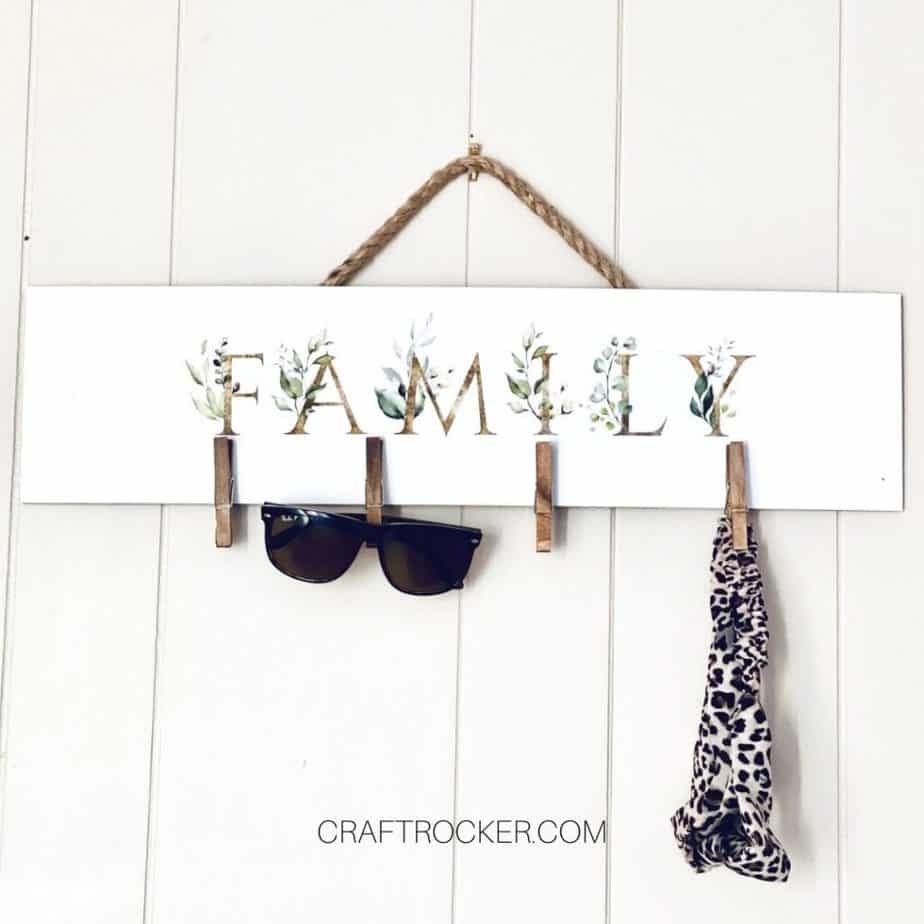
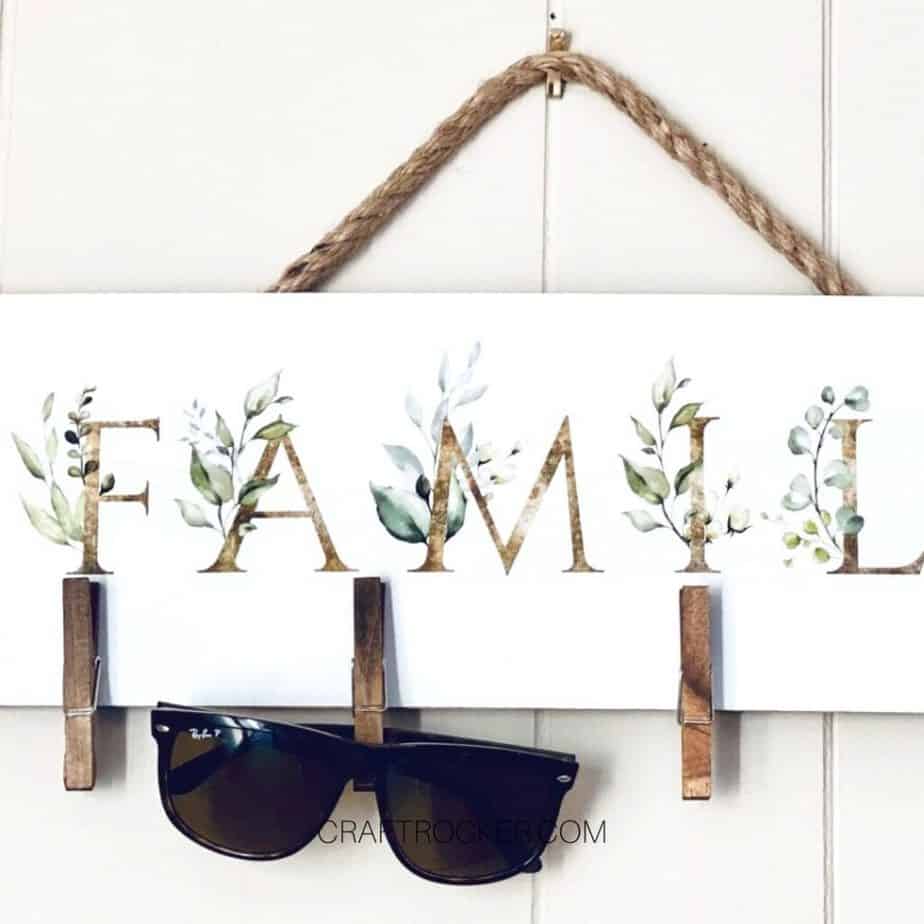
This hanging family DIY organizer is perfect to corral accessories or masks by the door for easy access on your way out.
Affiliate links may be used in this post. Ordering a product through these links may result in a commission at no extra cost to you. Read the full disclosure here.
Jump to What You Want


While right now this sign is for holding masks where we can quickly see and grab them on the way out the door, I hold out hope that it won’t be this way forever.
For more mask organization, check out this DIY Dinosaur Mask Holder!
Luckily, there are plenty of other things that it can hold and organize for you long after we look back on this cringe-worthy time.
What’s better, this organizer is totally budget-friendly because you can grab the supplies for it from your local Dollar Tree.
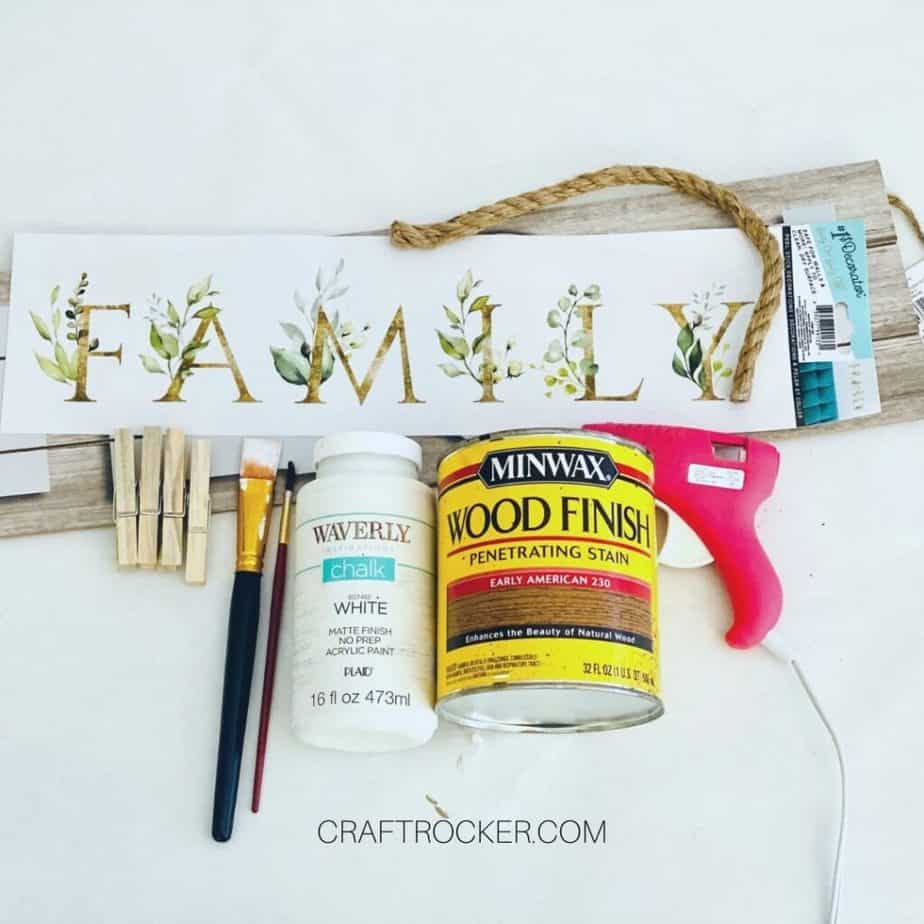
Hanging Family DIY Organizer Materials
Rectangle Dollar Tree sign (Mine was from Valentine’s Day but any rectangle sign will work)
Dollar Tree Clothespins
Paint Brushes
Hot Glue Gun and Glue Sticks
Dollar Tree Nautical Jute Rope
Dollar Tree Family Poster Sticker
Step 1
First, pull off the front of your rectangle sign. If it doesn’t pull off easily (mine didn’t) simply flip the sign over and use the opposite side of the sign for this project.
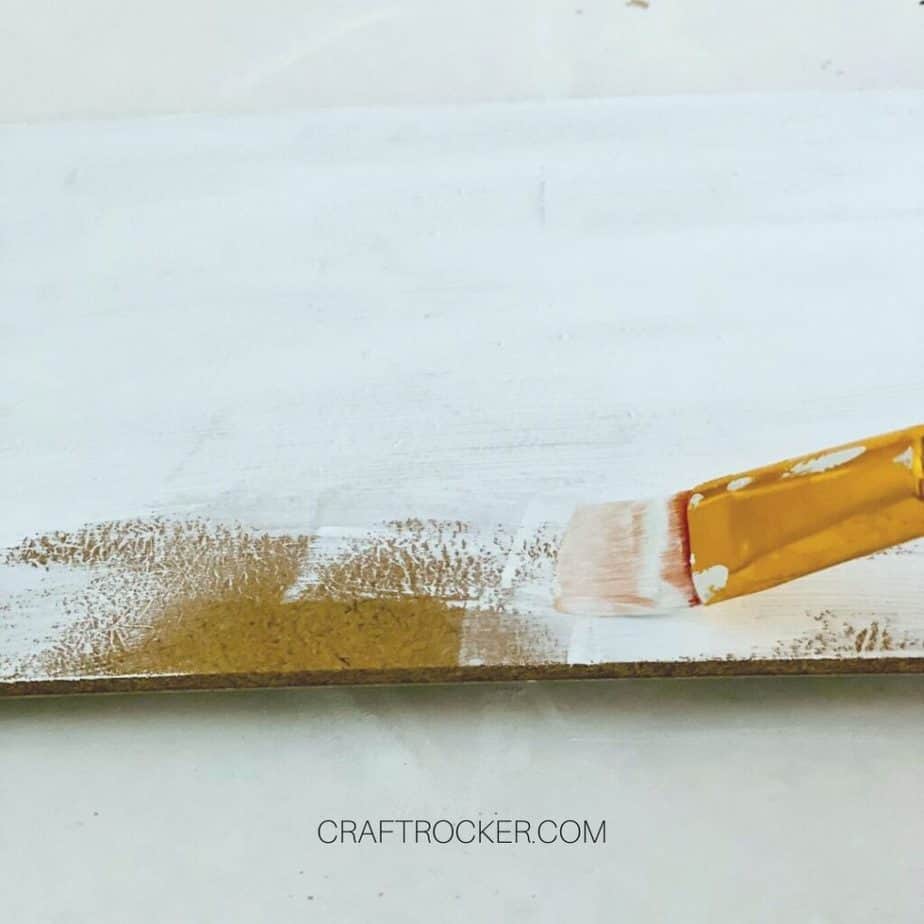
Step 2
Next, apply 2 coats of white chalk paint to your sign. Be sure to allow the first coat to dry before adding the second coat.
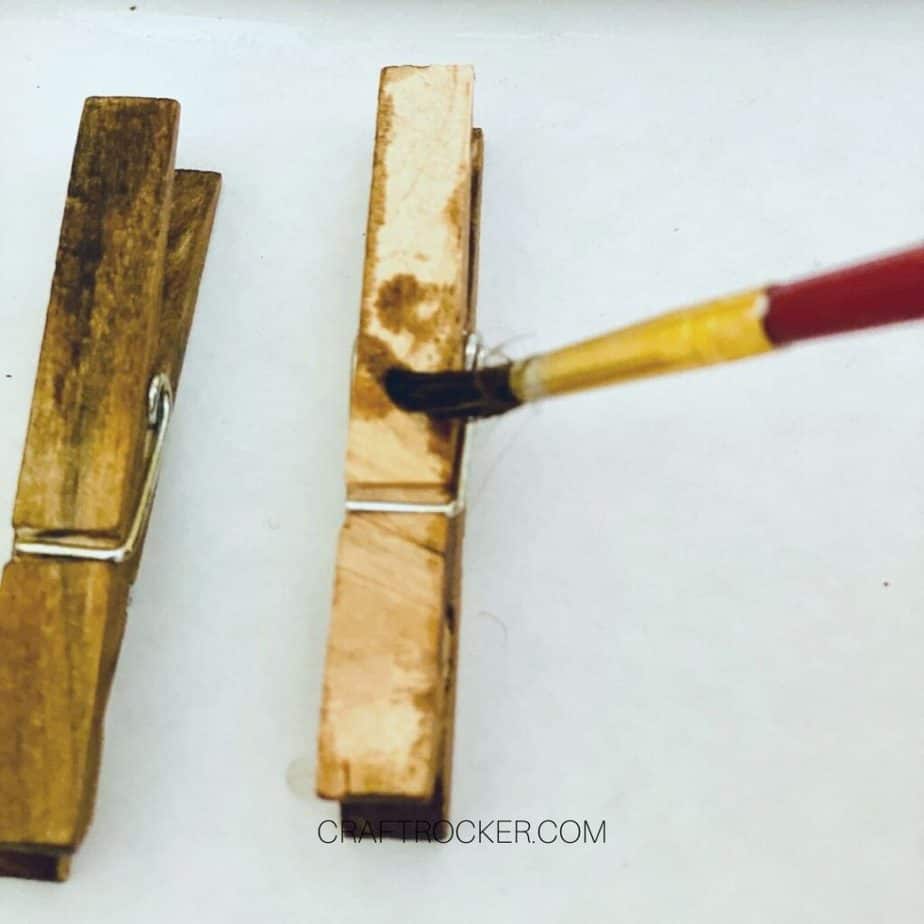

Step 3
While the paint is drying apply the Early American Stain to the 4 clothespins. Make sure that you do this on a protected surface. You don’t want to get stain on your table.
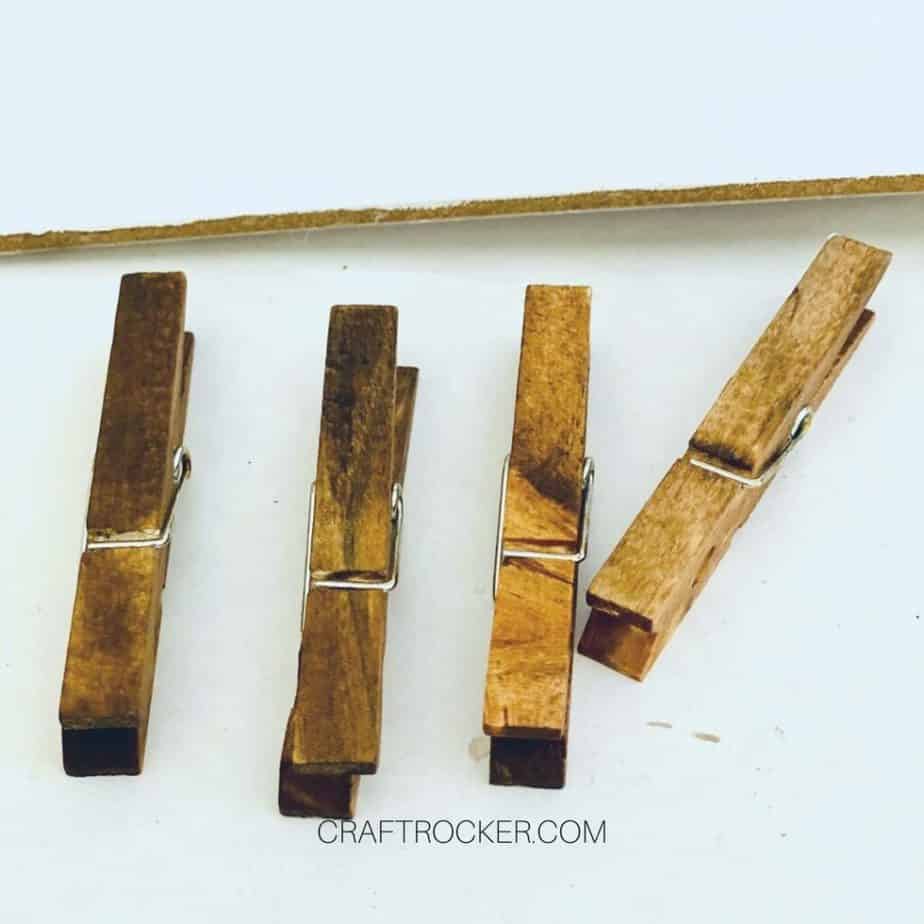
Step 4
After your clothespins are stained, allow them to dry completely or the hot glue won’t stick to them later.
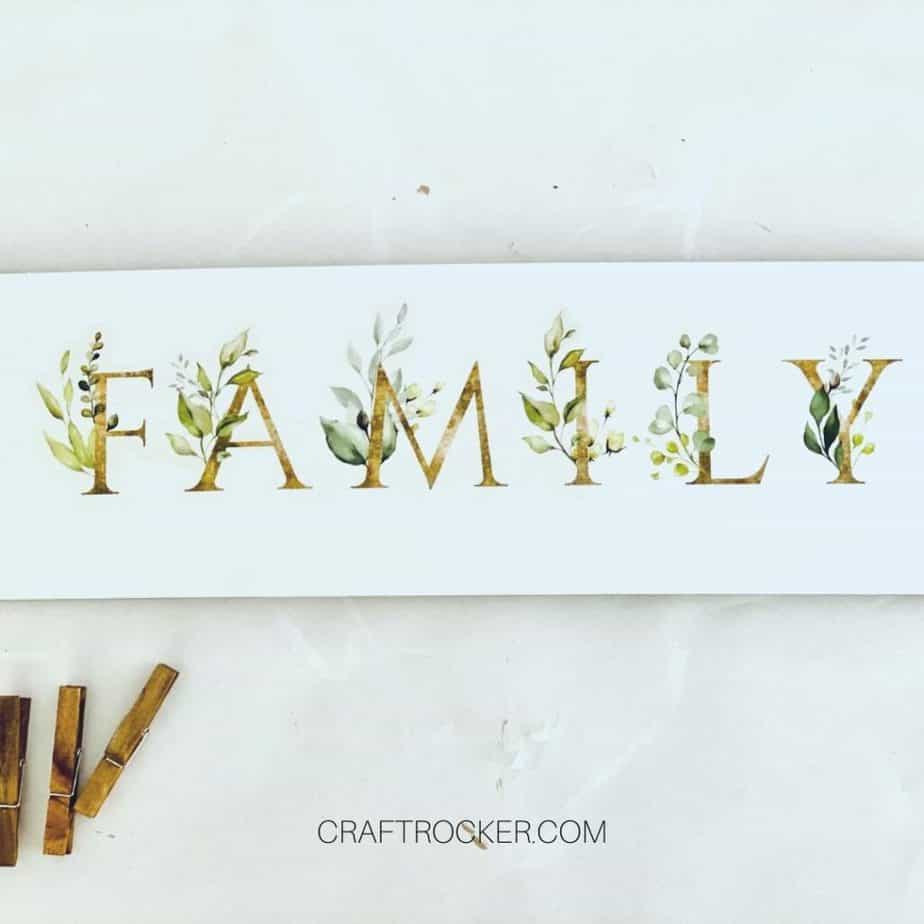
Step 5
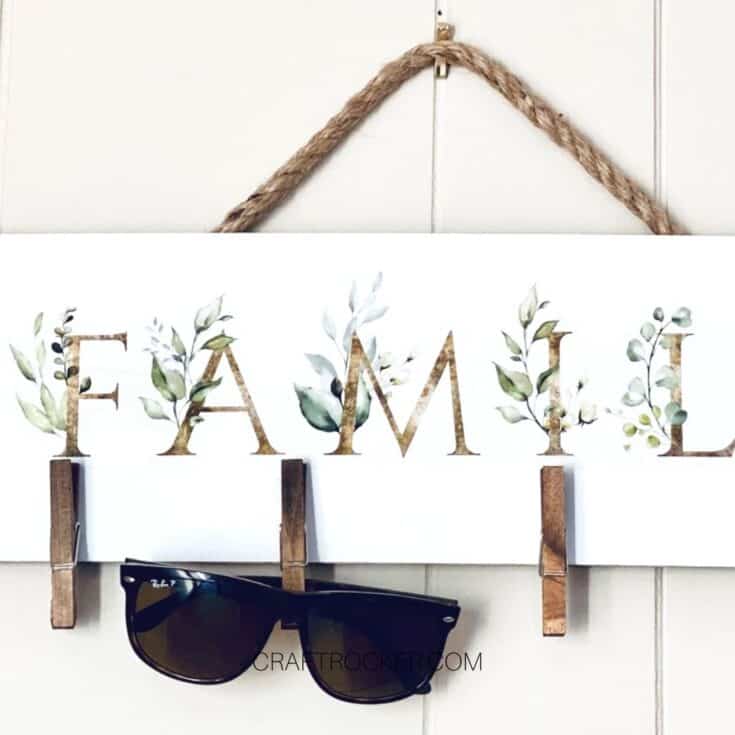
Next apply the family sticker in the middle of your painted sign.
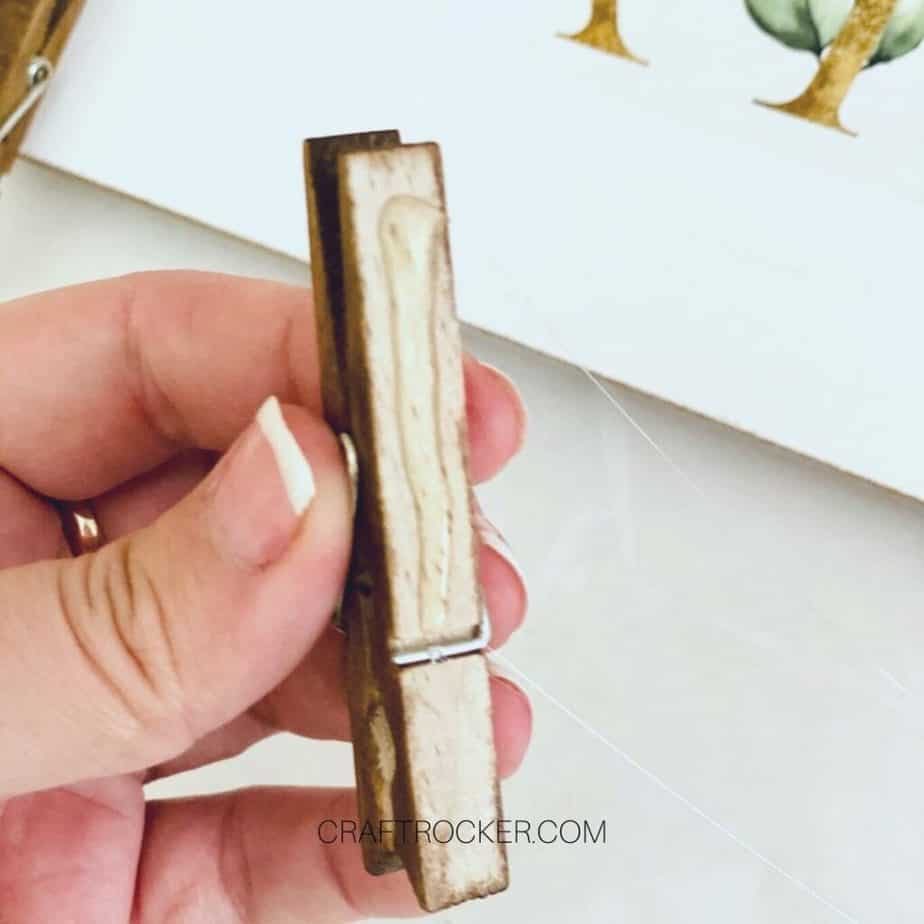
Step 6
Once your stickers is on the sign, hot glue the clothespins to the bottom of the sign, equal distances apart.
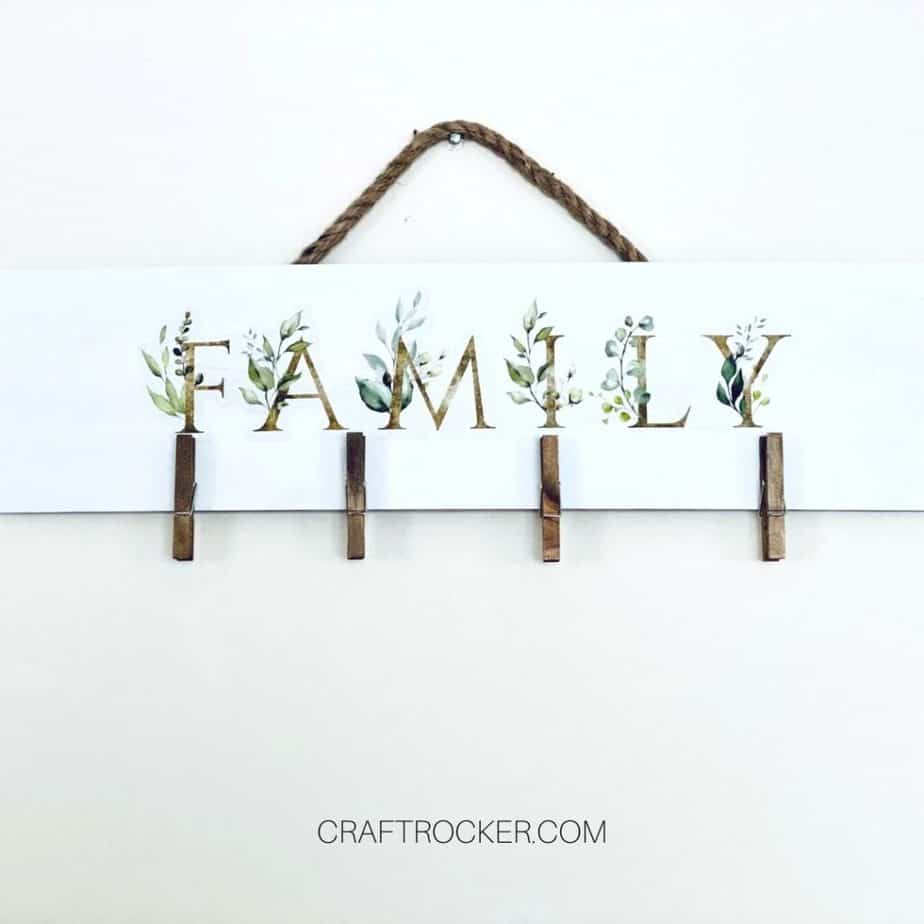
Step 7
Lastly, hot glue the piece of nautical jute rope to the backside of your sign to be the hanger.
Tips and Tricks
You can use any white paint that you have on hand for this sign. Chalk paint simply dries faster than acrylic or spray paint which is why I used it but any white paint will work. Simply be sure to adjust the dry times so that your paint is dry before moving on to the other steps.
I recommend using a Command Hook for hanging items like this because when you’re in a hurry, sometimes you yank a little harder than you mean to. The Command Hook won’t cause damage to your walls in that case, like a nail or a screw will.
If you can’t get the front design off of your sign and don’t like the idea of using the back side of it, you can also sand the design off of the front. However, it will take a decent amount of elbow grease to do it.
This hanging family DIY organizer is a great way to corral masks, keys, and other accessories when you get home.
Not only does it keep them organized but it also serves as a reminder to grab them before heading out the door when you see them.
For a few dollars in supplies, that’s pretty awesome!
Don’t Forget to Pin It!
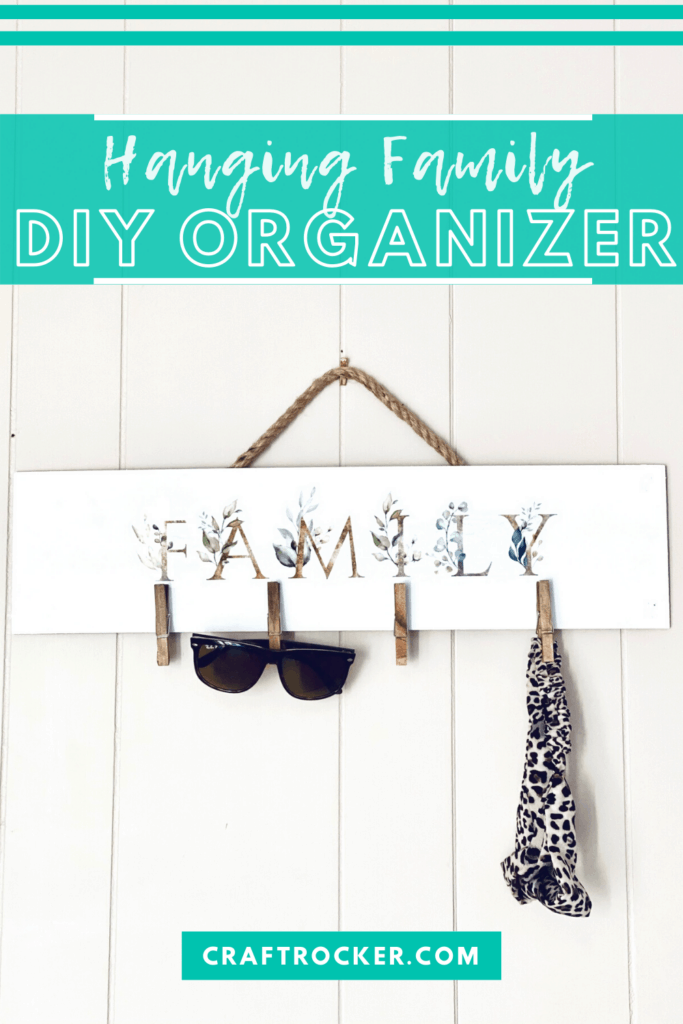
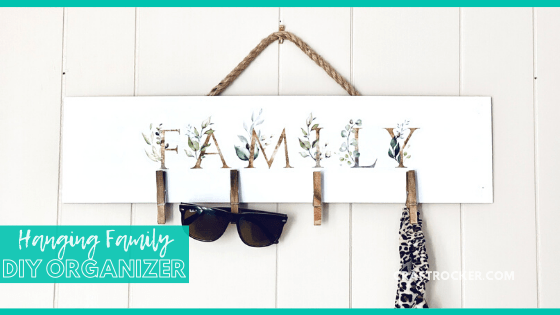
Hanging Family DIY Organizer
This hanging family DIY organizer is a great way to corral masks, keys, and other accessories when you get home. It keeps them organized and serves as a reminder to grab them before heading out the door!
Materials
- Rectangle Dollar Tree Sign
- White Chalk Paint
- Dollar Tree Clothespins
- Early American Stain
- Dollar Tree Nautical Jute Rope
- Dollar Tree Family Poster Sticker
Tools
- Hot Glue Gun and Glue Sticks
- Paint Brushes
Instructions
- First, pull off the front of your rectangle sign. If it doesn’t pull off easily (mine didn’t) simply flip the sign over and use the opposite side of the sign for this project.
- Next, apply 2 coats of white chalk paint to your sign. Be sure to allow the first coat to dry before adding the second coat.
- While the paint is drying apply the Early American Stain to the 4 clothespins. Make sure that you do this on a protected surface. You don’t want to get stain on your table.
- After your clothespins are stained, allow them to dry completely or the hot glue won’t stick to them later.
- Next apply the family sticker in the middle of your painted sign.
- Once your stickers is on the sign, hot glue the clothespins to the bottom of the sign, equal distances apart.
- Lastly, hot glue the piece of nautical jute rope to the backside of your sign to be the hanger.
Notes
You can use any white paint that you have on hand for this sign. Chalk paint simply dries faster than acrylic or spray paint which is why I used it but any white paint will work. Simply be sure to adjust the dry times so that your paint is dry before moving on to the other steps.
More Organizing Projects:
French Memo Board – DIY Memo Board Idea
DIY Dinosaur Mask Holder – Easy Dollar Tree Craft
Mini Mason Jar Salt and Pepper Shakers
How to Paint Dollar Store Plastic Bins to Look Like Metal – Our Crafty Mom
