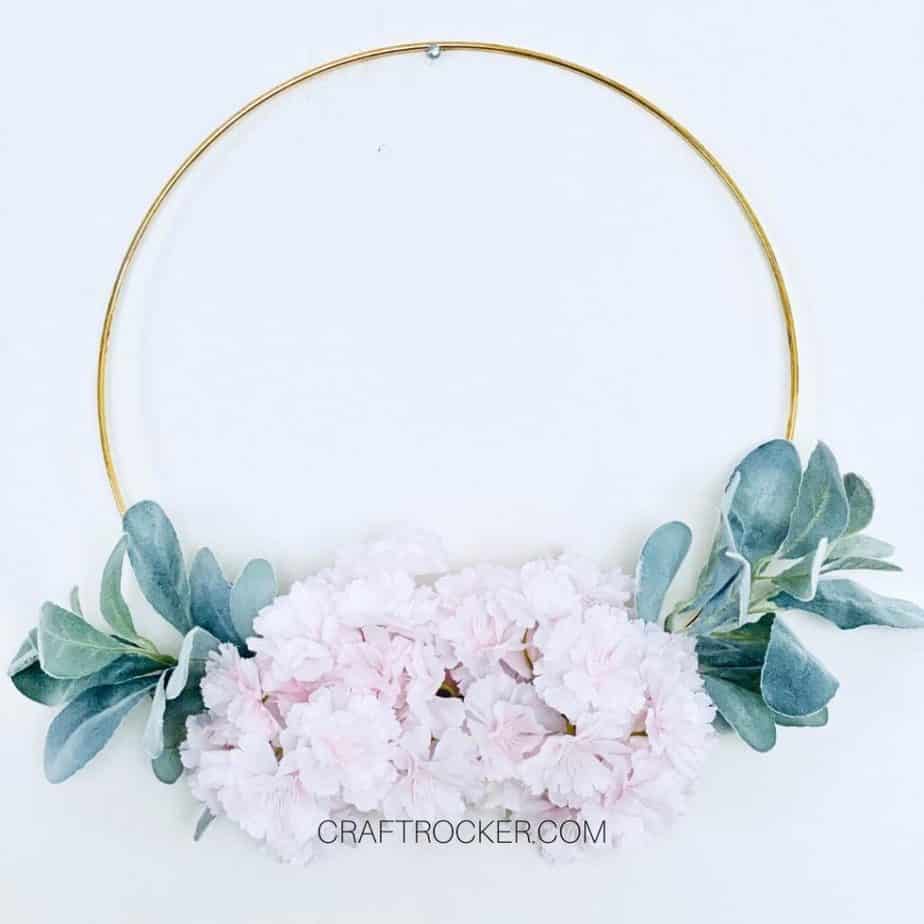
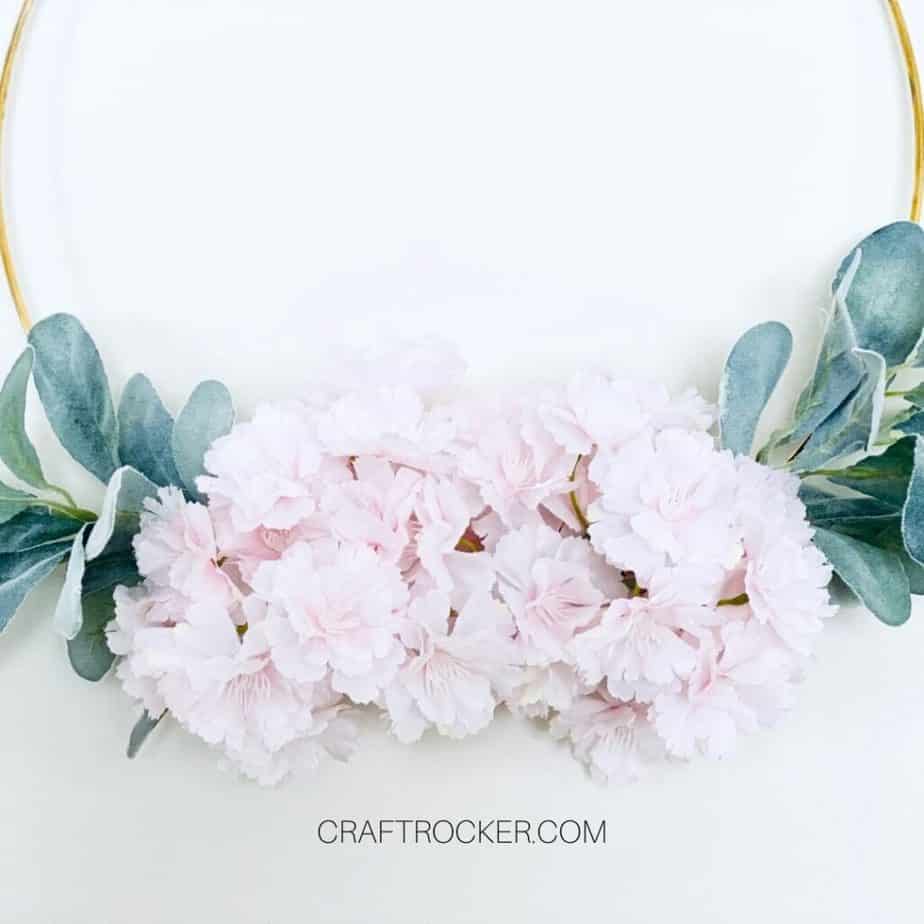
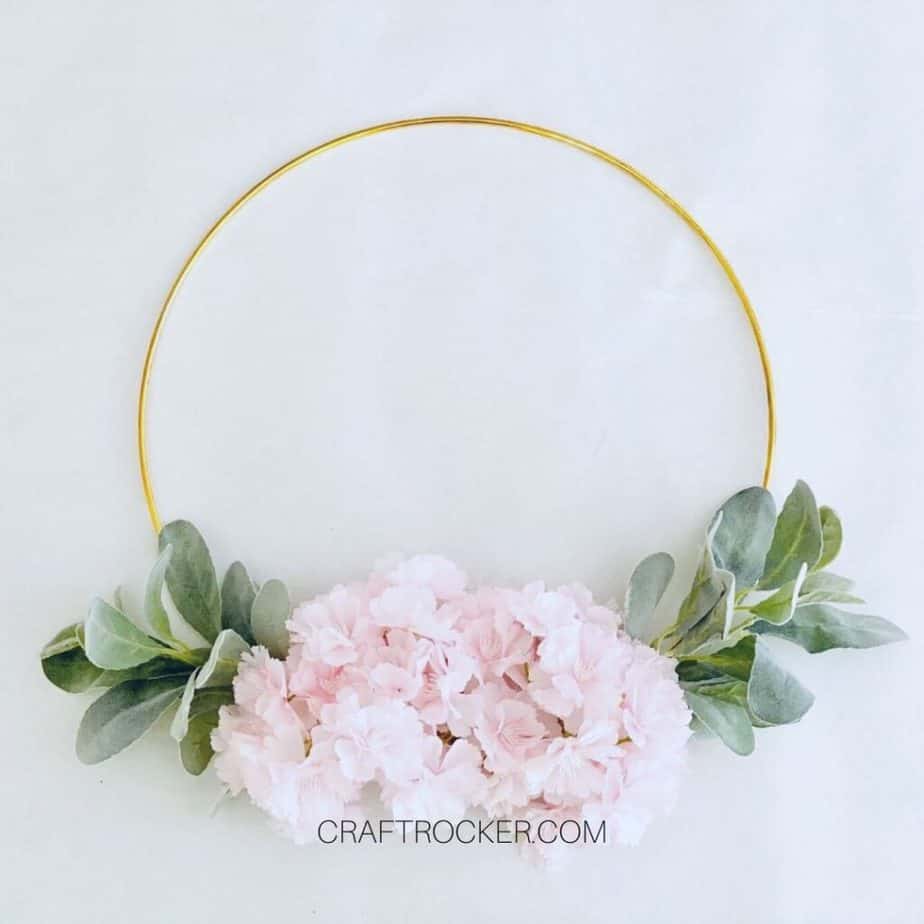
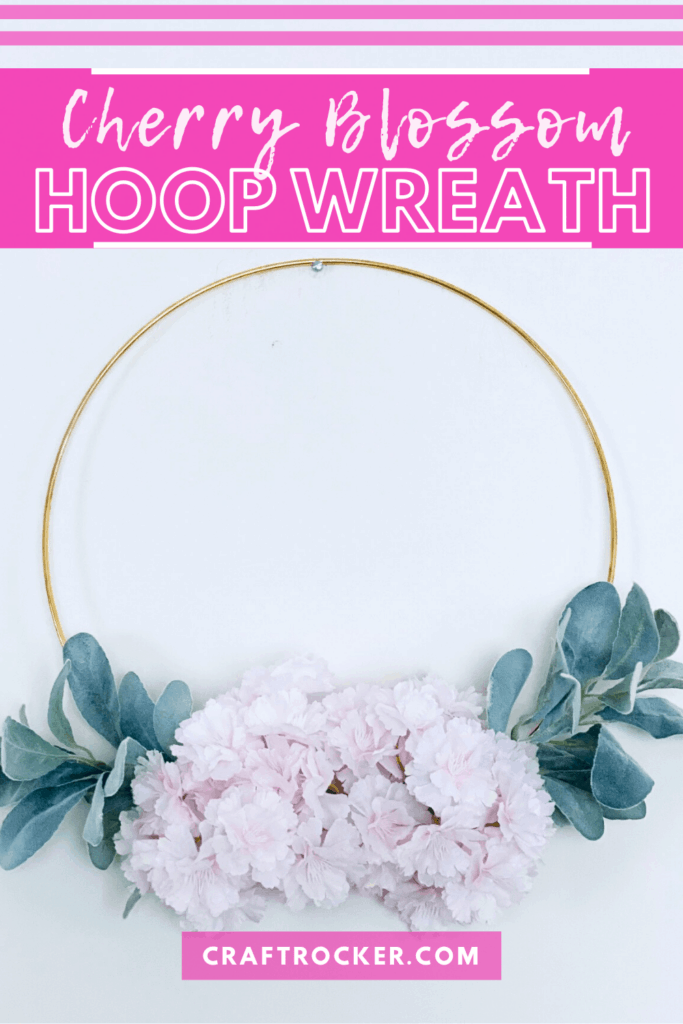
This gold hoop wreath DIY is a glamorous accent for your home or for a party. A cherry blossoms and lamb’s ear arrangement set on a gold hoop is a perfect DIY decoration for a baby shower, bridal shower, or wedding!
Affiliate links may be used in this post. Ordering a product through these links may result in a commission at no extra cost to you. Read the full disclosure here.
Jump to What You Want
Printable Gold Hoop Wreath DIY Tutorial
Can you believe there was a time I hated yellow gold? I didn’t want jewelry that color and I instantly disliked any home decor with it.
Funny how our tastes change over time. Now I love decorative gold accents, especially for parties.
That’s why I love this DIY hoop wreath so much. It looks perfect for hanging over a gift table or even to simply display on your front door.
Plus, it’s super easy to make. I know firsthand how stressful planning a party or even can be. You don’t have time to spend days and weeks making the decorations and food.
Now you can knock out gorgeous DIY decorations quickly and easily.
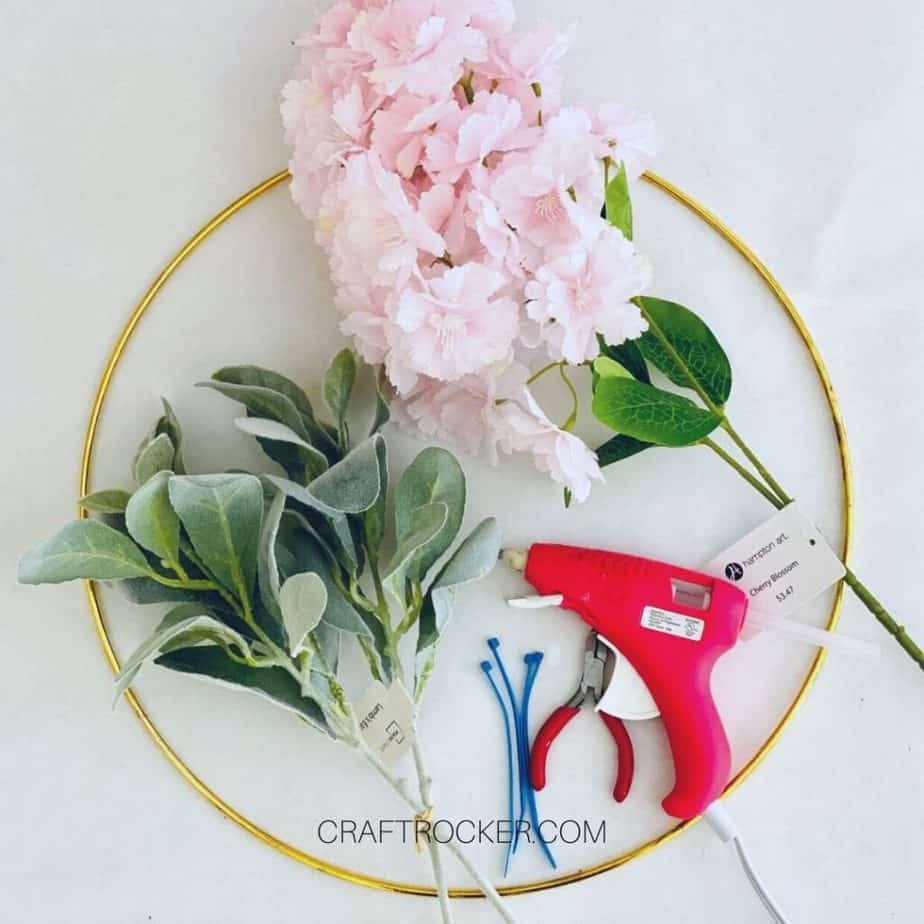
DIY Gold Hoop Wreath Supplies
Pink Cherry Blossom Flowers (Mine are from Walmart but here are similar ones)
Gold Hoop Form
Wire Cutters
4 zip ties
Glue Gun
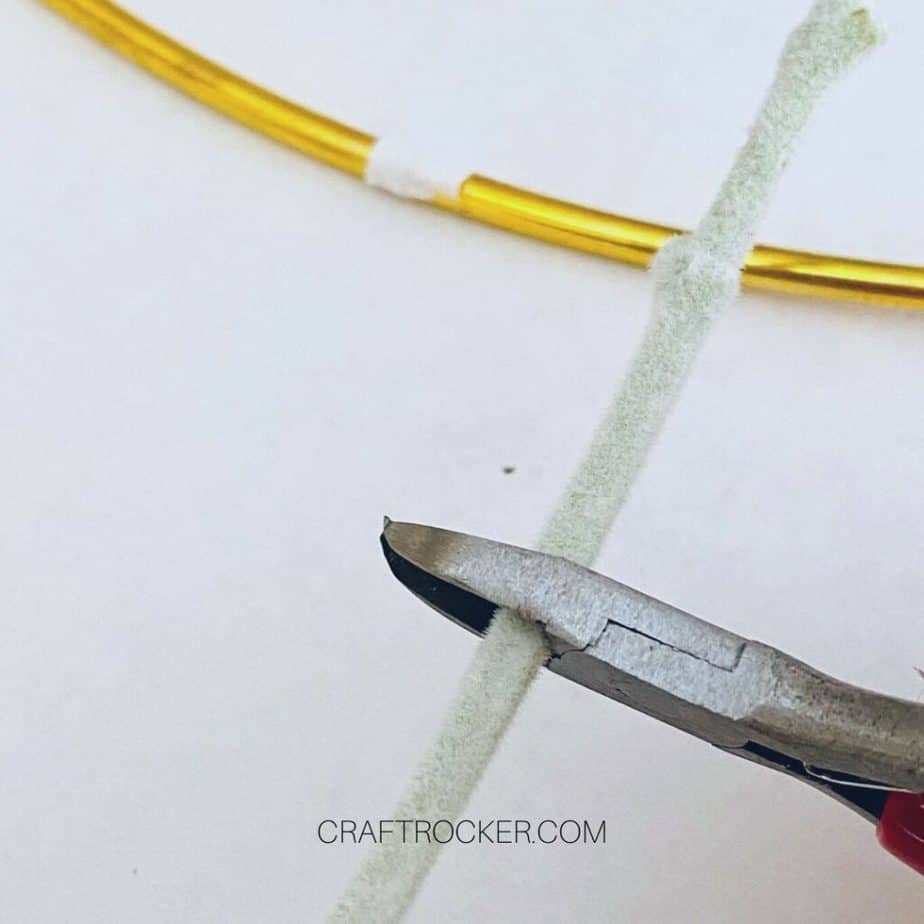
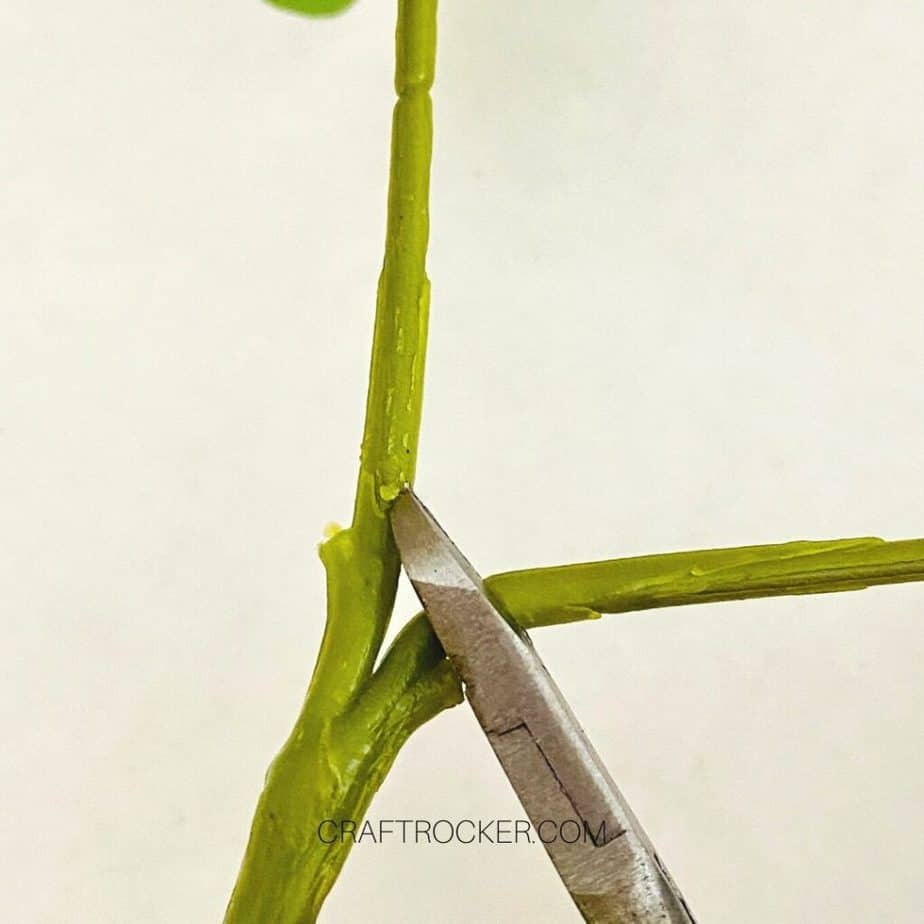
Step 1 – Prepare Your Florals
First, trim down the lamb’s ear and the cherry blossom with your wire cutters. Leave a few inches of the stem on each so that you have something to attach to the gold hoop.
Step 2 – Attach Florals to Gold Hoop
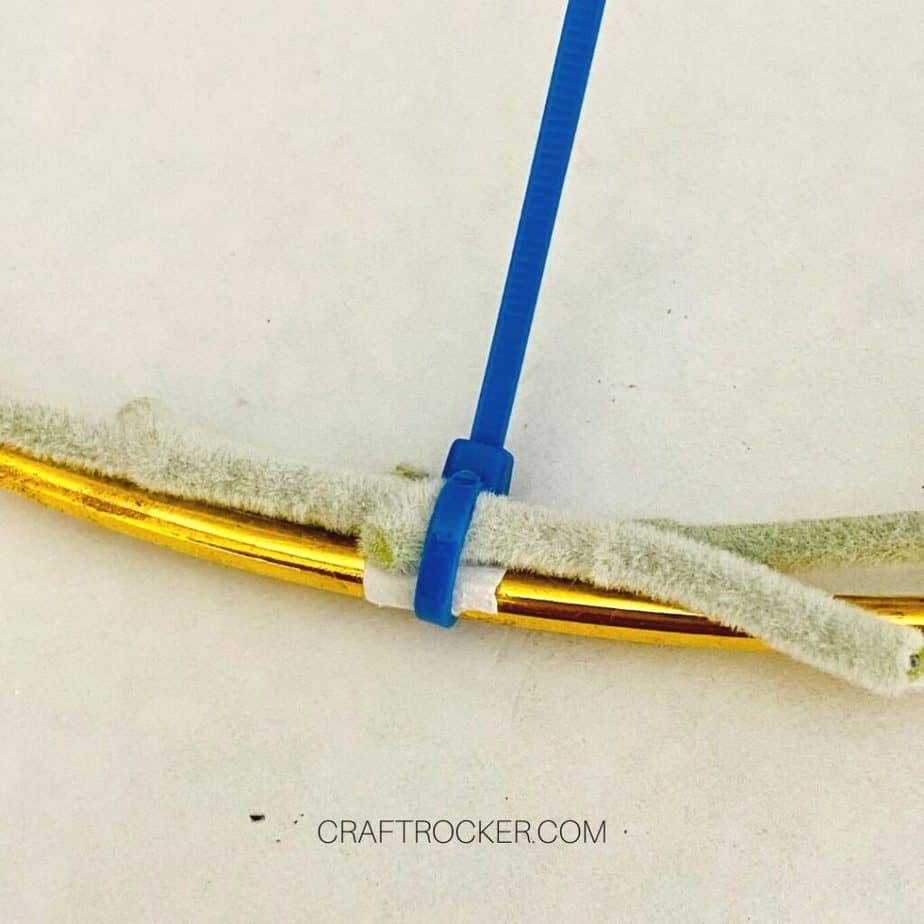
Next lay both bundles of the lamb’s ear so that the leaves are facing in opposite directions of each other and the stems are overlapping.
Then use 2 zip ties to attach the stems to the hoop.
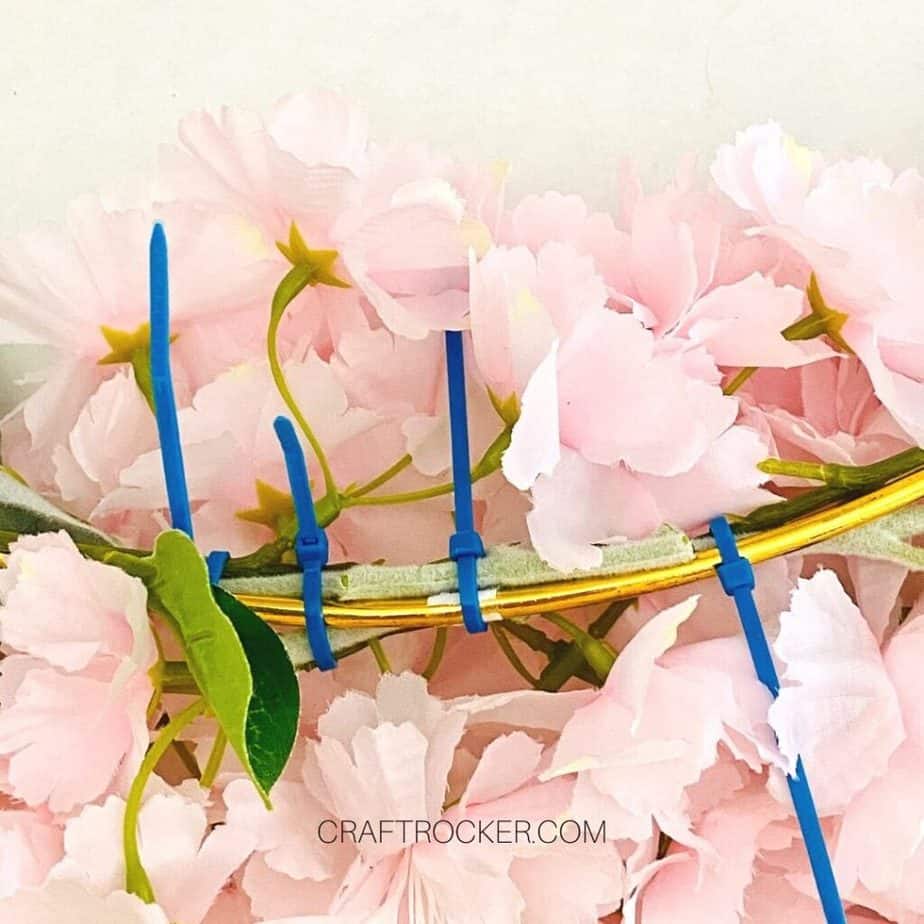

Repeat the process with the cherry blossom flowers, attaching them in the center of the overlapping lamb’s ear stems with the remaining 2 zip ties.
Step 3 – Trim Your Zip Ties
After your florals are attached, use your wire cutters to trim the excess tails from your zip ties. You don’t want them to stick out of your wreath.
Step 4 – Secure Your Arrangement
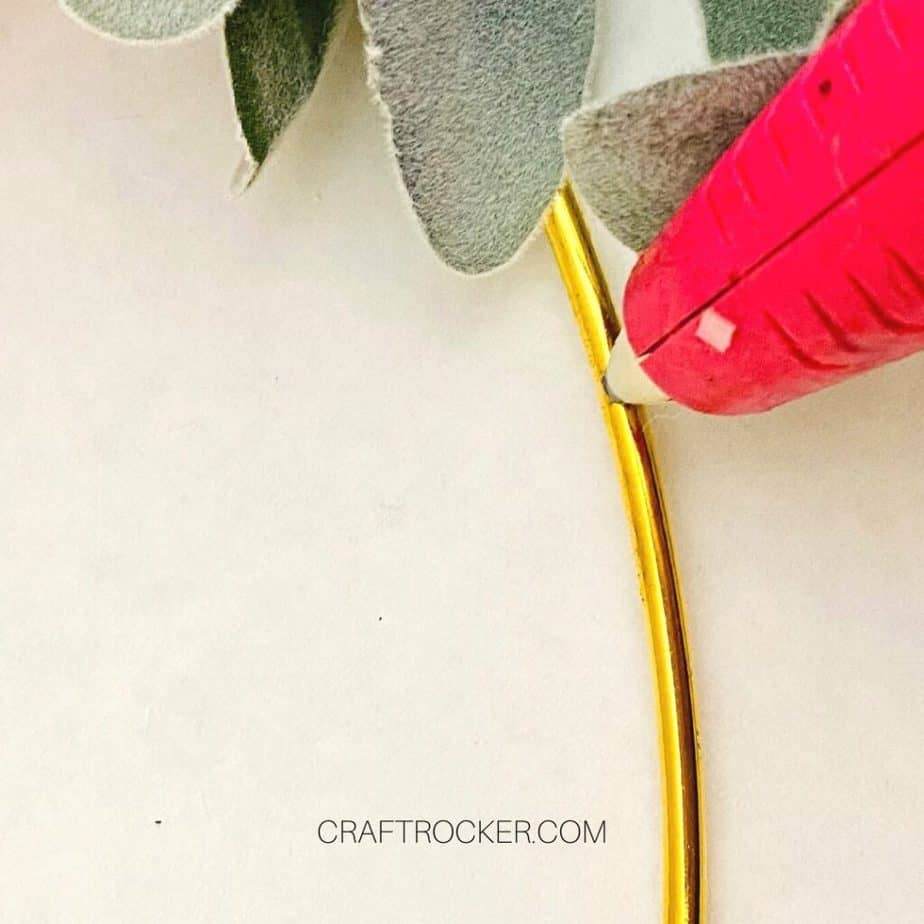
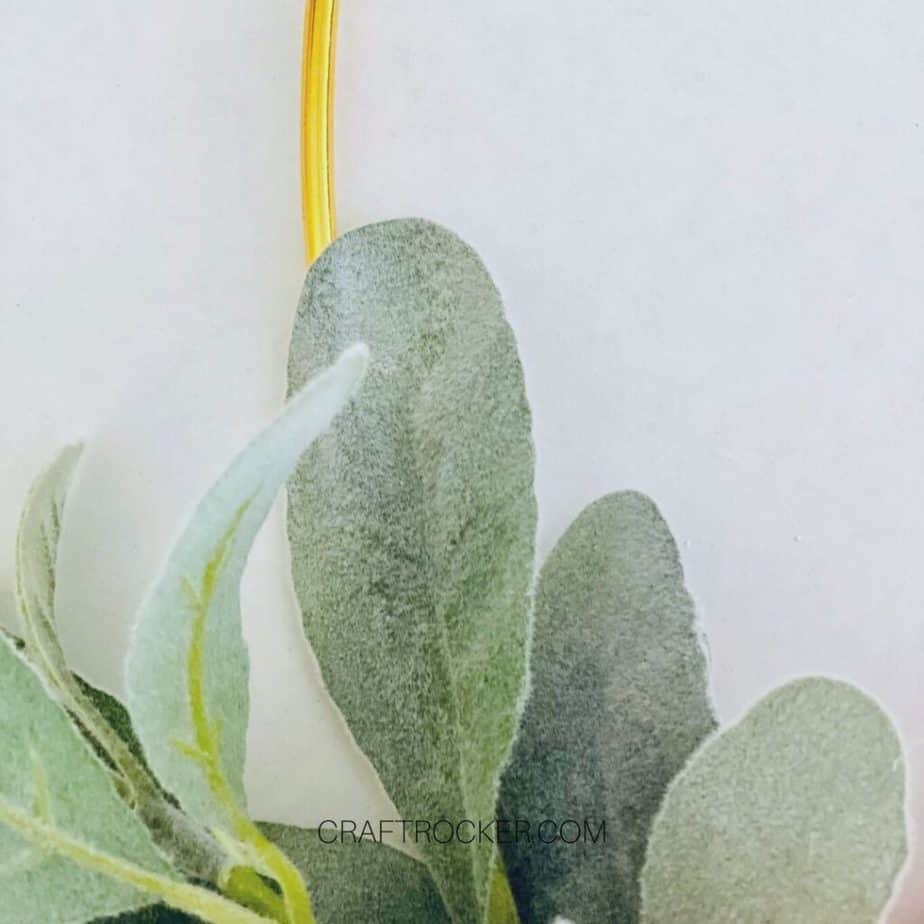
Lastly, add a small amount of hot glue to one of the lamb’s ear leaves on either side of the hoop and press them to the hoop to secure them.
Also add some hot glue to the cherry blossom stems to make sure they are secured to the hoop as well.
Tips and Tricks
The hot glue will help keep your design in place even if the zip ties allow for some slight shifting. This is important to keep your wreath looking beautiful with use.
If you have green or brown zip ties, I recommend using them. Even though you shouldn’t see them in the end product, it’s still nice to use ones that match in case of shifting or if using as a party decoration outside where the wind can blow it.
Printable Gold Hoop Wreath DIY Tutorial
Gold Hoop Wreath DIY
This gold hoop wreath DIY is a glamorous accent for your home or for a party. A cherry blossoms and lamb’s ear arrangement set on a gold hoop is a perfect DIY decoration for a baby shower, bridal shower, or wedding!
Materials
- Pink Cherry Blossom Flowers
- Lamb’s Ear
- Gold Hoop Form
- Wire Cutters
- 4 zip ties
- Glue Gun
Instructions
- First, trim down the lamb’s ear and the cherry blossom with your wire cutters. Leave a few inches of the stem on each so that you have something to attach to the gold hoop.
- Next lay both bundles of the lamb’s ear so that the leaves are facing in opposite directions of each other and the stems are overlapping.
- Then use 2 zip ties to attach the stems to the hoop.
- Repeat the process with the cherry blossom flowers, attaching them in the center of the overlapping lamb’s ear stems with the remaining 2 zip ties.
- After your florals are attached, use your wire cutters to trim the excess tails from your zip ties. You don’t want them to stick out of your wreath.
- Lastly, add a small amount of hot glue to one of the lamb’s ear leaves on either side of the hoop and press them to the hoop to secure them.
- Also add some hot glue to the cherry blossom stems to make sure they are secured to the hoop as well.
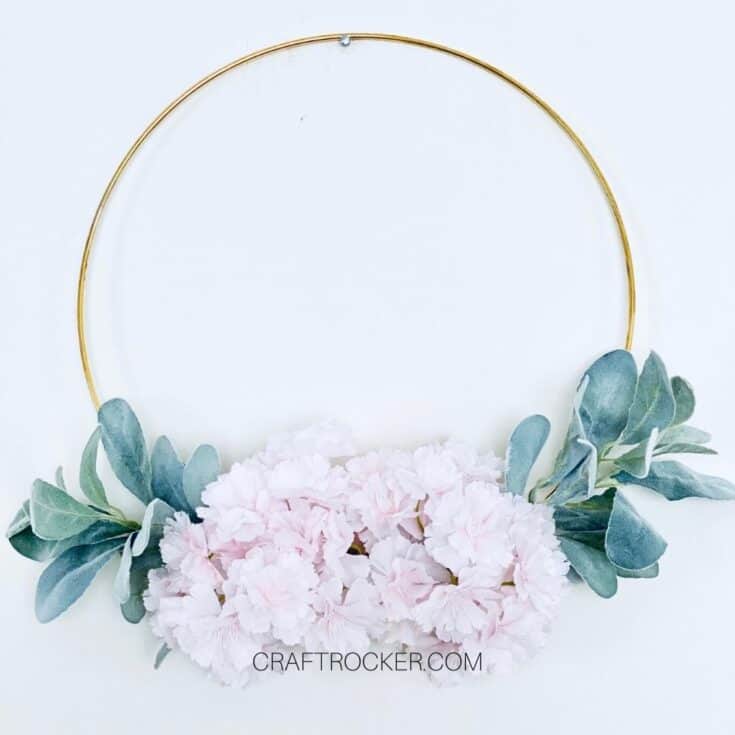
See? How easy is this gold hoop wreath DIY?
Even better, there’s no long dry time or any other wait time for getting it done. Simply put it together and BOOM! You’re ready to go.
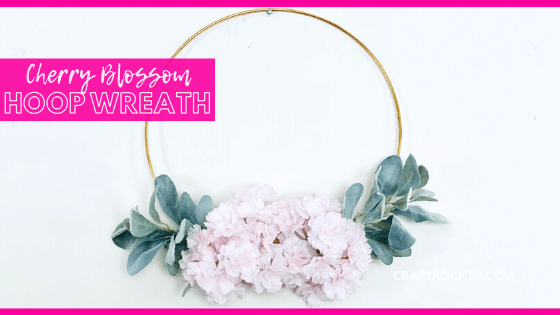
Don’t Forget to Pin It!
More DIY Party Ideas to Check Out
Festive DIY New Year’s Champagne Flutes
How to Make Tissue Paper Pom Poms
How to Make a Boutonniere – Made in a Day
