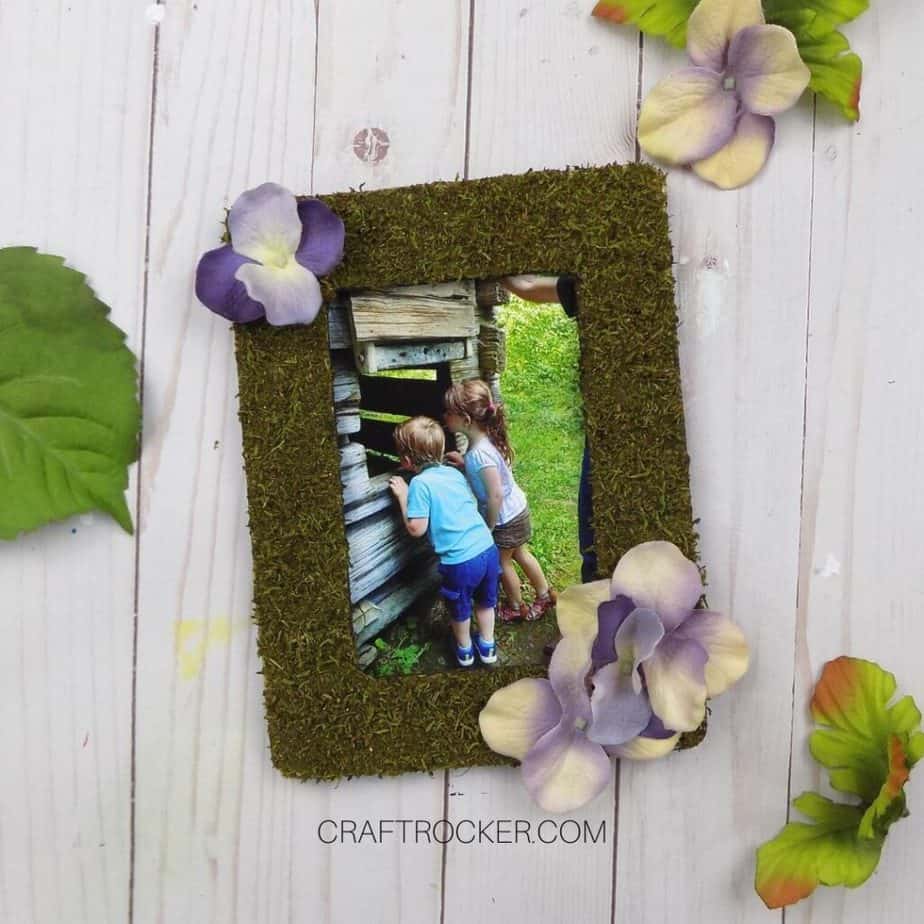
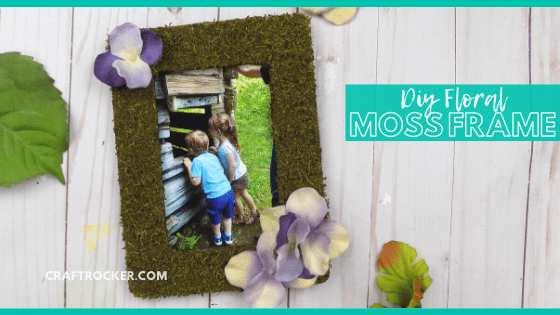
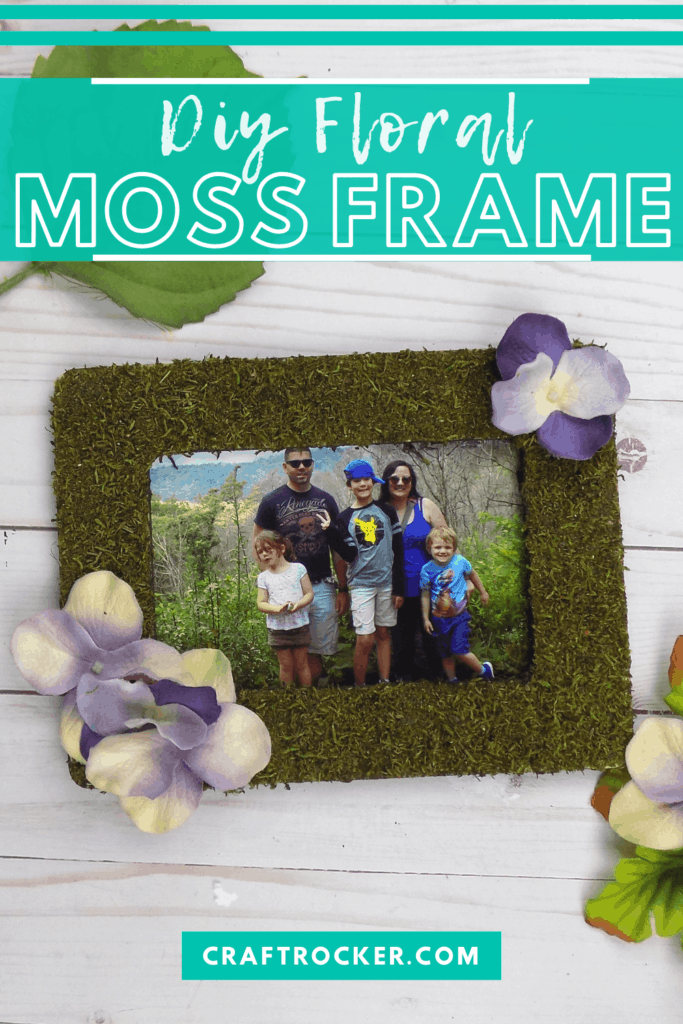
This DIY moss frame with flowers is a beautiful piece of wall art for your home. It also makes an awesome gift for moms and grandmas!
Affiliate links may be used in this post. Ordering a product through these links may result in a commission at no extra cost to you. Read the full disclosure here.
Jump to What You Want
Printable DIY Moss Frame with Flowers Tutorial
You ever start a project with no idea where it’s going just to create something? That’s exactly what happened with this craft.
I had the frame and wanted to make something beautiful with it. Since I’m currently obsessed with faux living wall art, I figured adding some moss would be a great touch.
Unfortunately, it looked a little plain with only moss on it. A few flowers and now it’s absolutely gorgeous!
Plus, it’s incredibly easy to make. Simply add moss, paint the outside, and add some flowers. Boom! Done!
Floral Moss Frame Materials
Unfinished Wood Frame (Mine is from Michael’s)
Mod Podge
Small Flat Paint Brush
Fake Hydrangea Flowers (only need 4 individual flowers)
Scissors
Hot Glue Gun and Glue Sticks
4×6 inch Photo of Choice

Step 1 – Prepare Your Frame
First, take any packaging off of your wood frame. Then remove the insert and leave the prongs folded out. This keeps your frame off of the work surface while the Mod Podge and, later, paint dries.
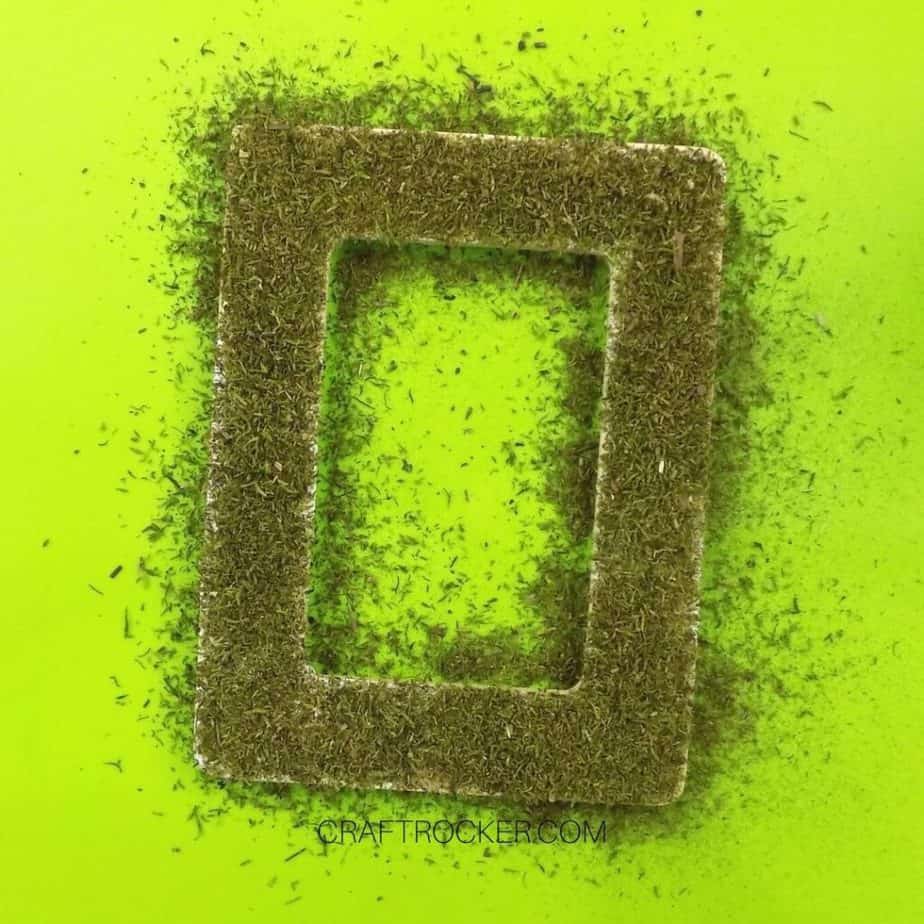
Step 2 – Add Moss
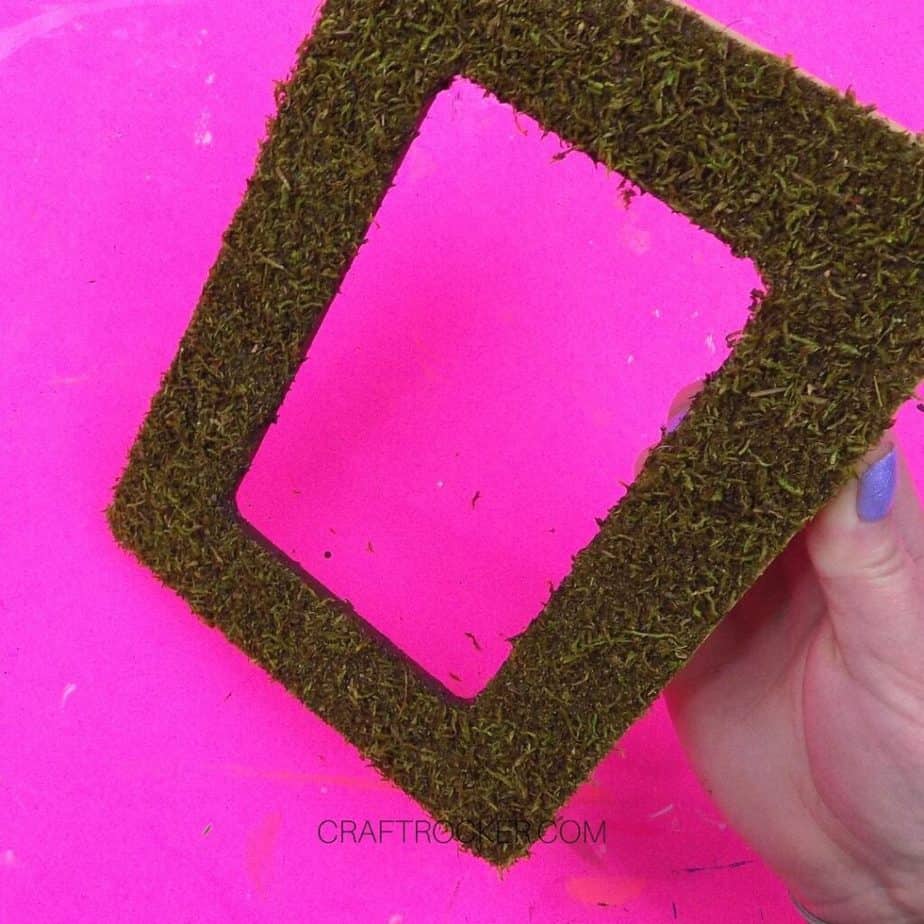
After your frame is prepped, add a thick coat of Mod Podge to the front of your wood frame.
Then cover the Mod Podge with moss and carefully shake off excess moss. Allow your frame to dry before moving on.
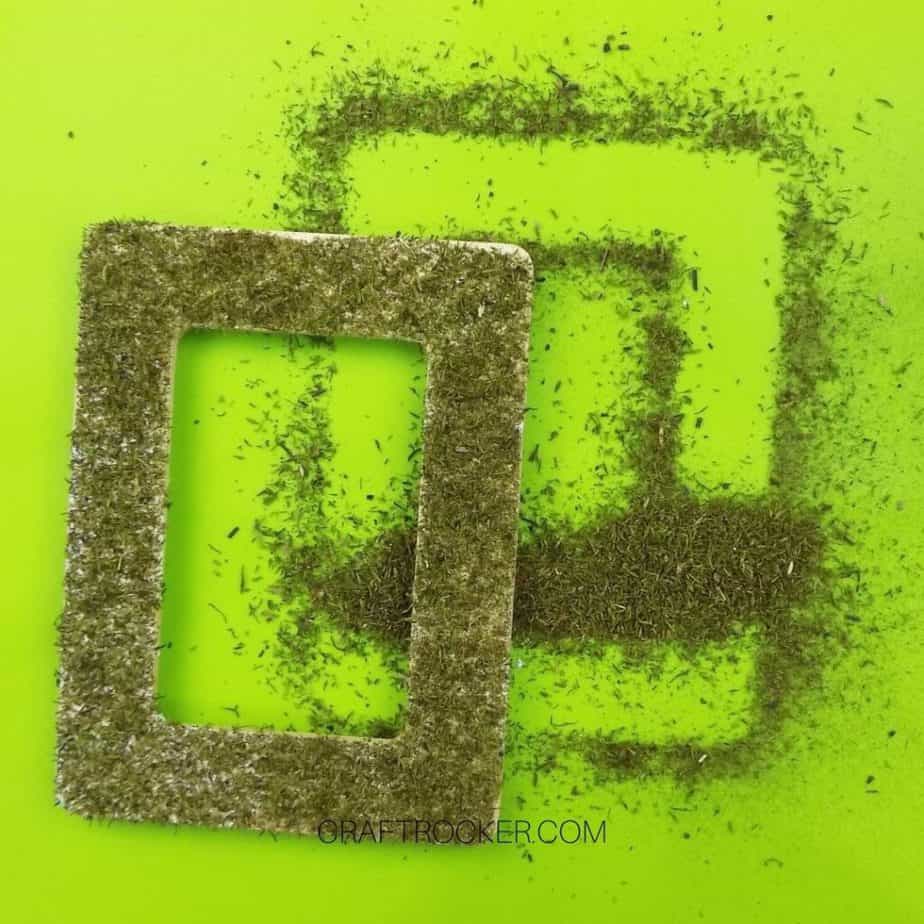
Step 3 – Add Even More Moss
Once your frame is dry, again add a thick layer of Mod Podge. This is easiest if you add a thick dollop to your sponge brush and add it to the top of the moss on the frame with short tapping motions.
After the front of the frame is again covered in Mod Podge, cover it with another layer of moss. Then gently shake off the excess moss.
Again set it aside to dry completely before moving on.
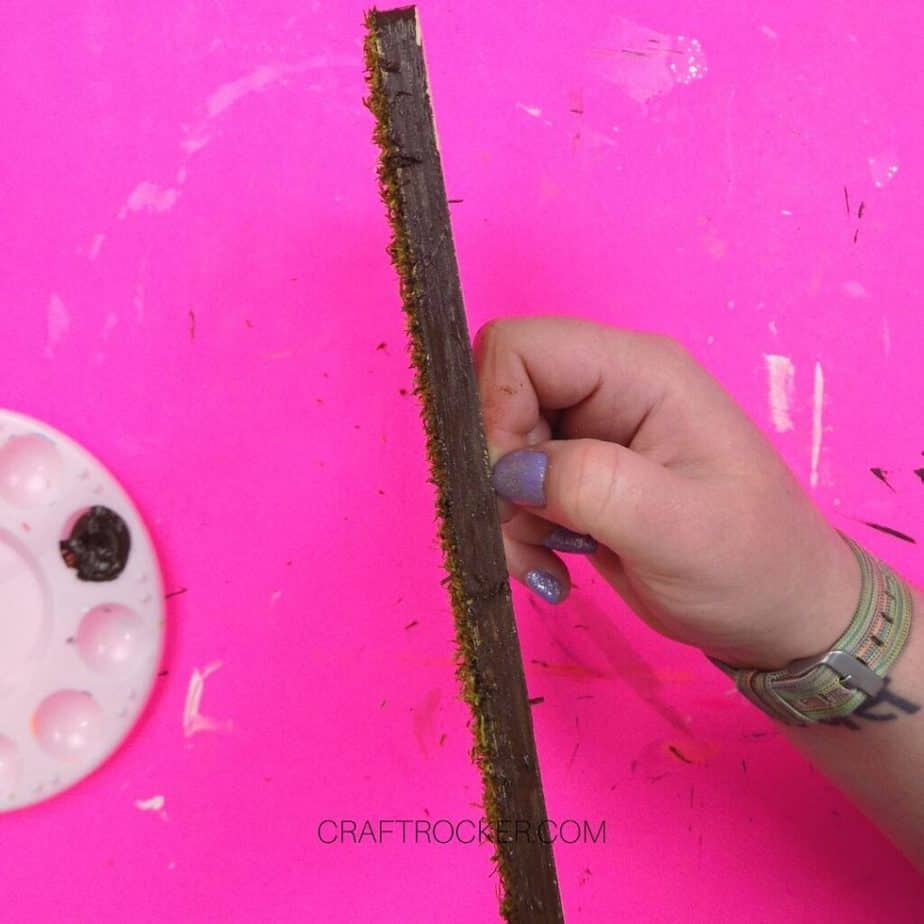

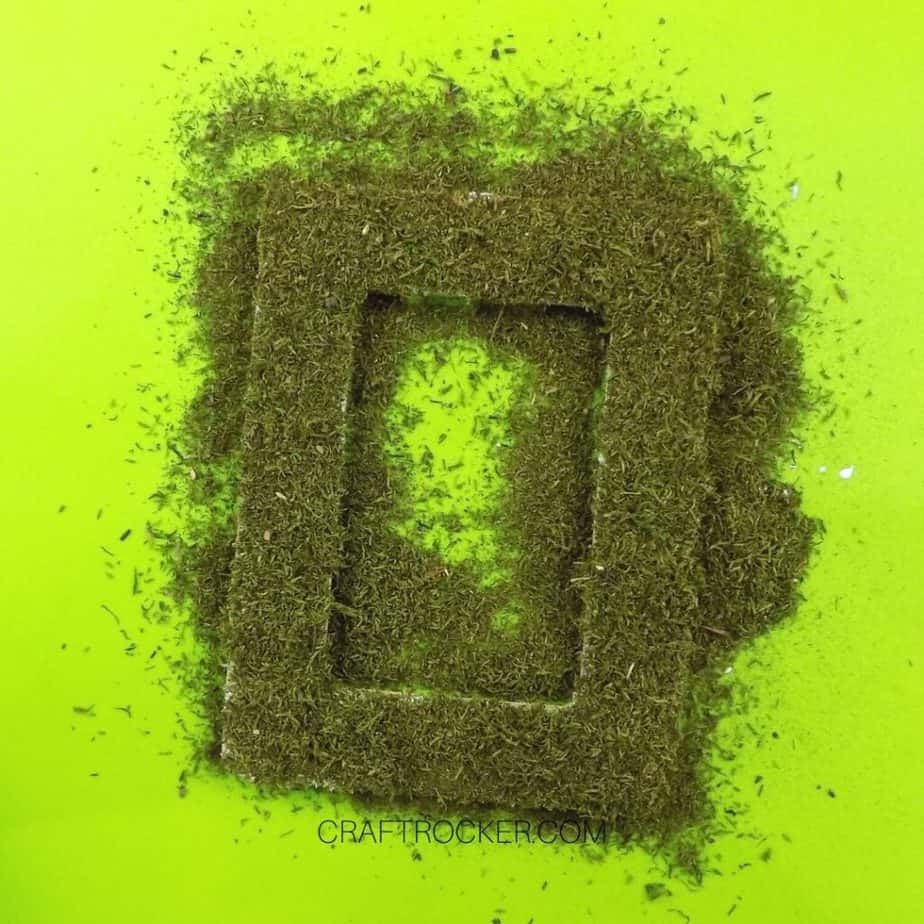
Step 4 – Paint Frame Edges
When the frame is dry, paint the inner and outer edges of your frame with brown acrylic paint. Again, set it aside to dry.
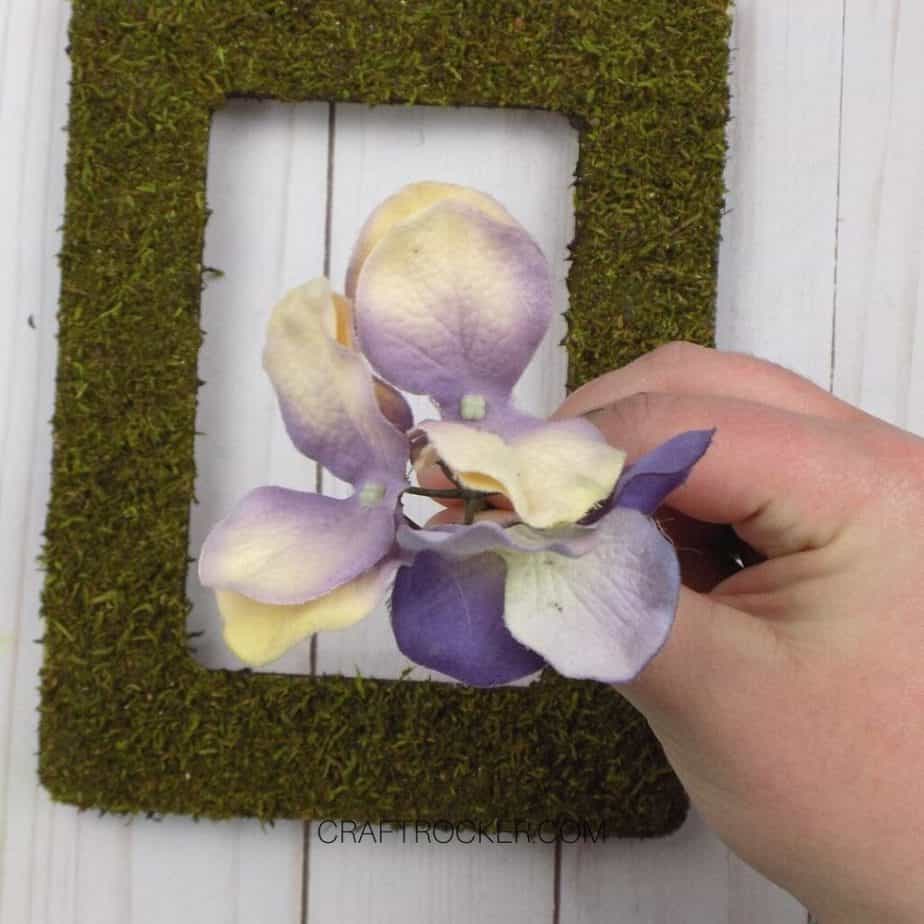
Step 5 – Prepare Your Flowers
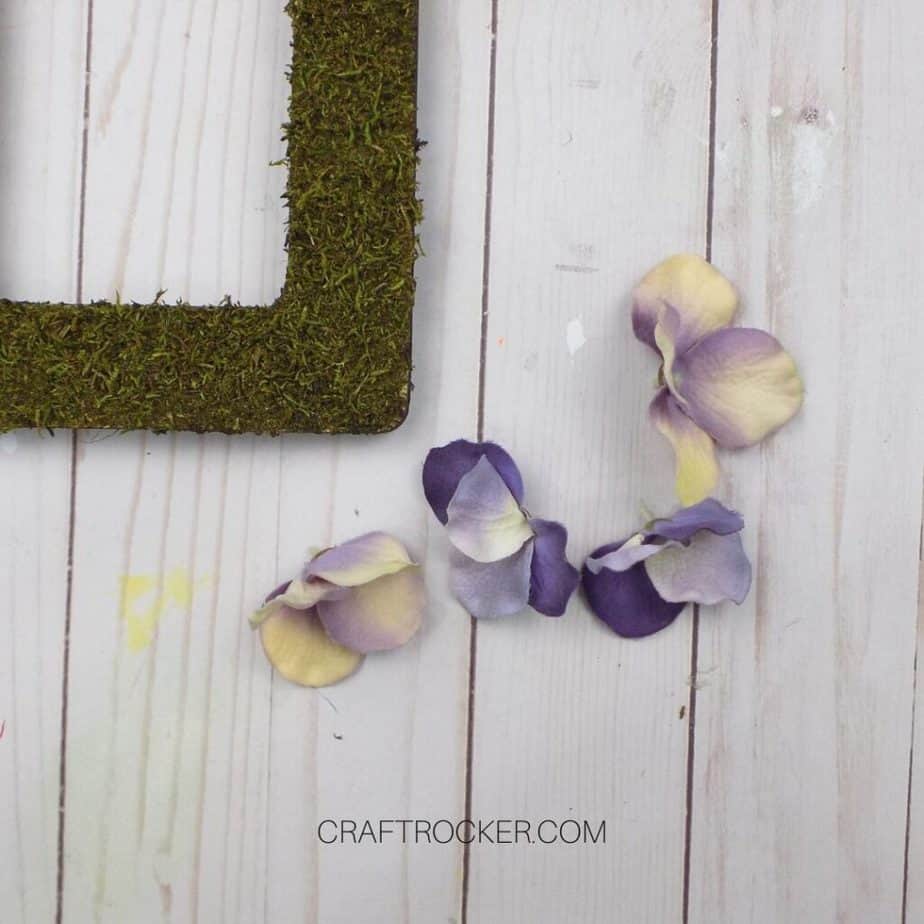
While your frame dries, pull out your flowers and pull 4 flowers off of the stems.
Then use scissors to cut the extra plastic (the part that the stem attached to) from the back of each flower.

Step 6 – Attach Your Flowers to Your Frame
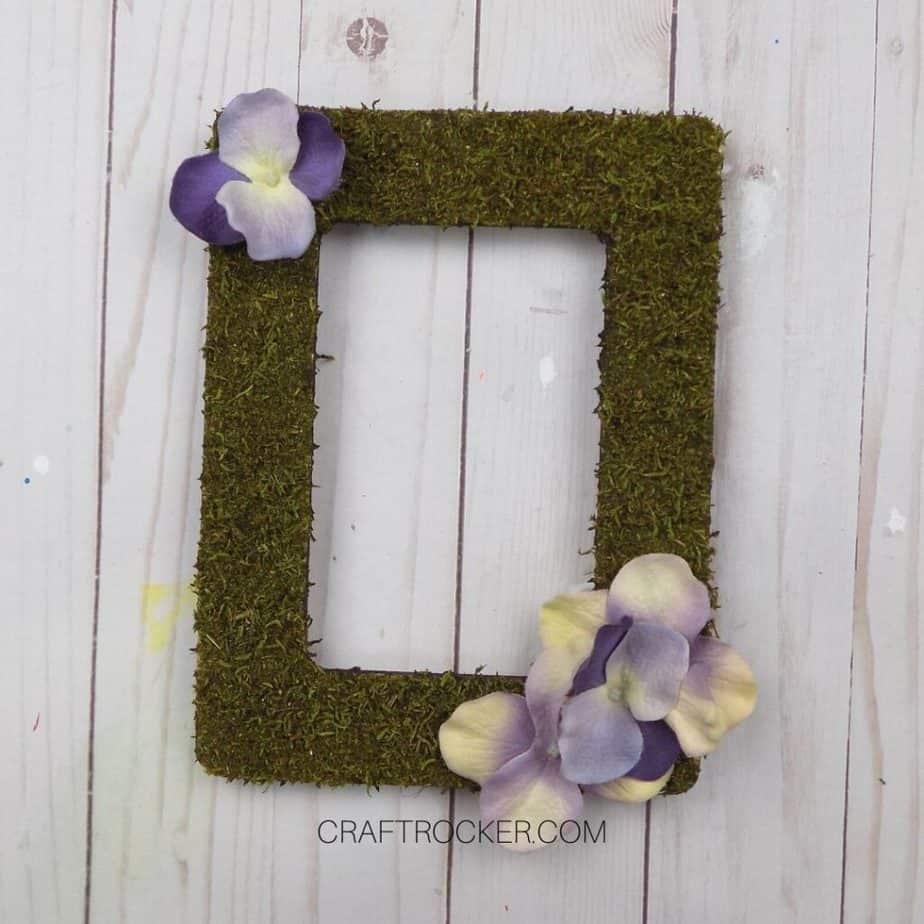
When your frame is dry, turn it so that it is portrait style and hot glue 3 flowers to the bottom, right-hand corner of your moss frame.
Next, glue your 4th flower to the top, left-hand corner of the frame.
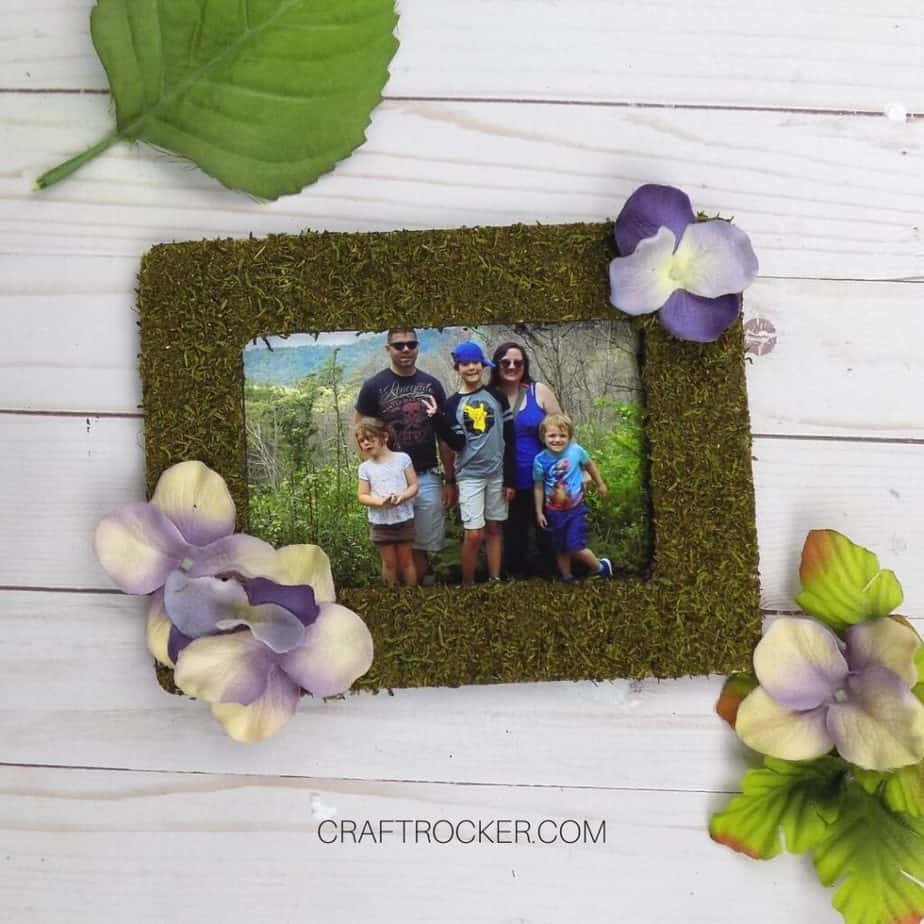
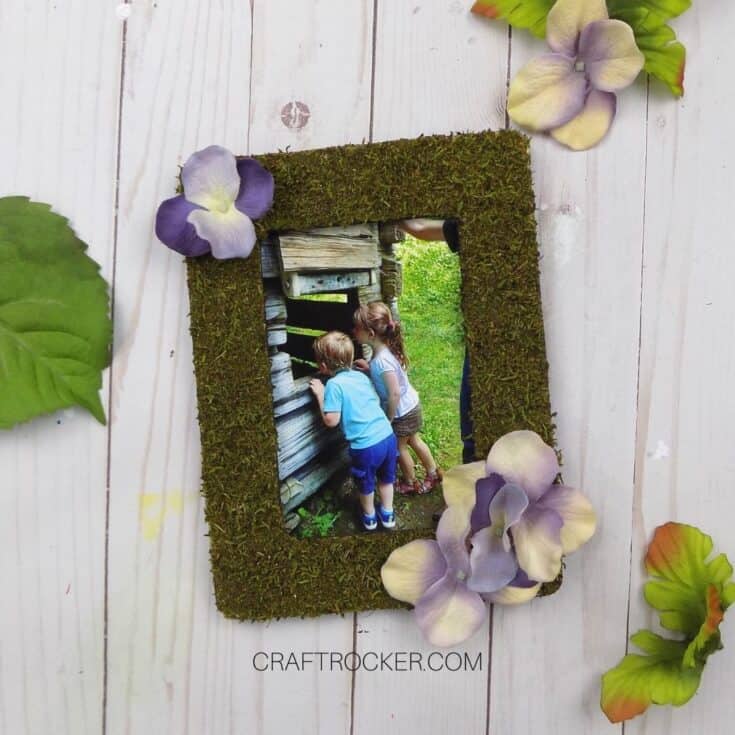
Step 7 – Add Your Photo
Lastly, add your photo to the frame. Then fold your prongs back down and you’re ready to go.
Tips and Tricks
Make sure that you get your second coat of Mod Podge in the nooks and crannies of your initial layer of moss. You want a thick coating of moss on your frame.
I recommend giving the frame a good shake after your paint has dried. This will knock loose any excess moss that didn’t fully adhere to the frame.
Keep in mind that these do not come with protective glass so I recommend using a 4×6 inch photo that you print for 10 cents at Walgreen’s or Target.
If you plan to give this as a gift, I recommend wrapping the frame in tissue paper before adding to a box for wrapping. This will protect the frame and photo until opened by the recipient.
You can also use moss sheets on this project. If you do, only attach one layer to your frame. Then use a utility knife to trim the excess from the interior and exterior edges of your frame.
Printable DIY Moss Frame with Flowers Tutorial
DIY Moss Frame with Flowers
This DIY moss frame with flowers is a beautiful piece of wall art for your home. It also makes an awesome gift for moms and grandmas!
Materials
- Unfinished Wood Frame
- Mod Podge
- 1 inch Sponge Brush
- Loose Fake Moss of Choice
- Burnt Umber Acrylic Paint
- Small Flat Paint Brush
- Fake Hydrangea Flowers (only need 4 individual flowers)
- Scissors
- Hot Glue Gun and Glue Sticks
- 4x6 inch Photo of Choice
Tools
Instructions
- First, take any packaging off of your wood frame. Then remove the insert and leave the prongs folded out. This keeps your frame off of the work surface while the Mod Podge and, later, paint dries.
- After your frame is prepped, add a thick coat of Mod Podge to the front of your wood frame.
- Then cover the Mod Podge with moss and carefully shake off excess moss. Allow your frame to dry before moving on.
- Once your frame is dry, again add a thick layer of Mod Podge. This is easiest if you add a thick dollop to your sponge brush and add it to the top of the moss on the frame with short tapping motions.
- After the front of the frame is again covered in Mod Podge, cover it with another layer of moss. Then gently shake off the excess moss.
- Again set it aside to dry completely before moving on.
- When the frame is dry, paint the inner and outer edges of your frame with brown acrylic paint. Again, set it aside to dry.
- While your frame dries, pull out your flowers and pull 4 flowers off of the stems.
- Then use scissors to cut the extra plastic (the part that the stem attached to) from the back of each flower.
- When your frame is dry, turn it so that it is portrait style and hot glue 3 flowers to the bottom, right-hand corner of your moss frame.
- Next, glue your 4th flower to the top, left-hand corner of the frame.
- Lastly, add your photo to the frame. Then fold your prongs back down and you’re ready to go.
I absolutely love how this DIY moss frame with flowers turned out. It was originally going to be a Mother’s Day gift but now I really want to keep it for me.
Luckily, it’s so easy to make that I can whip up some more for the grandmas and still keep mine. Who do you know that would love this photo frame?
Don’t Forget to Pin It!
More Frame Crafts You’ll Love
French Memo Board – DIY Memo Board Idea
Popsicle Sticks Photo Frame Magnets
Making a Wooden Sign with a Picture Frame – Cookies, Coffee, and Crafts
