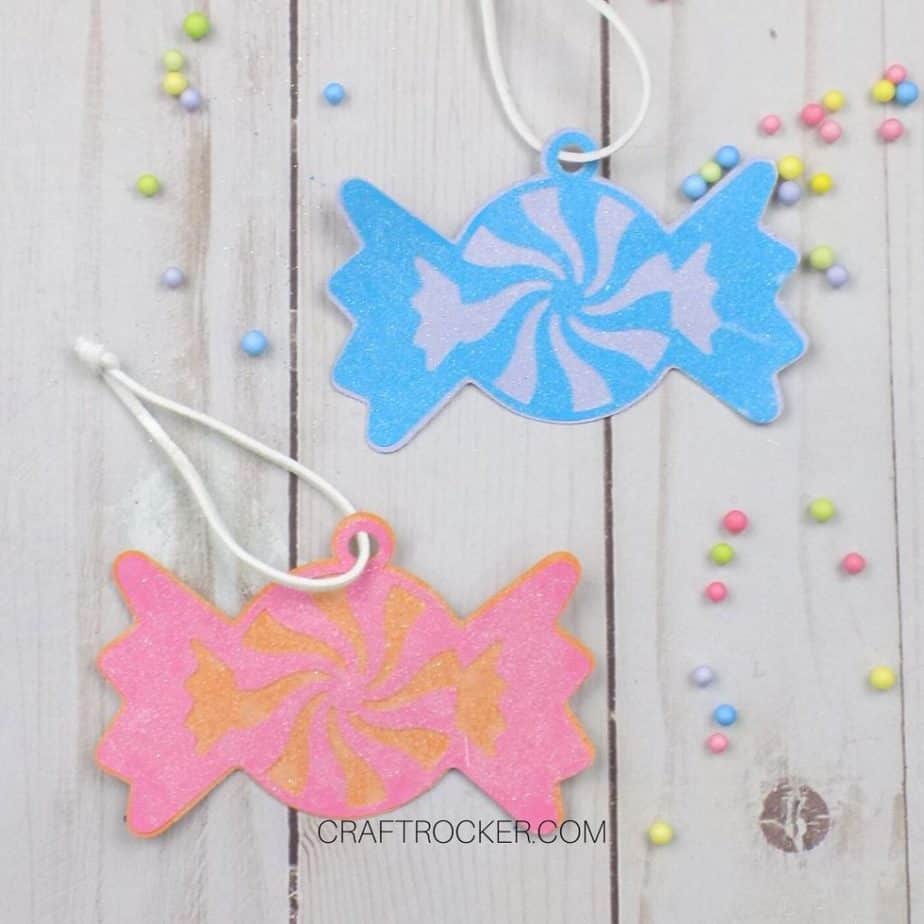
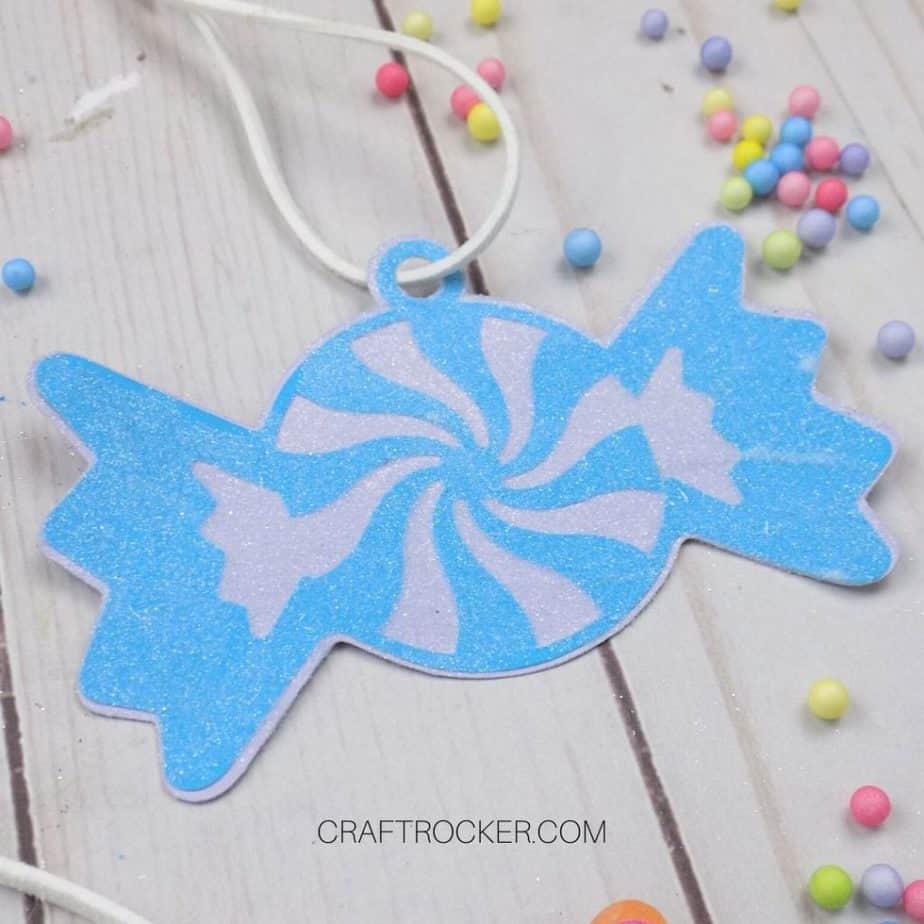
Add these glittery DIY candy ornaments to your candy tree this year for a beautiful and sparkly touch you’ll love!
Affiliate links may be used in this post. Ordering a product through these links may result in a commission at no extra cost to you. Read the full disclosure here.
Jump to What You Want


Festive Christmas Season Blog Hop
Welcome back to year 6 of our Festive Christmas Event where we team up with a bunch of talented blogging friends to bring you a plethora of creative ways to celebrate your holiday season.
We will be baking some cookie recipes for you, sharing some party games, making some handmade gifts like this Snow Globe Shadow Box, doing some ornament crafting (that’s today!), and sharing our Christmas movies family fun. There will be breakfast recipes and, as always, our decorated Christmas Trees which is always a fun tour of homes.

New this year are Gift Guides
We are right there with you shopping from home due to Covid-19 and we understand how hard that can be. That is why we have been busy little Elves doing tons of research to create fabulous Gift Guides to help you with your holiday shopping.
Check out 50+ Best Gifts for Crafters and 100+ DIY Christmas Gifts for Everyone on Your List!
Find new ideas every Monday and Wednesday between Oct. 19th through Nov. 18th. Scroll all the way down to the end of the post to find all the ideas linked at the end.
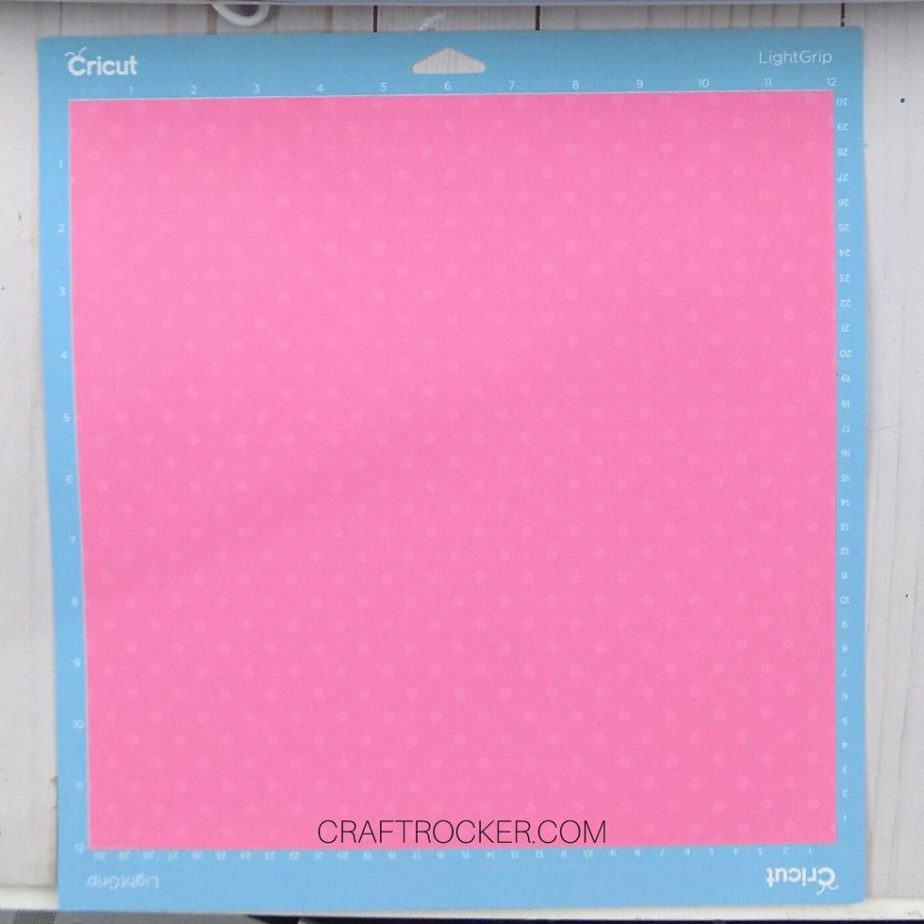
Materials for Glittery DIY Candy Ornaments
Light Grip Mat (the blue one)
Cardstock in a Variety of Colors
Glue Runner
White or Clear Glitter
Cording
Scissors
Note: If you don’t own the designs used for this tutorial, they are available through Cricut Access.
Step 1
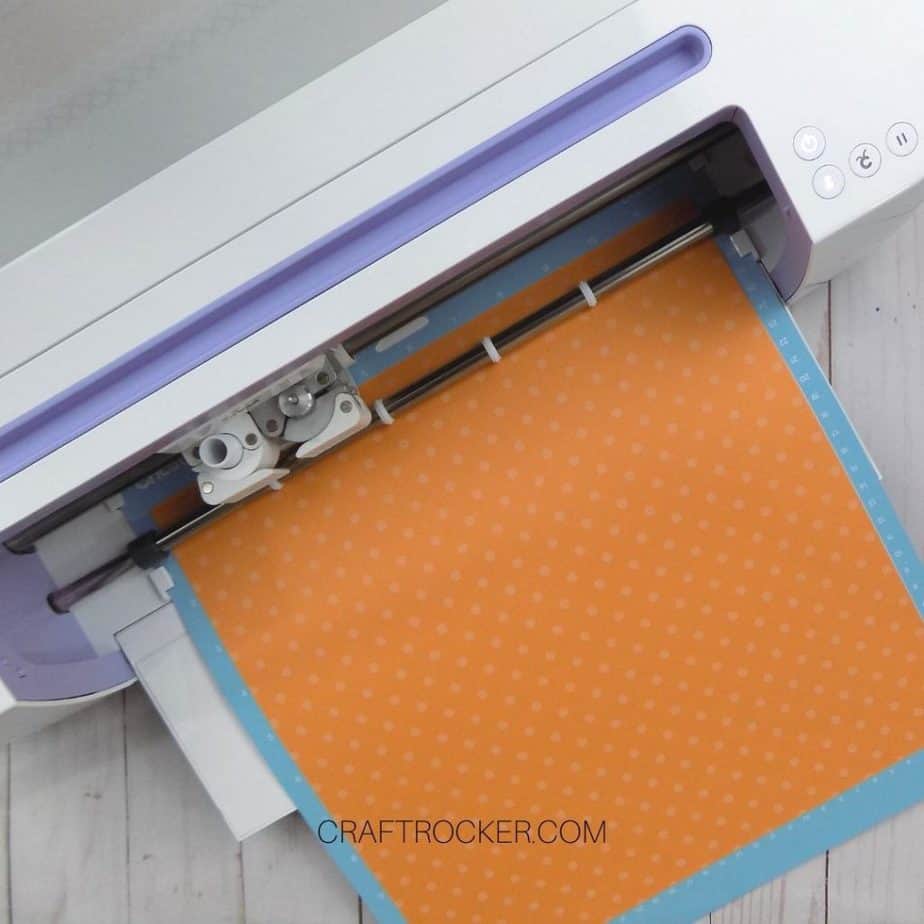
First, choose a sheet of cardstock and attach it to your mat. This will be the shadow (or background) color of your ornaments. Then load your paper into your Cricut machine.
Step 2
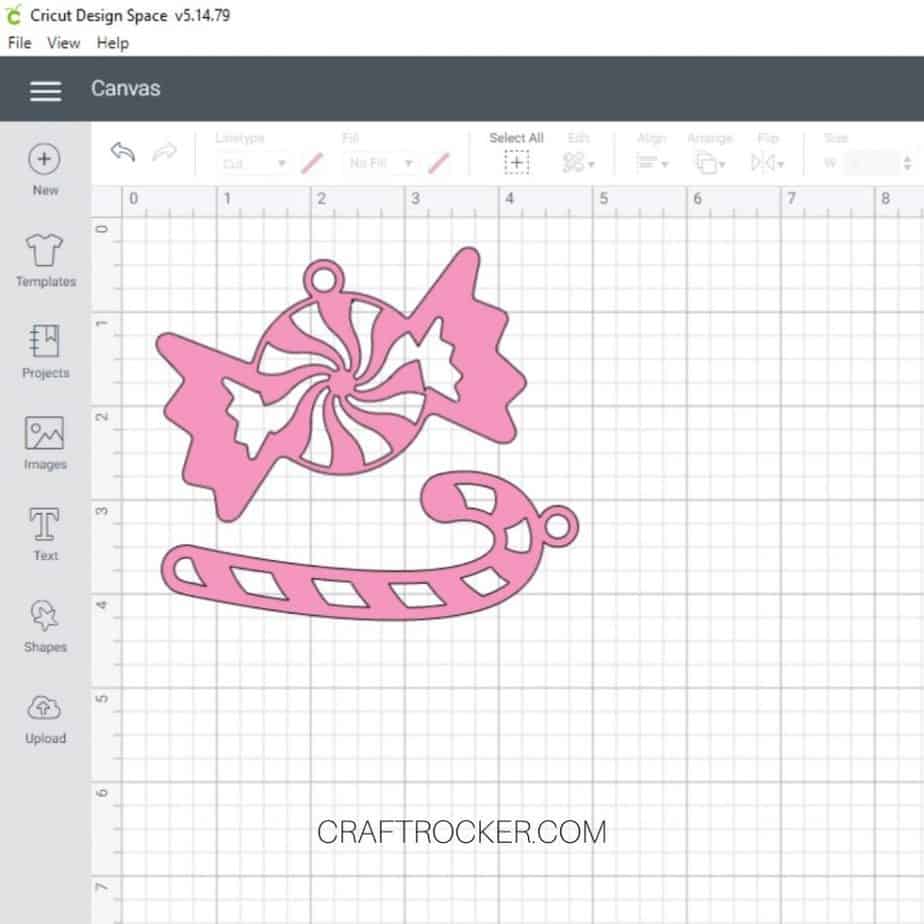
Next, open up Cricut Design Space and click on “New Project”. Then click the image button on the left side of your screen and in the search box, type “candy”.
Scroll until you find the candy and the candy cane pictured above.
Step 3
Then click on the candy and candy cane to select them and click on the “Insert Image” button on the bottom right side of the screen.
Don’t worry about arranging them because Cricut optimizing them for the best space usage on your mat. Then resize them so that the piece of candy is 4.017” x 3” and the candy cane is 4.557” x 1.702”.

Step 4
After your images are the correct size, click the picture of the eye next to the overlay for both images so that only the shadow is visible.
Then click the “Make It” button in the top, right hand corner of your screen.
Then hit the “Continue” button and cut out your design. Make sure you select the appropriate cardstock as your material on the cut screen.
Step 5
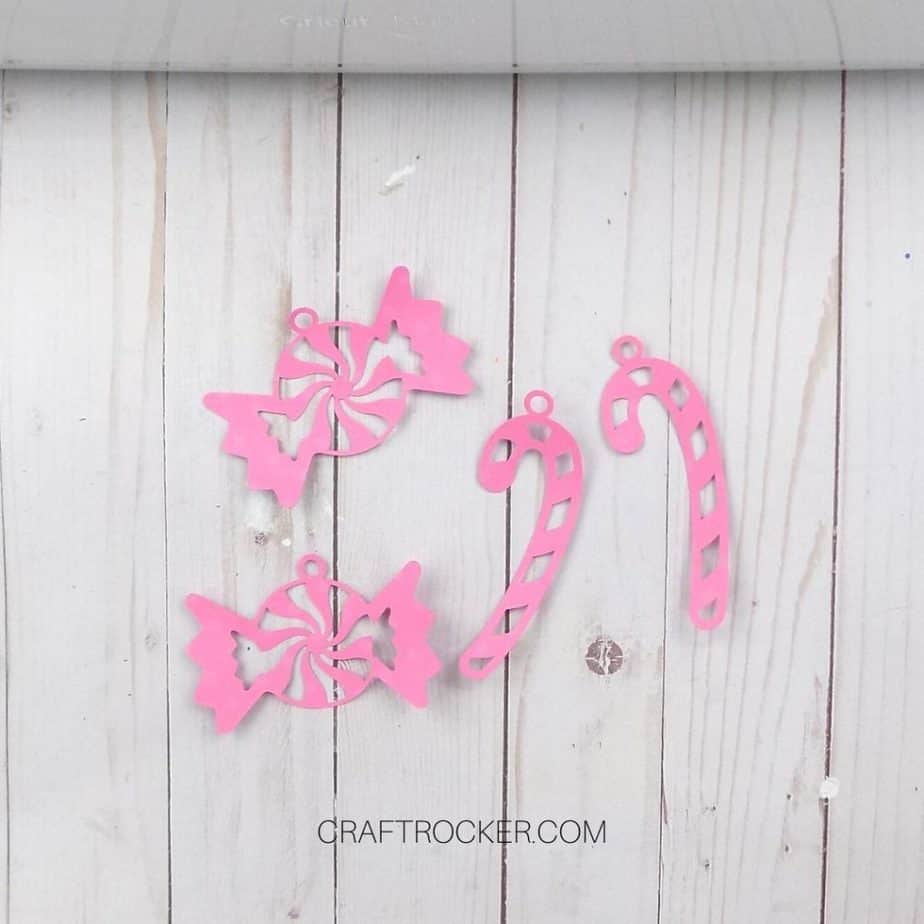
After your shadows are cut out, remove the excess paper from your mat. Then carefully pull off your cut candy and candy cane shadow pieces. Set them to the side for now.
Step 6
Next, attach a second color of heavy cardstock to your mat that compliments the color of the shadow pieces that you cut. Then load it into your Cricut machine.
Step 7
Again, pull up Design Space and click on the eyes on the right so that the overlays are the only things visible on your canvas.
Then click “Make It” and then “Continue” to cut your overlays. Be sure that “Heavy Cardstock” is selected again on your cut screen.

Step 8
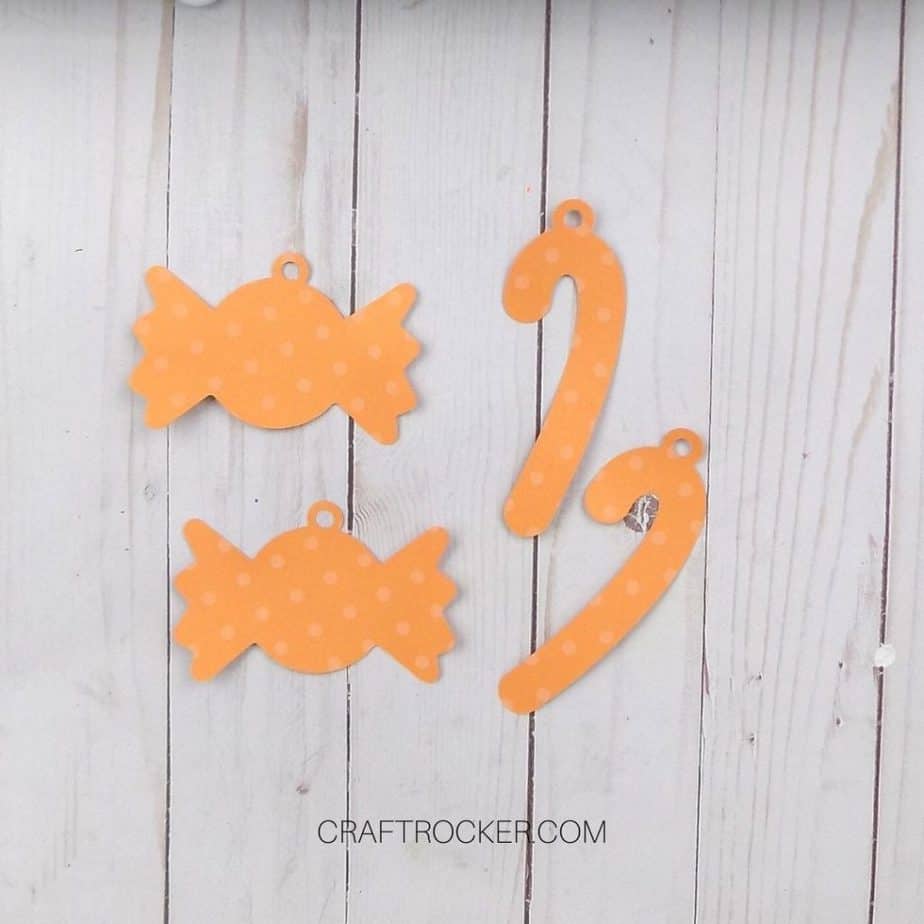
Once your overlays are cut, remove your mat from the cutting machine and take the excess paper off of the mat.
Step 9
Next, weed your designs so that the only the overlay images are left. Then carefully pull them off of the mat.
Step 10
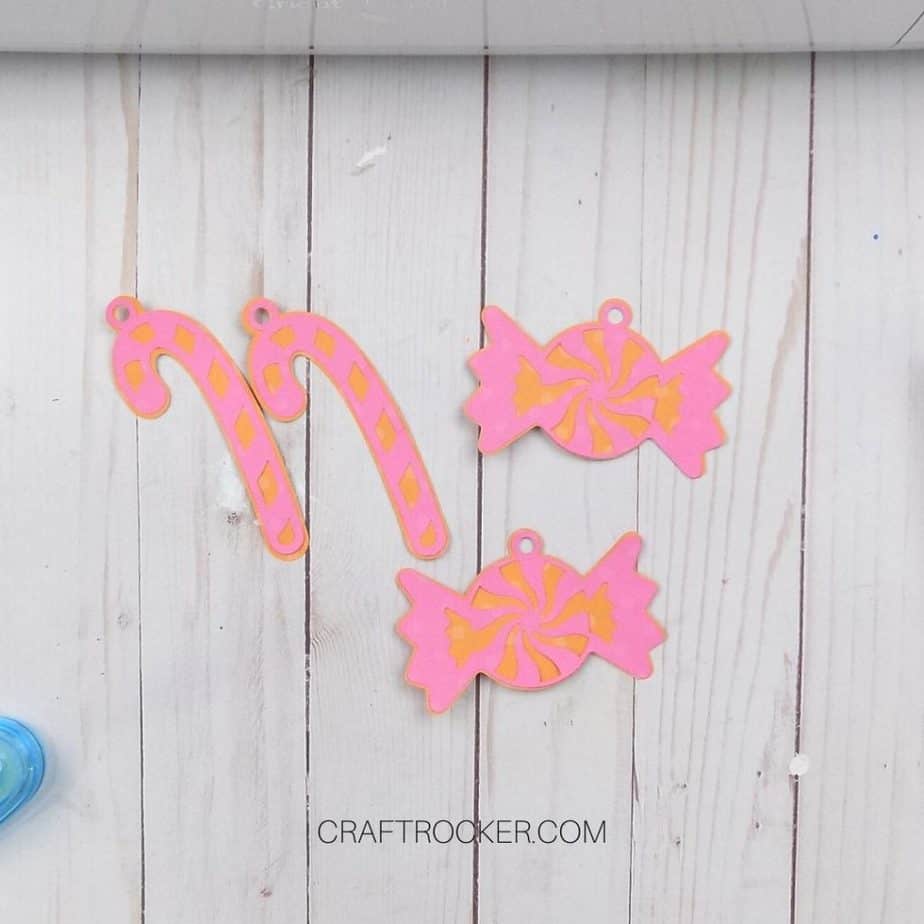
After you have both piece of your designs, it’s time to put them together. Run your glue runner along the back of each overlay piece.
Then carefully align them over their respective shadows and press down to adhere.

Step 11
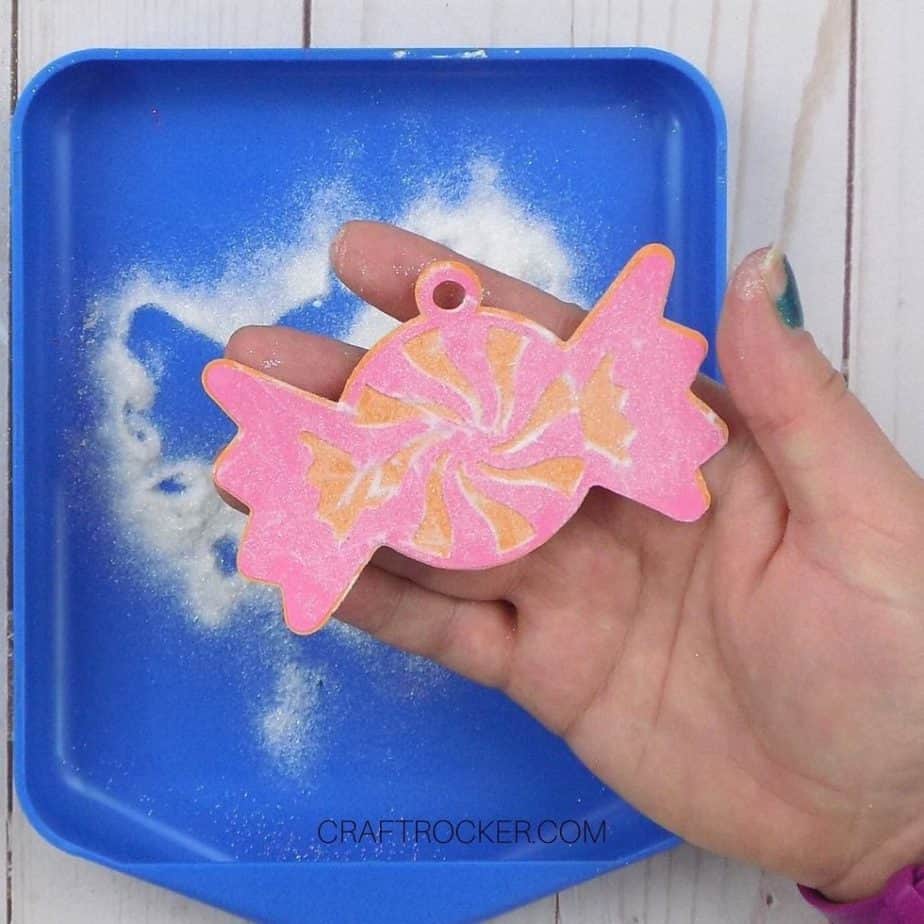
Once your pieces are put together, add a thin coat of Mod Podge to them. Then cover them with glitter and shake off the excess. Set them aside to dry.
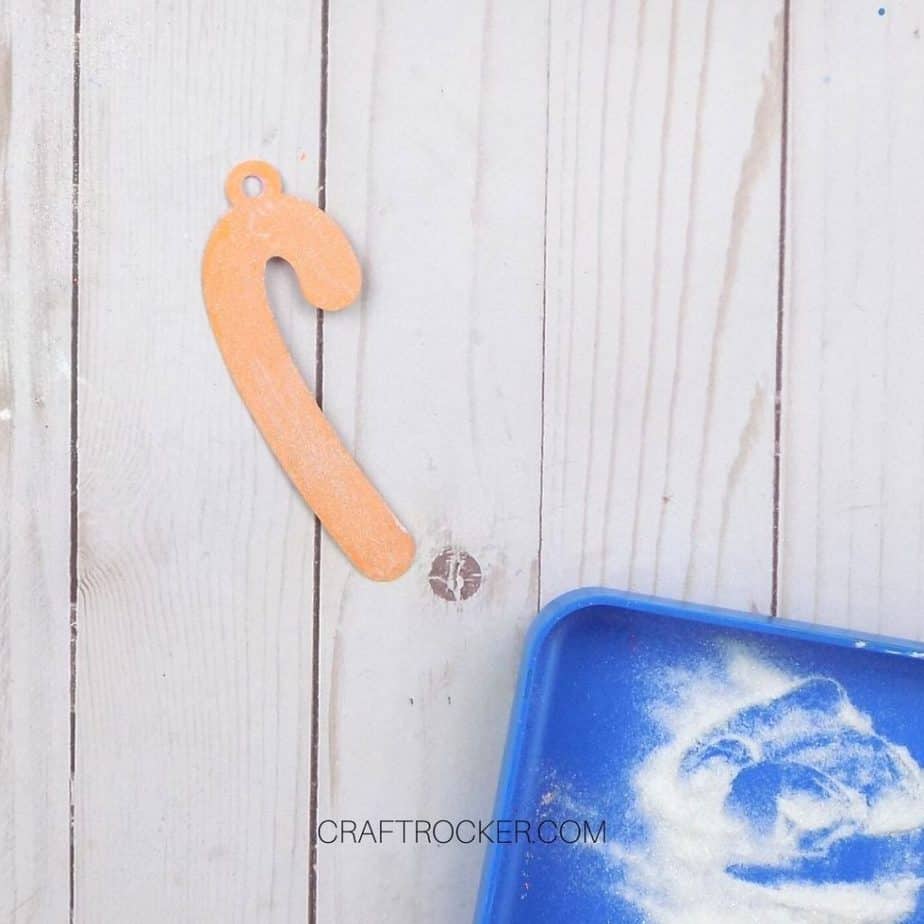
Step 12
When your Mod Podge is dry, flip your pieces over and put a second coat of Mod Podge on the back. Again, cover with glitter and shake off the excess. Then set them aside to dry completely.
Step 13
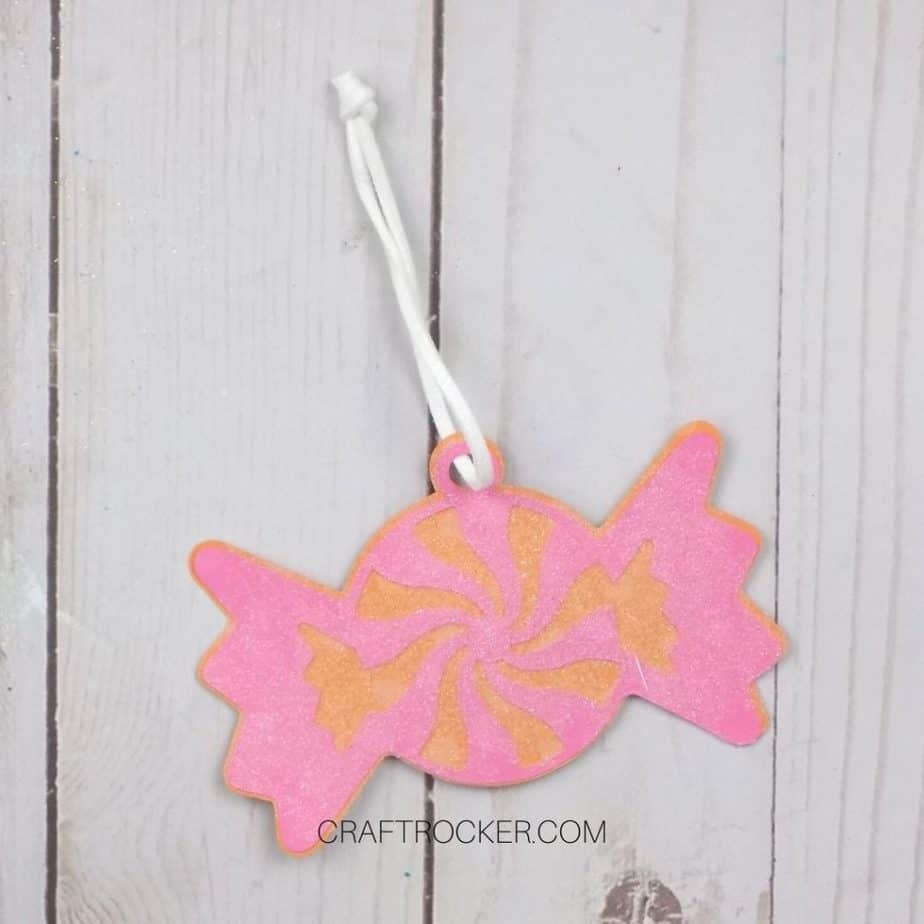
Lastly, cut a length of cording that is 6-8 inches long and thread it through the holes on your ornaments. Then tie the loose ends in a knot and trim any excess from them with your scissors.
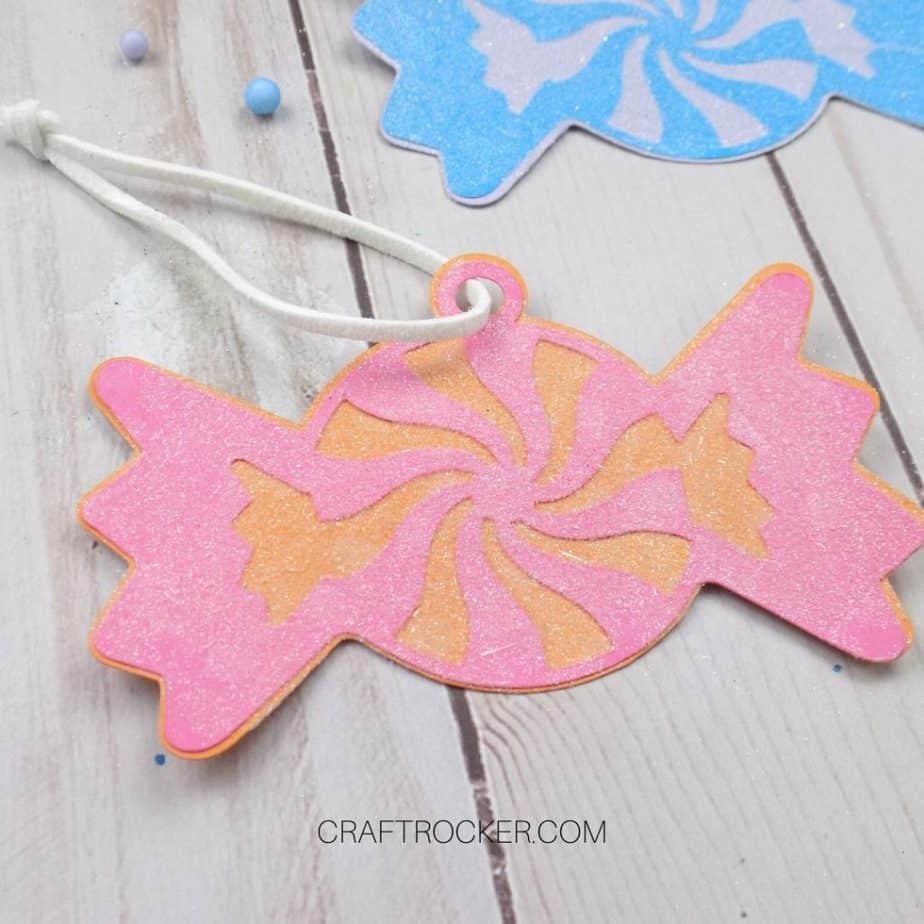
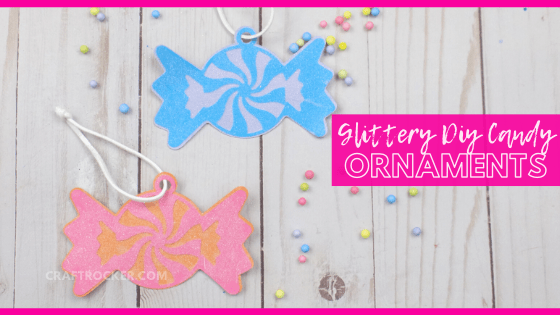
These glittery DIY candy ornaments are so pretty it’s hard to believe that they are paper! Plus, they’re super easy to make so you can quickly make a complete set for your tree.
Now it’s time to check out the other awesome ornaments my friends made for today’s hop. Check them out below!
Don’t Forget to Pin It!

Ornament Crafts for the Festive Season Blog Hop

How to Make Animal Crossing Balloon Present Ornaments
Easy Painted Wood Slice Ornaments In Bright Colors

Easy DIY Marble Christmas Ornament
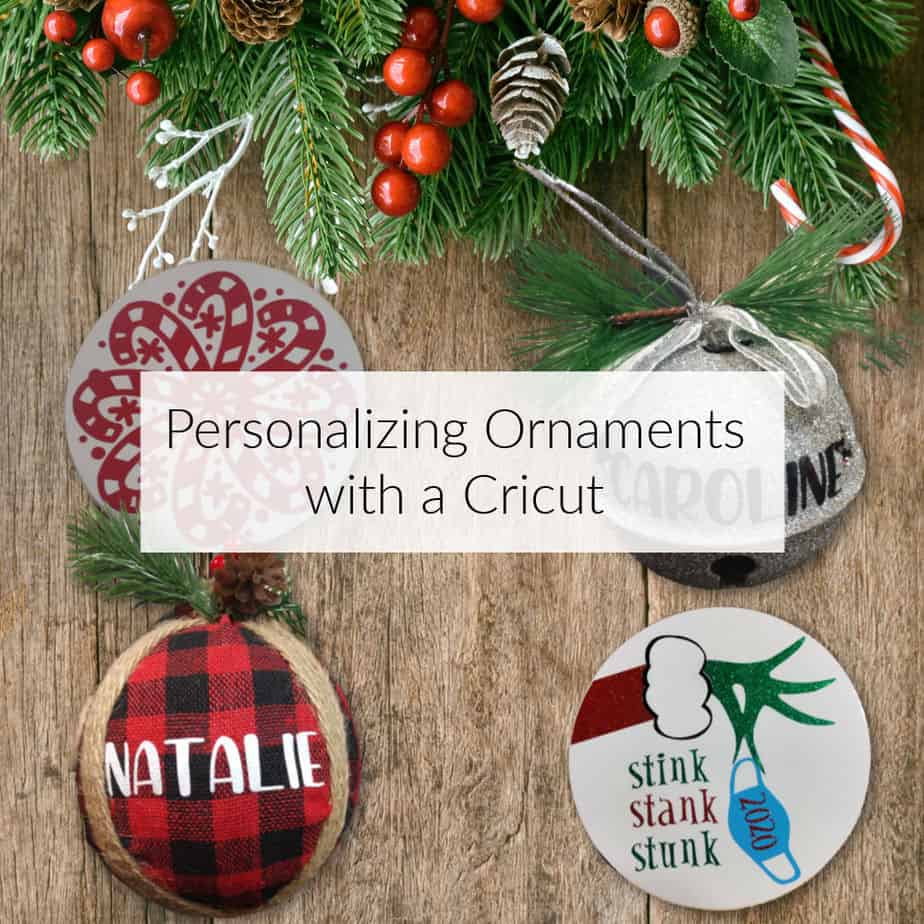
Personalizing Ornaments with a Cricut
Woodland Ornament DIY

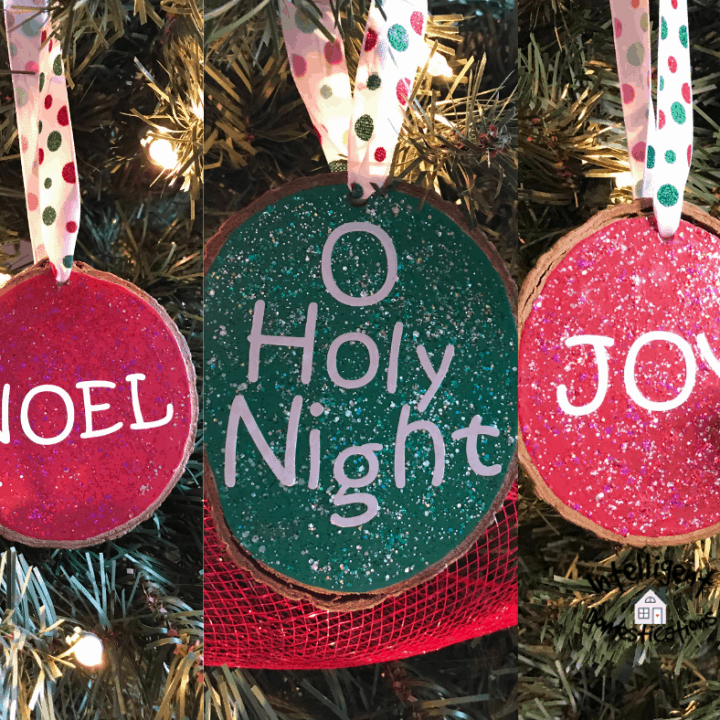
Lettered Wood Slice Ornaments
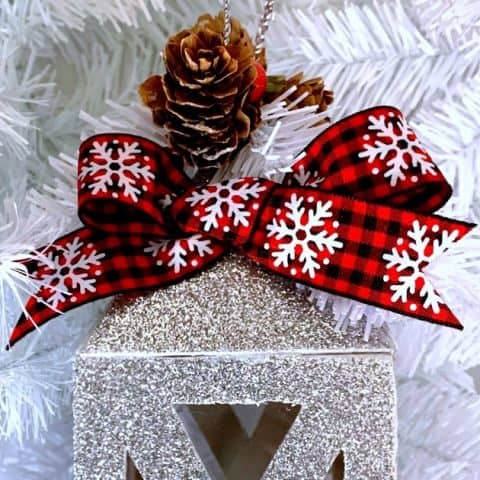
Light Up Christmas Lantern Ornament
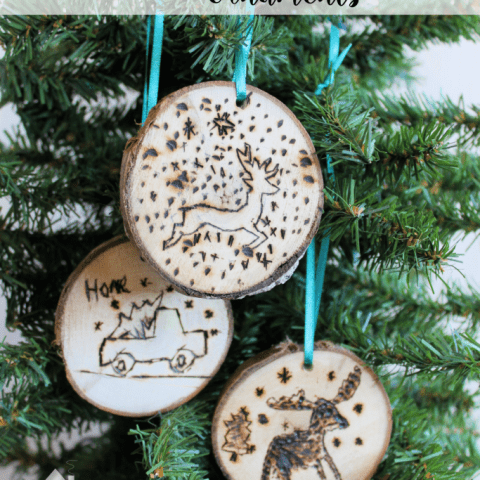
DIY Wood Burned Ornaments - As For Me and My Homestead
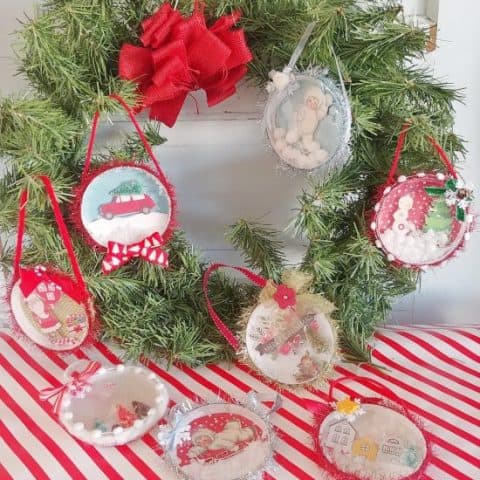
Snow Globe Ornaments From Recycled Ice Cream Lids!
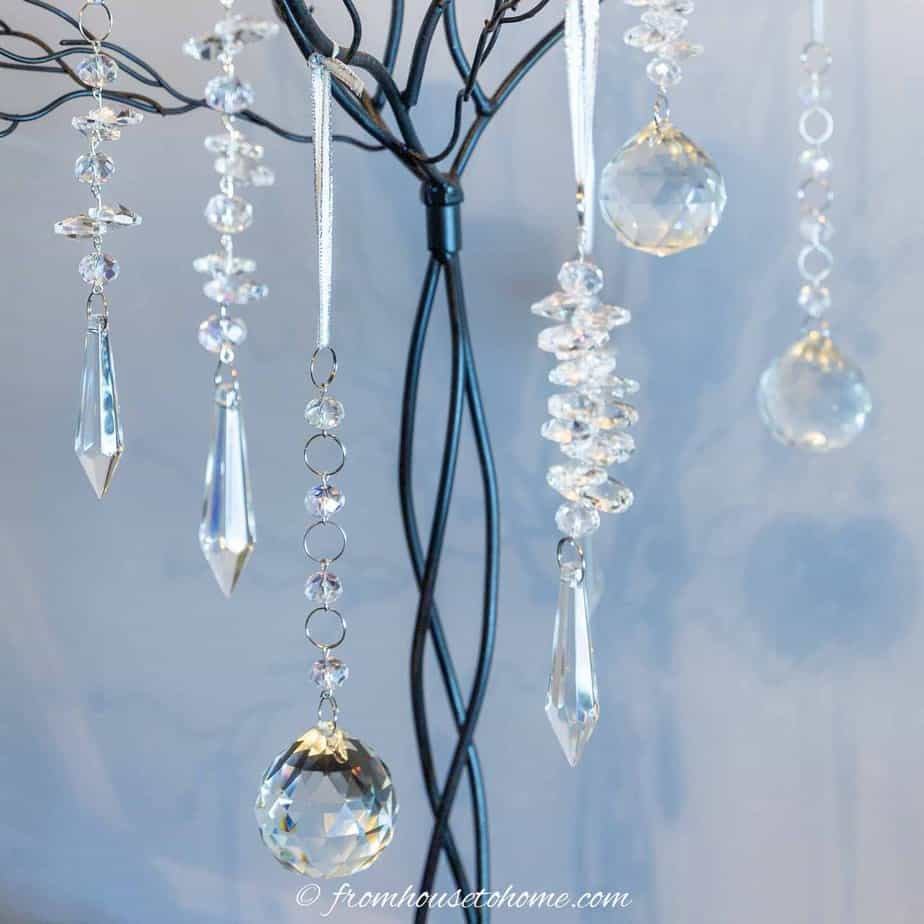
Crystal DIY Christmas Ornaments
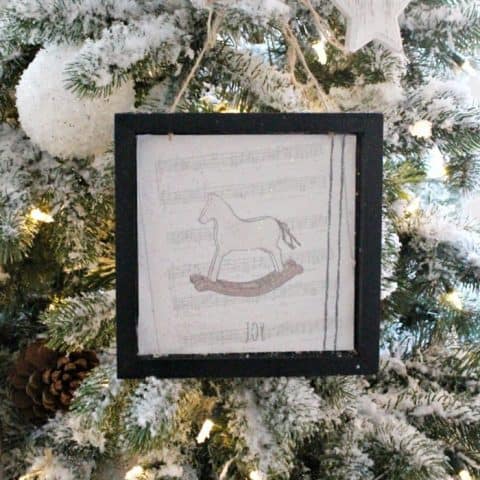
Farmhouse DIY Christmas Tree Ornament

DIY Minion Ornaments
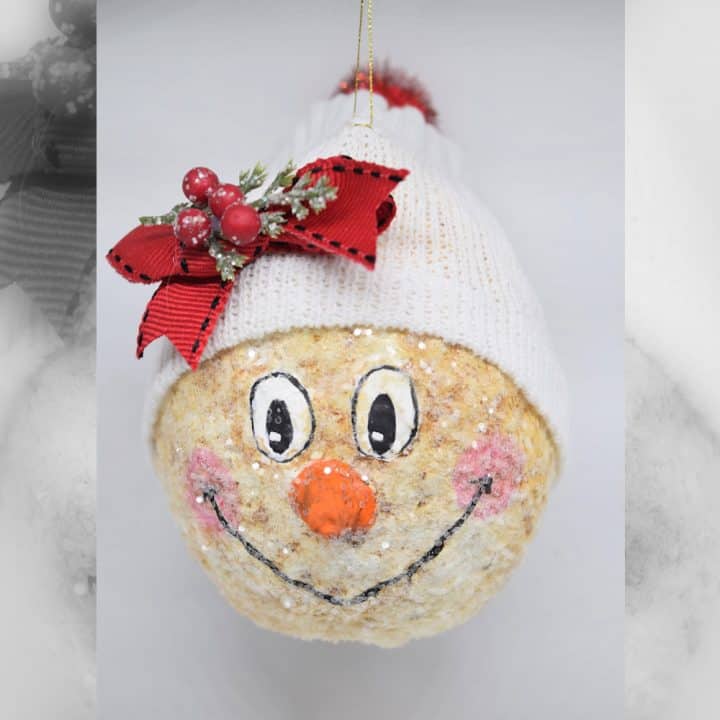
How To Make One-of-a-Kind Snowman Ornaments
DIY Christmas Tree Ornament: Easy Decoupage Craft
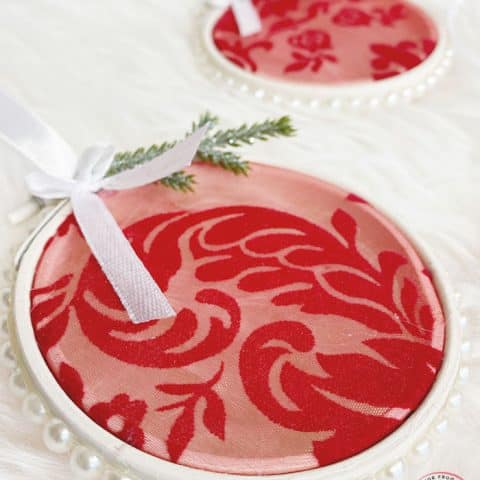
Organza DIY Embroidery Hoop Ornaments

Disney Holiday Cookie Ornament Craft
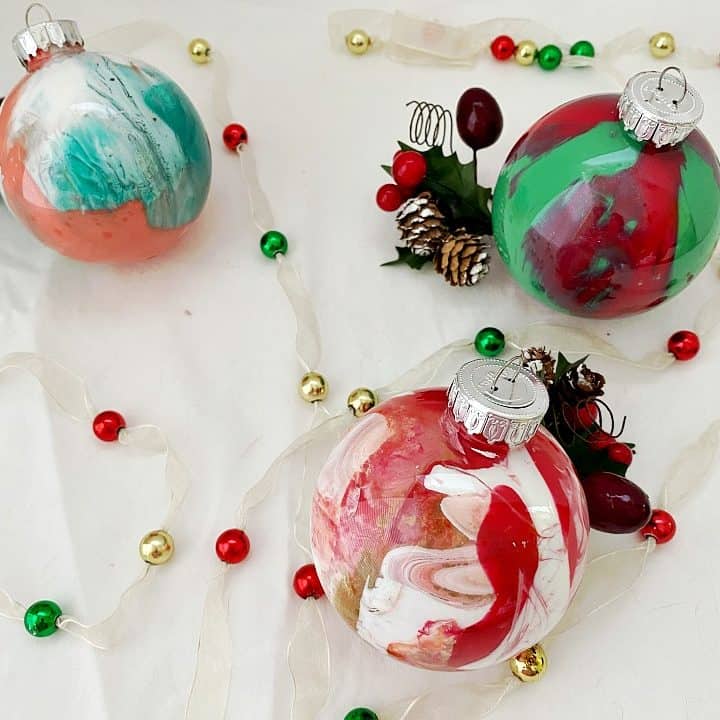
DIY Pour Painted Christmas Ornaments

DIY Wood Slice Christmas Ornaments - momhomeguide.com
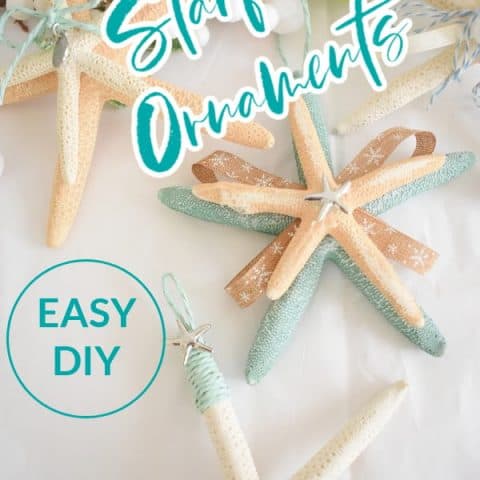
Starfish Ornaments for a Coastal Christmas Tree
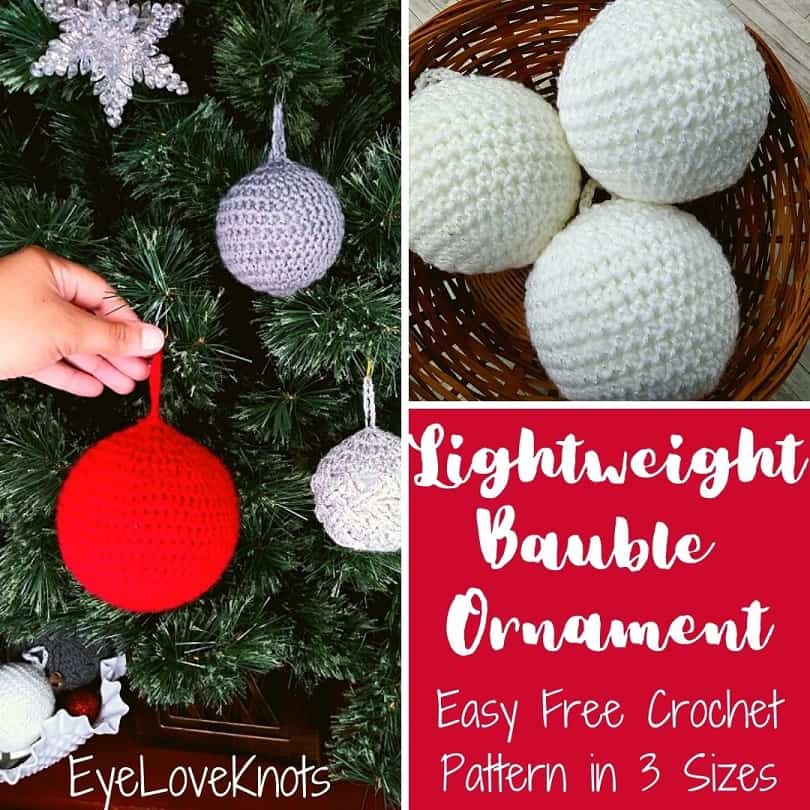
Lightweight Bauble Ornament – Free Crochet Pattern in 3 Sizes
Clothespin Snowflake Ornaments

Swedish Paper Hearts
Simple DIY Leather Christmas Ornaments

Excited to see your sweet ornaments were made with a Cricut machine. Being a newbie, I’m always looking for tutorials and new tips. My daughter is always looking for kid-friendly and pet-friendly ornament ideas that can’t be smashed onto the floor. I’ll be sharing a link to your cute ornaments with her.
Super cute!
Thank you! Love all things sparkly!