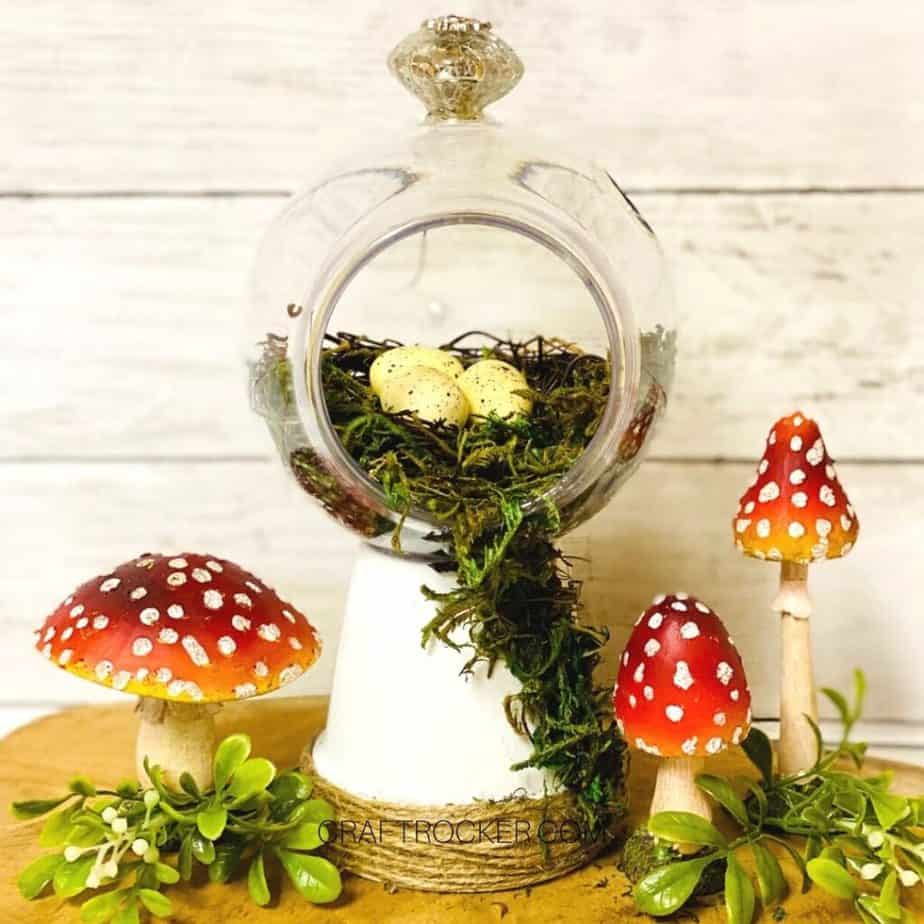
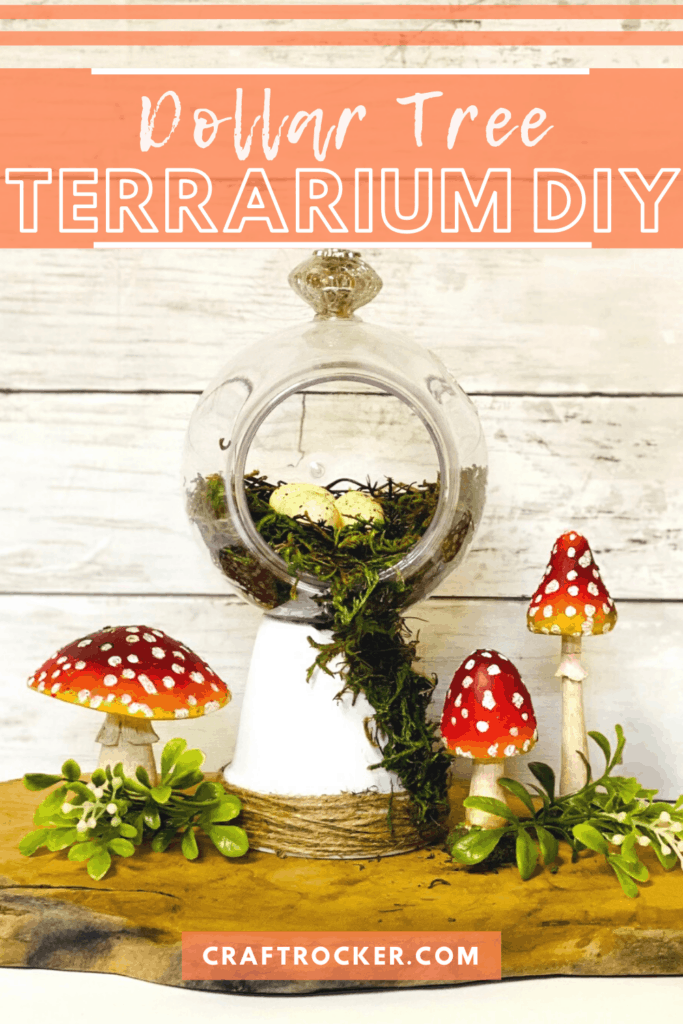
This Dollar Tree terrarium DIY is a fantastic way to dress up your space any time of year. It’s an easy tutorial to bring some greenery to your home you don’t have to worry about killing.
Affiliate links may be used in this post. Ordering a product through these links may result in a commission at no extra cost to you. Read the full disclosure here.
Jump to What You Want
Dollar Tree Terrarium DIY How-To
Printable Dollar Tree Terrarium Tutorial
Have I mentioned that I suck at keeping plants alive? I even managed to kill my air plant… My. Air. Plant.
Ironically, I love greenery and flowers even if they don’t love me. Instead of fighting for a green thumb, I’m taking a different tactic and adding greenery to my home that isn’t alive.
That’s what I love about this terrarium. It’s totally beautiful and will stay that way indefinitely. Yay!
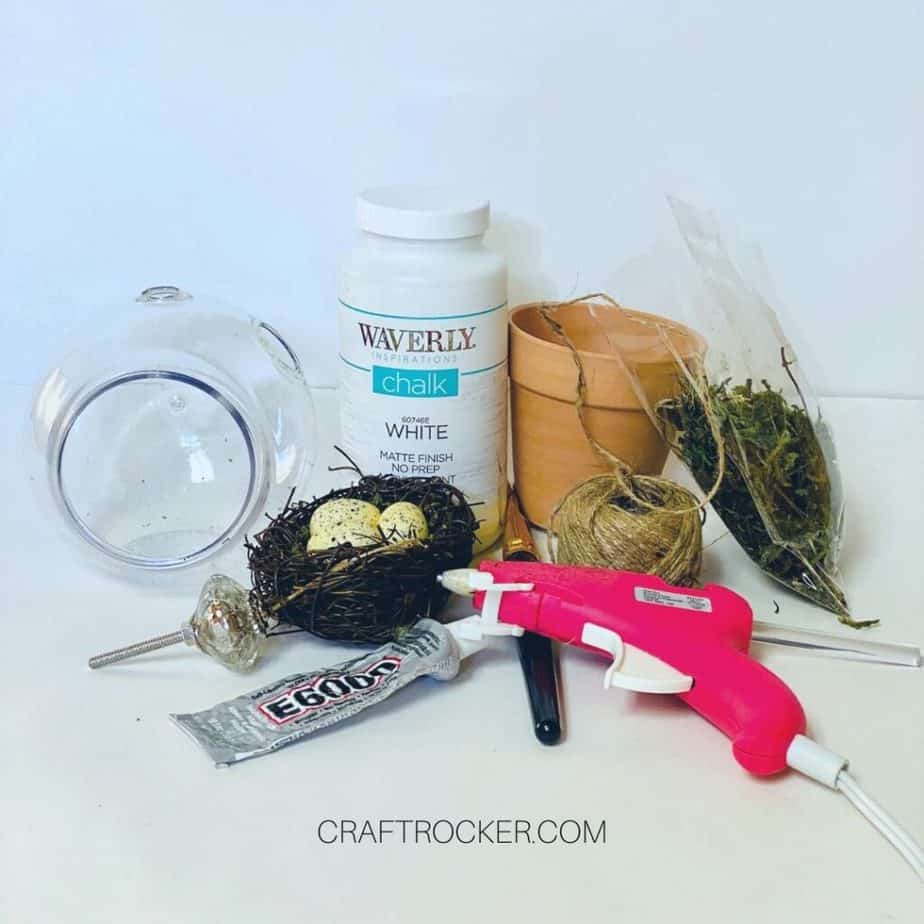
Dollar Tree Terrarium DIY Materials
Waverly White Chalk Paint
Paint Brush
Scissors
Hot Glue Gun and Glue Sticks
Flower Pot (found at Dollar Tree)
Jute Twine (found at Dollar Tree)
Plastic Terrarium (found at Dollar Tree)
Moss (found at Dollar Tree)
Birds Nest (similar one)
Glass Knob (mine came from Hobby Lobby)
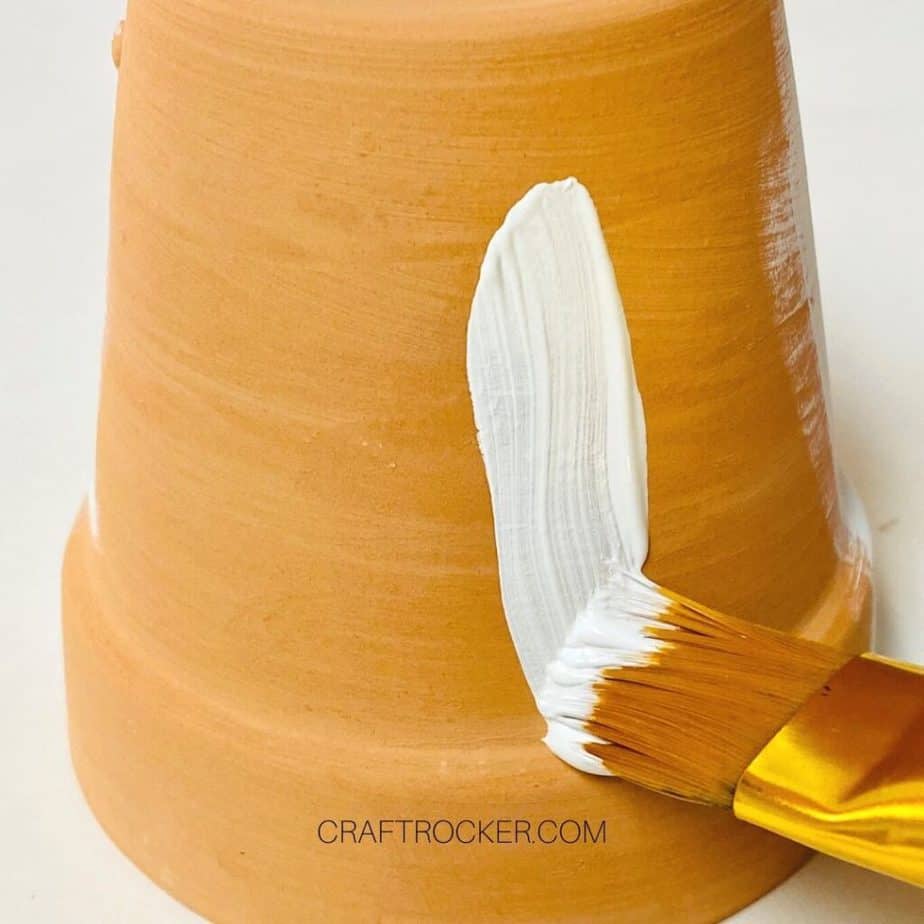
Step 1 – Paint Your Pot
First, paint your terra cotta pot with a coat of white chalk paint.
Then set it aside to dry completely before moving on. This project only needs one coat of paint.
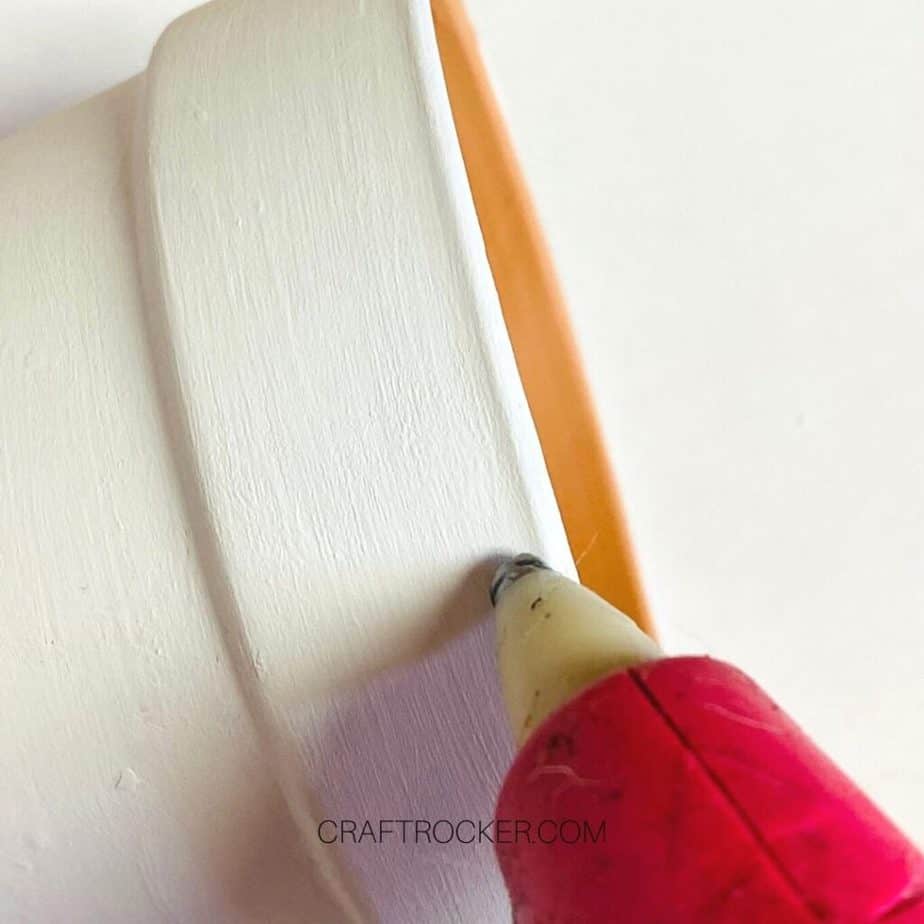
Step 2 – Attach Twine to Pot
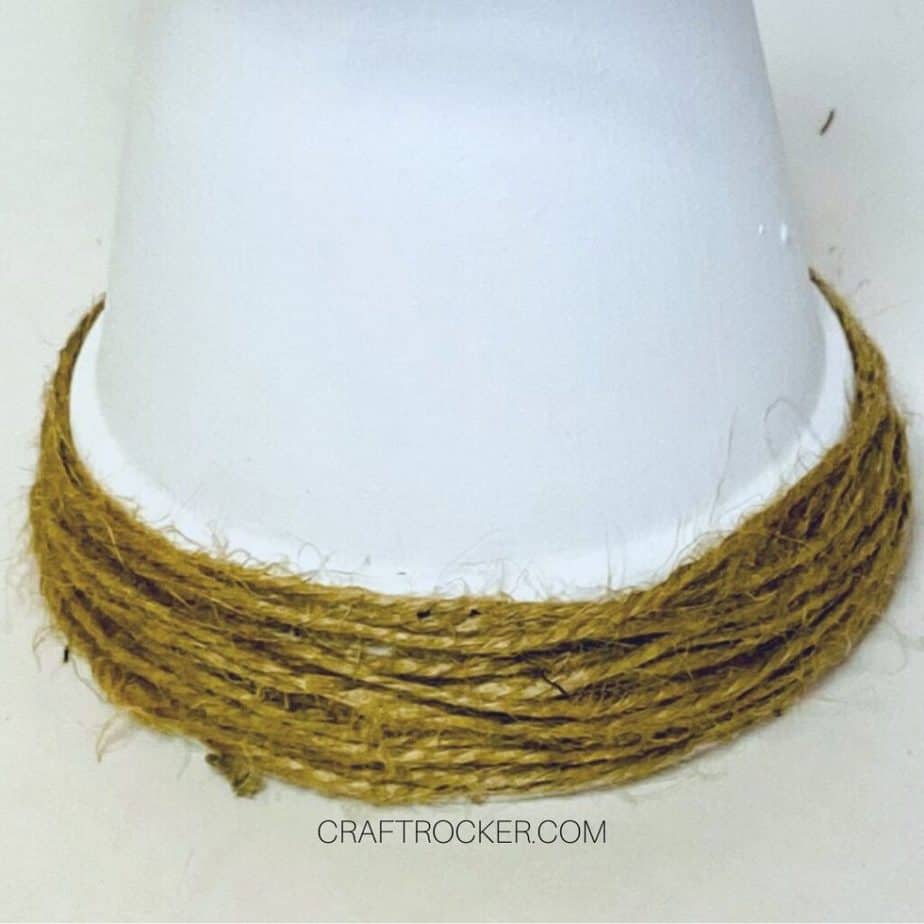
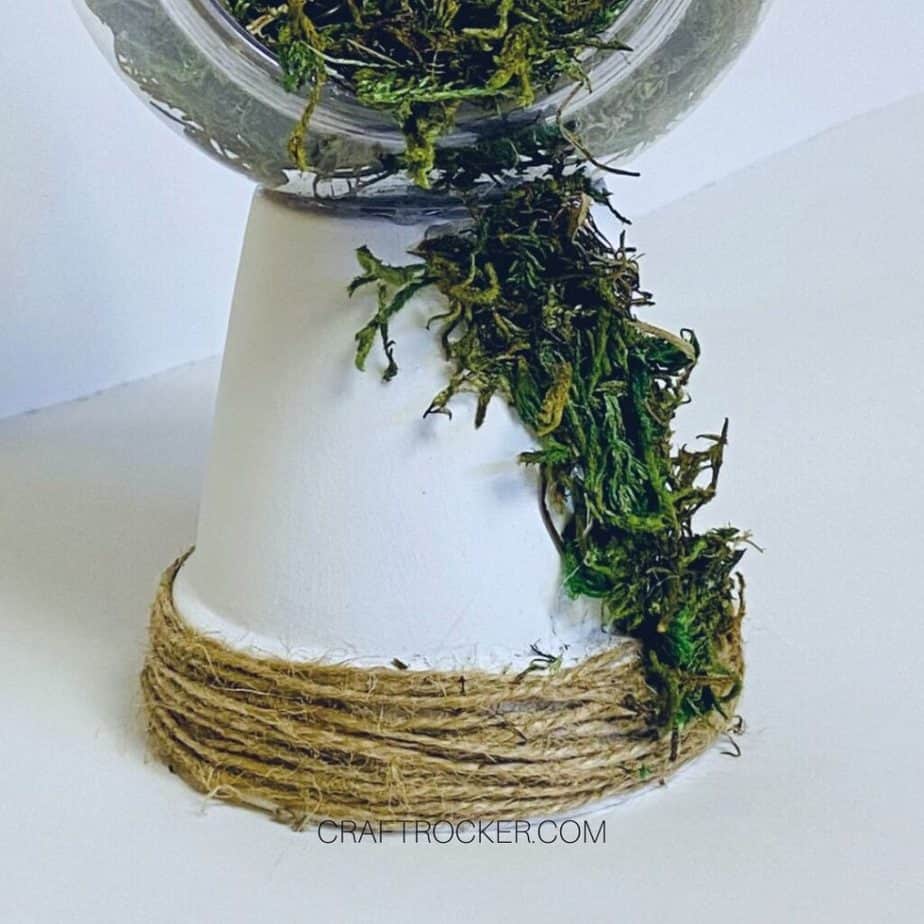
Next, add a dab of glue to the lip of pot and add the jute twine on top. Then start wrapping it around the entire lip of the pot.
When you reach the end, cut it from the roll with scissors and add a dab of hot glue to secure the end of the twin to the pot.
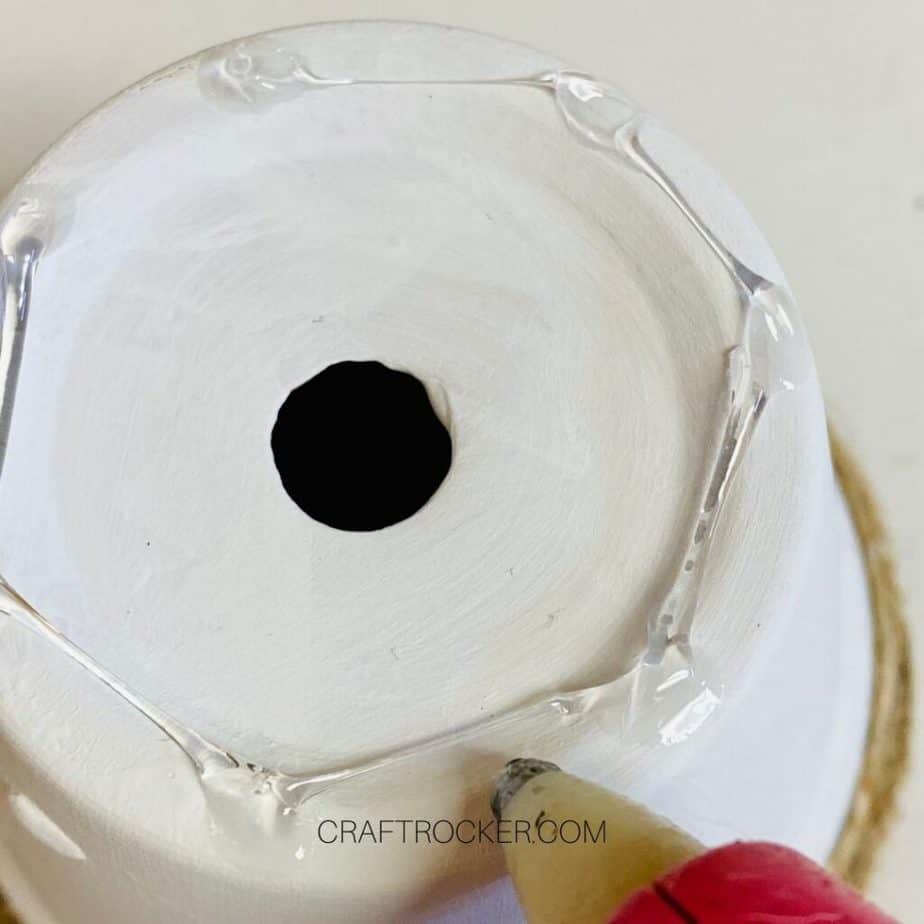

Step 3 – Assemble Your Terrarium
Next, add some E6000 glue to the bottom of the pot. Then add some dots of hot glue so it stays firmly in place while the E600 dries.
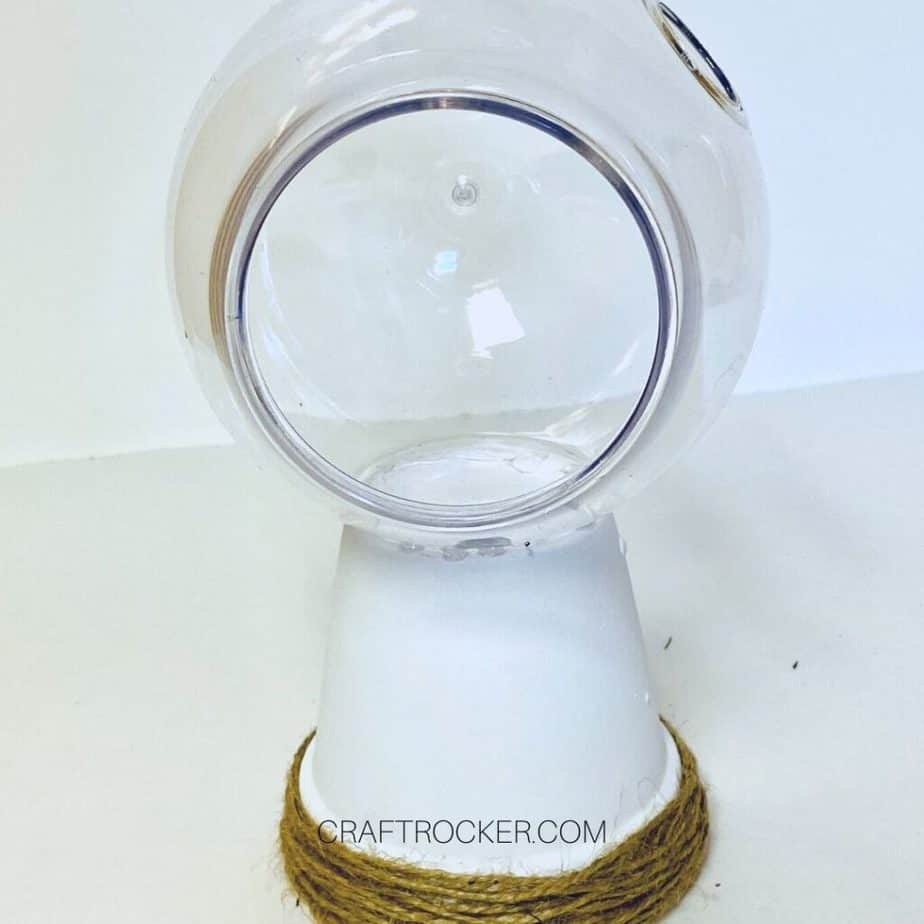
Immediately attach the plastic terrarium to the pot, pressing firmly.
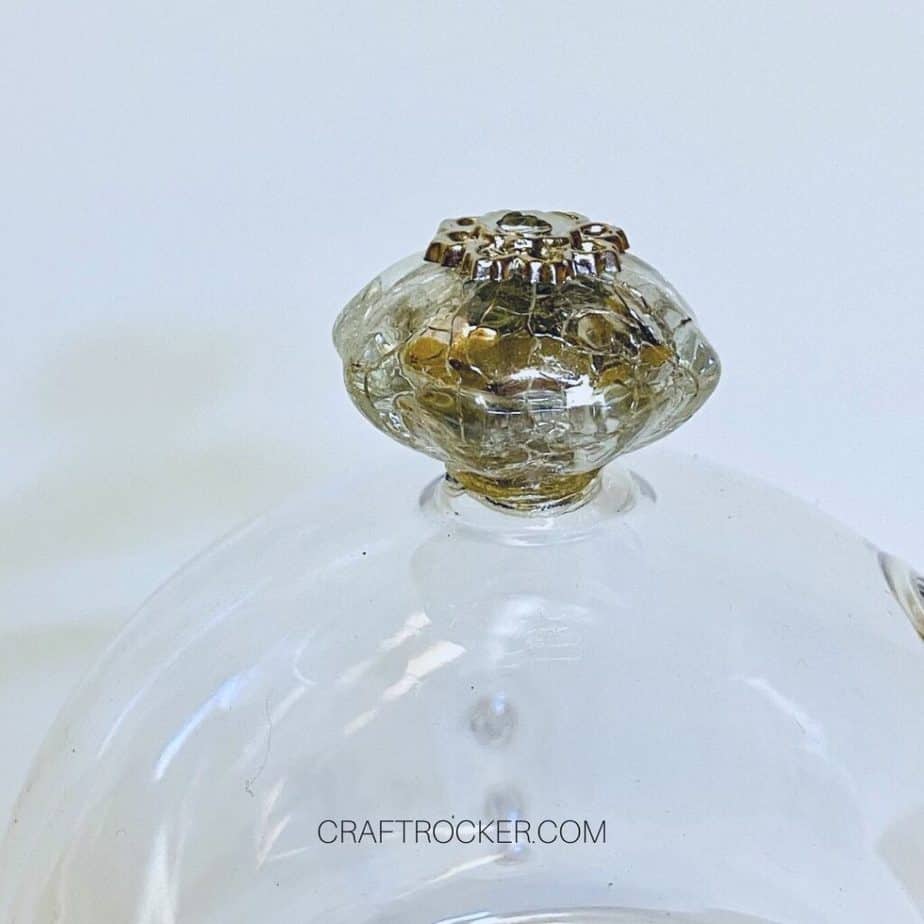
Then, unscrew your glass knob and glue the metal pieces to the top and bottom with hot glue to secure them. Next, hot glue the bottom of the knob to the top of the plastic terrarium.
Step 4 – Decorate Your Terrarium
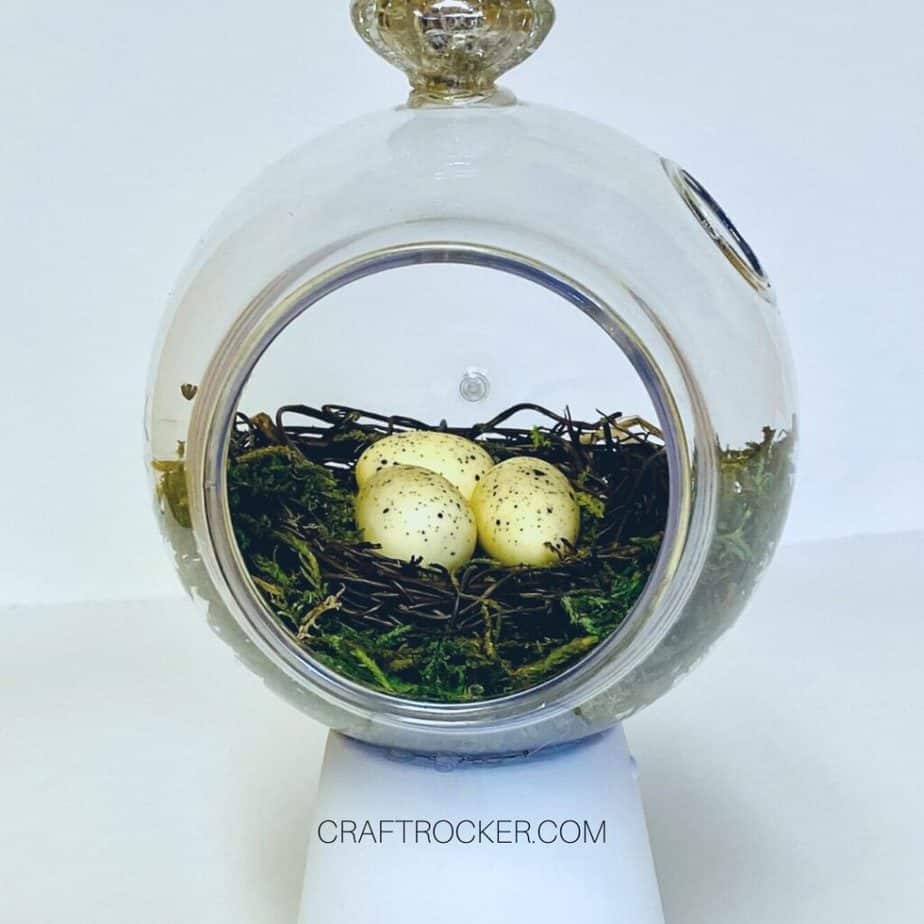
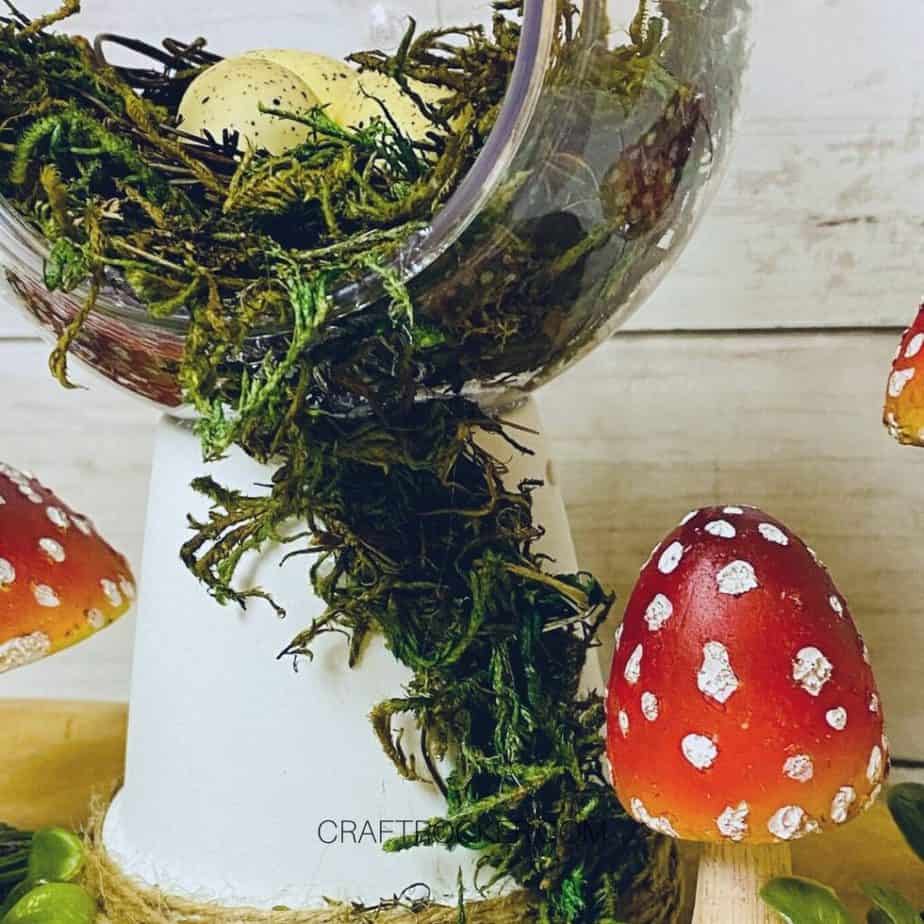
After your terrarium is assembled, insert the birds nest into the terrarium.
Then start adding the moss to your terrarium.
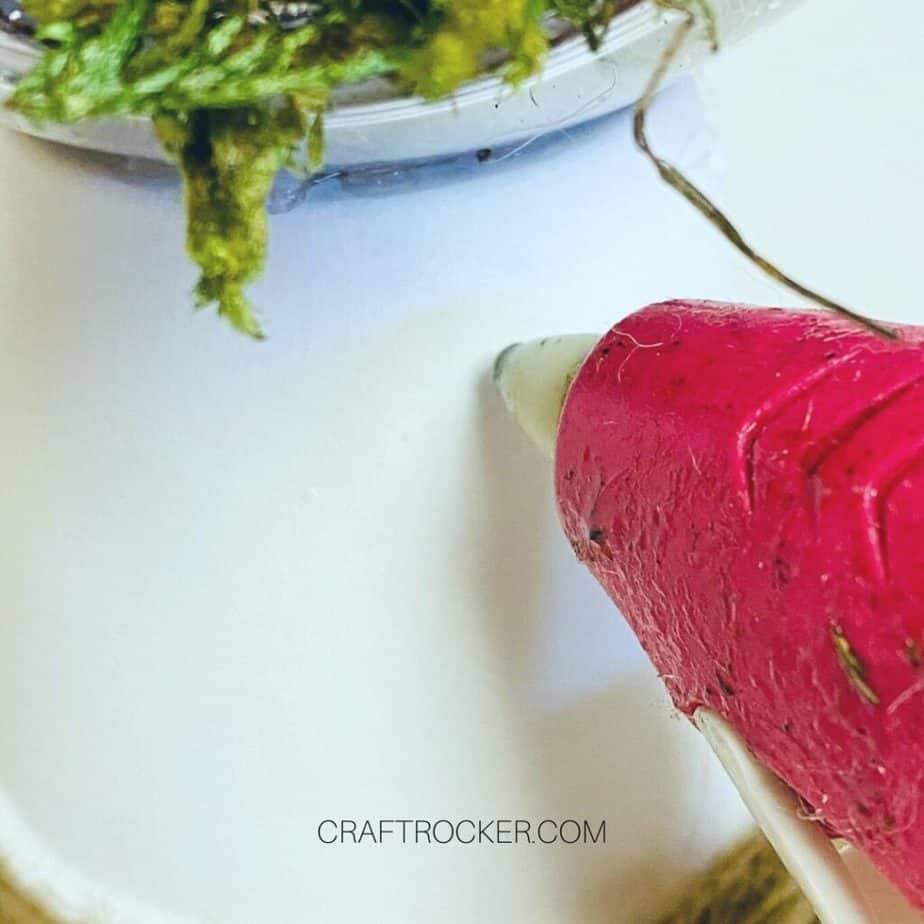
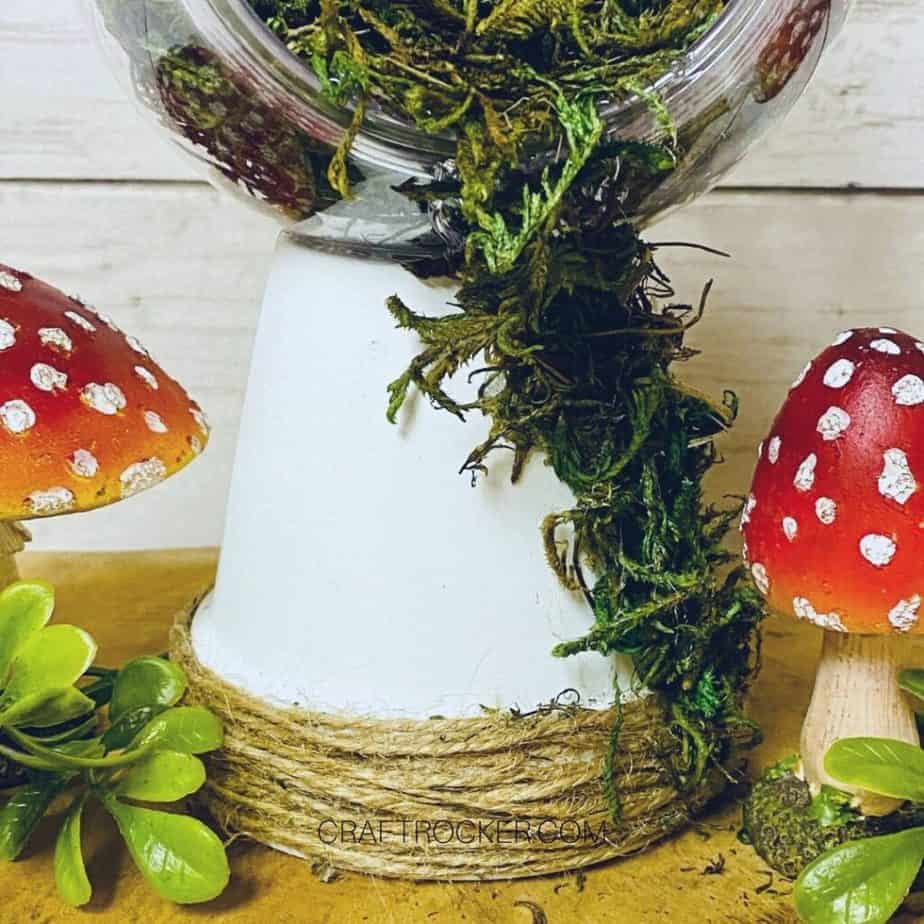
Once you are satisfied with the look inside the terrarium, hot glued some more moss down the side of your pot and to the front of the terrarium.
Tips and Tricks
Some of the terrariums I saw at Dollar Tree had a plastic piece on top that looked like you could unscrew it. Mine didn’t have that piece.
If you use a different kind of paint for your terra cotta pot other than chalk paint then you may need more than one coat. Chalk paint covers better than other paints like acrylic.
I didn’t glue down the items inside of the terrarium but if you want to keep them in place securely, feel free to do so.
Printable Dollar Tree Terrarium Tutorial
Dollar Tree Terrarium DIY
This Dollar Tree terrarium DIY is so cool and a beautiful, budget-friendly piece of décor! Find out how to make it here!
Materials
- Waverly White Chalk Paint
- Paint Brush
- Scissors
- Hot Glue Gun and Glue Sticks
- Flower pot
- Jute Twine
- Plastic Terrarium
- Moss
- E6000
- Birds Nest
- Glass Knob
Instructions
- First, paint your terra cotta pot with a coat of white chalk paint.
- Then set it aside to dry completely before moving on. This project only needs one coat of paint.
- Next, add a dab of glue to the lip of pot and add the jute twine on top. Then start wrapping it around the entire lip of the pot.
- When you reach the end, cut it from the roll with scissors and add a dab of hot glue to secure the end of the twin to the pot.
- Next, add some E6000 glue to the bottom of the pot. Then add some dots of hot glue so it stays firmly in place while the E600 dries.
- Immediately attach the plastic terrarium to the pot, pressing firmly.
- Then, unscrew your glass knob and glue the metal pieces to the top and bottom with hot glue to secure them. Next, hot glue the bottom of the knob to the top of the plastic terrarium.
- After your terrarium is assembled, insert the birds nest into the terrarium.
- Then start adding the moss to your terrarium.
- Once you are satisfied with the look inside the terrarium, hot glued some more moss down the side of your pot and to the front of the terrarium.

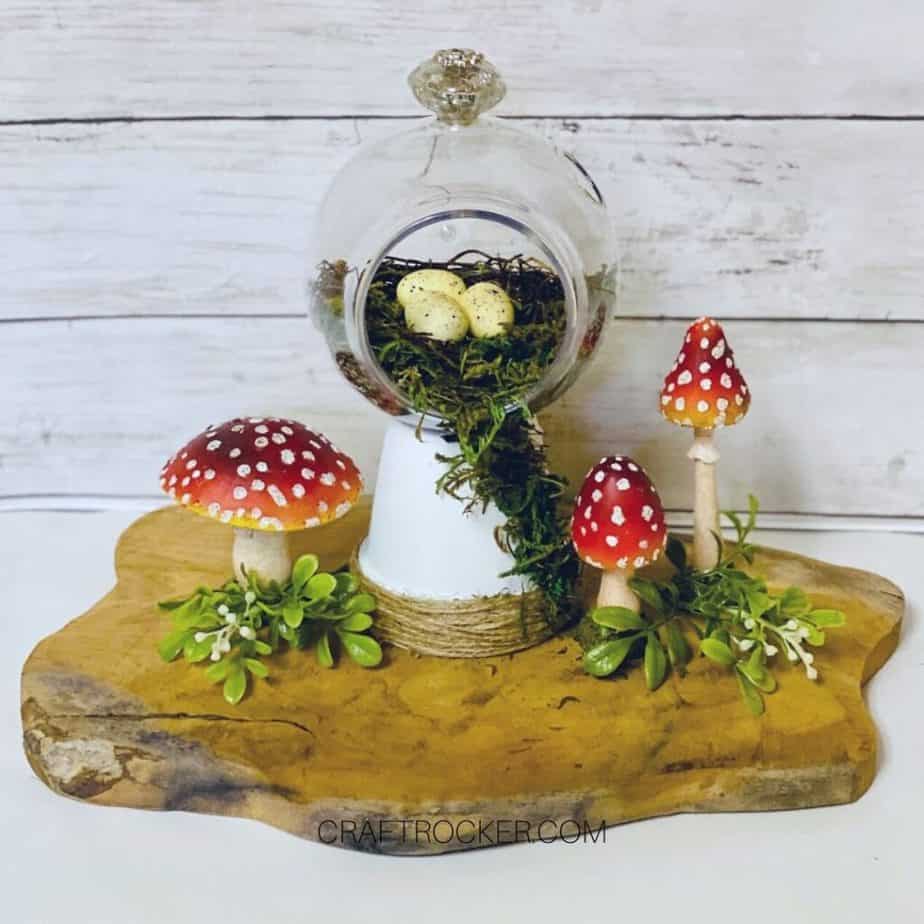
How cool is this Dollar Tree terrarium DIY?! I love how it looks with the wood tray and adorable little mushrooms.
It makes me want to make an Alice in Wonderland-esque reading nook with this displayed. Wouldn’t that be an amazing little retreat in your home?
Don’t Forget to Pin It!
More Dollar Store Décor Ideas You’ll Love
DIY Lantern from Dollar Store Frames – Our Crafty Mom
