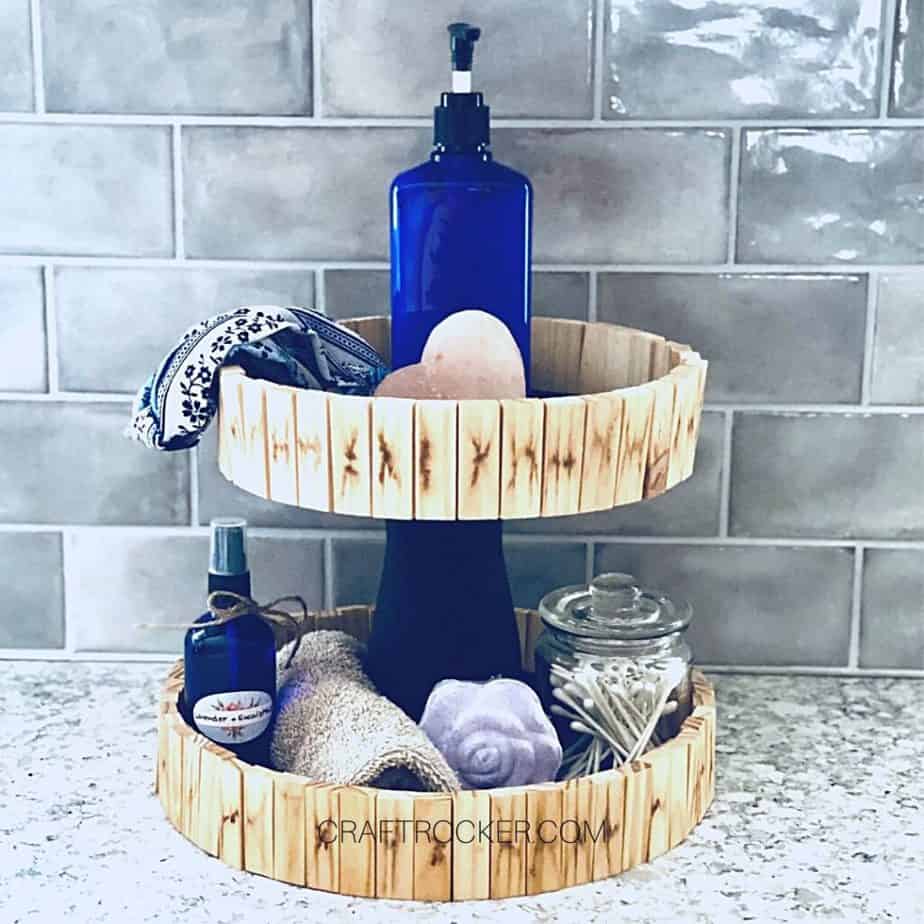
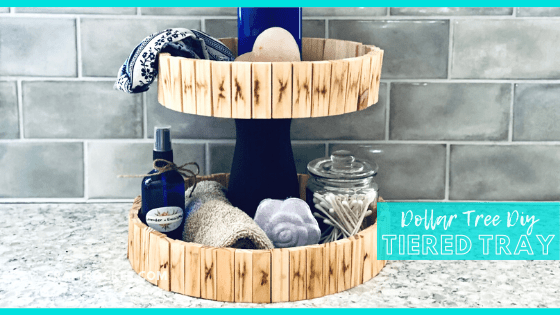
Make your own Dollar Tree DIY tiered tray to decorate your home year-round. It’s easy to make but the end result is 100 percent gorgeous!
Affiliate links may be used in this post. Ordering a product through these links may result in a commission at no extra cost to you. Read the full disclosure here.
Jump to What You Want
Dollar Tree DIY Tiered Tray Tutorial
DIY Tiered Tray Printable Tutorial
I think the reason tiered trays are so popular in home decor trends are because of how easy they are to decorate. You can quickly change them up for different holidays and seasons.
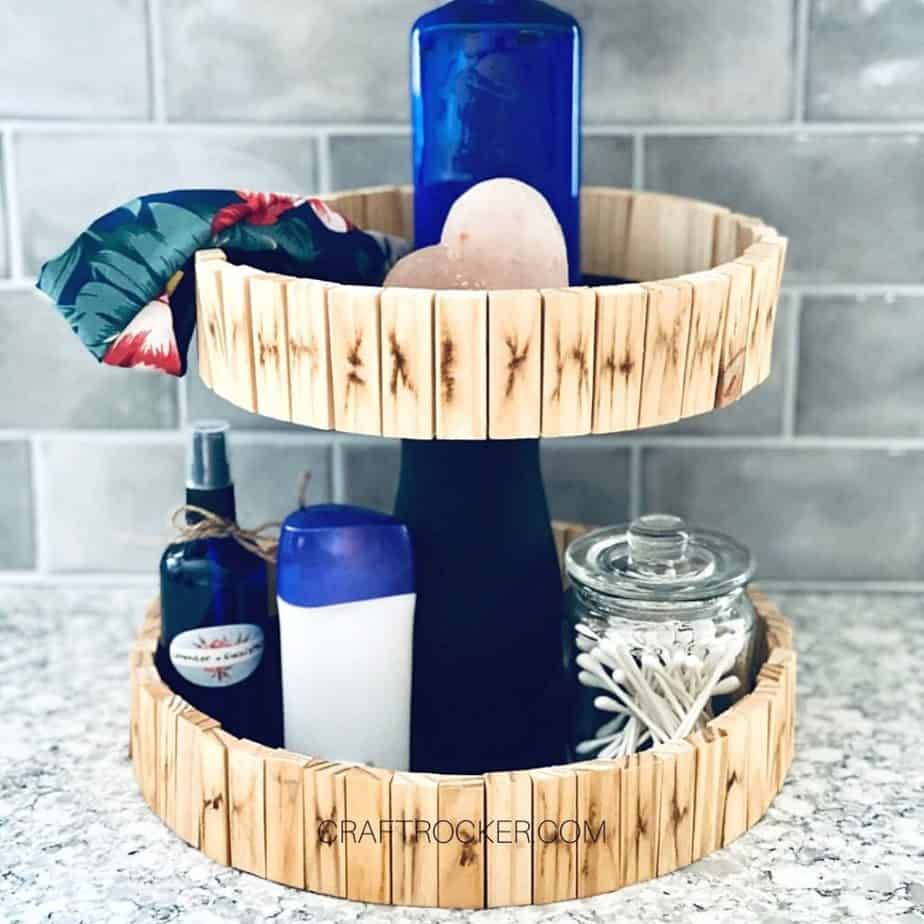
They are also great organization tools for your home. Use them to display and organize your coffee bar in a beautiful way or to pretty up your bathroom organization.
This DIY tiered tray is even better because it’s so easy and inexpensive to make.
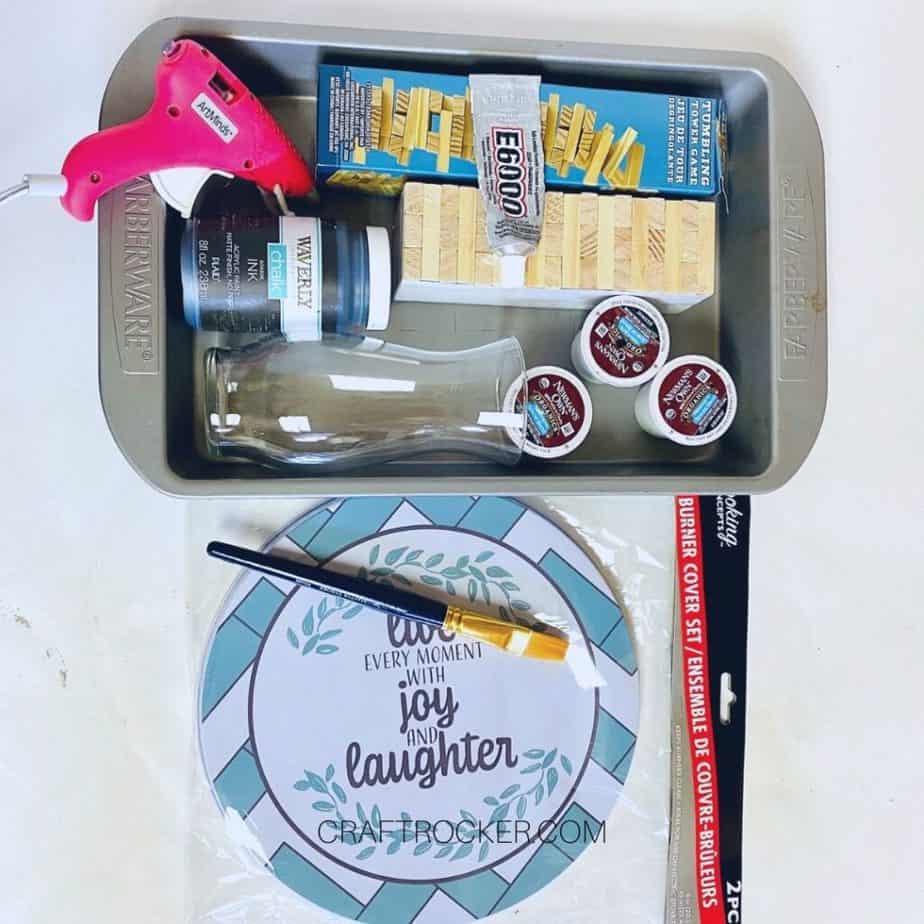
Dollar Tree DIY Tiered Tray Materials
Waverly Ink Chalk Paint
Dollar Tree Burner Covers (2 pack)
2 72 packs of Jenga pieces (also at Dollar Tree)
Hot Glue Gun and Glue Sticks
E6000
Small Vase (also at Dollar Tree)
Tray (to soak Jenga pieces in – I used a 9×13 Sheet Pan)
Coffee or Coffee Pods
Paintbrush

Step 1 – Dye Your Jenga Pieces
First, brew your coffee and place it in a container or tray. Then add the Jenga pieces to the tray of coffee and leave to soak overnight.
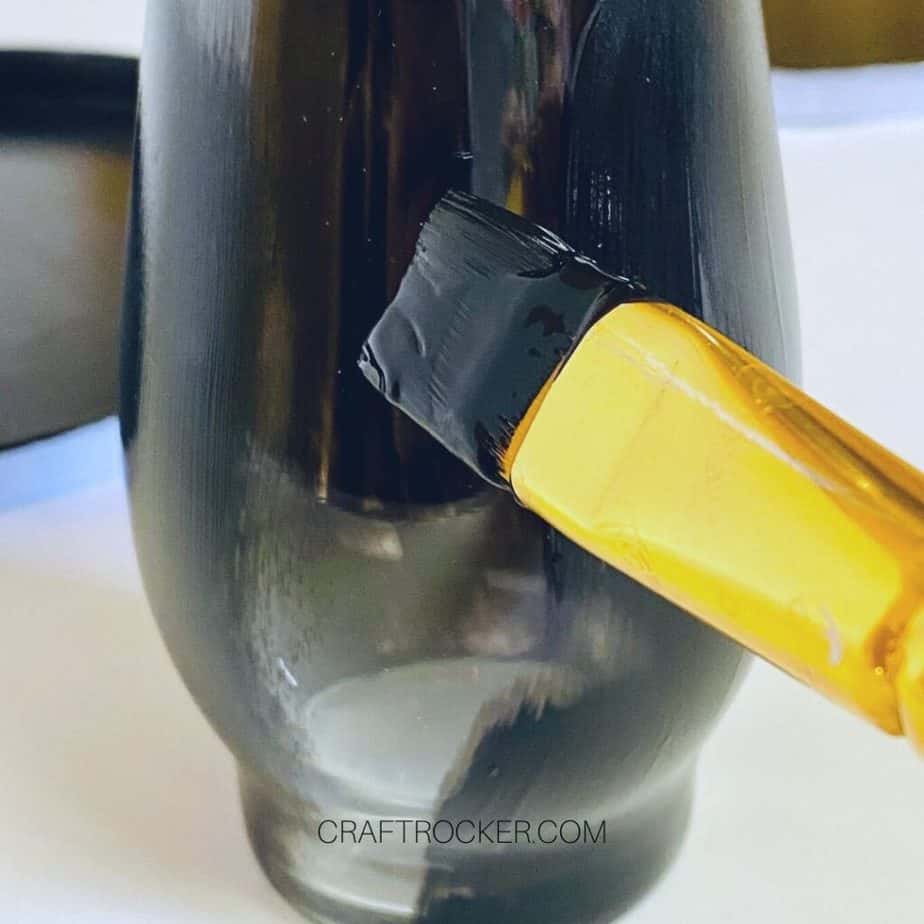
Step 2 – Paint Your Tiered Tray Pieces
While the Jenga pieces are soaking, paint the insides of the burner covers and the small vase using the Waverly Ink chalk paint or whatever black paint you have on hand.
Allow the paint to dry then add a second coat to the burners and the vase.
Step 3 – Dry Your Jenga Pieces
Before you can assemble your tiered tray, you need to remove the wood pieces from the coffee and allow them to dry completely. If the wood is still wet, the glue will not adhere to them.


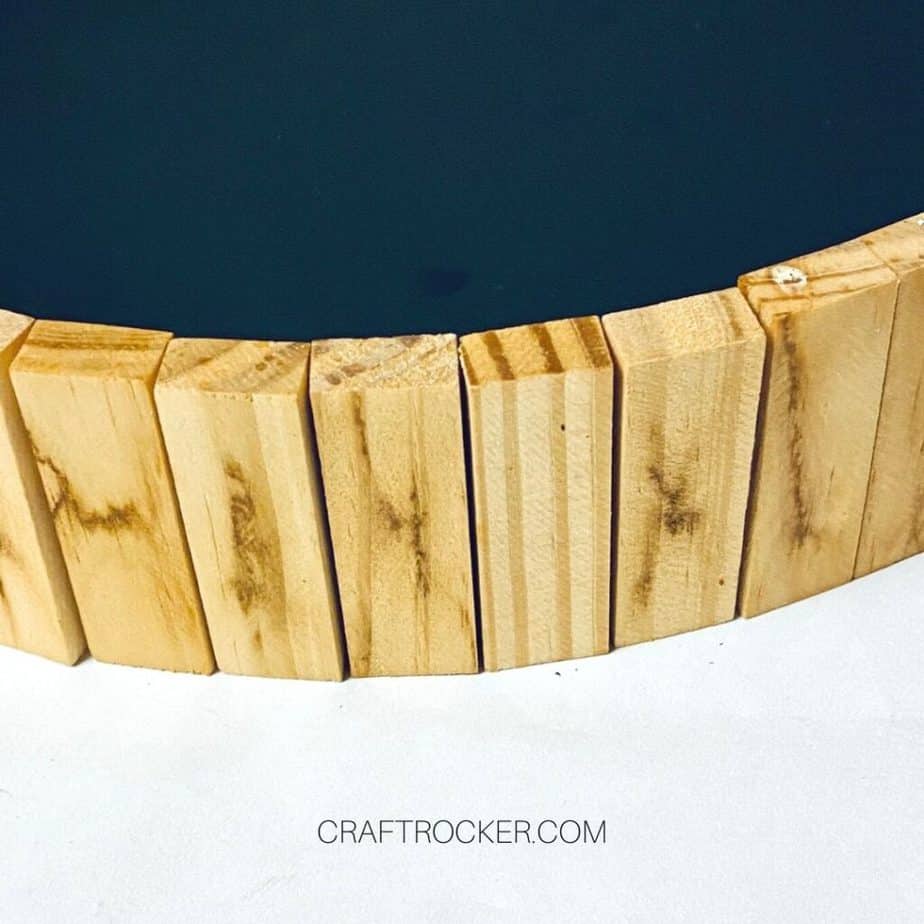
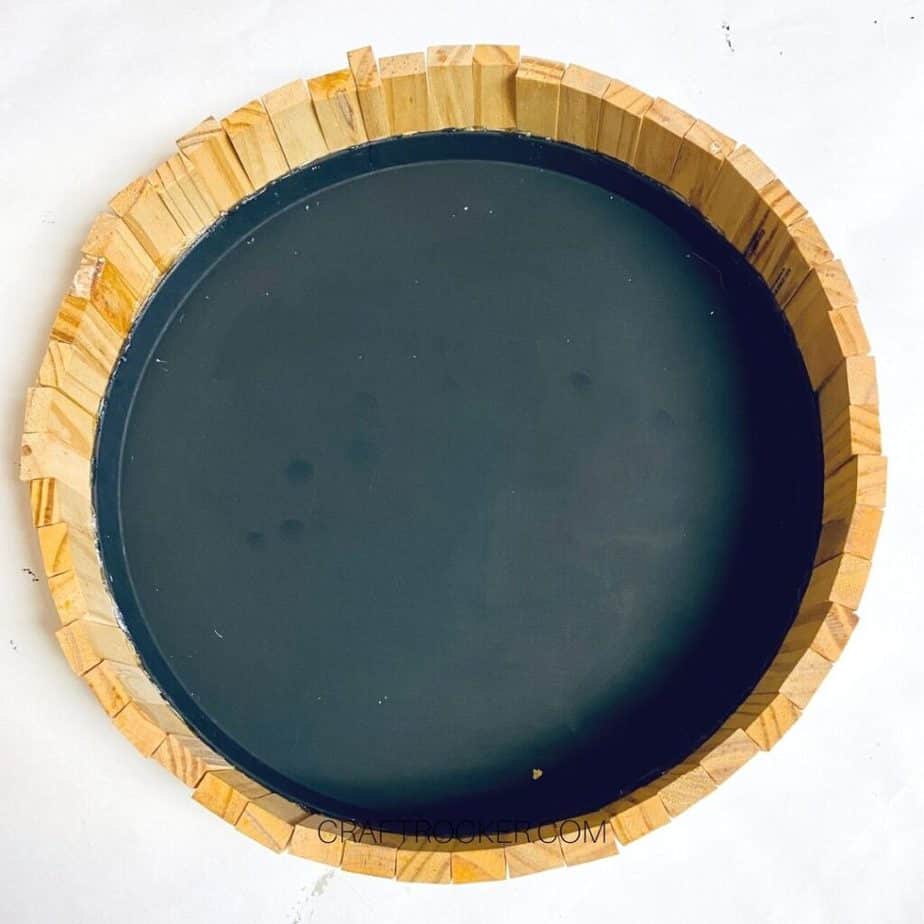
Step 4 – Attach the Wood Pieces to the Burner Covers
After the Jenga pieces are fully dry add a line of E6000 glue to the sides of the burner covers and then press the Jenga pieces into the glue.
Be sure the burner covers are on a flat surface and leave them to dry overnight.
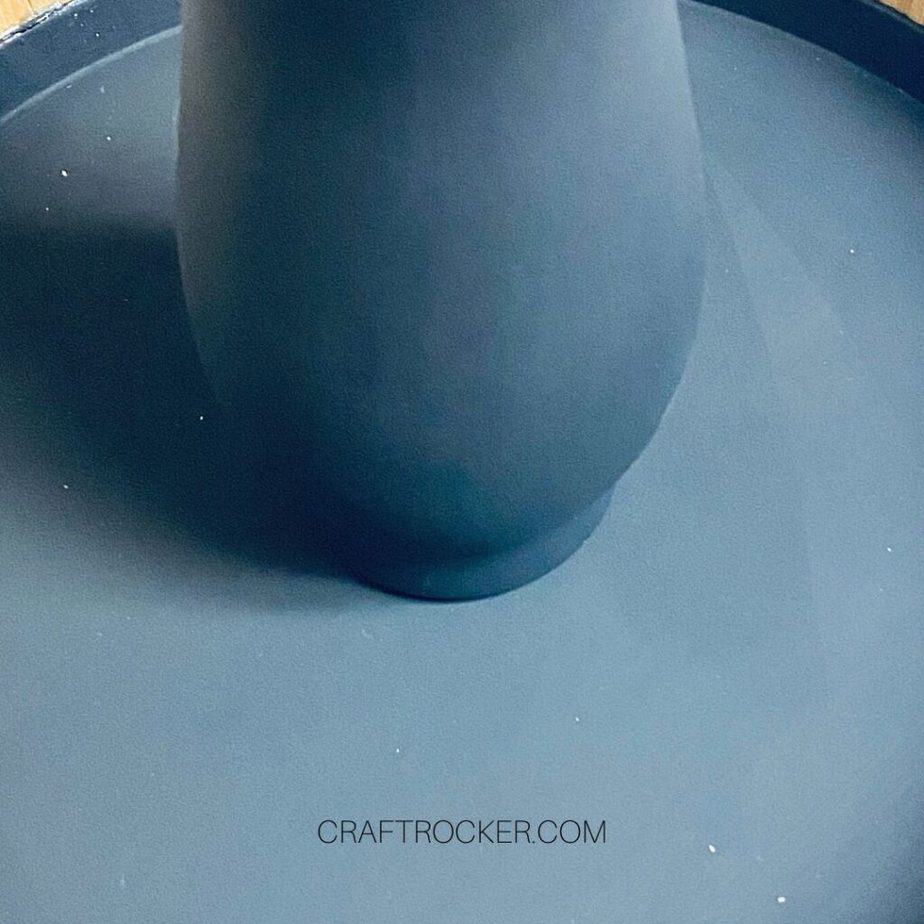
Step 5 – Assemble Your Tiered Tray
Once the burner covers with wood pieces are done drying, add a dab of E6000 glue to the bottom of the small vase and place the vase in the center of the larger burner cover.
If you want to secure it further while the E6000 dries, add a few dots of hot glue as well to keep it in place.
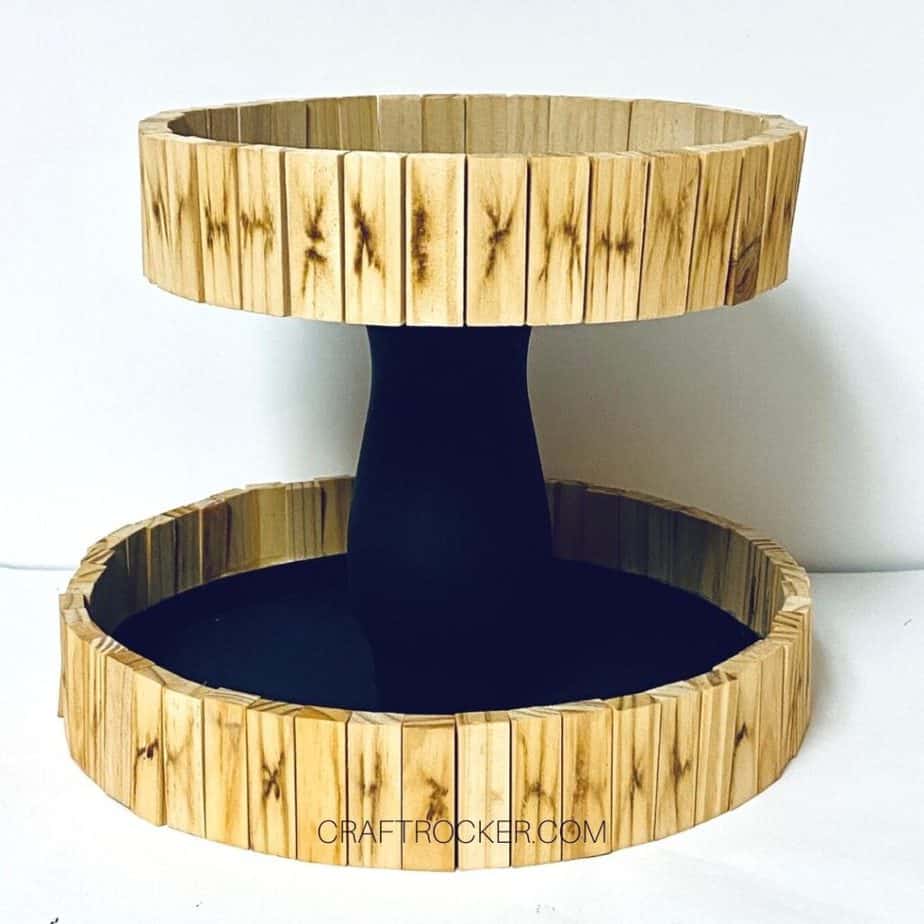
Then add more E6000 glue to the top of the vase and place the small burner cover on top. Again, add a some hot glue to further secure if desired.
This time, allow it to dry for 24 hours before using. This ensures that the glue is fully dry and your tray is secure.
Tips and Tricks
If you don’t want to wait overnight for the wood pieces to soak, make sure that you soak them for at least a few hours (3+) so that they absorb the coffee and get some color.
Acrylic paints will require more coats than chalk paint. If using acrylic, make sure that your pieces are completely covered and no parts of the base are showing through before moving on.
If you want to speed up the drying, place the wood pieces on a clean, dry tray and bake in the oven on the lowest heat setting for 5-10 minutes. Note that this may change the color of the stained pieces slightly.
I recommend placing your glued burner covers and Jenga pieces on parchment paper while you allow the glue to dry just in case the glue runs at all. This will prevent them from adhering to your work surface and you can simply pull the parchment paper off once dry.
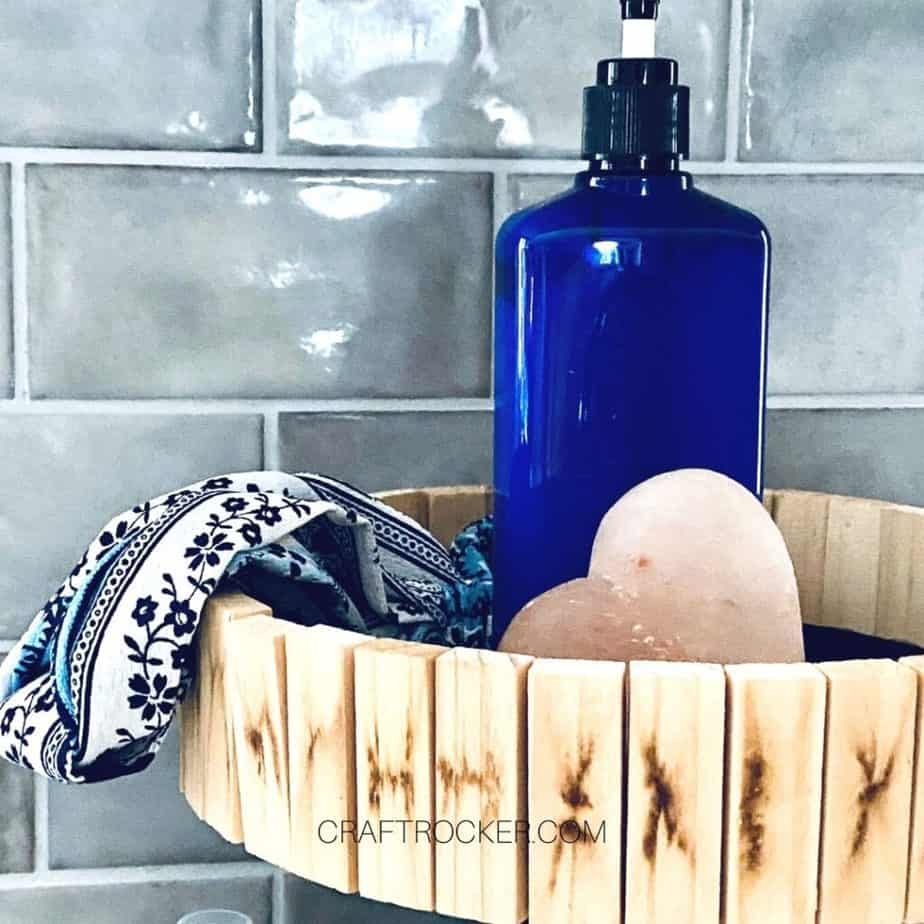
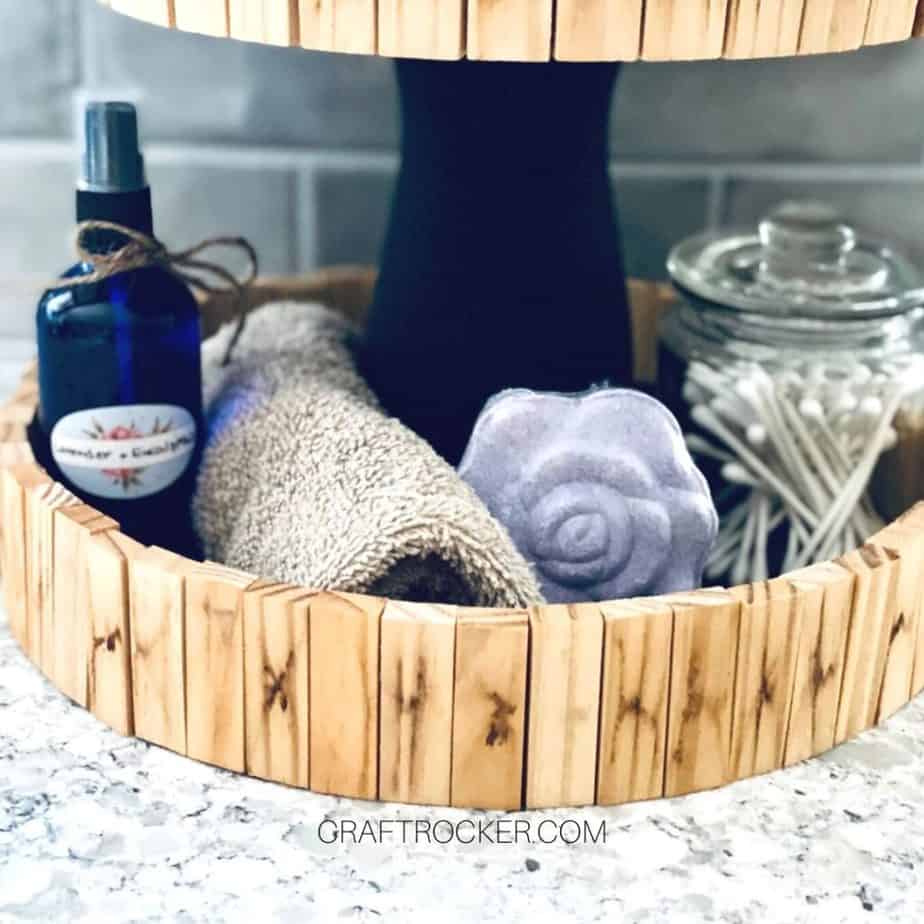
When styling your tiered tray, be sure to place heavier items in the center of the top tray so that it doesn’t fall over. This is not necessary on the bottom tray.
DIY Tiered Tray Printable Tutorial
Dollar Tree DIY Tiered Tray

Make your own Dollar Tree DIY tiered tray to decorate your home year-round. It’s so easy to make but the end result is 100 percent gorgeous!
Materials
- Waverly Ink Chalk Paint
- Dollar Tree Burner Covers (2 pack)
- 2 72 packs of Jenga pieces (also at Dollar Tree)
- Hot Glue Gun and Glue Sticks
- E6000
- Small Vase (also at Dollar Tree)
- Tray (to soak wood pieces in)
- Coffee or Coffee Pods
- Paintbrush
Instructions
- First, brew your coffee and place it in a container or tray. Then add the Jenga pieces to the tray of coffee and leave to soak overnight.
- While the Jenga pieces are soaking, paint the insides of the burner covers and the small vase using the Waverly Ink chalk paint or whatever black paint you have on hand. Allow the paint to dry then add a second coat to the burners and the vase.
- Before you can assemble your tiered tray, you need to remove the wood pieces from the coffee and allow them to dry completely. If the wood is still wet, the glue will not adhere to them.
- After the Jenga pieces are fully dry add a line of E6000 glue to the sides of the burner covers and then press the Jenga pieces into the glue. Be sure the burner covers are on a flat surface and leave them to dry overnight.
- Once the burner covers with wood pieces are done drying, add a dab of E6000 glue to the bottom of the small vase and place the vase in the center of the larger burner cover. If you want to secure it further while the E6000 dries, add a few dots of hot glue as well to keep it in place.
- Then add more E6000 glue to the top of the vase and place the small burner cover on top. Again, add a some hot glue to further secure if desired.
- This time, allow it to dry for 24 hours before using. This ensures that the glue is fully dry and your tray is secure.
Who else wants to make a Dollar Tree DIY tiered tray for every room in your home now? It’s so easy and you can totally batch the wood pieces soaking so that you can whip of more than one even faster.
Be sure to share your styled DIY tiered tray on my Facebook page! I love seeing your creations!
Don’t Forget to Pin It!

More Dollar Tree Projects You’ll Love
Dollar Tree Terrarium DIY Tutorial
DIY Lantern from Dollar Store Frames – Our Crafty Mom
