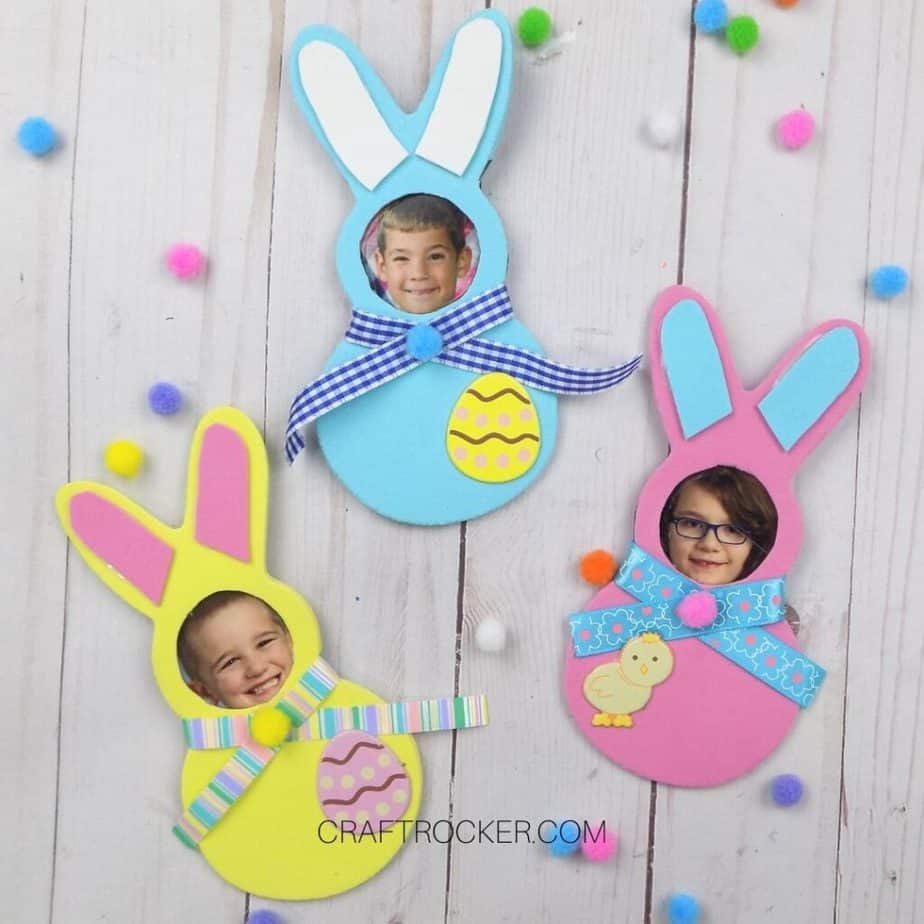
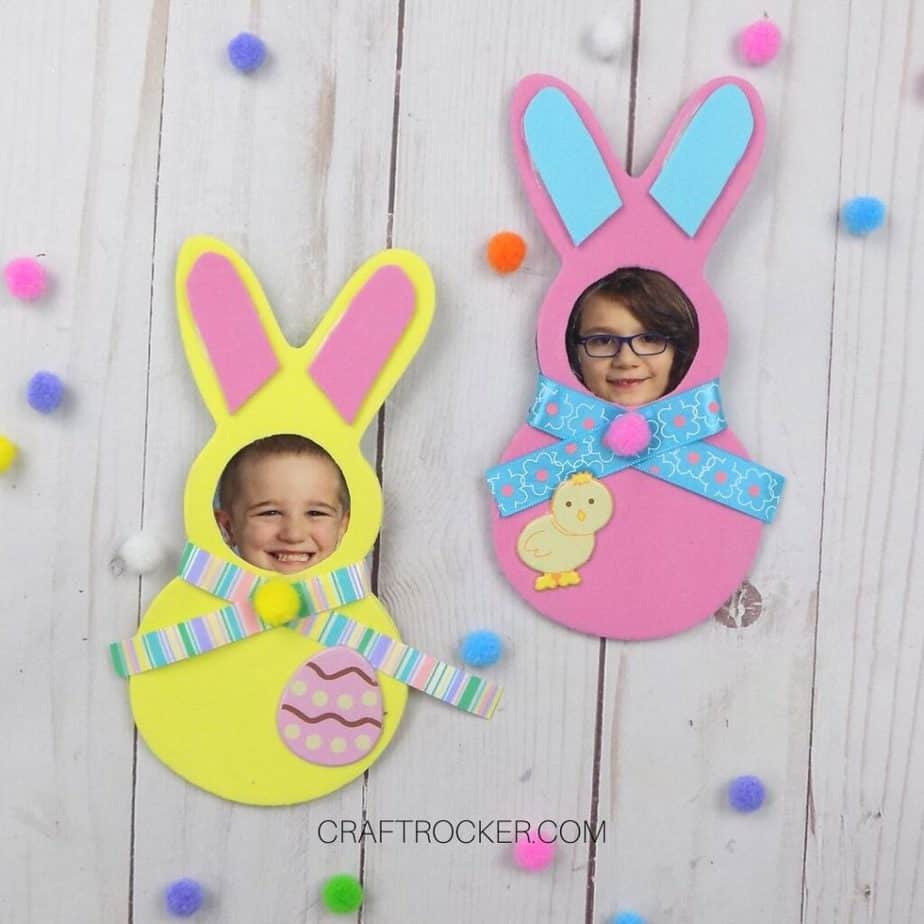
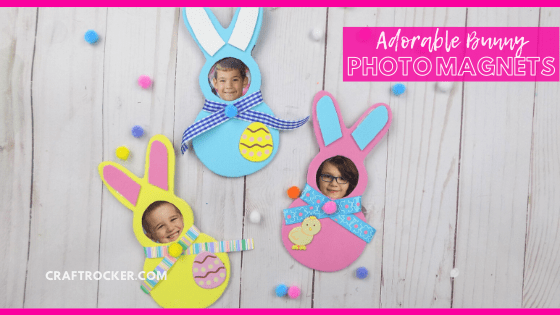
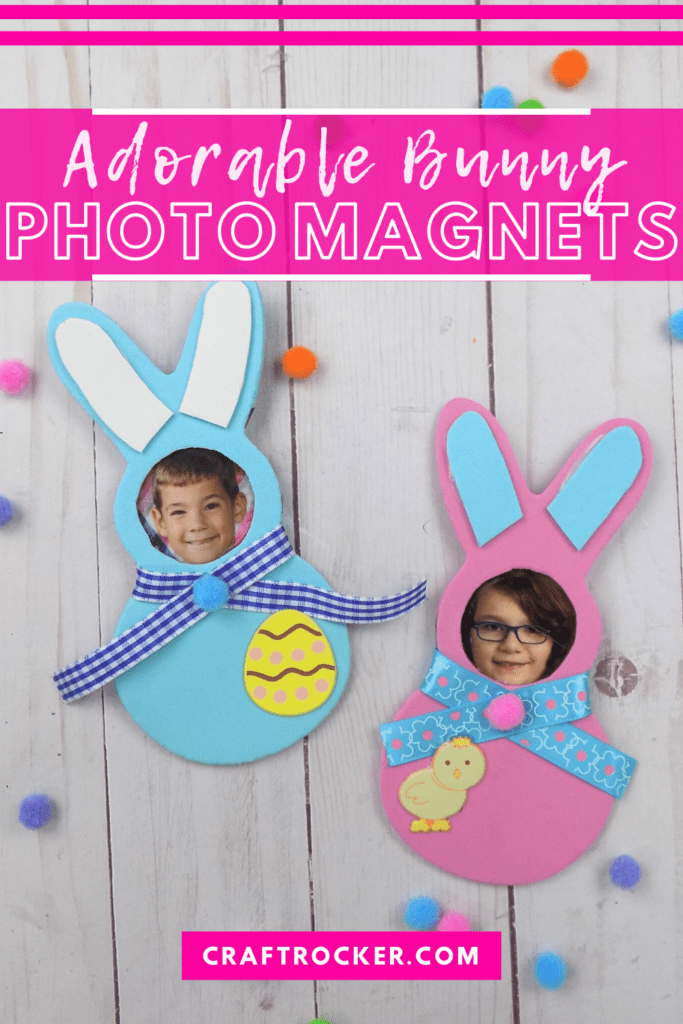
These adorable bunny photo magnets are an easy Easter craft to make with the kiddos.
Affiliate links may be used in this post. Ordering a product through these links may result in a commission at no extra cost to you. Read the full disclosure here.
Jump to What You Want
Printable Bunny Photo Magnets Tutorial
I was so excited when I saw these foam bunnies on Amazon. I immediately knew I wanted to make this project.
Unfortunately, my oldest hasn’t taken a school photo yet this year thanks to NTI (non-traditional instruction) days, so I had to use one left over from an old set for his.
Either way, these turned out super cute and the kiddos love them!
Bunny Photo Magnets Materials
Wallet Photos of Kiddos
Circle Stencil (1-1.5 inches)
Pen
Cutting Board or Self-Healing Mat
Non-Toxic White Liquid Glue
Scissors
3/8 inch Ribbon of Choice
Mini Pompoms
Large Easter Brads
Hot Glue Gun and Glue Sticks

Step 1
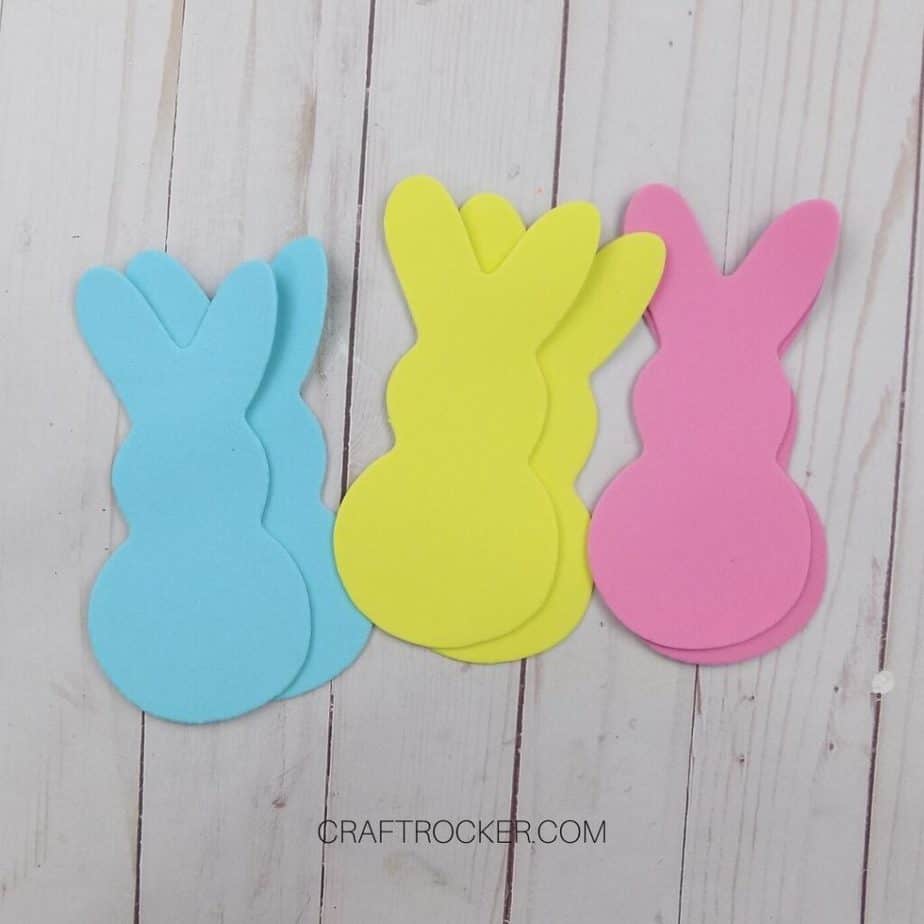
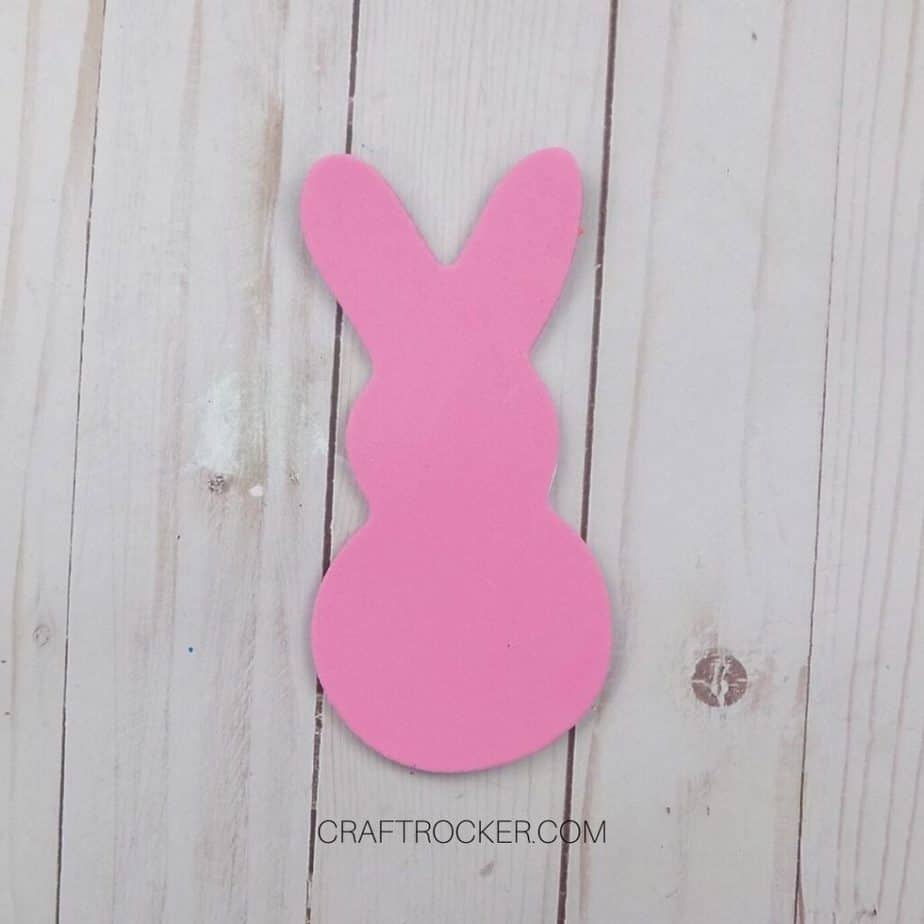
First, pick out a matching pair of foam bunnies from your package.
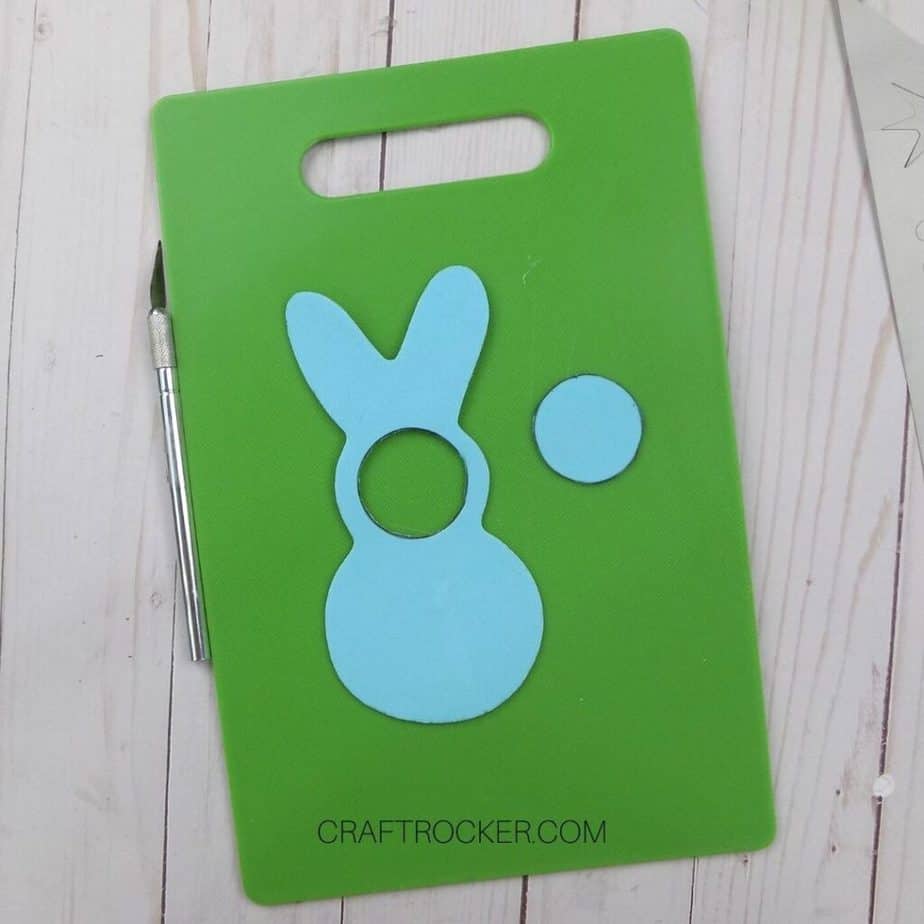
Step 2
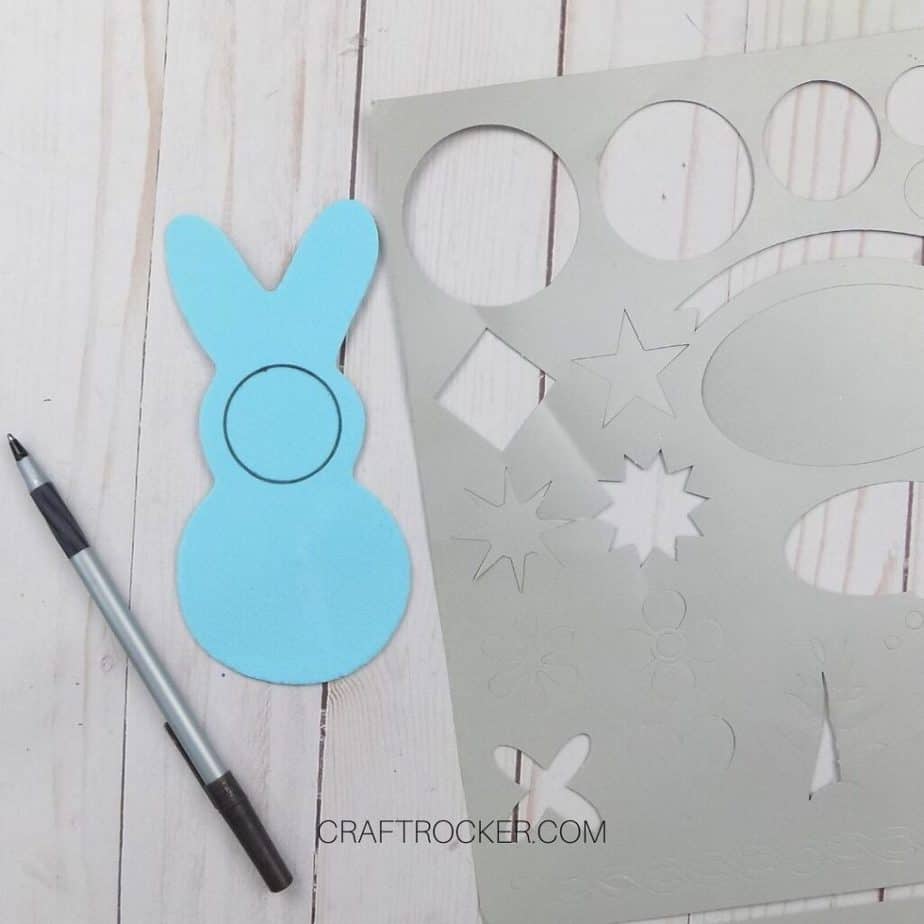
Then trace a circle on the head of one of the foam bunnies and place it on a cutting mat.
Use your utility knife to cut out the circle.
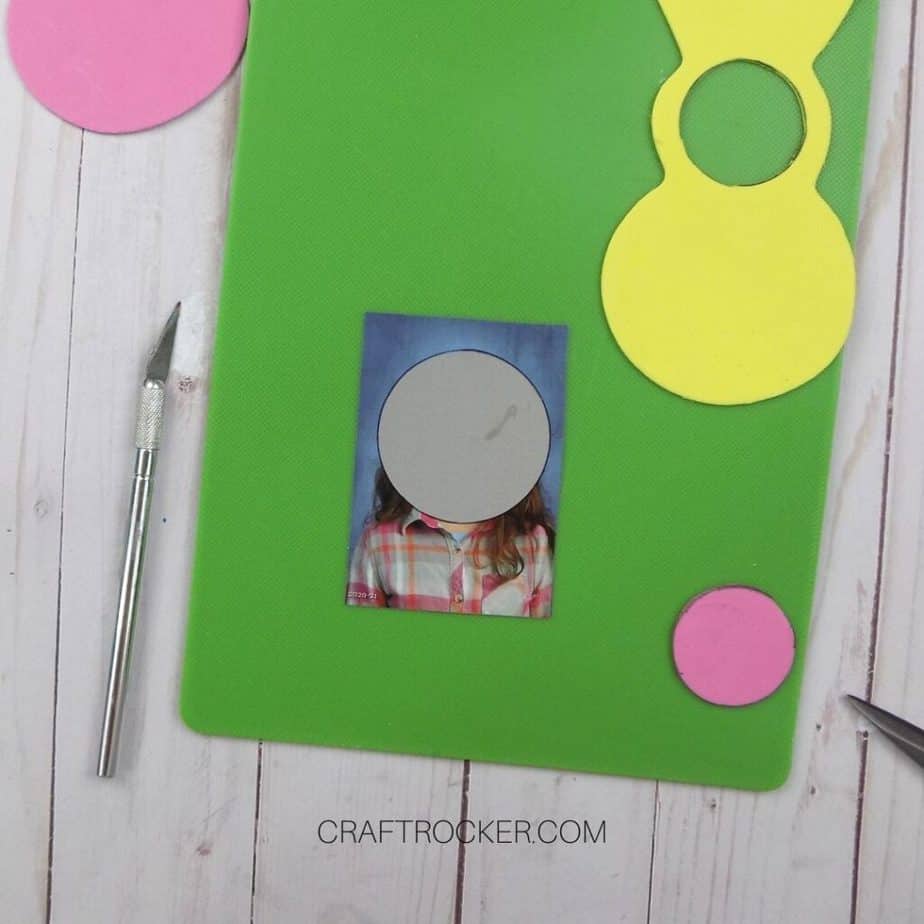
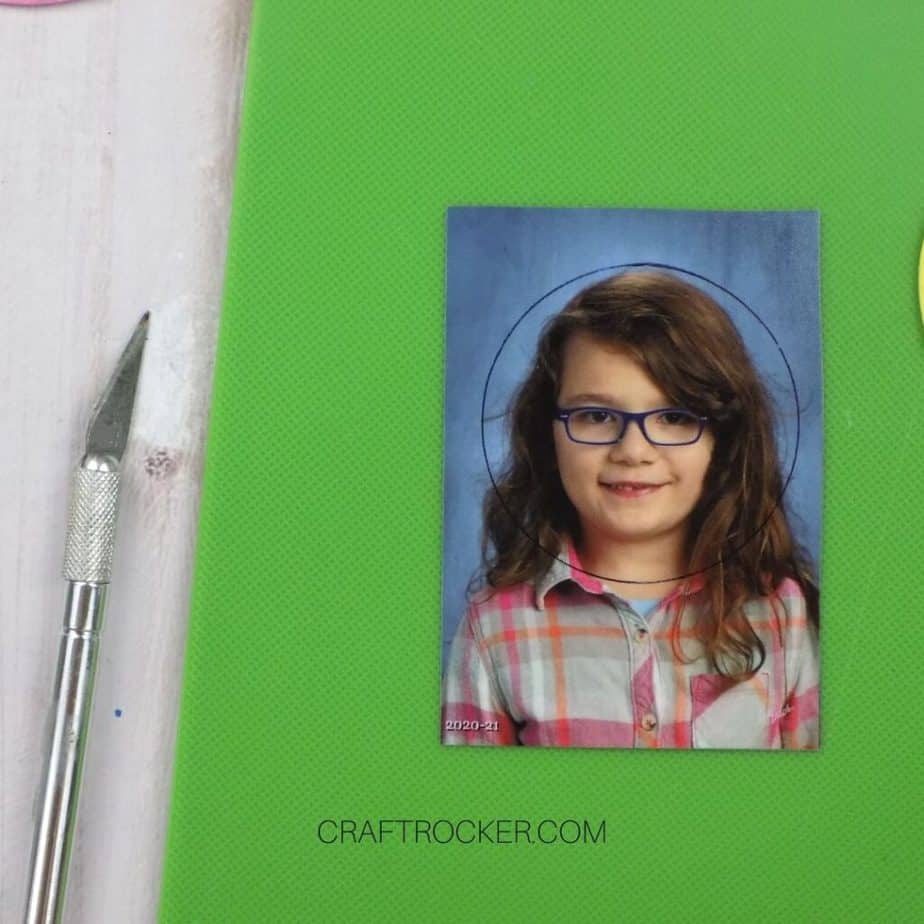
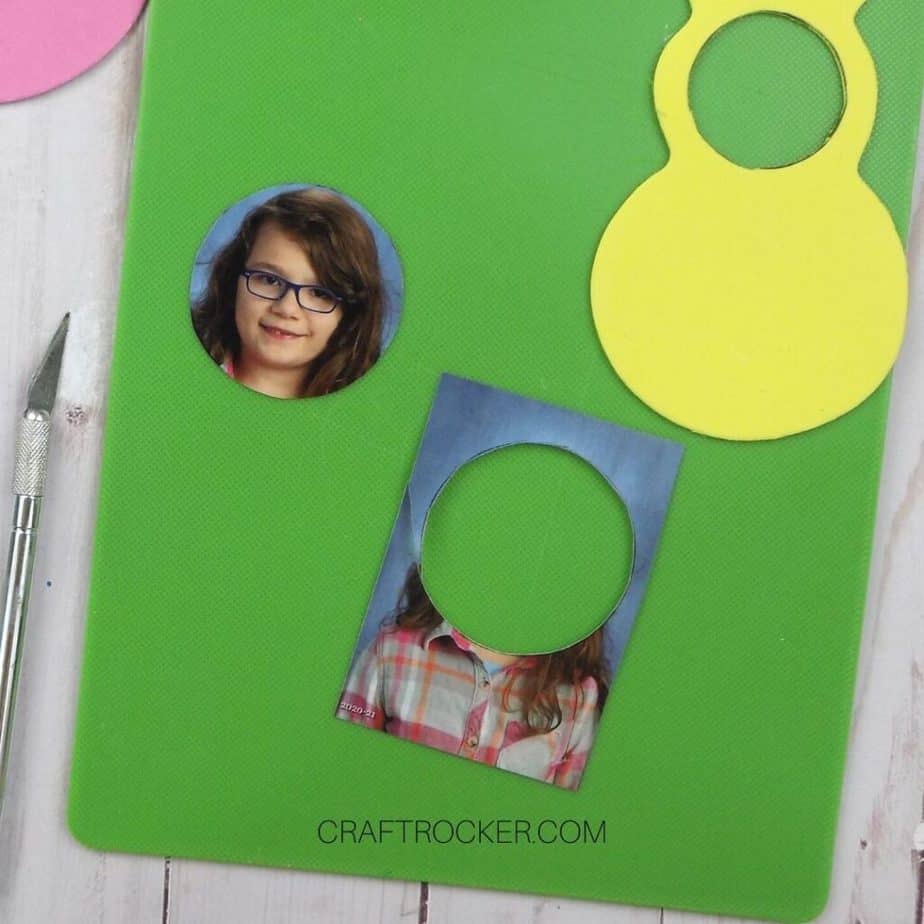
Step 3
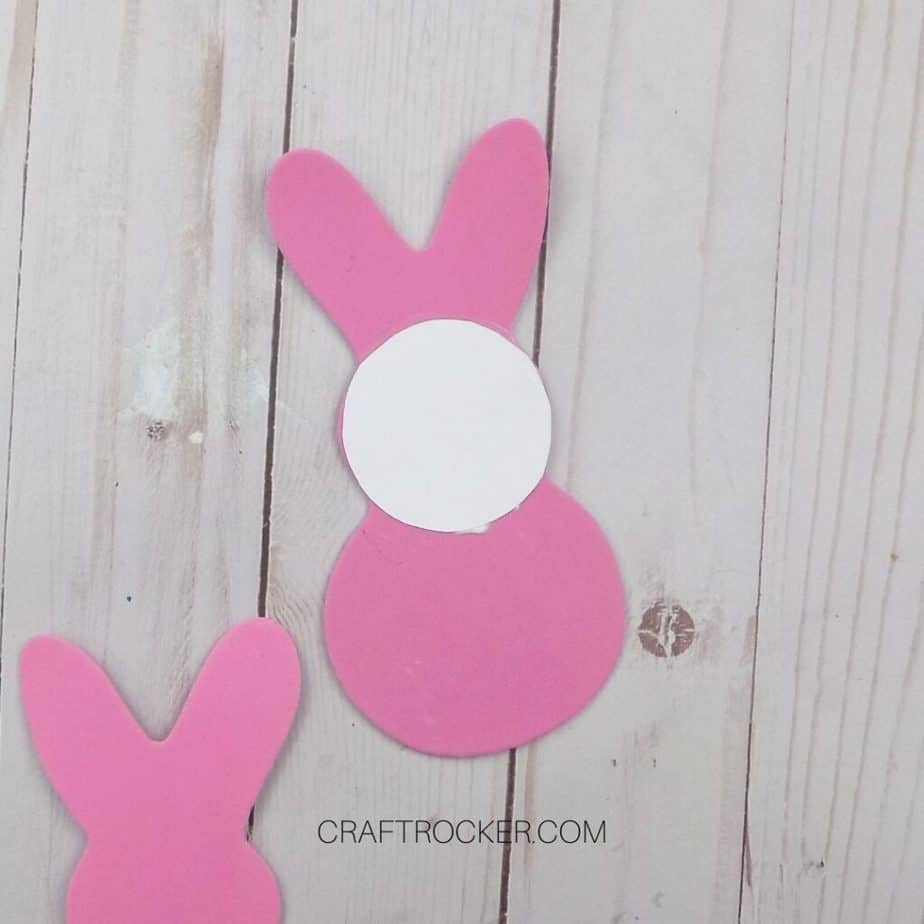
Next, trace a slightly larger circle on a wallet-size photo of your kiddo.
Again, cut it out. I used scissors for this but you can use your utility knife if you prefer.
Step 4
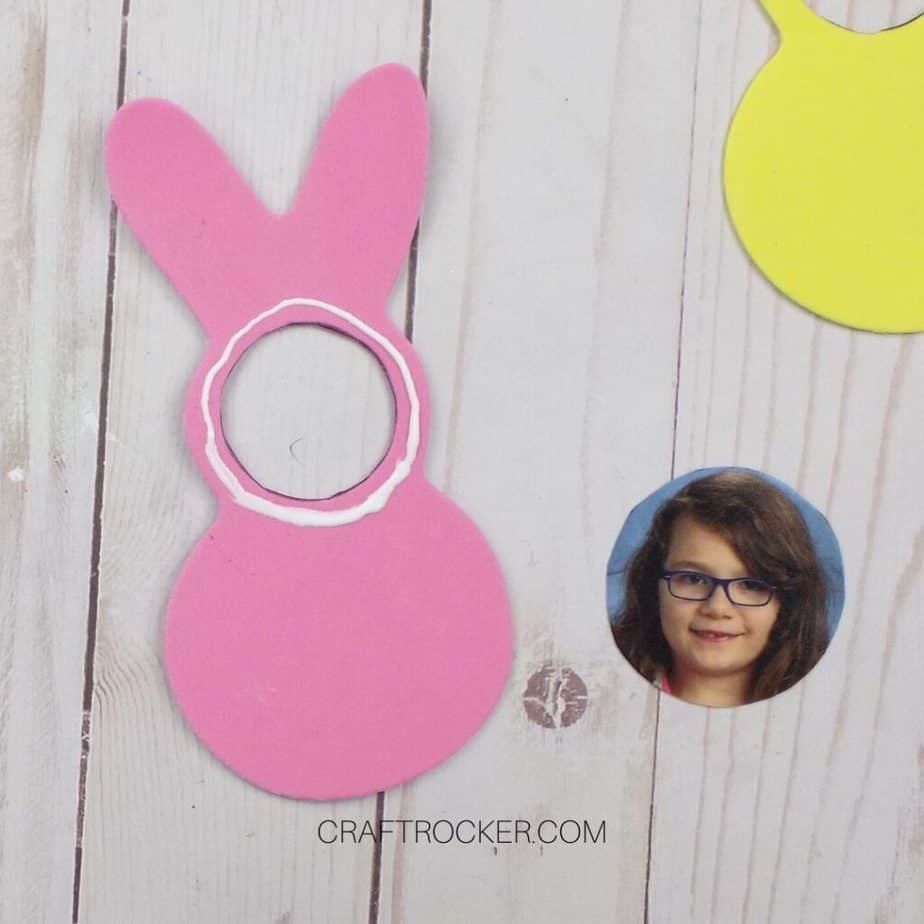
After your bunny and photo are cut, add a thin line of glue around the hole in the bunny. Be sure to put in on the same side that you wrote on.

Step 5
Then attach your circle photo to the bunny with the picture side facing the hole.
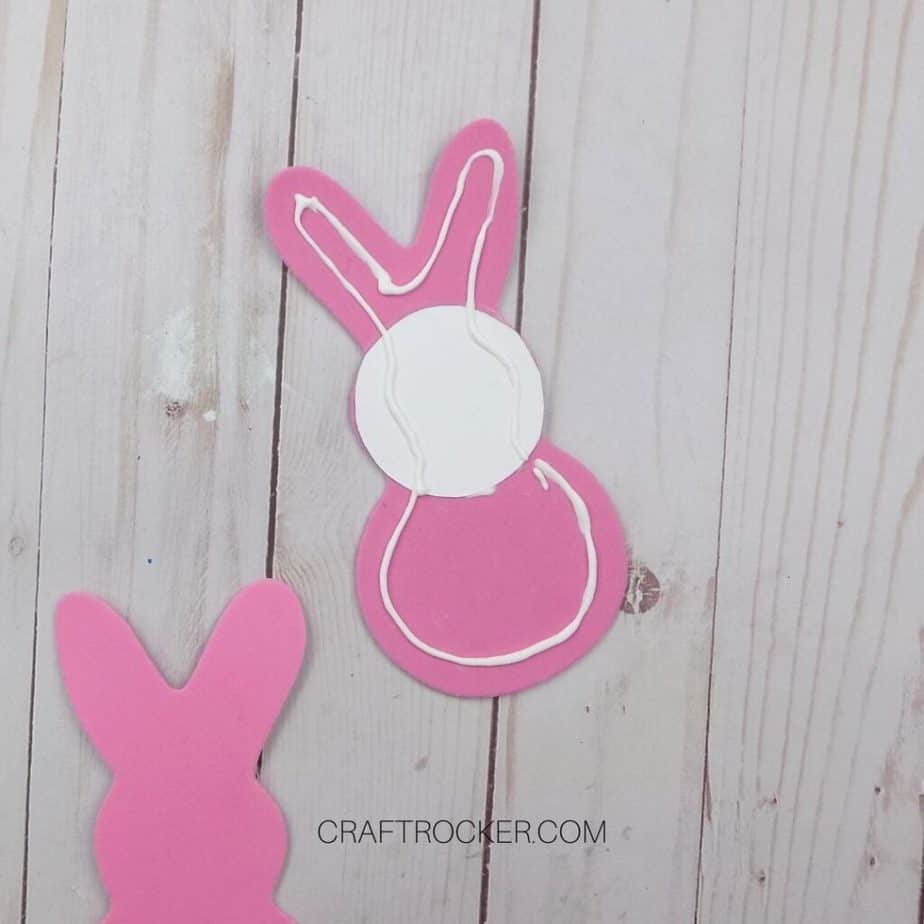
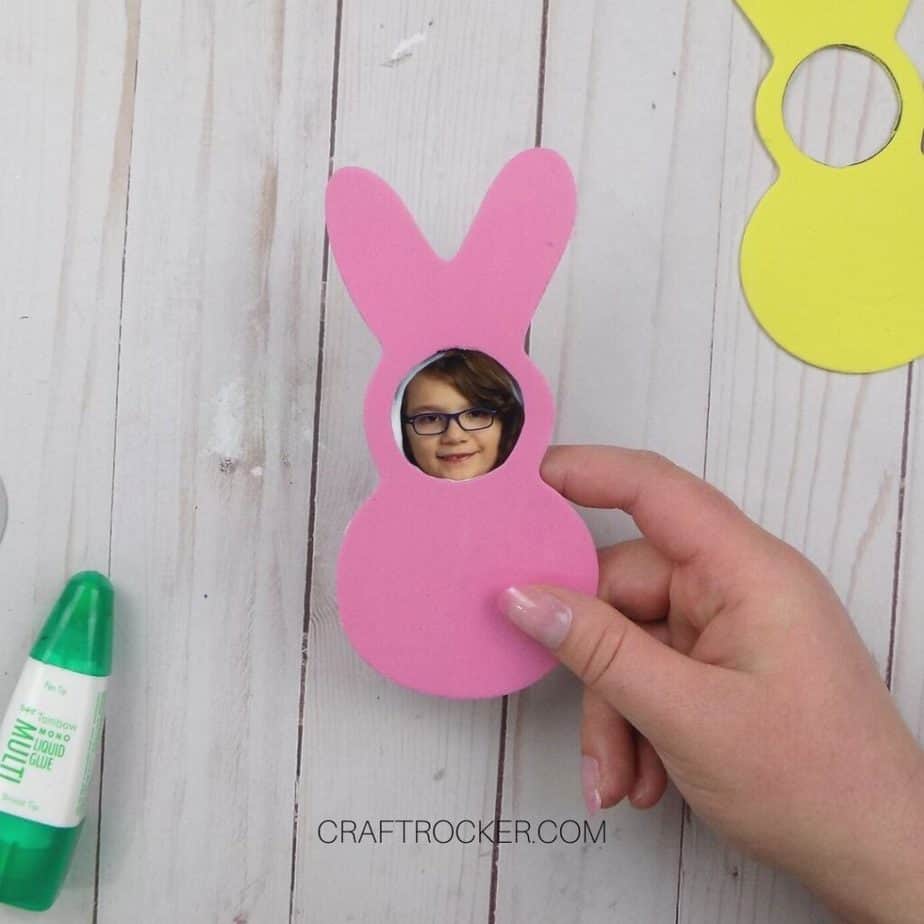
Step 6
Next, add another thin line of glue around the outer edges of your foam bunny.
Step 7
Carefully press your second, uncut foam bunny onto the glue. Take care not to jostle the photo when pressing them together.
If needed, wipe any excess glue that seeps out of the edges.

Step 8
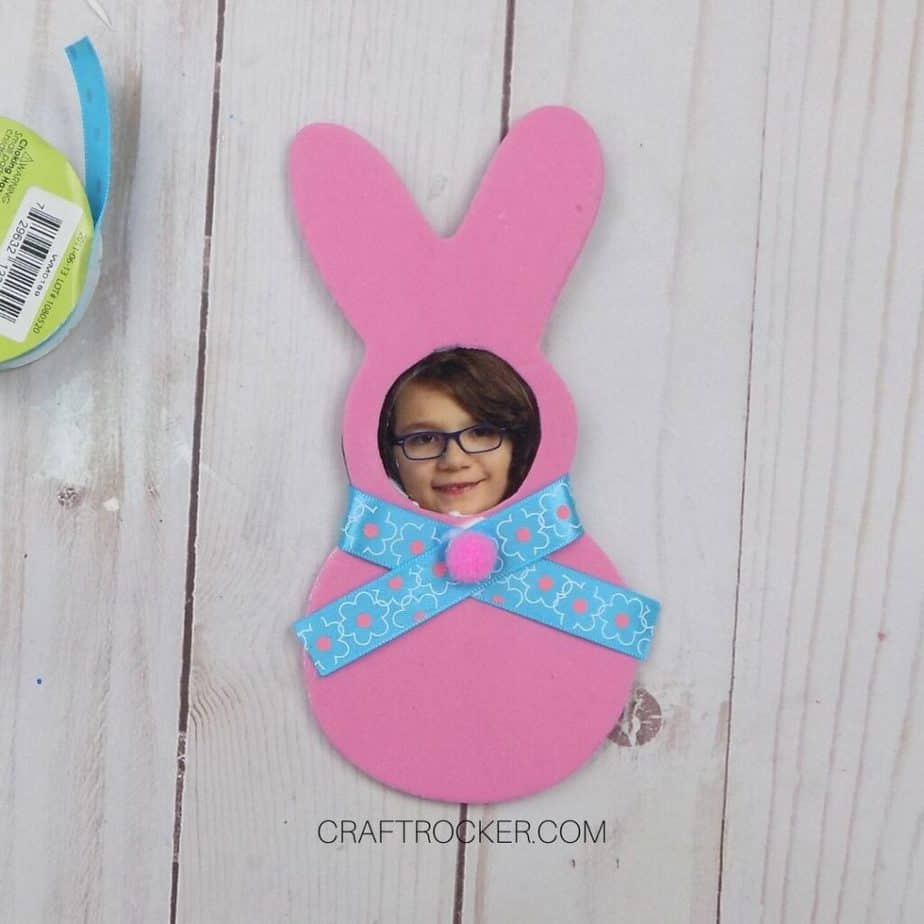
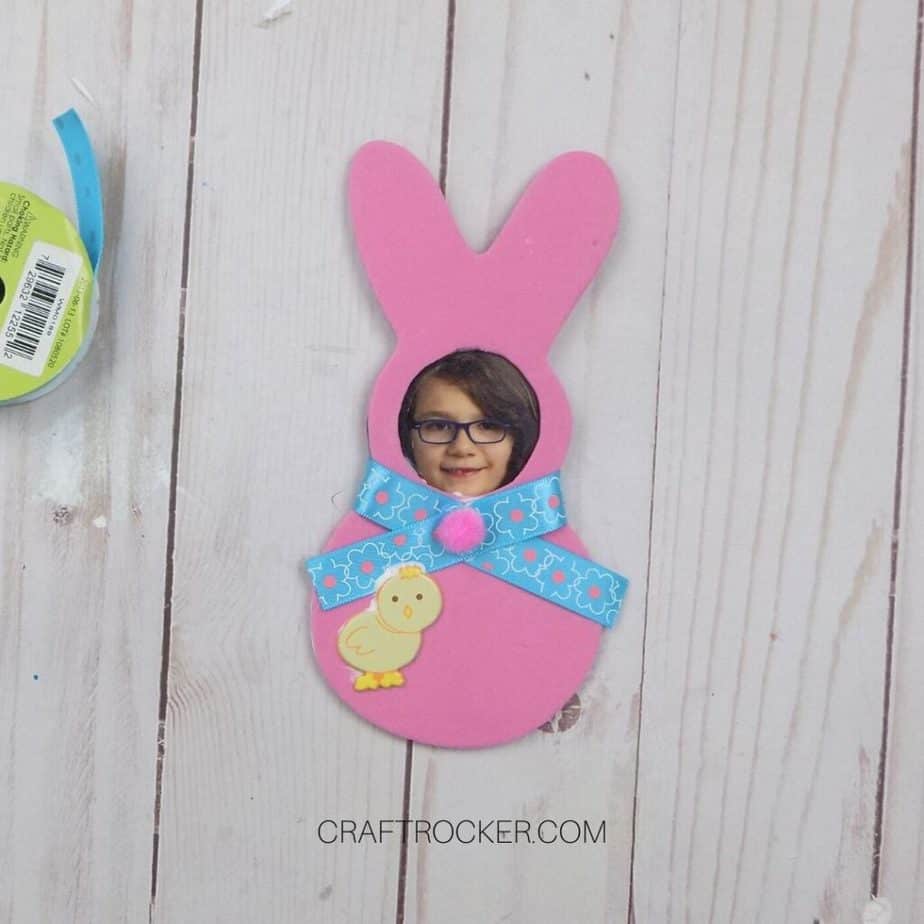
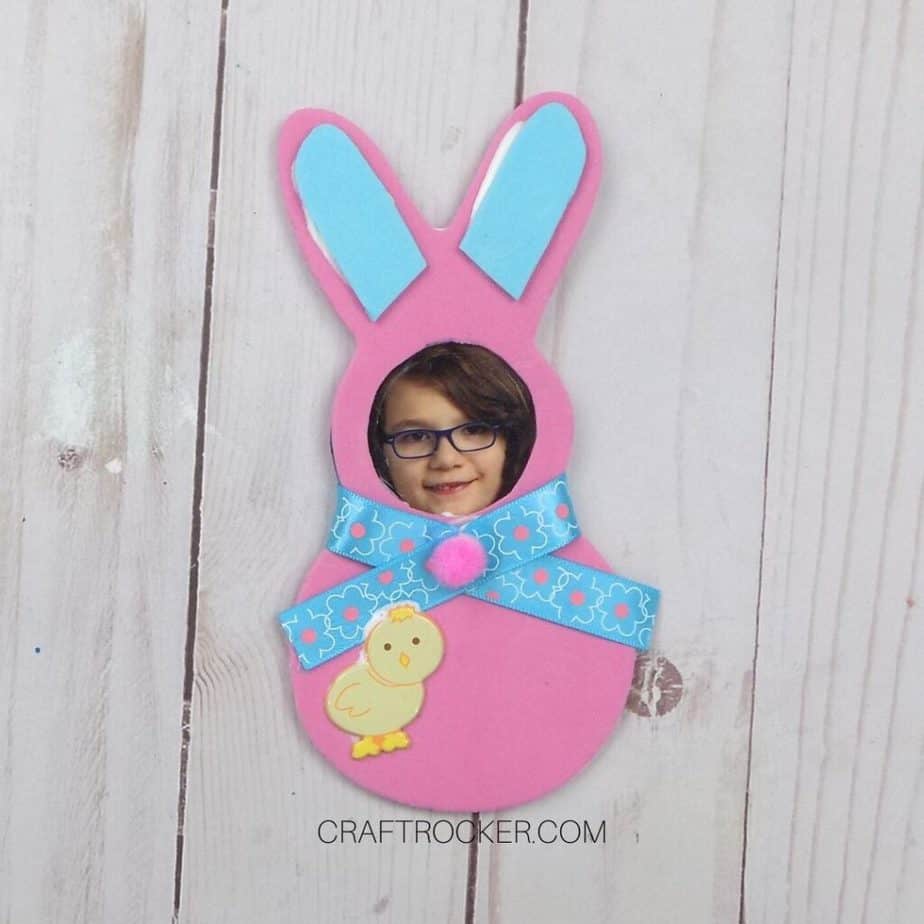
After your foam bunnies are glued together, cut a length of ribbon that is about 7 inches long.
Step 9
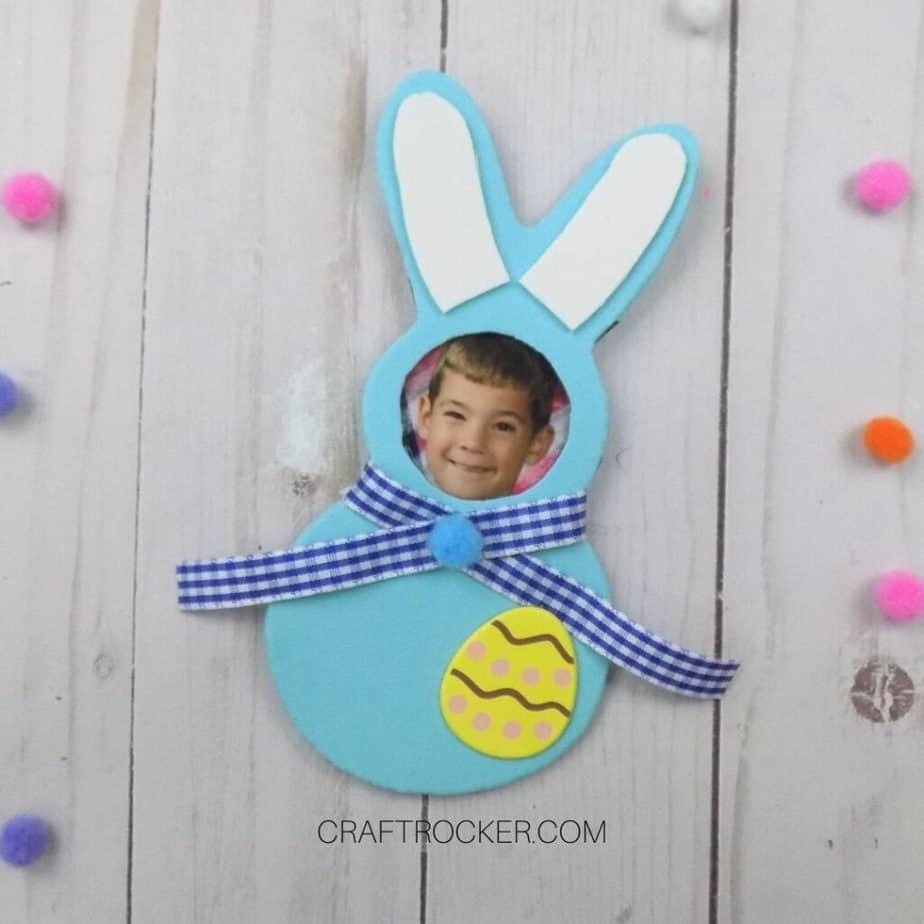
Next, glue the ribbon around the neck of your foam bunny with the loose ends crossed. See the picture above for reference.
Step 10
Then glue a mini pompom to where the ends cross.
Step 11
After your ribbon and pompom are glued, pick one of your Easter brads and use your scissors to cut the prongs off of the back.
Then glue it to the bunny towards the bottom.

Step 12
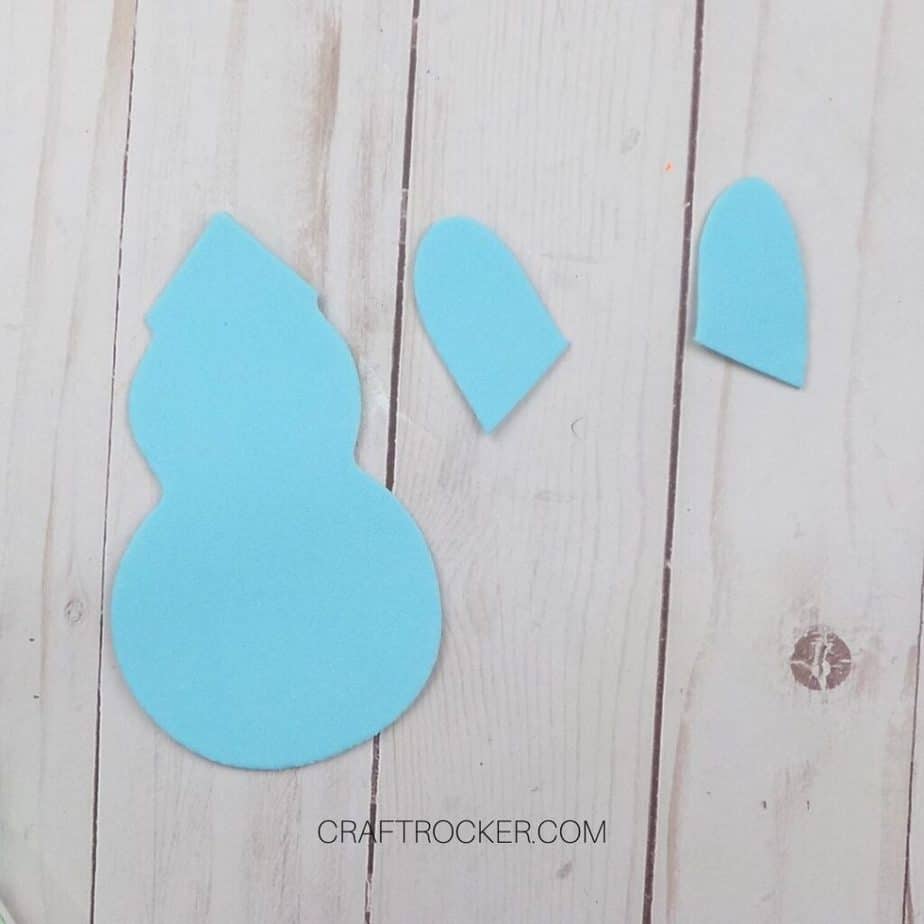
Now, pull out a foam bunny in a different color and cut off the ears by cutting towards the top center at an angle.
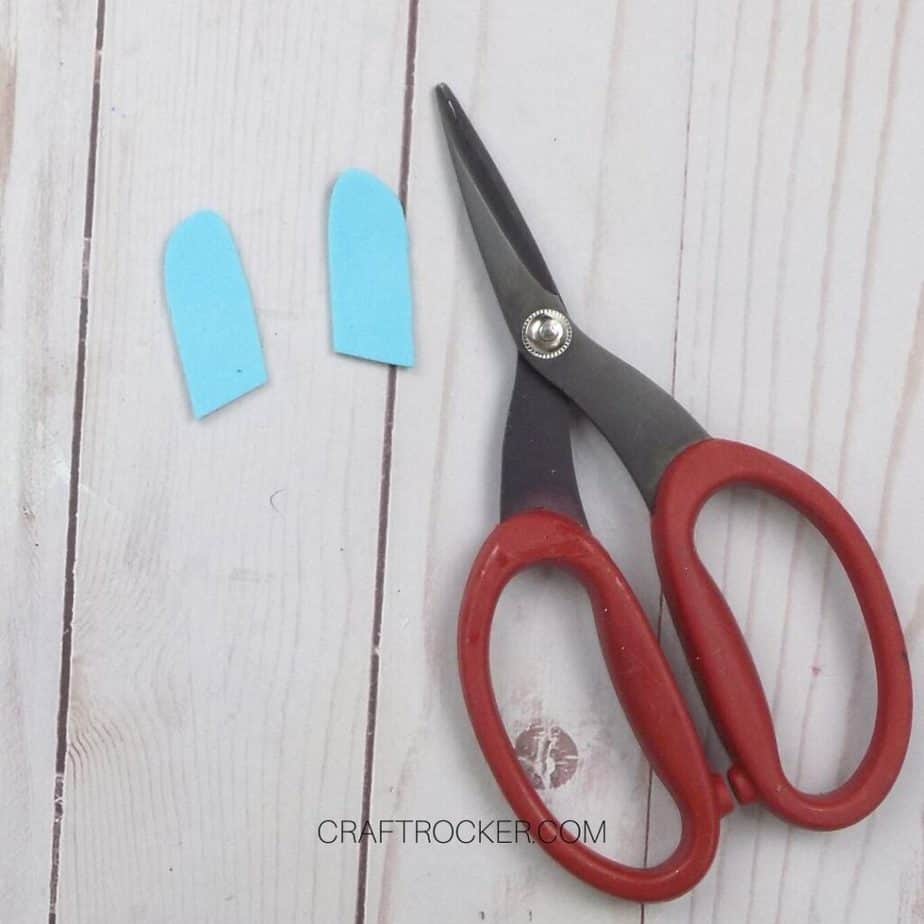
Step 13
Next, trim the ears to be smaller than the originals. These will be the inside of your bunny ears.
Step 14
Lastly glue the ears to the inside of the ears on the foam bunny and set it aside to dry.
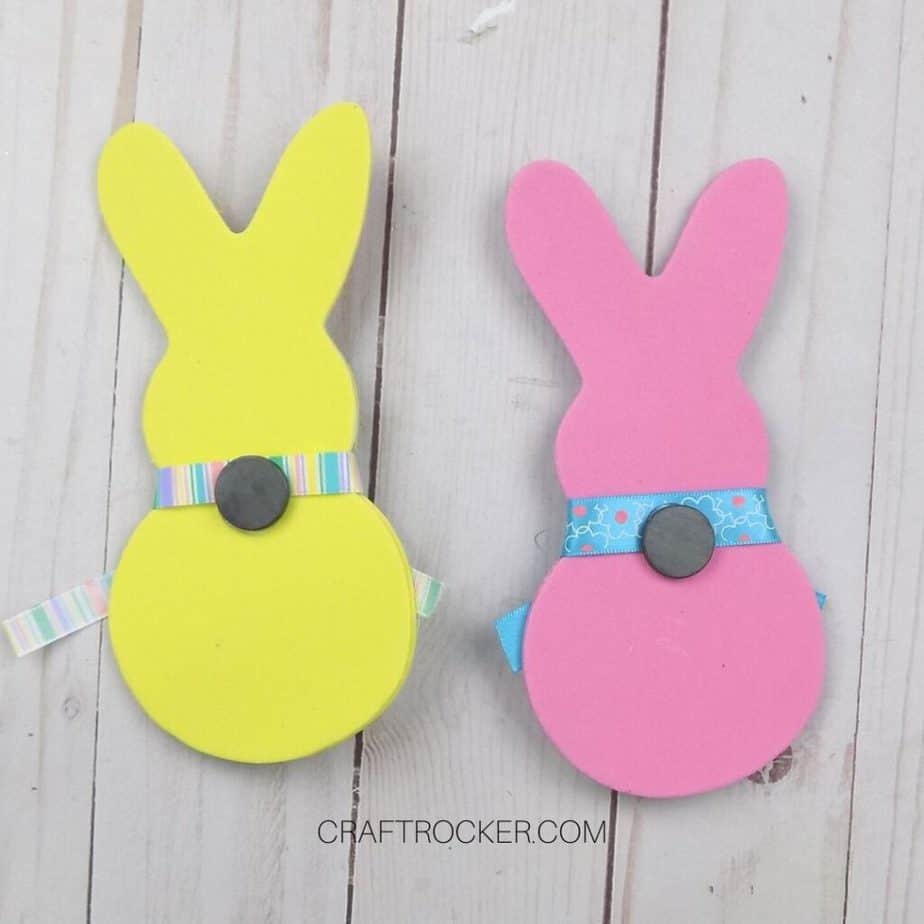
Step 15
After your decorated bunny is dry, hot glue a small ceramic magnet to the back of it.
Tips and Tricks
The foam bunny pack in the materials list gives you enough to make 4 bunny magnets.
Be sure to check the bunnies. I found one in my pack that was cut wrong and missing a section of the body. I used this one for the ears on one of mine.
You can totally use a circle hole punch for this project with this projects. Make sure to use 2 sizes if you do. The photo needs to be slightly larger than the hole in your bunny.

Printable Bunny Photo Magnets Tutorial
Bunny Photo Magnets
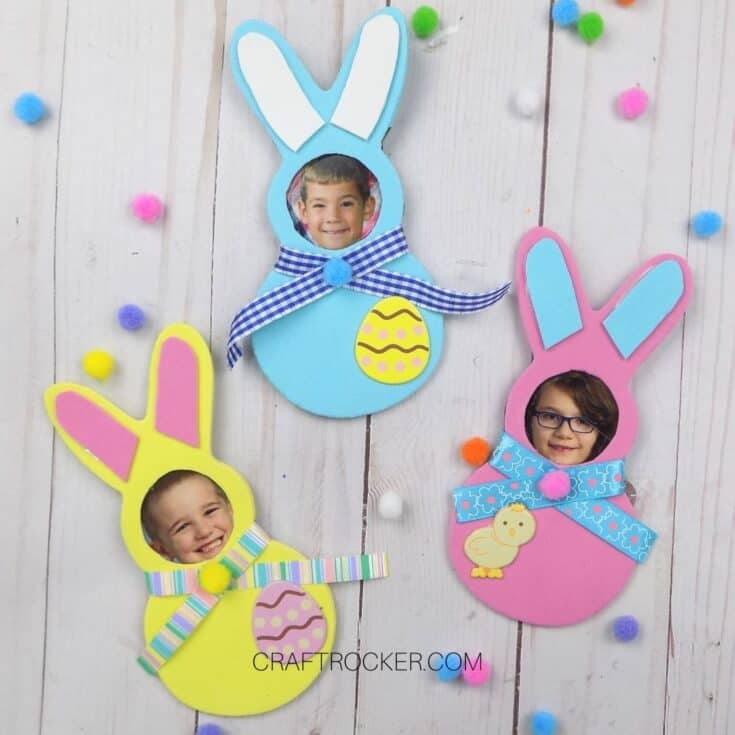
Enjoy some spring crafting with the kiddos and make these adorable bunny photo magnets! They're so easy to make and a cute addition to your fridge or as a gift for the grandparents.
Materials
- Wallet Photos of Kiddos
- Foam Bunny Outlines
- Circle Stencil (1-1.5 inches)
- Pen
- Cutting Board or Self-Healing Mat
- Utility Knife
- Non-Toxic White Liquid Glue
- Scissors
- 3/8 inch Ribbon of Choice
- Mini Pompoms
- Large Easter Brads
- Small Ceramic Magnets
- Hot Glue Gun and Glue Sticks
Instructions
- First, pick out a matching pair of foam bunnies from your package.
- Then trace a circle on the head of one of the foam bunnies and place it on a cutting mat.
- Use your utility knife to cut out the circle.
- Next, trace a slightly larger circle on a wallet-size photo of your kiddo.
- Again, cut it out. I used scissors for this but you can use your utility knife if you prefer.
- After your bunny and photo are cut, add a thin line of glue around the hole in the bunny. Be sure to put in on the same side that you wrote on.
- Then attach your circle photo to the bunny with the picture side facing the hole.
- Next, add another thin line of glue around the outer edges of your foam bunny.
- Carefully press your second, uncut foam bunny onto the glue. Take care not to jostle the photo when pressing them together.
- If needed, wipe any excess glue that seeps out of the edges.
- After your foam bunnies are glued together, cut a length of ribbon that is about 7 inches long.
- Next, glue the ribbon around the neck of your foam bunny with the loose ends crossed.
- Then glue a mini pompom to where the ends cross.
- After your ribbon and pompom are glued, pick one of your Easter brads and use your scissors to cut the prongs off of the back.
- Then glue it to the bunny towards the bottom.
- Now, pull out a foam bunny in a different color and cut off the ears by cutting towards the top center at an angle.
- Next, trim the ears to be smaller than the originals. These will be the inside of your bunny ears.
- Lastly glue the ears to the inside of the ears on the foam bunny and set it aside to dry.
- After your decorated bunny is dry, hot glue a small ceramic magnet to the back of it.
Notes
- The foam bunny pack in the materials list gives you enough to make 4 bunny magnets.
- Be sure to check the bunnies. I found one in my pack that was cut wrong and missing a section of the body. I used this one for the ears on one of mine.
- You can totally use a circle hole punch for this project with this projects. Make sure to use 2 sizes if you do. The photo needs to be slightly larger than the hole in your bunny.
These bunny photo magnets are so adorable! They make a great gift for the grandparents, too.
Of course, I’ll have to make a second set because the kids love seeing them on the fridge. C’est la vie of a momma.
Don’t Forget to Pin It!
More Easter Fun
DIY Easter Bunny Wreath – Glitter on a Dime
