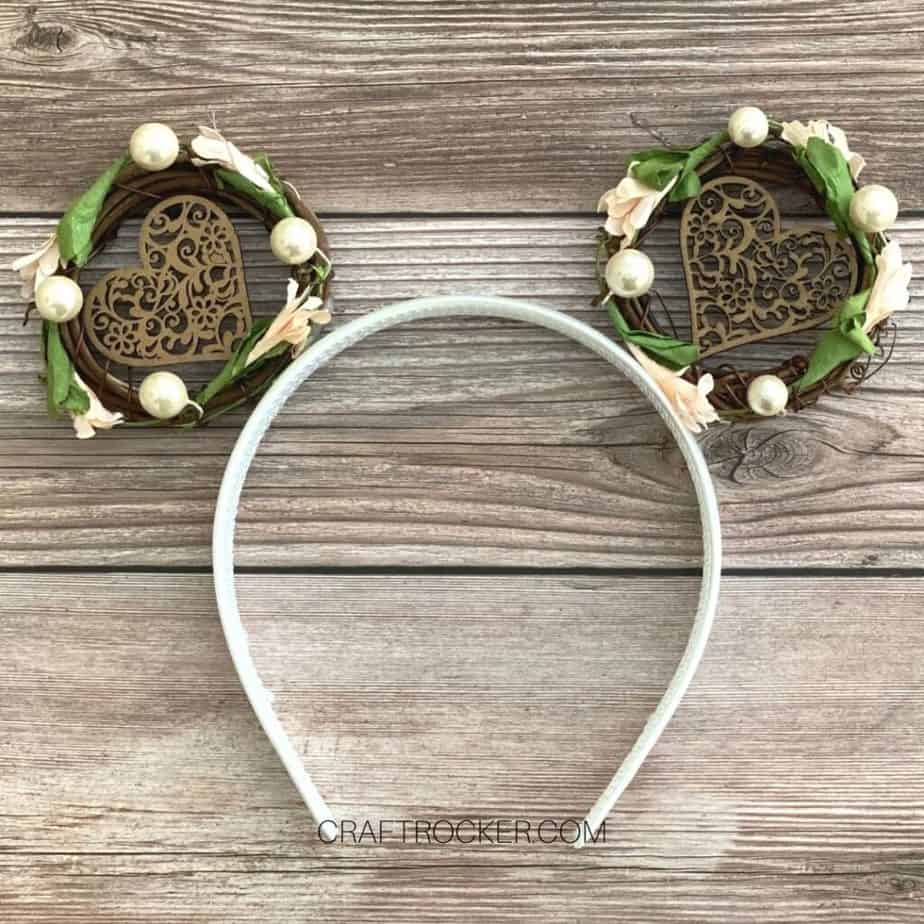
Bring a little magic home with these Boho woodland DIY mouse ears. Even if visiting the parks is currently in the cards, you can stick rock some mouse style your right now.
Affiliate links may be used in this post. Ordering a product through these links may result in a commission at no extra cost to you. Read the full disclosure here.
Jump to What You Want
Printable DIY Mouse Ears Tutorial
Admittedly, I love the mouse ears hats at Disney World just as much as I love the mouse ears. When we were there last, I got those pretty sequined Minnie ears which were great for about 5 minutes.
Then my hair kept blowing and getting stuck in the sequins (like a lot). They started hurting my head… I really wished I’d gone with the Stitch hat all the kiddos got.
That’s why these DIY mouse ears are so great. You can get a headband that fits comfortably on your head and still show your fandom.
It’s the perfect solution.
Don’t get me wrong, I still totally have my sequin mouse ears but they only come out for special occasions. The rest of the time, they hang decoratively in my craft room.
If you’ve run into the same problem then you’ll love this DIY version.
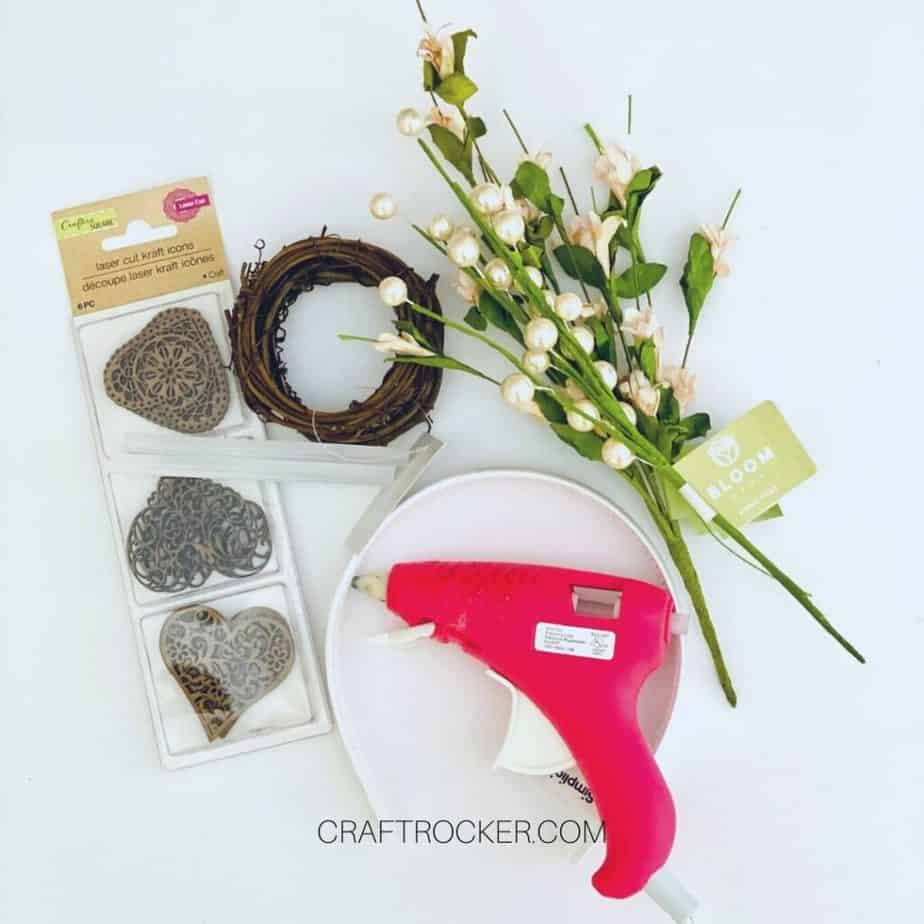
Materials for Boho Woodland DIY Mouse Ears
Headband
2 Small Grapevine Wreaths (I got mine from Joann Fabrics but here are similar ones)
Hot Glue Gun
Pearl Floral and Pink Small Flower Floral (These are also from Joann Fabrics)
Wooden Hearts (Found at the Dollar Tree, near the stickers)

Step 1
First, remove 4 stems of the pink flowers and 8 of the pearls. They will simply come apart from the main stem by tugging on them.
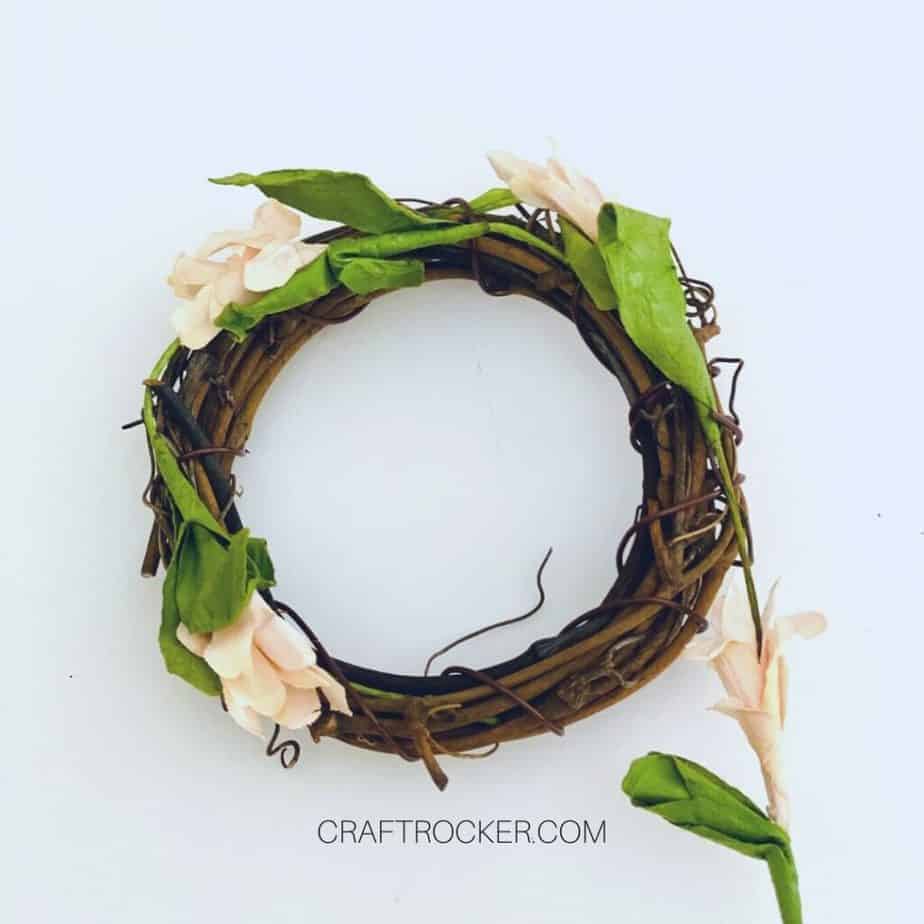
Step 2
Next, add the pink flowers to the mini wreath by taking the wire from the stem and looping it through the wire that is holding the wreath form together. Repeat with your second mini wreath.
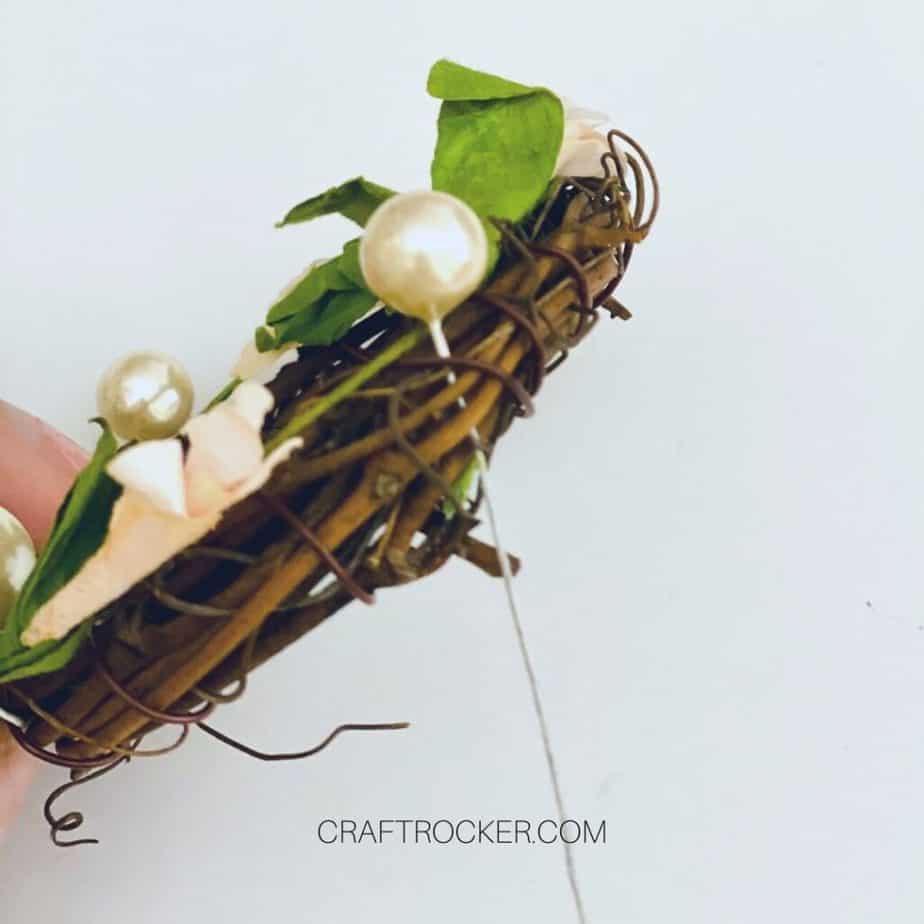
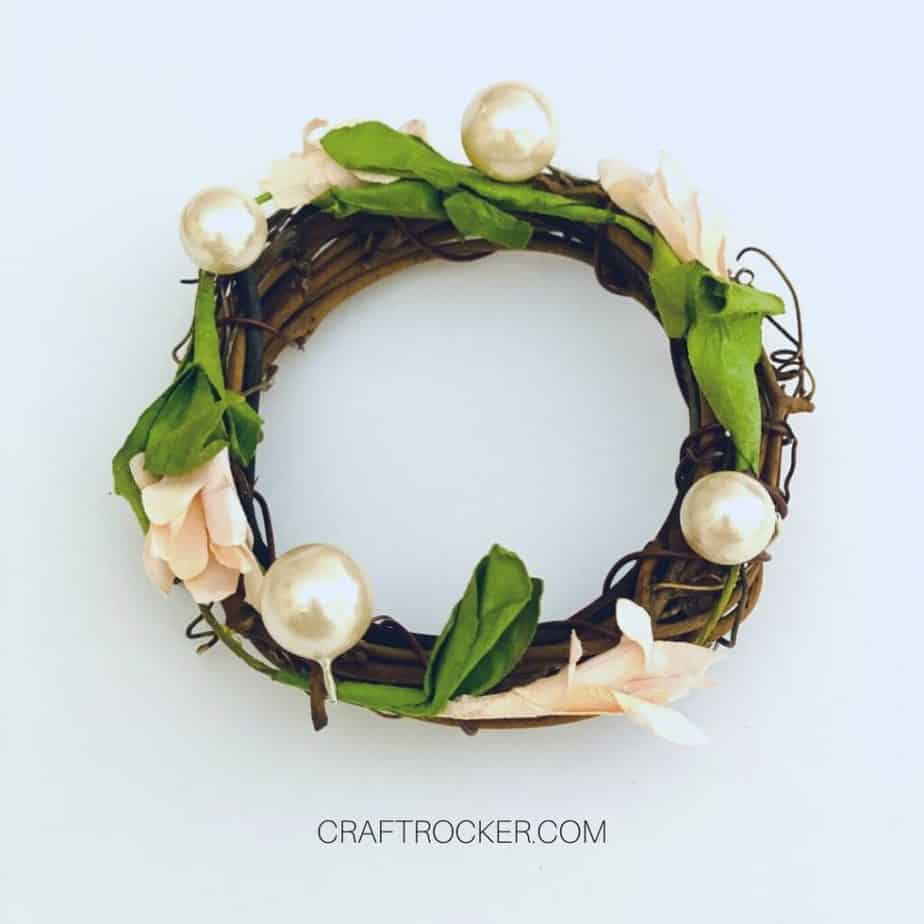

Step 3
After your flowers are attached to your mini wreaths, attach the pearl pieces in the same way.
Slip the wire though one of the wires holding the grapevine together and wrap around to the top. Be sure to tuck the ends of the wire into the wreaths.
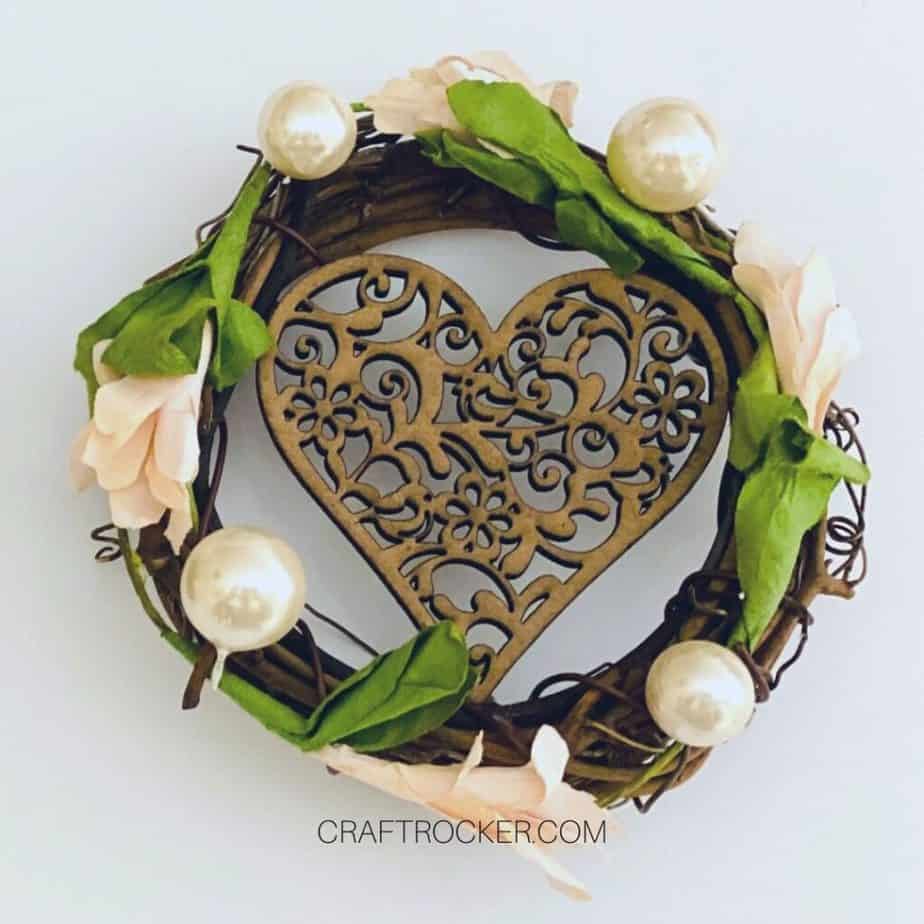
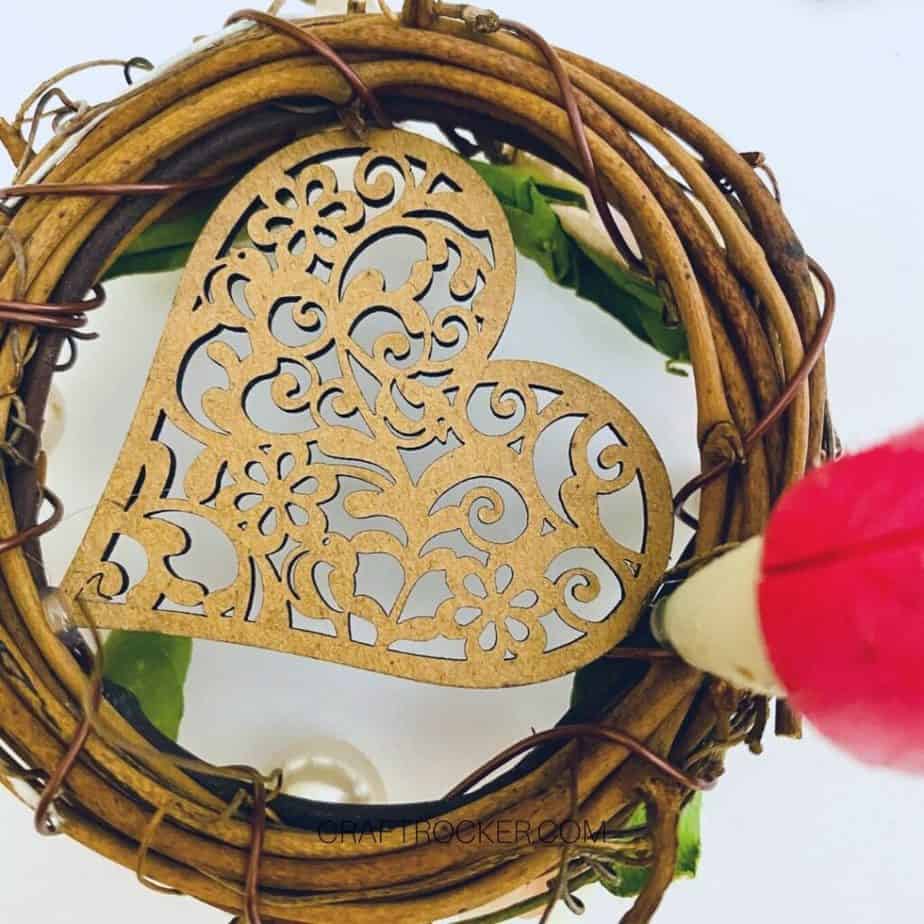
Step 4
Then, using a light amount of hot glue, add some to the top and bottom of the wooden heart and secure it to the grapevine. Again, do this for both mini wreaths.
Step 5
Next, flip your wreaths over and add a small amount of glue to the back side where the heart touches the wreath as well to make it more secure.

Step 6
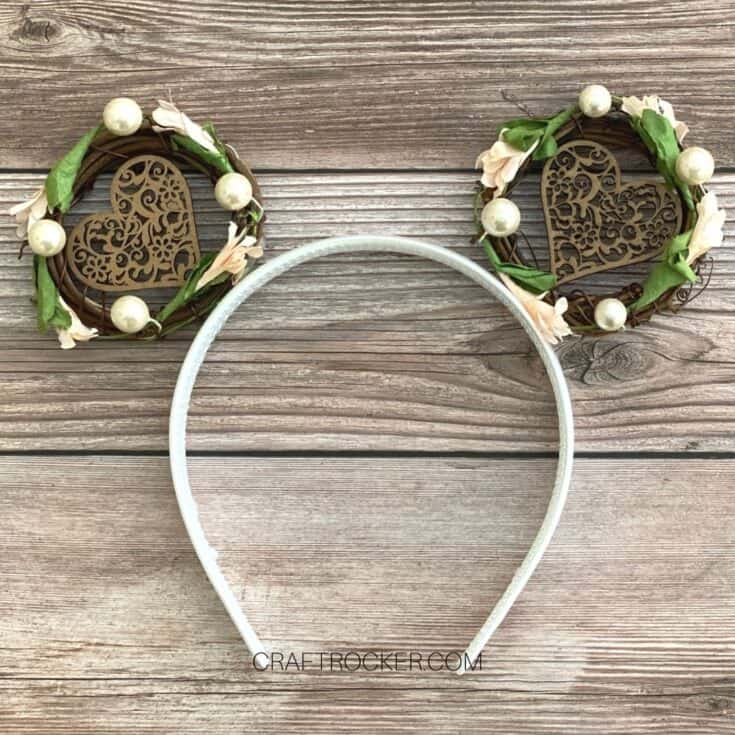
After you have finished both mini grapevine wreaths, hot glue each one slightly to the left and right top of the headband.
Apply pressure while the glue cools to make sure the grapevine wreath is secured to your headband.

Tips and Tricks
If your wires are too long when attaching your flowers and pearls, use a wire cutter to trim the excess after you have wrapped and secured them. I don’t recommend doing this before because it makes it difficult to thread through the wreaths.
Be sure to hold both the hearts and the decorated wreaths in place while the glue cools after attaching. The weight can make it droop or worse, not attach at all, if not held in place during gluing and while it cools.
I might make this with a brown headband to better match my hair next time. I also think it would add to the Boho look. However, it does make it less noticeable as “Mouse Ears” so it’s a trade off.
Printable DIY Mouse Ears Tutorial
Boho Woodland DIY Mouse Ears
Easily make your own DIY mouse ears in a Boho woodland style with this super quick step-by-step tutorial!
Materials
- Headband
- 2 Small Grapevine Wreaths
- Hot Glue Gun
- Pearl Floral and Pink Small Flower Floral
- Wooden Hearts
Instructions
- First, remove 4 stems of the pink flowers and 8 of the pearls. They will simply come apart from the main stem by tugging on them.
- Next, add the pink flowers to the mini wreath by taking the wire from the stem and looping it through the wire that is holding the wreath form together. Repeat with your second mini wreath.
- After your flowers are attached to your mini wreaths, attach the pearl pieces in the same way. Slip the wire though one of the wires holding the grapevine together and wrap around to the top. Be sure to tuck the ends of the wire into the wreaths.
- Then, using a light amount of hot glue, add some to the top and bottom of the wooden heart and secure it to the grapevine. Again, do this for both mini wreaths.
- Next, flip your wreaths over and add a small amount of glue to the back side where the heart touches the wreath as well to make it more secure.
- After you have finished both mini grapevine wreaths, hot glue each one slightly to the left and right top of the headband. Apply pressure while the glue cools to make sure the grapevine wreath is secured to your headband.
Notes
- If your wires are too long when attaching your flowers and pearls, use a wire cutter to trim the excess after you have wrapped and secured them. I don’t recommend doing this before because it makes it difficult to thread through the wreaths.
- Be sure to hold both the hearts and the decorated wreaths in place while the glue cools after attaching. The weight can make it droop or worse, not attach at all, if not held in place during gluing and while it cools.

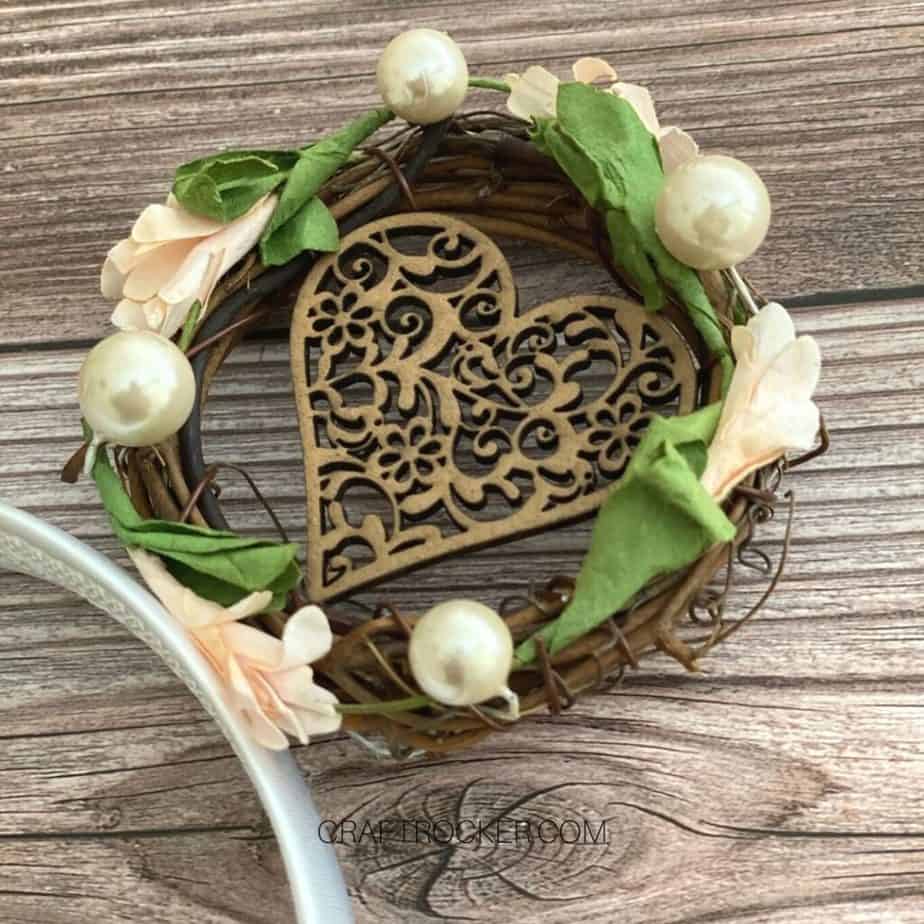
How whimsical are these DIY mouse ears?! They’re so beautiful and totally easy to make. 6 simple steps and you’re ready to show off your Boho creation.
Don’t Forget to Pin It!

More Boho Projects to Love
Easy and Cheap Personalized Candles
How to Make Beachy Boho Beaded Hoop Earrings – Made in a Day
