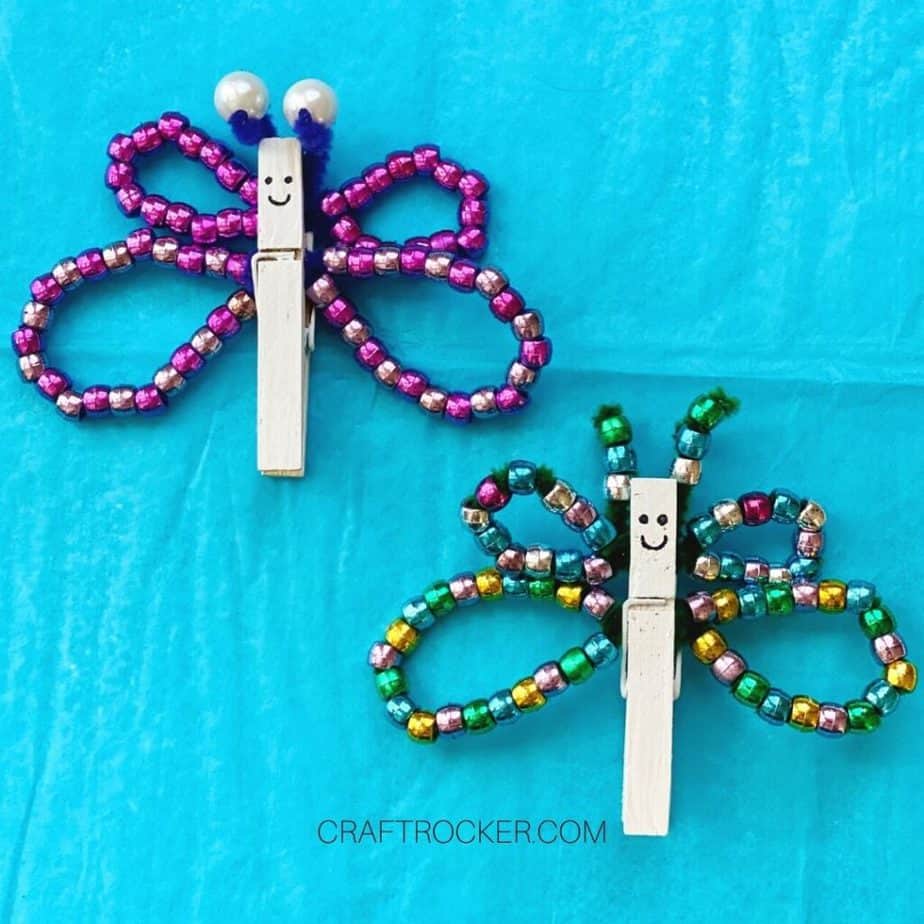
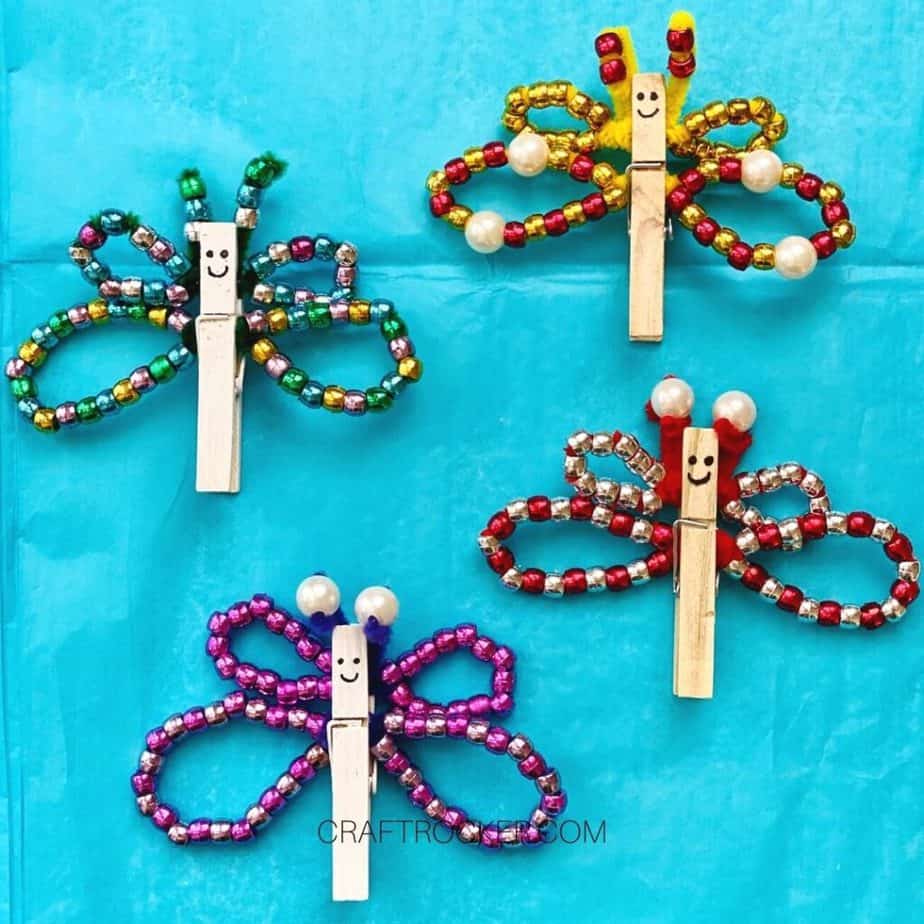
This easy spring butterfly craft for kids is the perfect low-prep activity to pull out to get those creative hands working. Grab all of the supplies you need the next time you’re at your local Dollar Tree and you’re ready to go.
Affiliate links may be used in this post. Ordering a product through these links may result in a commission at no extra cost to you. Read the full disclosure here.
Jump to What You Want
Printable Butterfly Craft Tutorial
My kiddos love butterflies. I think it’s partly because it’s one of the things I doodle the most so they’ve been exposed since birth.
They frequently ask me to draw one on their hands. I know I shouldn’t encourage that but I always did it as a kid and the habit has stuck with me as an adult. These non-toxic body markers are seriously awesome (we didn’t have that when I was growing up).
Of course, they like butterfly crafts of all kinds, not just mommy doodling on their hands, so I love coming up with craft ideas like this one for them.
It goes perfect with a butterfly study unit at home or at school, plus it’s low-cost and low-prep. Winning!
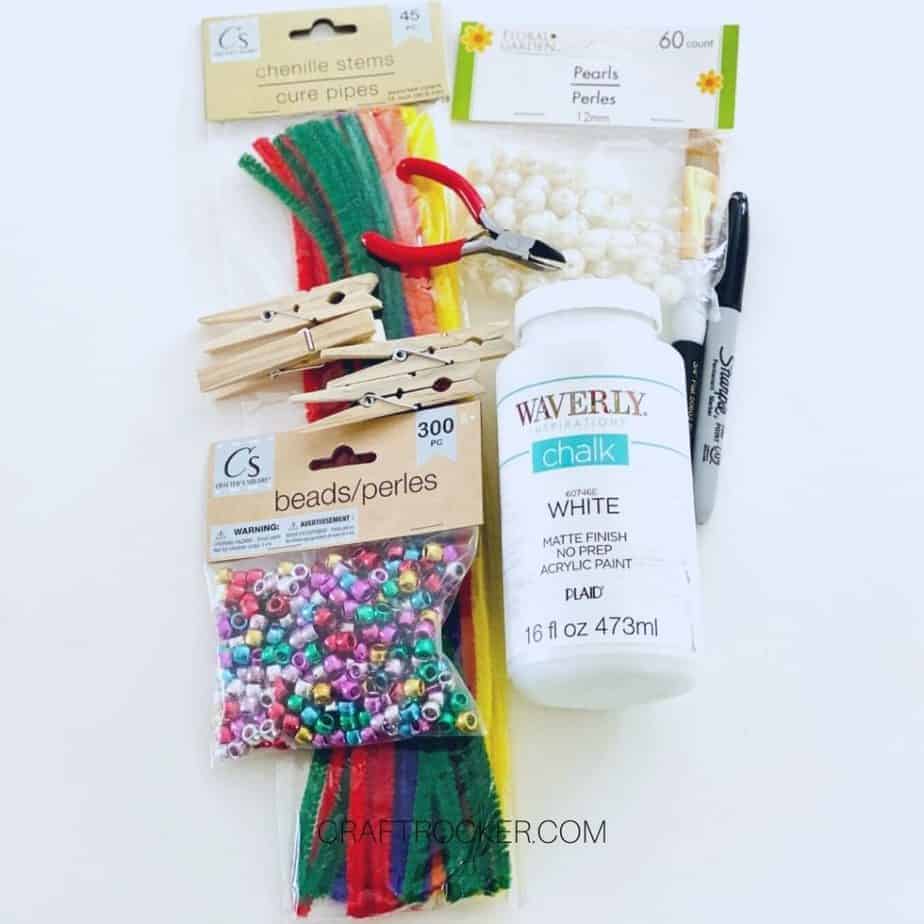
Spring Butterfly Craft Supplies
Clothespins – from Dollar Tree
Pipe Cleaners – from Dollar Tree
Pony Beads – from Dollar Tree
Large Pearl Beads – from Dollar Tree
Paint Brush
Non-Toxic White Paint (kid friendly)
Sharpie or Black marker
Scissors (Optional for Trimming Pipe Cleaners if Needed)
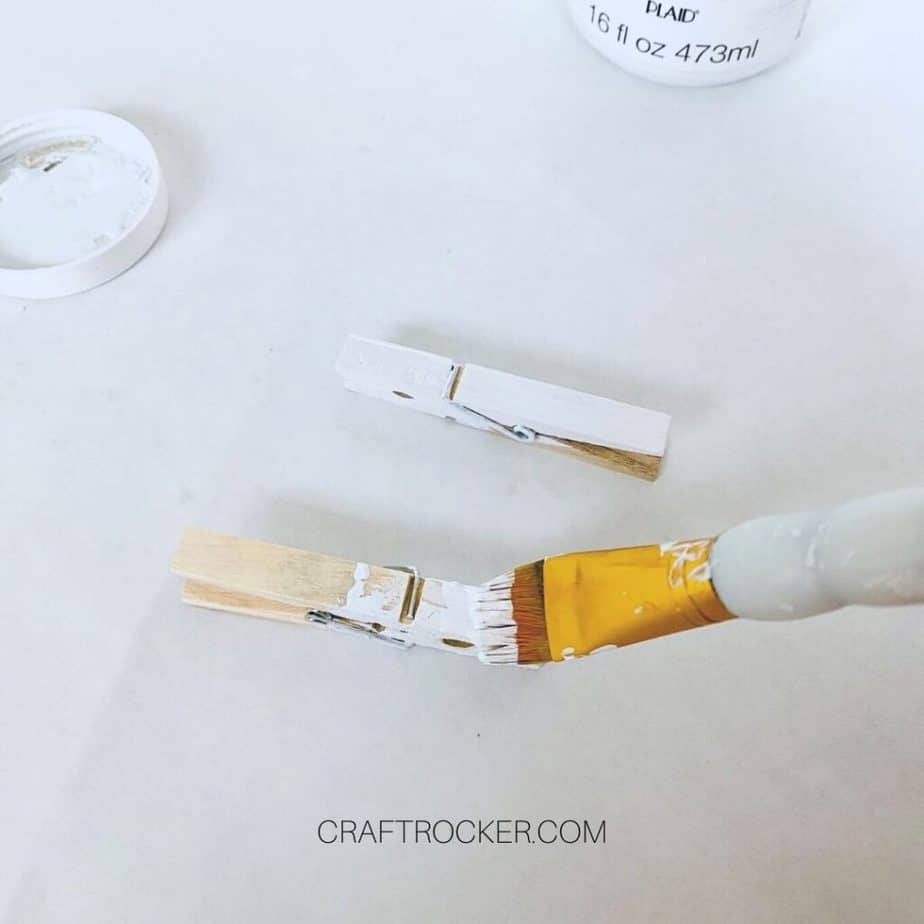
Step 1
Start by painting 2 of the clothespins white and leaving 2 of them the natural color. Allow the painted ones to dry before moving on with them.
Step 2
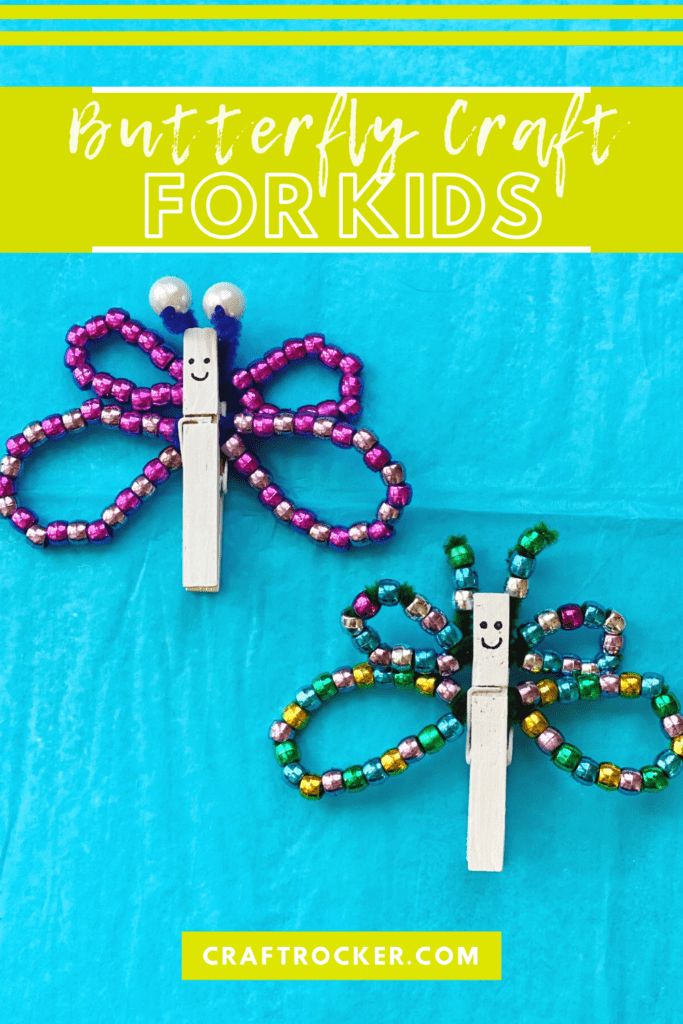
Next, grab 2 pipe cleaners for each butterfly. You can color coordinate them or go with fun multicolor creations. Let kids be creative.
Step 3
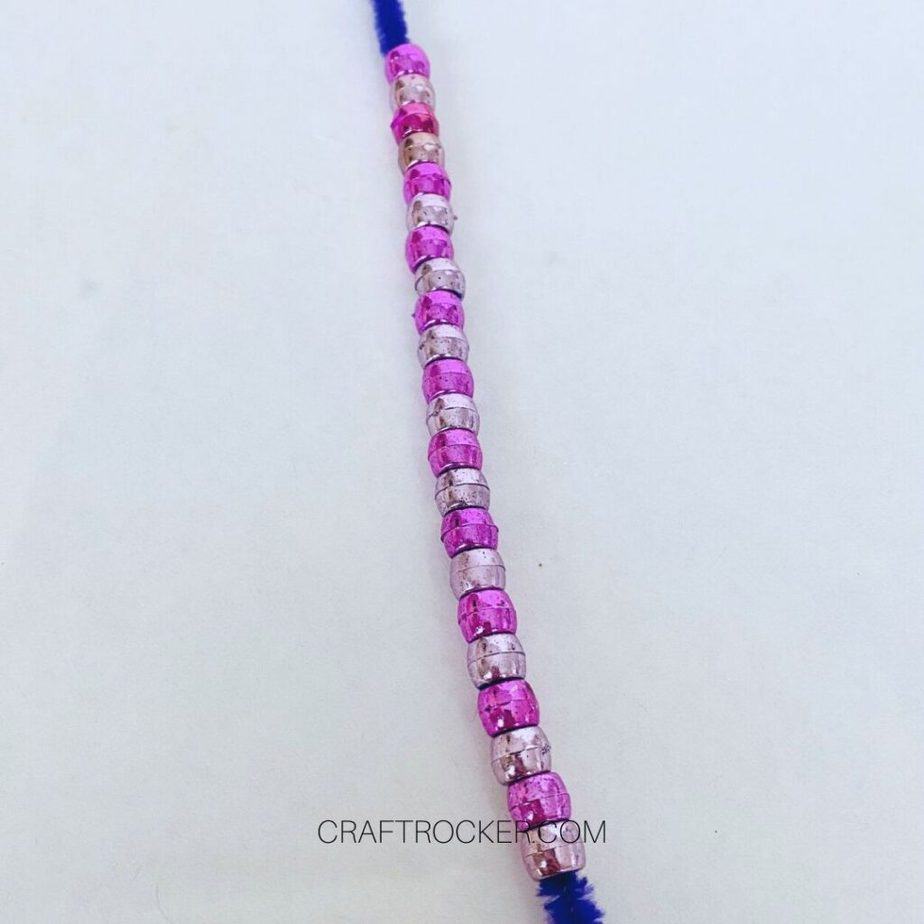
Once you have your pipe cleaners, start threading the beads onto one of them. This will be the larger wing for the bottom of the butterfly.
String 21 on each wing section. Be sure to leave some space in the middle and some on each end.
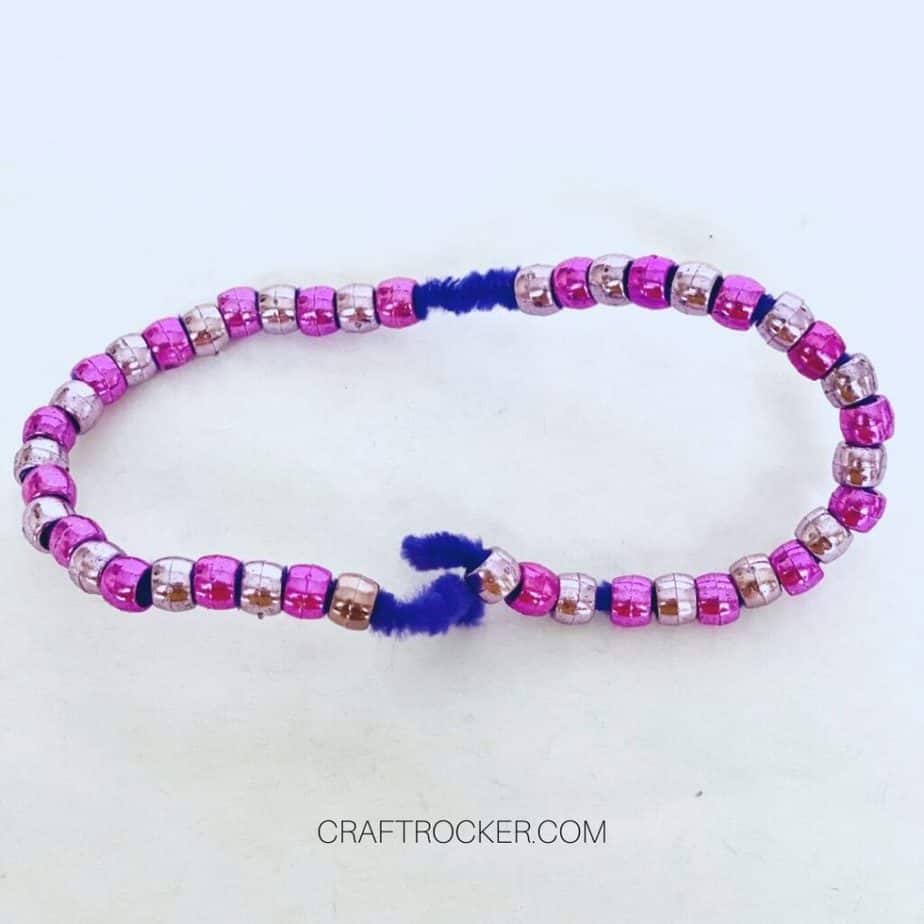

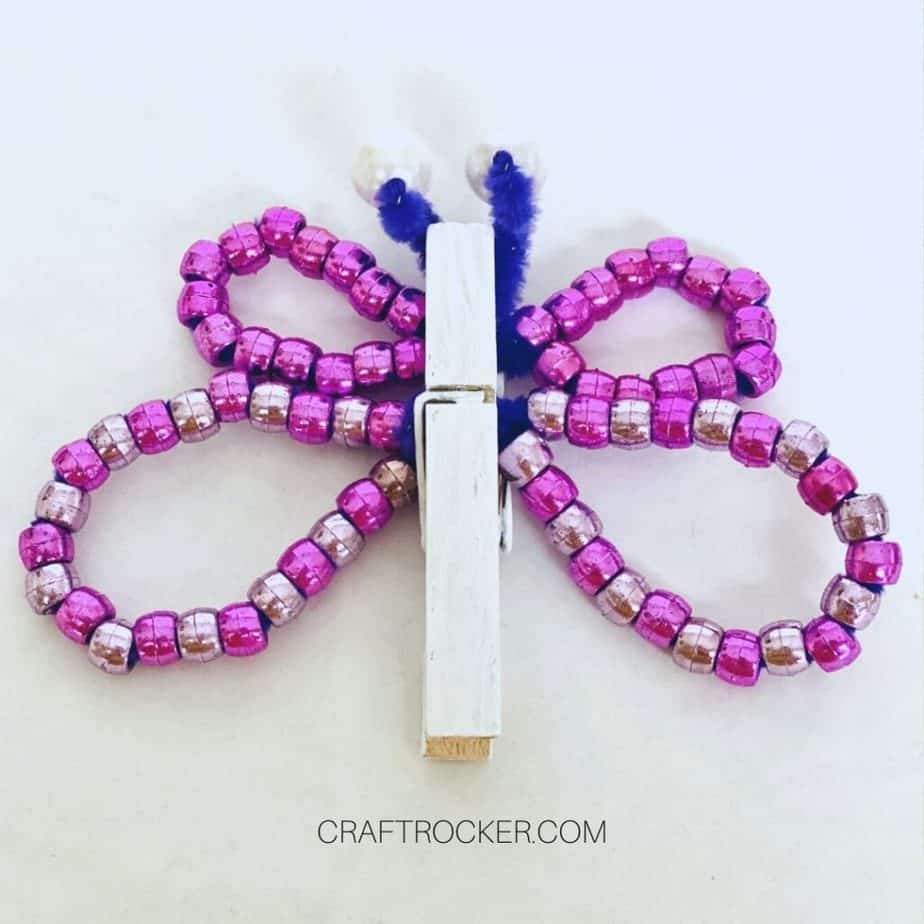
Step 4
After all the beads are strung on, take the ends and wrap them around the open space that was left in the middle. Place this inside the clip section of the butterfly (clothespin).
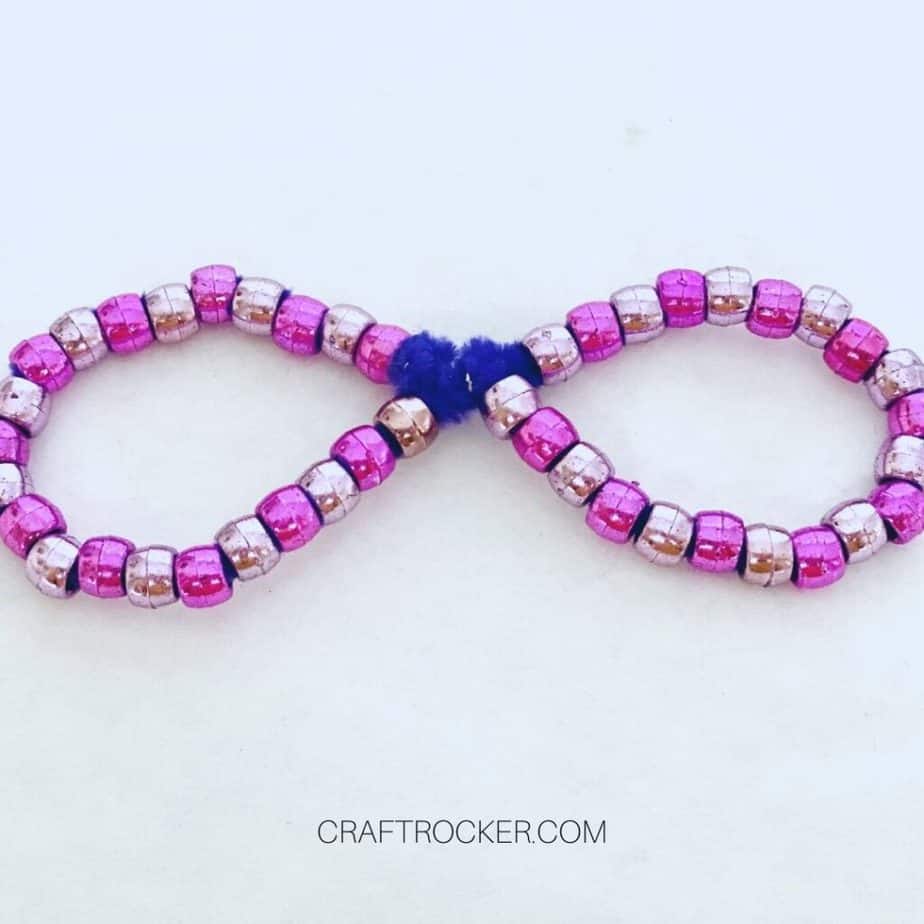
Step 5
Repeat the same process with the next pipe cleaner but only add 12-14 beads per each wing section. This time, leave a lot of room at the end when you wrap the ends around the middle section to secure it together.
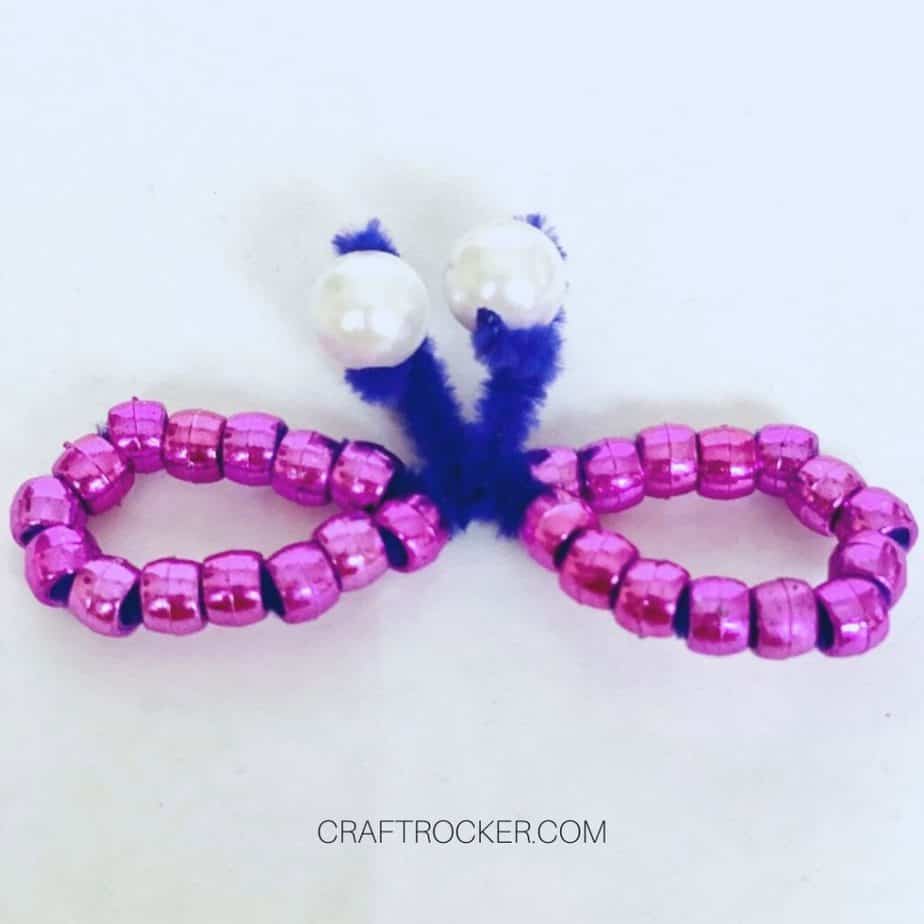
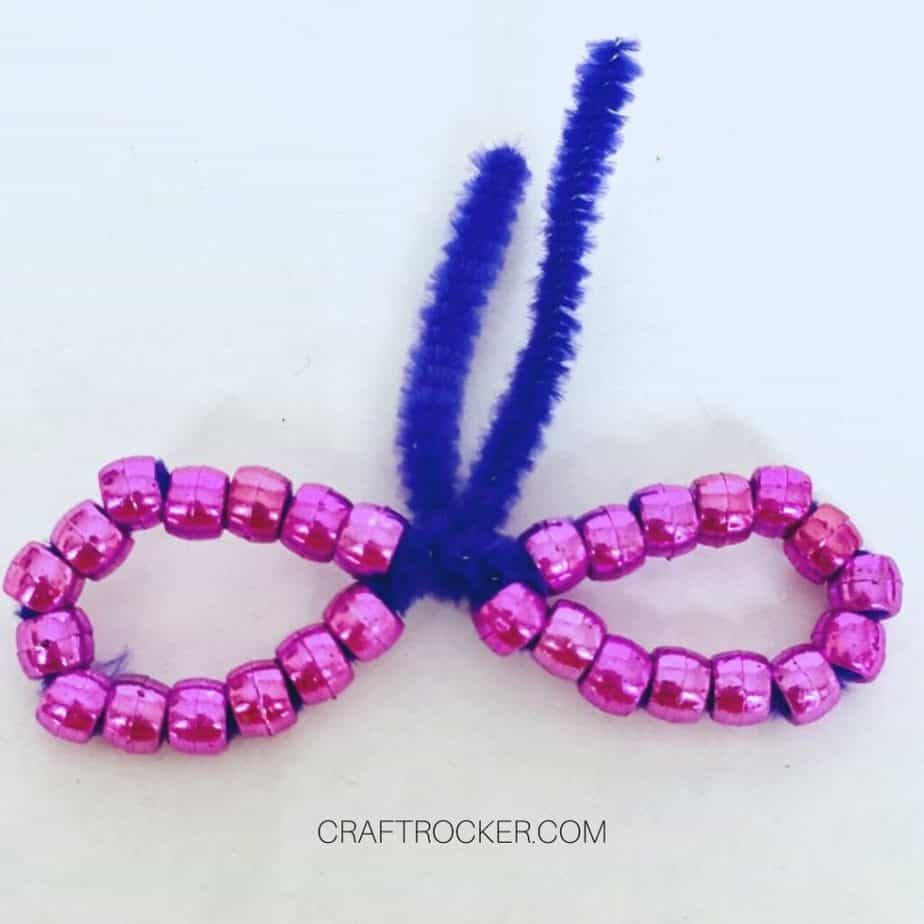
Step 6
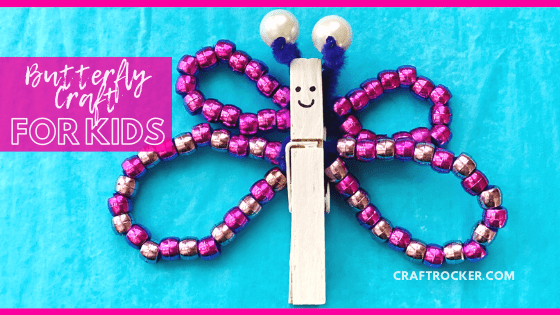
Next, with the remaining section of the pipe cleaners, add a pearl bead or 2 pony beads to form an antennae. I strung the bead on and then wrapped the pipe cleaner around to secure it.
Then place this section inside of the clip section and make sure the antennae are sticking out at the top.
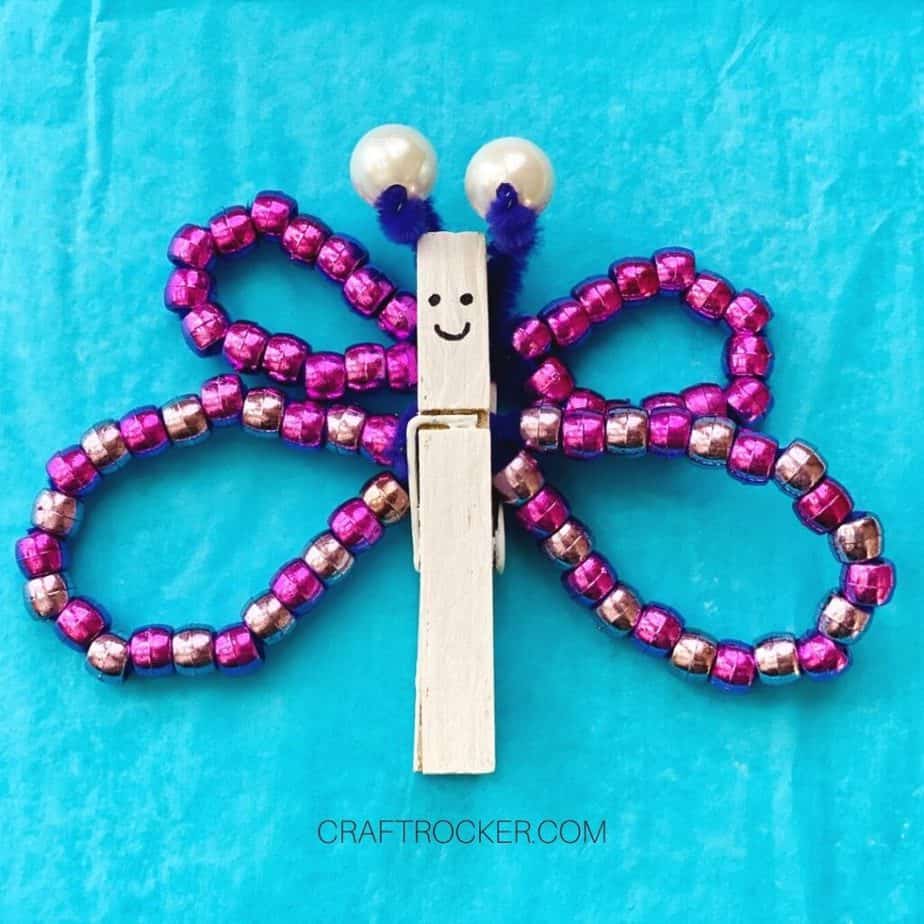
Step 7
Lastly, draw a face using a marker and repeat steps 3 through 6 for your remaining clothespins.
Tips and Tricks
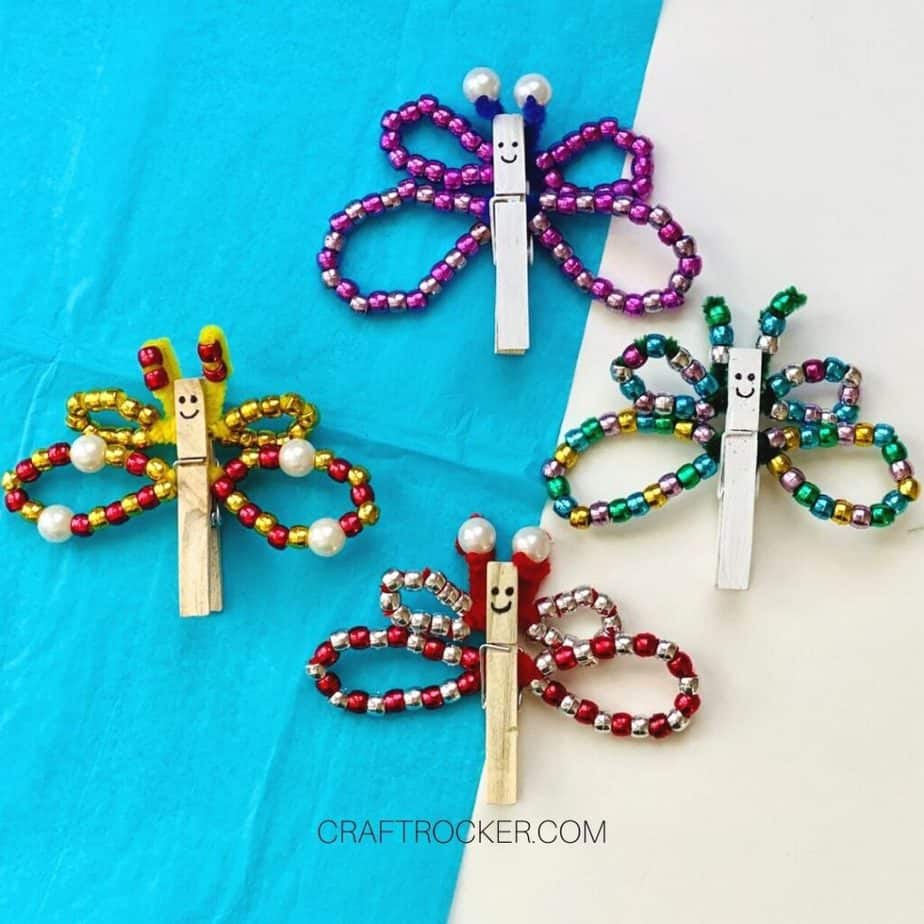
Leaving some of the clothespins natural allows kids to start making their butterflies right away while they wait for the painted ones to dry.
If you’re on a time constraint and don’t have time to allow the paint to dry, let kids color the clothespins with markers instead.
I know glitter is the bane of many people, but if you’re feeling brave let kiddos add some glue to the front of the clothespins (they can use a paint brush to spread it around). Then sprinkle some shiny glitter on it for a light-catching flutter bug.
Printable Butterfly Craft Tutorial
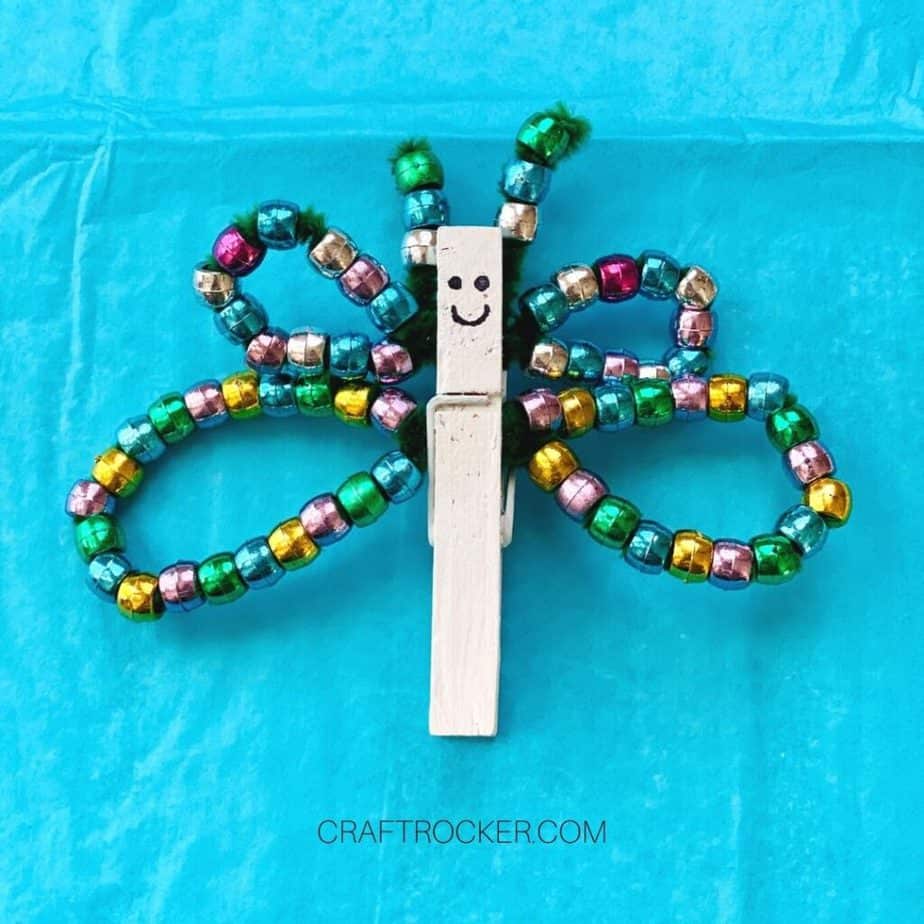
Easy Spring Butterfly Craft for Kids

This easy spring butterfly craft for kids is the perfect low-prep activity to pull out to get those creative hands working. Set out a bunch of paint colors to create a colorful menagerie of winged fun!
Materials
- Clothespins
- Pipe Cleaners
- Pony Beads
- Large Pearl Beads
- Paint Brush
- Non-Toxic White Paint (kid friendly)
- Sharpie or Black marker
- Scissors (Optional for Trimming Pipe Cleaners if Needed)
Instructions
- Start by painting 2 of the clothespins white and leaving 2 of them the natural color. Allow the painted ones to dry before moving on with them.
- Next, grab 2 pipe cleaners for each butterfly. You can color coordinate them or go with fun multicolor creations. Let kids be creative.
- Once you have your pipe cleaners, start threading the beads onto one of them. This will be the larger wing for the bottom of the butterfly.
- String 21 on each wing section. Be sure to leave some space in the middle and some on each end.
- After all the beads are strung on, take the ends and wrap them around the open space that was left in the middle. Place this inside the clip section of the butterfly (clothespin).
- Repeat the same process with the next pipe cleaner but only add 12-14 beads per each wing section. This time, leave a lot of room at the end when you wrap the ends around the middle section to secure it together.
- Next, with the remaining section of the pipe cleaners, add a pearl bead or 2 pony beads to form an antennae. String the bead on and then wrapped the pipe cleaner around to secure it.
- Then place this section inside of the clip section and make sure the antennae are sticking out at the top.
- Lastly, draw a face using a marker and repeat steps 3 through 6 for your remaining clothespins.
This butterfly craft for kids is so much fun and totally versatile, too. Set out a bunch of paint colors to create a colorful menagerie of winged fun!
Don’t Forget to Pin It!
More Kids Crafts to Love
Popsicle Sticks Photo Frame Magnets
How to Make Paper Beaded Bracelets
Paper Plate Rainbows – Glitter on a Dime
