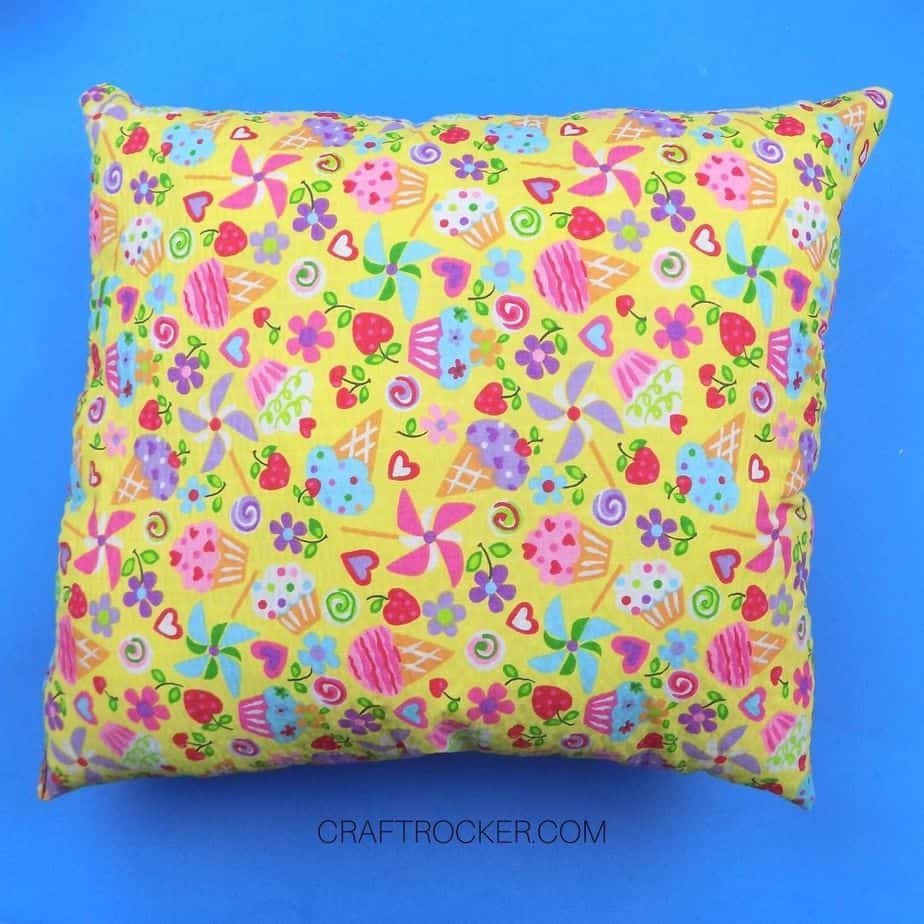
Are you ready to learn how to sew a pillow? This step-by-step tutorial is a great project for newbies to get started with.
There are no complicated seams or patterns for pillows. You can also make them as big or as small as you like.
Affiliate links may be used in this post. Ordering a product through these links may result in a commission at no extra cost to you. Read the full disclosure here.

Create a small travel pillow for the car or a large throw pillow for the floor. The overall instructions are the same for both.
If this is your first time sewing a pillow, I recommend using 2 fat quarters for your fabric. Fat quarters are pre-measured and cut for you. They are also the perfect throw pillow size for your couch or bed.
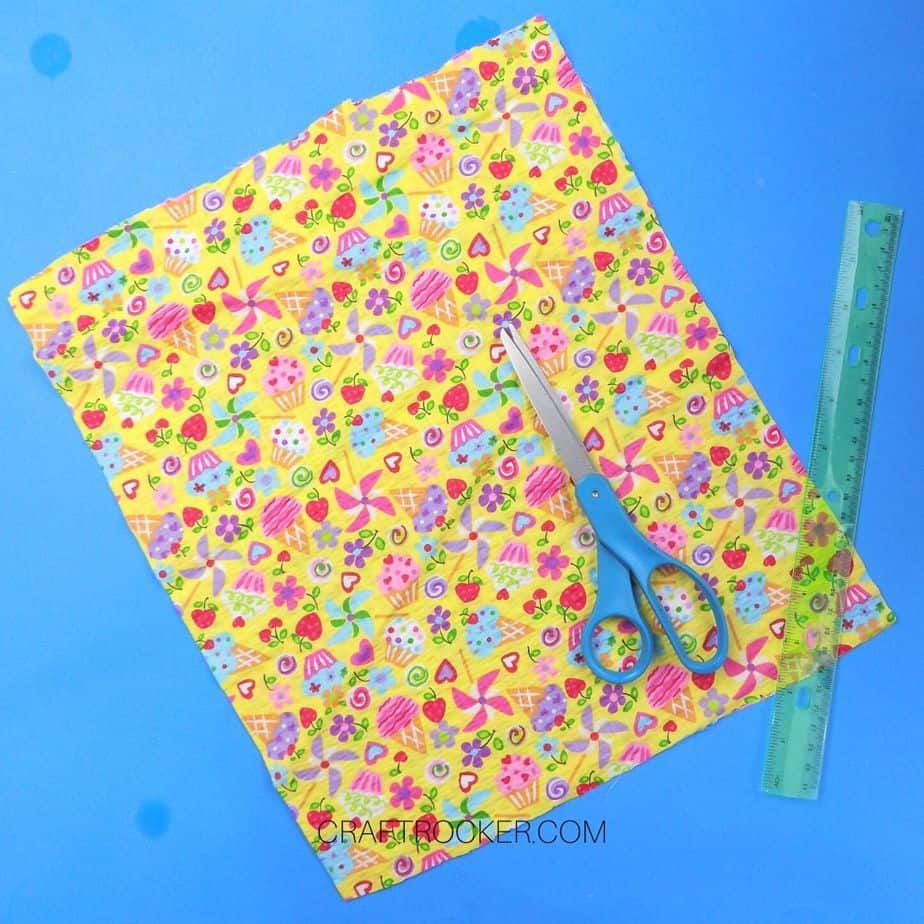
Sewn Pillow Materials
- Fabric of Choice
- Scissors
- Ruler or Measuring Tape
- Straight Pins
- Sewing Machine
- Thread that Matches Your Fabric
Note: I am purposefully using thread that contrasts with my fabric for this tutorial. It makes the seams easier for you to see in the photos.

Step 1
First, make sure that your sewing machine is threaded with your chosen matching thread.
Step 2
Next, measure and cut your fabric into 2 equal sized pieces. I used 10 inches by 12 inches for my fabric in this tutorial.
Note:
- If you are using fat quarters, skip this step. Your fabric is ready to go as is.
Step 3
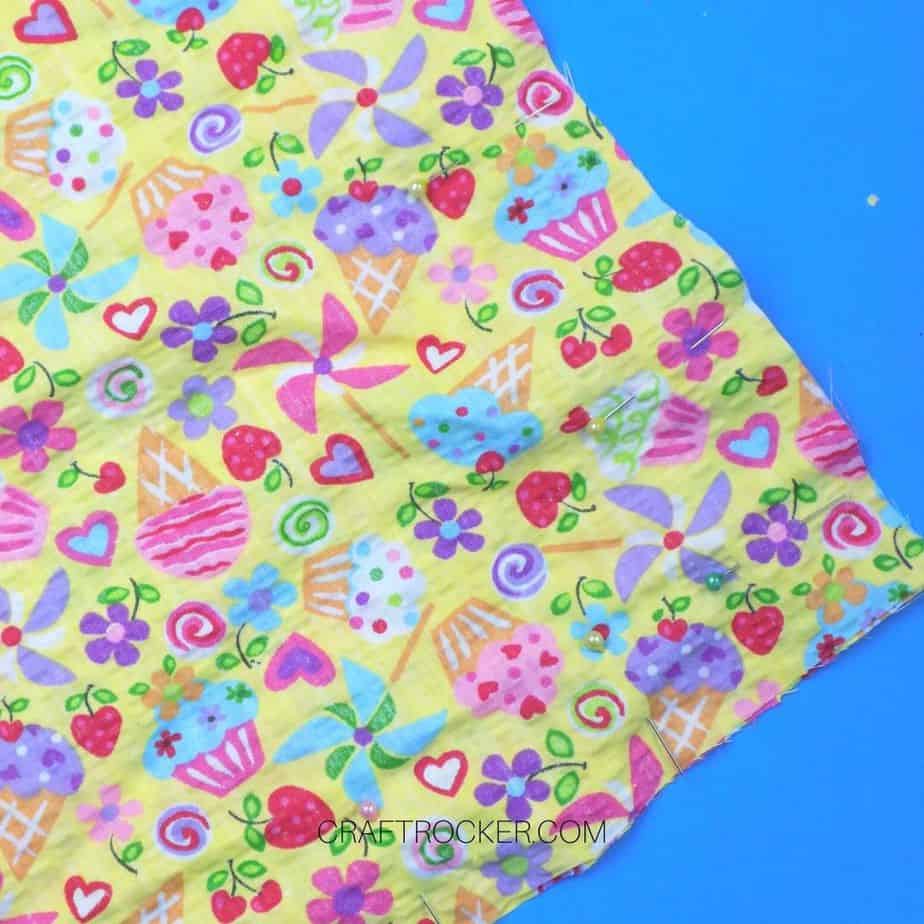
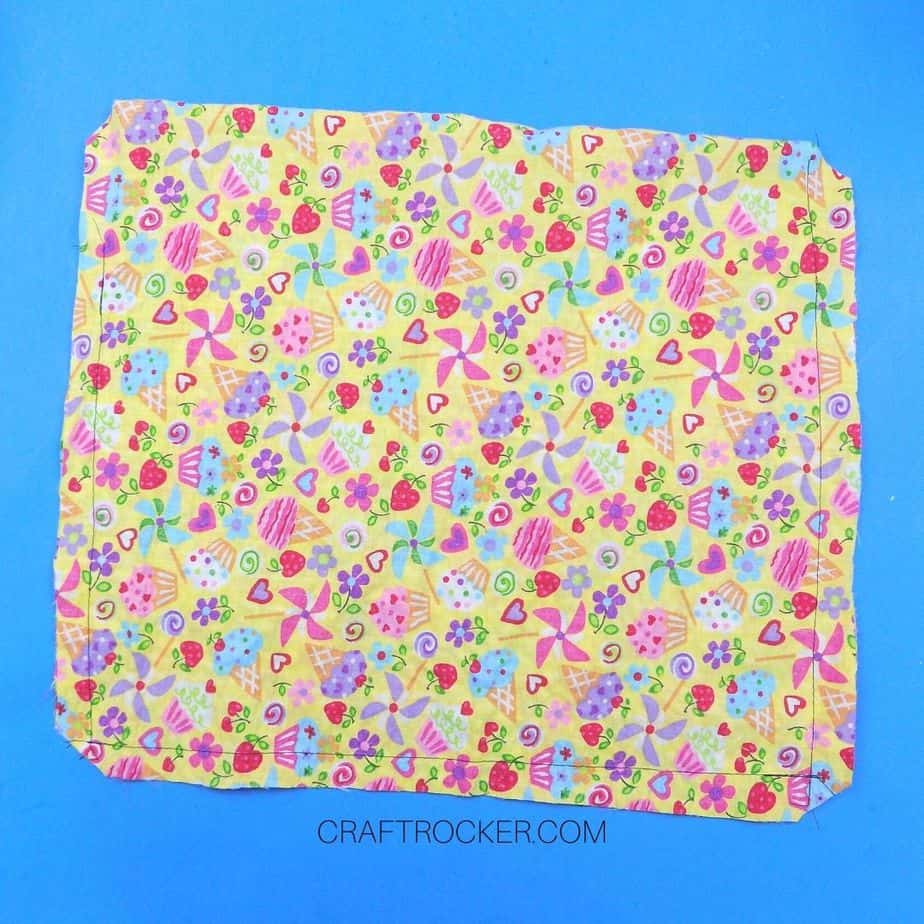
Next, take your 2 pieces of fabric and face them right sides together. That means that the vibrant/patterned sides are facing each other.
Step 4
Ensure that the edges of your fabric pieces are lined up with each other and then pin your pieces together with straight pins.
Tips:
- Pin your fabric so that the points of the pins are facing the outer edge. This makes them easier to remove while you are sewing them with your machine.
- Add 2 straight pins right next to each other 3 inches from the bottom right corner of your fabric. This will be your marker to stop stitching later.
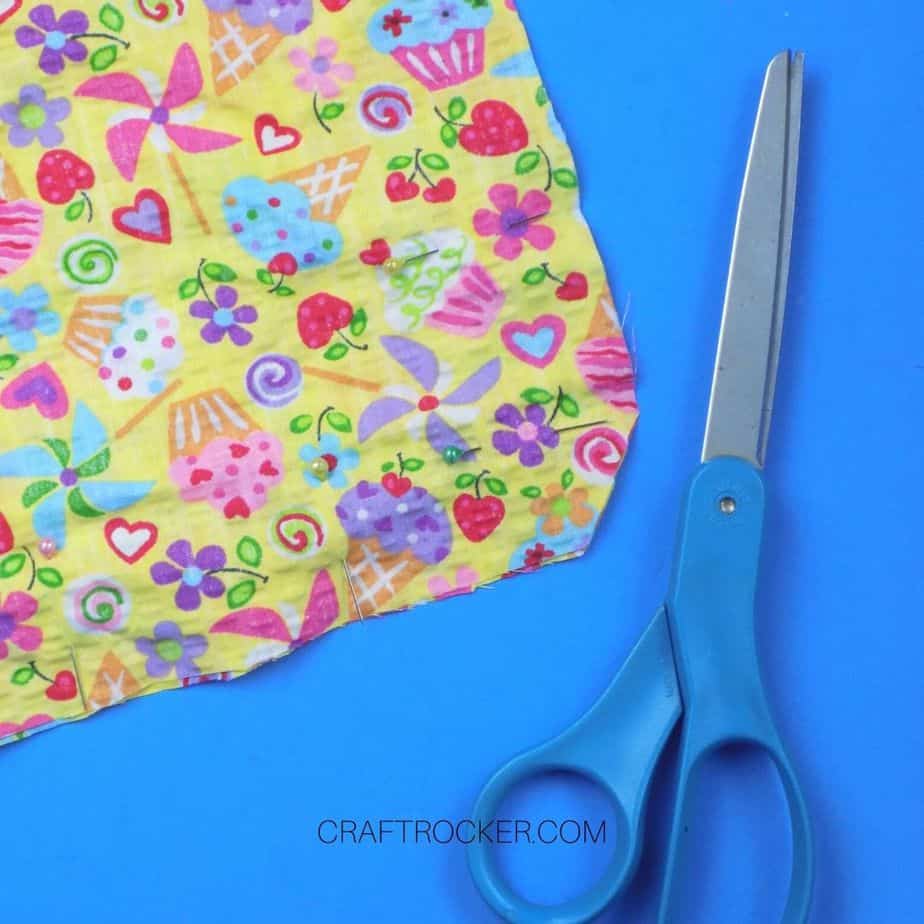

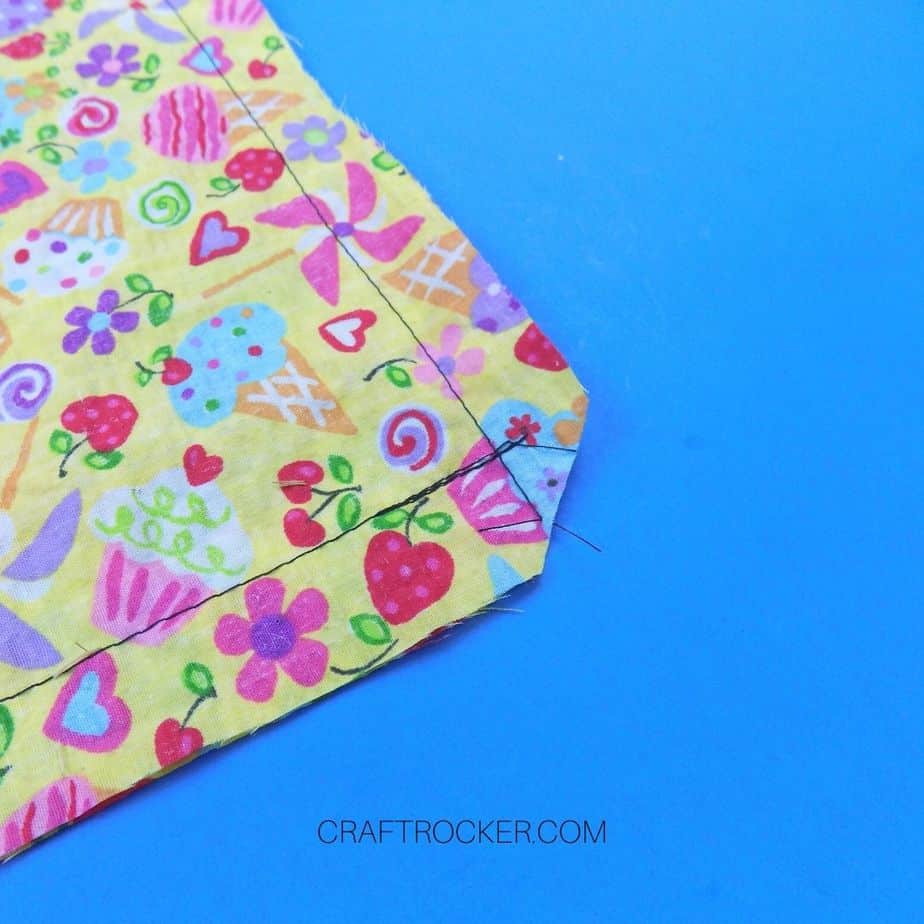
Step 5
Then cut the corners off of your pinned fabric. This gives you crisper corners when you turn the pillow right-side out.
Note:
- Cut off less than I did in the photos. I purposefully made it overt for the tutorial but you only need to cut a small amount.
Step 6
Now it is time to sew your edges. Start at the corner closest to your double pins and stitch away from the pins. Stitch 1 inch and then press the button/lever on your sewing machine and backstitch (go back over) your original stitch.
This makes the stitch stronger and less likely to come out when you turn your pillow right-side out later.
Step 7
Release your button/lever and continue stitching around the edges of your pillow. Make sure that you maintain a 1/4 inch seam allowance around the edges.
Tip:
- Use the plate on your sewing machine to help you do this. It has measurements that you can line the edge of your fabric up with while stitching.
Step 8
Continue stitching around your edges until you reach the double pin marker. Again, backstitch here to strengthen your stitches.
Step 9
Remove your sewn fabric from your sewing machine and cut it from the thread. Then trim the excess thread from where you started stitching.
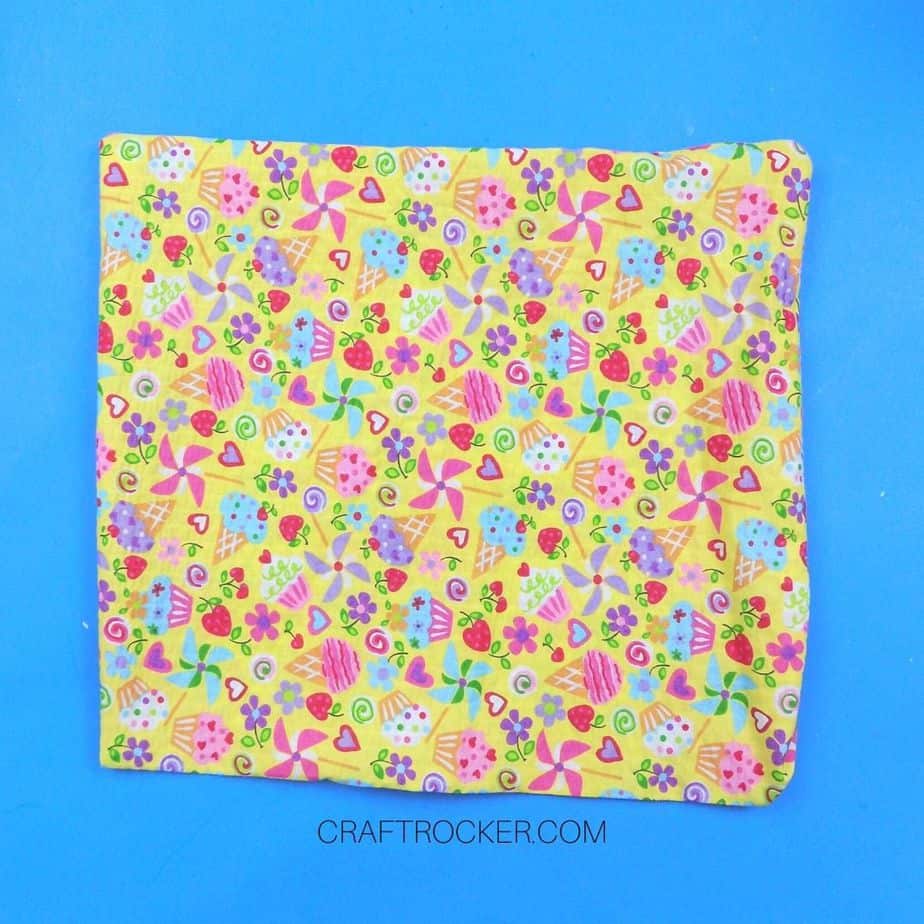
Step 10
Now carefully turn your fabric right-side out through the hole you left at the corner.

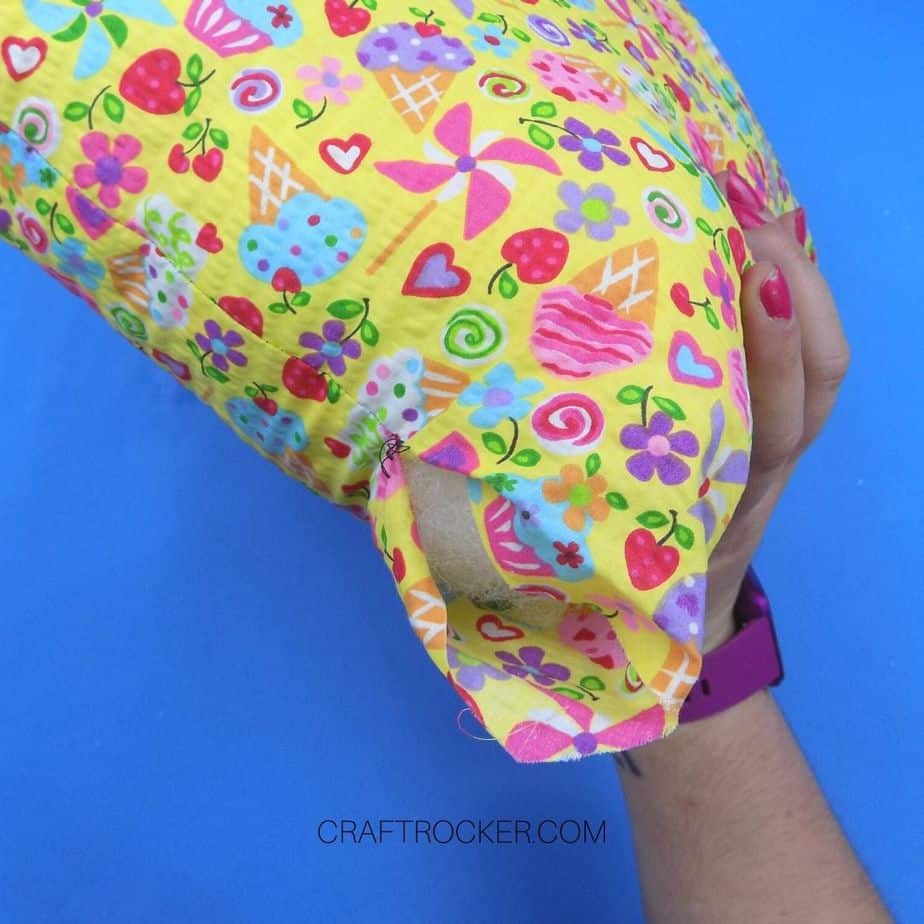
Step 11
Then fill your pillow with Poly-fil. Make sure that you push it into the corners of your pillow when filling. You want the stuffing throughout the entire thing.
Step 12
Once your pillow is stuffed, fold the fabric at the hole inside to match your sewn seam and pin it together with a straight pin.
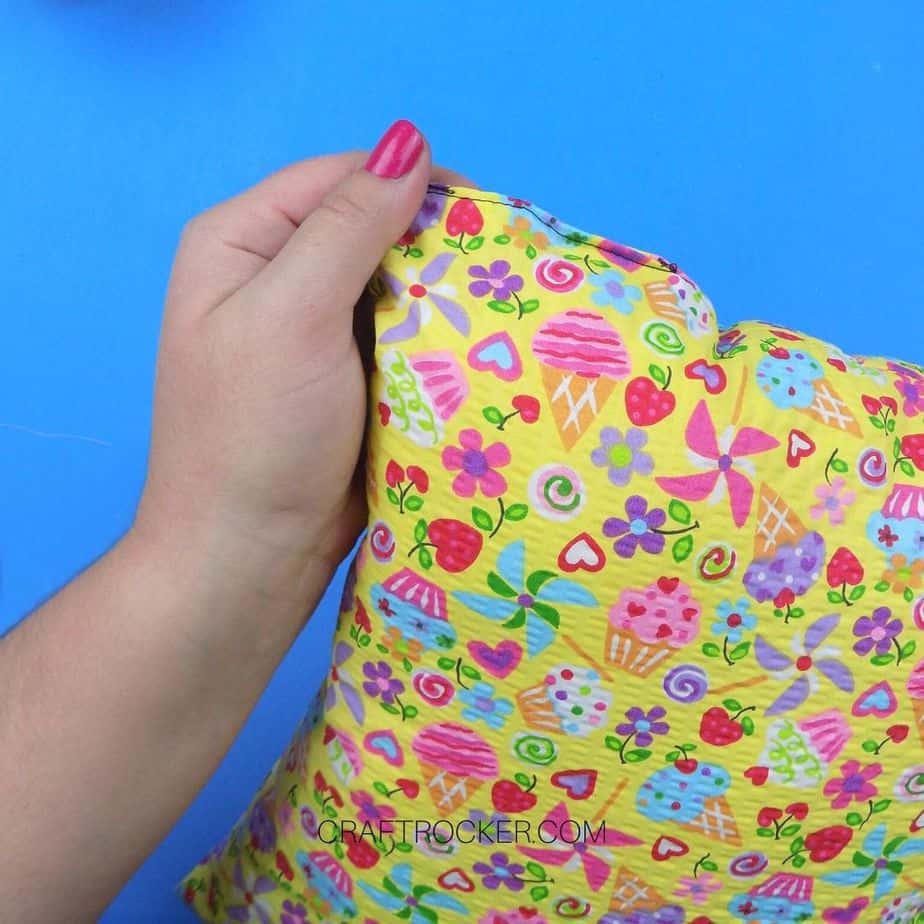
Step 13
Lastly, sew up the hole. You can do this with your sewing machine (which I did to show you what it would look like in the photo). However, for a cleaner edge, I recommend hand-sewing it.
Note:
- Again, please note that I used contrasting thread for the tutorial to make the stitches easy to see. A matching thread would not be as noticeable on your pillow.
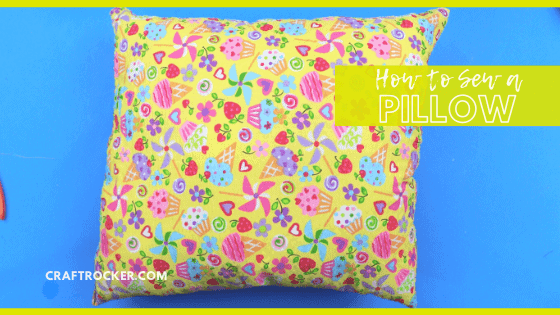
Learning how to sew a pillow is an easy beginner sewing project. Keep in mind that this entire project can also be hand-sewn if you do not own a sewing machine. It will, however, take more time to complete than it does with a sewing machine.
Either way, you’ll still have a fun new throw pillow for your home!
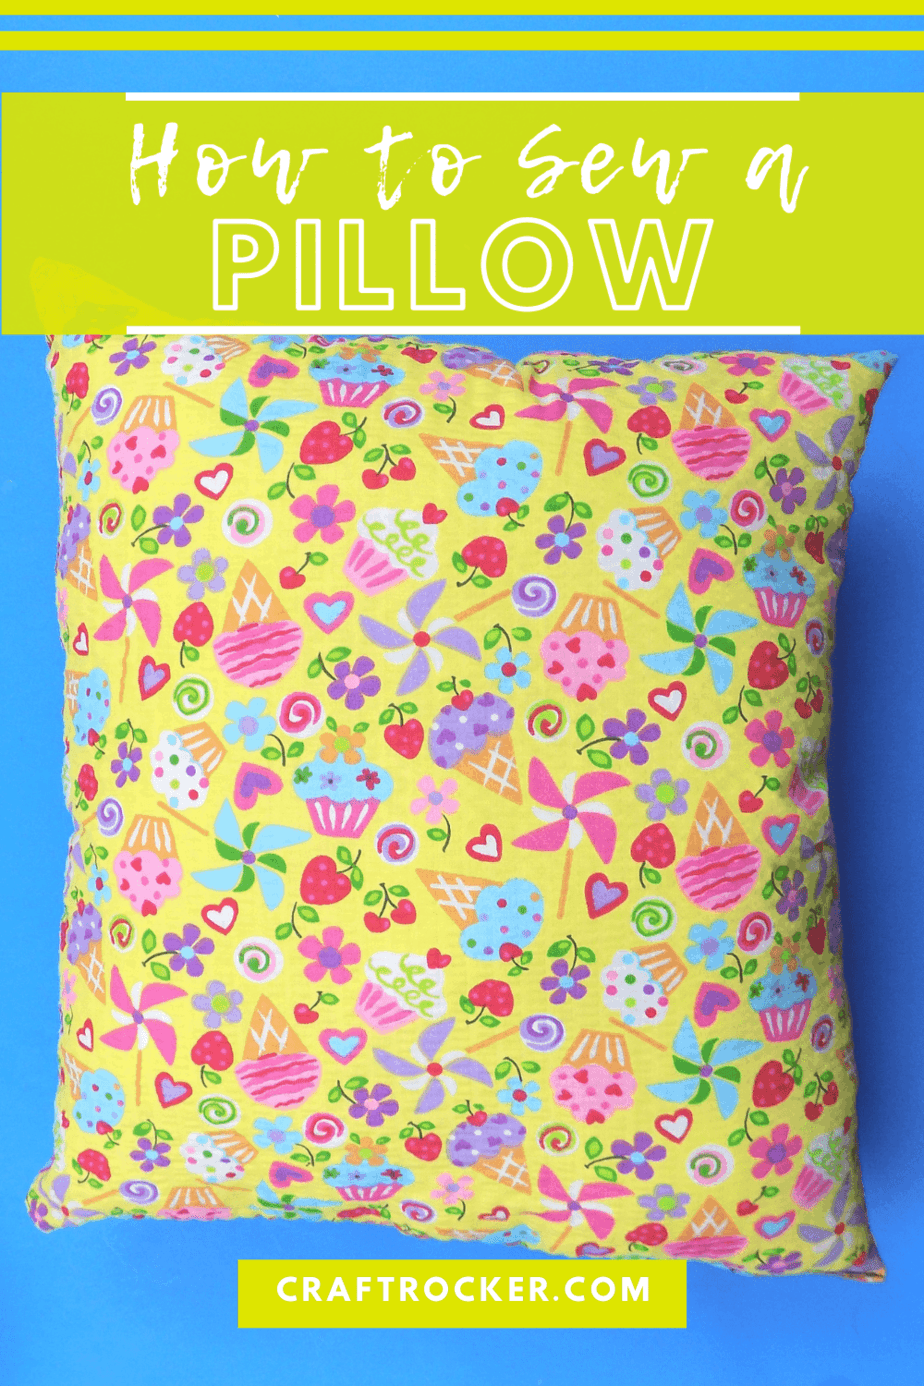
Don’t Forget to Pin It!
More Awesomeness to Love:
How to Thread a Needle – 3 Different Ways
