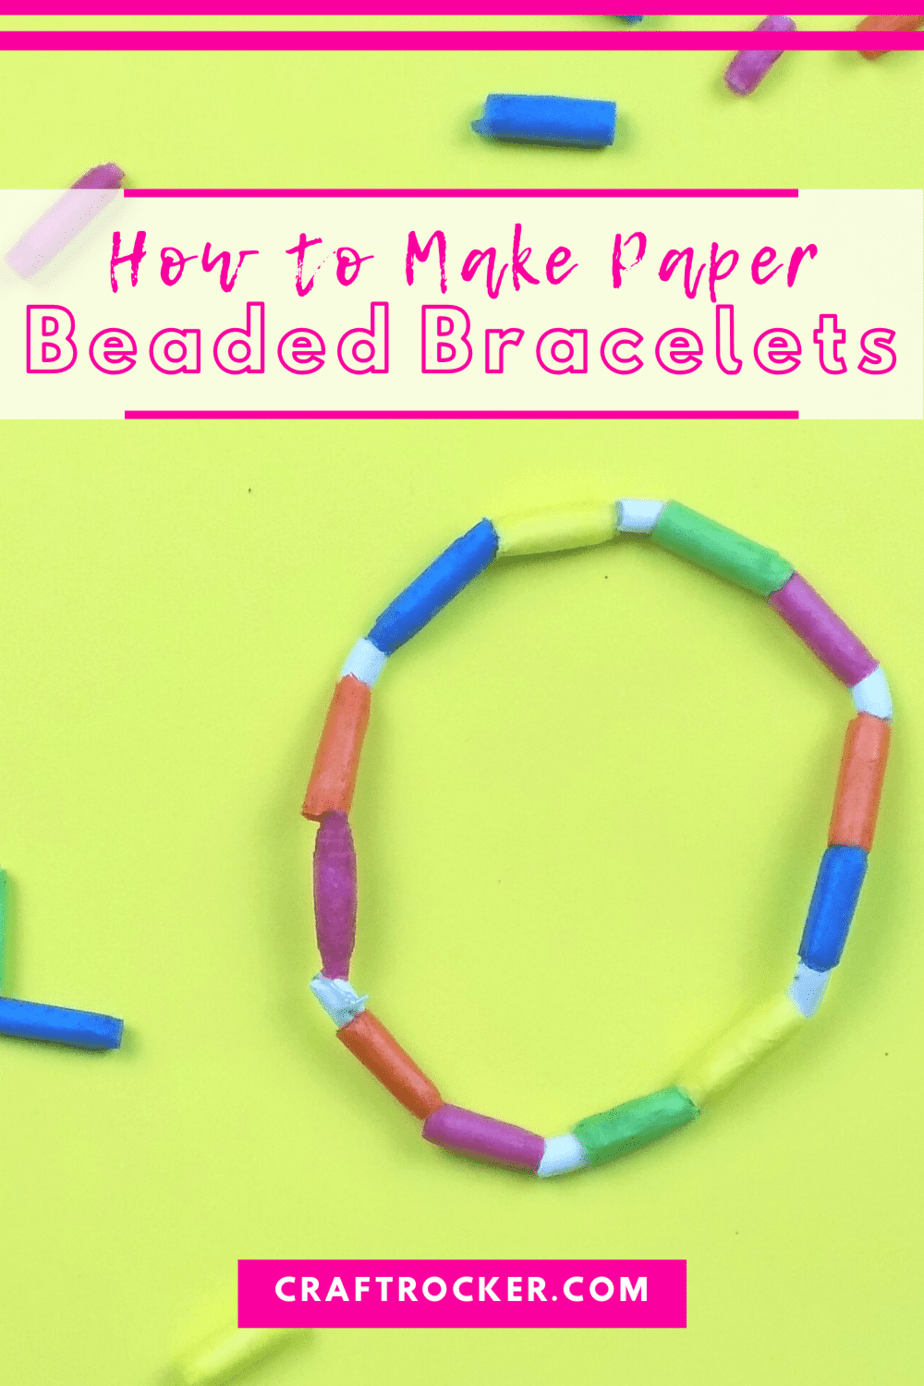
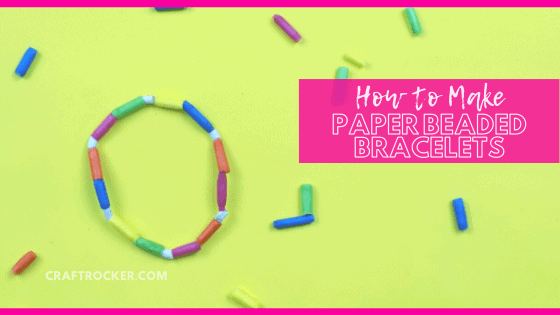
Learning how to make paper beaded bracelets is easier than you think. Even if you don’t have any jewelry making experience, you can make this project.
It doesn’t require any special tools or fancy gadgets making it perfect for beginners. In fact, 3 materials and this step-by-step tutorial are all you need!
Affiliate links may be used in this post. Ordering a product through these links may result in a commission at no extra cost to you. Read the full disclosure here.
I love bright and colorful accessories. So much so that I still love shopping at Claire’s or even the kids section at Target. #noshame
That’s why given the opportunity to create my own, I will always rise to the creative occasion. Luckily, this easy bracelet comes together quickly and the end result is colorful perfection.
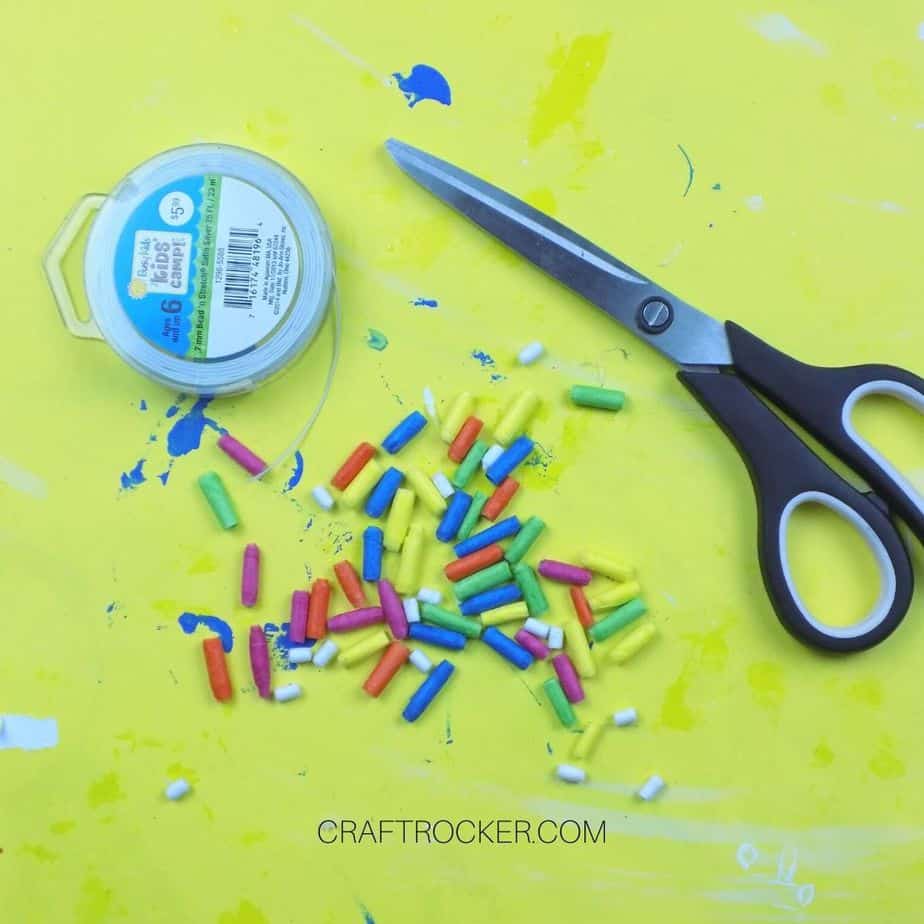
Paper Beaded Bracelets Materials
- Paper Beads
- Stretch Plastic Cording
- Scissors
Step 1
First, if you haven’t made your paper beads yet, then go check out my post Easy Paper Beads. Come back to this post once you finish making them.
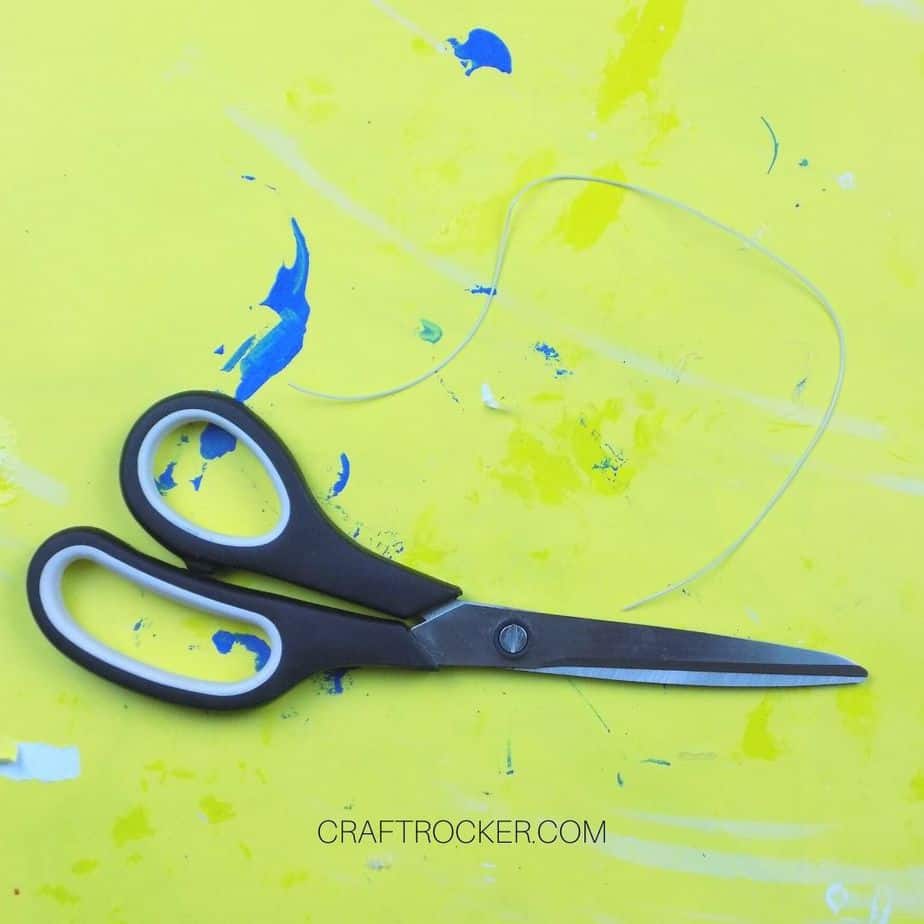
Step 2
Next, measure around your wrist with the stretch plastic cording. Then cut a length of cording that is 1-2 inches longer than your wrist measurement.
Step 3
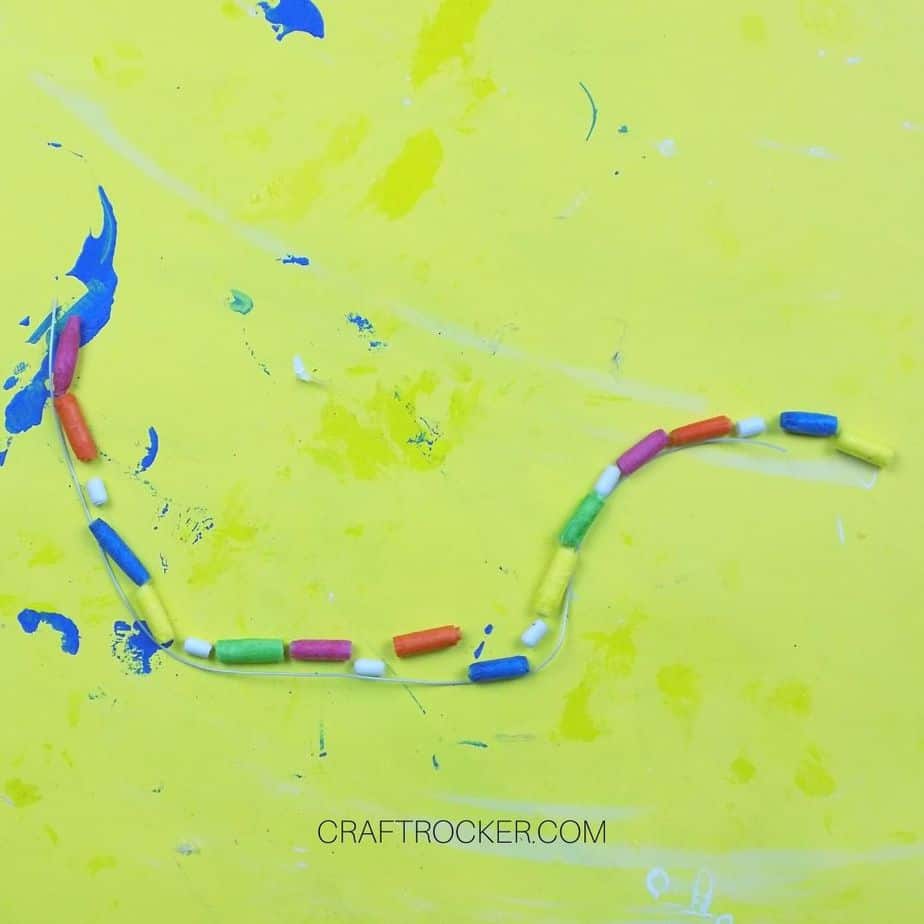
Then lay out your cut length of stretch plastic cording and use it as a guide to layout your bead design. Remember that you need to leave some empty cording on the ends. You will use them to securely tie your bracelet together.
Step 4
Now, lay out your beads in your desired design along the length of cording. If you are new to making jewelry, choose a simple pattern such as purple-pink-purple-pink …


Step 5
Once your bead pattern is laid out, start stringing the beads onto your length of stretch plastic cording in the order that you have designed.
Step 6
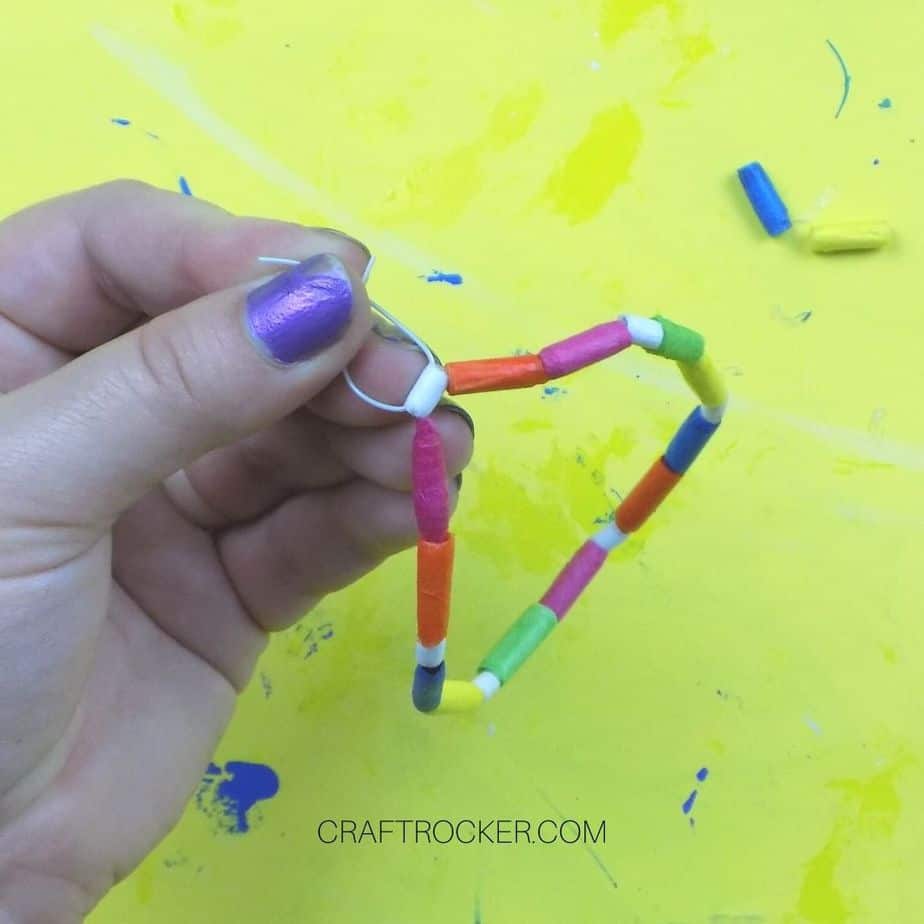
After all of your beads are strung, thread the right end of the cording through the last bead on the left end of the cording. Do this in the opposite direction to create a closed circle.
Step 7
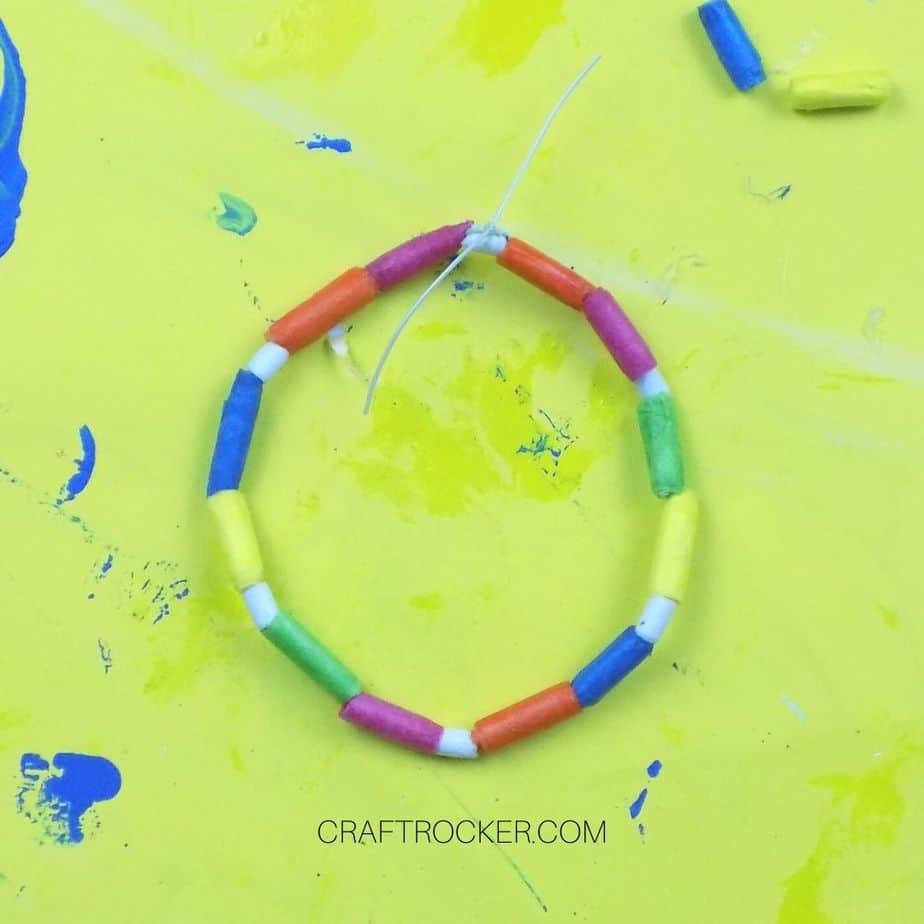
Next, securely knot the 2 loose ends of your cording. Be sure to at least double knot it and pull it very tight. You don’t want it to come apart while you’re wearing it.
Step 8
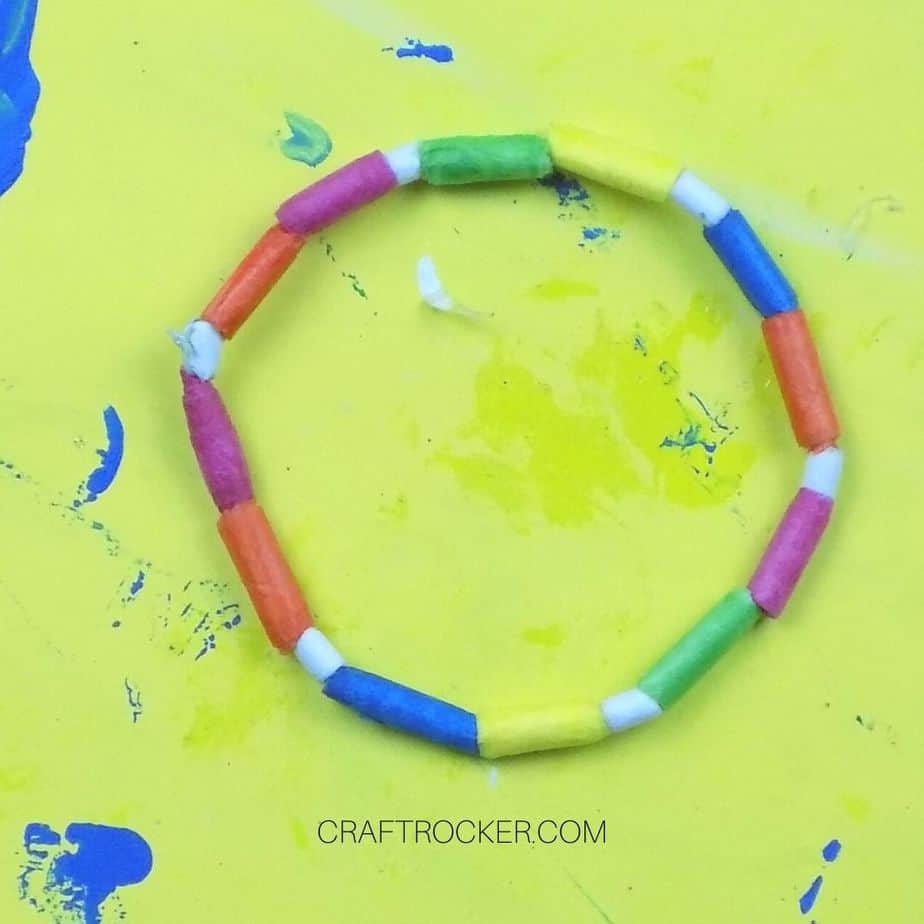
Lastly, trim any excess cording from your knot.
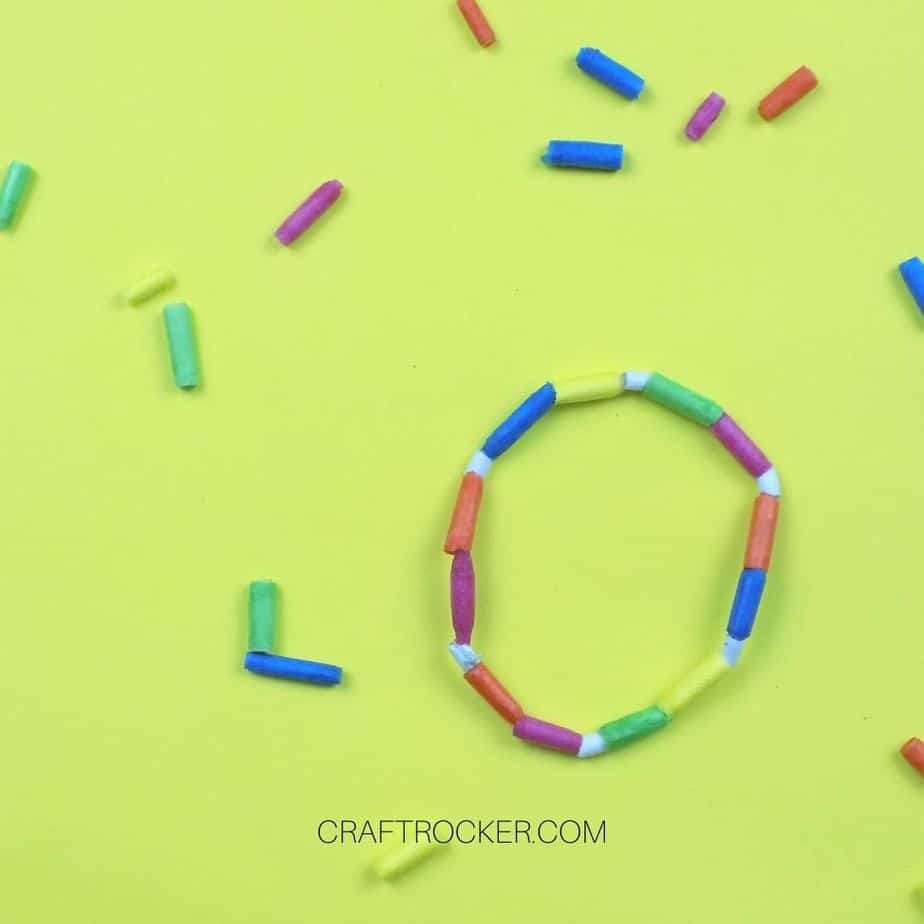
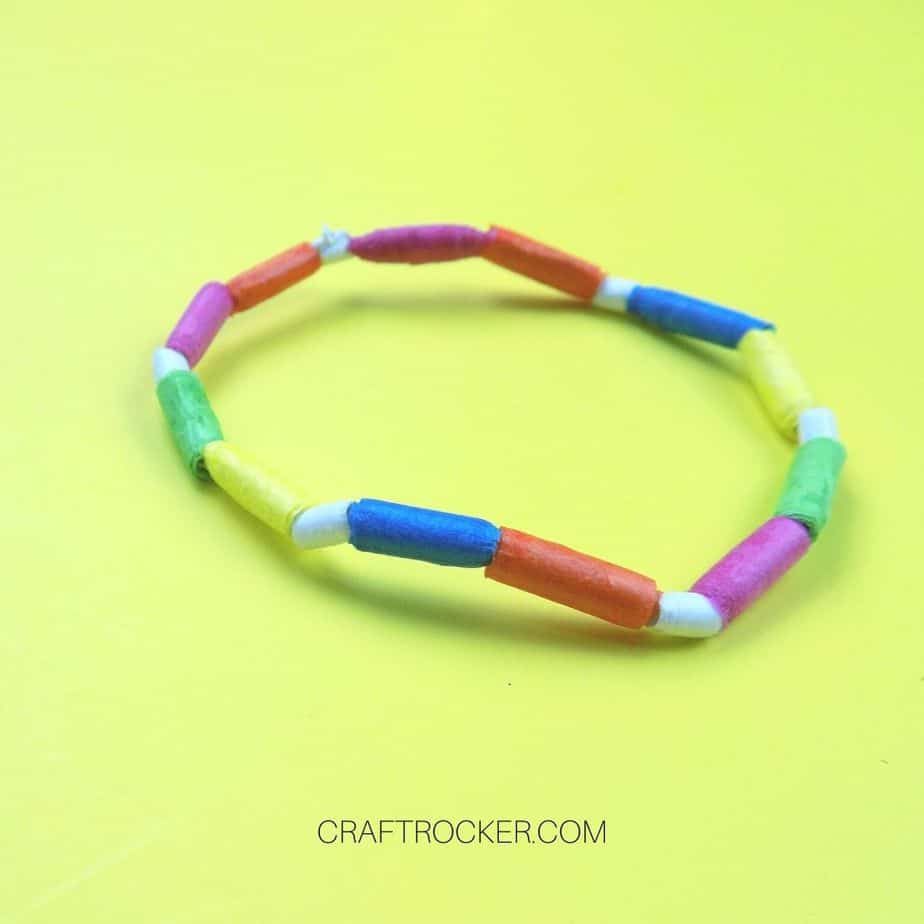
That’s how easy it is to make paper beaded bracelets.
Once you’re more comfortable making them, start experimenting with different patterns and designs. Soon you’ll have a collection of totally unique and totally you accessories.
These bracelets are also the perfect accessory for kiddos. They’re lightweight and inexpensive so if one gets ruined, as kids are known to do, you can rest easy.
Don’t Forget to Pin It!