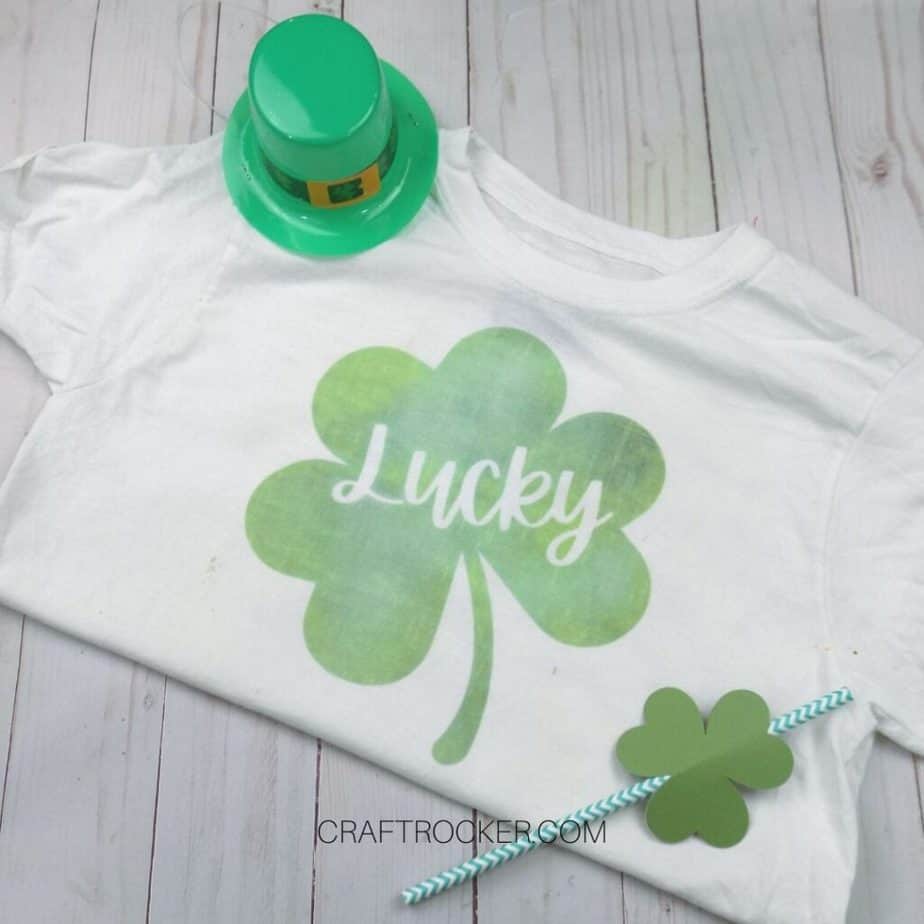
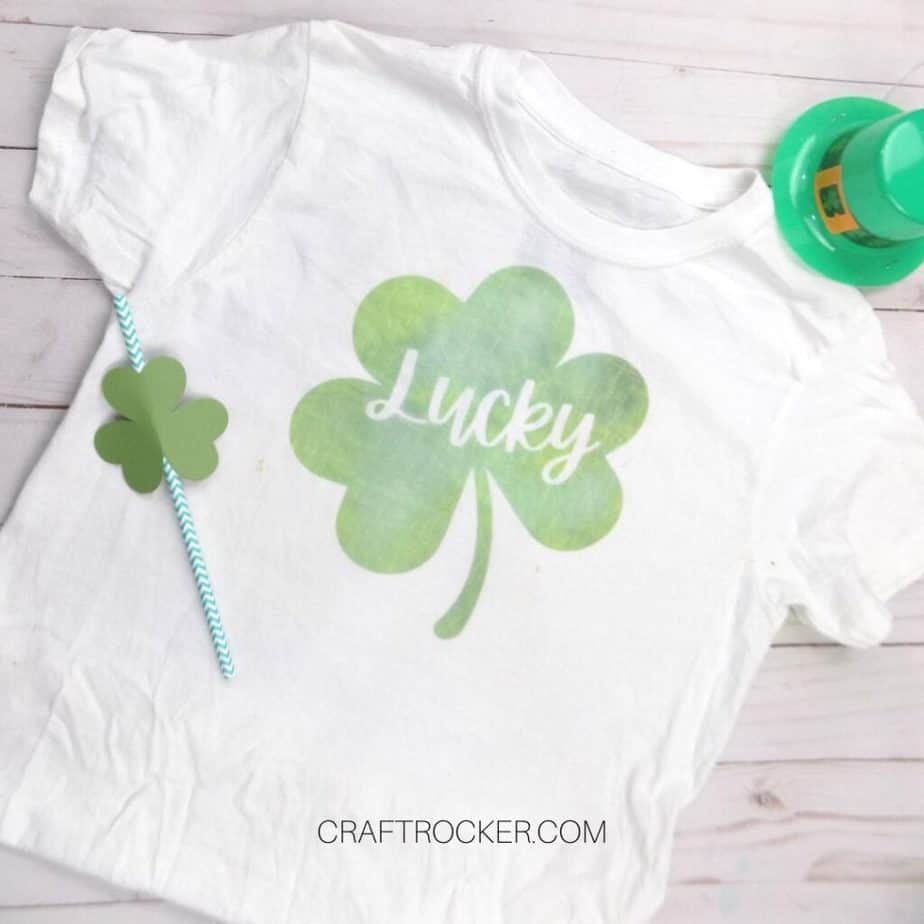
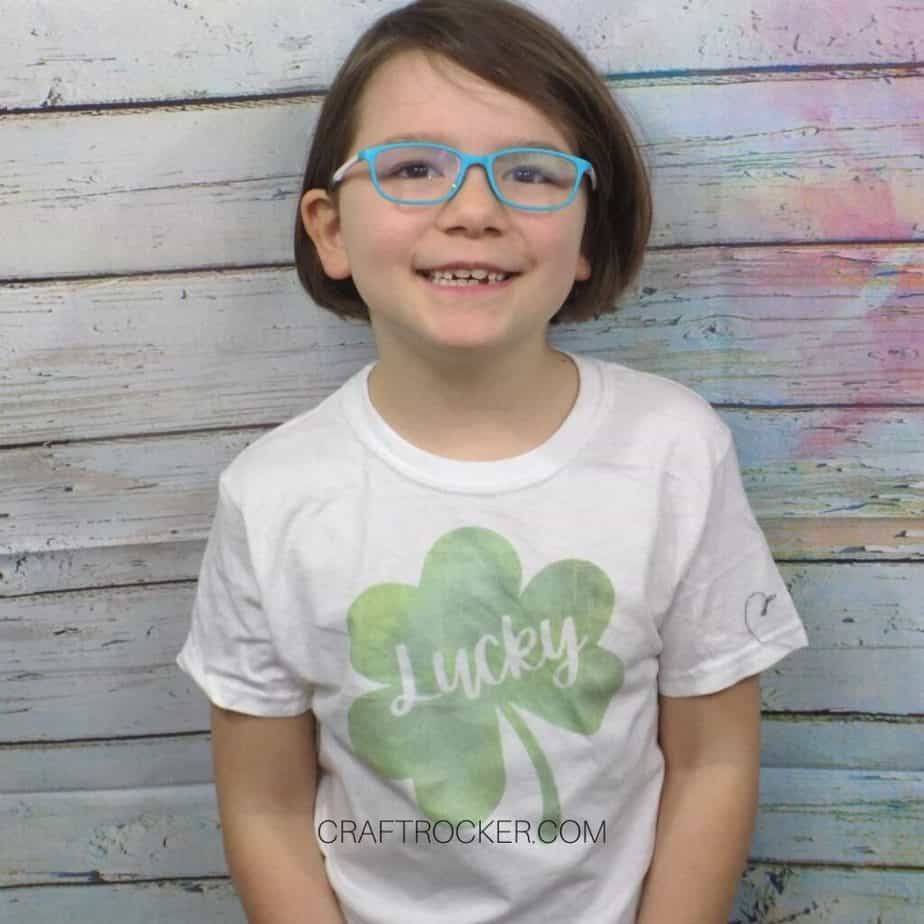
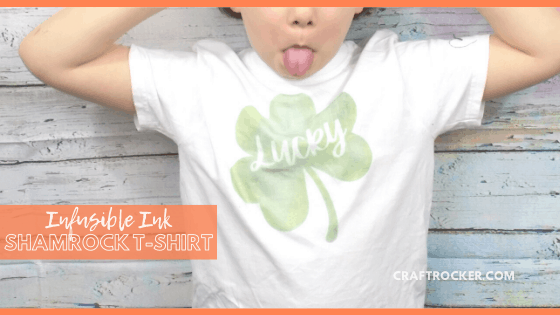
This shamrock t-shirt made with Infusible Ink is the perfect way to get your (or your kids’) look Saint Patrick’s Day ready! It’s easy to make and so pretty. Grab your free SVG to make it now!
Affiliate links may be used in this post. Ordering a product through these links may result in a commission at no extra cost to you. Read the full disclosure here.
Jump to What You Want
Admittedly, I own a ton of awesome shirts for St. Patrick’s Day at least 4 of which are Hello Kitty (I have a problem).
My kiddos, on the other hand, do not. In fact last year on the holiday is when I realized that their wardrobes also do not include a lot (read: any) significant green hues.
That’s why I decided to make this shirt for my daughter. I plan to make some for the boys too, but I didn’t want fighting over shirts of the same design so I plan to create 2 more different SVG’s for their shirts.
This one, however, is totally adorable and so easy to make that I couldn’t wait to share it with her.
Shamrock T-Shirt Materials
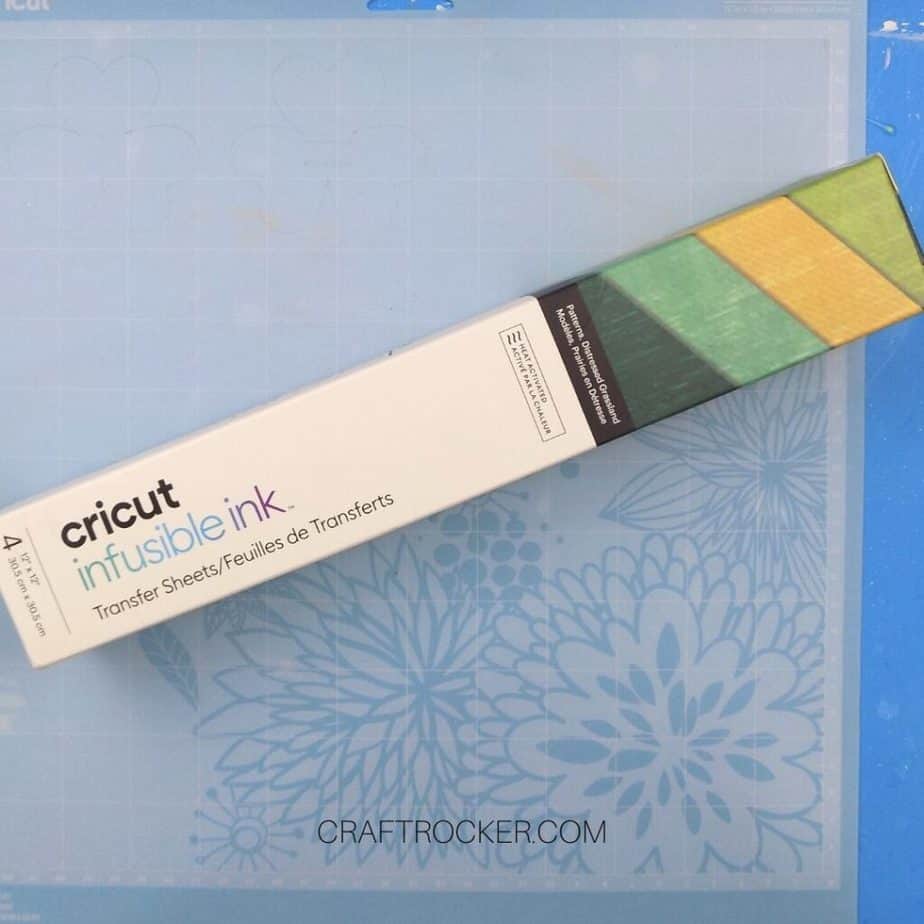
Infusible Ink in Distressed Grassland (I used the green sheet)
Scissors
White T-Shirt
Sheet of White Cardstock (small enough to fit inside your shirt)
Step 1
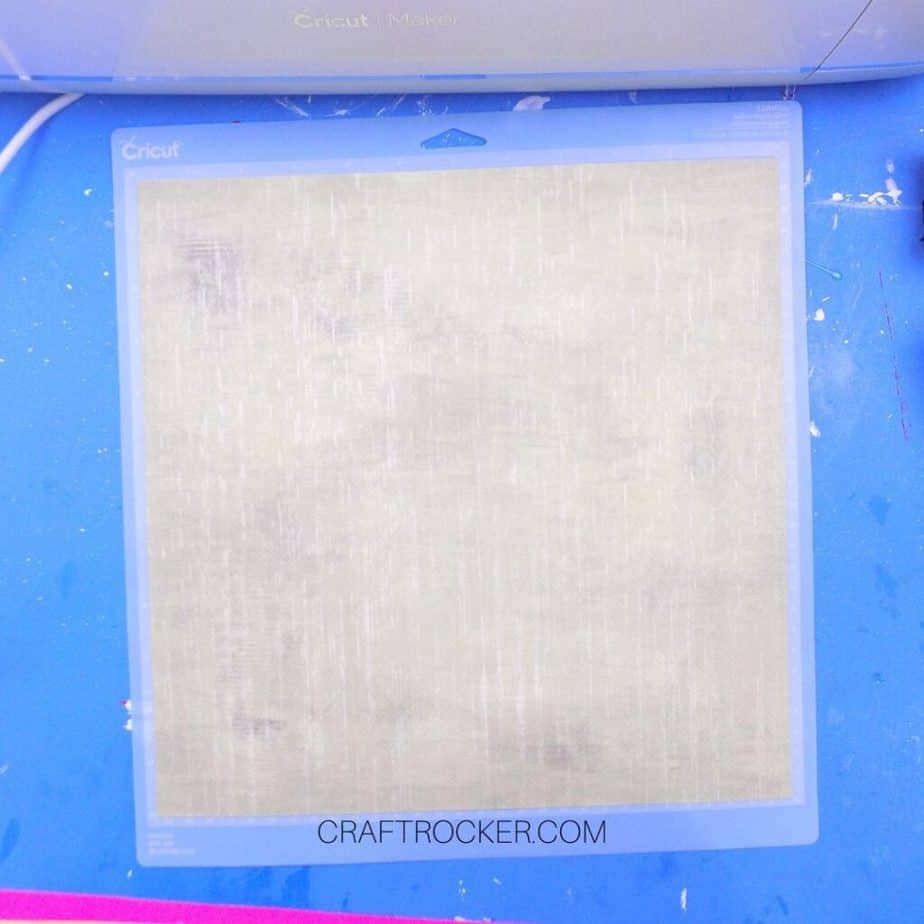
First, attach your green Infusible Ink sheet to your blue cutting mat with the film side down.
Don’t worry that the color looks light. It darkens after heating your design on your shirt.
Step 2
Next, load your mat into your Cricut machine and open up Cricut Design Space and click on New Project.
Step 3
Download the lucky shamrock SVG file in the materials list by clicking on the link.
When the file opens in a new browser window, click on the download button in the top right of the screen.
Step 4
After your SVG file is saved to your computer, upload it into Design Space and insert it onto your canvas.
Step 5
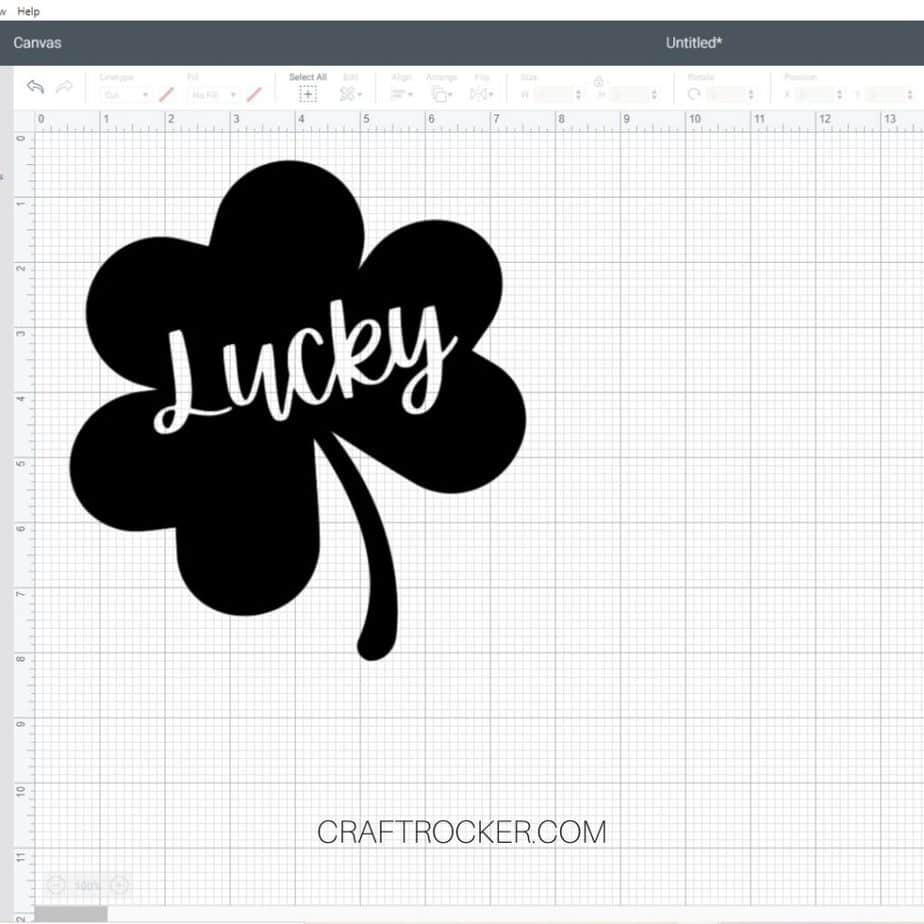
Next, resize the cut image to fit on your t-shirt. This will vary depending on the size t-shirt you are making.
I made mine 7 inches wide by 7.674 inches high.
Step 6
Once your design is sized correctly, click Make It. Be sure to mirror your image so that it cuts correctly.
Then cut out your design.
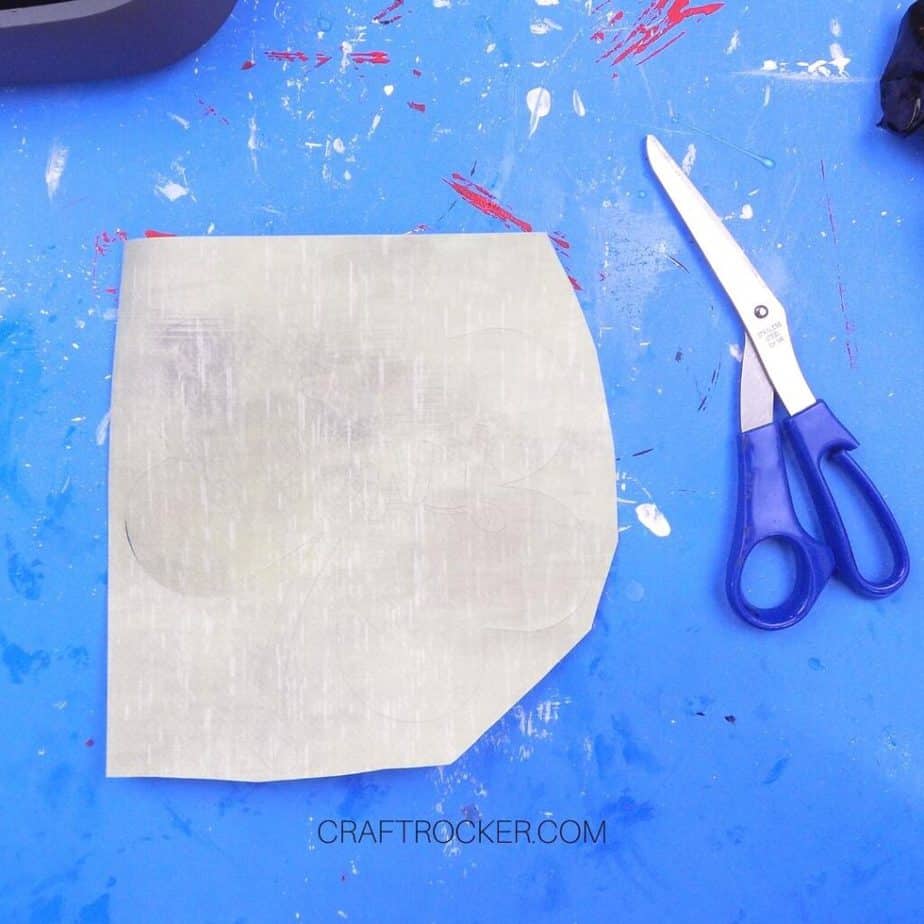
Step 7
After your design is cut, unload your mat from the machine and use scissors to cut around the cut design. You can save the rest of the sheet for another project.
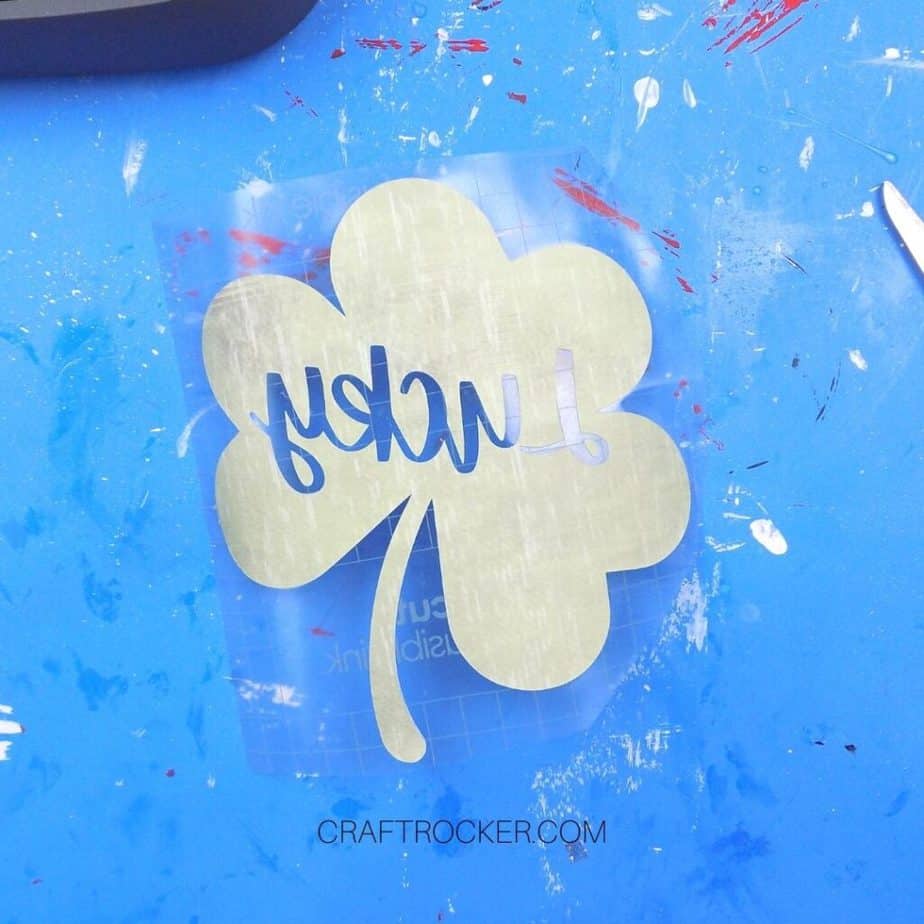
Step 8
Next, weed your design. Be sure to leave the letter elements on the backing such as the inside of the swoop on the Y.
See the picture above for reference.
Step 9
Set your design aside and prep your t-shirt by placing it on the EasyPress mat and heating it.
Step 10
Then run a lint roller over your shirt to get any tiny dust and lint particles off of it because these can mess up your design during transfer.
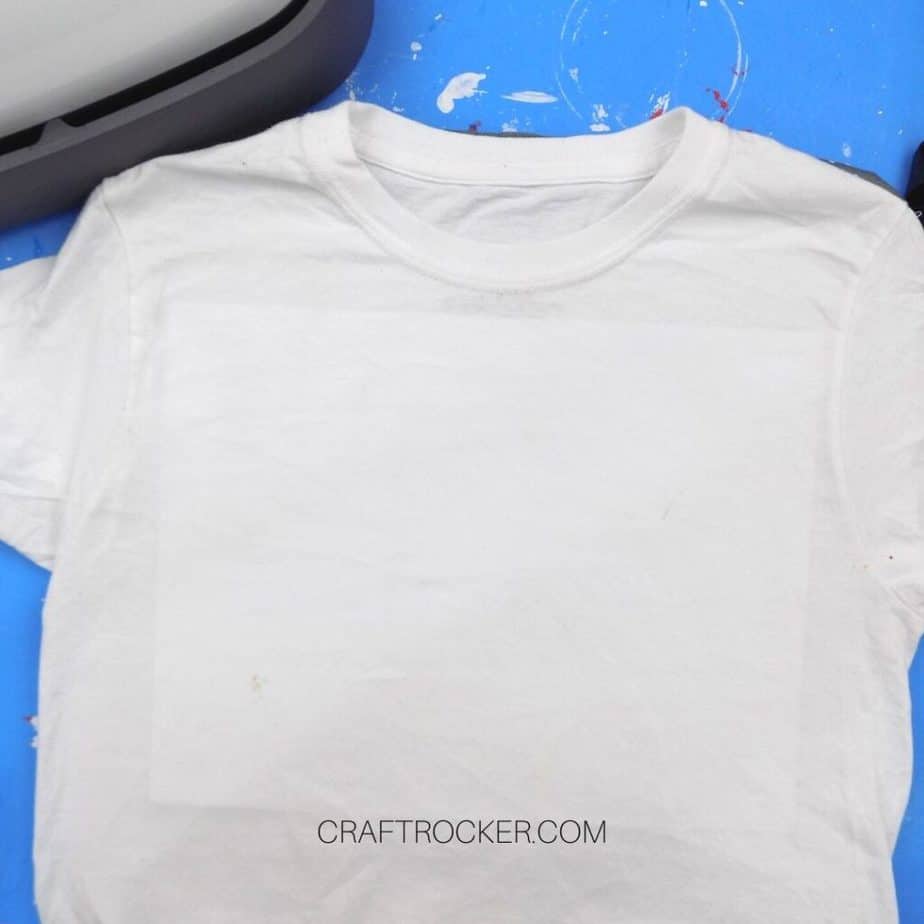

Step 11
After your shirt is ready, place your white cardstock inside of your shirt.
Make sure that it is large enough for the entire shamrock design to fit on top of it.
This prevents the ink from getting onto the back side of your shirt.
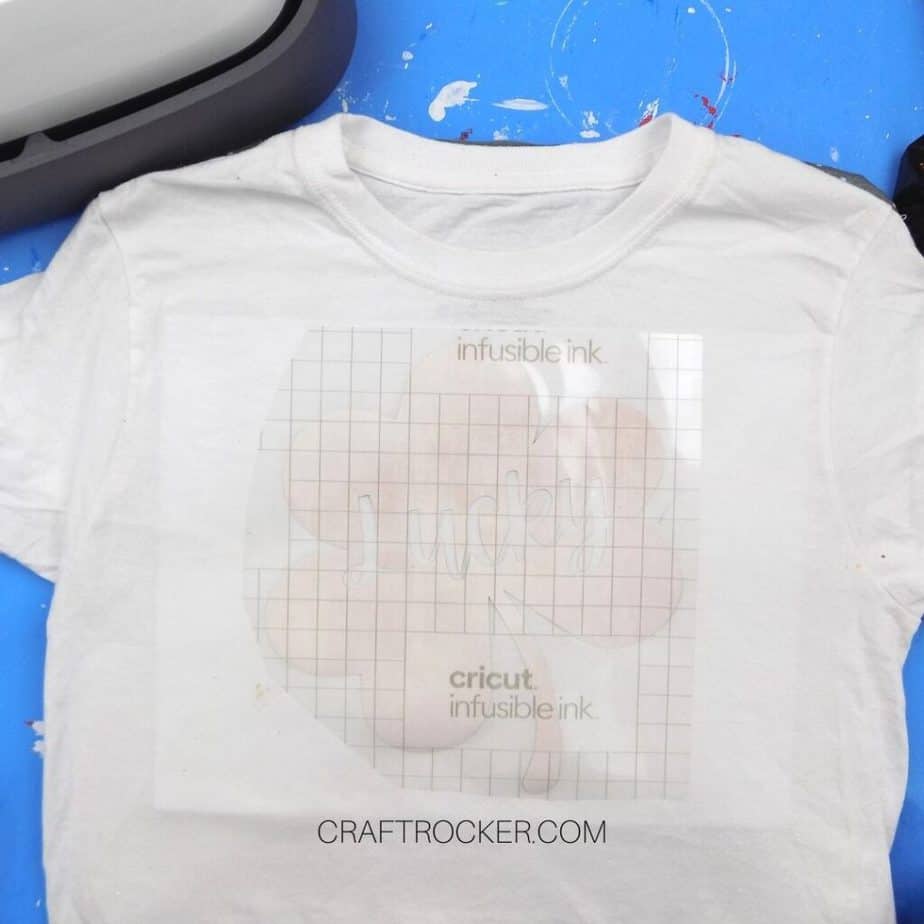
Step 12
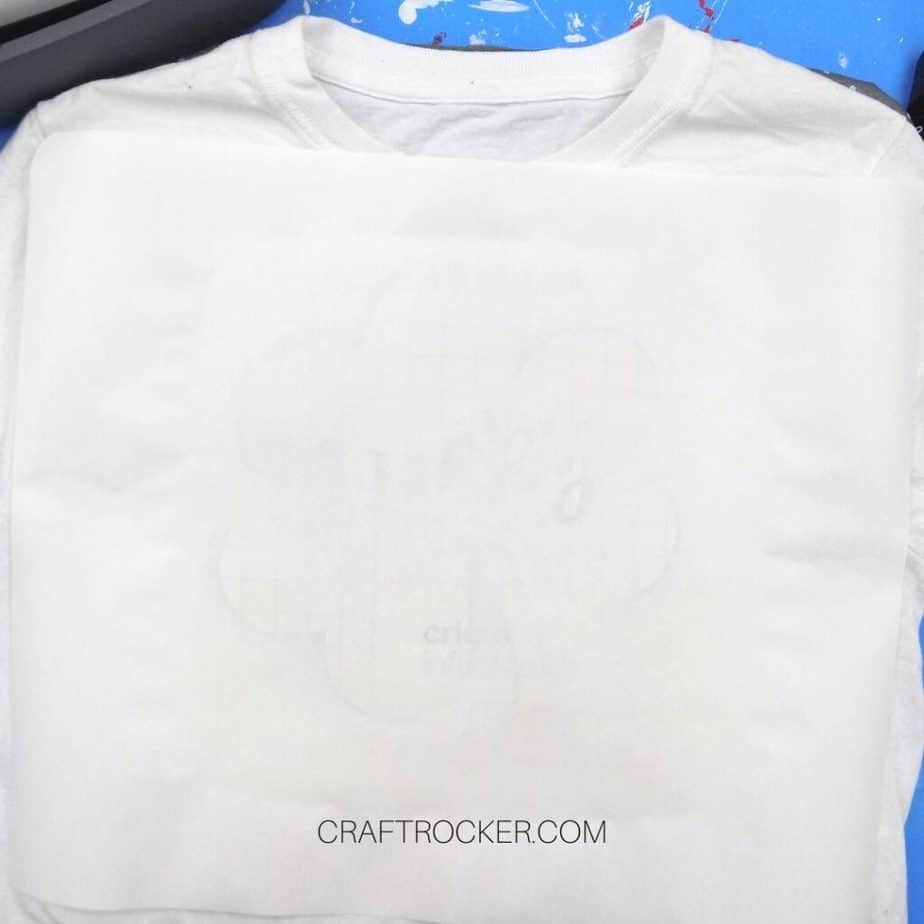
Now place your design centered onto the shirt, backing side facing up.
Then cover the design and backing with a sheet of butcher paper. These are included with your Infusible Ink.
Step 13
Next, heat up your EasyPress to 180 degrees Fahrenheit and place on your shirt for 30 seconds.
Step 14
Remove your EasyPress and allow your shirt and design to cool completely before moving on.
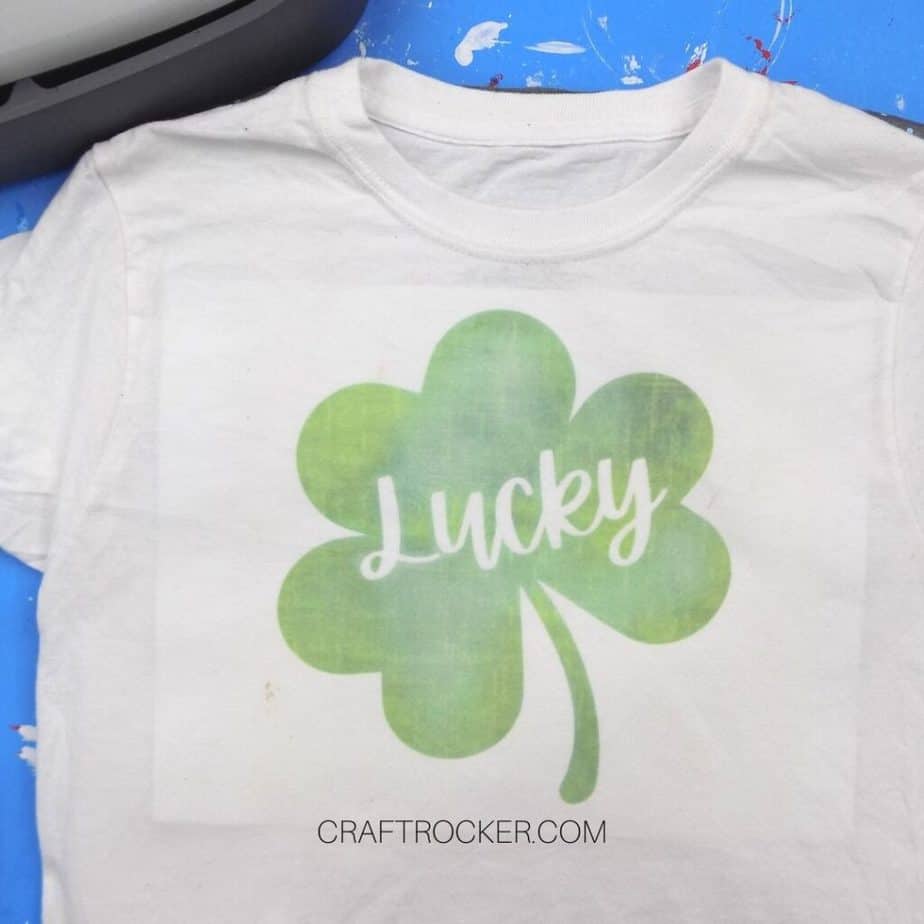
Step 15
After your design and shirt are completely cooled, pull of the butcher paper and design one layer at a time. Lastly, pull out your cardstock.
Shamrock T-Shirt Tips and Care
Be sure not to reuse your cardstock or your butcher paper on more than one infusible ink project.
Your shirt is machine washable but be sure to turn it inside out and wash on cold. Hang to dry or tumble dry on a low setting.
Do not use bleach on your shirt.
Printable Tutorial
Shamrock T-Shirt with Infusible Ink
This shamrock t-shirt made with Infusible Ink is the perfect way to get your (or your kids’) look Saint Patrick’s Day ready! It’s easy to make and so pretty.
Materials
- Lucky Shamrock SVG
- Cricut Machine
- Infusible Ink in Distressed Grassland - the Green Sheet
- Blue Cutting Mat
- Scissors
- Weeding Tool
- White T-Shirt
- Sheet of White Cardstock (small enough to fit inside your shirt)
- Cricut EasyPress
- 12x12 EasyPress Mat
Instructions
- First, attach your green Infusible Ink sheet to your blue cutting mat with the film side down.
- Don’t worry that the color looks light. It darkens after heating your design on your shirt.
- Next, load your mat into your Cricut machine and open up Cricut design space and click on New Project.
- Download the lucky shamrock SVG file in the materials list by clicking on the link.
- When the file opens in a new browser window, click on the download button in the top right of the screen.
- After your SVG file is saved to your computer, upload it into Design Space and insert it onto your canvas.
- Next, resize the cut image to fit on your t-shirt. This will vary depending on the size t-shirt you are making. I made mine 7 inches wide by 7.674 inches high.
- Once your design is sized correctly, click Make It. Be sure to mirror your image so that it cuts correctly.
- Then cut out your design.
- After your design is cut, unload your mat from the machine and use scissors to cut around the cut design. You can save the rest of the sheet for another project.
- Next, weed your design. Be sure to leave the letter elements on the backing such as the inside of the swoop on the Y.
- Set your design aside and prep your t-shirt by placing it on the EasyPress mat and heating it.
- Then run a lint roller over your shirt to get any tiny dust and lint particles off of it because these can mess up your design during transfer.
- After your shirt is ready, place your white cardstock inside of your shirt.
- Make sure that it is large enough for the entire shamrock design to fit on top of it.
- This prevents the ink from getting onto the back side of your shirt.
- Now place your design centered onto the shirt, backing side facing up.
- Then cover the design and backing with a sheet of butcher paper. These are included with your Infusible Ink.
- Next, heat up your EasyPress to 180 degrees Fahrenheit and place on your shirt for 30 seconds.
- Remove your EasyPress and allow your shirt and design to cool completely before moving on.
- After your design and shirt are completely cooled, pull of the butcher paper and design one layer at a time. Lastly, pull out your cardstock.
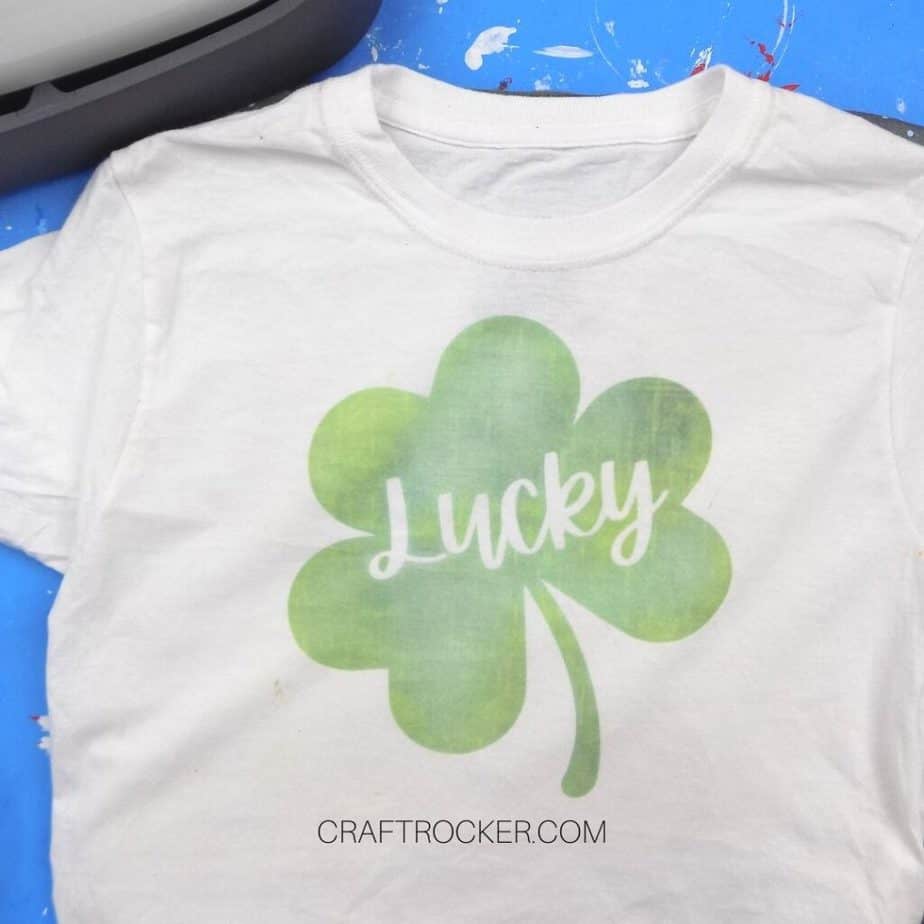
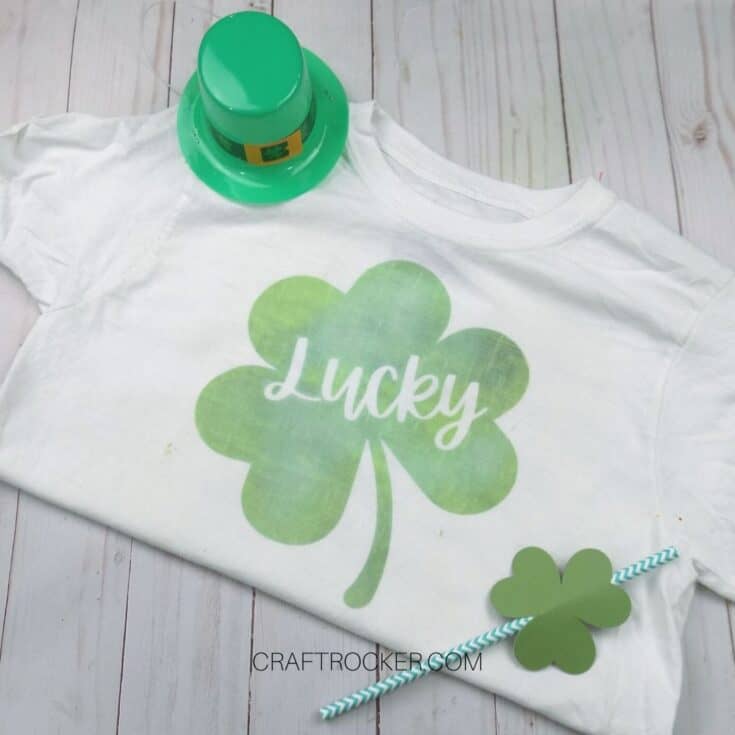
I absolutely love how this shamrock t-shirt turned out! If you’ve been putting off creating projects with Infusible Ink, it’s time to try.
It is so easy and fun to work with. You’ll love the end product!
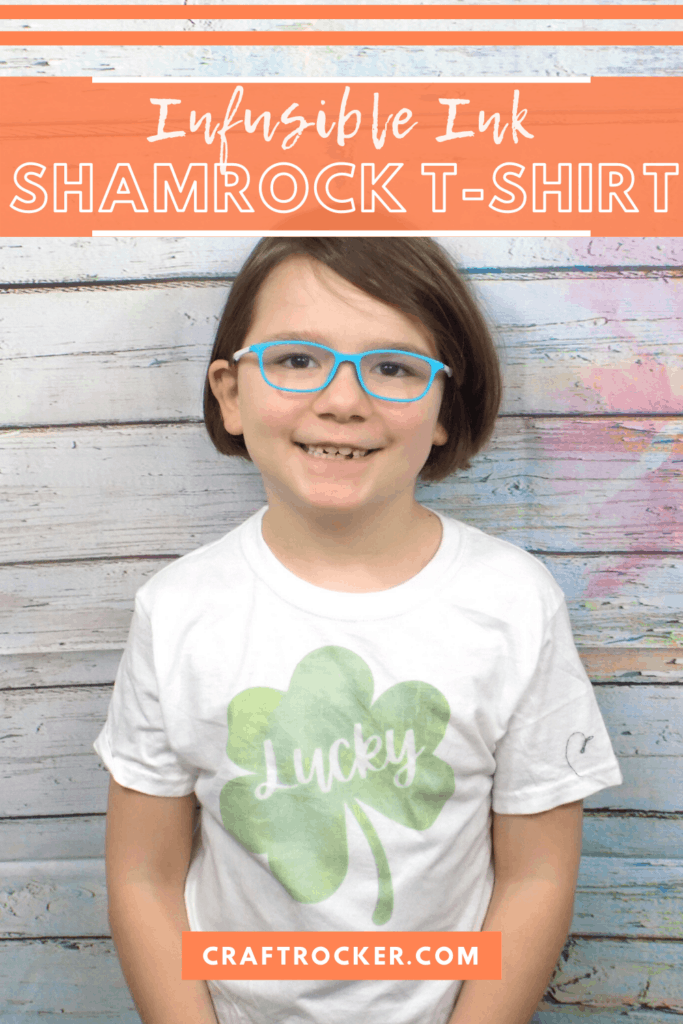
Don’t Forget to Pin It!
More St. Patrick’s Day Ideas
Shamrock Straw Toppers + Free SVG
How to Make Tissue Paper Pom Poms
Fabulous Shamrock Shaped Crafts – Domestically Creative
