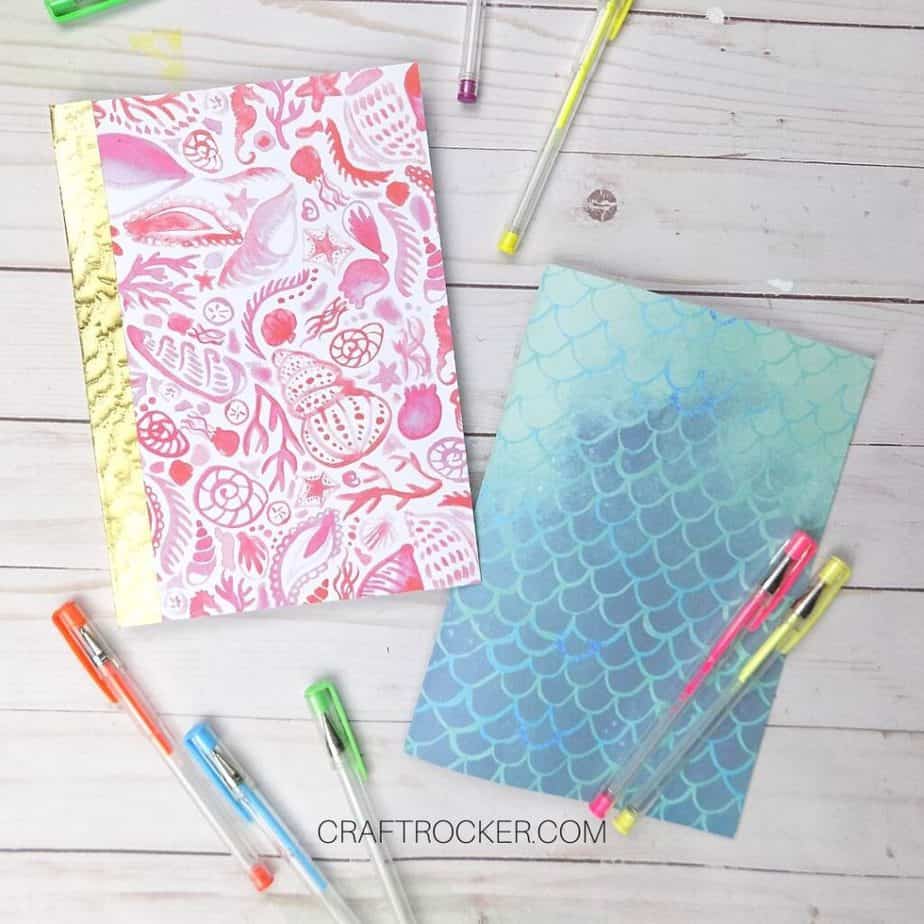
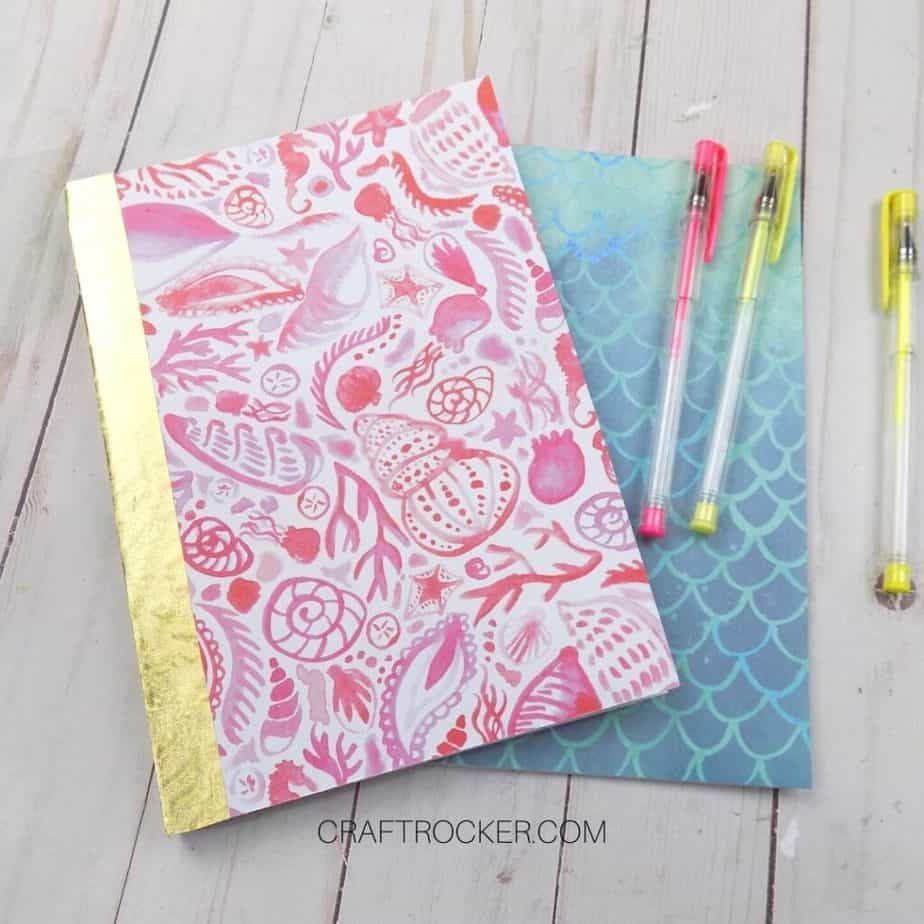
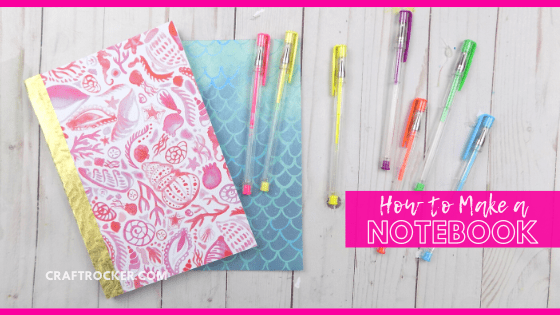
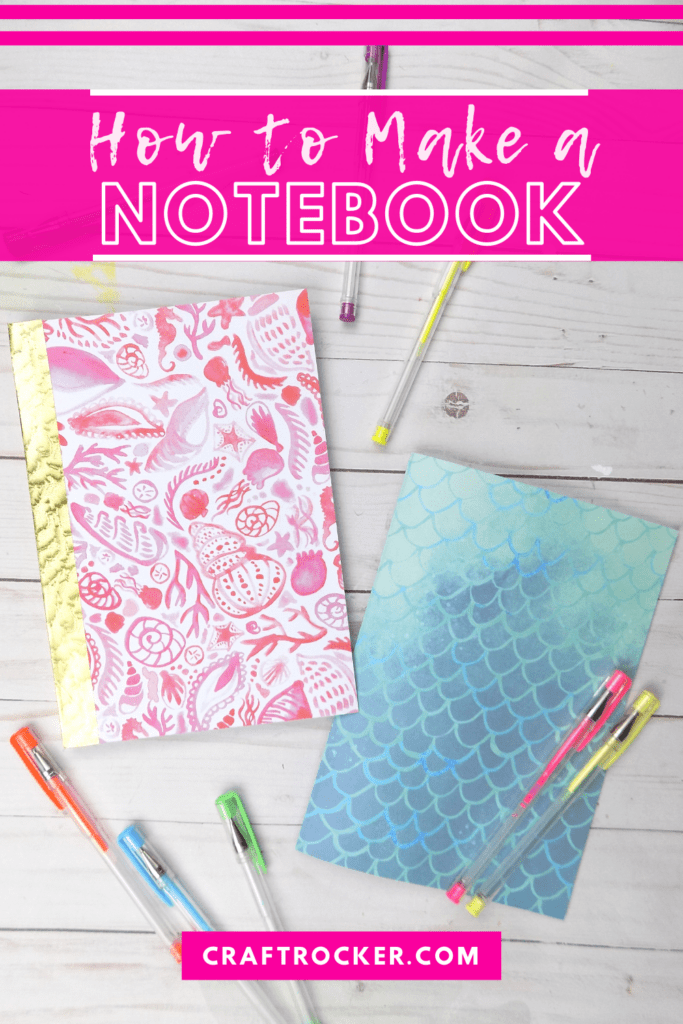
Learn how to make a notebook 2 different ways for super cool and customized note taking. It’s so easy to do, you’ll be crafting up a set for everyone you know!
Affiliate links may be used in this post. Ordering a product through these links may result in a commission at no extra cost to you. Read the full disclosure here.
Jump to What You Want
Printable DIY Notebooks Tutorial
I go through notebooks like crazy. I write down ideas, draft posts, keep journals, and a thousand other things.
Plus, there’s something about a fresh notebook that sparks endless possibilities. It encourages creativity and organization which we can all use more of, I think.
Now, instead of looking for deals at the store, I can make my own notebooks at home any time I need one.
Quick and Easy Small Notebook
This notebook is the perfect size for jotting down to-do lists and shopping lists. It comes together super quickly and is the perfect size to slip in your purse.
Materials Needed
10-15 Sheets of 8.5 x 11 inch Blank Paper
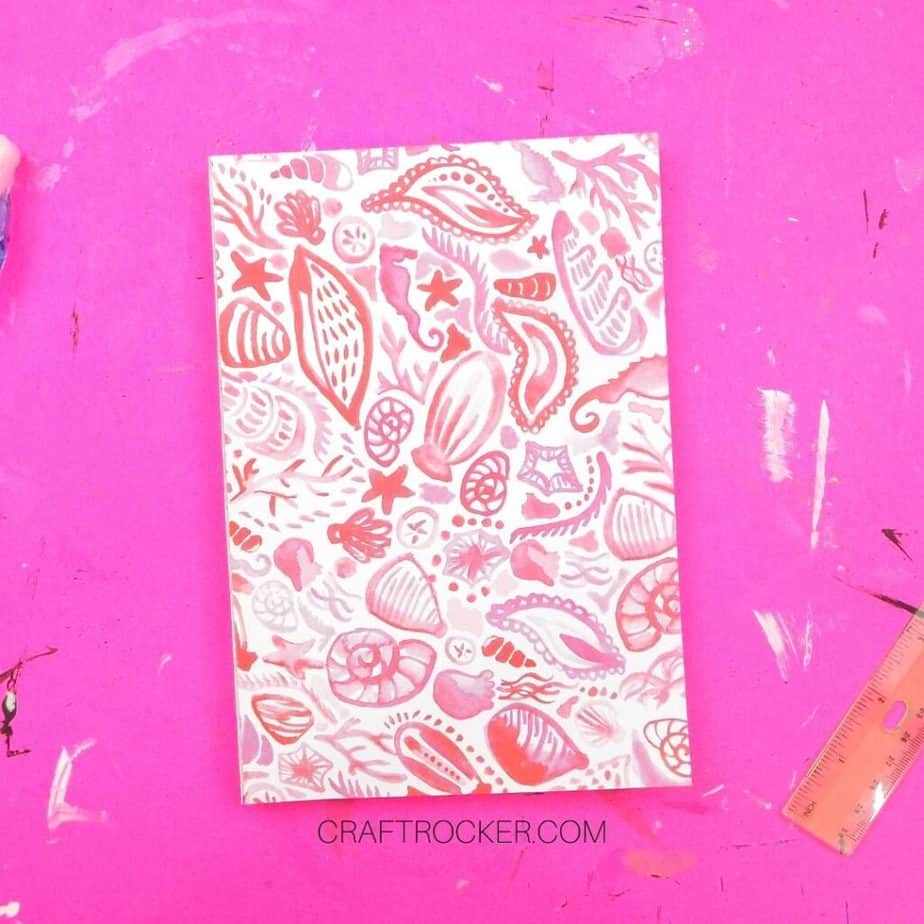
12×12 inch Decorative Cardstock
Scissors
Glue Runner
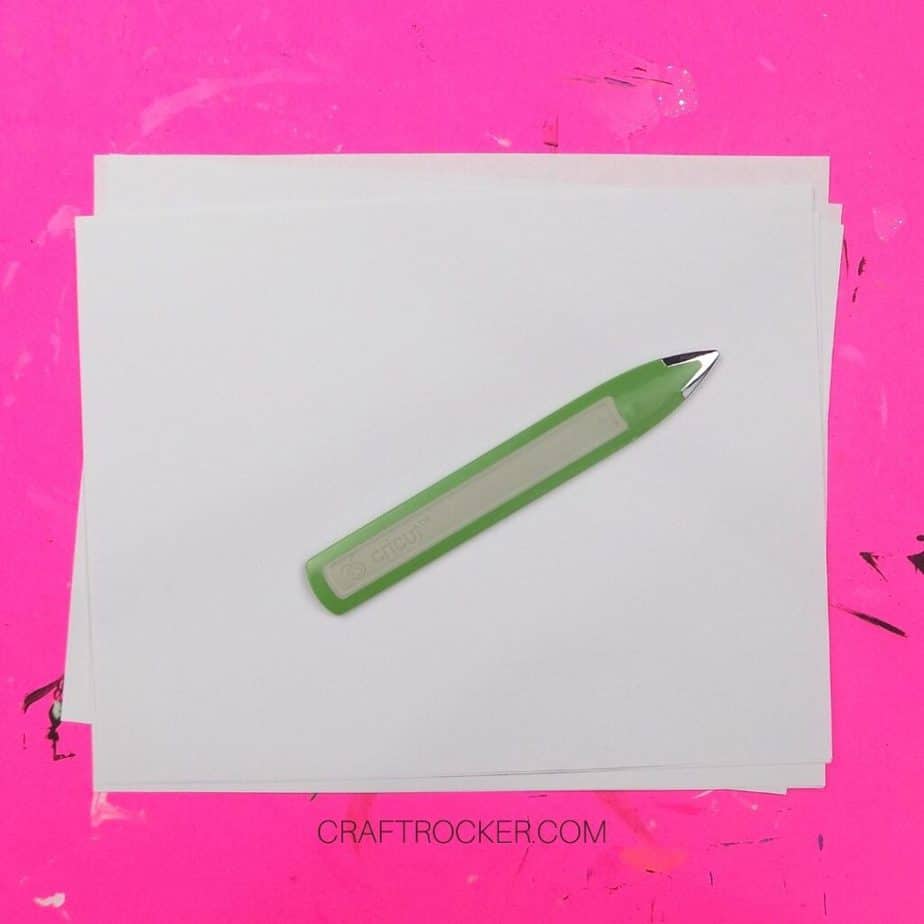
Step 1 – Prepare Your Papers
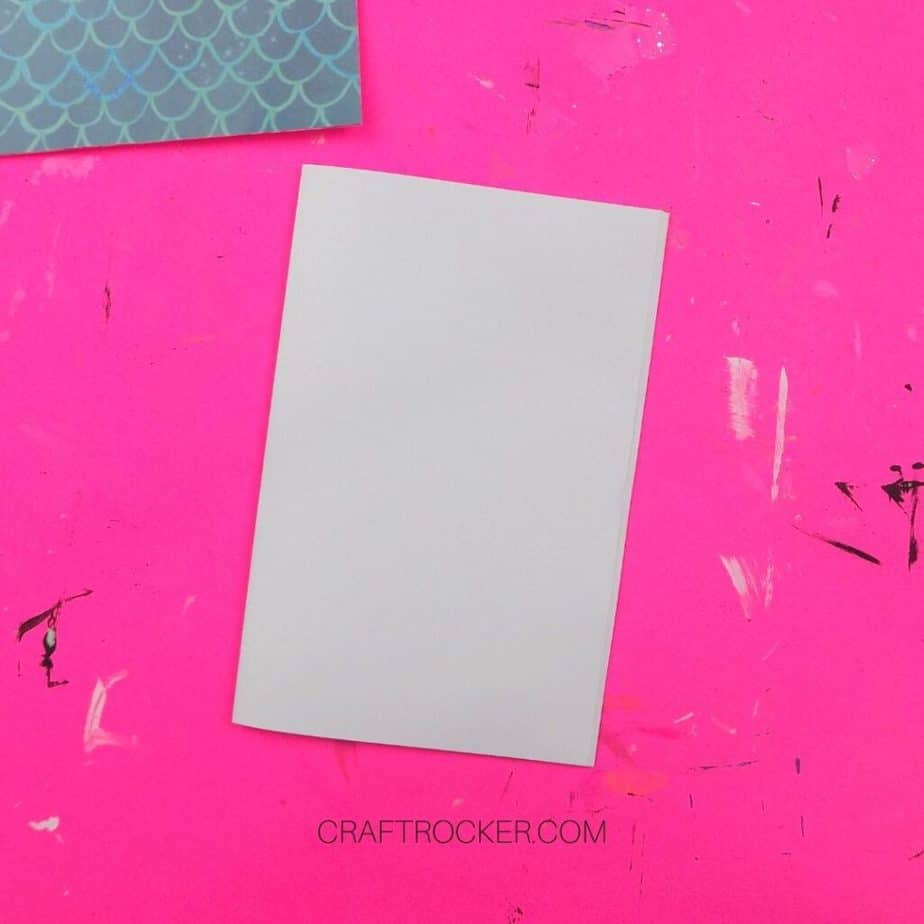
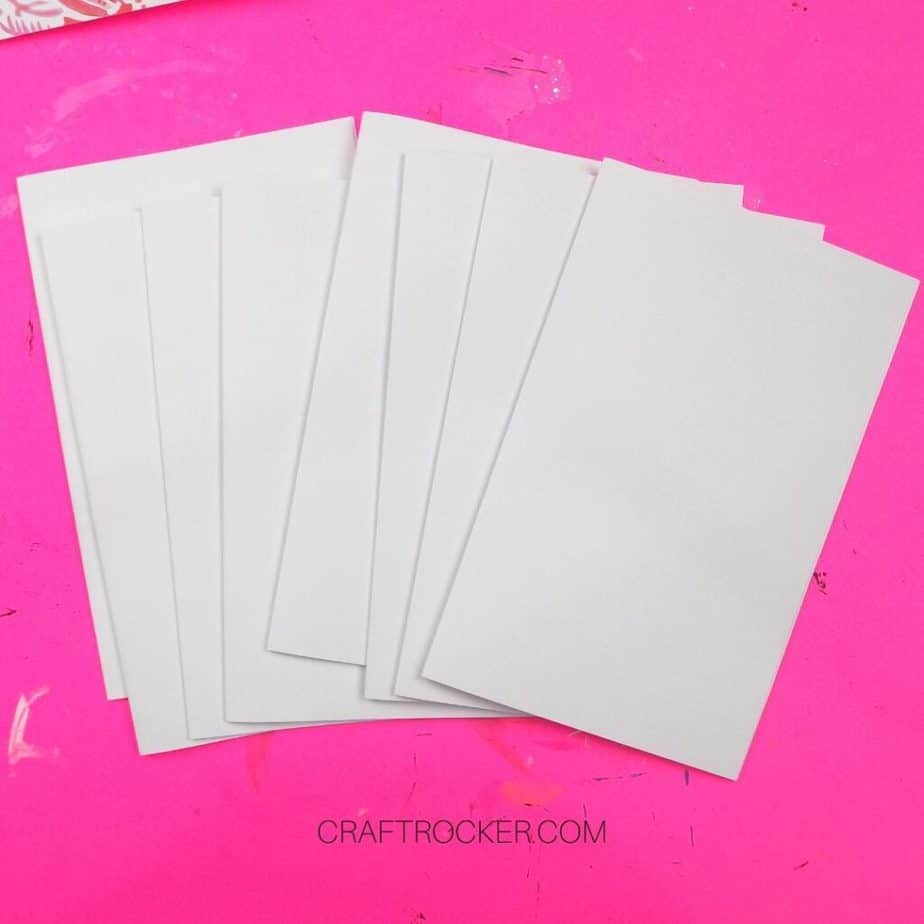
First, select 10 to 15 sheets of blank paper. You can use whatever kind of paper you want (dots, lined, etcetera) as long as it is the correct size and blank. I used printer paper for this project.
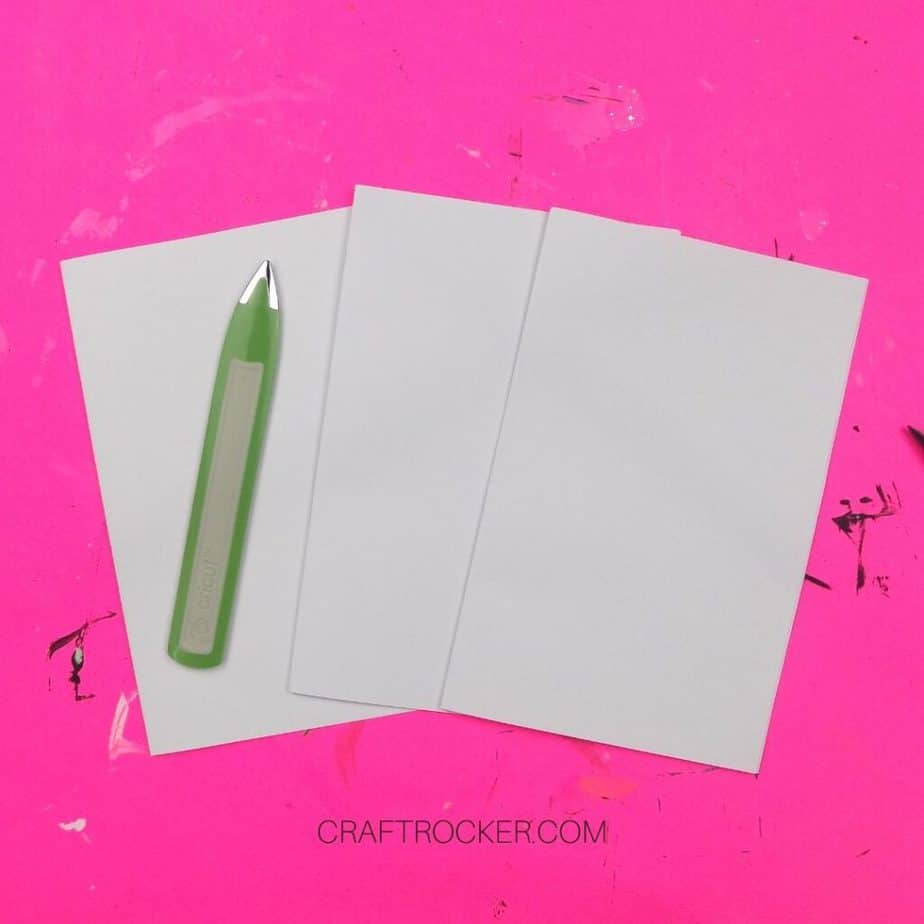
Next, fold your papers in half along the 11 inch edge 4 to 5 sheets at a time. I don’t recommend folding more than that at a time. Your loose edges will be more and more uneven the more sheets you try to fold at once.
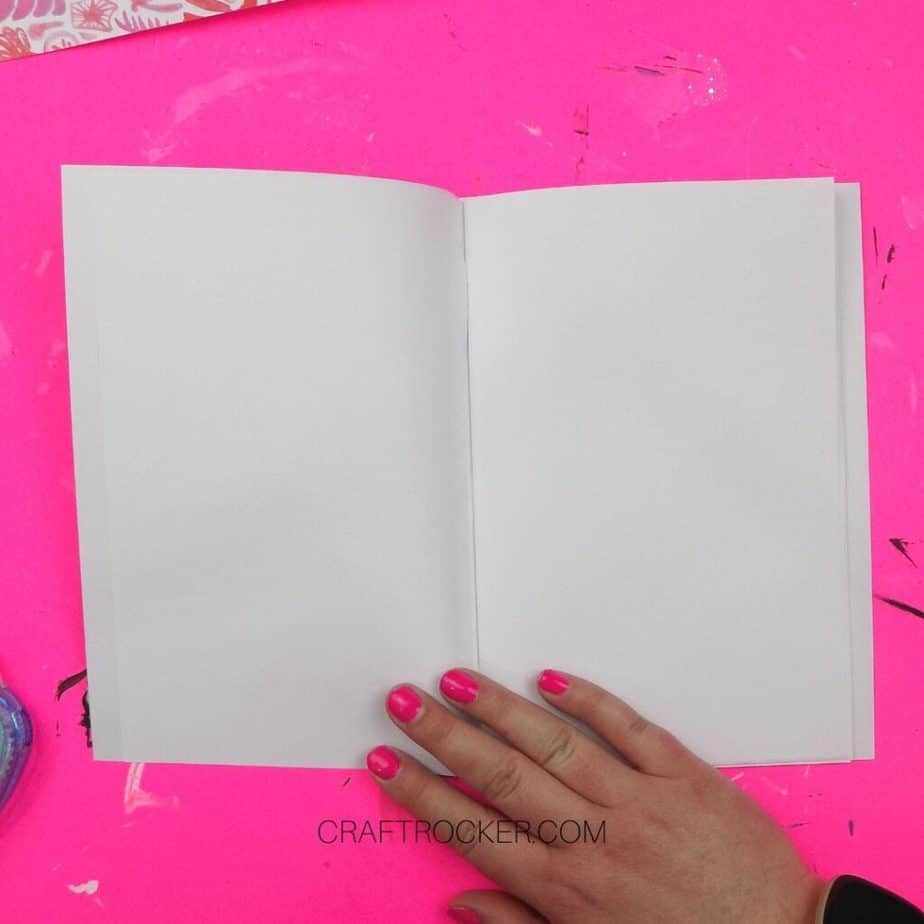
Step 2 – Combine Your Folded Pages
After all of your sheets of paper are folded, put all of the folded edges together so that you have one stack of folded papers.

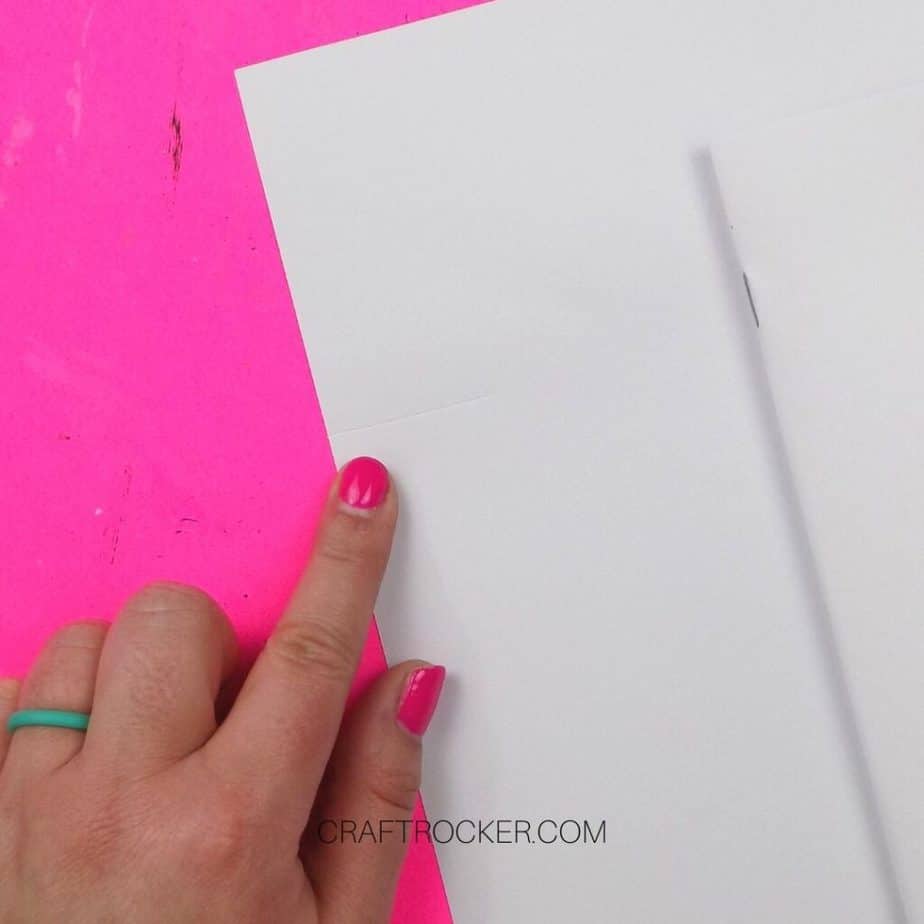
Step 3 – Staple the Binding
Now, unfold your stack of papers. Keep all of the edges aligned so that the folds are parallel to each other.
Then use your stapler to add three staples to the top, middle, and bottom of the fold. Make sure that all of your papers are inside the stapler guides before pressing down.
Staple the pages so that the folded ends of the staples are facing the inside of your notebook.
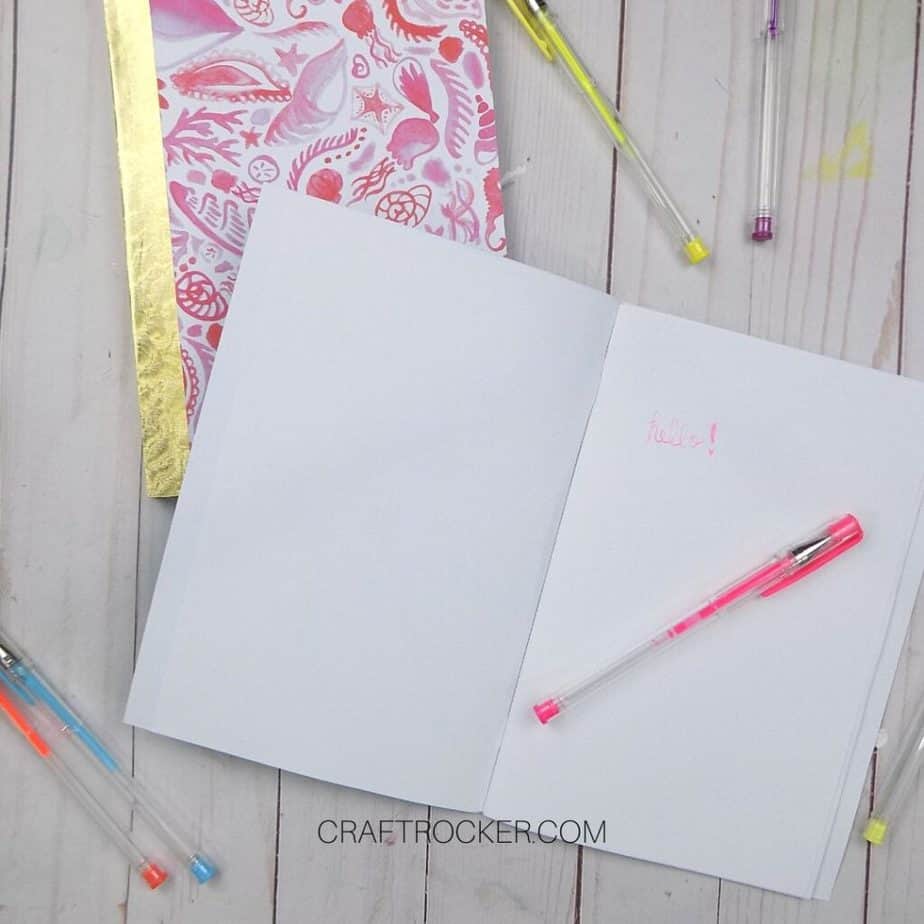
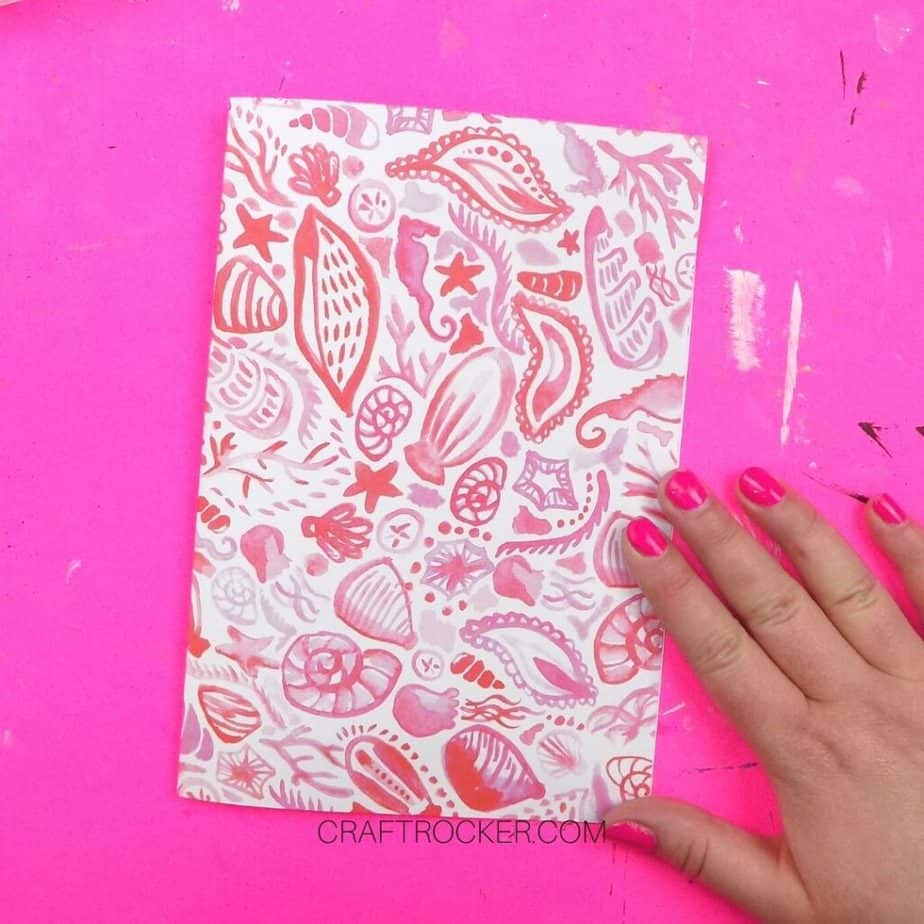
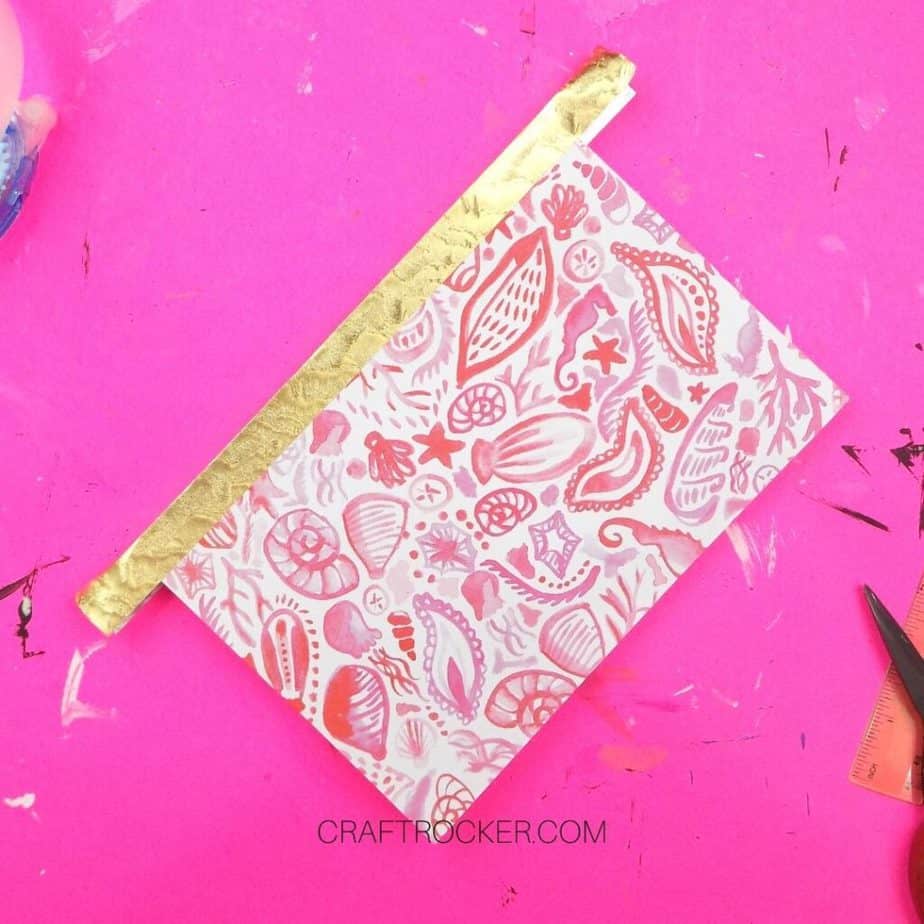
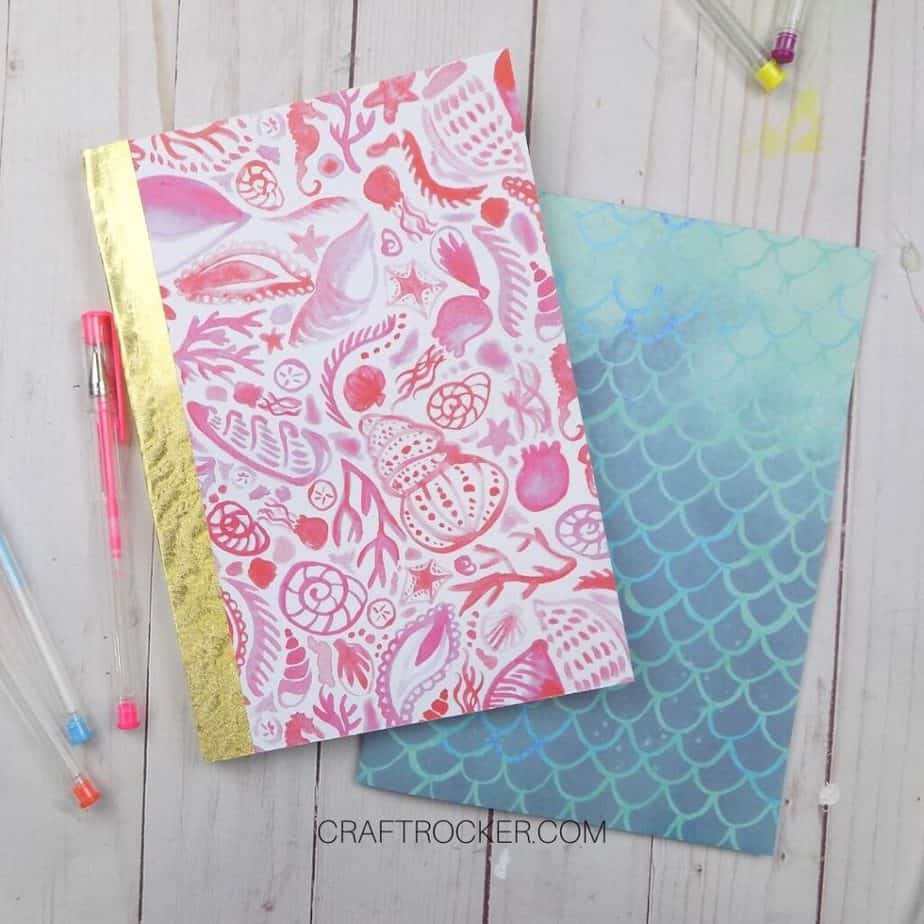
Step 4 – Add a Cover
After your pages are stapled together, fold them back over and use your folded pages to measure where you need to cut on the cardstock. Line the bottom of your pages up with the bottom of your sheet of cardstock and mark as close to the top of your folded pages as possible.
I used my bone folder to mark the spot so that it wouldn’t be visible after I attached it to the notebook.
Then trim along the marked line with your paper cutter.
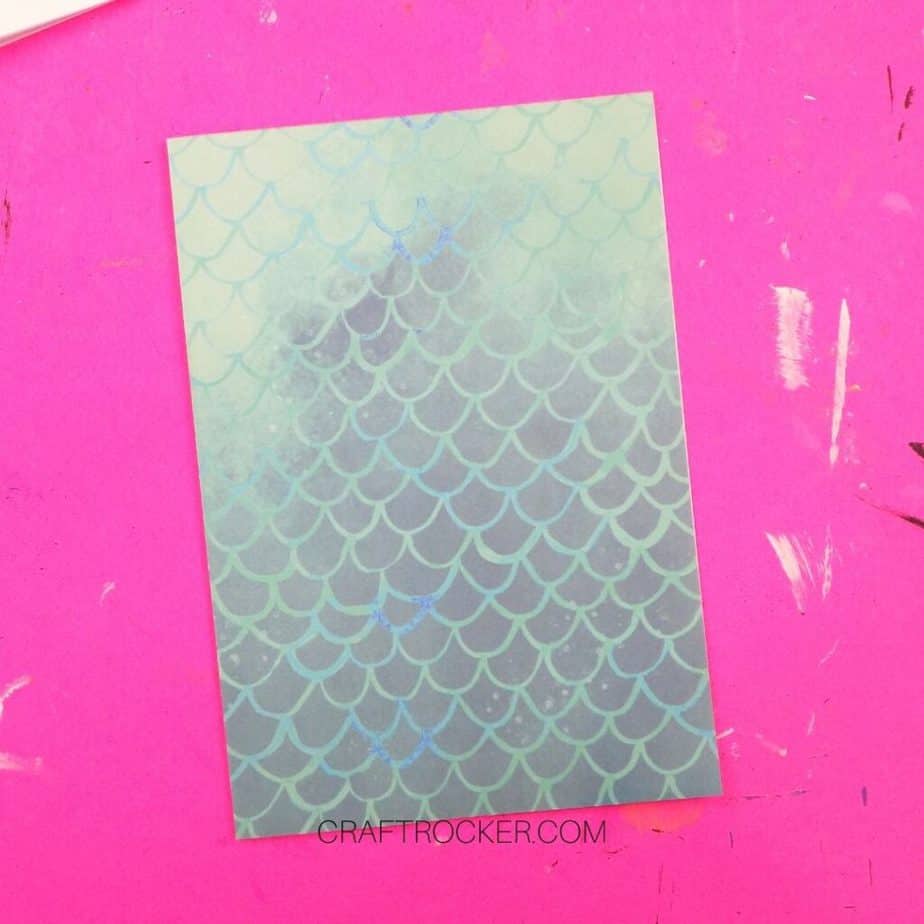
After it is cut, fold the cardstock in half. Lastly, add lines of glue with your glue runner to the front and back pages of your stapled papers and attach your decorative cardstock cover.
Thick Thread-Bound Notebook
Sometimes, you want a larger notebook. If you want a notebook with a lot of pages for a journal or a class, then this is the notebook for you.
Materials Needed
20-30 Sheets of 8.5 x 11 inch Blank Paper
Ruler
Writing Utensil
Binder Clip
Hammer or Mallet
Cutting Board
Needle and Thread
12×12 inch Decorative Cardstock
Scissors
Glue Runner

Step 1 – Prepare Your Papers
First, pull out 20 to 30 sheets of blank paper. Then fold them in half along the 11 inch edge.
Do this in groups of 4-5 sheets of paper. You don’t want to fold too many sheets at a time or your loose edges will be extremely uneven.
Step 2 – Add Holes to Folder Papers
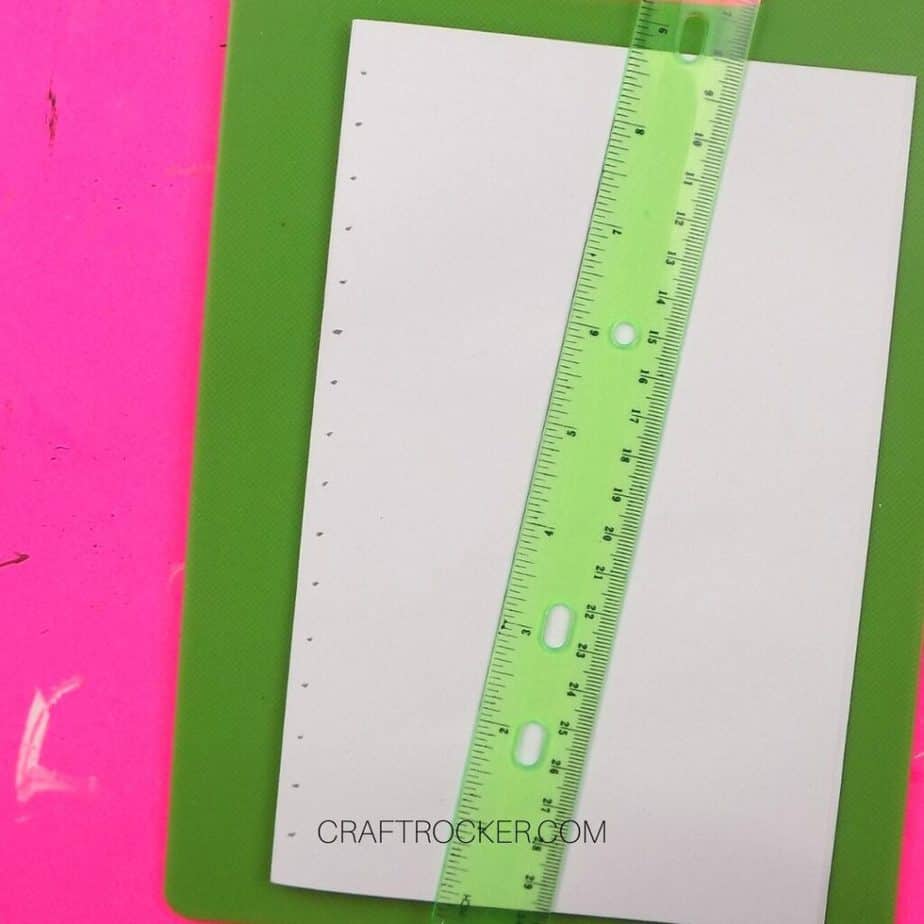
After you have all of your sheets of paper folded, use your ruler to measure and mark every half inch on the folded edge of 3-4 of the stacks. Make sure the marks are at least 1/4 inch from the folded edge.
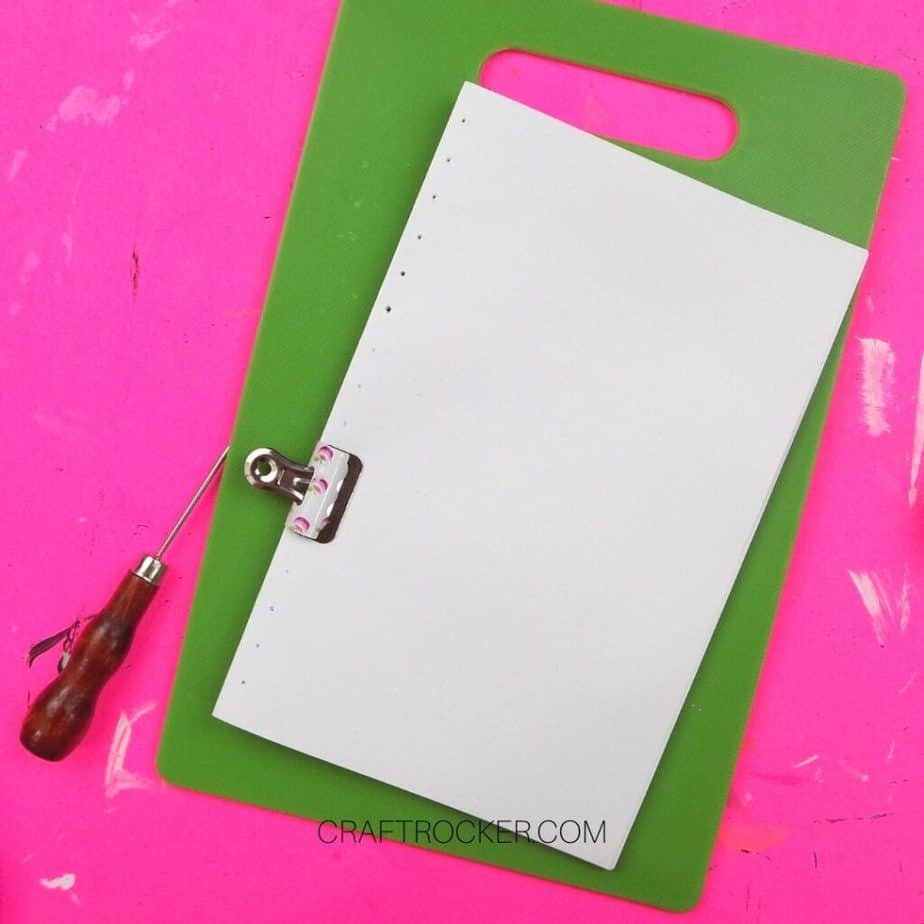
Once the marks are made, stack 3 of your folded stacks together with 1 of the marked ones on top and clip them together with a binder clip.
Then place the stack on your cutting board and use your hammer and awl to punch holes in the folded papers on the marks that you made.
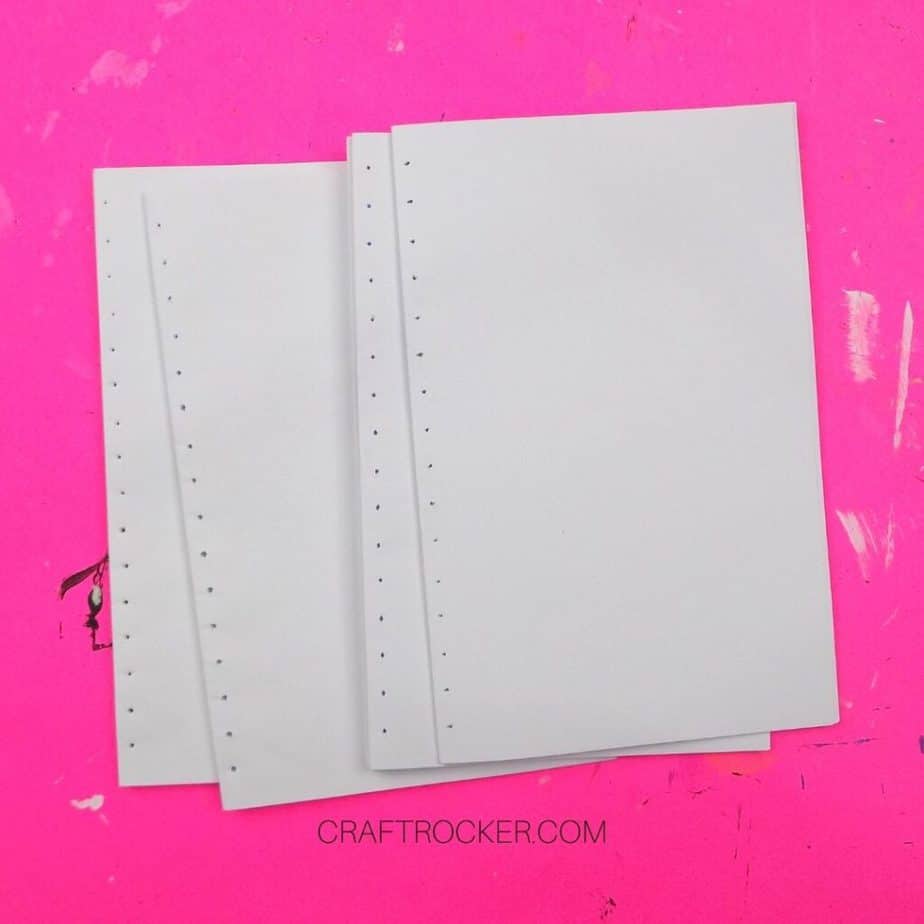
Continue punching holes in your folded papers until all of them have holes that at 1/2 inch apart.
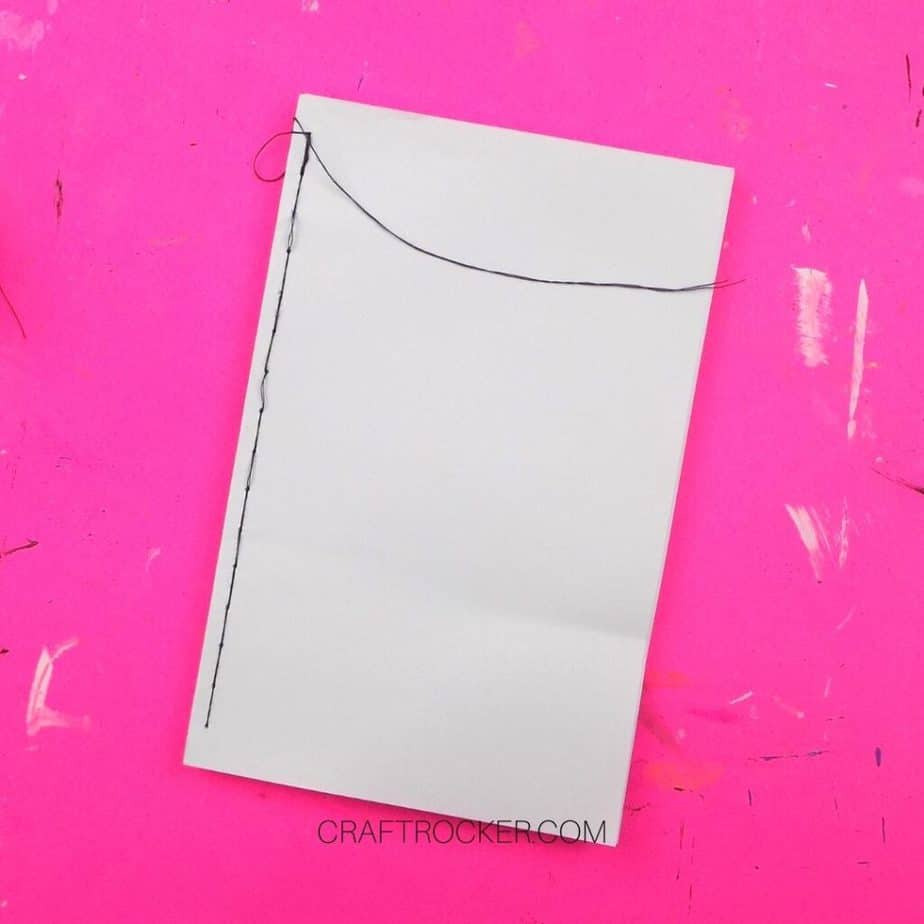
Step 3 – Bind Your Notebook Pages
Now it’s time to bind your pages together. Thread a generous amount of thread through your needle.
Tie a knot in the loose ends so that you have 2 threads while you bind your notebook.
Then thread the needle through the top hole in all of your folded pages. Before you pull the thread all the way through, slip the needle through the end loop and pull tight to secure it to the pages.
Continue threading your needle back and forth through all of the holes until you reach the bottom of your pages. Then repeat the process back to the top the opposite direction.
Once you reach the top, trim the thread from your needle and tie the loose ends with the ends from the start. Lastly, trim the excess thread from the knot.
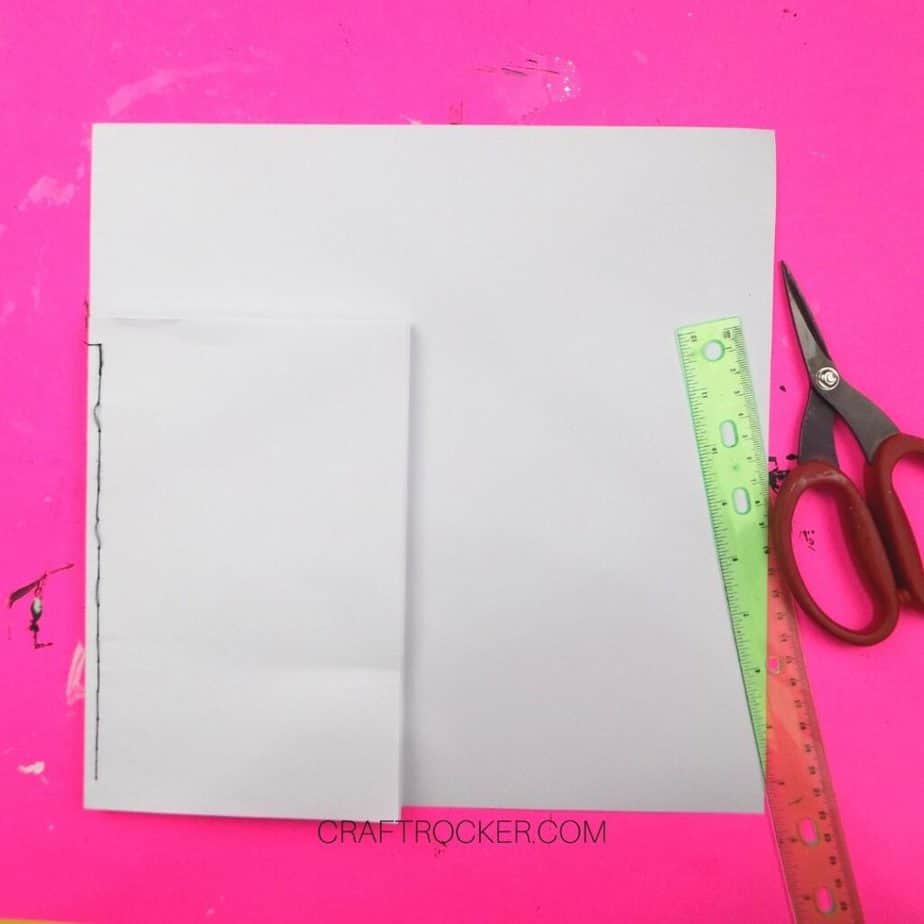
Step 4 – Cut the Pieces for Your Notebook Cover
Because this notebook is much thicker, you can’t just cut a piece of cardstock and fold it in half. It won’t fully cover the notebook.
Instead, measure the cardstock to fit your notebook by lining up the bottom of your bound pages with the bottom of the cardstock. Then mark on the cardstock at the top of your bound pages.
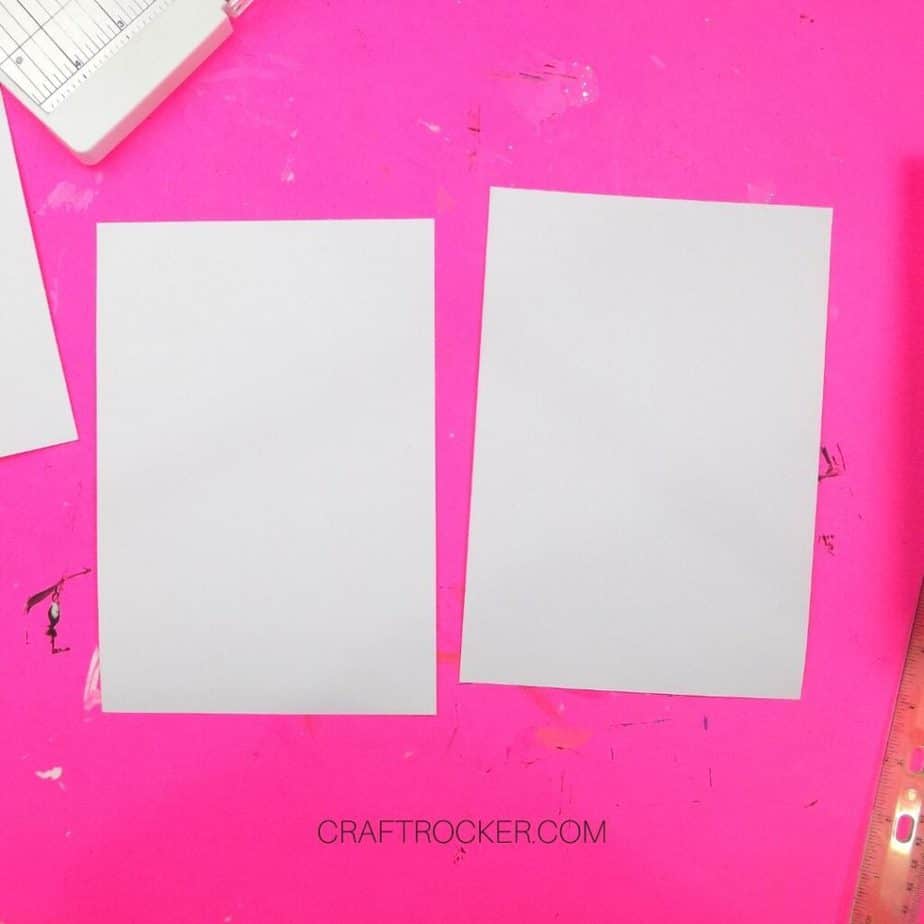
Use your paper cutter to trim along the mark you made and fold that piece of cardstock in half. Then cut along the fold.
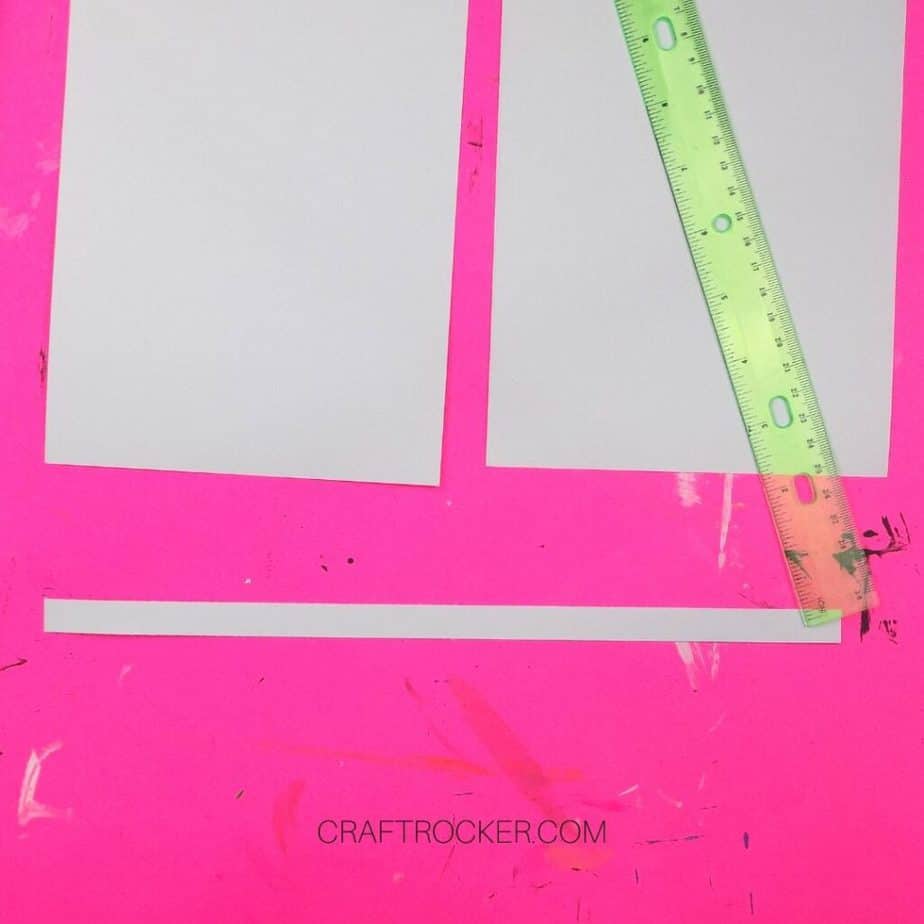
Next, use your ruler to measure the width of your bound pages (mine was a little under 1/2 inch) and cut a second strip of cardstock that is that wide.
Step 5 – Put Notebook Cover Together
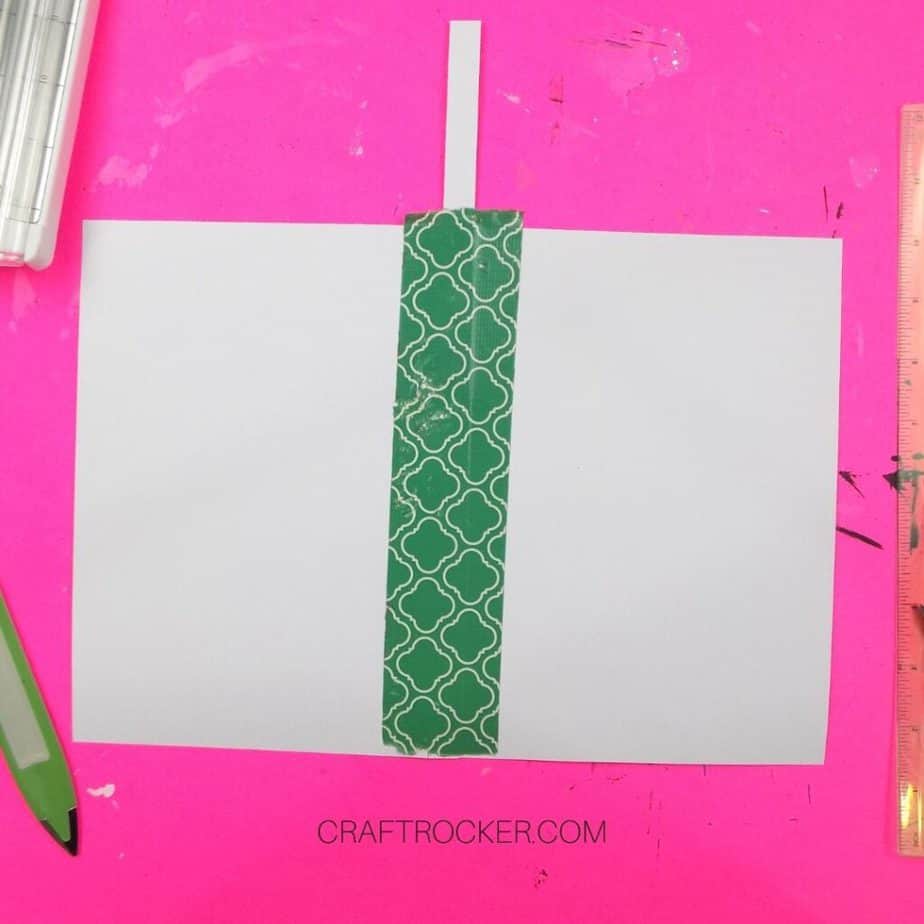
After all of your cardstock pieces are cut, line up the edges with the thin strip of cardstock in the middle of the 2 halves. The strip will be longer than your notebook but no need to worry about that right now.
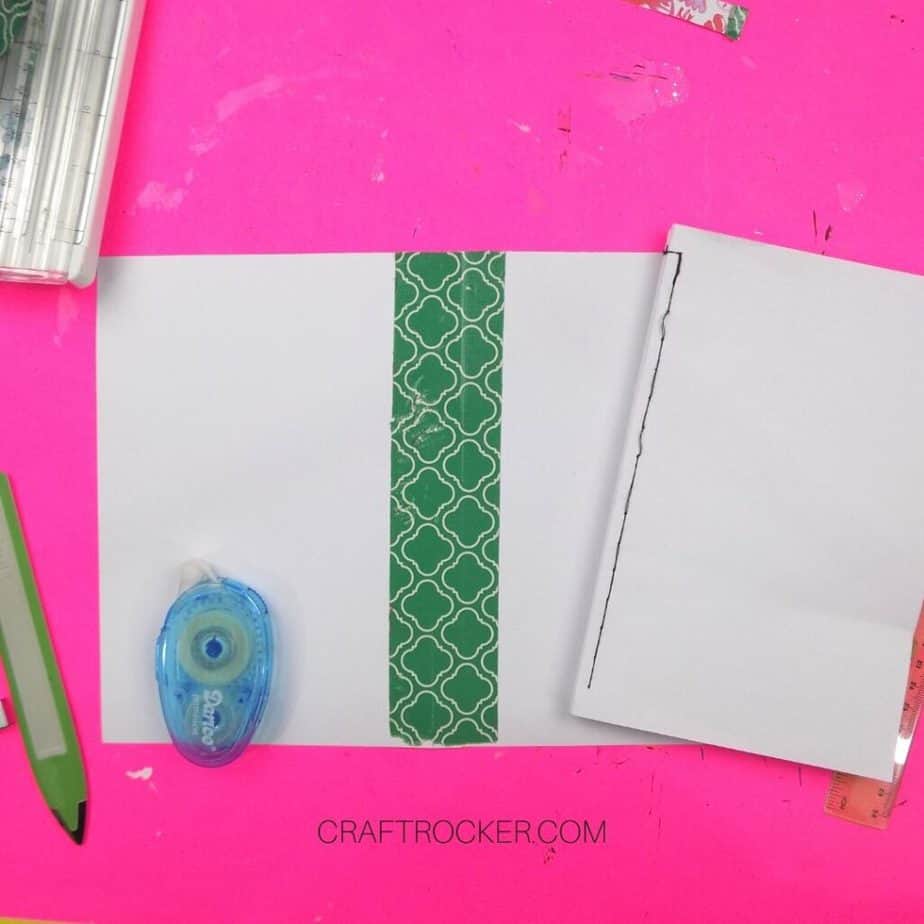
Then press a piece of decorative duct tape to the seams to hold all of the pieces together. Be sure to press firmly and keep all of your paper edges lined up while you do this.
Once the tape is attached, trim the excess tape and cardstock in the center.
Step 6 – Attach the Notebook Cover
Attach the notebook cover by adding lines of glue with your glue runner to the front of your bound pages.
Then carefully line up the front of the notebook cover and press firmly into the glue.
Repeat that on the back side of the bound pages.
Step 7 – Add a Decorative Edge (Optional)
I wanted to make sure that this was durable so I wanted to reinforce the spine.
Do this by adding a second strip of decorative duct tape to the spine of the notebook. Then fold the edges of the tape down on either side.
Trim any excess tape from the top and bottom of your journal.
Tips and Tricks
You can make these without a paper cutter, but the paper cutter makes it much easier to get a straight line which means little to no trimming later.
Don’t skip measuring the width of your notebook for the thread-bound. You don’t want the spine of your cover to be too large or too small.
Remember that you can use whatever kind of paper you like for these notebooks. Graph paper is a great one that you can buy loose and fold in half without a lot of prep or anything.
Printable DIY Notebooks Tutorial
DIY Notebooks

Whether you need a place to organize your to-do lists or want to start a new journal, find out how to make a notebook to fit your needs that's completely customized to you!
Materials
- 30-45 Sheets of 8.5 x 11 inch Blank Paper
- Bone Folder
- Long Arm Stapler
- 2 Sheets 12x12 inch Decorative Cardstock
- Paper Cutter
- Scissors
- Glue Runner
- Ruler
- Writing Utensil
- Binder Clip
- Awl
- Hammer or Mallet
- Cutting Board
- Needle and Thread
- 12x12 inch Decorative Cardstock
- Decorative Duct Tape
Instructions
- Quick Small Notebook - First, select 10 to 15 sheets of blank paper. You can use whatever kind of paper you want (dots, lined, etcetera) as long as it is the correct size and blank. I used printer paper for this project.
- Next, fold your papers in half along the 11 inch edge 4 to 5 sheets at a time. I don’t recommend folding more than that at a time. Your loose edges will be more and more uneven the more sheets you try to fold at once.
- After all of your sheets of paper are folded, put all of the folded edges together so that you have one stack of folded papers.
- Now, unfold your stack of papers. Keep all of the edges aligned so that the folds are parallel to each other.
- Then use your stapler to add three staples to the top, middle, and bottom of the fold. Make sure that all of your papers are inside the stapler guides before pressing down.
- Staple the pages so that the folded ends of the staples are facing the inside of your notebook.
- After your pages are stapled together, fold them back over and use your folded pages to measure where you need to cut on the cardstock. Line the bottom of your pages up with the bottom of your sheet of cardstock and mark as close to the top of your folded pages as possible.
- I used my bone folder to mark the spot so that it wouldn’t be visible after I attached it to the notebook.
- Then trim along the marked line with your paper cutter.
- After it is cut, fold the cardstock in half. Lastly, add lines of glue with your glue runner to the front and back pages of your stapled papers and attach your decorative cardstock cover.
- Thread-Bound Notebook - First, pull out 20 to 30 sheets of blank paper. Then fold them in half along the 11 inch edge.
- Do this in groups of 4-5 sheets of paper. You don’t want to fold too many sheets at a time or your loose edges will be extremely uneven.
- After you have all of your sheets of paper folded, use your ruler to measure and mark every half inch on the folded edge of 3-4 of the stacks. Make sure the marks are at least 1/4 inch from the folded edge.
- Once the marks are made, stack 3 of your folded stacks together with 1 of the marked ones on top and clip them together with a binder clip.
- Then place the stack on your cutting board and use your hammer and awl to punch holes in the folded papers on the marks that you made.
- Continue punching holes in your folded papers until all of them have holes that at 1/2 inch apart.
- Now bind your pages together. Thread a generous amount of thread through your needle.
- Tie a knot in the loose ends so that you have 2 threads while you bind your notebook.
- Then thread the needle through the top hole in all of your folded pages. Before you pull the thread all the way through, slip the needle through the end loop and pull tight to secure it to the pages.
- Continue threading your needle back and forth through all of the holes until you reach the bottom of your pages. Then repeat the process back to the top the opposite direction.
- Once you reach the top, trim the thread from your needle and tie the loose ends with the ends from the start. Lastly, trim the excess thread from the knot.
- Because this notebook is much thicker, you can’t just cut a piece of cardstock and fold it in half. It won’t fully cover the notebook.
- Instead, measure the cardstock to fit your notebook by lining up the bottom of your bound pages with the bottom of the cardstock. Then mark on the cardstock at the top of your bound pages.
- Use your paper cutter to trim along the mark you made and fold that piece of cardstock in half. Then cut along the fold.
- Next, use your ruler to measure the width of your bound pages (mine was a little under 1/2 inch) and cut a second strip of cardstock that is that wide.
- After all of your cardstock pieces are cut, line up the edges with the thin strip of cardstock in the middle of the 2 halves. The strip will be longer than your notebook but no need to worry about that right now.
- Then press a piece of decorative duct tape to the seams to hold all of the pieces together. Be sure to press firmly and keep all of your paper edges lined up while you do this.
- Once the tape is attached, trim the excess tape and cardstock in the center.
- Attach the notebook cover by adding lines of glue with your glue runner to the front of your bound pages.
- Then carefully line up the front of the notebook cover and press firmly into the glue.
- Repeat that on the back side of the bound pages.
- Reinforce the spine by adding a second strip of decorative duct tape to the spine of the notebook. Then fold the edges of the tape down on either side.
- Trim any excess tape from the top and bottom of your journal.
Once you know how to make a notebook, you’ll be making them all the time. They make awesome gifts, party favors, and more.
Plus, it’s totally easy to do. Make a batch to keep on hand anytime you need a last minute gift or, you know, need a notebook to write something down.
Don’t Forget to Pin It!
More Paper Crafts to Check Out
How to Make a Pop Up Heart Card
How to Make Tissue Paper Pom Poms
How to Make DIY Hanging Tissue Paper Flower Garland – Our Crafty Mom
