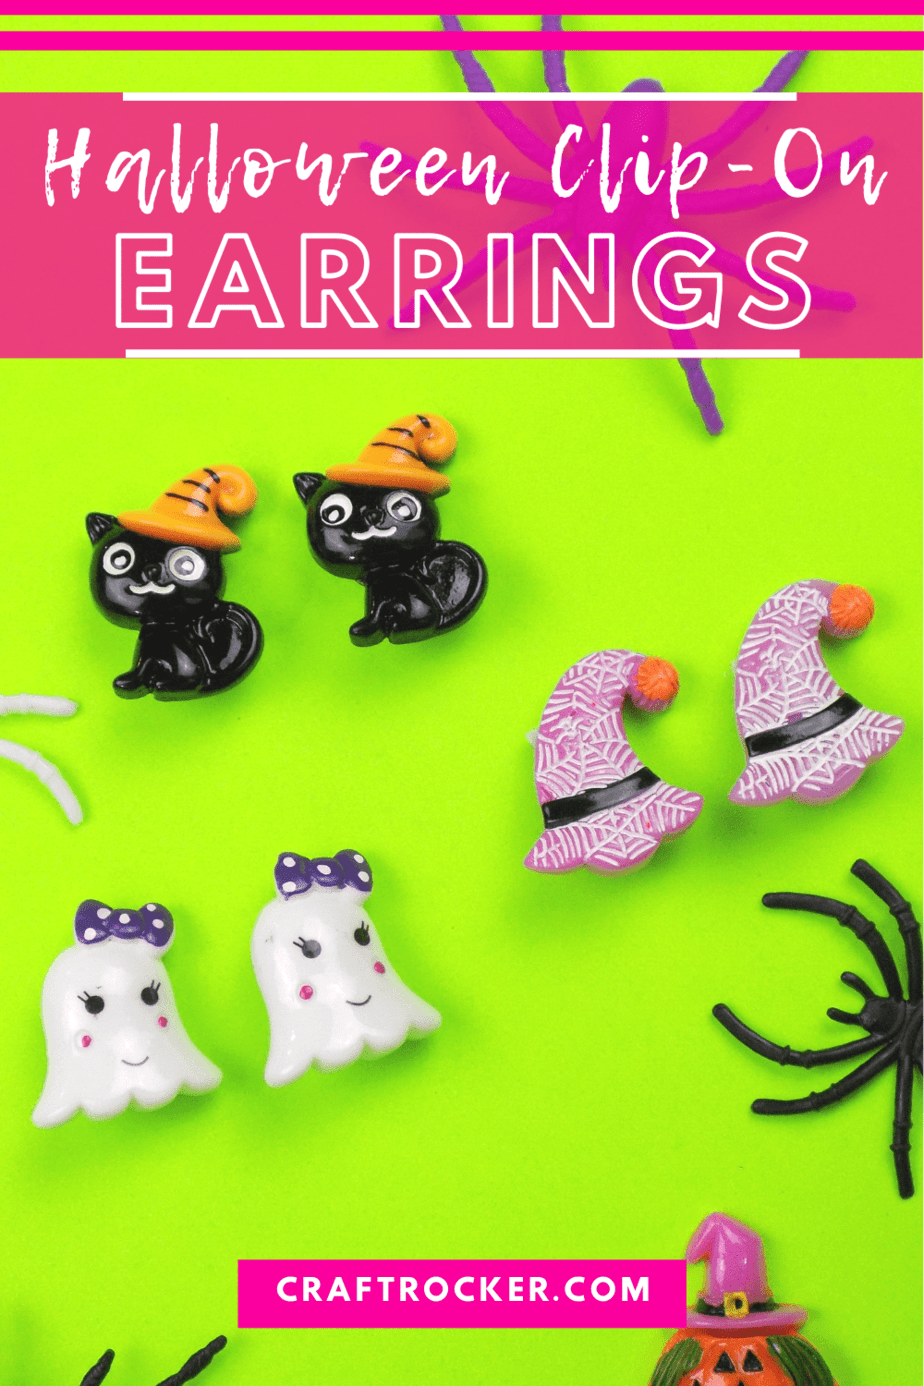
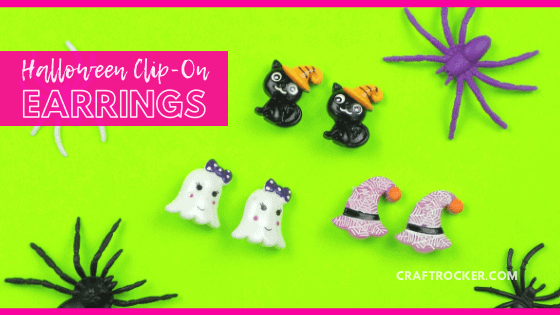
Craft some not-so-spooky accessories for your kiddos with these DIY Halloween clip-on earrings. They’re so easy to make and the perfect adorable jewelry for the season.
Affiliate links may be used in this post. Ordering a product through these links may result in a commission at no extra cost to you. Read the full disclosure here.
It might sound strange coming from a woman with 4 piercings and a tattoo but I’m very against letting my kids permanently alter their bodies at a young age. They need to be old enough to understand the ramifications and responsibility that come with it.
Ironically, none of my kids have even asked for something as small as ear piercing so it works out.
Recently my 7 year old daughter started doing this weird thing before her online classes everyday. Each morning she took mascara and put a black dot on each of her ears. She often sports crazy makeup looks so I didn’t think much of it at first.
Finally, I asked her why she was doing this. She said it’s because the other girls in her class have their ears pierced and she wants to look like she does too.
Whoa! There’s a lot to unpack there. I don’t want to keep you from the tutorial, so check out the end to read the rest of the story.
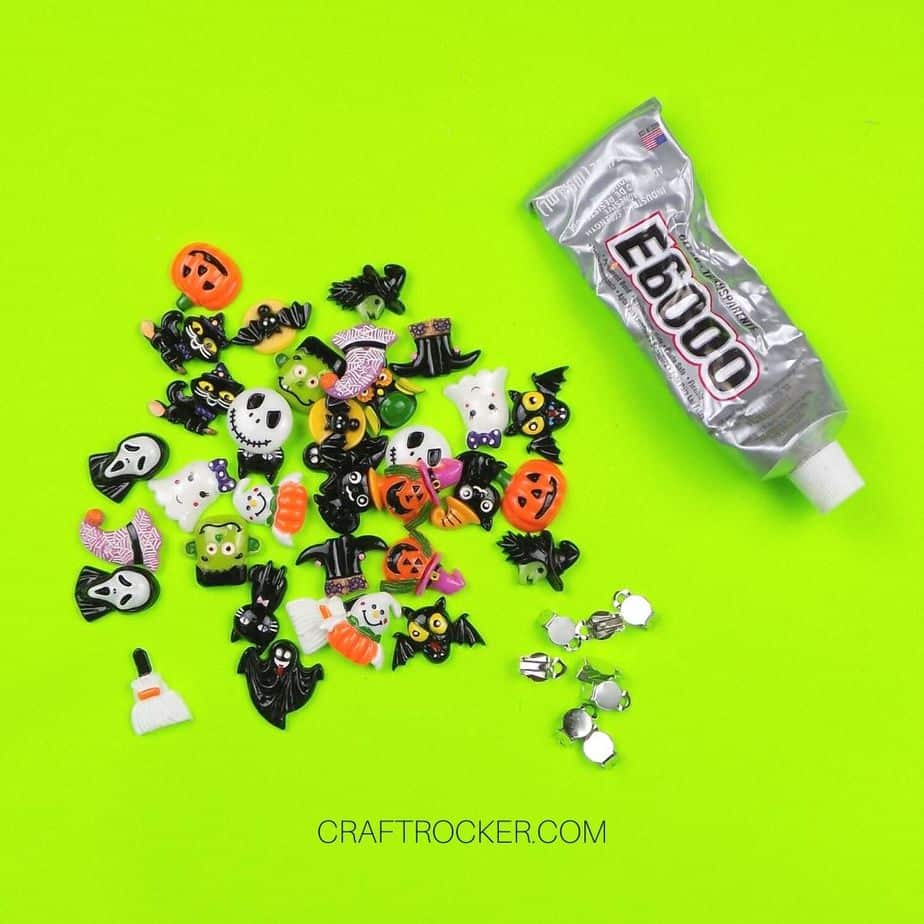
Halloween Clip-On Earrings Materials
- Halloween Character Cabochons x 2
- Clip-On Earring Blanks
- E6000
- Scissors
- Felt (this is a great project to use up scraps)
- Hot Glue Gun and Glue Sticks
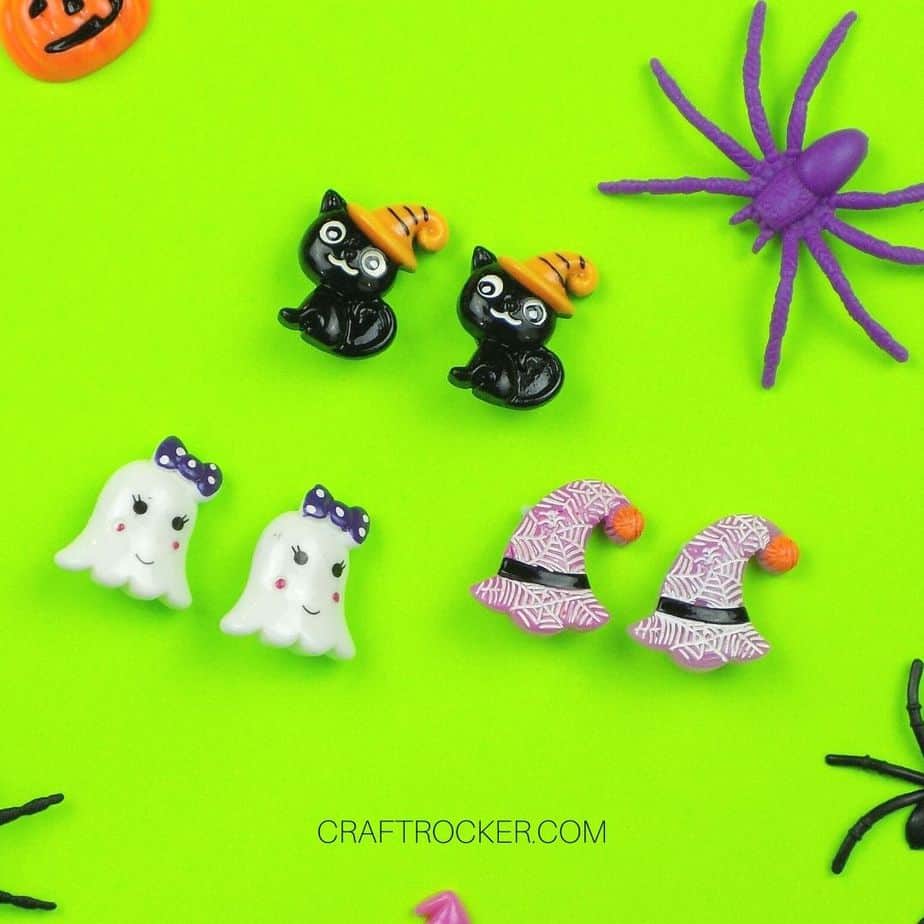
Step 1
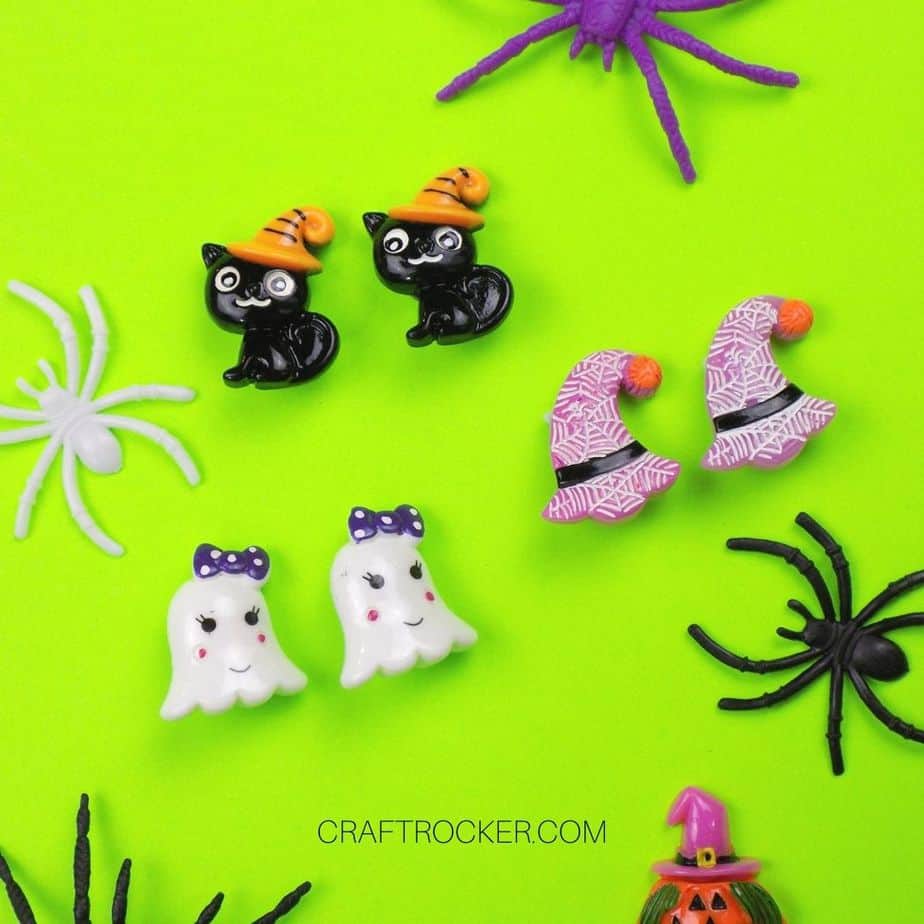
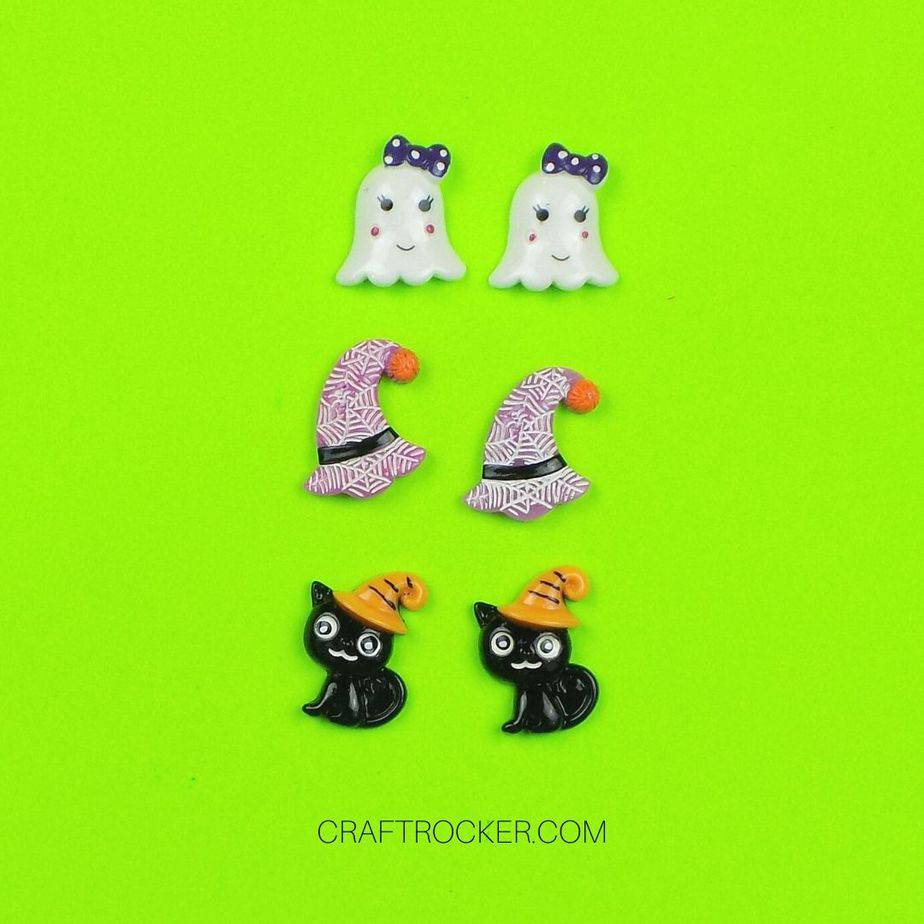
First, choose the character pairs you want for your earrings. Make sure you buy 2 packs if buying assortments on Amazon. Otherwise you may not have any pairs.
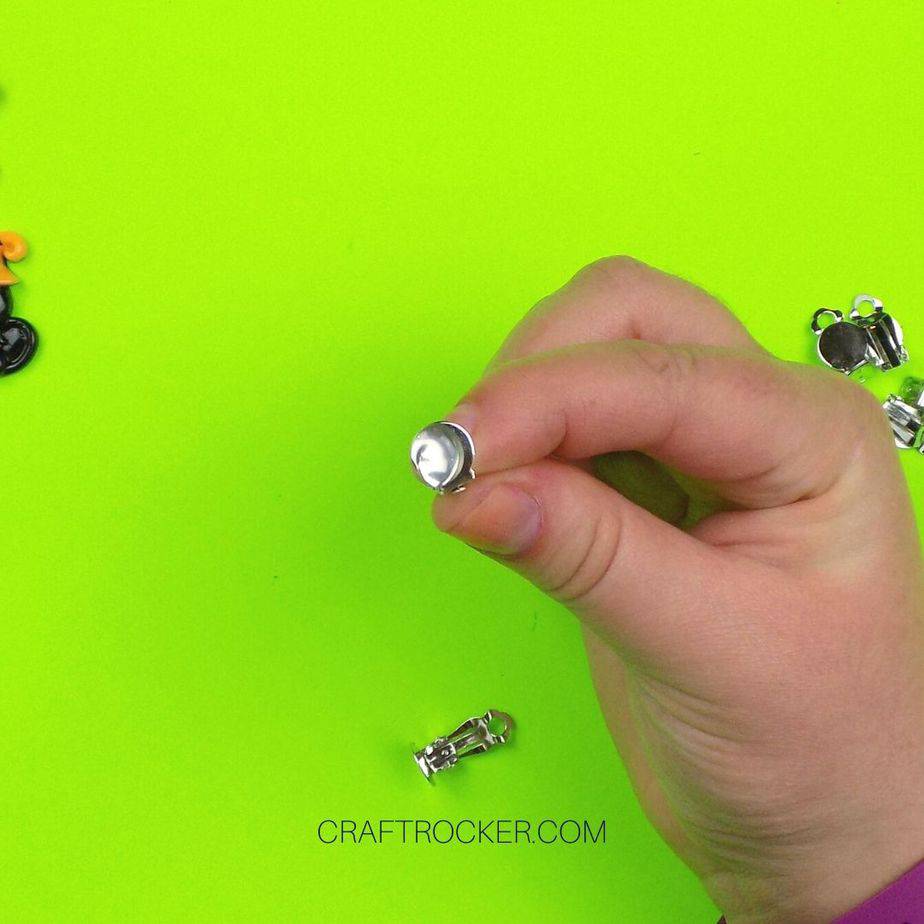
Step 2
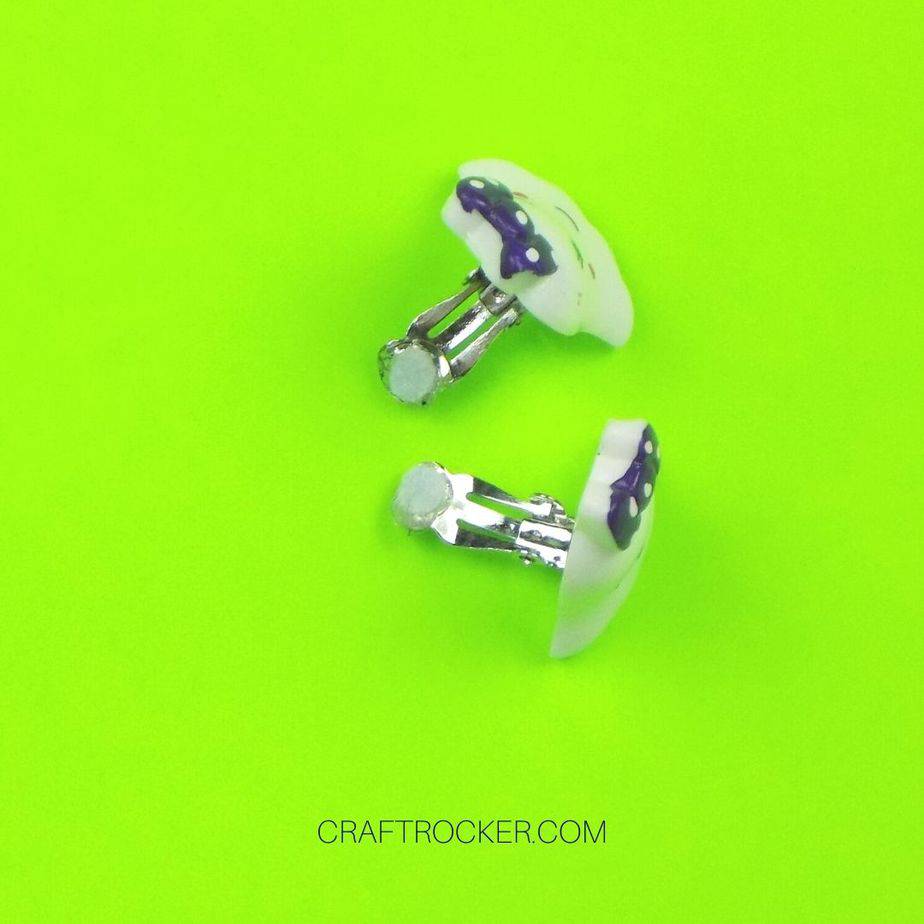
After you choose characters, open up your earring backs and then add a small amount of E6000 to the flat metal front of one.
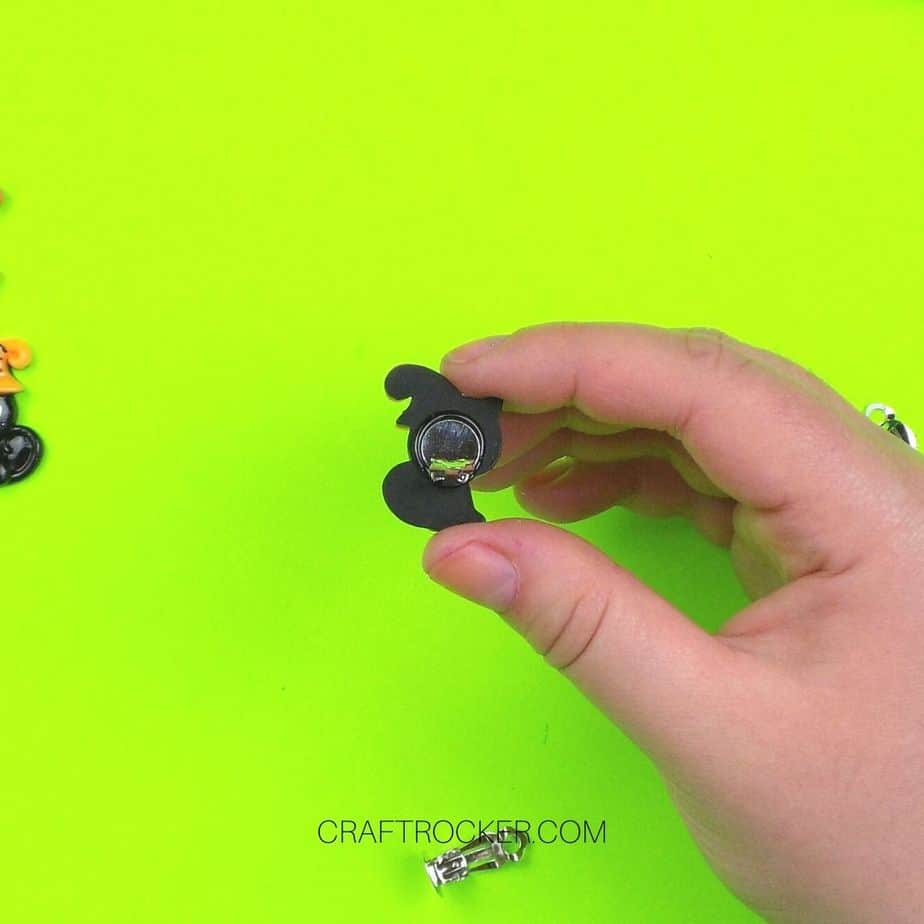
Step 3
Then firmly press a character into the glue. Make sure that the character is aligned straight (the hinged part of the earring is the bottom).
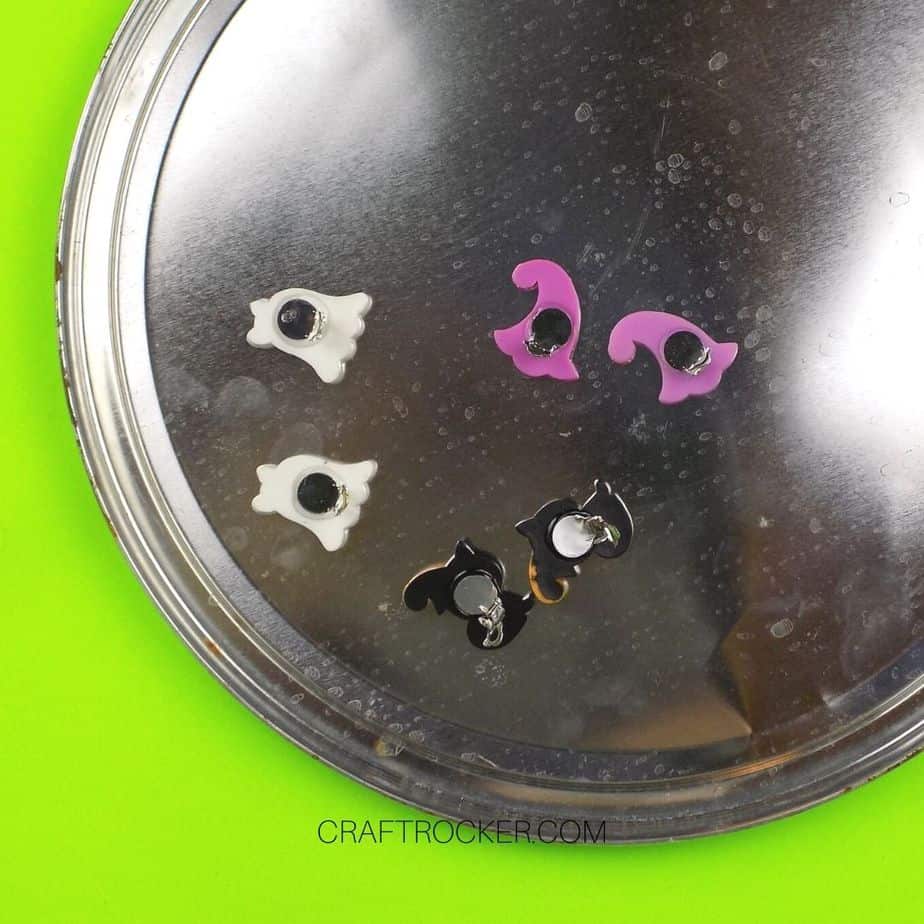
Step 4
Next, place the earring somewhere safe and flat to dry. It’s important to leave the back open while drying so that if any of the glue seeps, it isn’t attached to the back making the earring unusable.
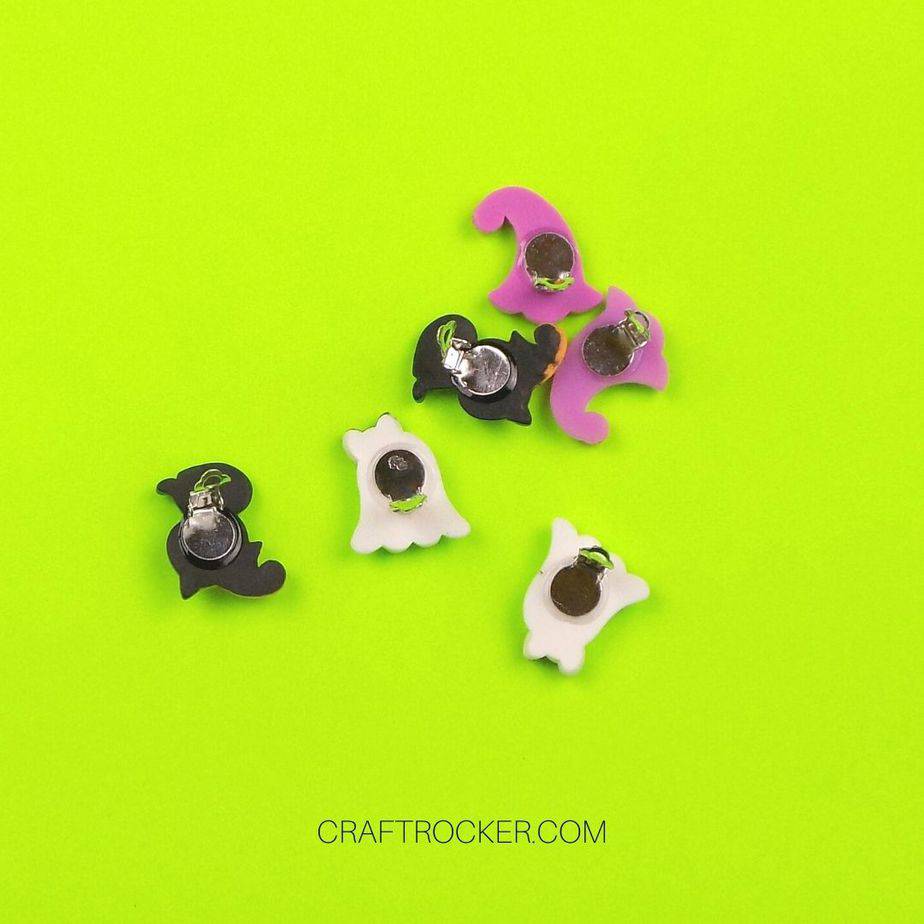
Step 5
Continue steps 2 through 4 until your desired pairs of earrings are made.

Step 6
Let your earrings dry for 24 hours before moving on.
Step 7
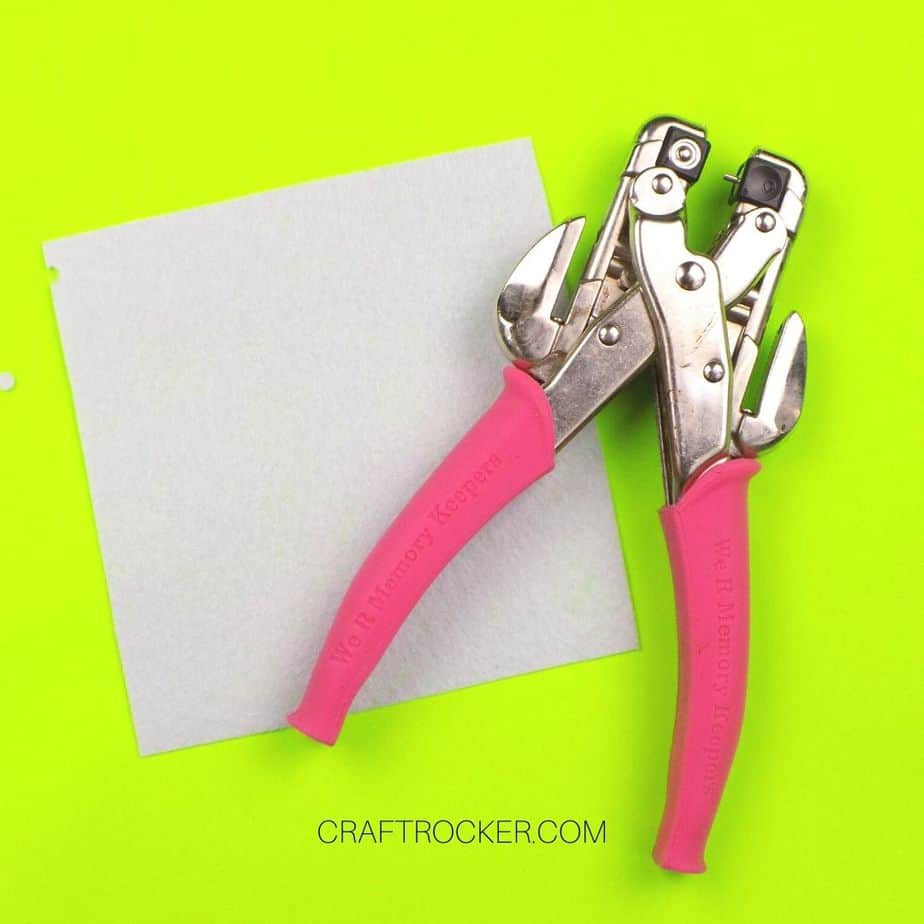
After the glue on your earrings is dry, cut small pieces of felt that are no wider than the earring back. There are 2 ways to do this:
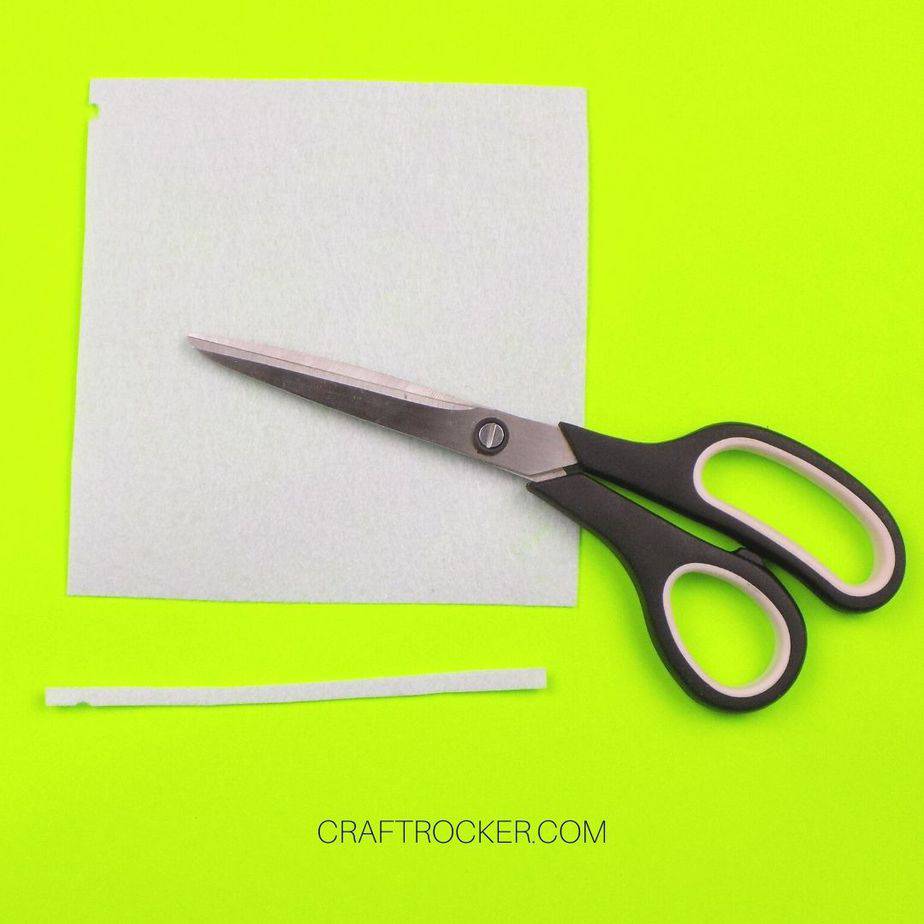
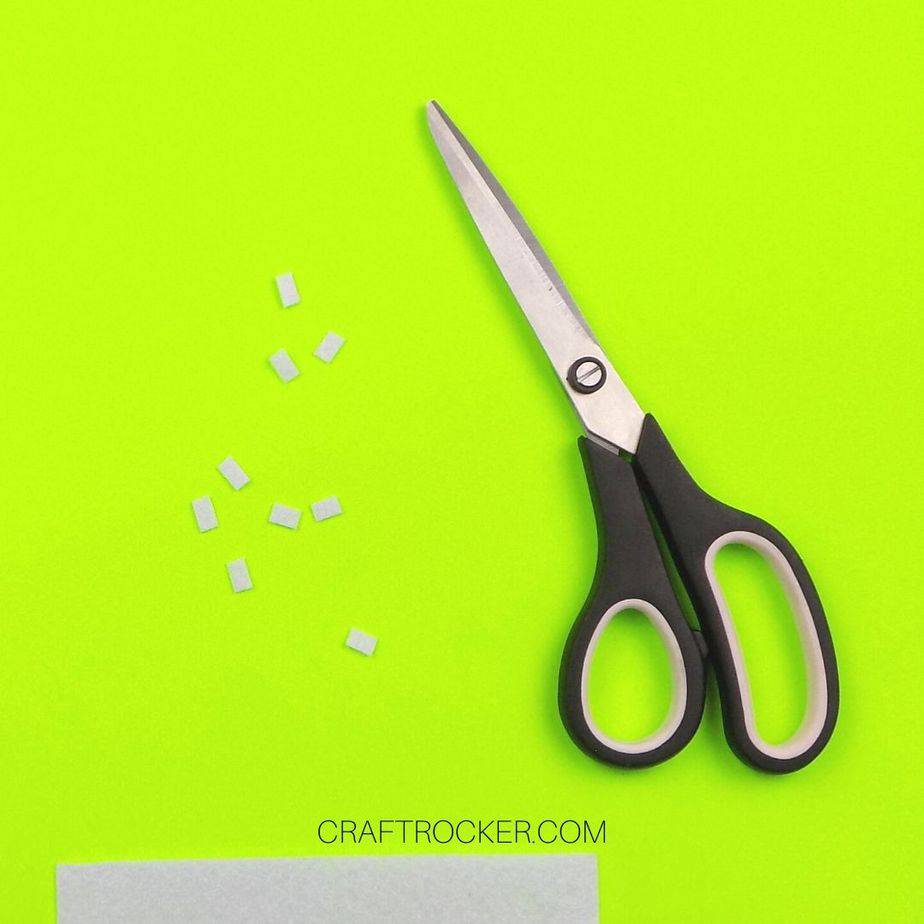
- You can do this with scissors by cutting a thin strip of felt and then snipping it into small rectangles.
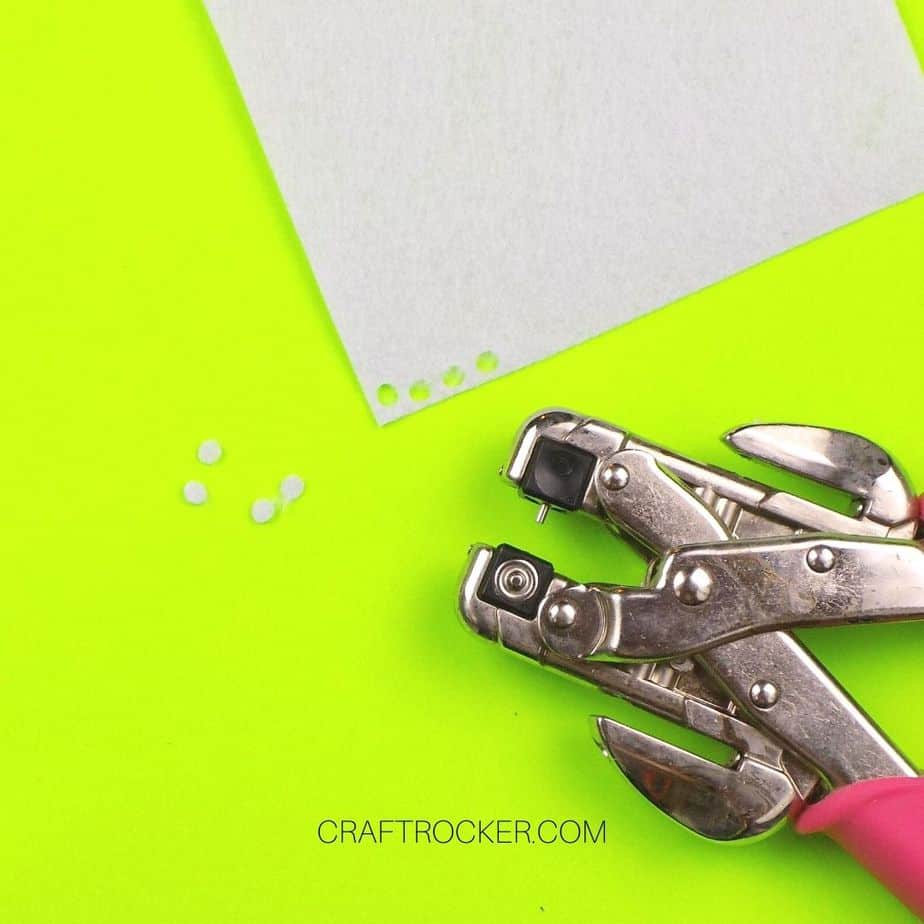
- Option two is to use a hole punch to punch out circles from your felt.
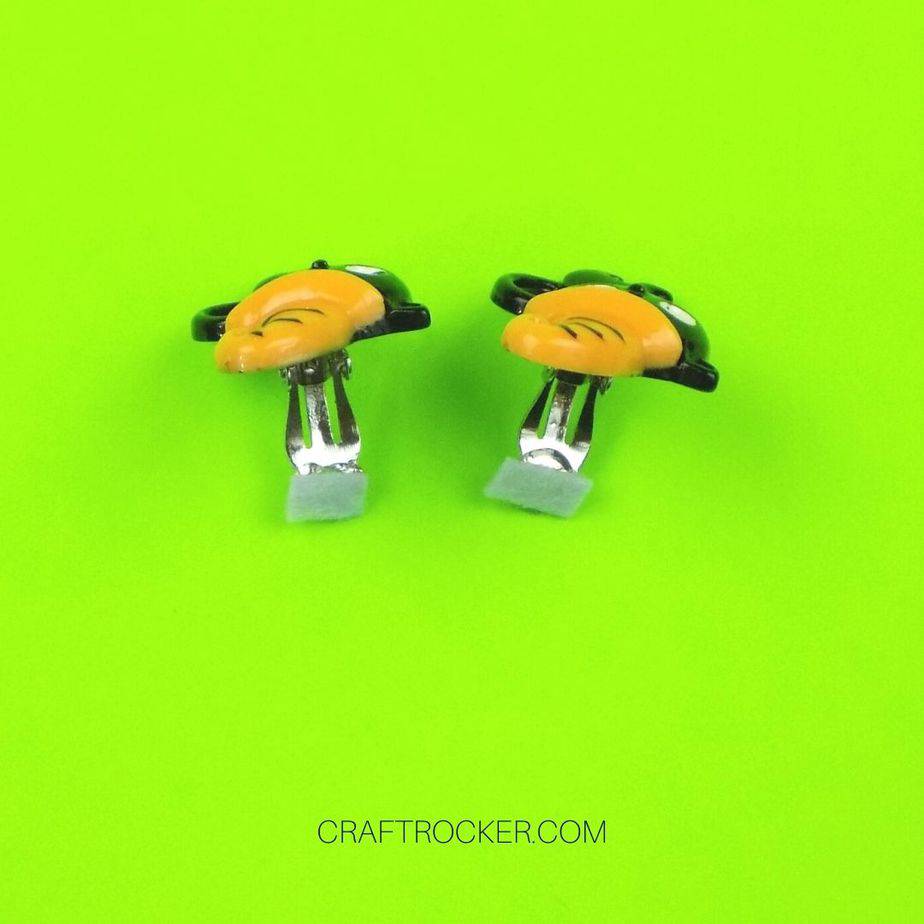
Step 8
Last, hot glue 1 cut piece of felt to the inside of each earring back. This make them more comfortable, especially for little ears.
Back to my daughter:
For starters, I asked her if she even wanted her ears pierced. She said she didn’t because it will hurt. Okay, fair.
Side note:
- She also asked why getting her ears pierced hurts but getting a belly button didn’t. Another story for another time.
Then I reiterated to her that it is okay to not be like everyone else. It’s our uniqueness that makes us so interesting and what a boring world it would be if everyone were exactly the same.
Lastly, I asked why she didn’t just wear her clip-on earrings and she said, “Because I lost them.”
Boom! That right there is why I don’t think she’s ready to have her ears pierced even if she did want to.
Obviously, I made a concession with my daughter and these Halloween clip-on earrings. We agreed that I would make her a Halloween pair for every lost pair that she found.
Now that is why my daughter is wearing ghost earrings in September and I have “order requests” for pairs from the boys. Just another day in the chaos.
Don’t Forget to Pin It!