Get your home ready for spring with this DIY Dollar Tree spring wreath. It’s so easy to make and all of the supplies (except for the wreath base) come from Dollar Tree so it’s easy on your wallet too.
Affiliate links may be used in this post. Ordering a product through these links may result in a commission at no extra cost to you. Read the full disclosure here.

Jump to What You Want


I hate being cold. I know a lot a of people always argue that you can always put on more layers when you’re cold but you can’t always take more off when you’re hot. My husband is one of those people.
As someone who is perpetually cold, I’m here to tell you that’s not always true. I can be wrapped up in 3 layers and a ton of blankets and still be chilled. No thank you.
Give me sunshine and heat and color.
That’s why I’m so excited for spring. It’s like our promise that summer is coming. It’s bright shots of color and birds chirping. I love it.

Adding this spring wreath to your home is the perfect way to help usher out the snow and the cold to get ready for the promise that spring is. If you’re anything like me, it’s just what you need in your home right now.
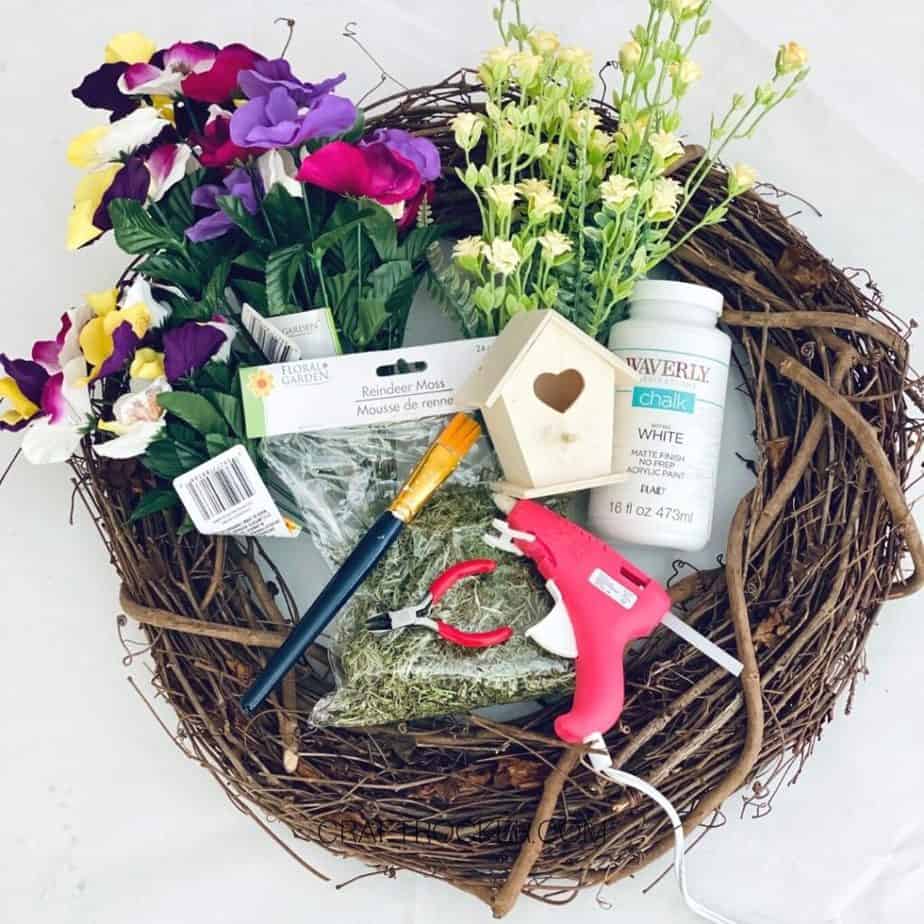
Dollar Tree Spring Wreath Materials
2 Dollar Tree Yellow Flowers (The ones with yellow flowers and ferns on them)
Glue Gun and Glue Sticks
Wire Cutters
Waverly White Chalk Paint
Paint Brush
18 inch Grapevine Wreath (This did not come from Dollar Tree)

Step 1
First, start by painting the bird house with your white chalk paint. Then set it aside to dry completely.

Step 2
Next use your wire cutters to cut all of the flowers so that they have about 4 inches of the stem still attached.


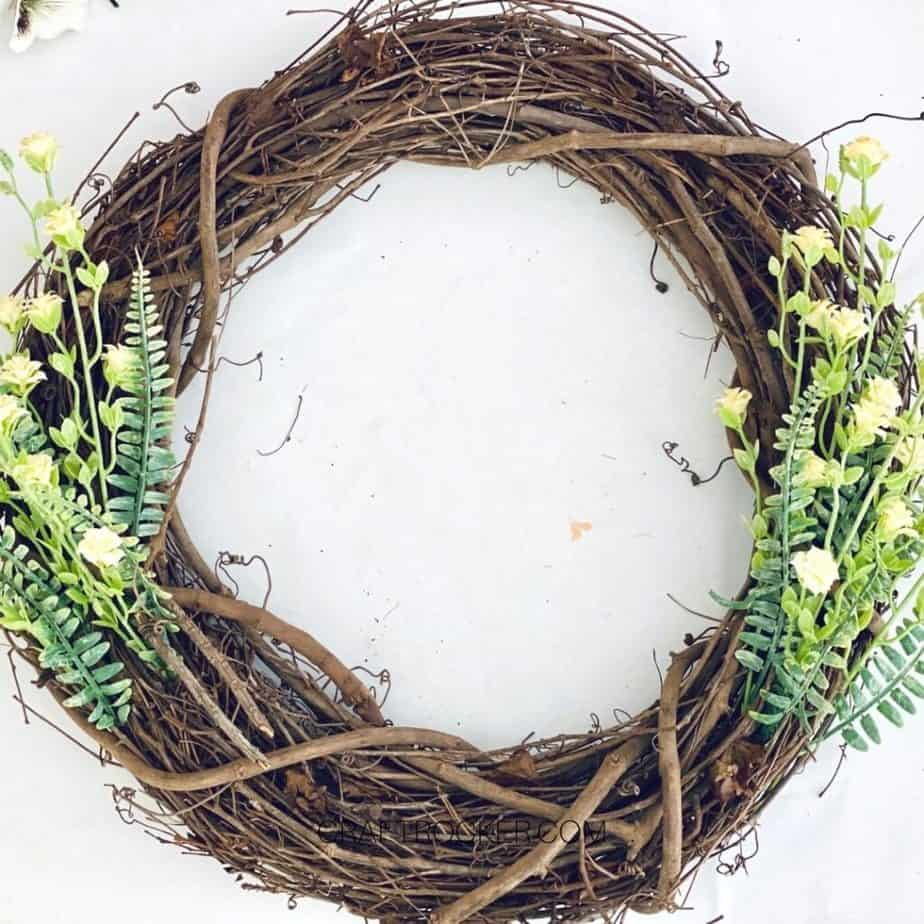
Step 3
After your flowers are cut, add the yellow flowers about half way up the wreath on either side.
I didn’t glue these in, I just stuck them in between the grapevines but you can absolutely glue them if you’re worried about stability.

Step 4
Now start adding the pansies to the bottom of the wreath between the yellow flowers.
There doesn’t need to be any sort of a pattern with the flowers, simply fill in all the areas so that the bottom of your wreath is full of flowers.
Again, these can be tucked into the grapevines or you can hot glue them to your wreath for additional stability.
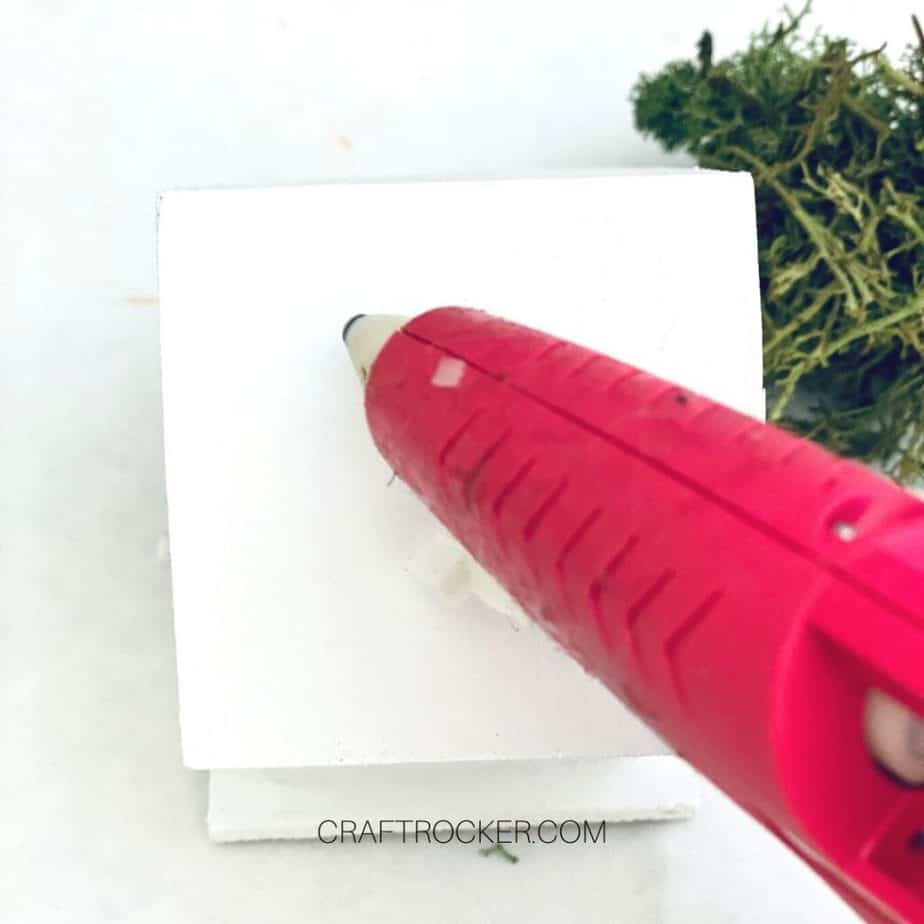
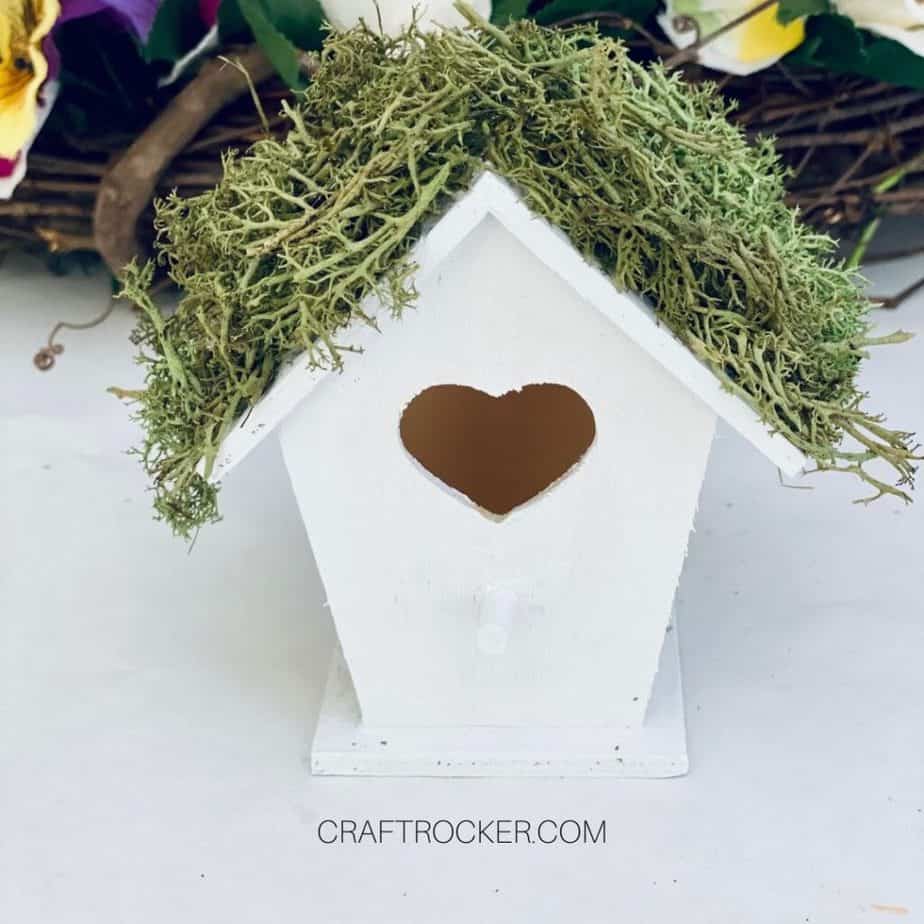
Step 5
Once your bird house is dry, hot glue in strips across the roof of the bird house and the lay some of the reindeer moss on top to the fullness desired.

Step 6
Next add hot glue to the backside of the bird house. I added glue to the roof, the bottom ledge and the sides. Then firmly press it to the wreath about halfway up on the left next to the yellow flowers.


Tips and Tricks
We have a screen door on our front door and it is under a covered porch which is why I wasn’t concerned with hot gluing the flowers to the wreath. If your front door is more exposed, you might want to hot glue your flowers so that wind and/or animals don’t pull them off.
You can add a ribbon hanger to your wreath if you’d like, however you can also slip the end of your wreath hanger into the grapevines to hang it on your door.
If you’re concerned about the elements damaging your wreath, I recommend sealing your bird house with an acrylic sealant before attaching the moss in step 5. This helps keep the paint on your bird house.

This Dollar Tree spring wreath is an easy and beautiful way to brighten up your home this season.
It looks as gorgeous in the house displayed on a wall as it does on your front door so don’t be afraid to hang it wherever you need a little extra brightness in your home.
DIY Dollar Tree Spring Wreath

Get your home ready for spring with this DIY Dollar Tree spring wreath. It’s so easy to make and all of the supplies (except for the wreath base) come from Dollar Tree so it’s easy on your wallet too.
Materials
- 4 Dollar Tree Pansies
- 2 Dollar Tree Yellow Flowers (The ones with yellow flowers and ferns on them)
- Glue Gun and Glue Sticks
- Wire Cutters
- Dollar Tree Wooden Bird House
- Waverly White Chalk Paint
- Paint Brush
- Dollar Tree Reindeer Moss
- 18 inch Grapevine Wreath (This did not come from Dollar Tree)
Instructions
- First, start by painting the bird house with your white chalk paint. Then set it aside to dry completely.
- Next use your wire cutters to cut all of the flowers so that they have about 4 inches of the stem still attached.
- After your flowers are cut, add the yellow flowers about half way up the wreath on either side.
- I didn’t glue these in, I just stuck them in between the grapevines but you can absolutely glue them if you’re worried about stability.
- Now start adding the pansies to the bottom of the wreath between the yellow flowers.
- There doesn’t need to be any sort of a pattern with the flowers, simply fill in all the areas so that the bottom of your wreath is full of flowers.
- Again, these can be tucked into the grapevines or you can hot glue them to your wreath for additional stability.
- Once your bird house is dry, hot glue in strips across the roof of the bird house and the lay some of the reindeer moss on top to the fullness desired.
- Next add hot glue to the backside of the bird house. I added glue to the roof, the bottom ledge and the sides. Then firmly press it to the wreath about halfway up on the left next to the yellow flowers.
Notes
We have a screen door on our front door and it is under a covered porch which is why I wasn’t concerned with hot gluing the flowers to the wreath. If your front door is more exposed, you might want to hot glue your flowers so that wind and/or animals don’t pull them off.
You can add a ribbon hanger to your wreath if you’d like, however you can also slip the end of your wreath hanger into the grapevines to hang it on your door.
If you’re concerned about the elements damaging your wreath, I recommend sealing your bird house with an acrylic sealant before attaching the moss in step 5. This helps keep the paint on your bird house.
Don’t Forget to Pin It!

More Spring Ideas to Love
Mini Canvas Mother’s Day Gifts
Popsicle Sticks Photo Frame Magnets
Simple DIY Spring Banner – Domestically Creative
