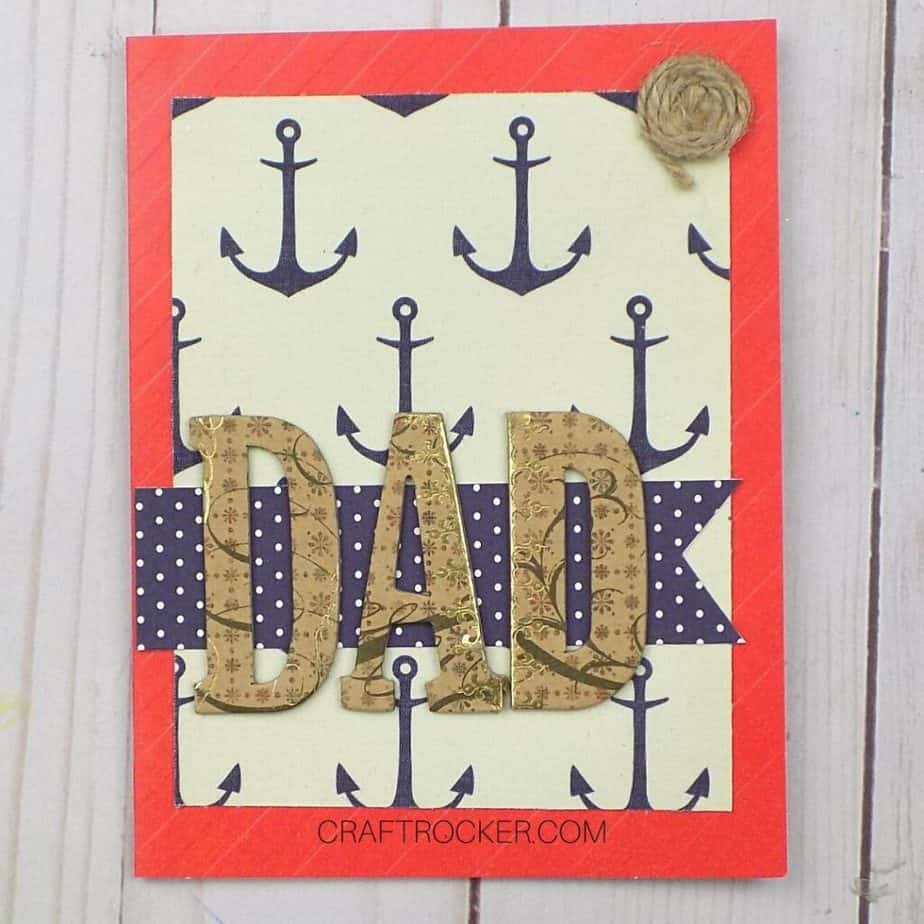
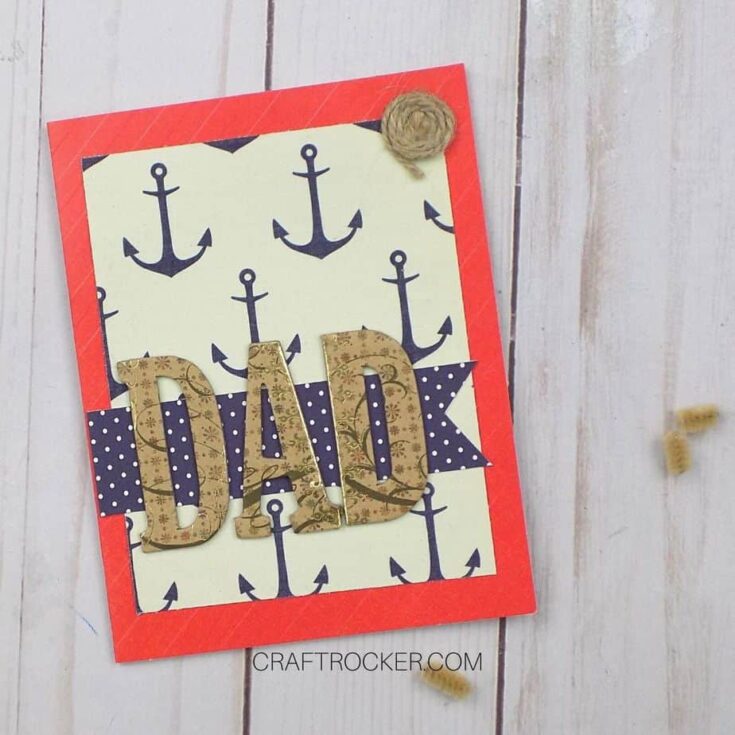
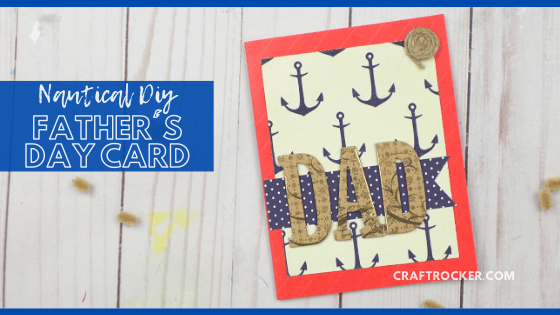
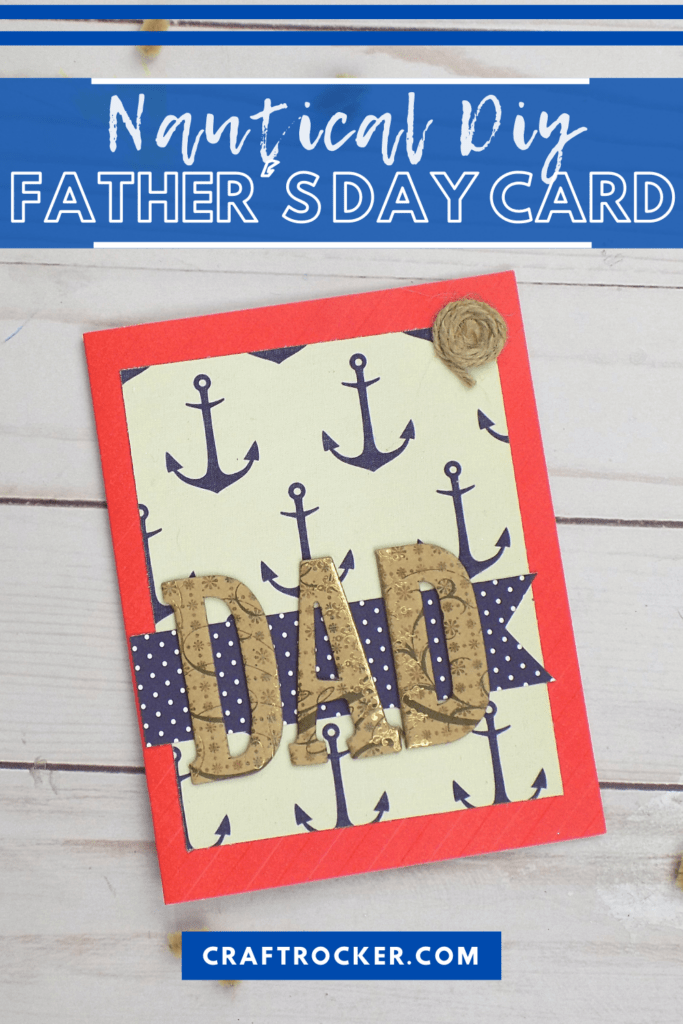
Surprise Dad with this nautical DIY Father’s Day card this year. It’s so easy to make even kids can do it and it looks absolutely beautiful!
Affiliate links may be used in this post. Ordering a product through these links may result in a commission at no extra cost to you. Read the full disclosure here.
Jump to What You Want
Nautical DIY Father’s Day Card How-To
Printable Nautical Father’s Day Card Tutorial
It doesn’t take fancy materials or some crazy amount of skill to make a gorgeous handmade card. In fact, with the right materials, you can whip up a thoughtful and cherished card that anyone will love.
I truly mean it when I say that little kids can make this card. It’s basically cut and paste.
Yup, you heard me. And since the card is already formed (mine came from one of the Hot Buys packs at Michael’s), you save yourself a ton of time from measuring and cutting the card itself.
Materials for Nautical DIY Father’s Day Card
Red Card Blank
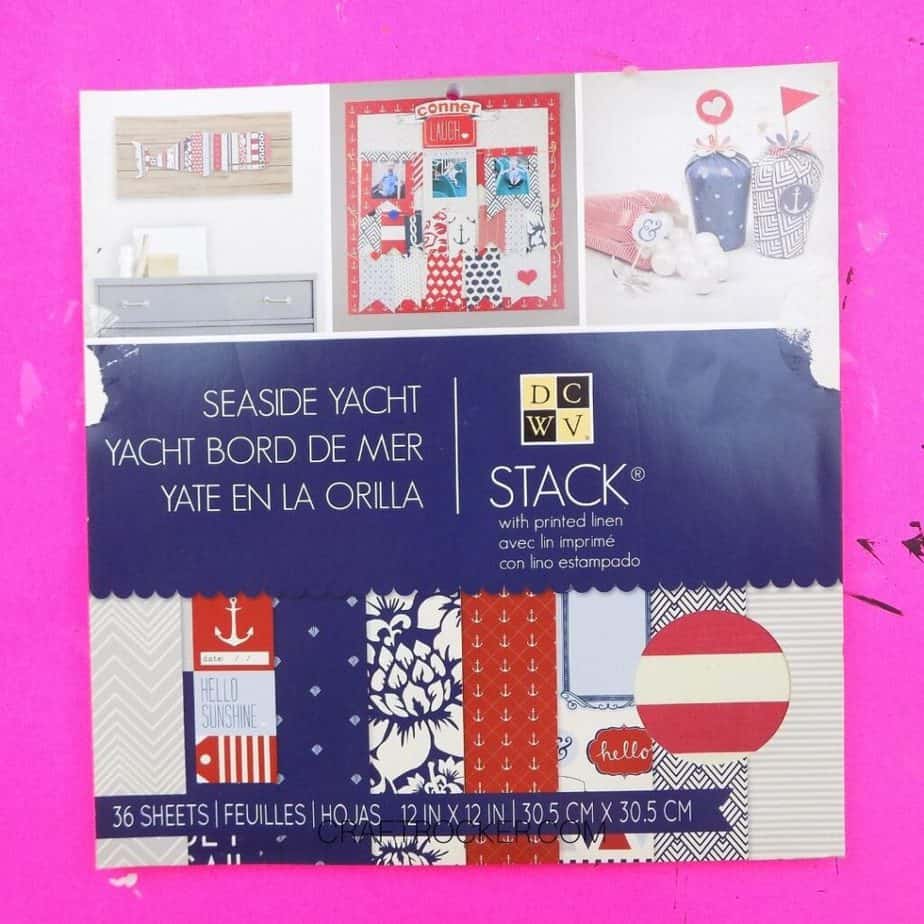
Nautical Papers (mine came from the DCWV Seaside Yacht Pad pictured above)
2 inch Tall Chipboard Letters D-A-D
Ruler
Paper Cutter
Scissors
Glue Runner
Twine
Step 1 – Prepare Card Elements
Start by getting all of the elements of your card ready to attach.
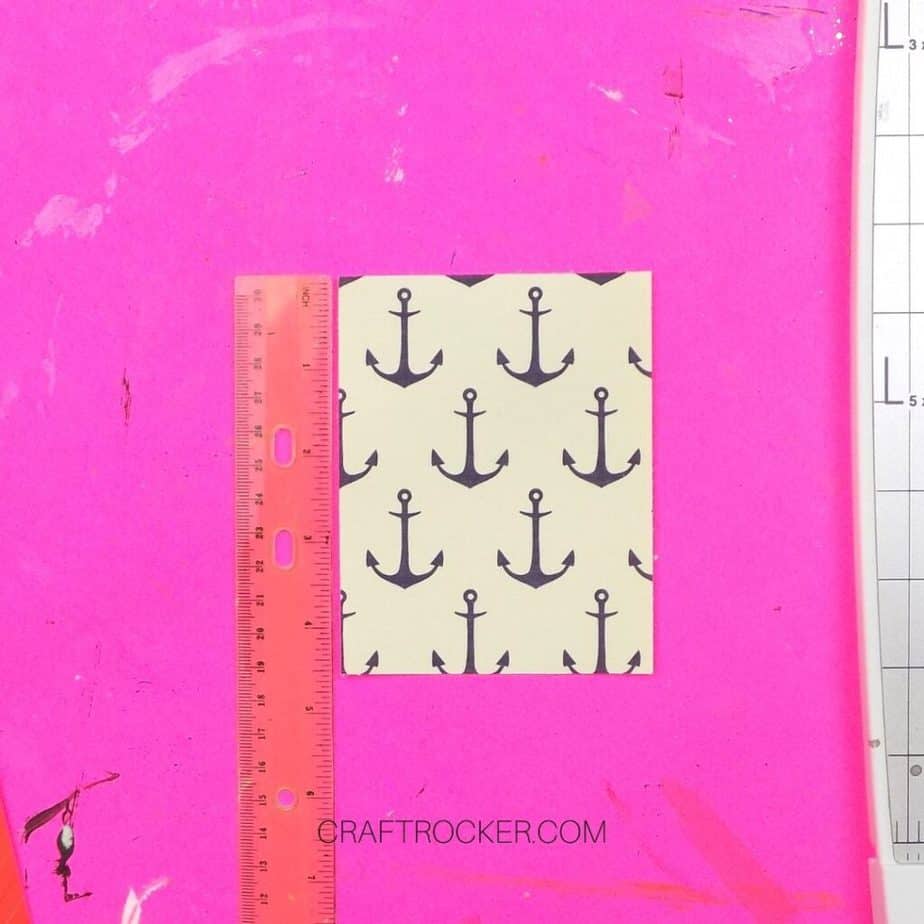
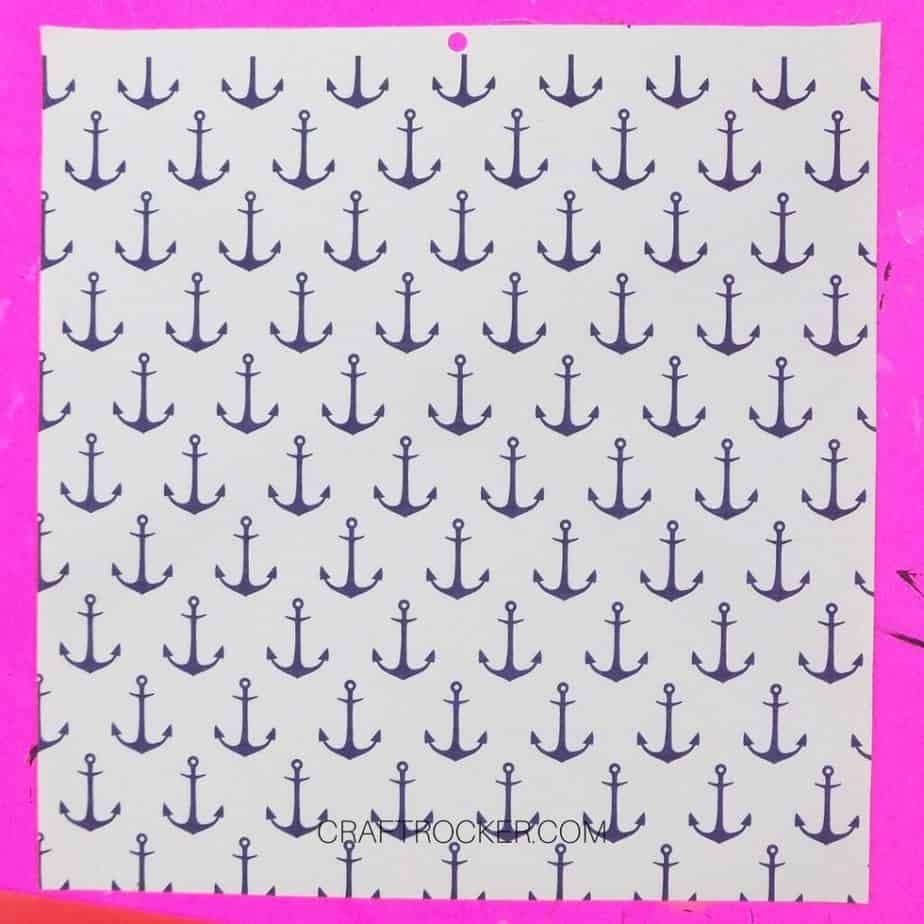
First, cut a piece from your anchor paper that is 3.5 inches wide and 4.5 inches long. Make sure that the tops of the anchors are facing one of the 3.5 inch sides.
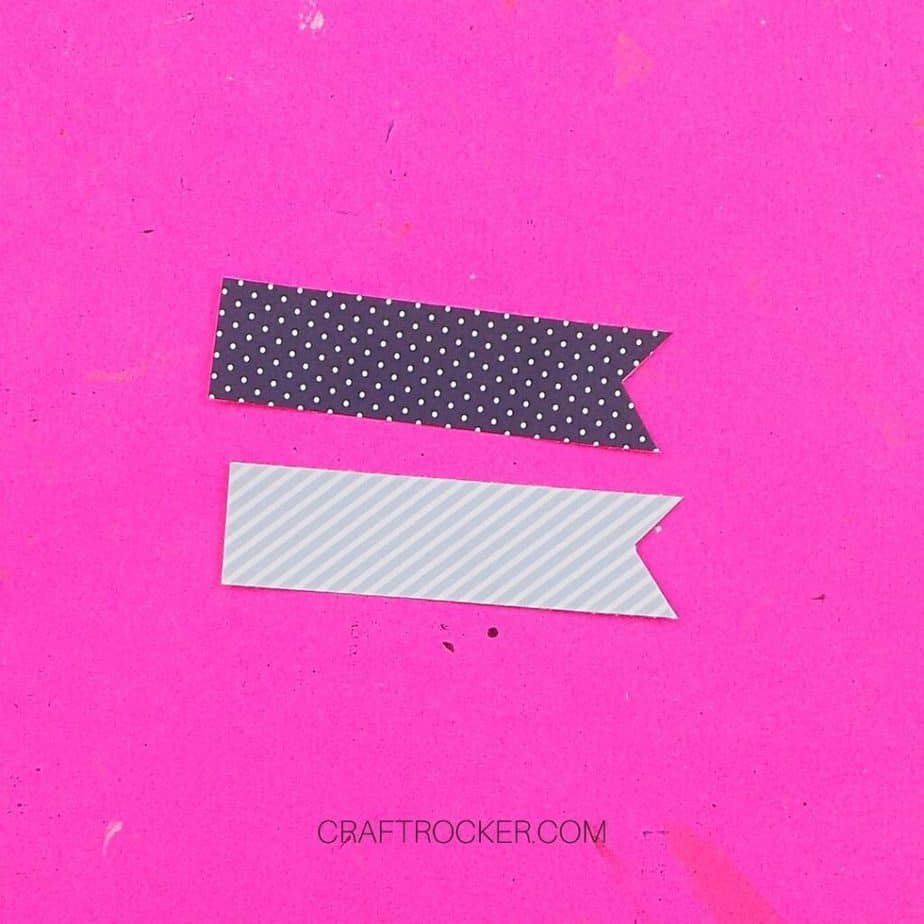
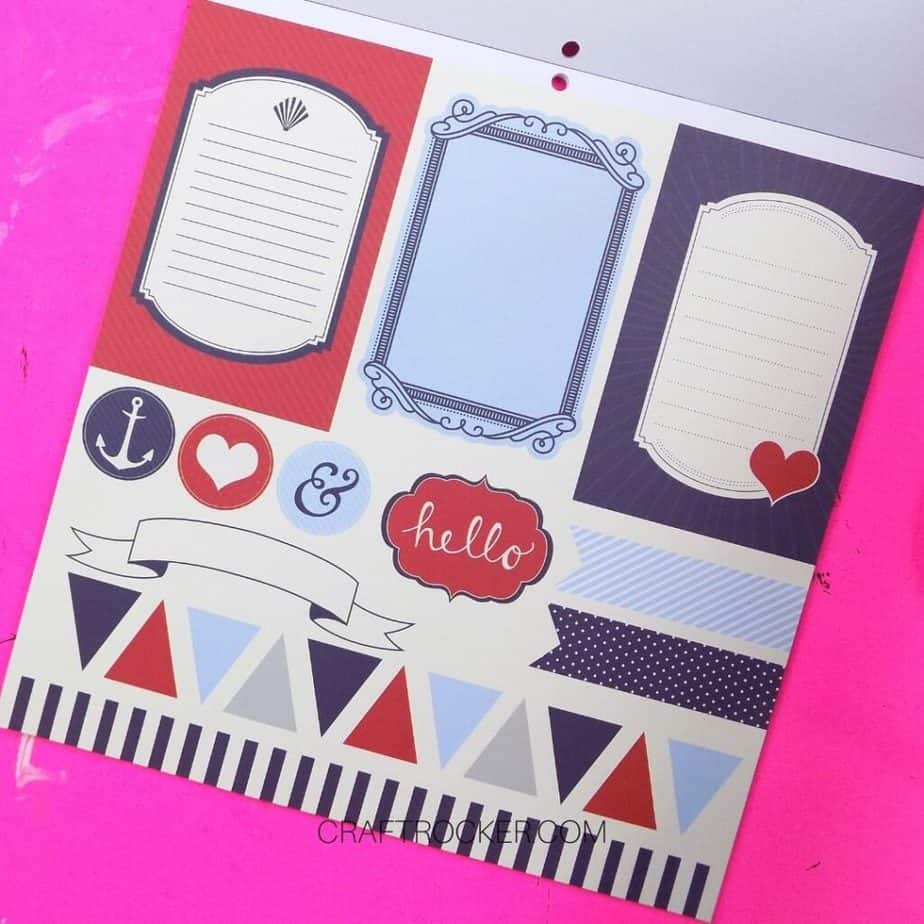
Next, cut out the navy blue flag from your paper. If you don’t have this paper pack, see the Tips and Tricks section below.

Step 2 – Assemble Your Card
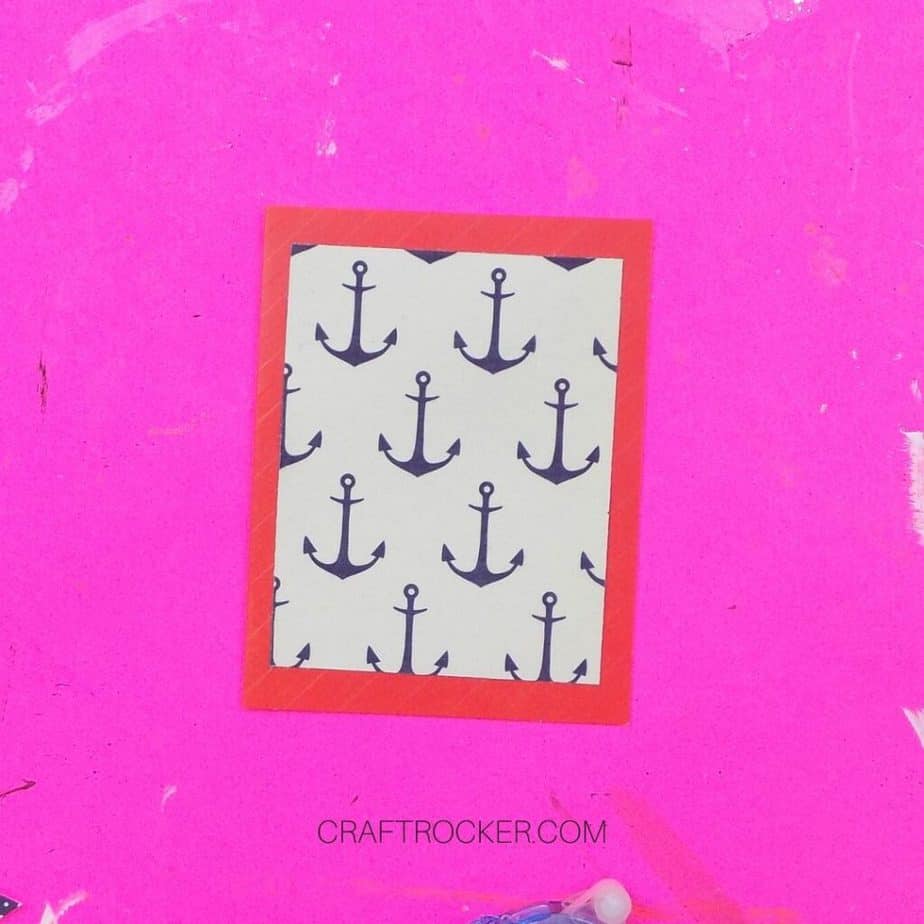
Once all of the pieces are ready, attach the piece of anchors paper to the front of your card with a glue runner.
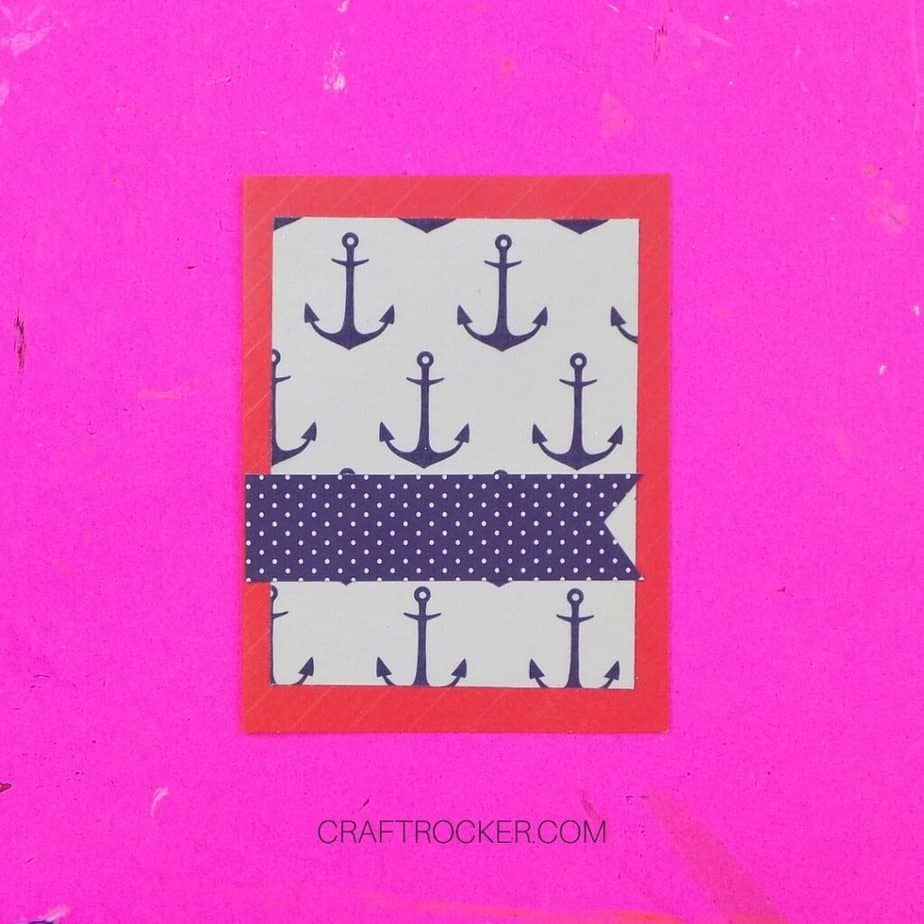
Then attach the flag roughly 1 inch from the bottom of your mounted anchors paper and all the way to the left of the card itself. Again, do this with your glue runner.
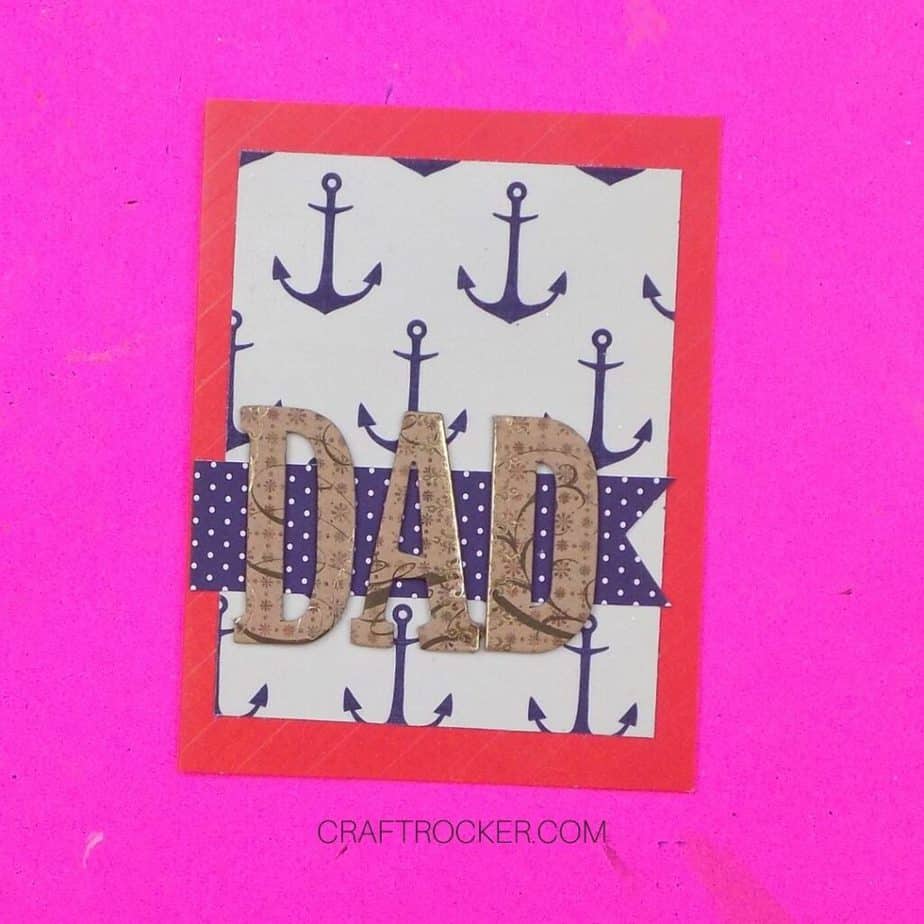
Lastly, attach the chipboard letters centered over the navy blue flag. Keep the letters entirely on the anchors paper leaving a small amount of the flag to the left of the first D.
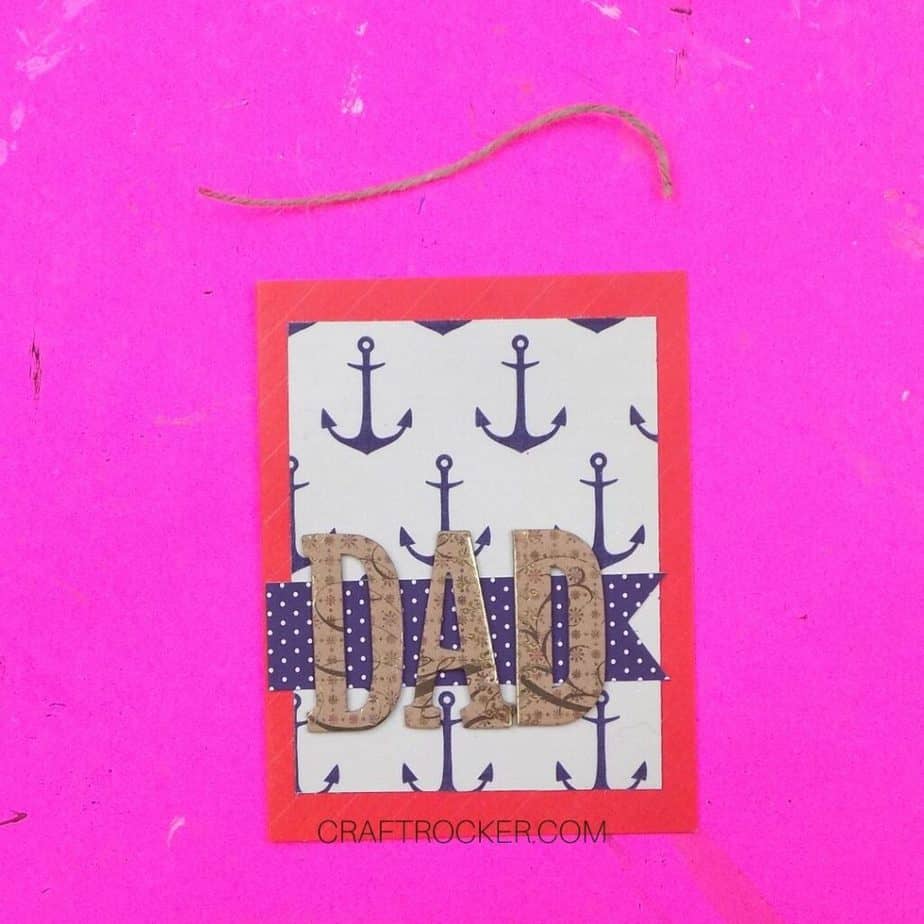
Step 3 – Add the Final Touch
I wanted more textures on the card because the anchors paper in this pad is a fabric-like paper which is awesome.
Cut a 4-5 inch length of twine. Then curl it in on itself until you have a spiral.
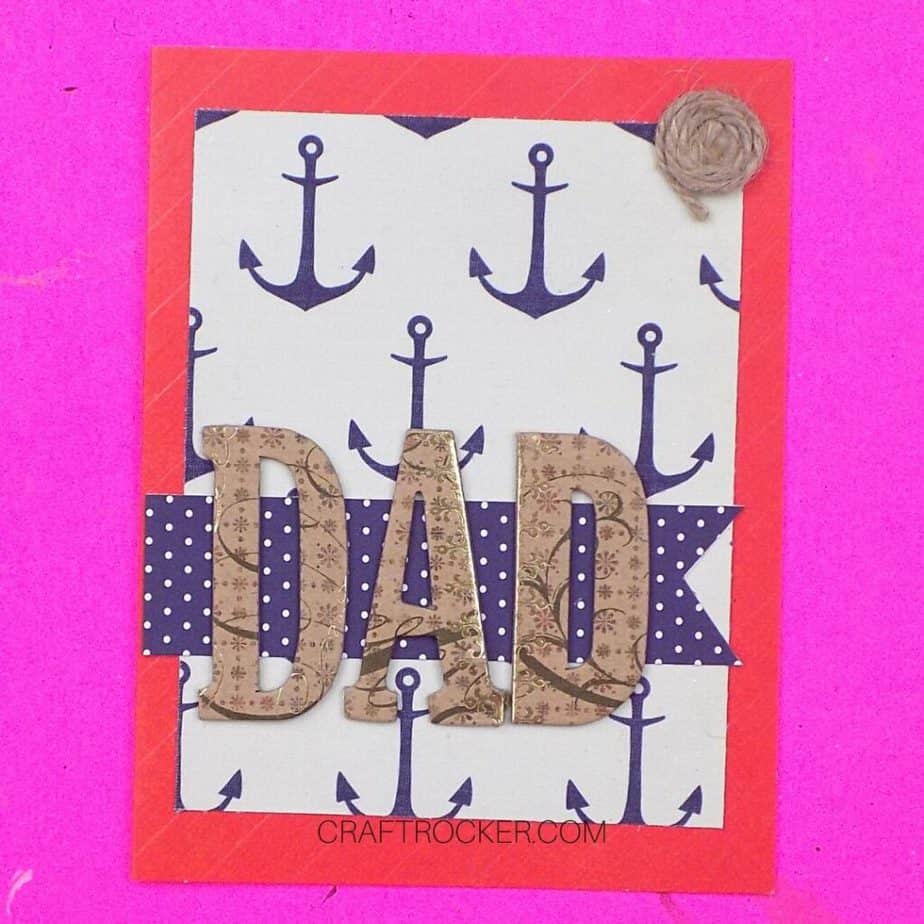
Carefully run your glue runner over the coil (fix any areas that come apart when you do) and attach it to the top right corner of the card.

Tips and Tricks
If you don’t have this exact paper pad, you can cut out the navy blue flag from any piece of matching paper. The flag should be roughly 1 inch wide by 4 inches long. Cut a rectangle that size out of your paper then add the ribbon detail at the end with scissors.
A glue dot is a much easier way to attach your rope coil to the card. If you have them, I definitely recommend using them. I found out (as I was making the card) that I am totally out of them which is why I used the glue runner.
Remember that any paper with anchors will work for this card. If you can’t find the paper pad I used, simply make sure that your papers and chipboard letters coordinate and it will turn out beautifully.
Printable Nautical Father’s Day Card Tutorial
Nautical DIY Father's Day Card
Surprise Dad with this nautical DIY Father’s Day card this year. It’s so easy to make even kids can do it and it looks absolutely beautiful!
Materials
- Red Card Blank
- Nautical Papers (mine came from DCWV Seaside Yacht Pad)
- 2 inch Tall Chipboard Letters D-A-D
- Ruler
- Paper Cutter
- Scissors
- Glue Runner
- Twine
Instructions
- Start by getting all of the elements of your card ready to attach.
- First, cut a piece from your anchor paper that is 3.5 inches wide and 4.5 inches long. Make sure that the tops of the anchors are facing one of the 3.5 inch sides.
- Next, cut out the navy blue flag from your paper. If you don’t have this paper pack, see the Notes section below.
- Once all of the pieces are ready, attach the piece of anchors paper to the front of your card with a glue runner.
- Then attach the flag roughly 1 inch from the bottom of your mounted anchors paper and all the way to the left of the card itself. Again, do this with your glue runner.
- Lastly, attach the chipboard letters centered over the navy blue flag. Keep the letters entirely on the anchors paper leaving a small amount of the flag to the left of the first D.
- Cut a 4-5 inch length of twine. Then curl it in on itself until you have a spiral.
- Carefully run your glue runner over the coil (fix any areas that come apart when you do) and attach it to the top right corner of the card.
Notes
- If you don’t have this exact paper pad, you can cut out the navy blue flag from any piece of matching paper. The flag should be roughly 1 inch wide by 4 inches long. Cut a rectangle that size out of your paper then add the ribbon detail at the end with scissors.
I absolutely love how this nautical Father’s Day card turned out! Dad is going to love it!
Bonus Tip – If you’re having trouble figuring out what to write inside, then check out this awesome stamps set. It has simple sentiments for every occasion.
Don’t Forget to Pin It!
More Awesome Paper Crafts
How to Make a Pop-Up Heart Card
Construction Card – Cookies, Coffee, and Crafts
