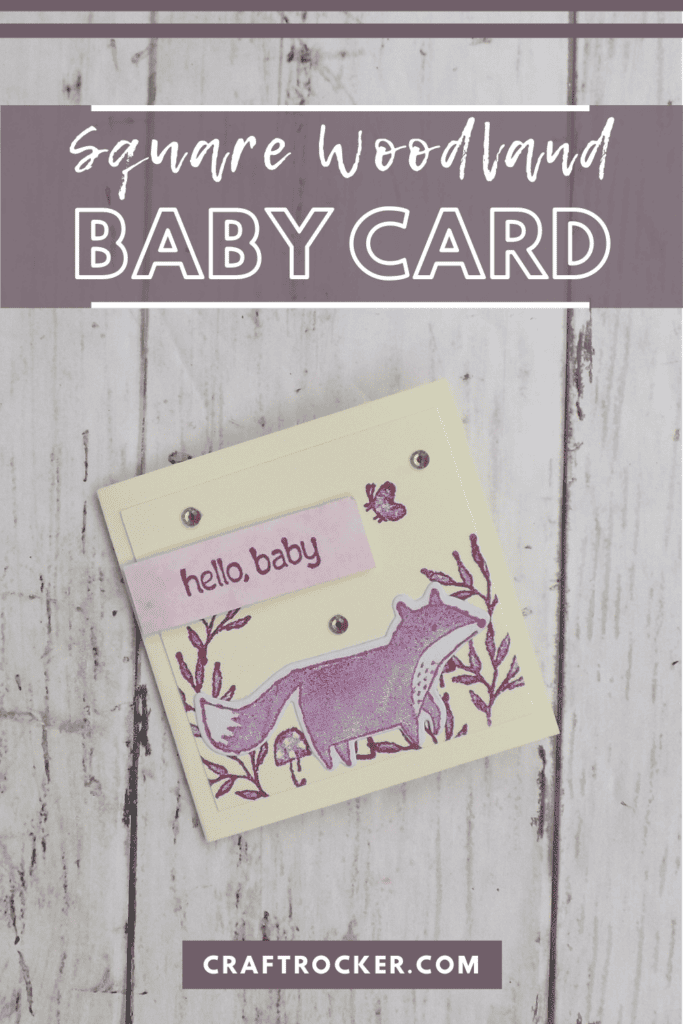
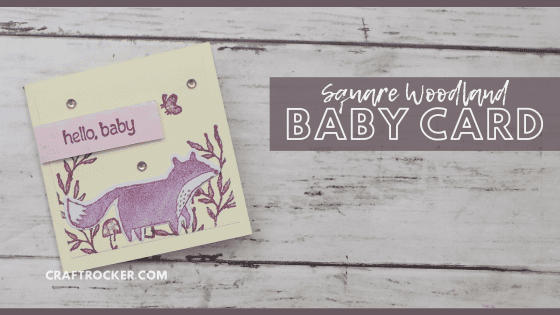
This woodland fox baby gift card is the perfect handmade touch to add to your next baby shower gift.
Affiliate links may be used in this post. Ordering a product through these links may result in a commission at no extra cost to you. Read the full disclosure here.

Jump to What You Want
Woodland Fox Baby Gift Card Materials
Printable Woodland Fox Baby Gift Card Tutorial
Sometimes you don’t want a large card to accompany your gift. However, that little card attached to the gift bag isn’t special enough.
That’s where this adorable little card comes in. It’s super simple to make and a fantastic keepsake for the baby book.
Materials for Woodland Fox Baby Gift Card
Stamps Used
- Happier than Happy Stamp Set (Stampin’Up)
Paper Used
- Cream 8.5×11 inch Cardstock
- White Scrap Paper
Ink Used
- Moody Mauve (Stampin’Up)
Adhesives Used
- Glue Runner
- Adhesive Foam Squares
Paper Cutting Dies Used
- Happier than Happy Cutting Dies Set (Stampin’Up)
Embellishments Used
- Small Gold Gems
Tools Used
- Scoreboard
- Paper Cutter
- Acrylic Block
- Sizzix Big Shot

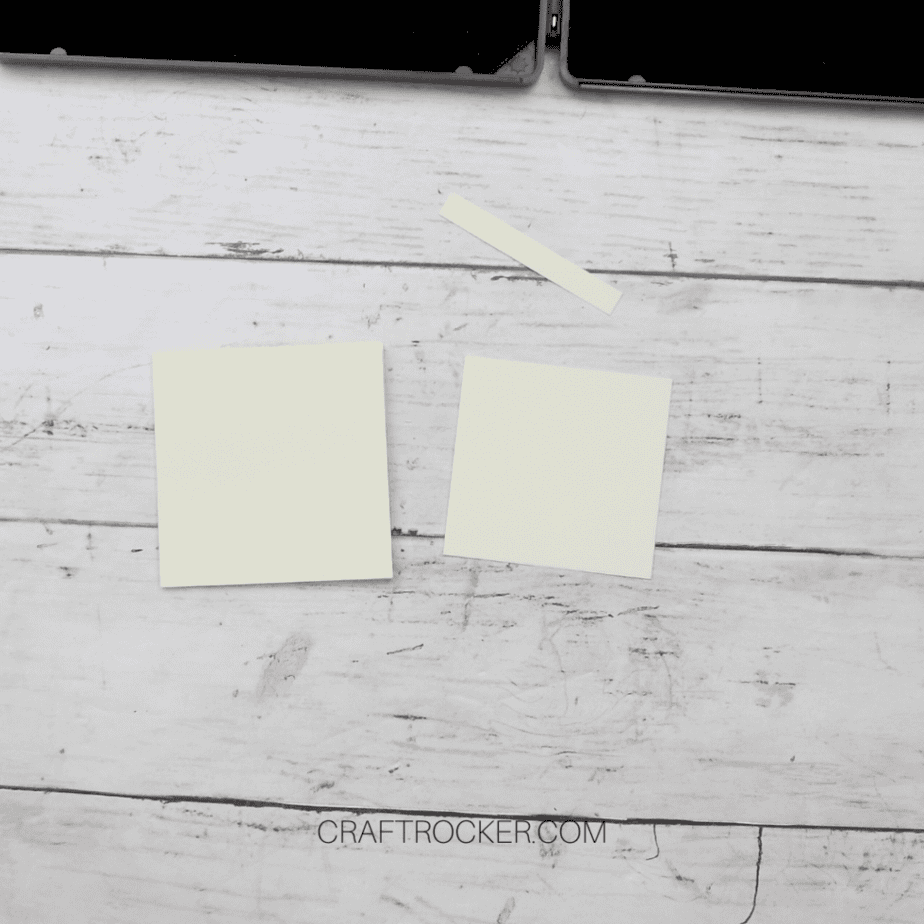
Step 1 – Make Your Card Base
First, place an 8.5×11 inch piece of cream cardstock on your scoreboard with the 11 inch side at the top.
Then score the cardstock at 3 inches and cut the paper along that score line.


Return the smaller piece of cut paper to the scoreboard with the 8.5 inch side at the top. Then score at 3 inches and 6 inches.
Remove the paper from the scoreboard and cut along the 6 inch score line.
Finally, fold the card along the 3 inch score line.
Step 2 – Make Stamped Background
Grab your small, trimmed rectangle of cream cardstock and place it over your card base.
Trim the edge so that it will mat evenly on your card base.

Then place your trimmed square of cardstock on a scrap piece of paper and stamp leaves along the left and right edges of the square. Some leaves should slightly go off the edges of your square (hence the scrap paper underneath).
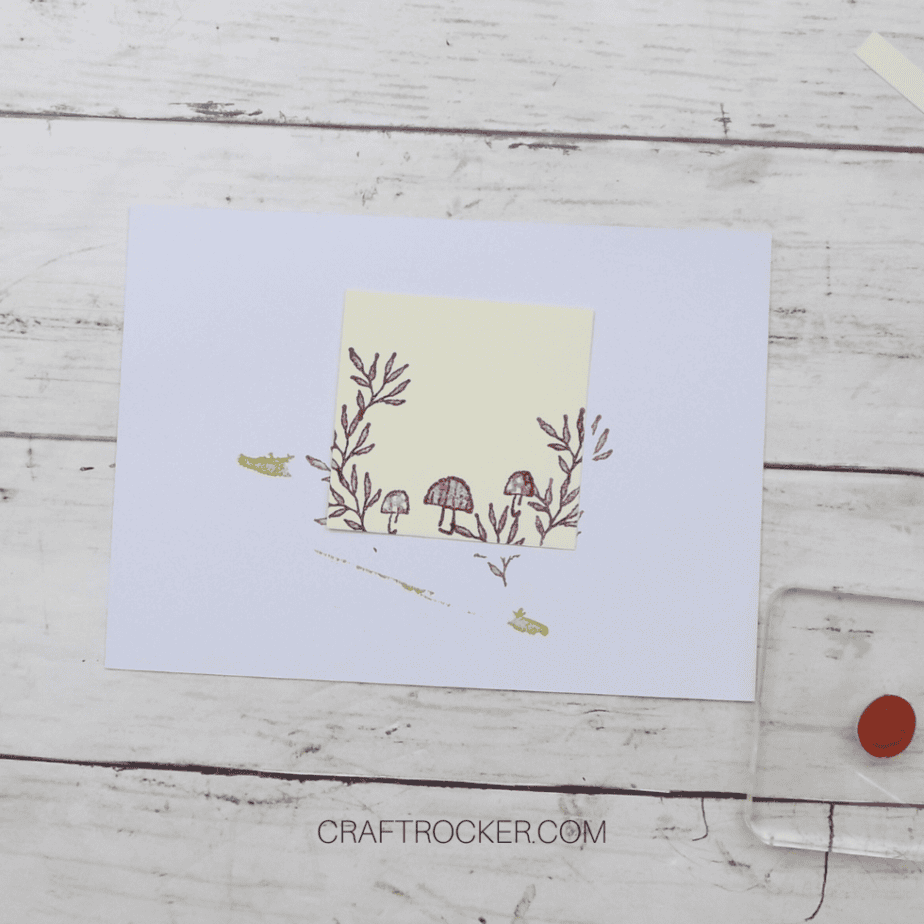
Next, stamp some mushrooms at the bottom of your square.
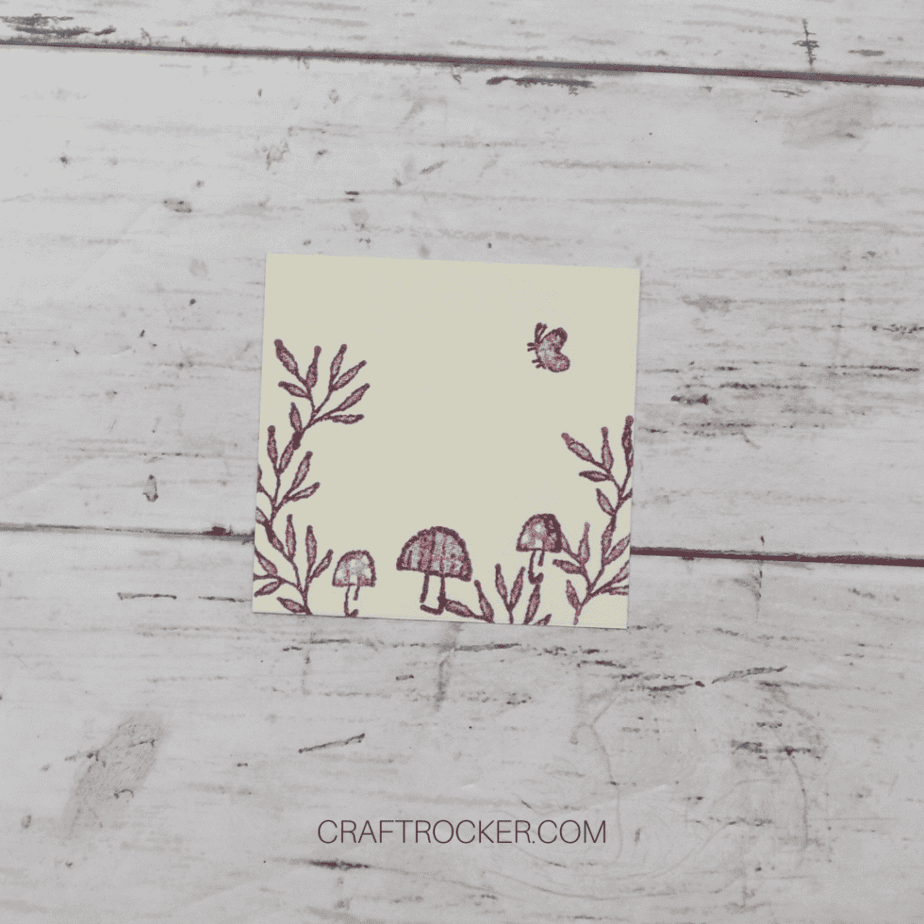

Finish it off by stamping a butterfly at the top right of the square.
Step 3 – Create Your Fox
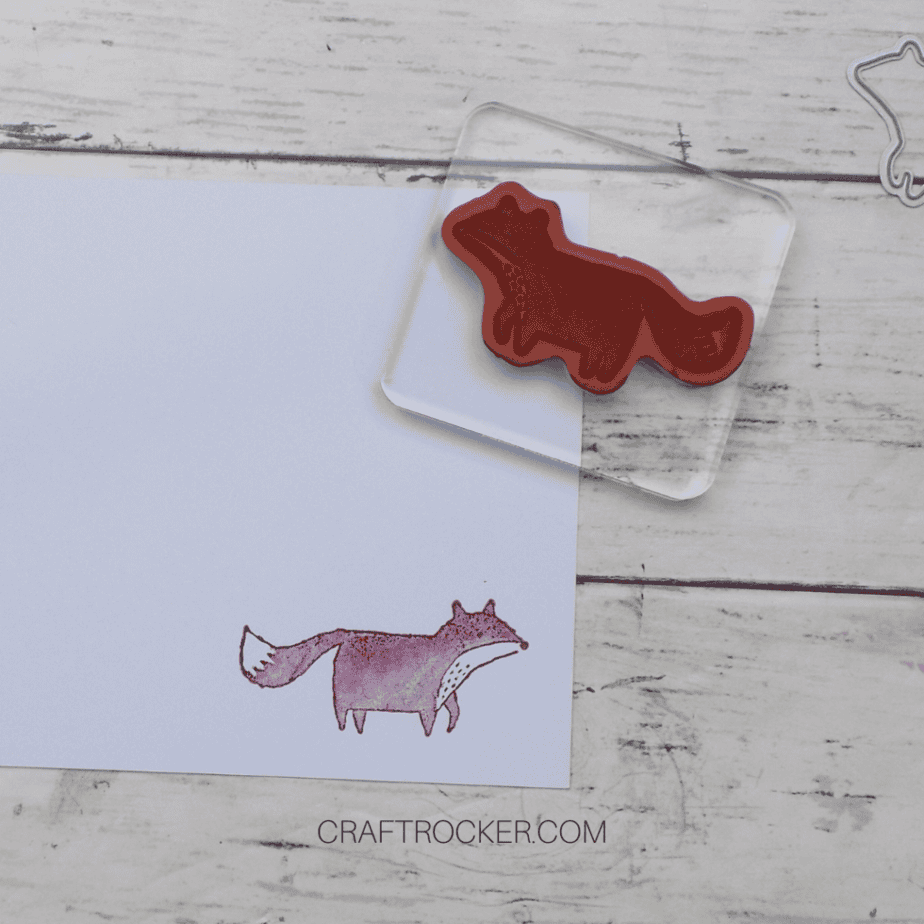
Stamp your fox on a scrap piece of white cardstock.
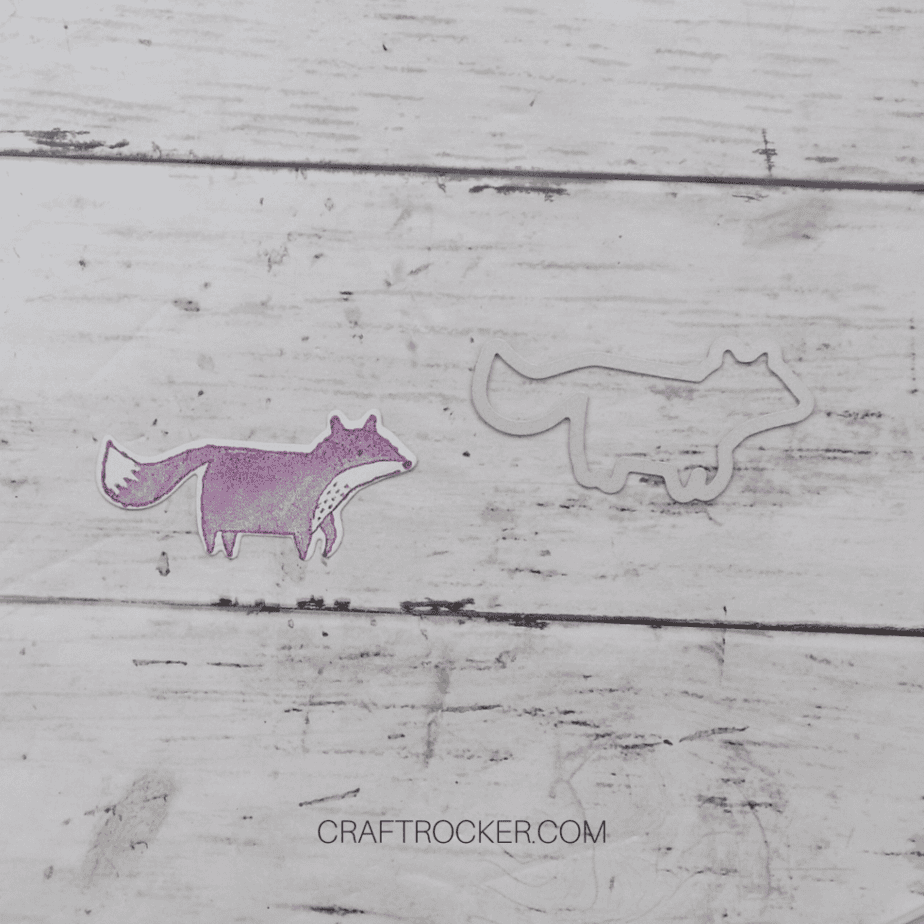
Then use the corresponding cutting die to cut it out on your Sizzix.
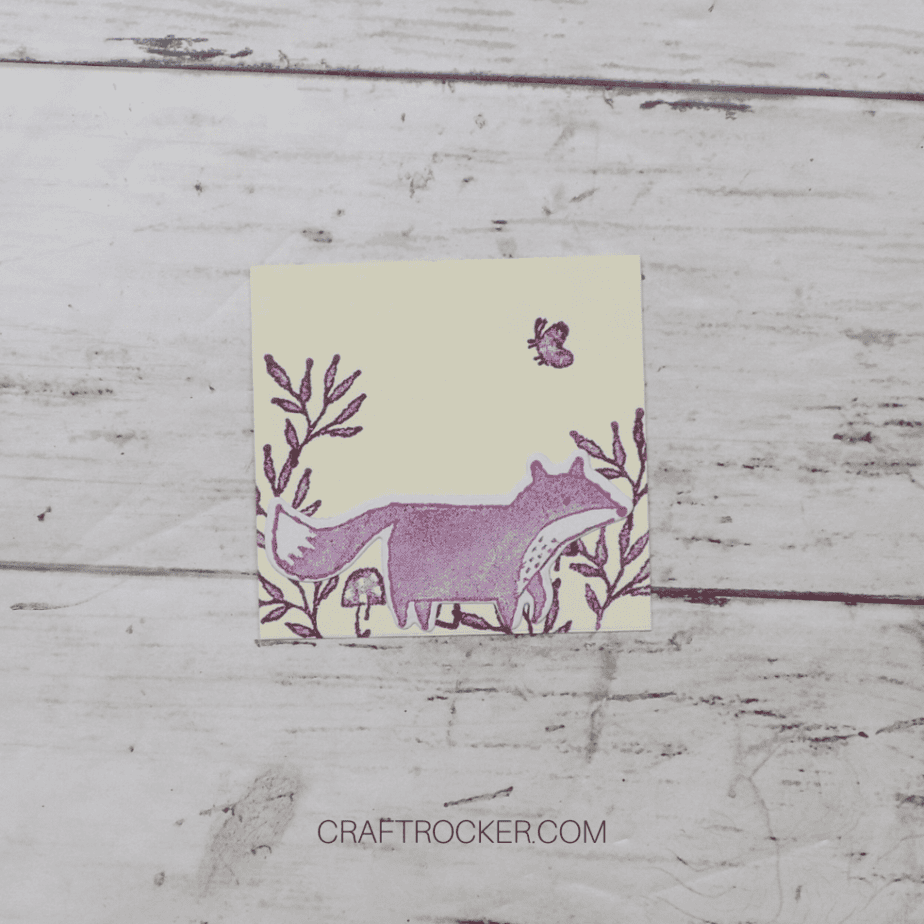
Lastly, attach it to your stamped background square with a glue runner.
Step 4 – Assemble your Card
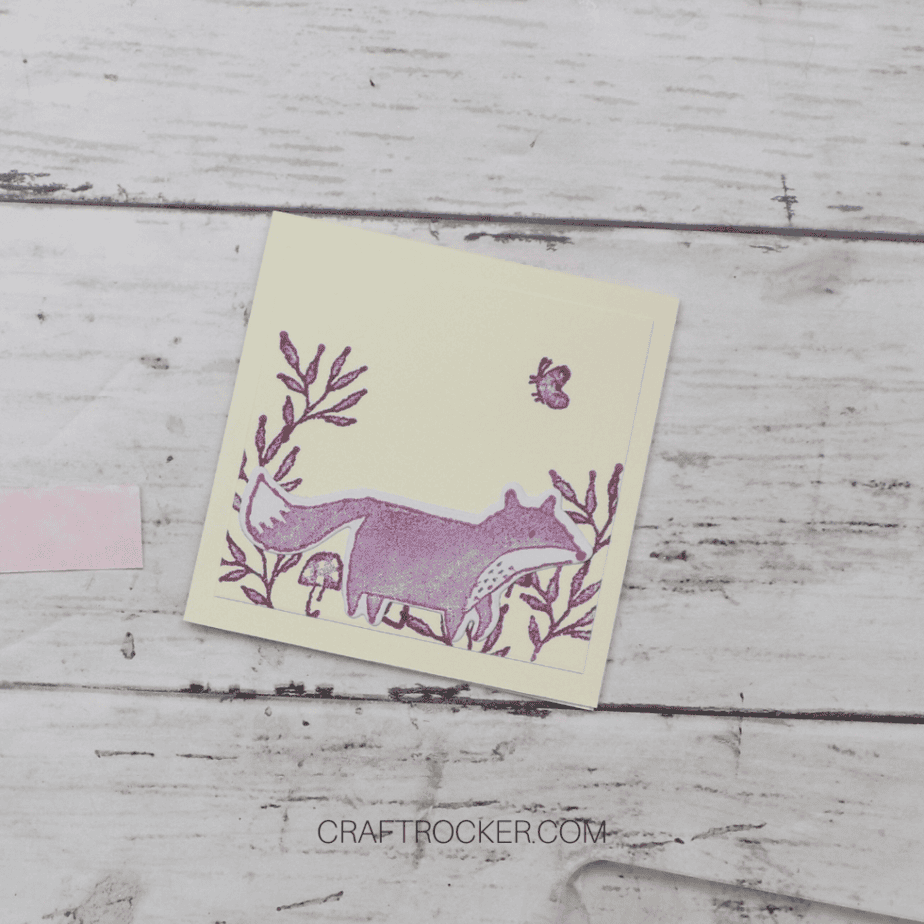
First, attach your fox and stamped background to the center of the front of your card.

Next, stamp “hello, baby” on a small scrap of light pink cardstock.
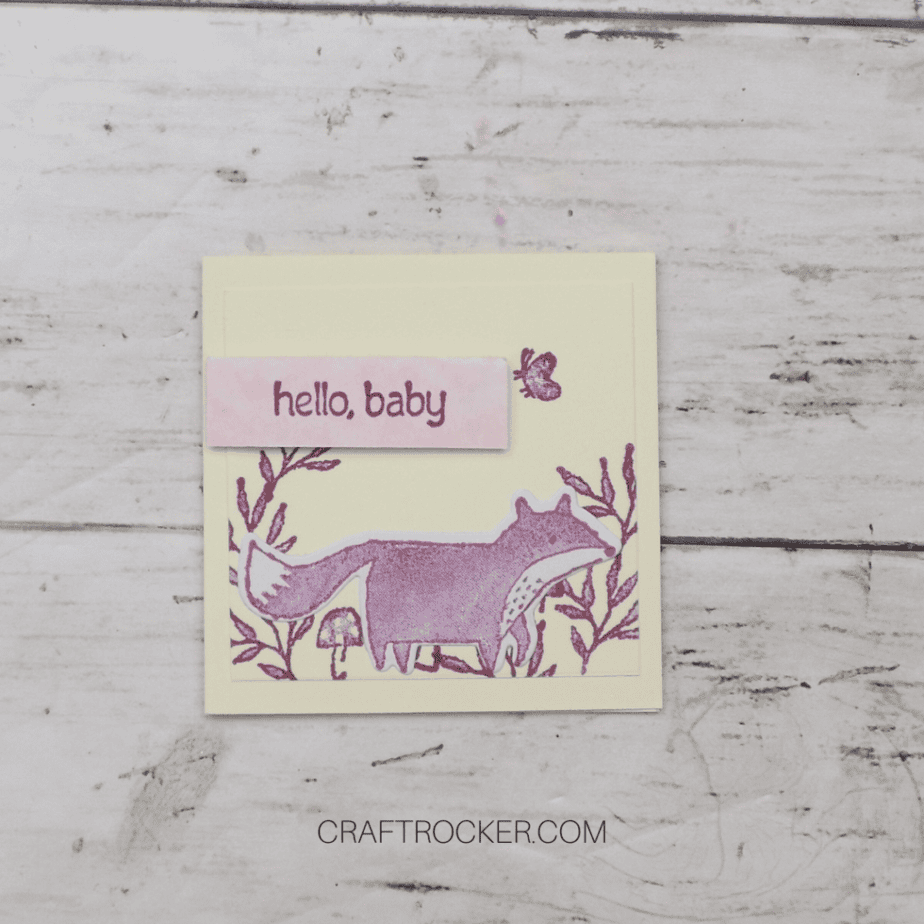
Cut it down to a small rectangle and attach it to the top left side of the card front with adhesive foam squares.
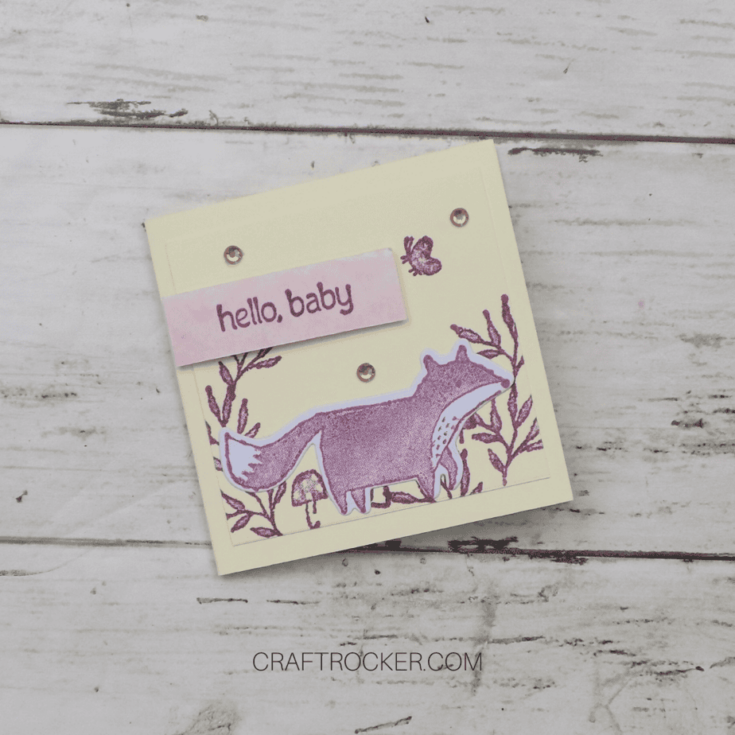
Finish the card by attaching some golden gems to the front.
Tips and Tricks
- Easily customize this to the recipient or the party theme simply by changing the ink color and the pink accent paper. Literally the rest of the process remains the same.
- When stamping your leaves, turn your stamp slightly in different directions to create a more visually interesting design.
Printable Woodland Fox Baby Gift Card Tutorial
Woodland Fox Baby Gift Card
Not only is this woodland fox baby gift card super easy to make, the small size makes it perfect for the recipient to add to the shower pages of the baby book!
Materials
- Happier than Happy Stamp Set (Stampin’Up)
- Cream 8.5x11 inch Cardstock
- White Scrap Paper
- Moody Mauve (Stampin’Up)
- Glue Runner
- Adhesive Foam Squares
- Happier than Happy Cutting Dies Set (Stampin’Up)
- Small Gold Gems
Tools
- Scoreboard
- Paper Cutter
- Acrylic Block
- Sizzix Big Shot
Instructions
- First, place an 8.5x11 inch piece of cream cardstock on your scoreboard with the 11 inch side at the top.
- Then score the cardstock at 3 inches and cut the paper along that scoreline.
- Return the smaller piece of cut paper to the scoreboard with the 8.5 inch side at the top. Then score at 3 inches and 6 inches.
- Remove the paper from the scoreboard and cut along the 6 inch scoreline.
- Finally, fold the card along the 3 inch score line.
- Grab your small, trimmed rectangle of cream cardstock and place it over your card base.
- Trim the edge so that it will mat evenly on your card base.
- Then place your trimmed square of cardstock on a scrap piece of paper and stamp leaves along the left and right edges of the square. Some leaves should slightly go off the edges of your square (hence the scrap paper underneath).
- Next, stamp some mushrooms at the bottom of your square.
- Finish it off by stamping a butterfly at the top right of the square.
- Stamp your fox on a scrap piece of white cardstock.
- Then use the corresponding cutting die to cut it out on your Sizzix.
- Lastly, attach it to your stamped background square with a glue runner.
- First, attach your fox and stamped background to the center of the front of your card.
- Next, stamp “hello, baby” on a small scrap of light pink cardstock.
- Cut it down to a small rectangle and attach it to the top left side of the card front with adhesive foam squares.
- Finish the card by attaching some golden gems to the front.
Not only is this woodland fox baby gift card super easy to make, the small size makes it perfect for the recipient to add to the shower pages of the baby book!
Don’t Forget to Pin It!