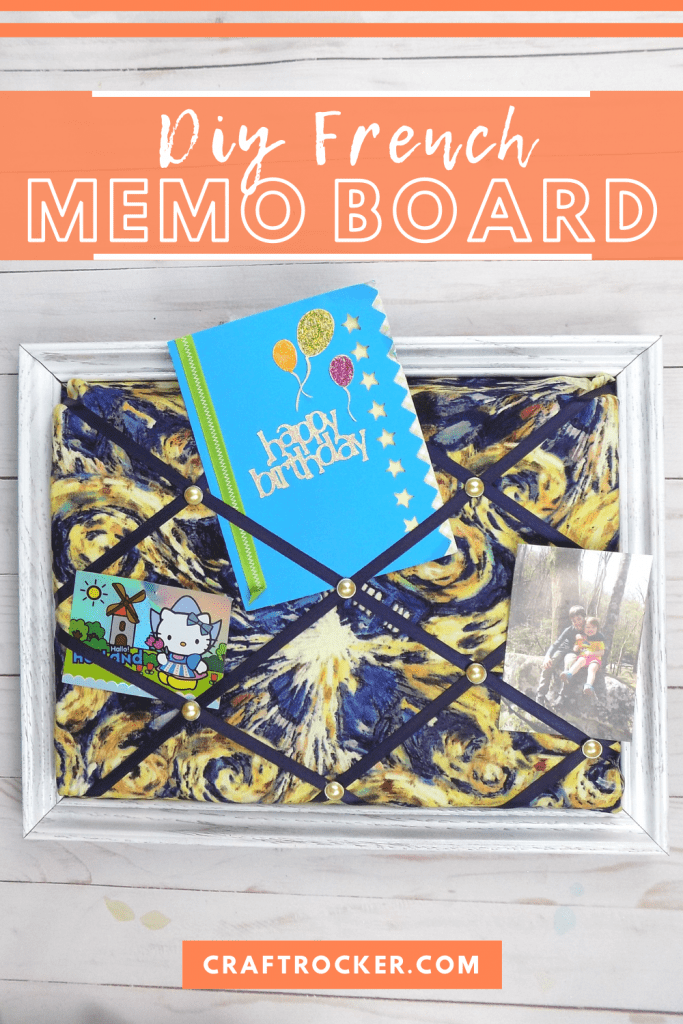
Find out how to make a French memo board with this easy upcycled frame tutorial!
Affiliate links may be used in this post. Ordering a product through these links may result in a commission at no extra cost to you. Read the full disclosure here.
Jump to What You Want


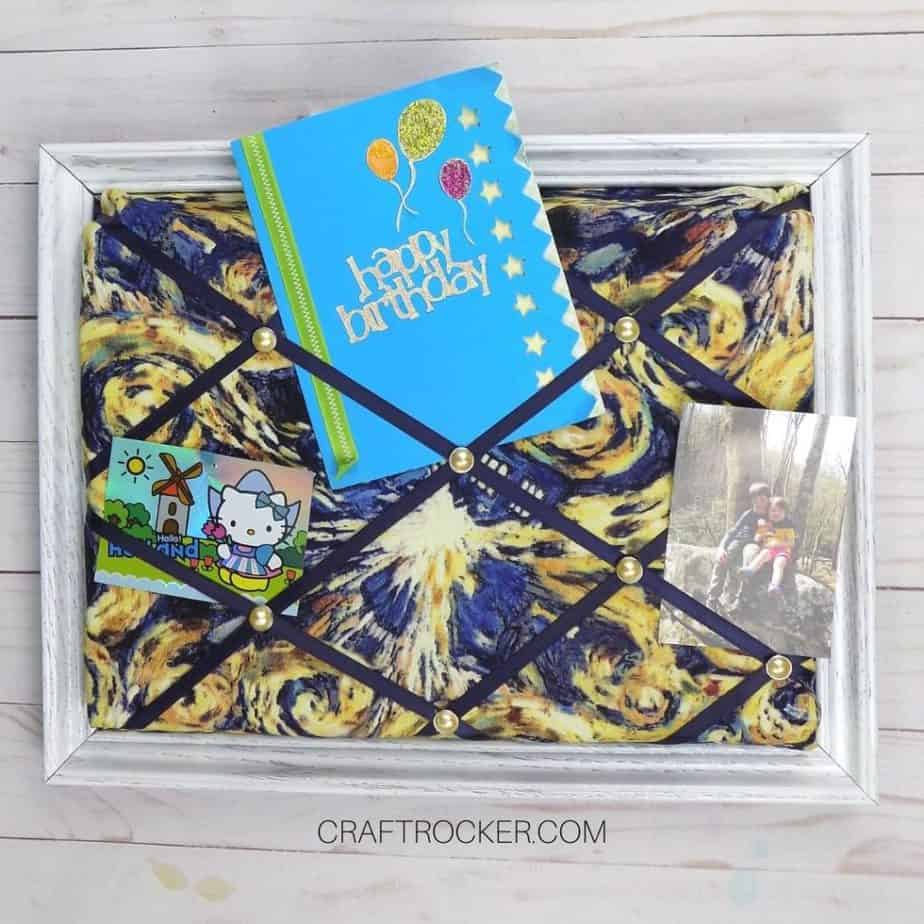
My kids get a surprising amount of keepsakes for tiny humans. From birthday cards to photos and postcards, they needed a way to display their treasures.
Luckily, they’re also total nerds like their mom and are big Doctor Who fans. That makes this DIY memo board the perfect solution.
Not only is it totally awesome, they can simply slide their mementos into the ribbons. It’s also great because it’s a useful piece of decor that will grow with them through the years.
Thrift Store Upcycle Blog Hop
The Rules:
- Upcycle an item(s) from a thrift store, resale store, or garage sale into a new piece of decor.
- There’s no monthly theme.
- There’s no budget to stick to.
Meet the Hosts
Angela | Simply Beautiful By Angela – Beverly | Across the Blvd – Lynne | My Family Thyme – Marie | Craft Rocker
Our Thrift Store Upcycle group of bloggers is looking to expand — and we need your help! Why not consider joining in our thrift store upcycle challenge on the last Thursday of each month? Make some friends while having fun and share your love of DIY with the world. It’s a win-win! Sound like something you’d be interested in? Just leave a comment at the end of this post with your contact info and a link to your blog. Someone will get back to you right away. We can’t wait to meet you!
Materials for French Memo Board
Large Thrift Store Frame
White Spray Paint
Black Marker
2 inch Thick Foam
22 inch x 16 inch Piece of Fabric (I got mine here)
Hot Glue Gun and Glue Sticks
3/8 inch Ribbon
Stapler and Staples
Scissors
Decorative Brads

Step 1
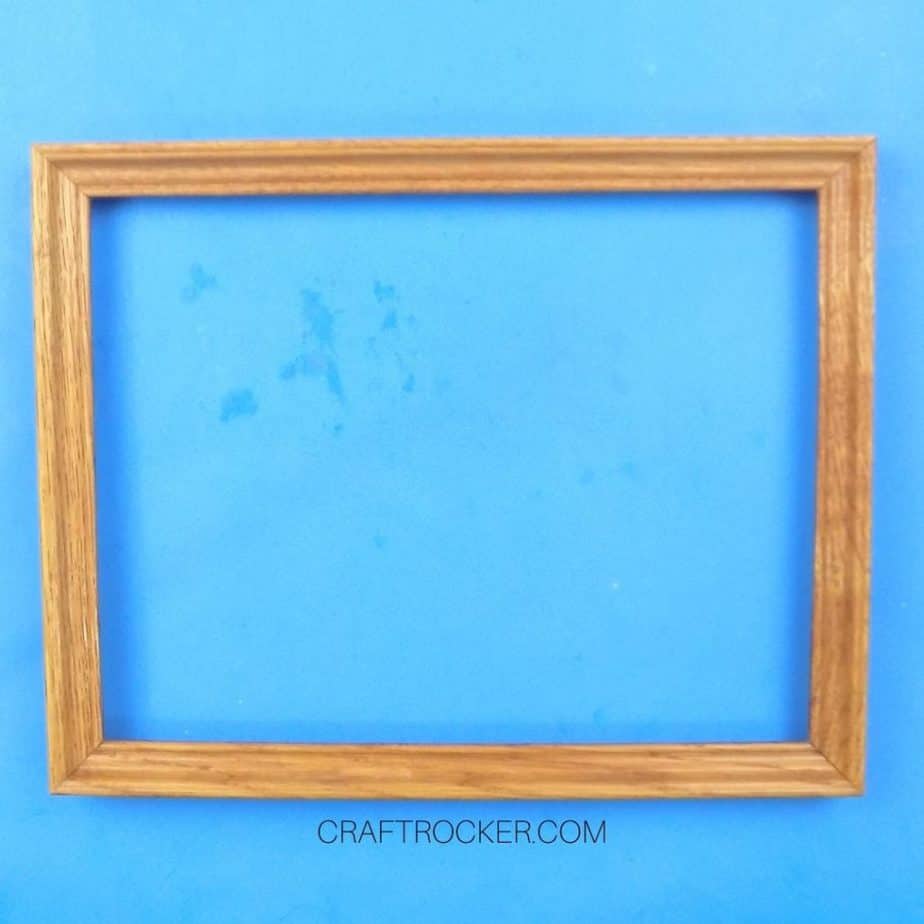
First, remove any inserts from your frame and clean it. I also want to point out that this project does not require the glass from the frame so it’s the perfect project to use a frame with broken or missing glass.
Step 2
Then paint a light coat of white paint on your frame. You want to spray lightly so that some of the details of the wood come through. Set your frame aside to dry.
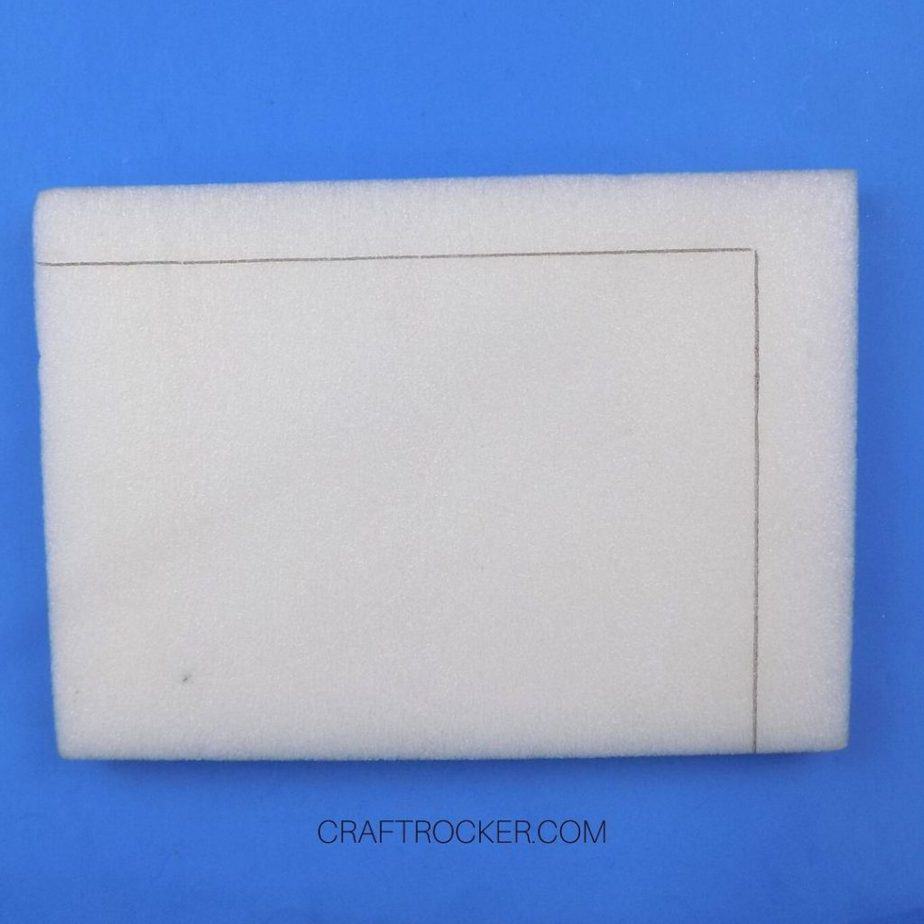

Step 3
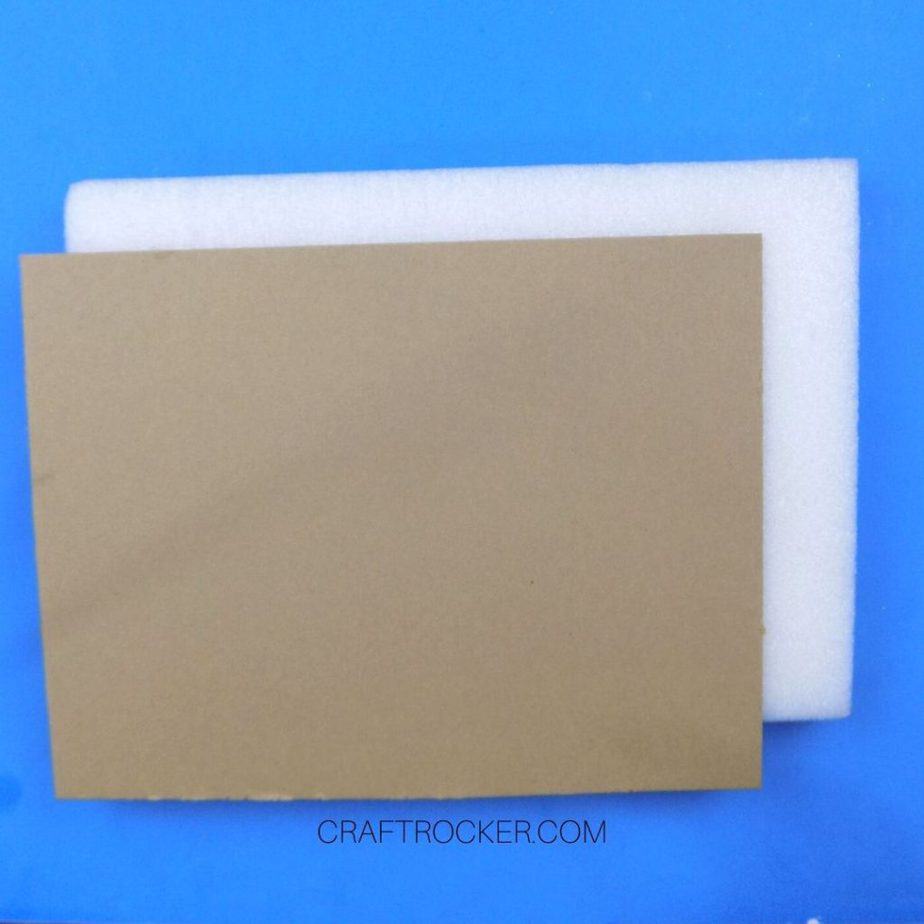
Next, pull out your foam and the cardboard insert from your frame. Use the cardboard to measure and mark lines on your foam. You want your piece of foam to be about an inch smaller than the cardboard insert on all sides.
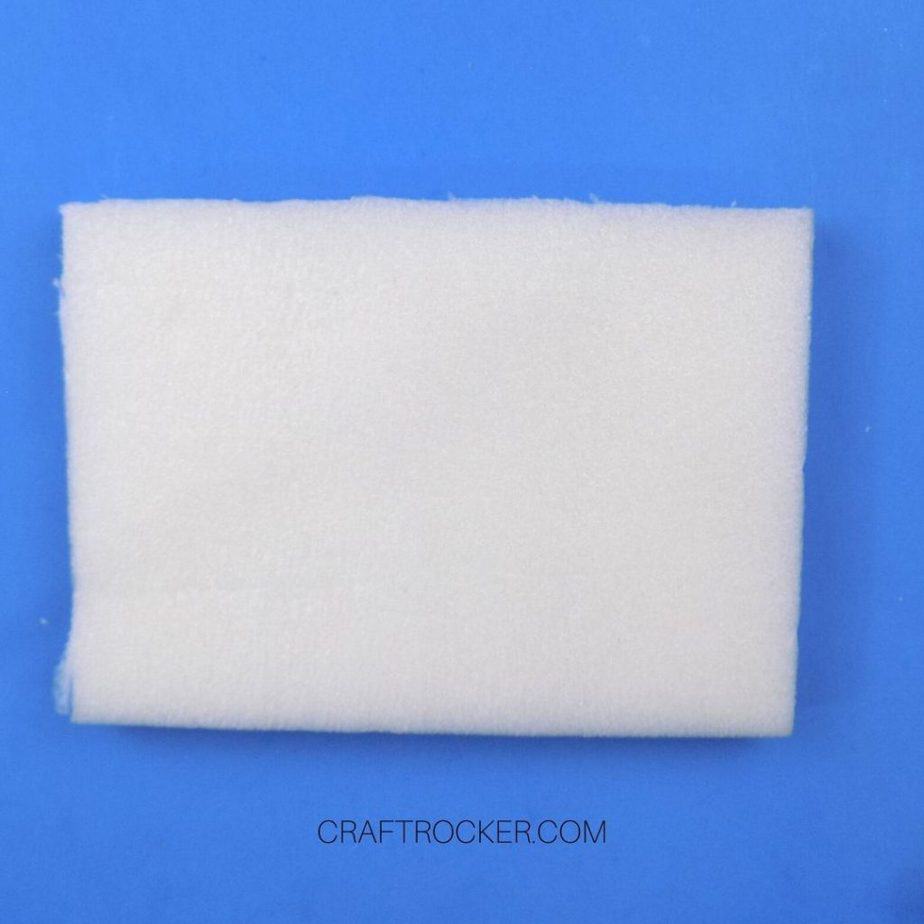
Step 4
Now cut along the lines on your piece of foam with your utility knife. As you can see from the picture above, it doesn’t have to be perfect.
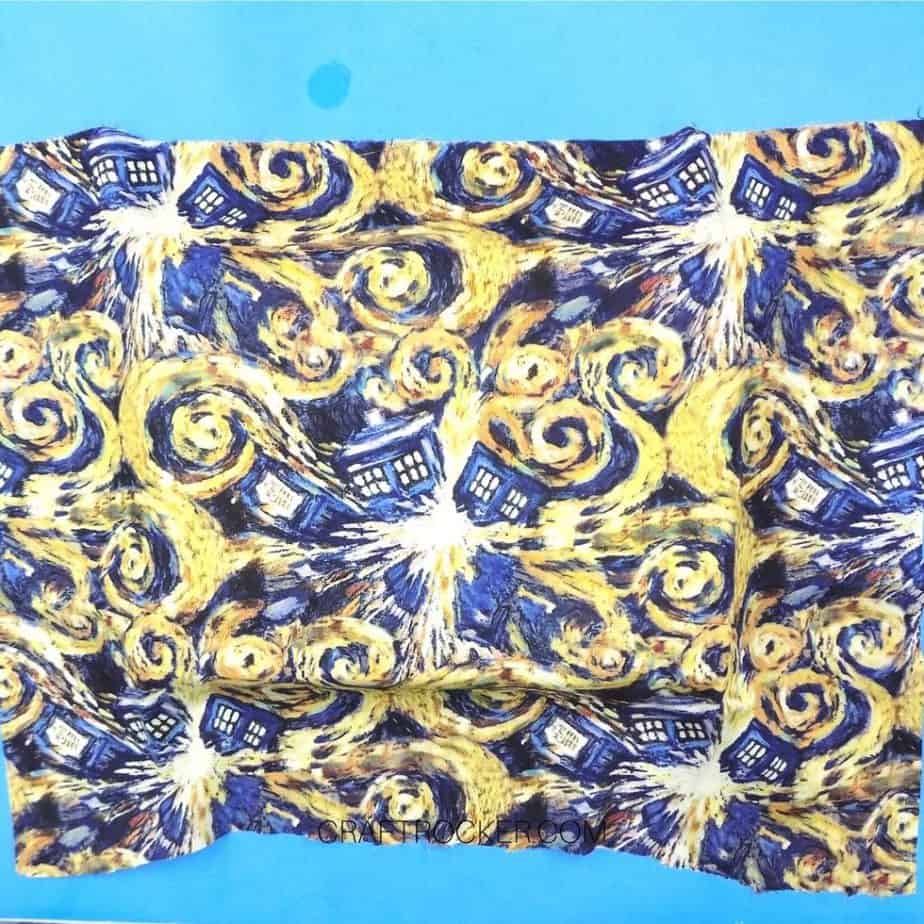
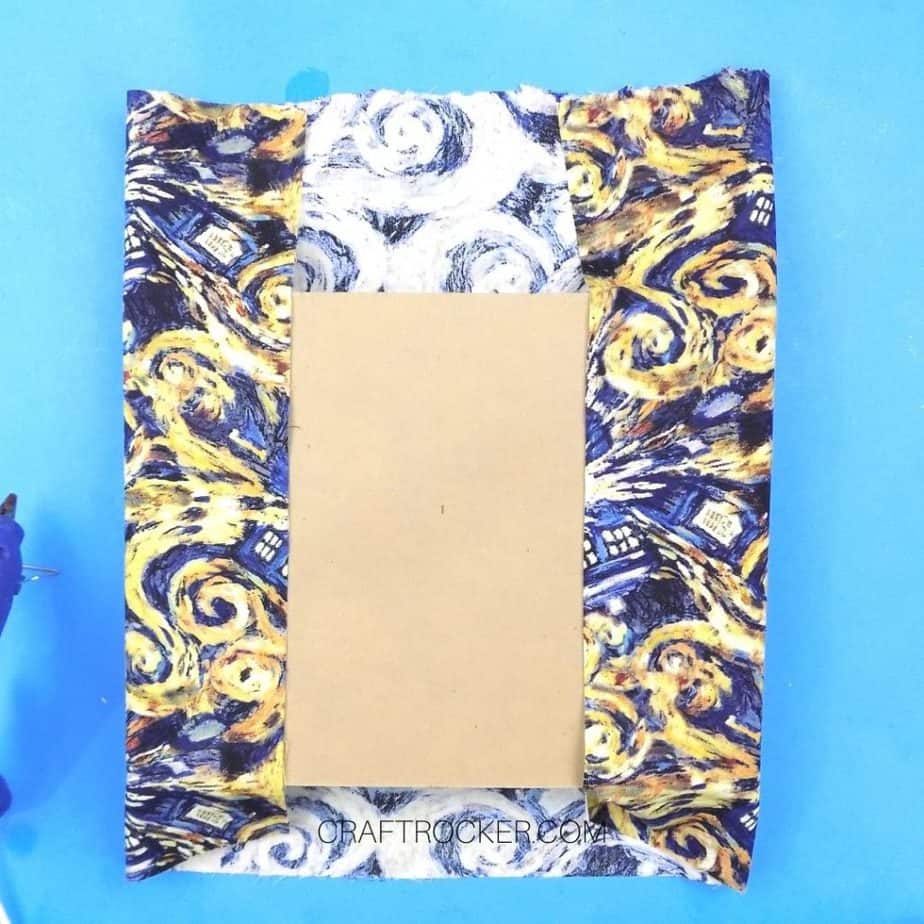
Step 5
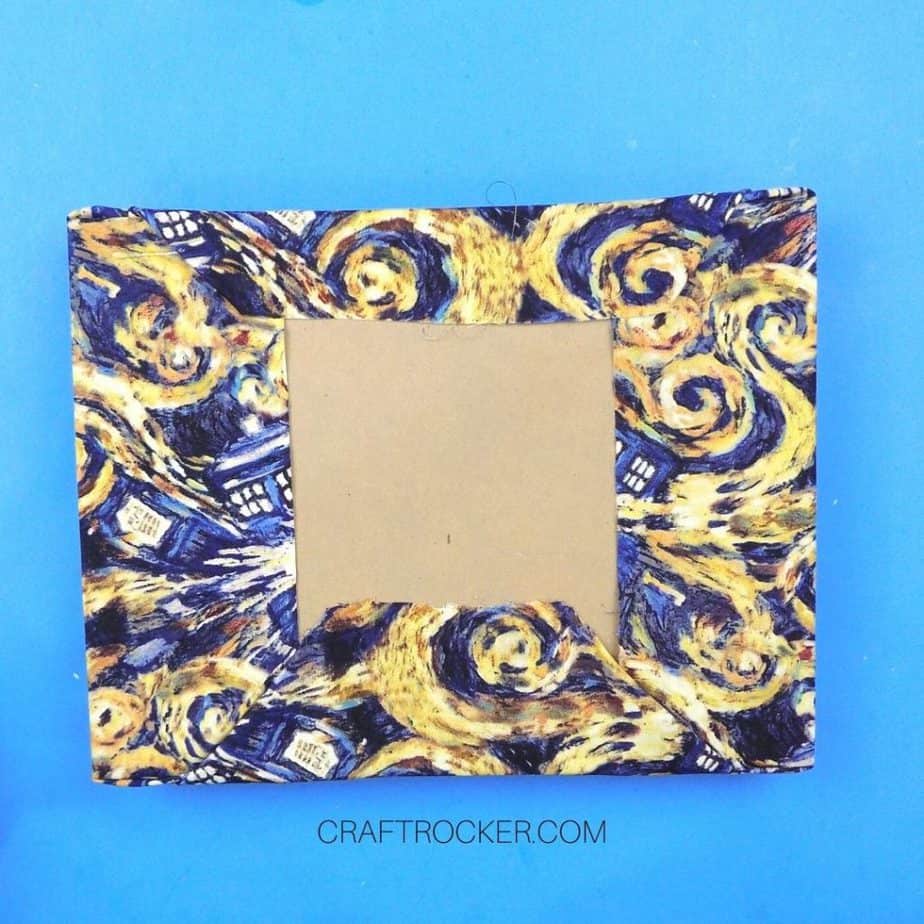
After your foam is cut, center it on your cardboard piece then lay your piece of fabric across it.
Step 6
Then flip your fabric covered foam over, careful to keep your foam centered under your cardboard. Hot glue the 2 shorter edges of your fabric to the cardboard piece. Make sure that it is pulled taut.
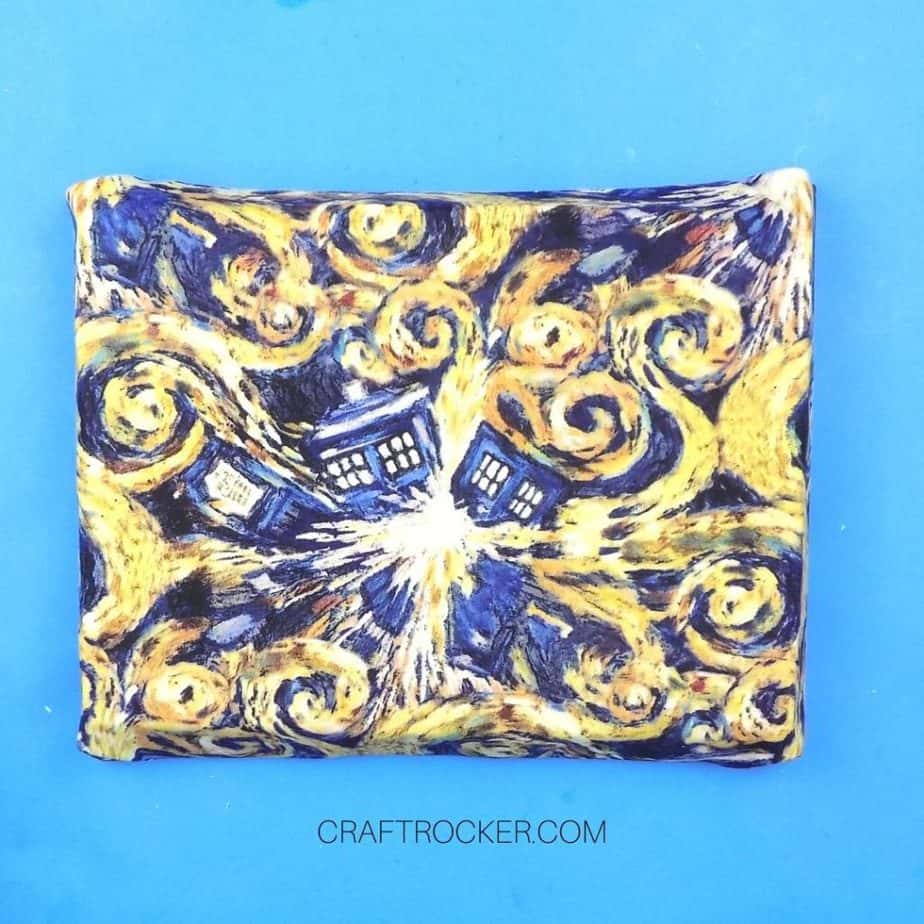
Step 7
Repeat step 6 with the long edges of your fabric. Again, make sure that your fabric is pulled taut before hot gluing it to the cardboard.
Step 8
Next, flip your fabric covered piece over. Then grab your ribbon and place it where you want it to run from the top right corner to the bottom left corner. Be sure to leave an excess of ribbon hanging over the top right corner.
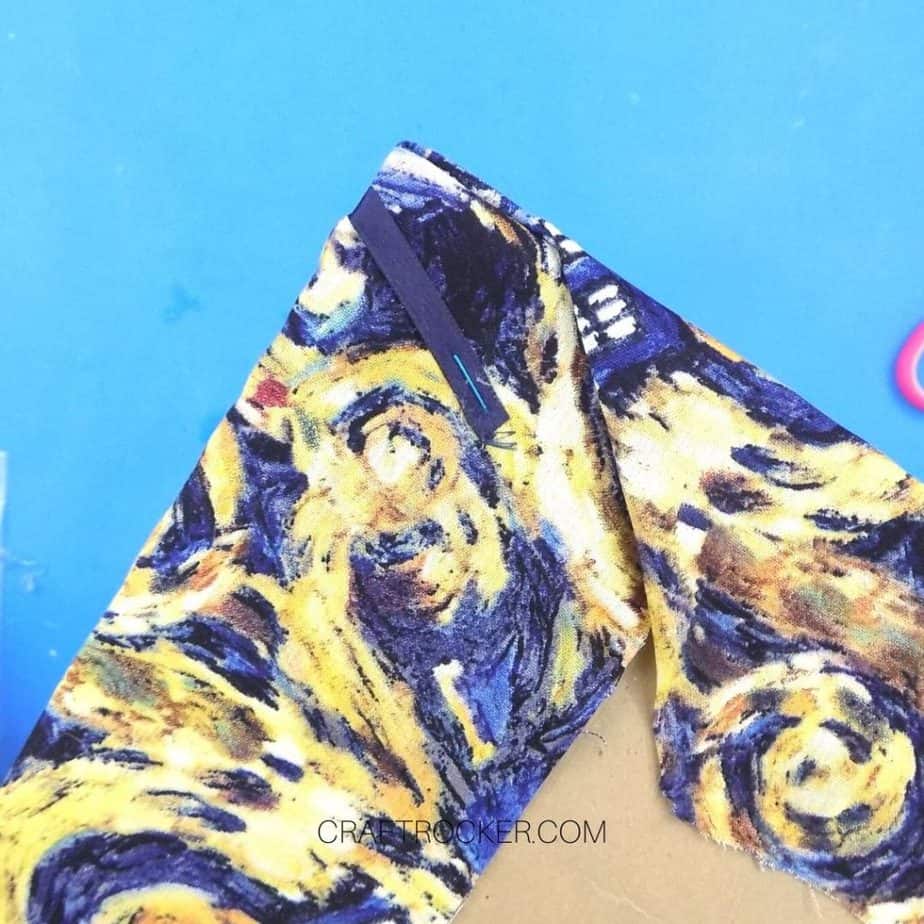
Step 9
Hold the ribbon in place at the top right corner and flip your board over. Then secure the ribbon to the back of your board with a stapler. Flip the board back over and pull the ribbon taut across the front to the bottom left corner of your board, again securing it to the back with a stapler.
Step 10
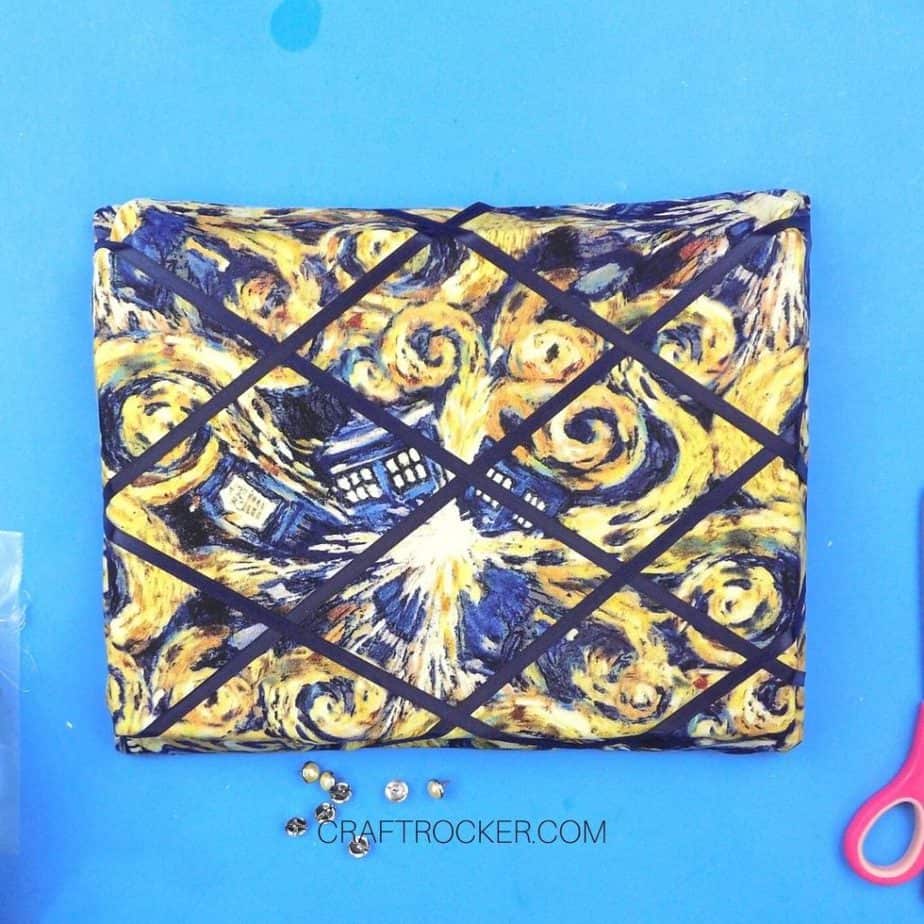
Continue attaching your ribbons in a crisscross pattern on your memo board, leaving 2-4 inches between parallel ribbons.
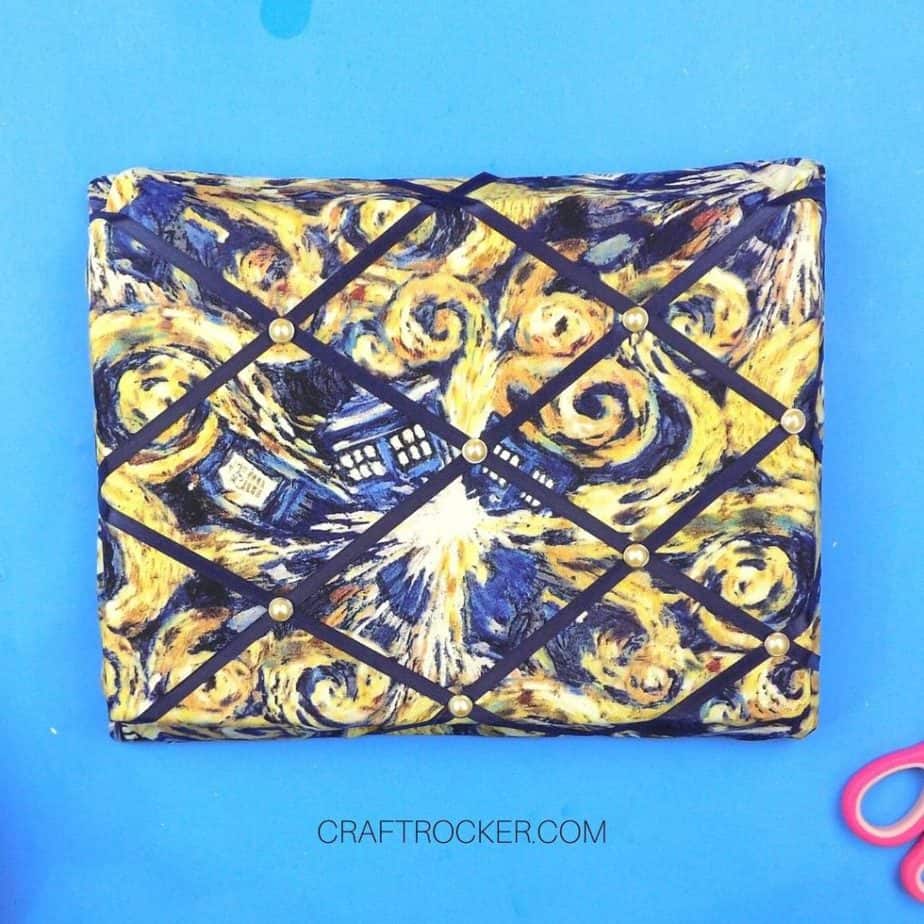
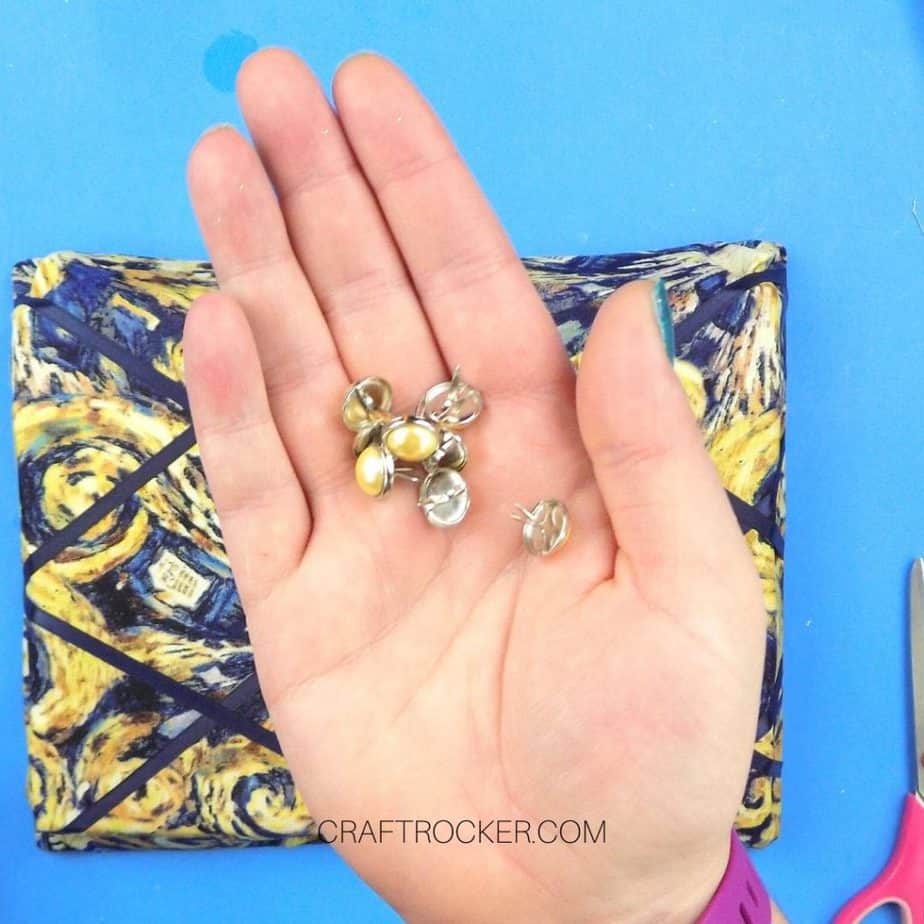
Step 11
After all of your ribbons are attached, add brads to each place where your ribbons intersect. I added a dab of hot glue to the brads before pushing them into the board to make them more secure.
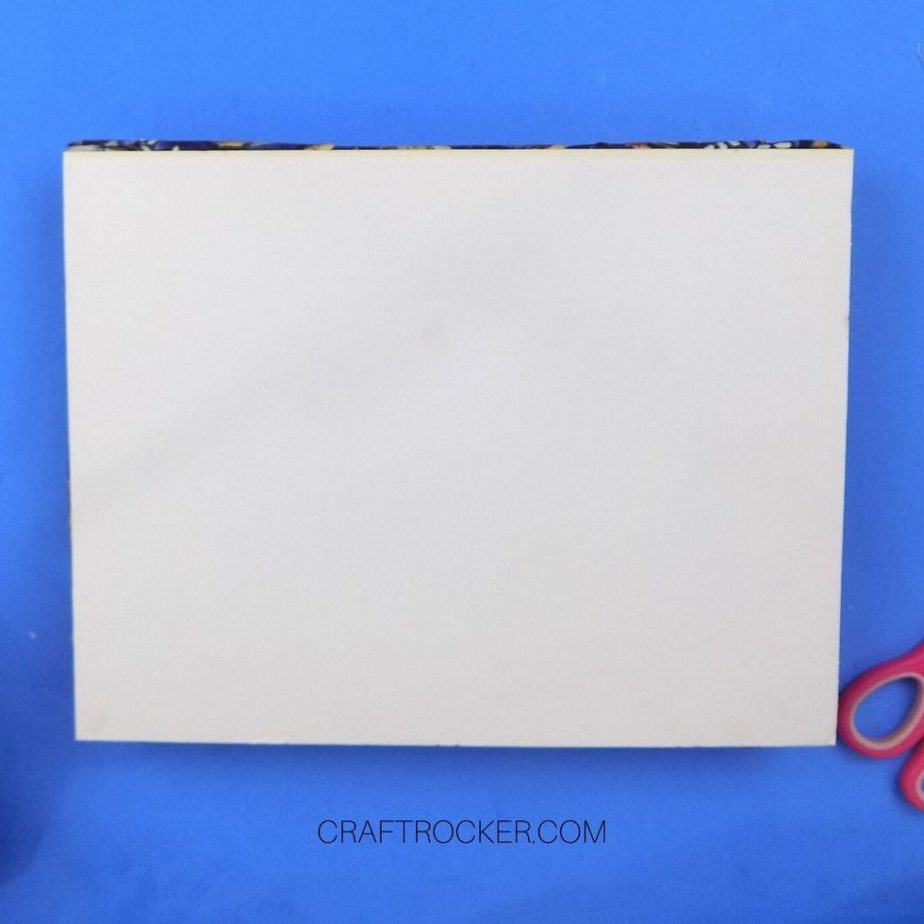
Step 12 (Optional)
Now flip your memo board over and hot glue a thin white piece of cardboard to the back of it. I used the matting insert from my frame because it was folder-style with a solid back.
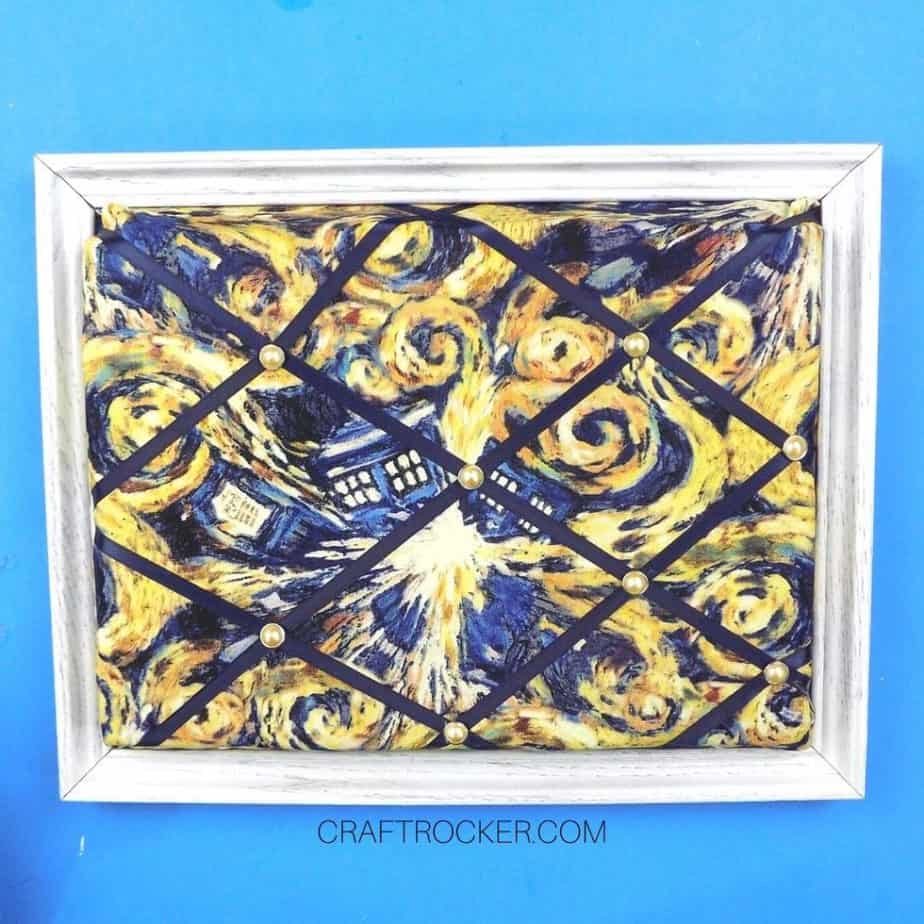
Step 13
Lastly, put your memo board through the frame and secure it on the back. Be careful and go in at a slight angle to make it as easy on yourself as you can. It takes a bit of muscle and finesse to do this.
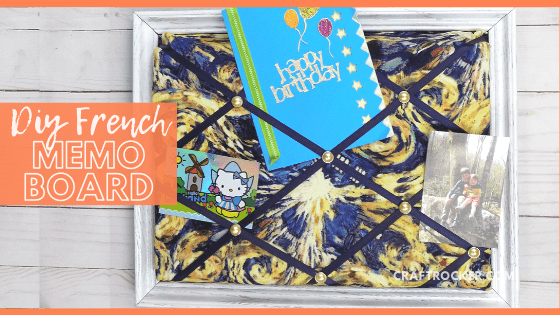
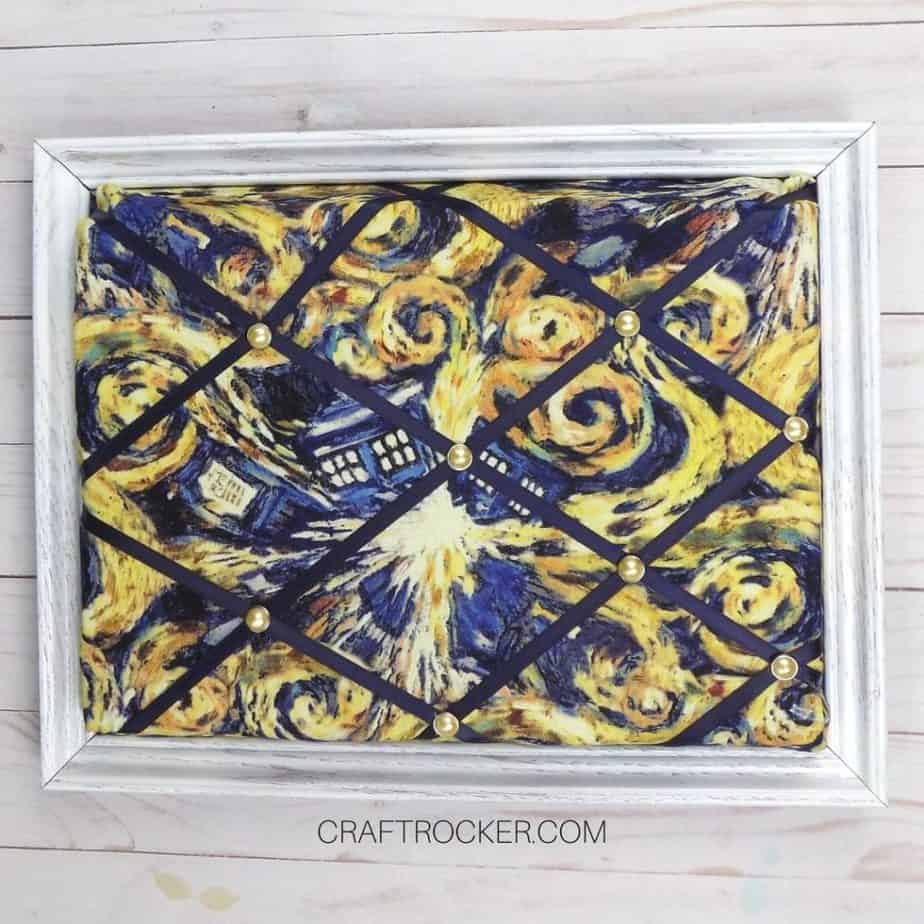
As I said earlier, this French memo board is the perfect project to use a frame with broken glass. It also is great for helping you or your kiddos wrangle all of those photos and mementos instead of throwing them in a box or a drawer.
Don’t Forget to Pin It!
And now for More Thrifty Goodness!

This looks pretty and it’s such a great way for mementoes to be displayed.
Thanks Beverly!
Love the pattern you placed on your board. Looks amazing.
Thank you Terrie. I love how it turned out. 🙂