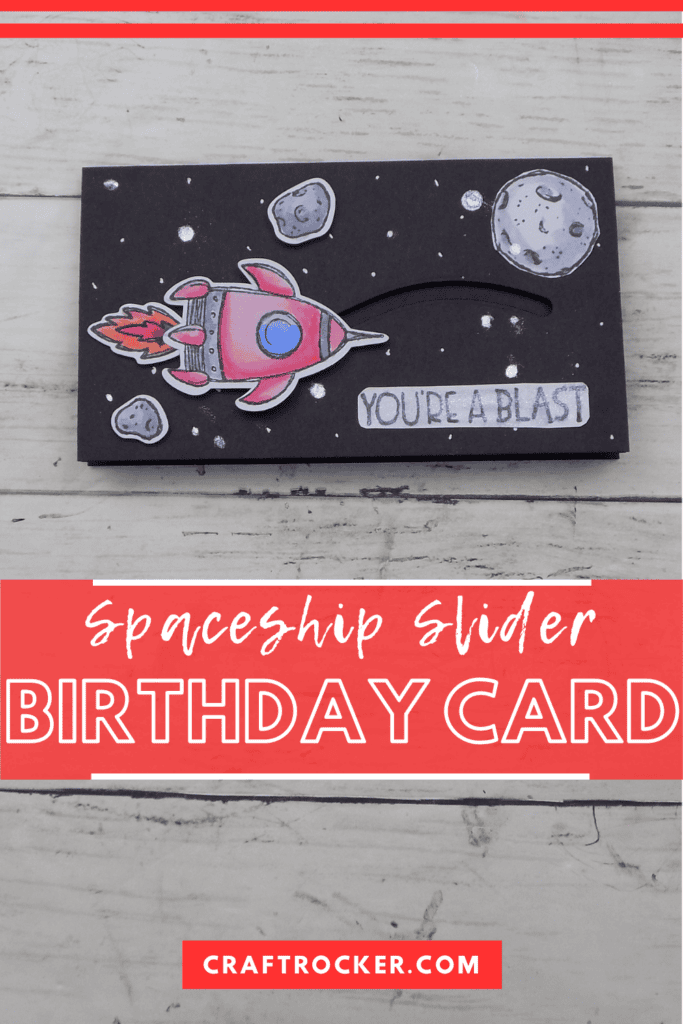
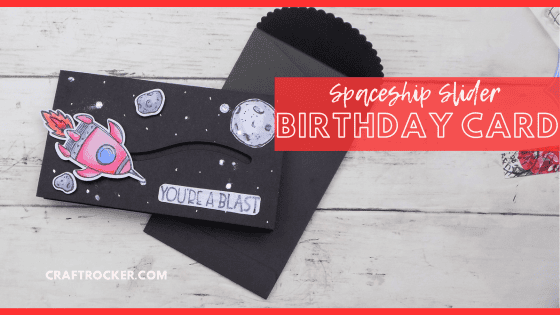
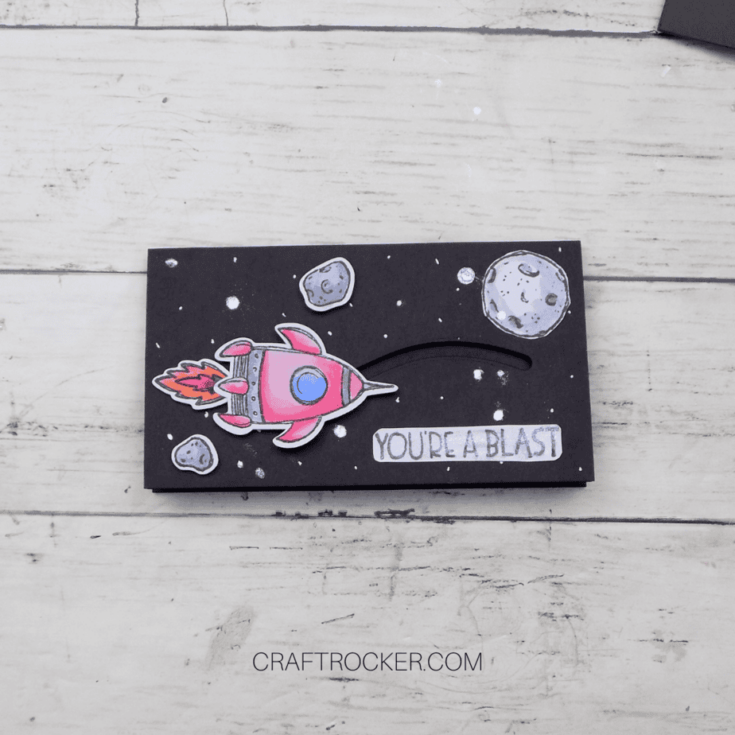
This spaceship slider mini slimline birthday card is a fun, interactive card to surprise the birthday kiddo with!
Affiliate links may be used in this post. Ordering a product through these links may result in a commission at no extra cost to you. Read the full disclosure here.

Jump to What You Want
Spaceship Slider Mini Slimline Birthday Card Materials
Printable Spaceship Slider Mini Slimline Birthday Card Tutorial
This is actually my first ever slider card. I’ve always wanted to make one and have had the tools for literal years.
It turned out so great and so much fun that there will definitely be more fun slider cards coming your way in the future!
Materials for Spaceship Slider Mini Slimline Birthday Card
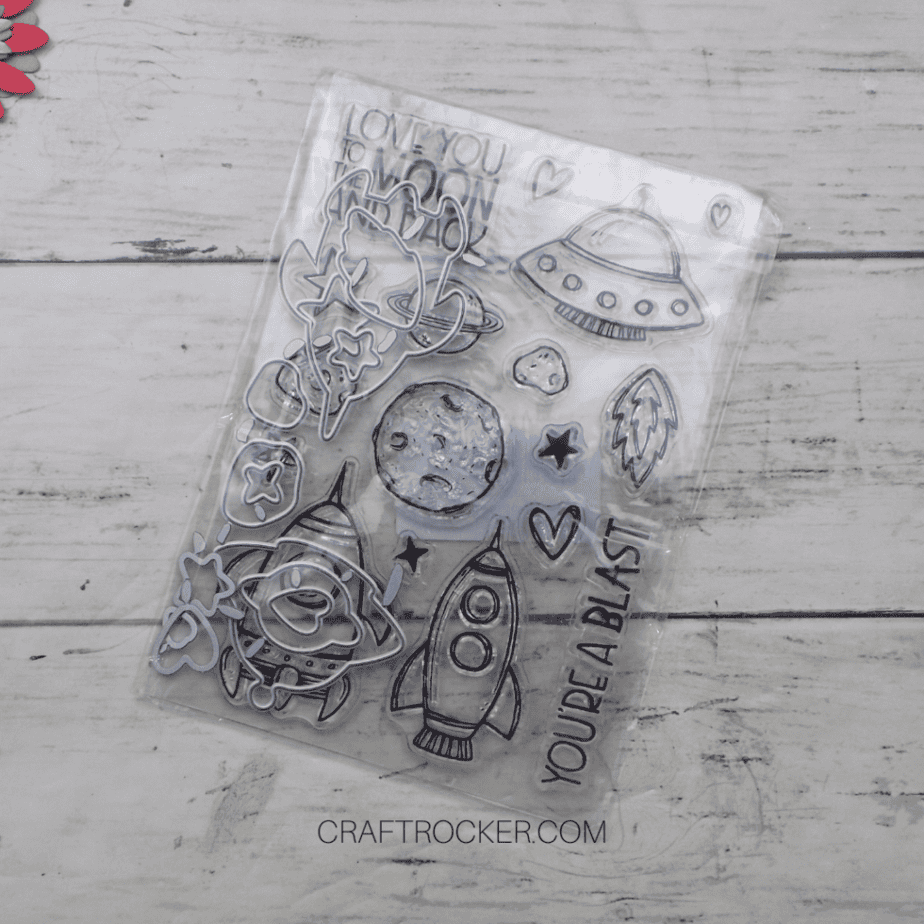
Stamps Used
Paper Used
- Black 8.5×11 Cardstock
- Watercolor Paper
- Dark Gray 8.5×11 Cardstock
Ink Used
- Black Ink
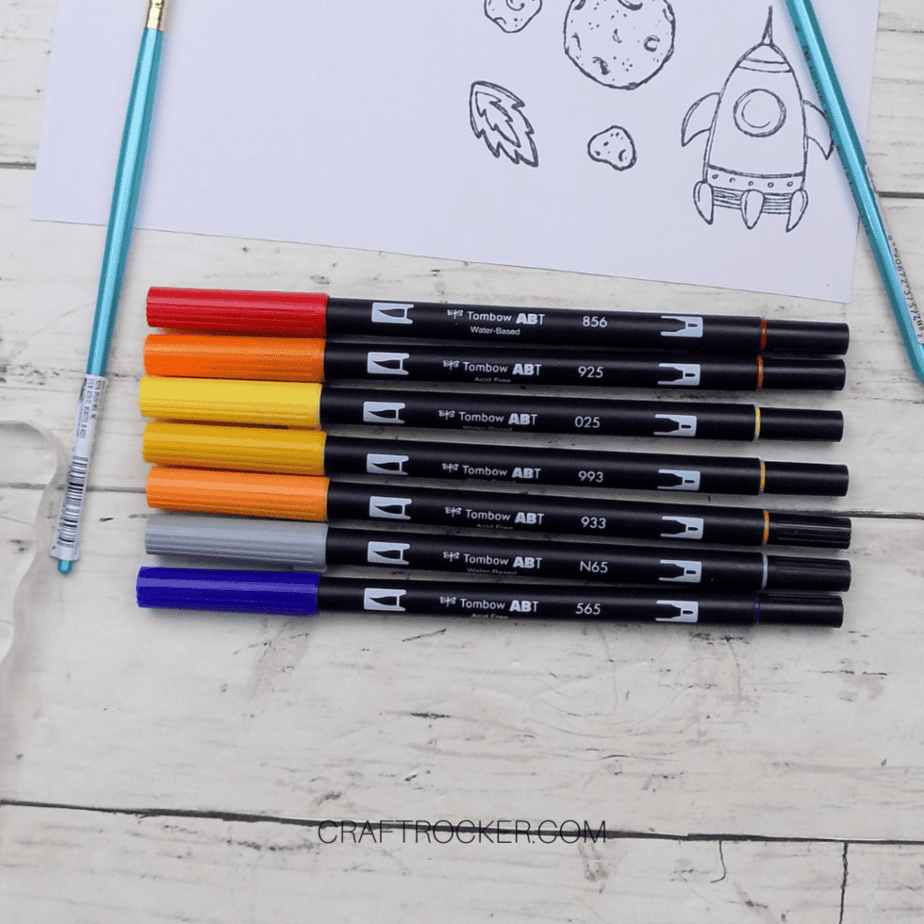
Tombow Markers Used
- Red 856
- Orange 925
- Yellow 025
- Dark Yellow 993
- Light Orange 933
- Gray N65
- Royal Blue 565
Adhesives Used
- Glue Runner
- Adhesive Foam Tape
- Zots Small
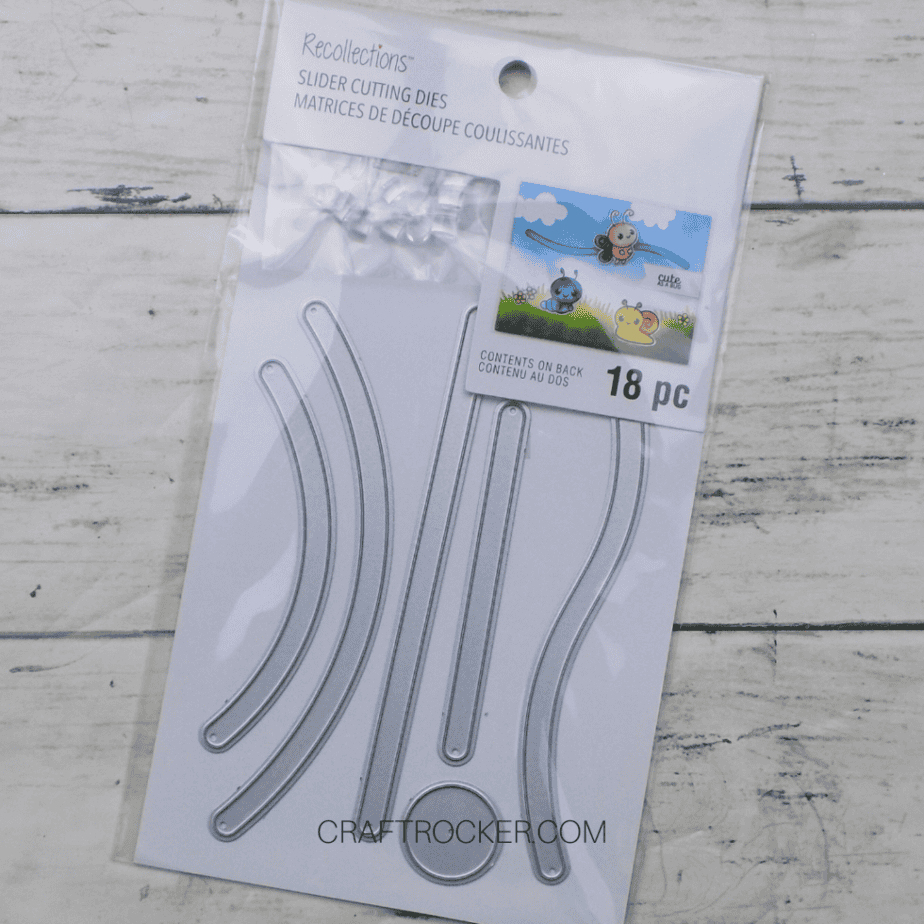
Paper Cutting Dies Used
- Recollections Slider Cutting Dies
- Blast Off Cutting Dies Set (These come with the stamps above)
Embellishments Used
- Shimmer Pen
- White Gel Pen
Tools Used
- Scoreboard
- Paper Cutter
- Sizzix Big Shot
- Acrylic Block
- Detail Scissors
- Paintbrush
- Water
Step 1 – Create Your Card Base
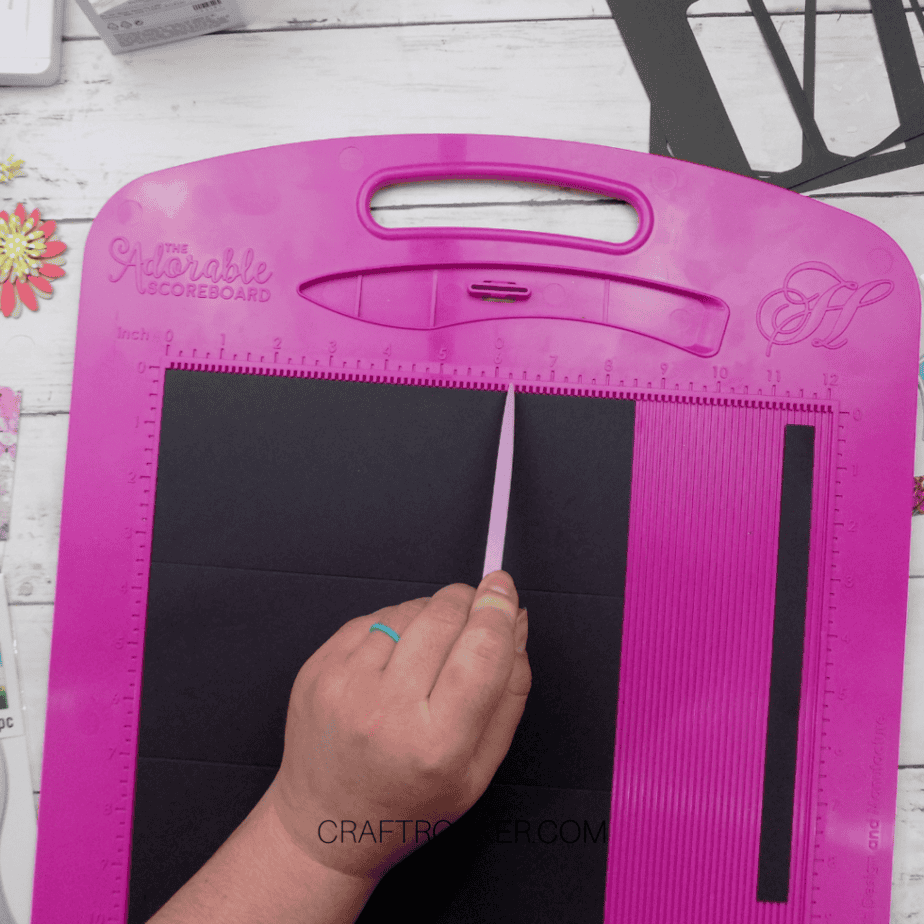
First, place an 8.5×11 inch piece of black cardstock on your scoreboard with the 11 inch side at the top.
Then score the paper at 3.5 inches, 7 inches, and 10.5 inches.
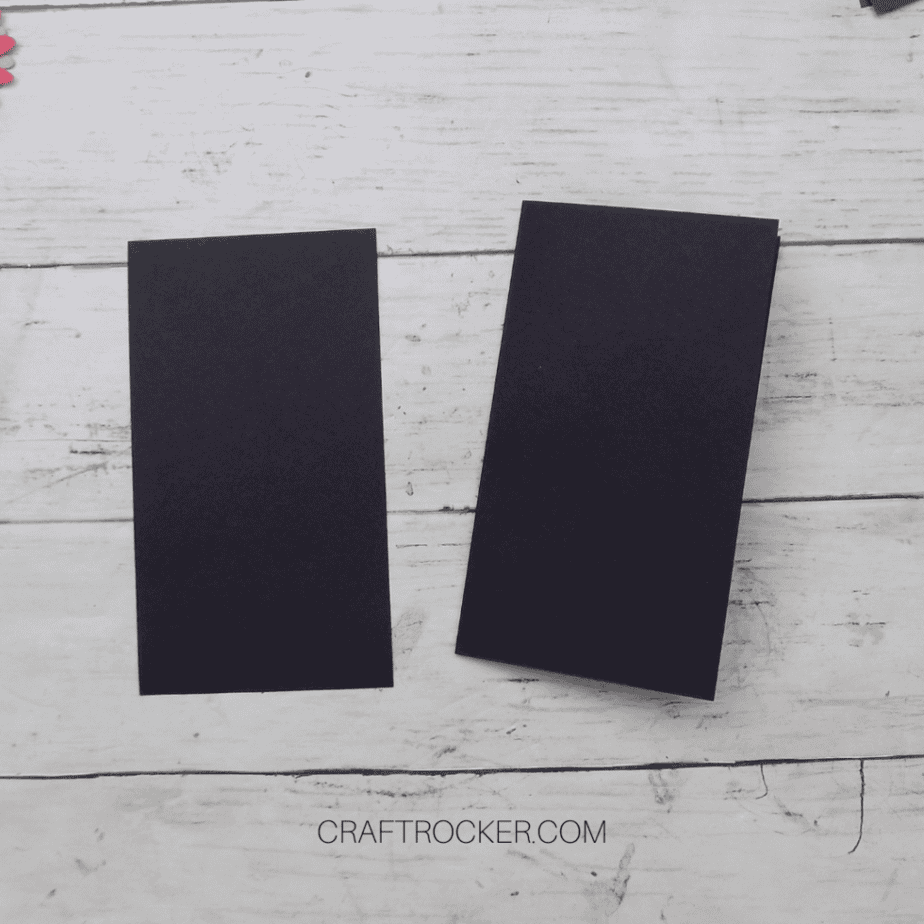
Remove the cardstock from the scoreboard and cut along the 10.5 inch score line.
Return the trimmed cardstock to your scoreboard with the 8.5 inch side at the top.
Next, score the cardstock at 6.25 inches and cut along that score line.
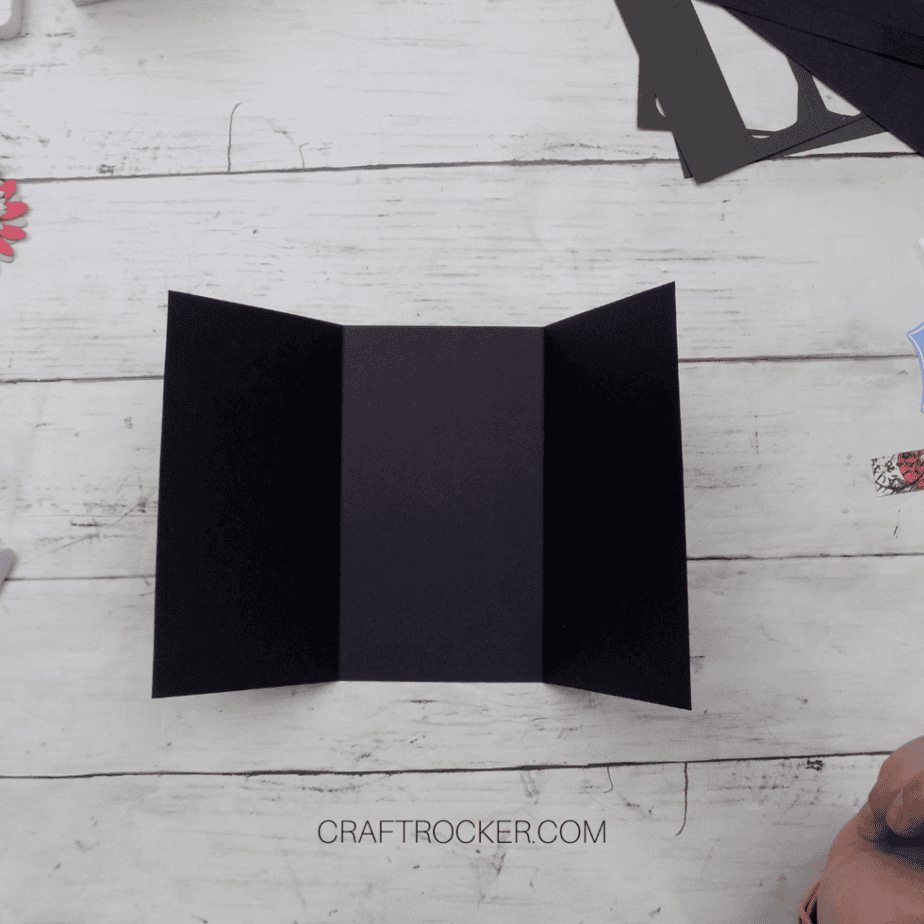
Now, fold along your remaining score lines and cut the cardstock at the 7 inch score line.
Step 2 – Create Slider Elements
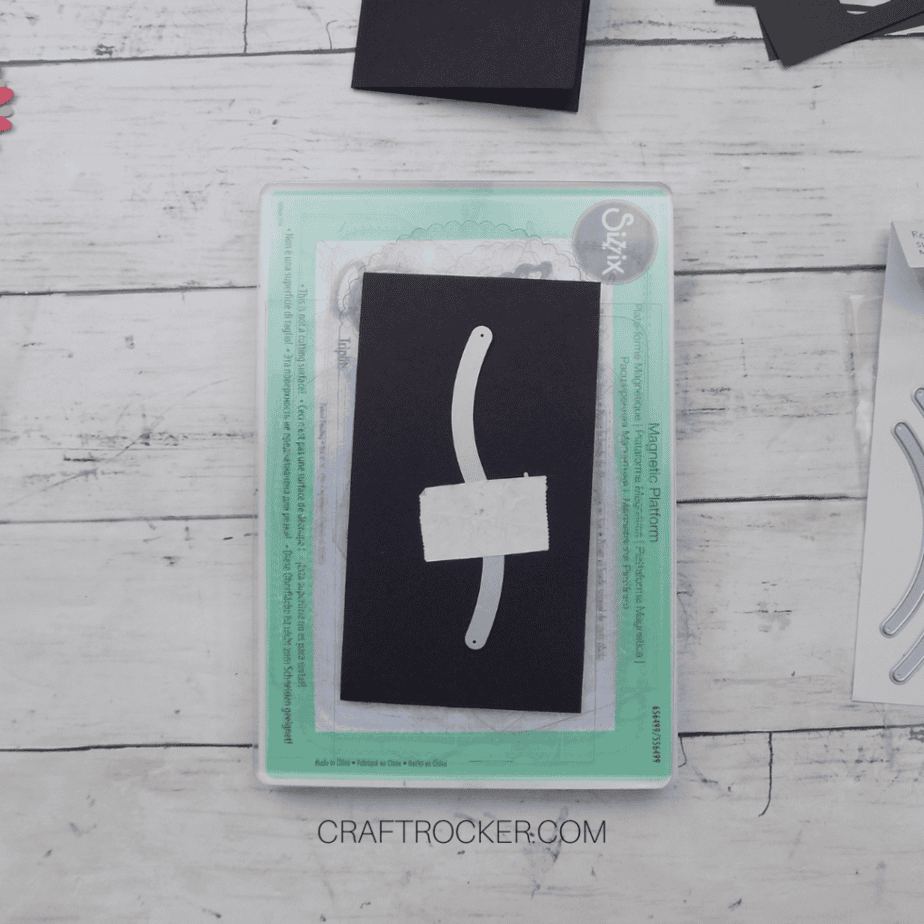
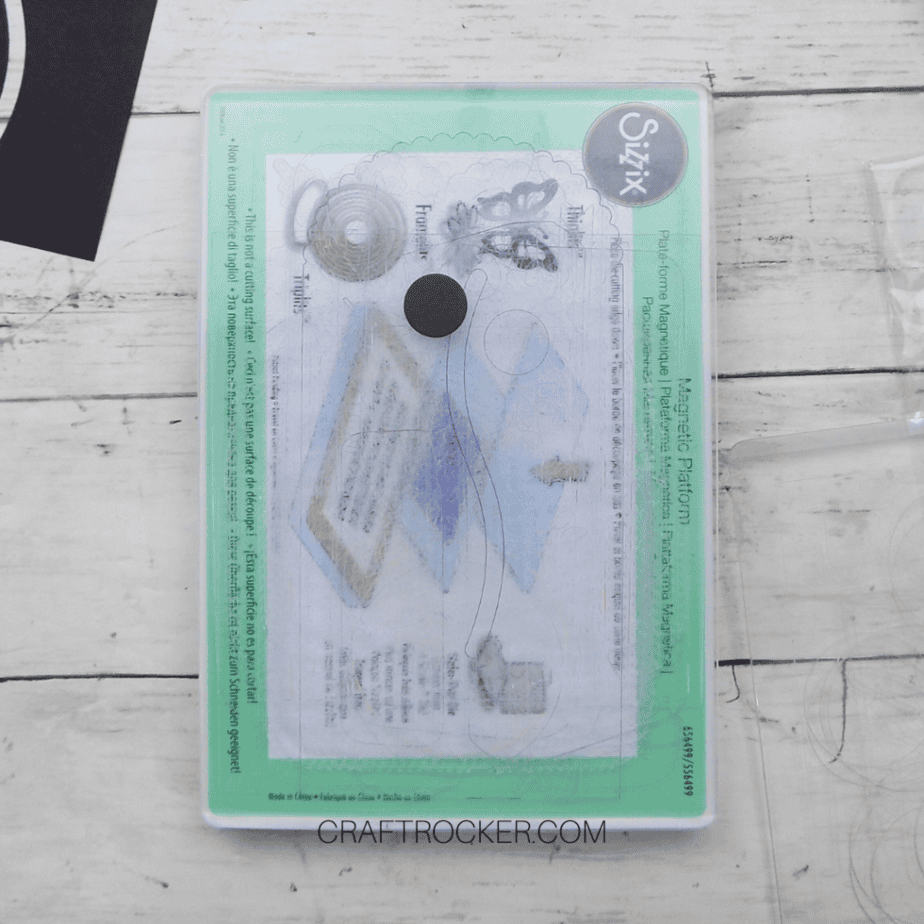
First, place your loose piece of cardstock that you cut from your card base on a cutting plate.
Then place your wavy line cutting die in the center of the paper and tape in place.
Add the top plate and run it through your Sizzix machine.
Remove the the die cut paper and place to the side.
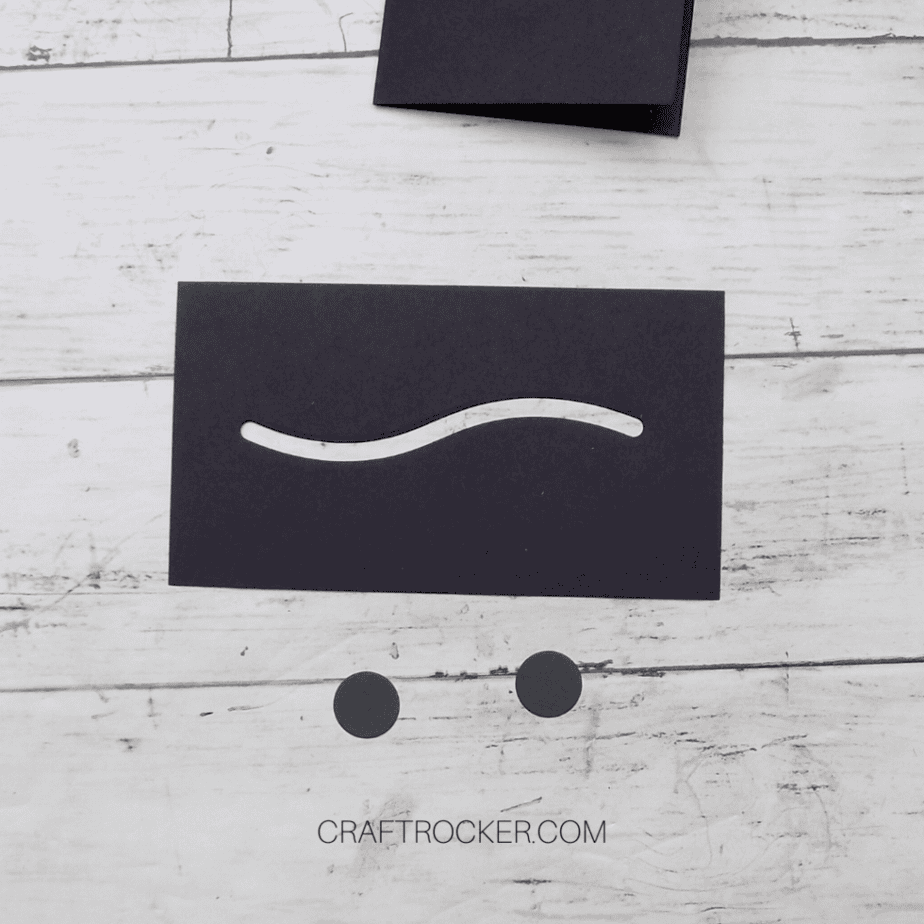
Now, cut out 2 black cardstock circles with the cutting die included with the slider card dies. Use a scrap of black cardstock for this or you can use the small piece cut off when making your card base.
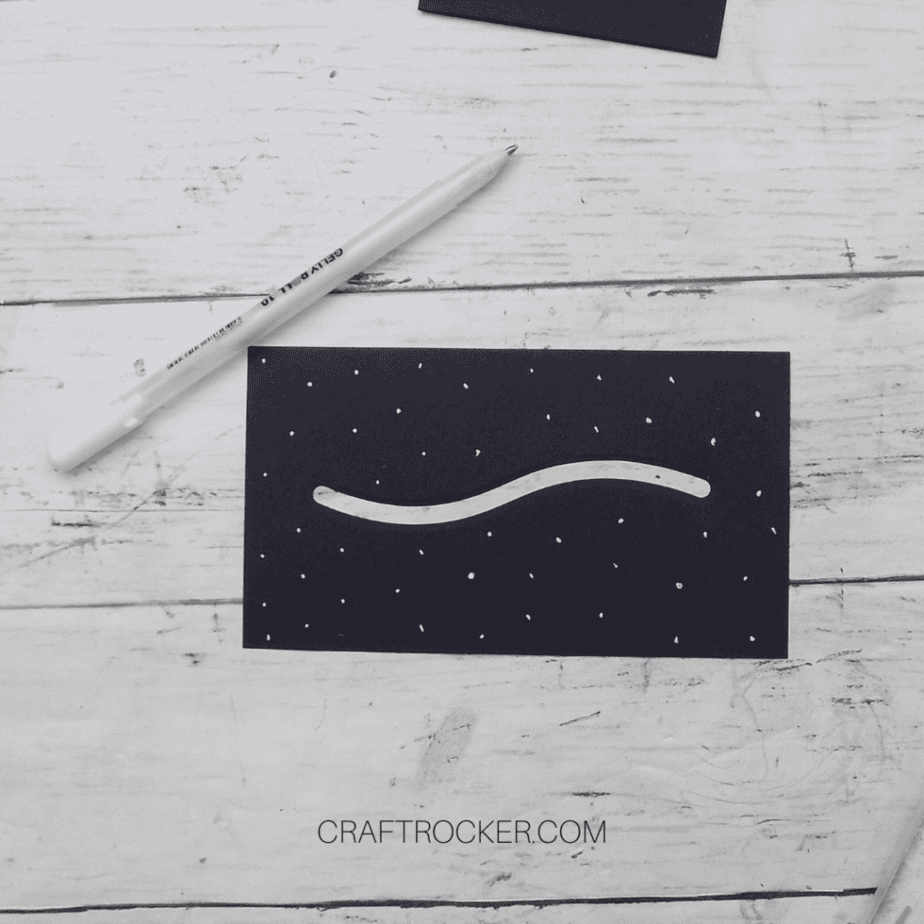
Lastly, use a white gel pen to make dots on the slider piece of cardstock (the one with the wavy line cut in the center). Then set it aside to dry.
Step 3 – Create Card Space Elements
Now, grab a sheet of watercolor paper.
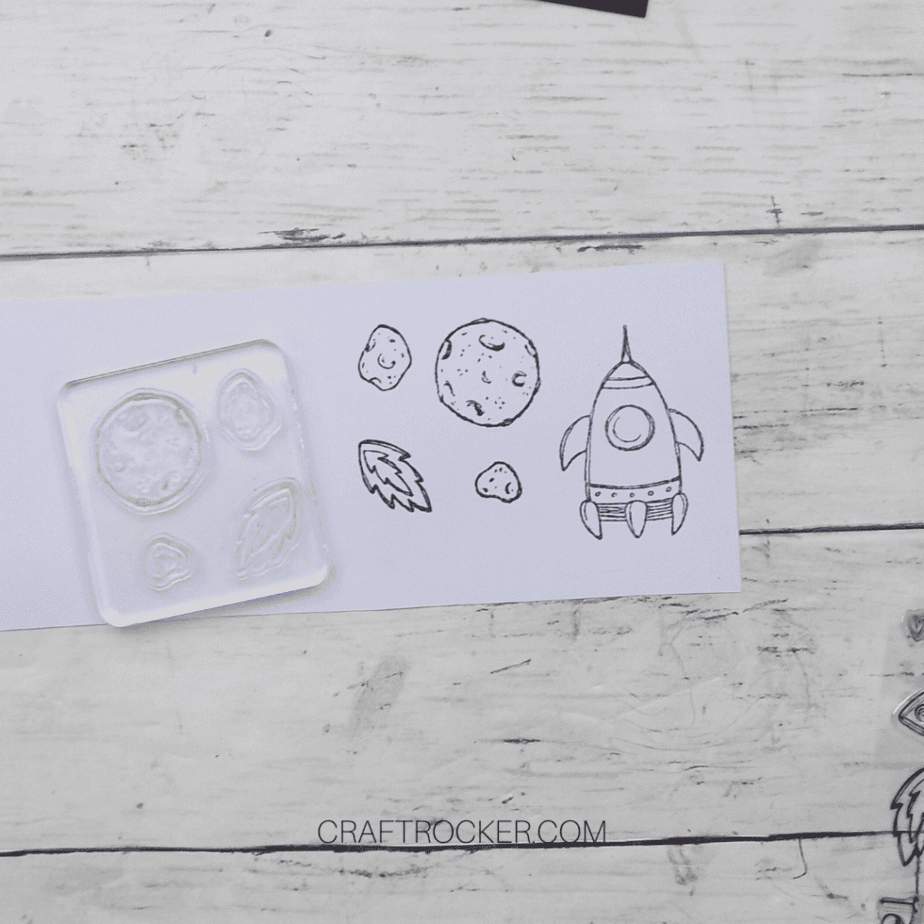
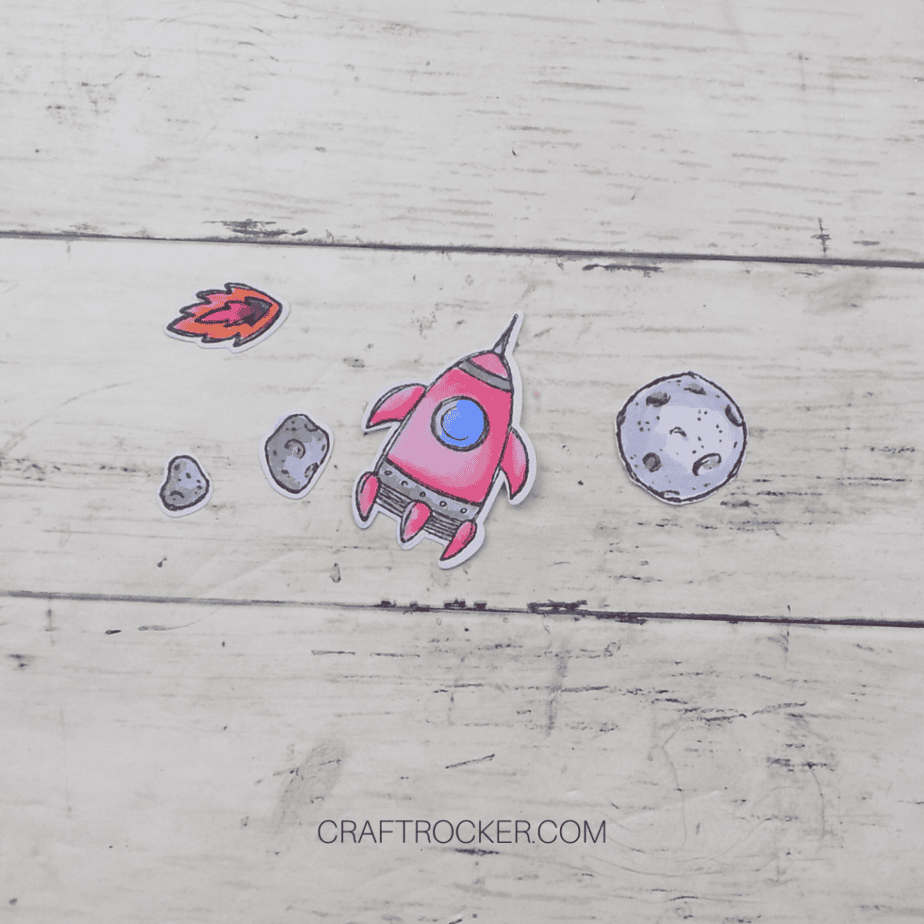
Stamp the paper with your spaceship, moon, meteorites, and flames in black ink.
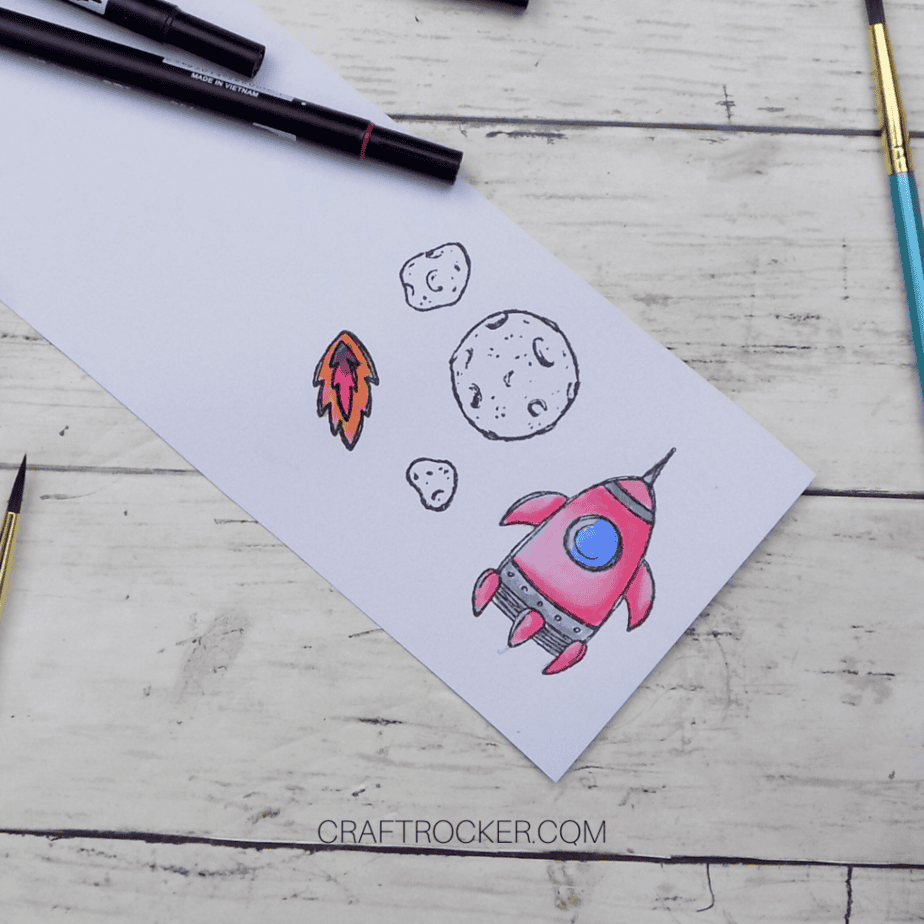

After your images are stamped, color them using the marker watercolor technique.
The spaceship body should be red with a blue window. Then the additional elements of the spaceship should be gray.
The flames should be colored with the red, oranges, and blue.
Lastly, the moon and the meteors should be colored with gray.
Allow the watercolor to dry before moving on.
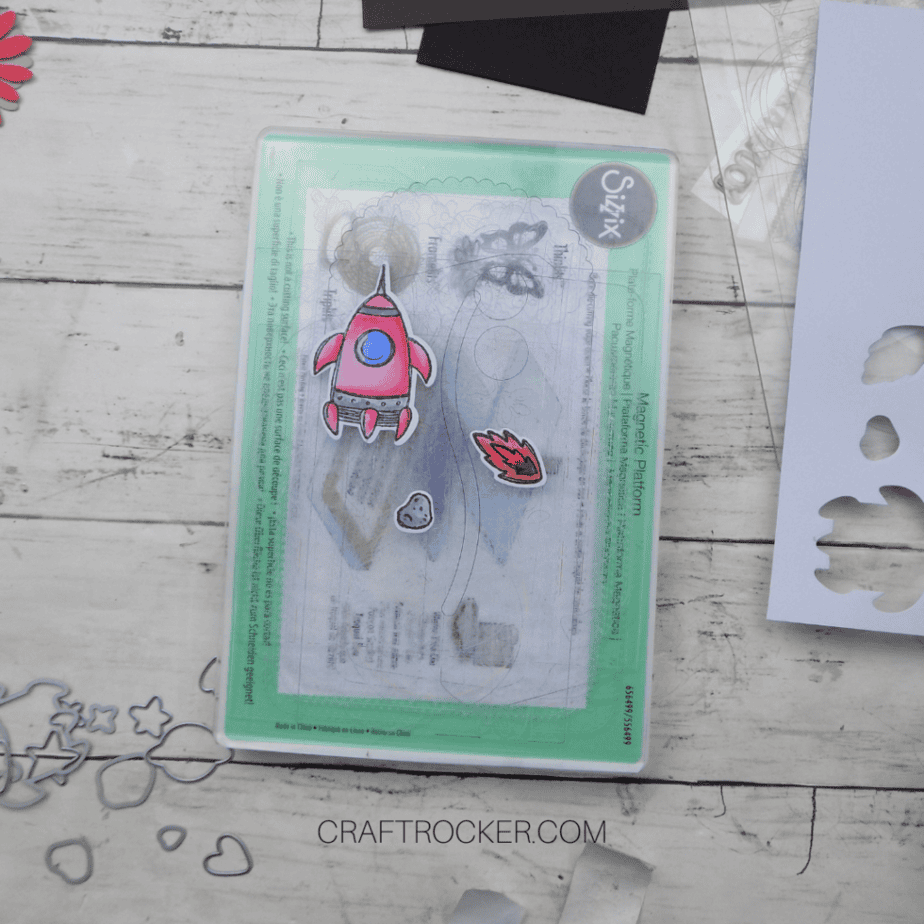
Once your watercolor is dry, place the sheet on your cutting plates. Then tape the spaceship, large meteor, and flames cutting dies in place on their corresponding images.
Add the top plate and run it through your machine.
Then remove the cutting dies and cut out images. Repeat the process with the remaining meteor.
Next, cut out the moon by hand with your detail scissors.
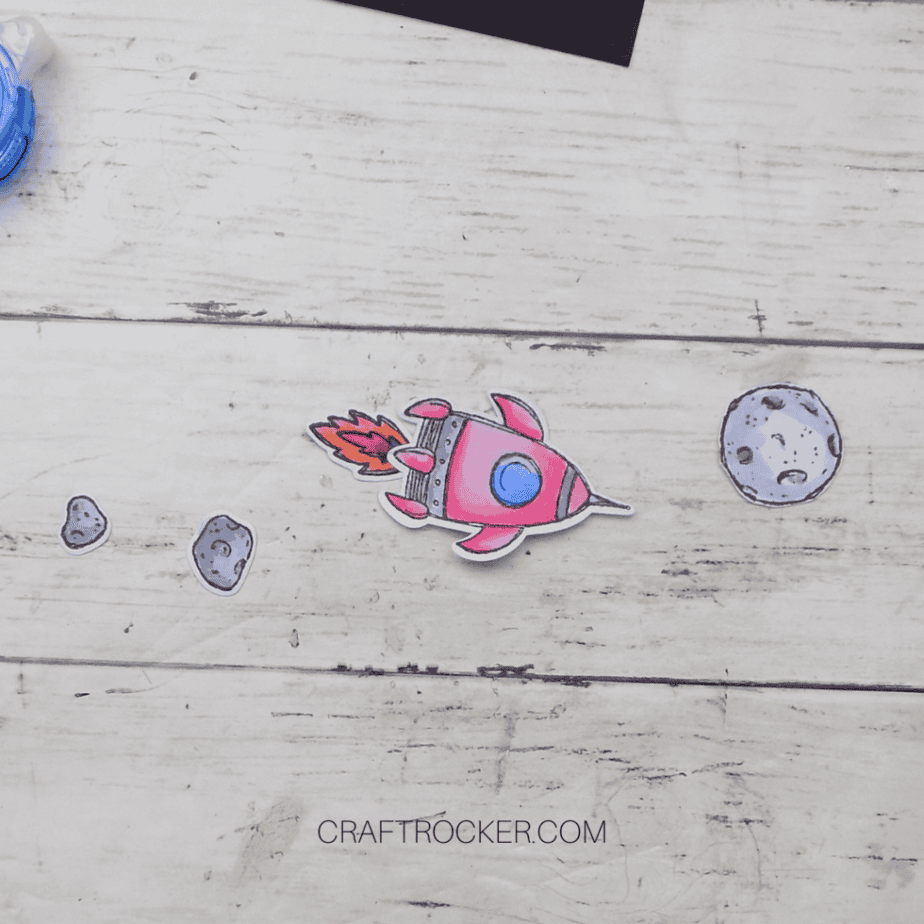
Lastly, attach the fire to the bottom of the spaceship with your glue runner.
Step 4 – Assemble Your Slider Card
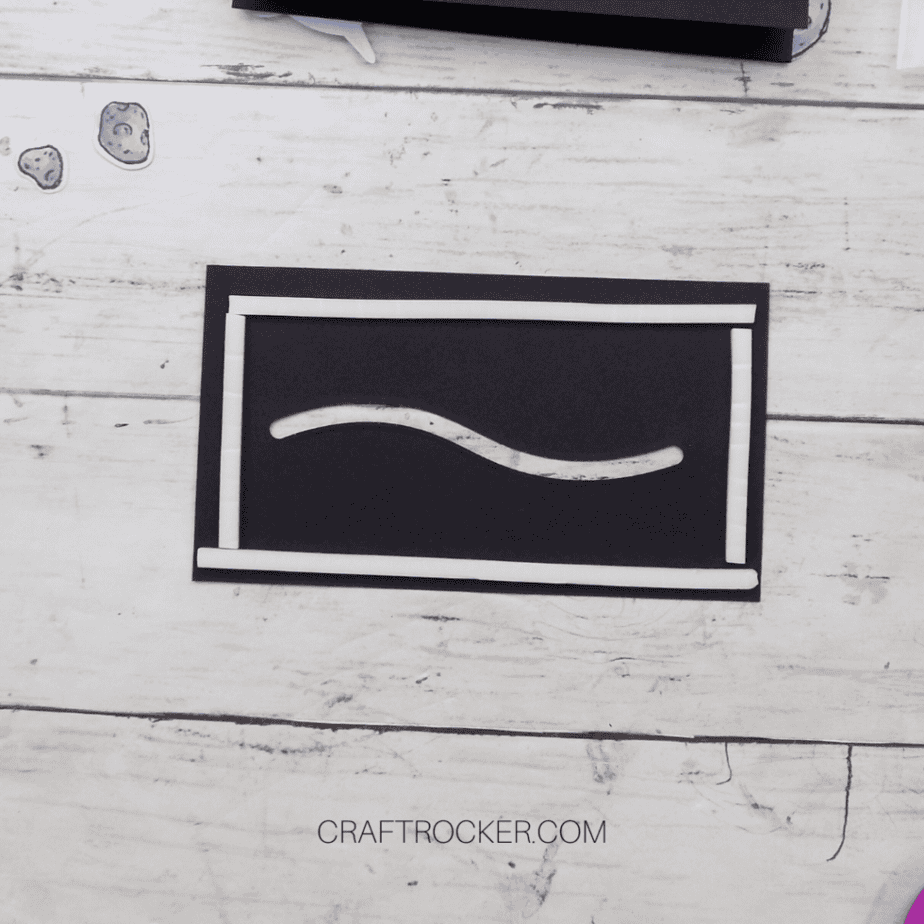
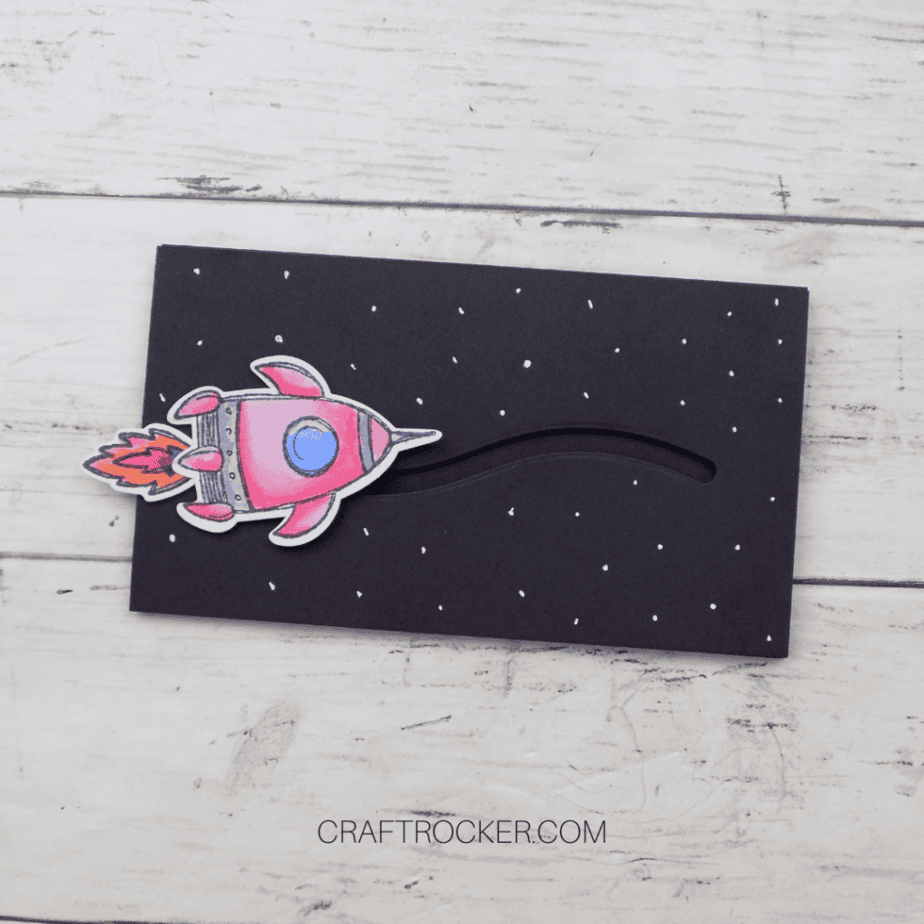
First, turn over your dotted slider paper and add adhesive foam tape to the outer edges.
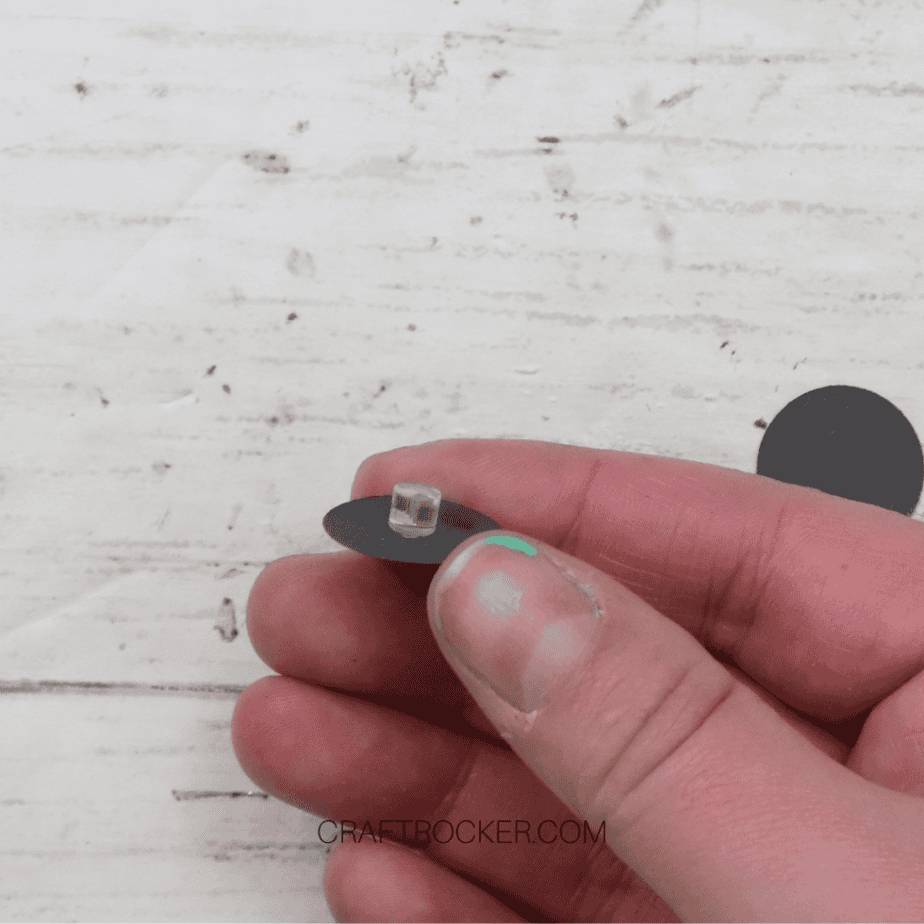
Next, use a mini Zot to attach a plastic cylinder (from your slider card cutting dies set) to one of your black paper circles.
Then place your cylinder through the wavy line in your slider cardstock.
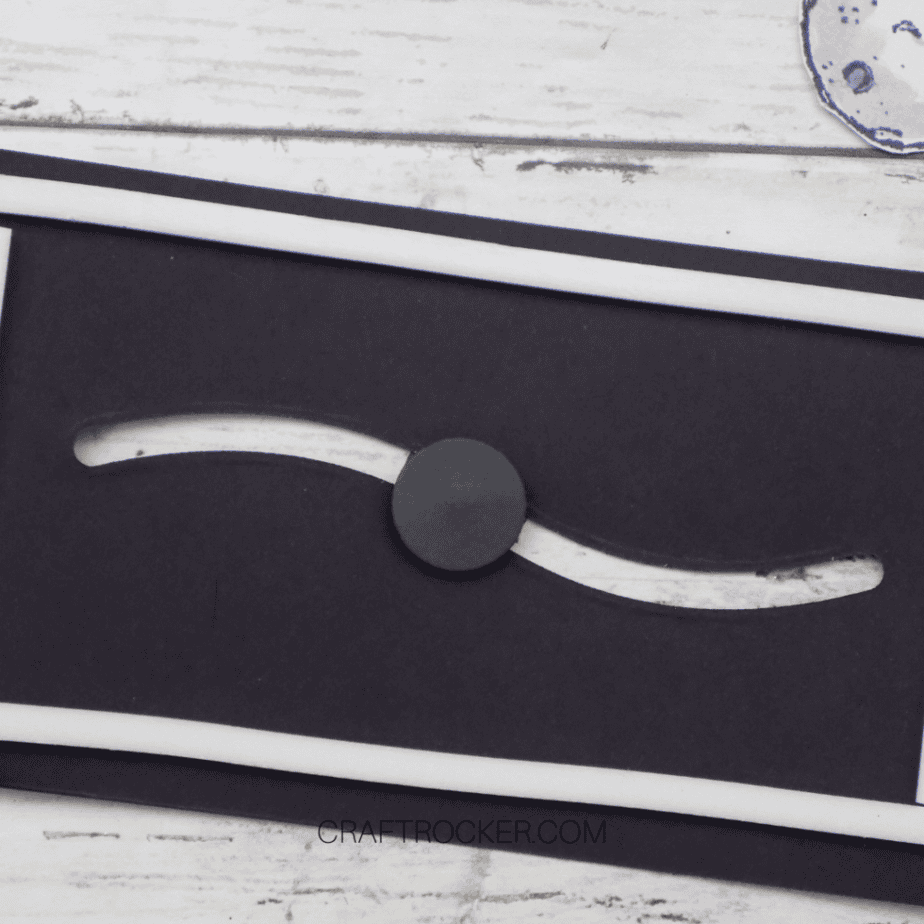
Now, use a second mini Zot to attach your second black paper circle to the plastic cylinder so that it on the opposite side of the slider opening.
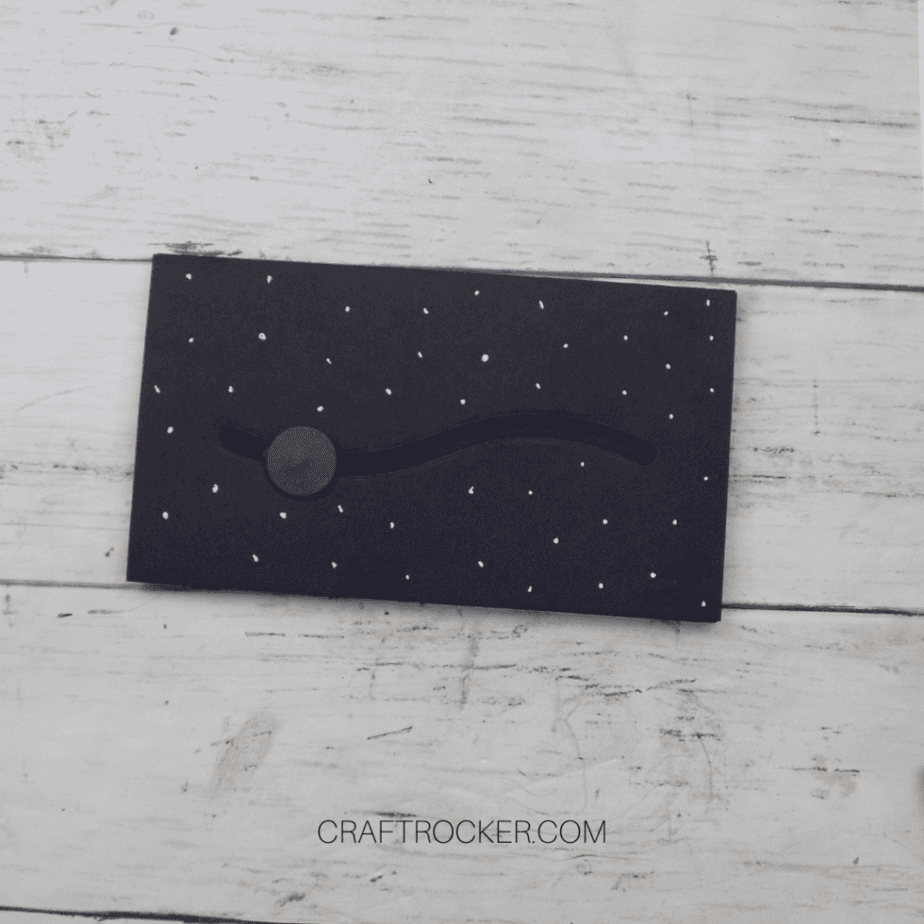
Finally, remove the paper backing from the adhesive foam tape and attach it to the front of your card base. Ensure that the fold in the card base is at the top.
Step 5 – Attach Your Space Elements
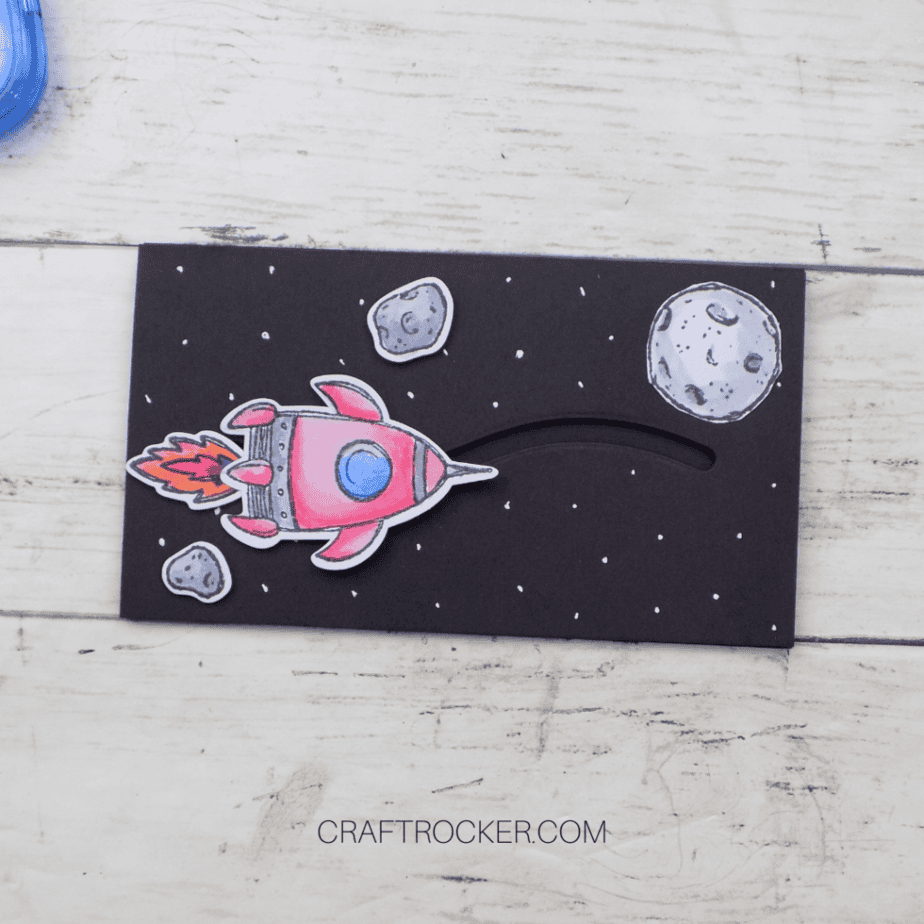
Start by attaching your spaceships to the top black paper circle with a glue runner.
Then adhere your moon and meteors to the card front as pictured above, again with your glue runner.
Step 6 – Finish the Card Front
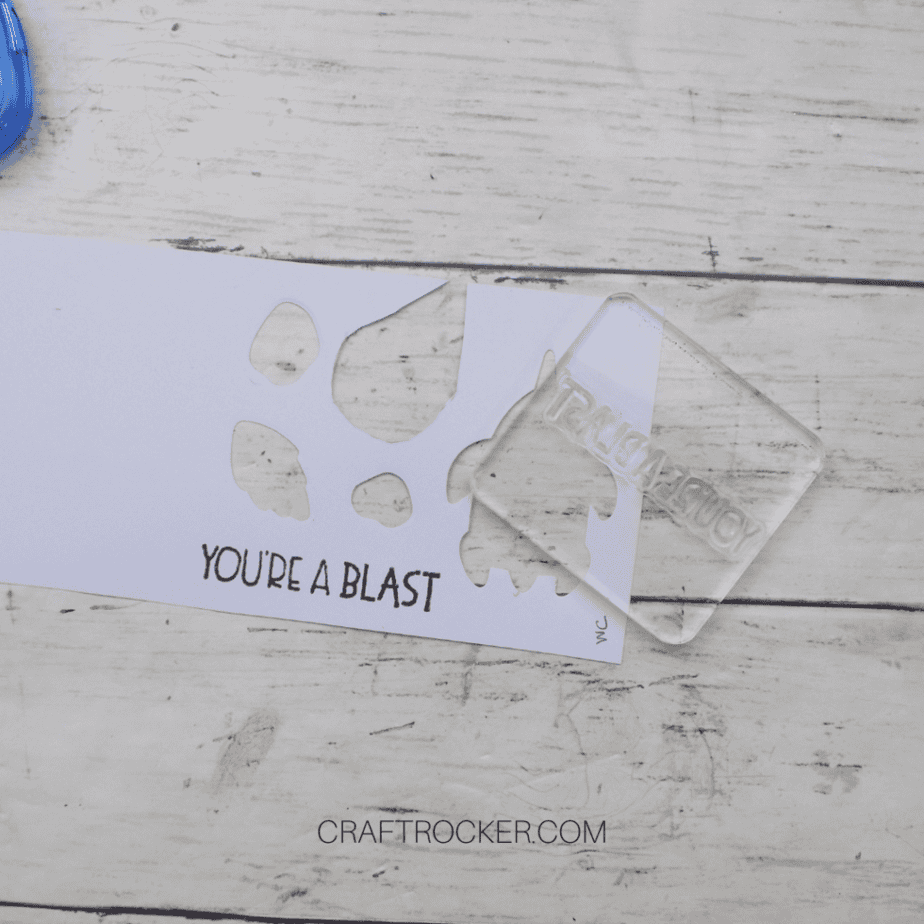
Grab a scrap of white paper and stamp “You’re a Blast” in black ink.
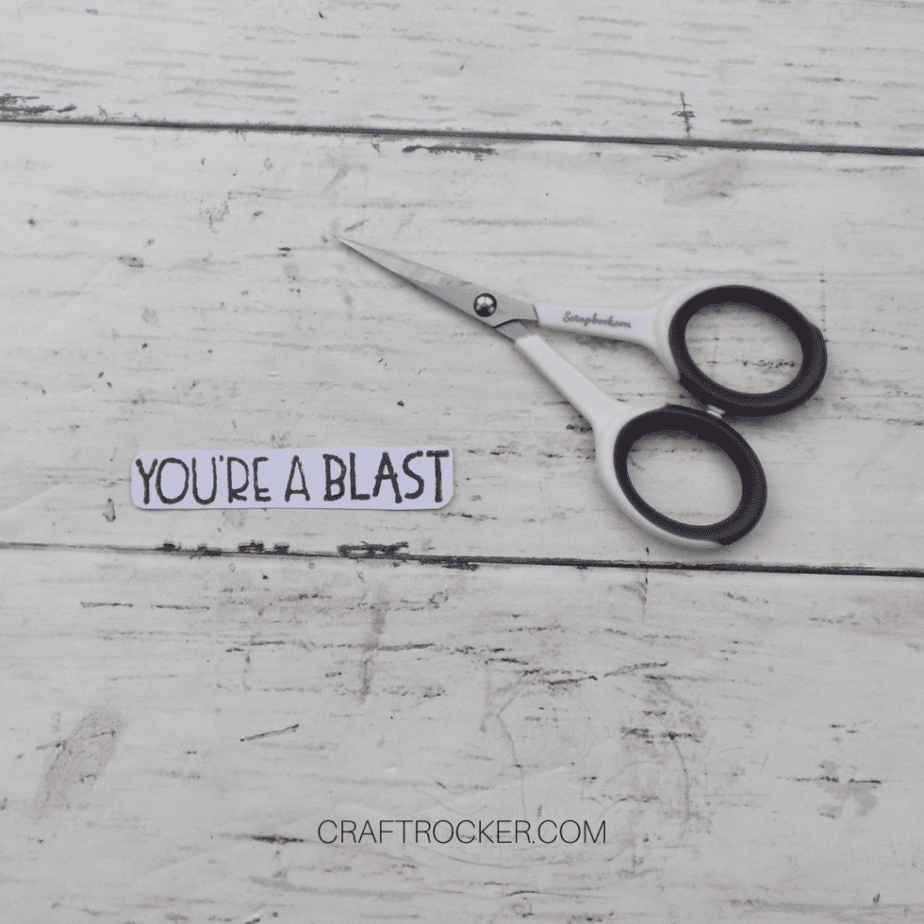
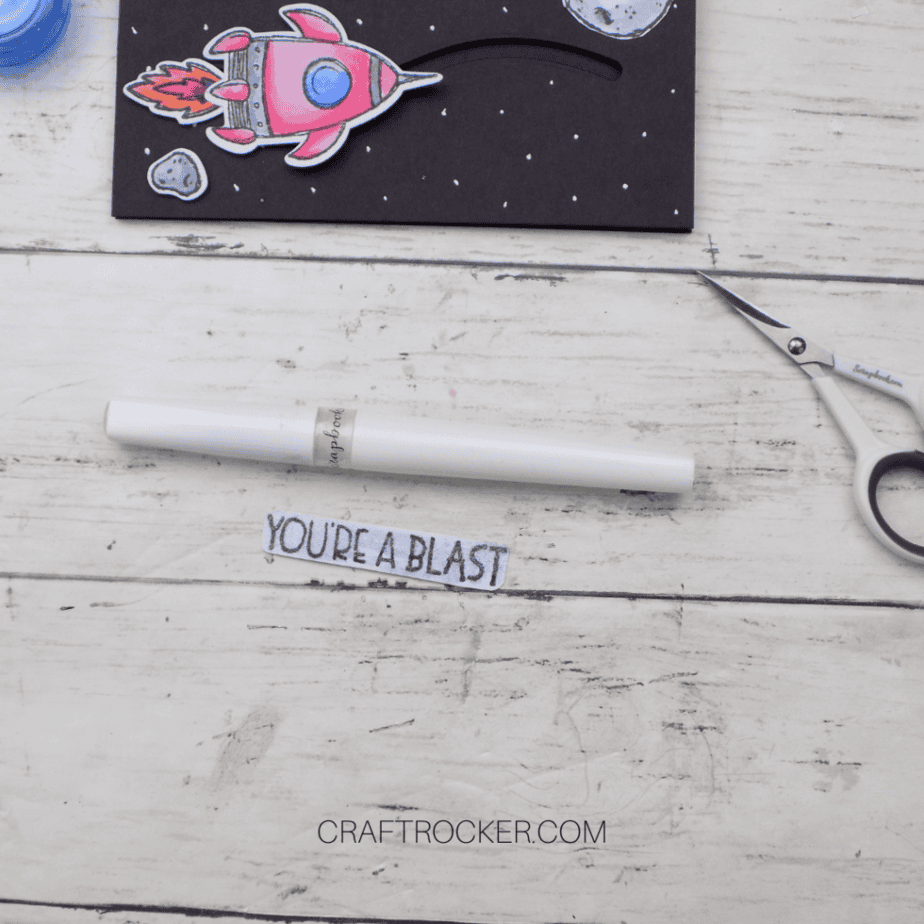
Next cut out your stamped saying, rounding the corners, and go over it with your shimmer pen.
Allow the shimmer to dry and then attach it to the bottom right corner of your card front.
Step 7 – Create the Inside of Card
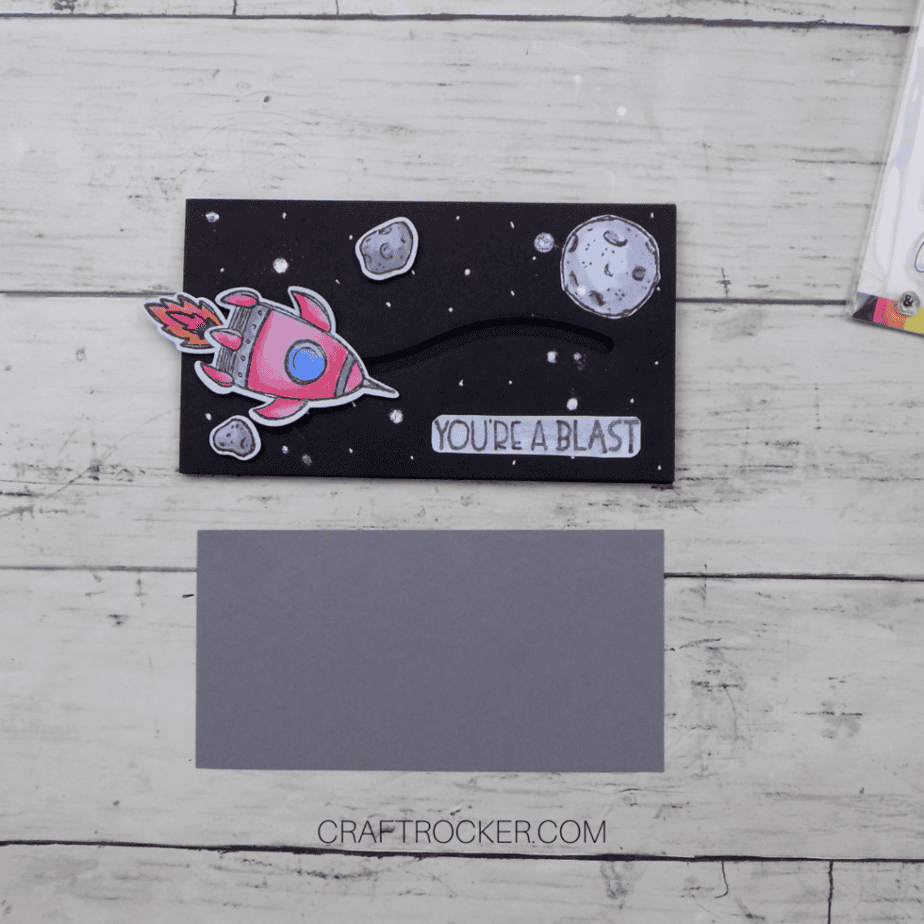
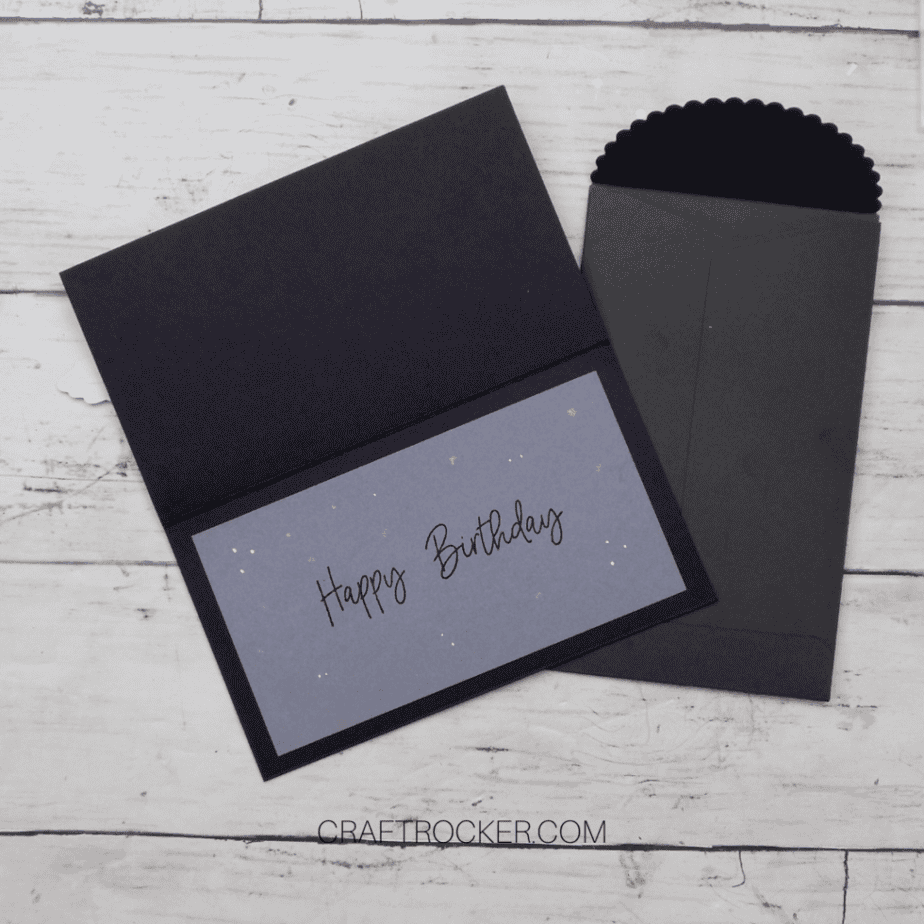
First, cut out a 3 x 5.75 inch rectangle of gray cardstock.
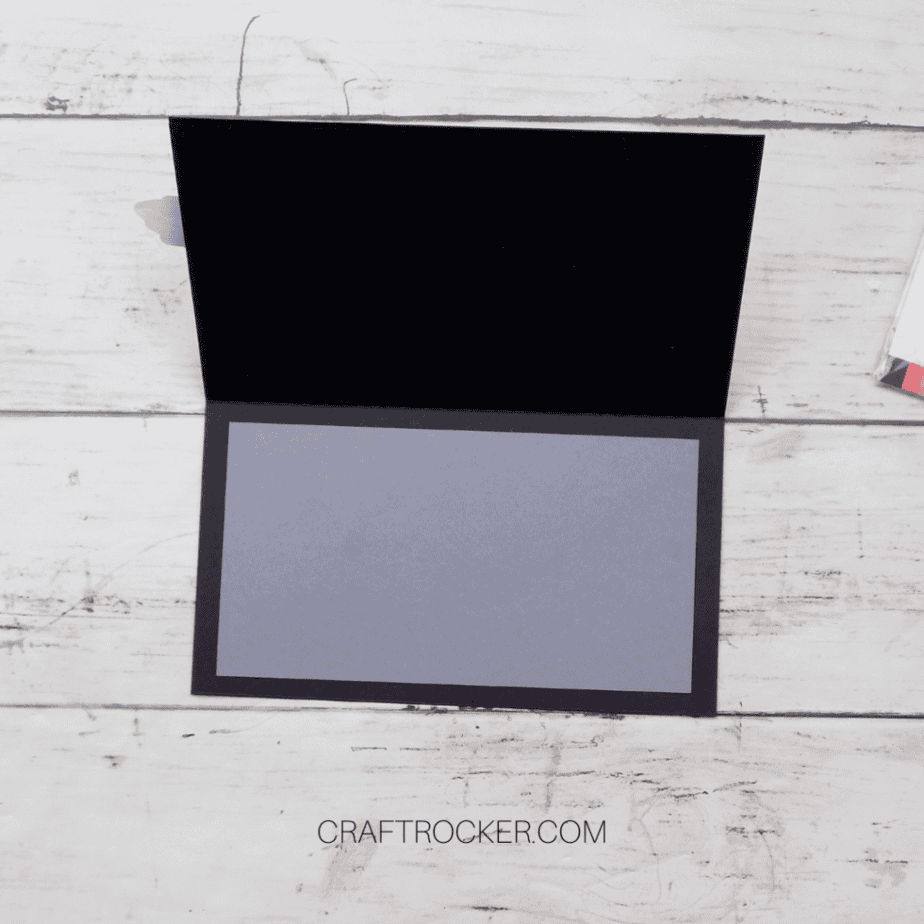
Then attach it to the center of the inside bottom flap of your card with a glue runner.
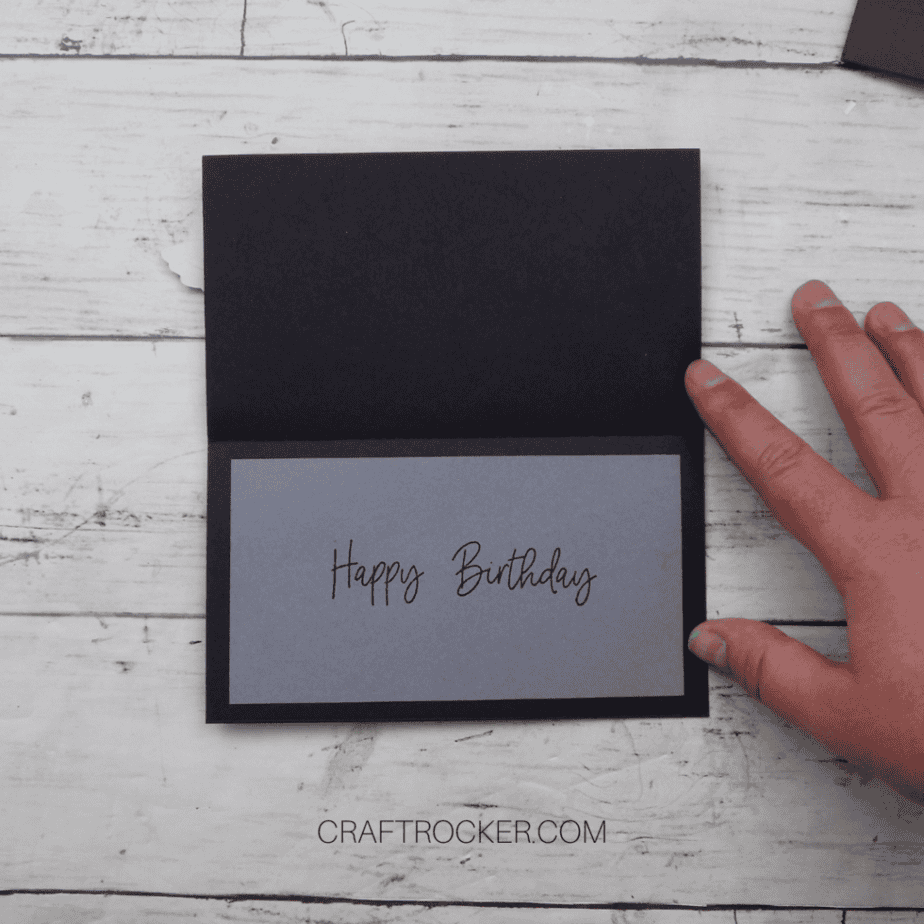
Next, stamp “Happy Birthday” centered on the gray cardstock.
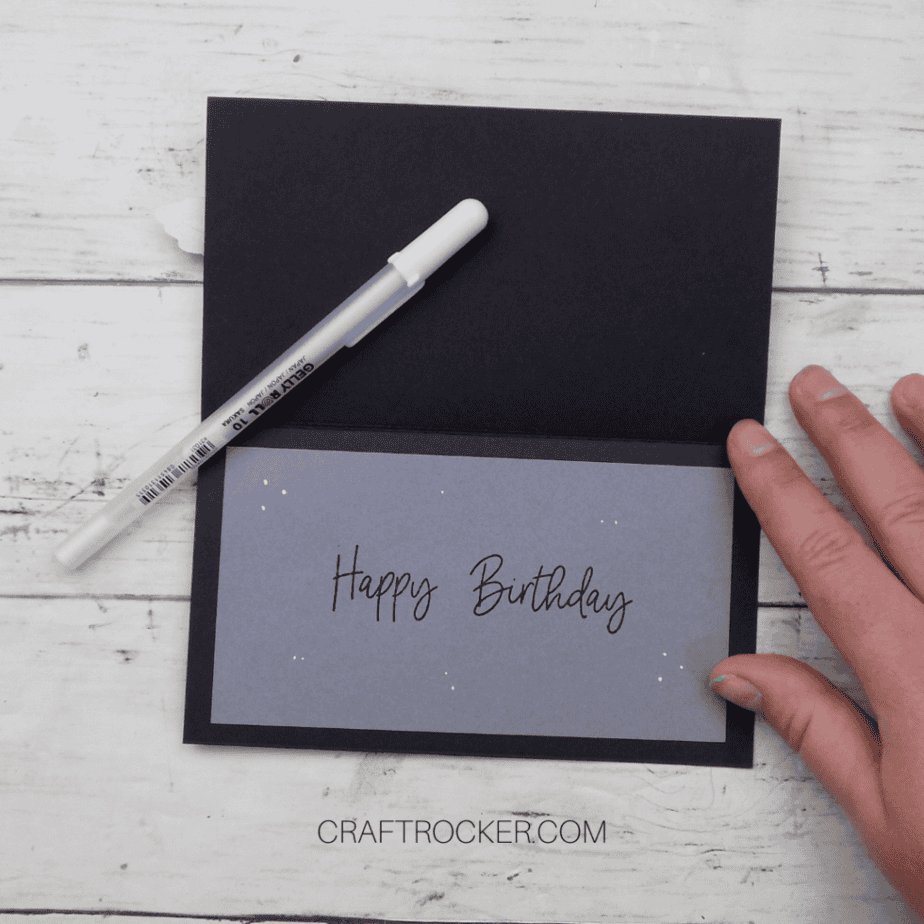
Add white dots to the gray cardstock with your white gel pen.
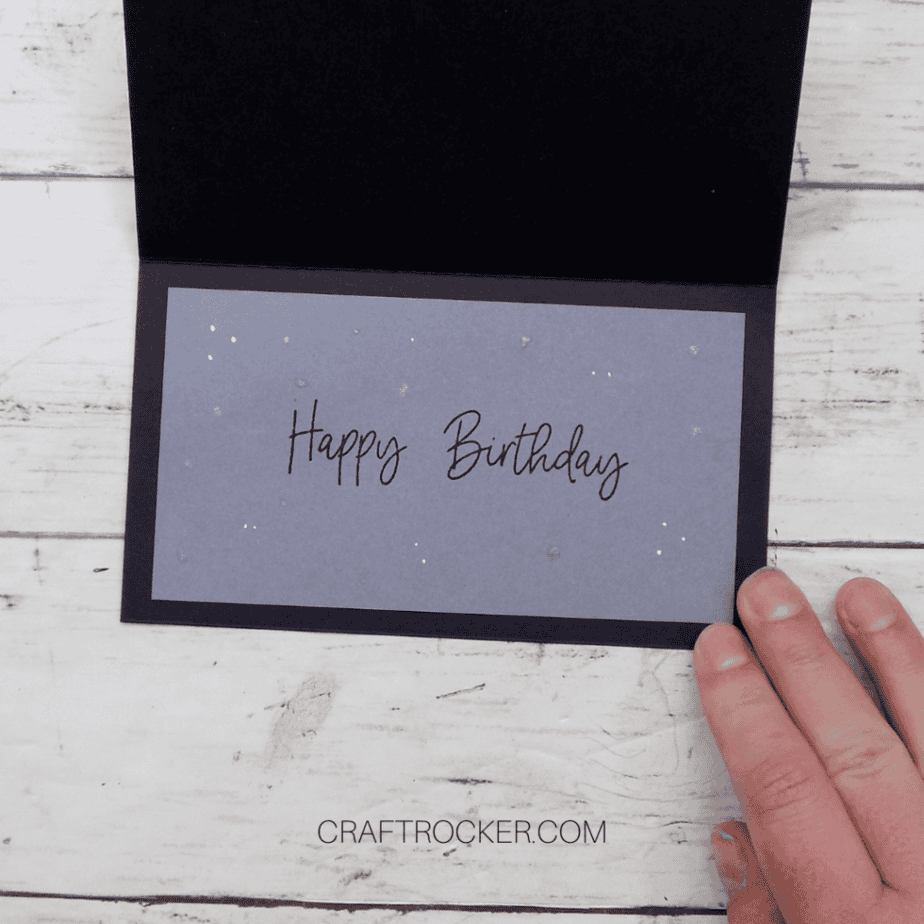
Then add a few shimmer dots to the cardstock with your shimmer pen. Allow it to dry completely before closing your card.
Tips and Tricks
- I stamped “You’re a Blast” on the scrap from the stamped and cut elements. It’s a great way to avoid waste.
- Optionally, you can go over some of the front stars with your shimmer pen to enhance them and make them shiny.
Printable Spaceship Slider Mini Slimline Birthday Card Tutorial
Spaceship Slider Mini Slimline Birthday Card
This spaceship slider mini slimline birthday card is a fun, interactive card to surprise the birthday kiddo with!
Materials
- Blast Off Stamp Set
- Scrapbook.com Celebrate Expressions Stamps
- Black 8.5x11 Cardstock
- Watercolor Paper
- Dark Gray 8.5x11 Cardstock
- Black Ink
- Red 856
- Orange 925
- Yellow 025
- Dark Yellow 993
- Light Orange 933
- Gray N65
- Royal Blue 565
- Glue Runner
- Adhesive Foam Tape
- Zots Mini
- Recollections Slider Cutting Dies
- Blast Off Cutting Dies Set
- Shimmer Pen
- White Gel Pen
Tools
- Scoreboard
- Paper Cutter
- Sizzix Big Shot
- Acrylic Block
- Detail Scissors
- Paintbrush
- Water
Instructions
- First, place an 8.5x11 inch piece of black cardstock on your scoreboard with the 11 inch side at the top.
- Then score the paper at 3.5 inches, 7 inches, and 10.5 inches.
- Remove the cardstock from the scoreboard and cut along the 10.5 inch score line.
- Return the trimmed cardstock to your scoreboard with the 8.5 inch side at the top.
- Next, score the cardstock at 6.25 inches and cut along that score line.
- Now, fold along your remaining score lines and cut the cardstock at the 7 inch score line.
- First, place your loose piece of cardstock that you cut from your card base on a cutting plate.
- Then place your wavy line cutting die in the center of the paper and tape in place.
- Add the top plate and run it through your Sizzix machine.
- Remove the the die cut paper and place to the side.
- Now, cut out 2 black cardstock circles with the cutting die included with the slider card dies. Use a scrap of black cardstock for this or you can use the small piece cut off when making your card base.
- Lastly, use a white gel pen to make dots on the slider piece of cardstock (the one with the wavy line cut in the center). Then set it aside to dry.
- Now, grab a sheet of watercolor paper.
- Stamp the paper with your spaceship, moon, meteorites, and flames in black ink.
- After your images are stamped, color them using the marker watercolor technique.
- The spaceship body should be red with a blue window. Then the additional elements of the spaceship should be gray.
- The flames should be colored with the red, oranges, and blue.
- Lastly, the moon and the meteors should be colored with gray.
- Allow the watercolor to dry before moving on.
- Once your watercolor is dry, place the sheet on your cutting plates. Then tape the spaceship, large meteor, and flames cutting dies in place on their corresponding images.
- Add the top plate and run it through your machine.
- Then remove the cutting dies and cut out images. Repeat the process with the remaining meteor.
- Next, cut out the moon by hand with your detail scissors.
- Lastly, attach the fire to the bottom of the spaceship with your glue runner.
- First, turn over your dotted slider paper and add adhesive foam tape to the outer edges.
- Next, use a mini Zot to attach a plastic cylinder (from your slider card cutting dies set) to one of your black paper circles.
- Then place your cylinder through the wavy line in your slider cardstock.
- Now, use a second mini Zot to attach your second black paper circle to the plastic cylinder so that it on the opposite side of the slider opening.
- Finally, remove the paper backing from the adhesive foam tape and attach it to the front of your card base. Ensure that the fold in the card base is at the top.
- Start by attaching your spaceships to the top black paper circle with a glue runner.
- Then adhere your moon and meteors to the card front at pictured, again with your glue runner.
- Grab a scrap of white paper and stamp “You’re a Blast” in black ink.
- Next cut out your stamped saying, rounding the corners, and go over it with your shimmer pen.
- Allow the shimmer to dry and then attach it to the bottom right corner of your card front.
- First, cut out a 3 x 5.75 inch rectangle of gray cardstock.
- Then attach it to the center of the inside bottom flap of your card with a glue runner.
- Next, stamp “Happy Birthday” centered on the gray cardstock.
- Add white dots to the gray cardstock with your white gel pen.
- Then add a few shimmer dots to the cardstock with your shimmer pen. Allow it to dry completely before closing your card.
Isn’t this spaceship slider mini slimline card so much fun?!
I can’t wait to surprise my youngest with this for his birthday. And don’t forget, be on the lookout for more awesome slider card ideas!
Don’t Forget to Pin It!