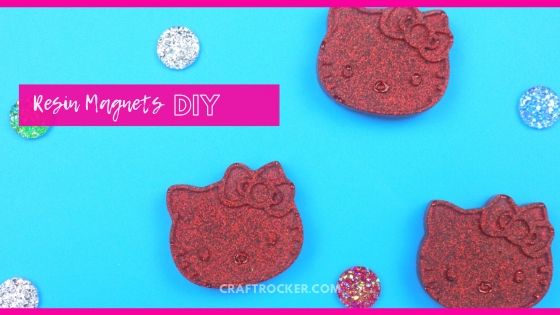
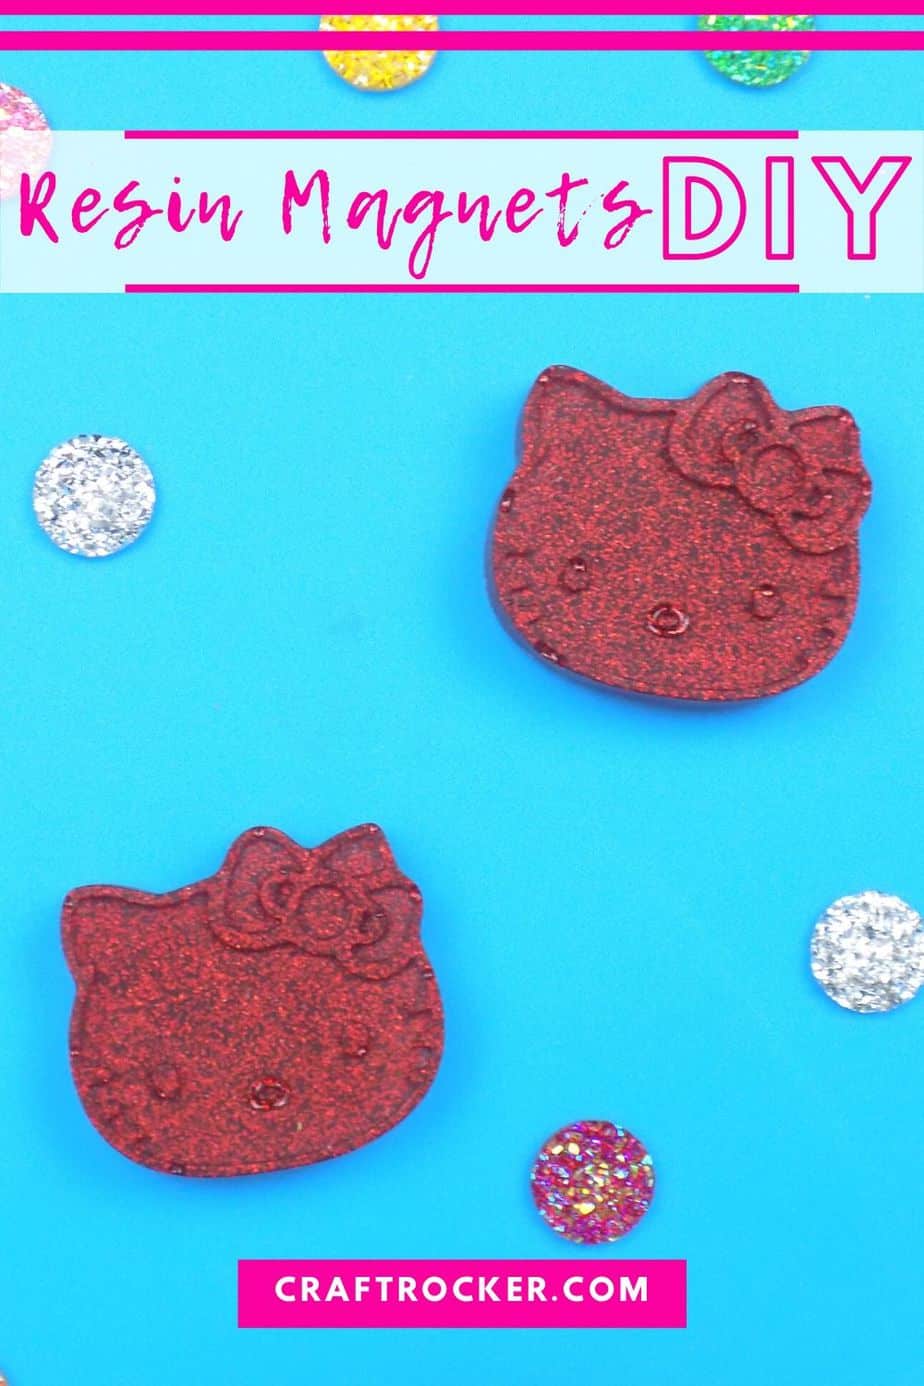
Making resin magnets is super easy. All you need is resin, colorant, and a mold to make your shapes.
Once you have your shapes it’s as simple as gluing a magnet to the back. Pretty awesome, right?
Affiliate links may be used in this post. Ordering a product through these links may result in a commission at no extra cost to you. Read the full disclosure here.
If you’ve been putting off working with resin because it seems scary or confusing, this is the perfect project to dip your toe in with.
I seriously love working with resin because once you have a mold, you can make pretty much anything.
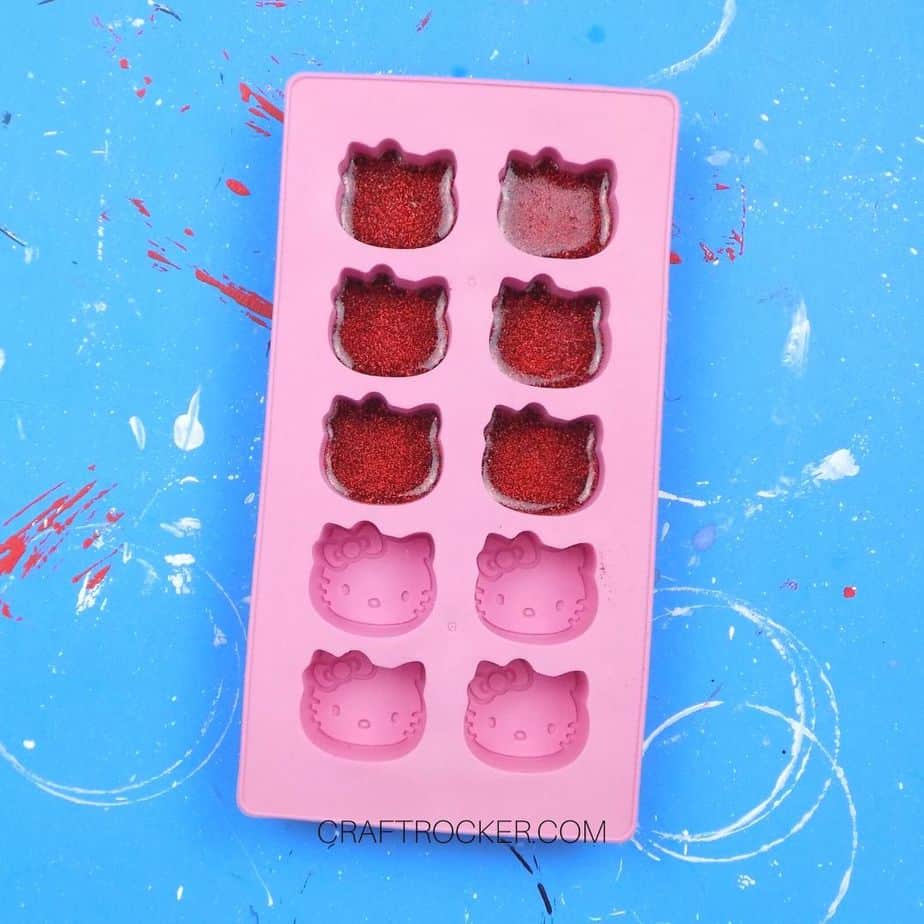
There are molds for everything from buttons to bracelets, but what makes magnets easiest is that you can use pretty much any silicon mold.
The mold I used in this tutorial is actually a candy mold but it works perfectly for resin too. These resin magnets are proof of that.
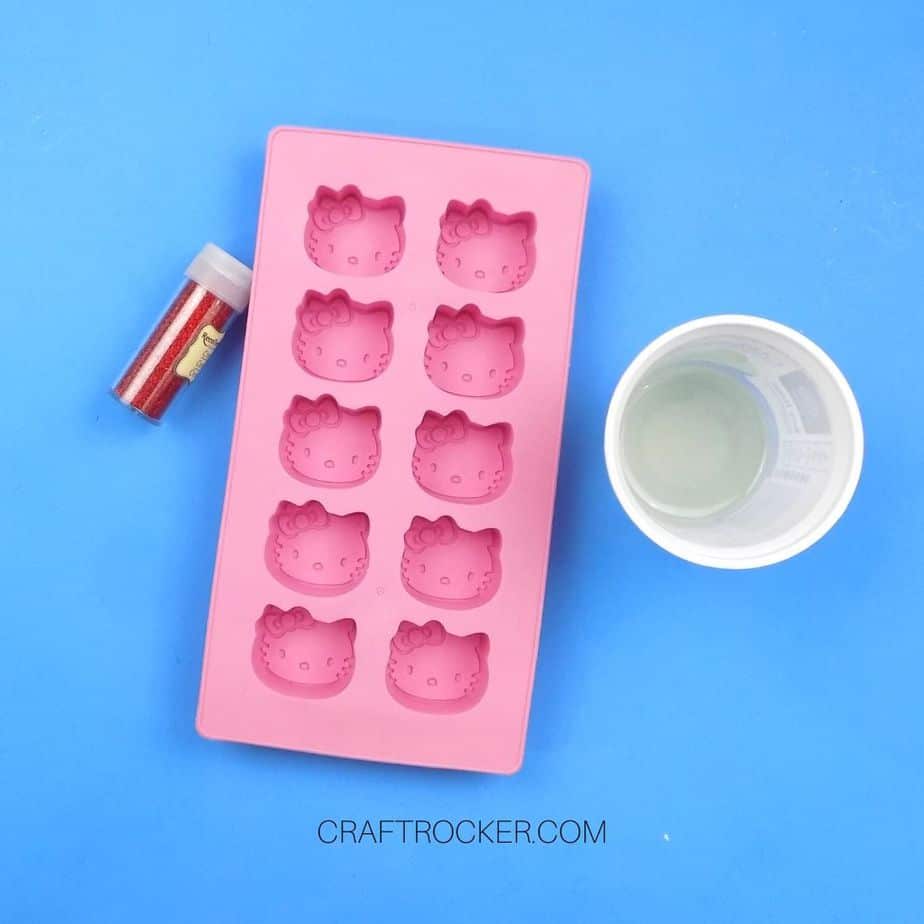
Resin Magnets Materials
- 1 oz each of Resin Solutions A and B (I use this Resin)
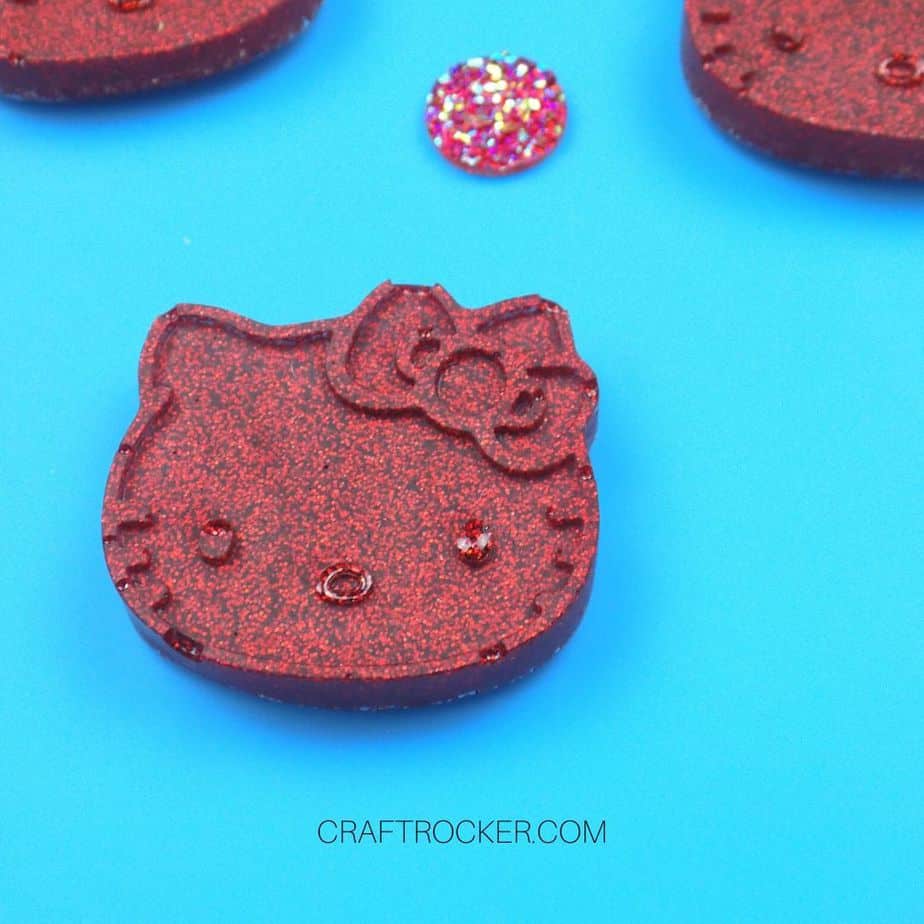
- Red Glitter
- Hello Kitty Silicon Mold (Here’s a similar mold)
- 11/16 in Ceramic Magnets
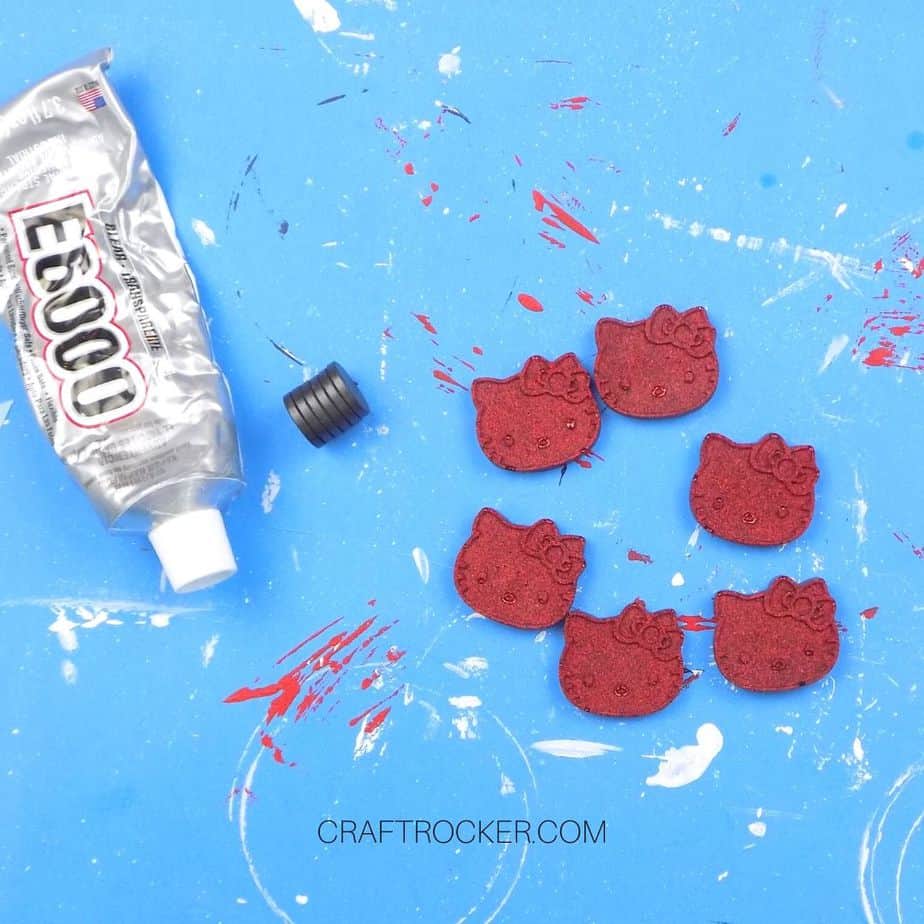
- E6000
Additional Tools
- Cup for Mixing
- Stick for Stirring
Important
- Always use protective gloves when working with resin.
- Also, make sure you protect your work surface because once resin cures it is very difficult to remove.
Step 1
First, mix your resin solutions together. Make sure they are thoroughly mixed.
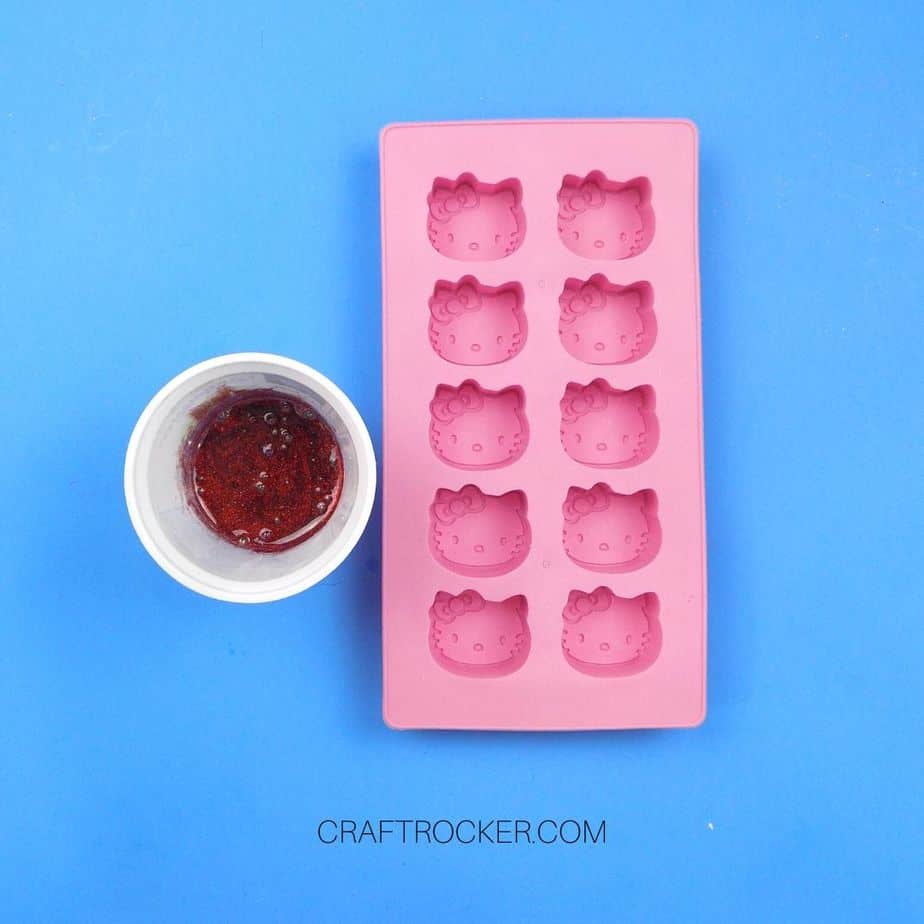
Step 2
Then, add in your glitter. You can add as much or as little as you like. I chose to add a lot because, hello, pretty!
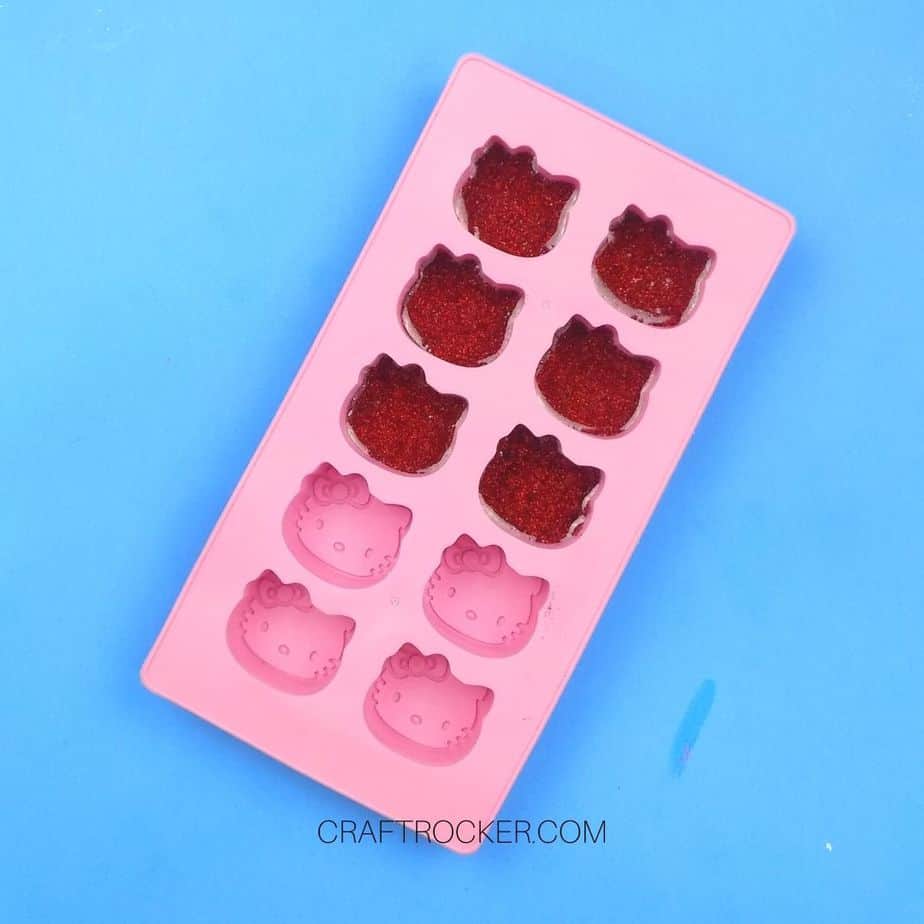
Step 3
Once your glitter resin is mixed, pour it into your Hello Kitty mold cavities. Do not fill them all the way. I only filled mine about 1/4 of the way.

Step 4
Now set your mold aside to cure according to the time recommended on your resin. I left mine for 24 hours.
Tip:
- Make sure your mold is on a flat surface during curing to ensure flat, even results.
Step 5
After your resin has cured, remove the pieces from your mold.
Step 6
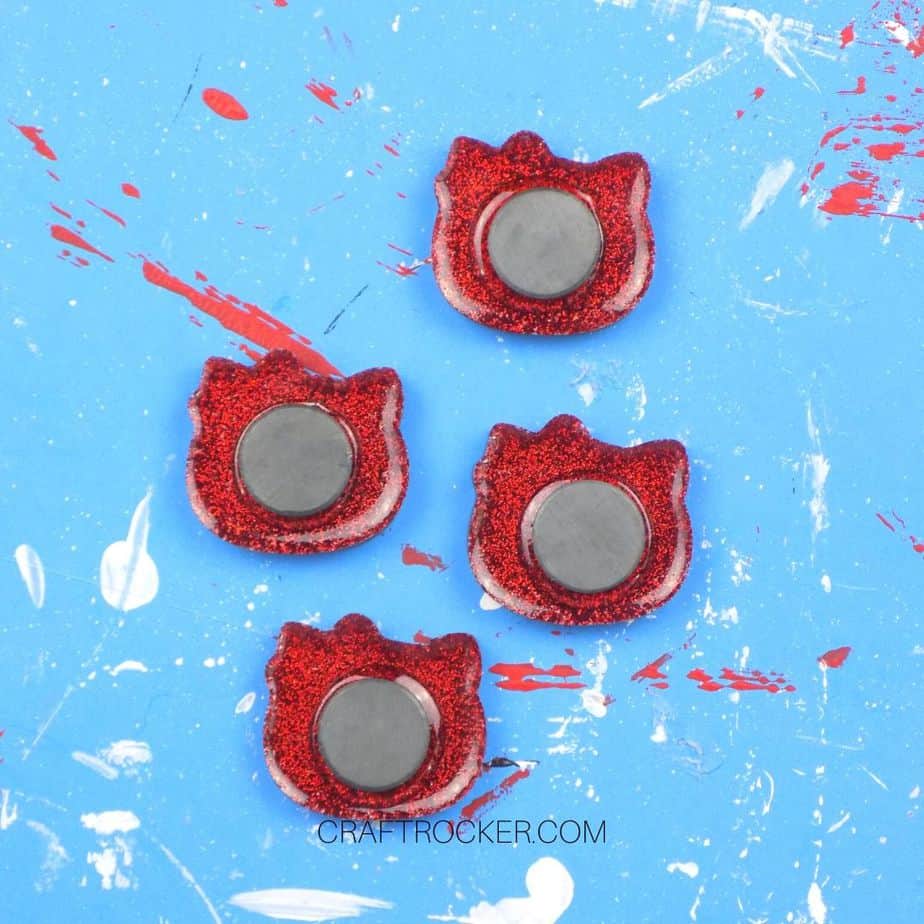
Next place a small amount of E6000 on the back of a magnet and attach in the center on the back of your Hello Kitty piece.
Step 7
Repeat until all of your pieces of a magnet on the back.
Step 8
Again, set your magnets aside to dry. I suggest letting the glue dry for 24 hours as well to ensure that your magnets are completely dry.
How to Customize Your Resin Magnets
If Hello Kitty isn’t your thing, first, why not? She’s adorable!
However, these resin magnets are super easy to customize in whatever shape and color your want. Simply pick your mold and glitter color, then follow the instructions above.
When picking your mold, I recommend keeping the shapes to 2 inches wide and long (or less).
If you go for a larger shape, make sure you get larger and stronger magnets to attach to the back.
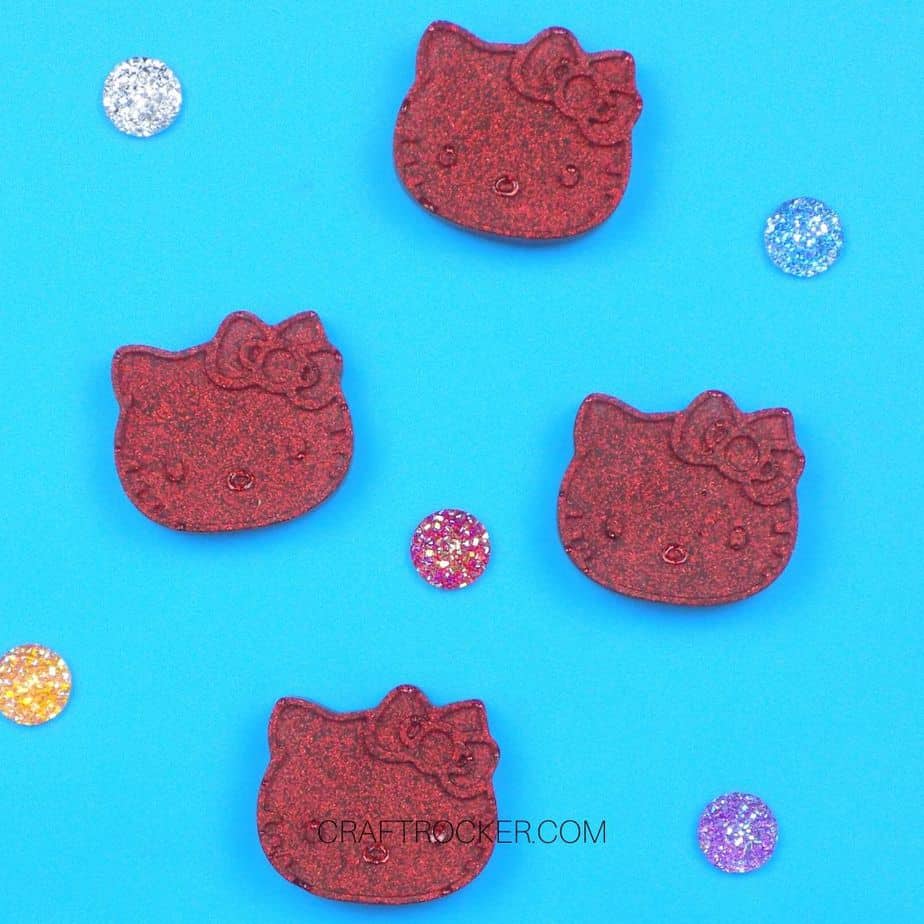
I’m absolutely in love with this adorable resin magnets DIY. They are rocking it on our fridge and bring me joy while I’m cooking meals for my crazy family.
Now I think we need to make some TARDIS ones to keep her company. What do you think?
Don’t Forget to Pin It!

Leave a Reply