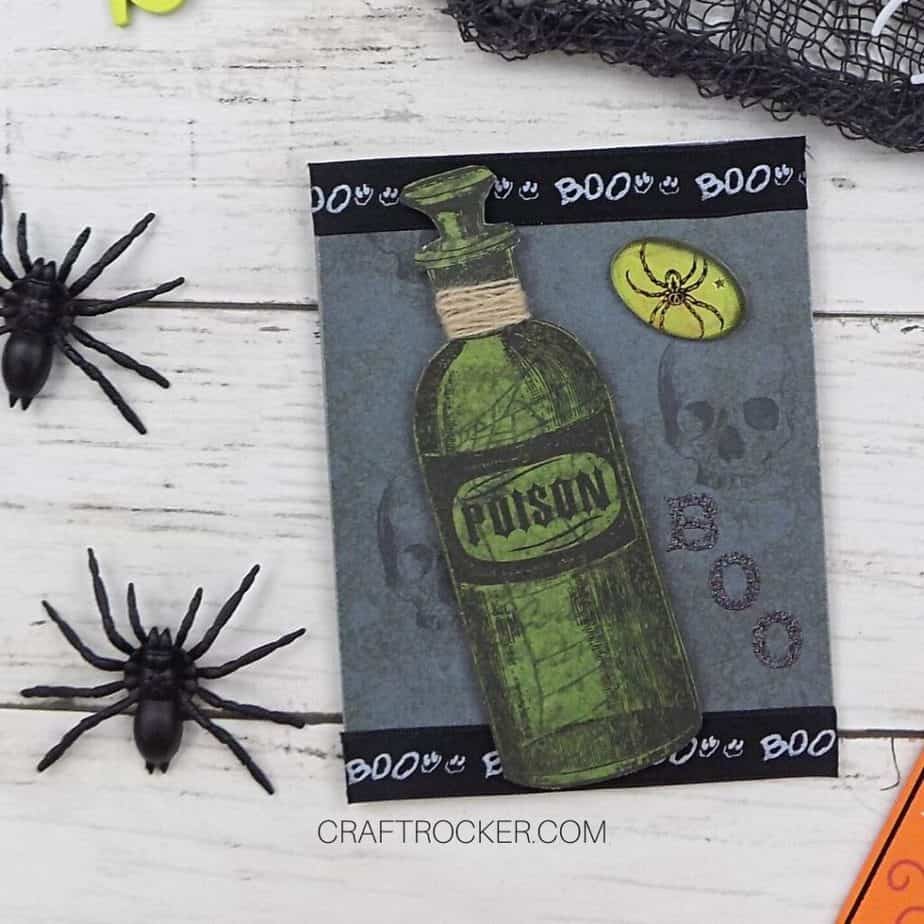
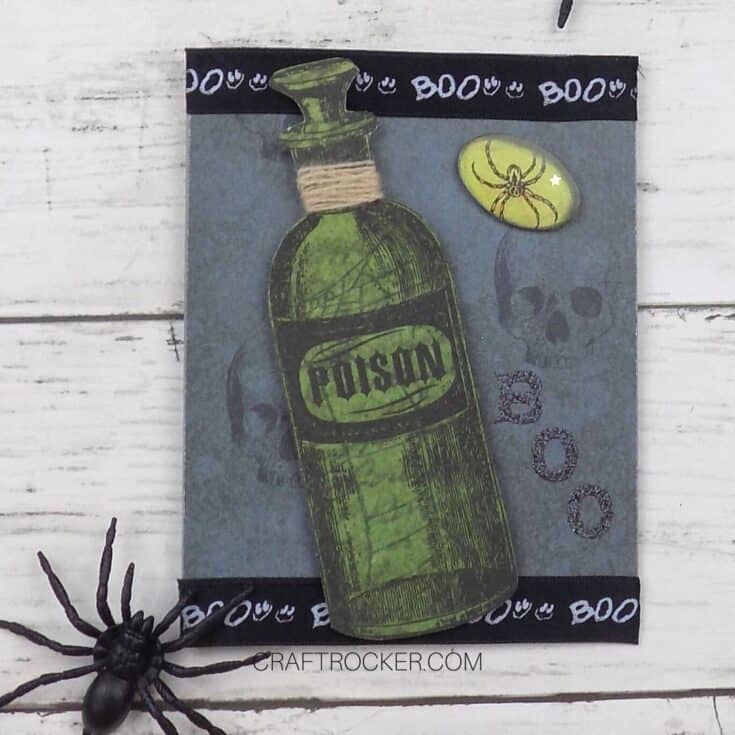
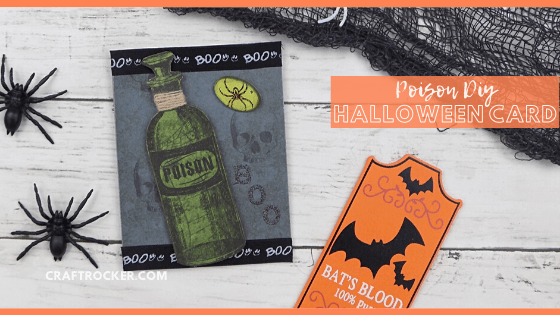
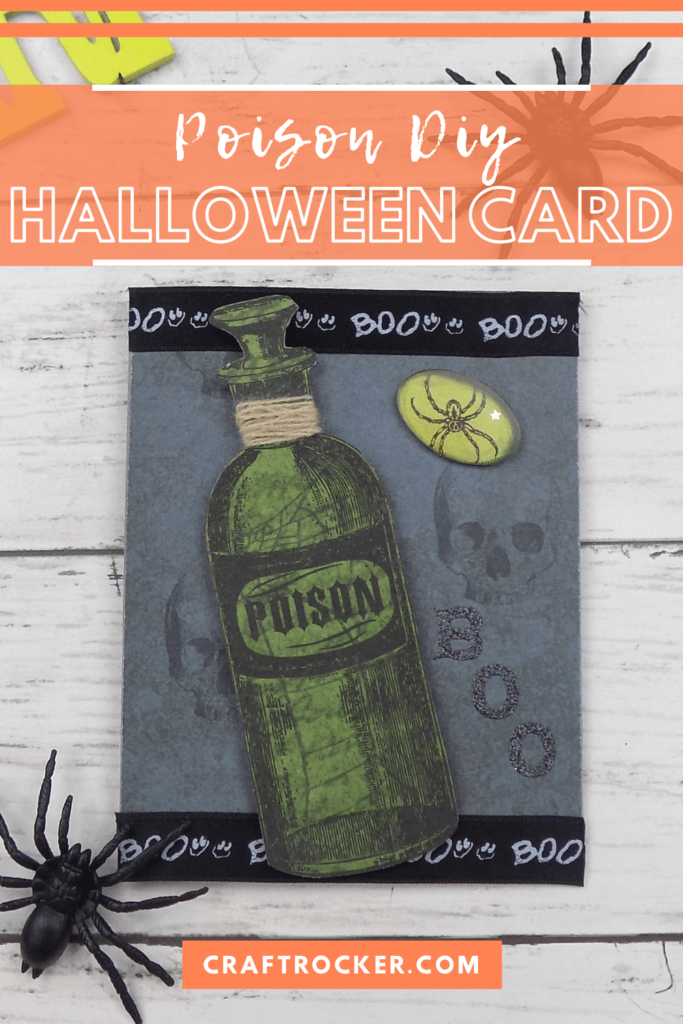
This poison bottle DIY Halloween card is a great way to send spooky greetings this month! You can also make multiples and use them as awesome invitations for your Halloween celebration.
Affiliate links may be used in this post. Ordering a product through these links may result in a commission at no extra cost to you. Read the full disclosure here.
Jump to What You Want
Poison Bottle DIY Halloween Card
Printable Poison Bottle DIY Halloween Card Tutorial
Halloween is my all-time favorite holiday and this year I have high hopes that we’ll actually get to celebrate.
In that hope, I’m already getting started on some Halloween crafts, starting with this awesome card.
It’s super easy to make even if you have no card making skills. Don’t worry about finding the exact same paper I used used. Any similar paper will totally work and still create a fantastic Halloween card!
Poison Bottle DIY Halloween Card Materials
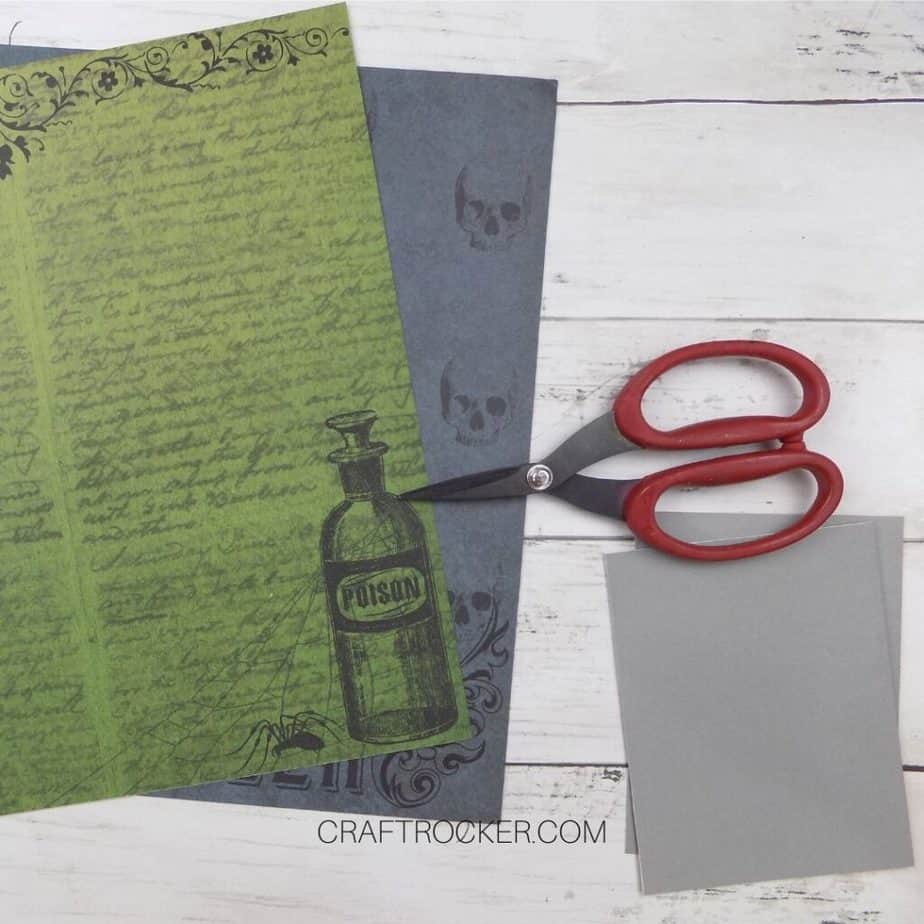
Gray Preformed Card
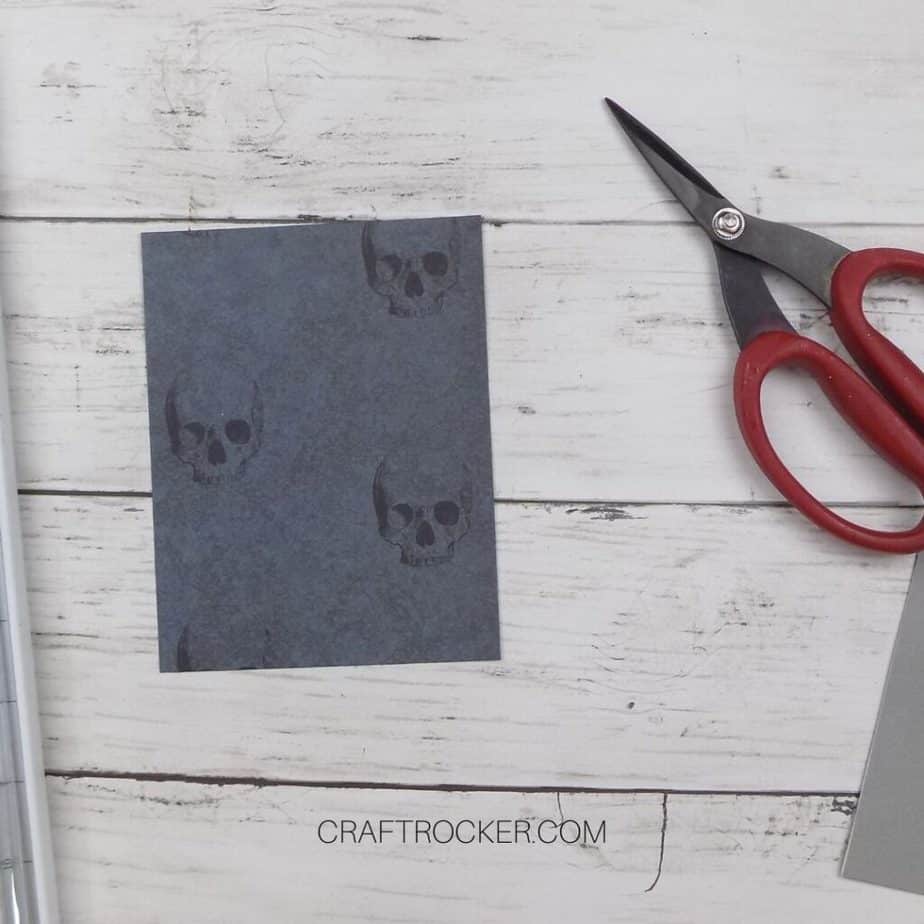
Black and Gray Skull Patterned Cardstock (mine was 12×12 inches)
4-6 inch Poison Bottle (I cut mine from cardstock)
Scissors
Glue Runner
Paper Cutter
Natural Twine or Similar
Black Halloween Ribbon (I found mine at Micheal’s)
Spider Embellishment (Optional)
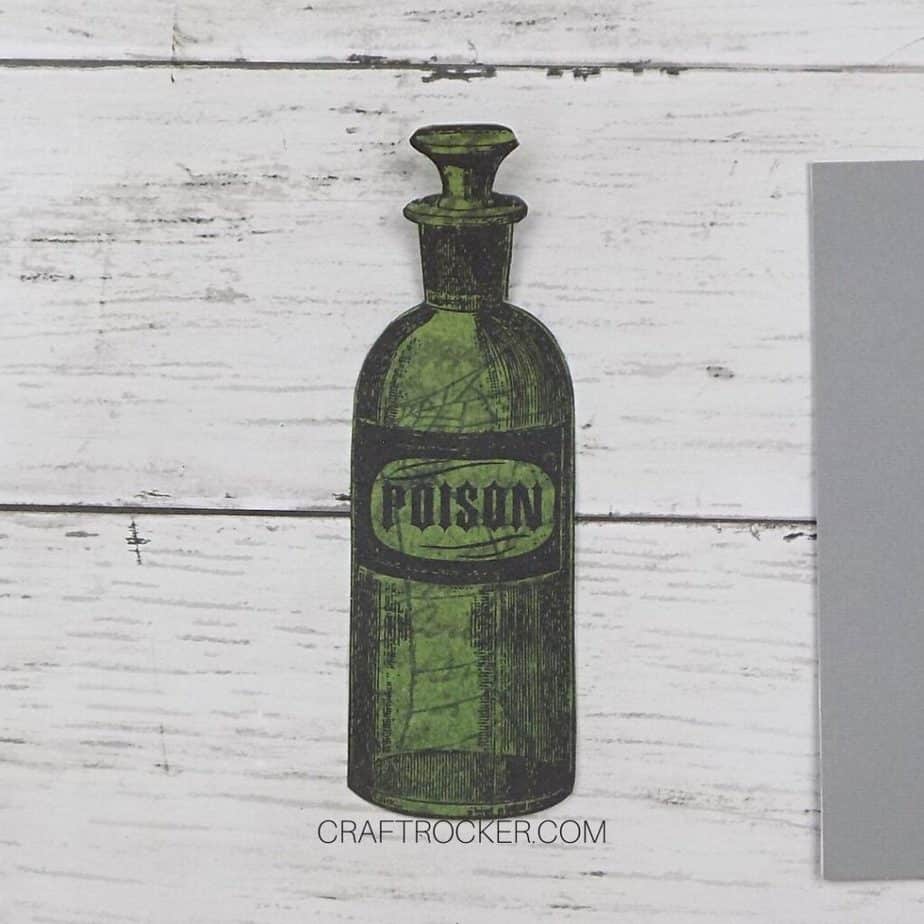
Step 1 – Prepare Your Poison Bottle
This step varies depending on whether you are using a ready-made poison bottle embellishment.
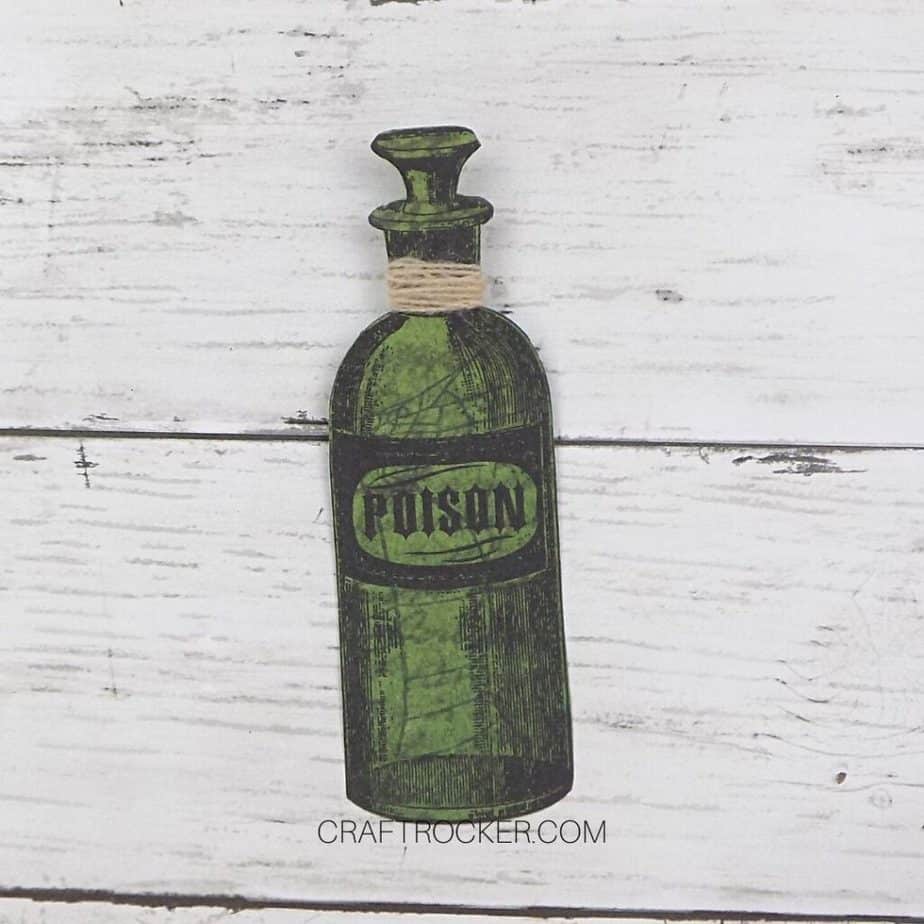
Start by cutting the poison bottle out of your piece of Halloween paper. Then wrap some twine around the neck of the bottle.

Secure the wrapped twine with an adhesive foam square. Then place more adhesive foam squares on the back on the bottle.
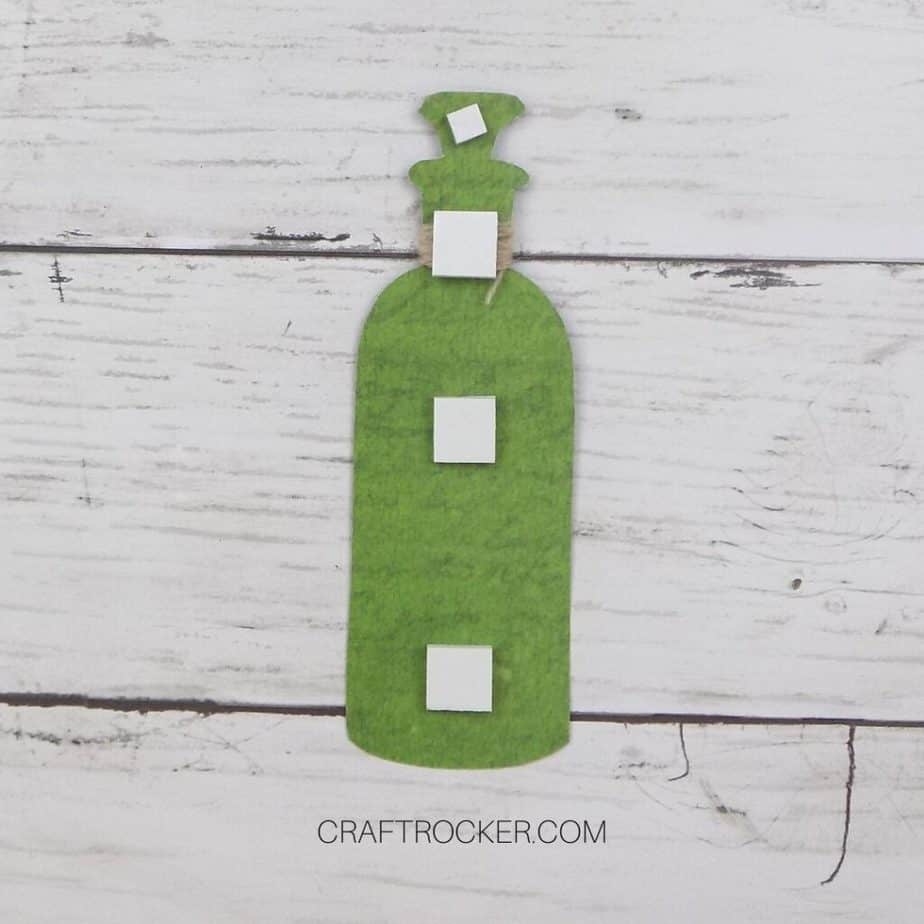

Set the prepped poison bottle aside while you prep your card front.
Step 2 – Prepare Your Card Front
Now pull out your preformed card and use it as a guide to measure a piece of your skull paper to fit on the front.
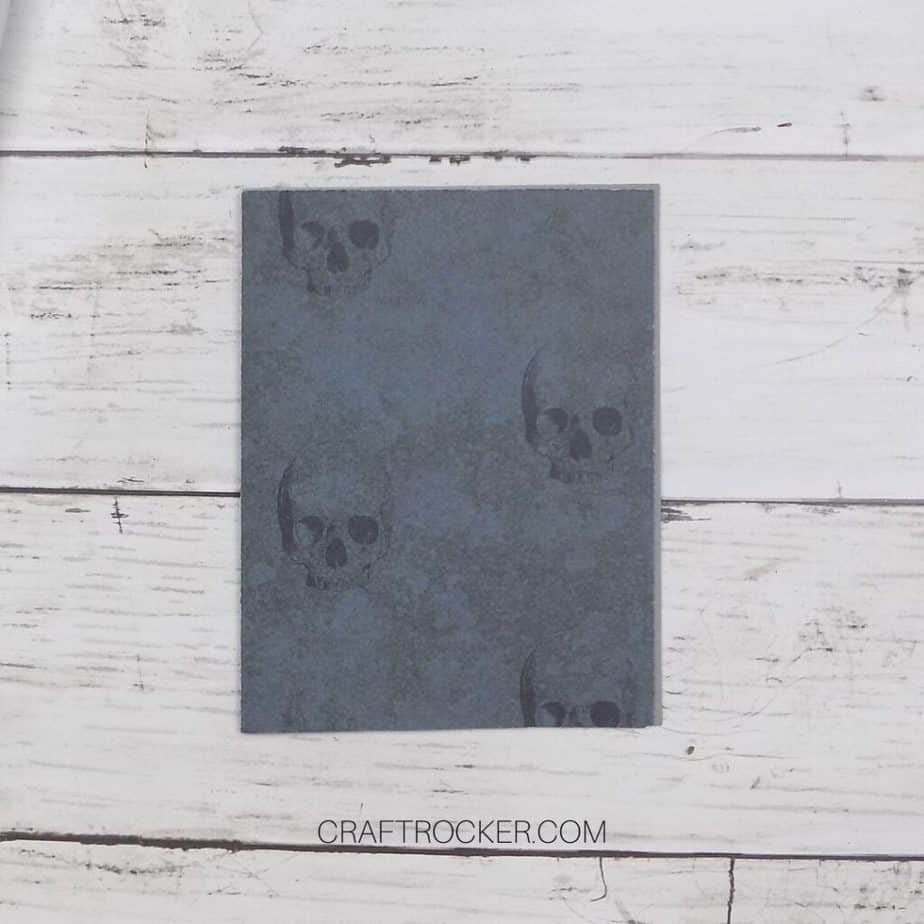
Cut the skull paper with your paper cutter and then use your glue runner to attach it to the front of your preformed card.
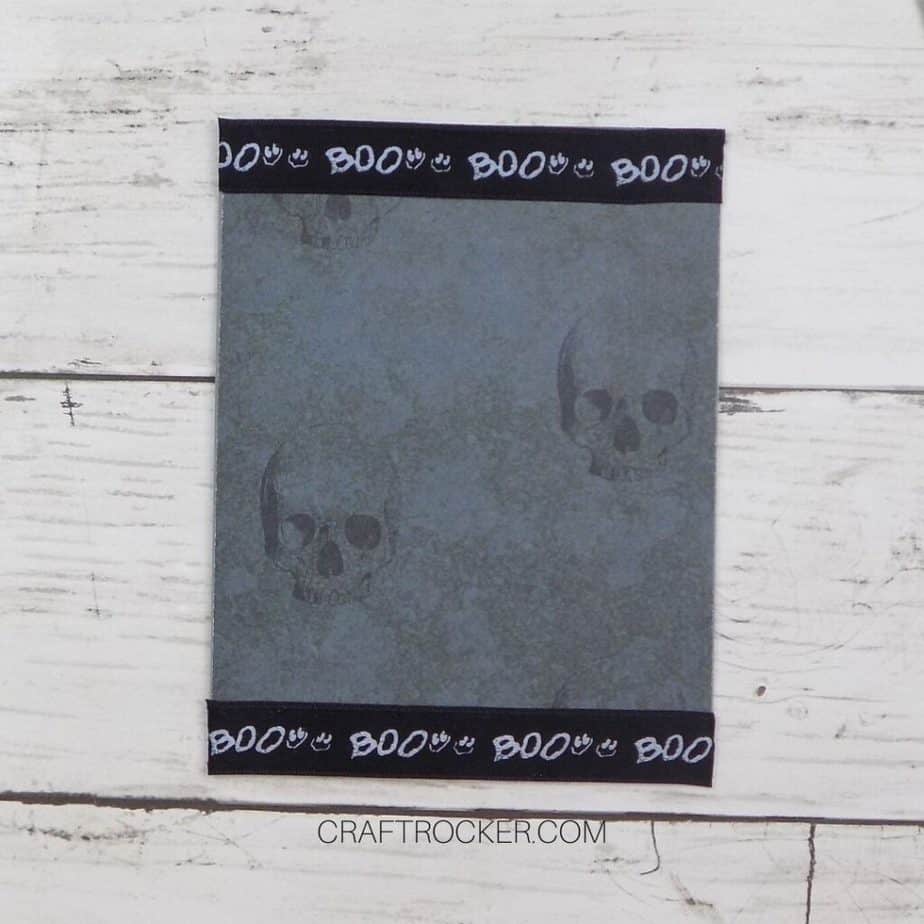
Next, attach a length of ribbon to the top and bottom of your card front with your glue runner.
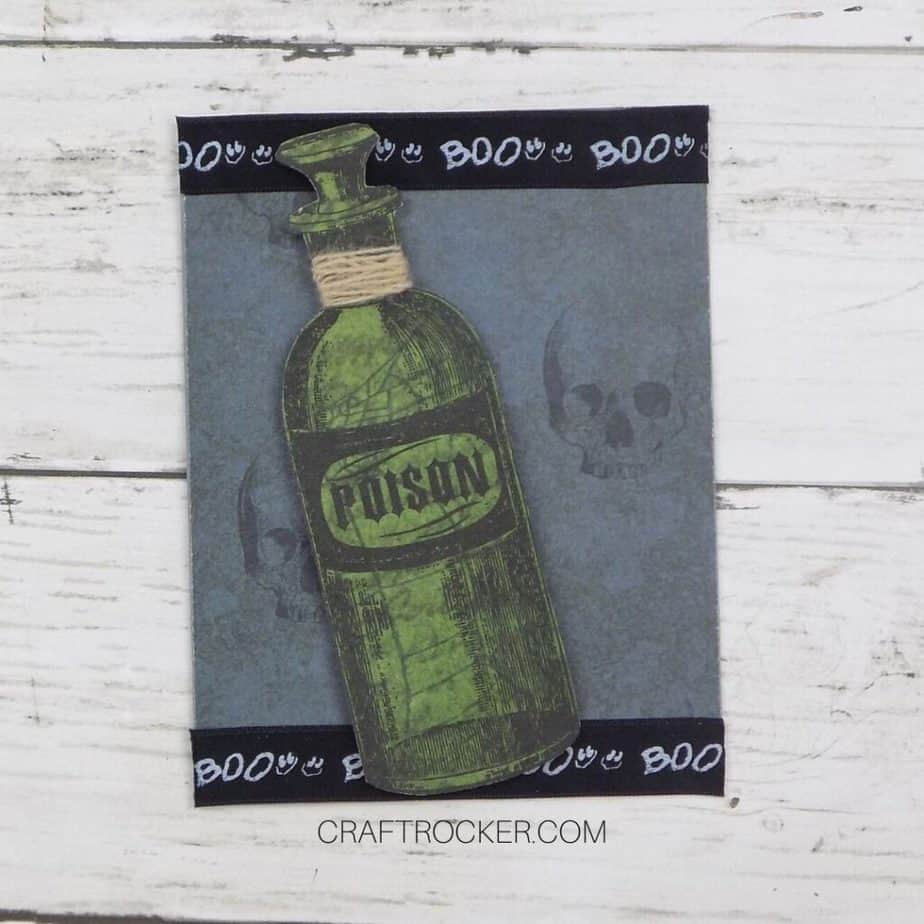
Step 3 – Attach Poison Bottle to Front of Card
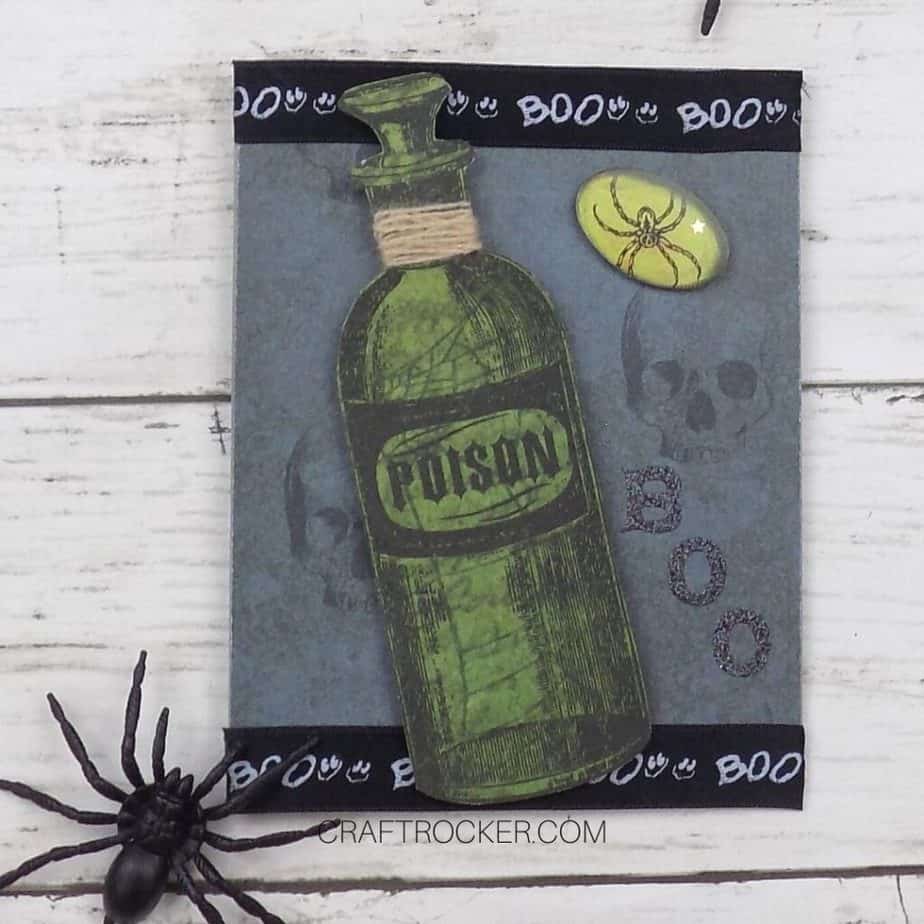
After the front of your card is ready, attach your poison bottle to the front of the card. Make the bottle slightly angled with the bottom closer to the bottom right corner and the top angled slightly towards the top left corner.
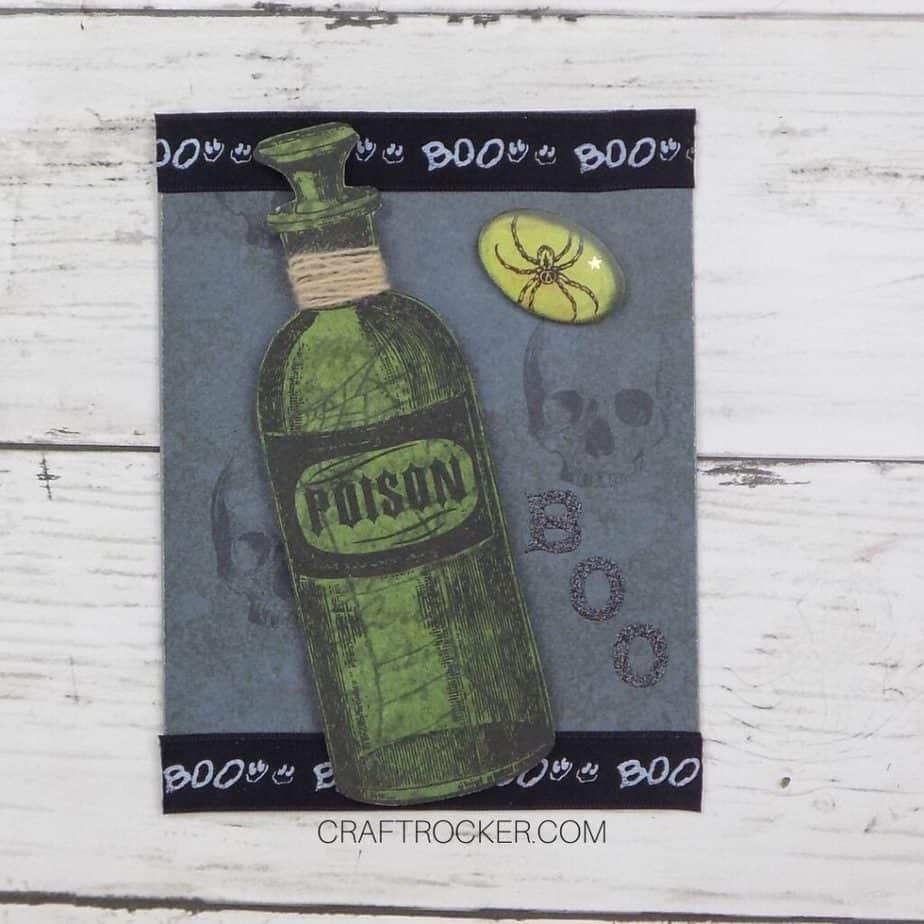
Step 4 – Add Spider and Letters
Next add the glitter letter stickers “B-O-O” down the right side of your attached poison bottle on the front of your card.
Lastly, attach your spider embellishment to the top right of the potion bottle on the card as pictured above.
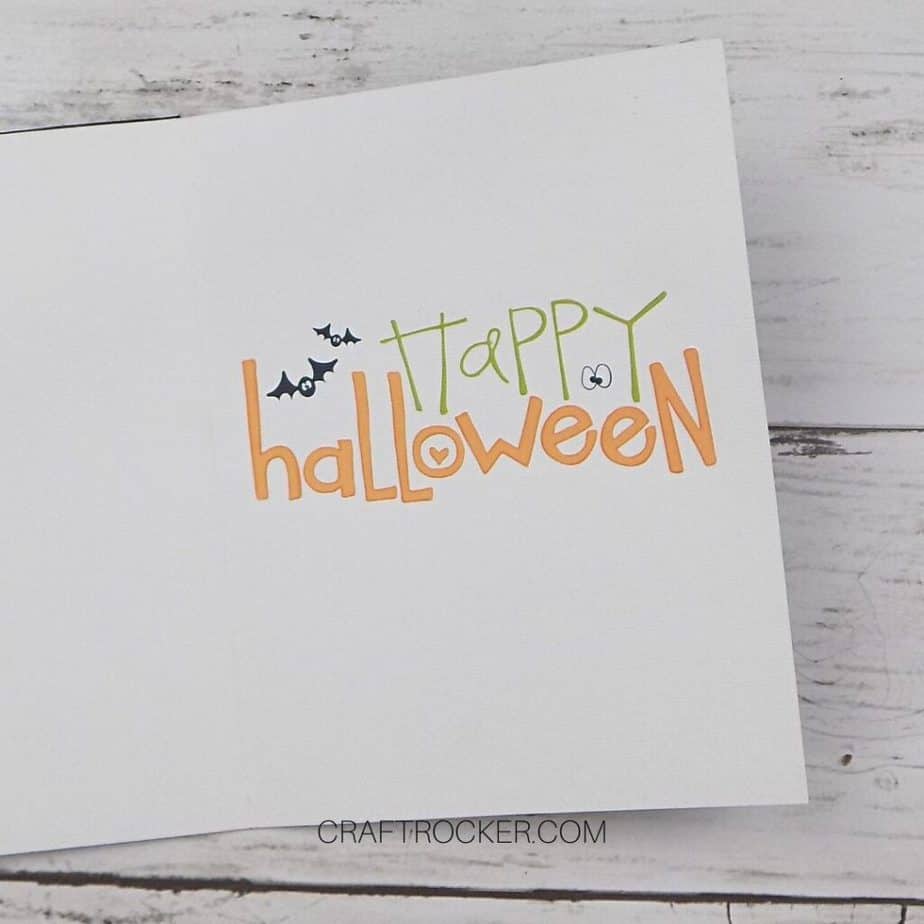
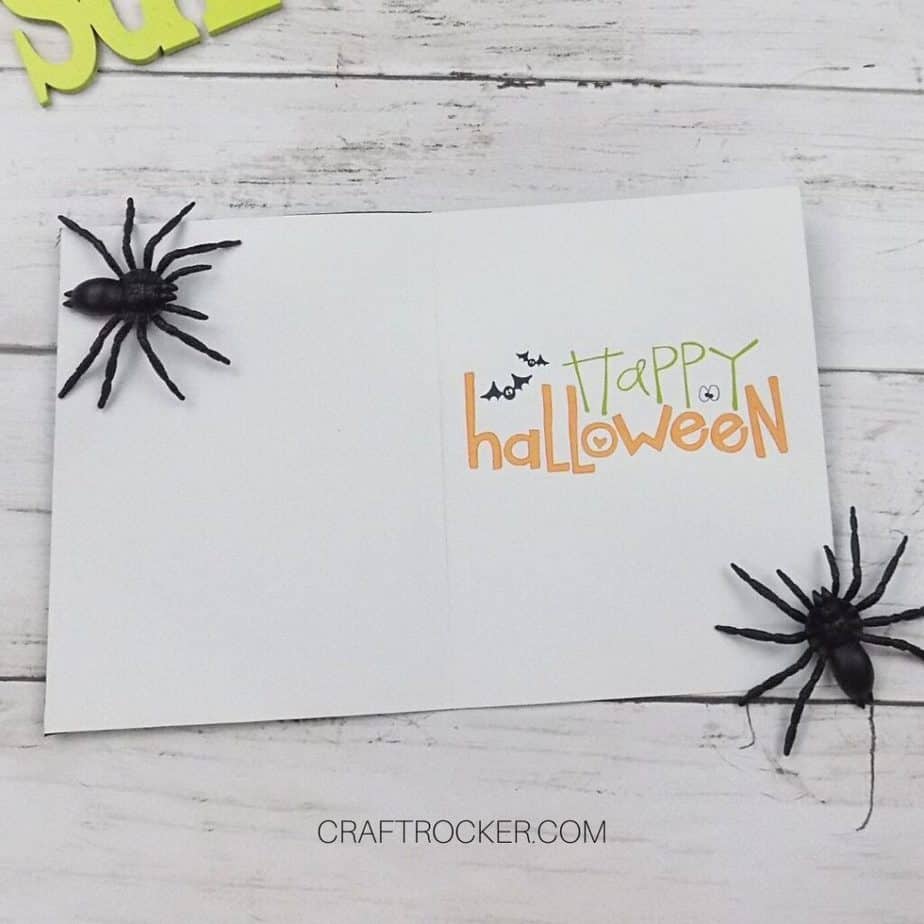
Step 5 – Add Inside Sentiment (Optional)
If desired, add a fun Happy Halloween sentiment inside of the card. I used a fun rub-on but you can also use a stamp or hand lettered saying as well.
Tips and Tricks
It doesn’t matter what colors you choose for your paper and embellishments. I went with dark colors to add to the creep factor. You can use bright colors for a more whimsical card, simply ensure that the colors compliment each other.
If you don’t have adhesive foam squares, you can use your glue runner to attach your poison bottle embellishment. I like the foam squares because they add an extra dimension to the card.
Printable Poison Bottle DIY Halloween Card Tutorial
Poison Bottle DIY Halloween Card
This poison bottle DIY Halloween card is a great way to send spooky greetings this month! You can also make multiples and use them as awesome invitations for your Halloween celebration.
Materials
- Gray Preformed Card
- Black and Gray Skull Patterned Cardstock (mine was 12x12 inches)
- 4-6 inch Poison Bottle
- Scissors
- Glue Runner
- Paper Cutter
- Natural Twine or Similar
- Adhesive Foam Squares
- Black Glitter Letters
- Black Halloween Ribbon (I found mine at Micheal’s)
- Spider Embellishment (Optional)
Instructions
- This step varies depending on whether you are using a ready-made poison bottle embellishment.
- Start by cutting the poison bottle out of your piece of Halloween paper. Then wrap some twine around the neck of the bottle.
- Secure the wrapped twine with an adhesive foam square. Then place more adhesive foam squares on the back on the bottle.
- Set the prepped poison bottle aside while you prep your card front.
- Now pull out your preformed card and use it as a guide to measure a piece of your skull paper to fit on the front.
- Cut the skull paper with your paper cutter and then use your glue runner to attach it to the front of your preformed card.
- Next, attach a length of ribbon to the top and bottom of your card front with your glue runner.
- After the front of your card is ready, attach your poison bottle to the front of the card. Make the bottle slightly angled with the bottom closer to the bottom right corner and the top angled slightly towards the top left corner.
- Next add the glitter letter stickers “B-O-O” down the right side of your attached poison bottle on the front of your card.
- Lastly, attach your spider embellishment to the top right of the potion bottle on the card.
- If desired, add a fun Happy Halloween sentiment inside of the card. I used a fun rub-on but you can also use a stamp or hand lettered saying as well.
I love how dark and spooky this poison bottle DIY Halloween card turned out. Of course, I couldn’t resist brightening it up a little on the inside with the bright Happy Halloween sentiment.
Feel free to personalize yours to fit your style or party décor this year! Don’t forget to share your creations with me on Facebook.
Don’t Forget to Pin It!
More Halloween Crafts to Check Out
Colorful Skulls Halloween Scrapbook Page
Vintage Halloween Pizza Pan Wreath
Colorful Candy Halloween Scrapbook Pages
Simple Spine Tingling Halloween Party Decor – Made in a Day

Leave a Reply