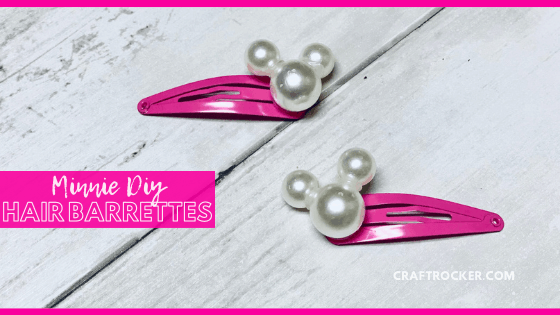
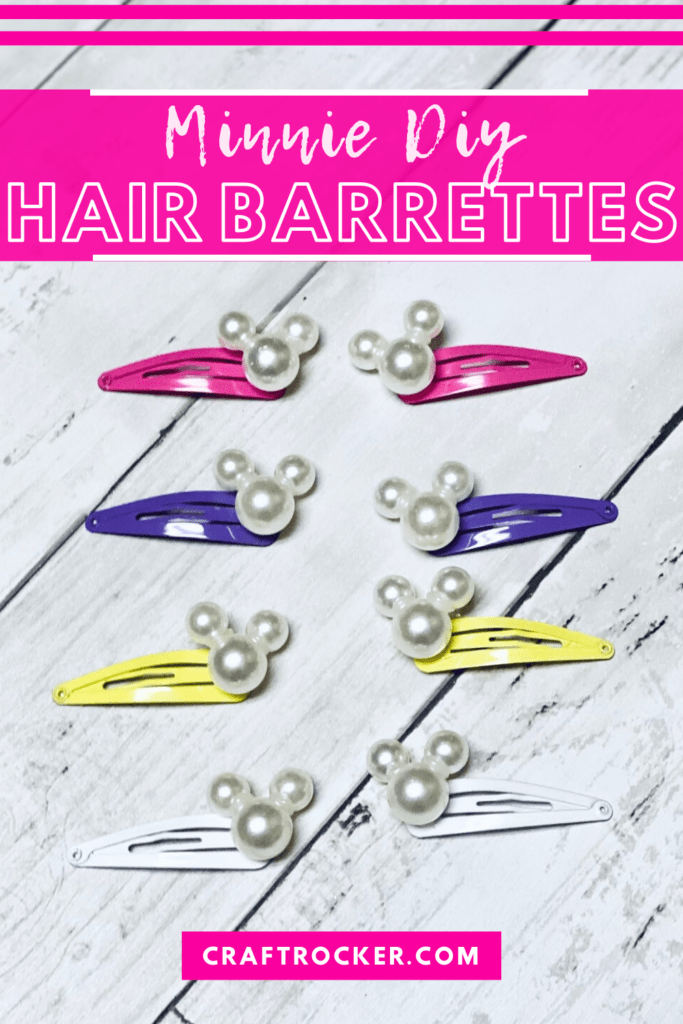
These Minnie DIY hair barrettes are super easy and adorable accessories for Disney fans big and small.
Affiliate links may be used in this post. Ordering a product through these links may result in a commission at no extra cost to you. Read the full disclosure here.

Jump to What You Want
How to Make Minnie DIY Hair Barrettes
Printable Minnie DIY Hair Barrettes Tutorial
You may have noticed from my shamrock t-shirt tutorial that my daughter recently decided to cut all of her hair off to her chin. She absolutely loves it and looks cute as a button, however, she’s struggling to figure out ways to keep it out of her eyes.
Like many girls her age, she’s obsessed with Jojo Siwa so we have an obscene amount of those bows. Unfortunately, they don’t lend themselves to short as well as they did when her hair was longer.
Smaller options, like these Minnie hair barrettes, are perfect. They are an easy solution to quickly pull back her hair and they are easy for her to work. That lets her put them back in quickly when the fall out or come loose during the day.
Even better, these are made with Dollar Tree supplies so they’re totally budget-friendly, too, unlike those Jojo bows.

Minnie DIY Hair Barrettes Materials
Dollar Tree Barrettes (there are 8 sets in a package in-store or 14 pack online)
Hot Glue Gun and Glue Sticks
40 Pack Floral Pearl Beads (the bigger size or get this multipack online)
80 pack floral pearl beads (the smaller size)
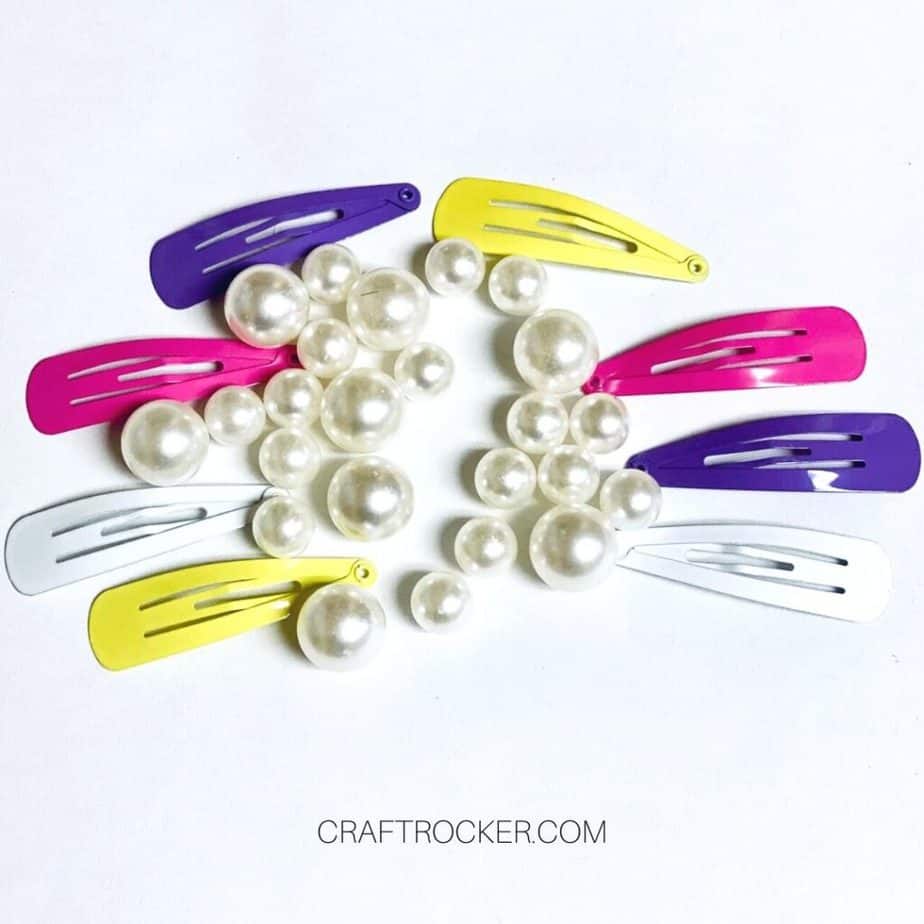
Step 1 – Prep Your Barrettes
Before you start, prepare your barrettes by getting all of them out of the package and unclipped from the cardboard stabilizer. You don’t want to have your hot glue pooling while you remove the barrettes from the cardboard one by one.
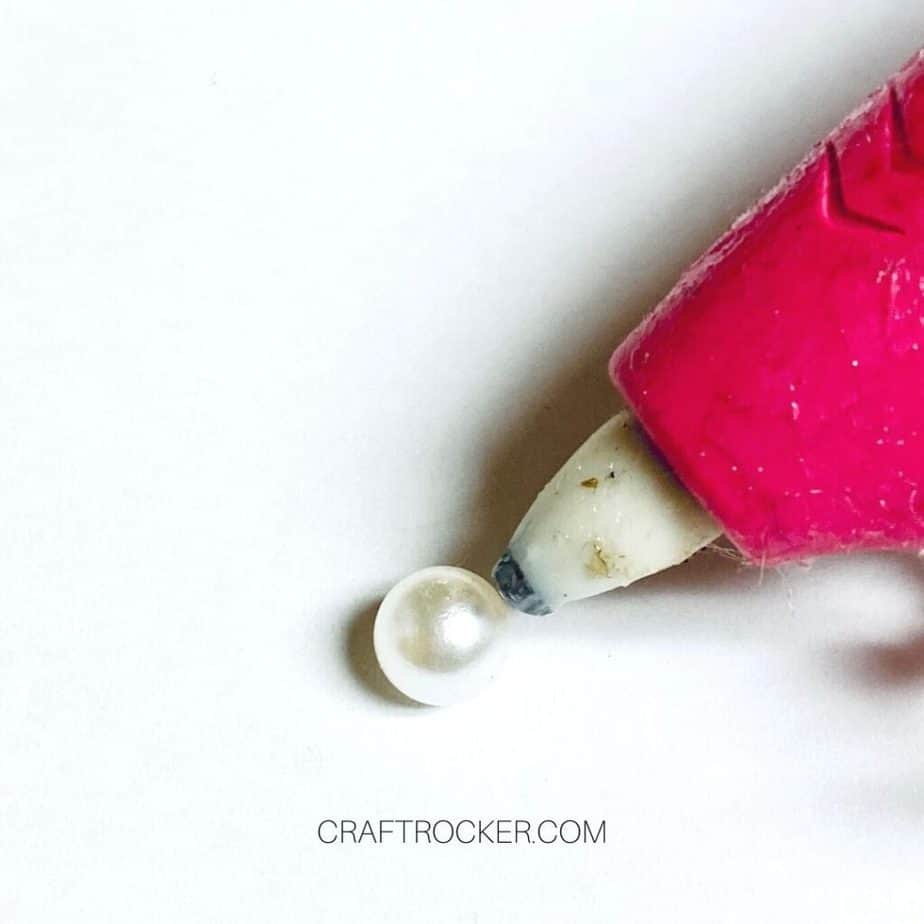
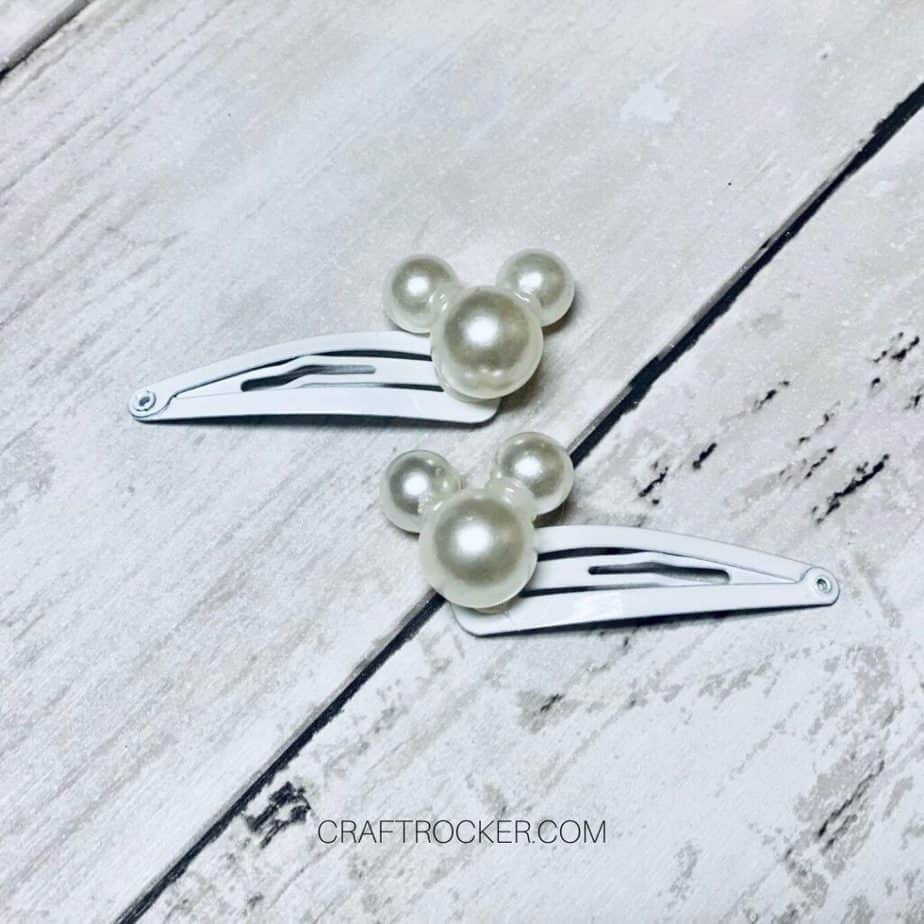
Step 2 – Make Your Minnie Heads
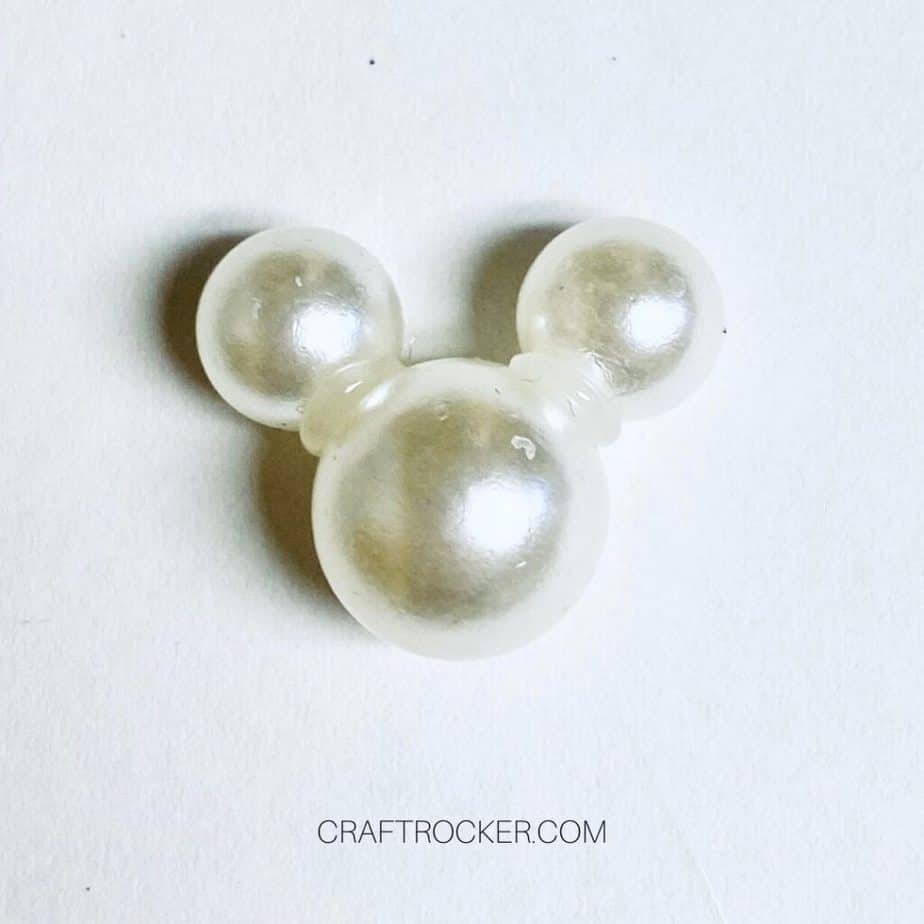
Next, open your beads (both sizes) and add a small dab of hot glue to one of the smaller pearls and press it to the side of the larger pearl. Then repeat with a small pearl on the opposite side of the large pearl bead to make the Minnie head.

Continue until you have 8 Minnie heads made.


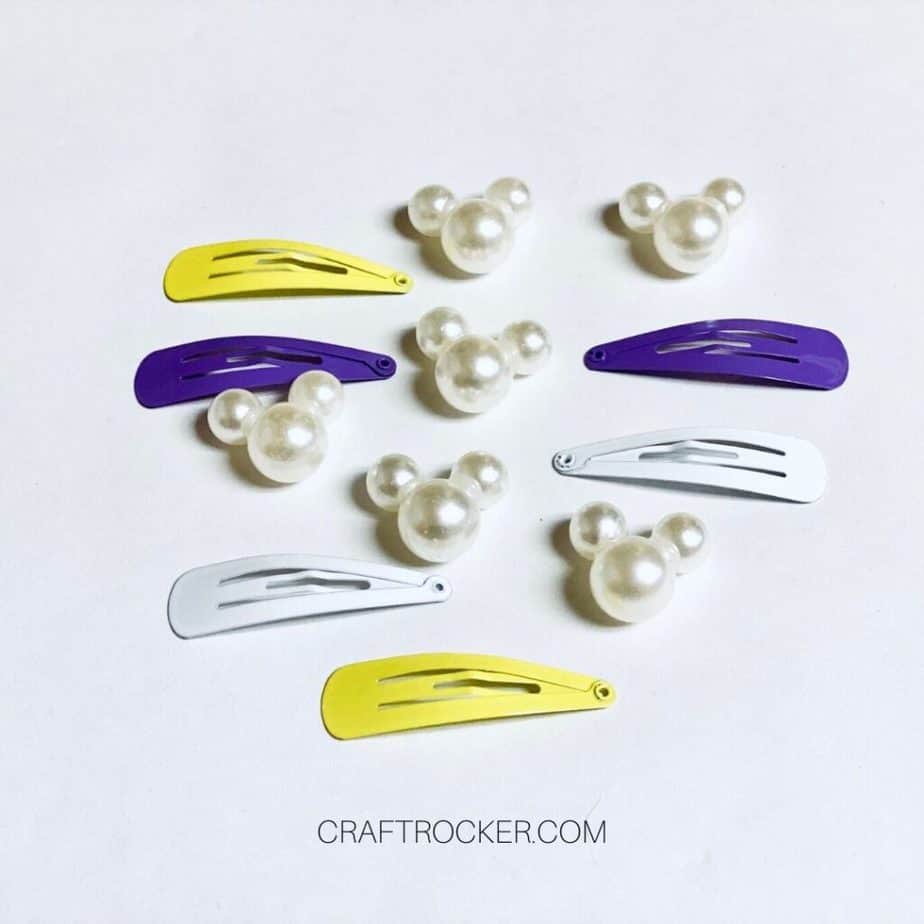
Step 3 – Attach Heads to Barrettes
Lastly, add a dab of hot glue to the back of one Minnie head and press it to the wider edge of the barrette.
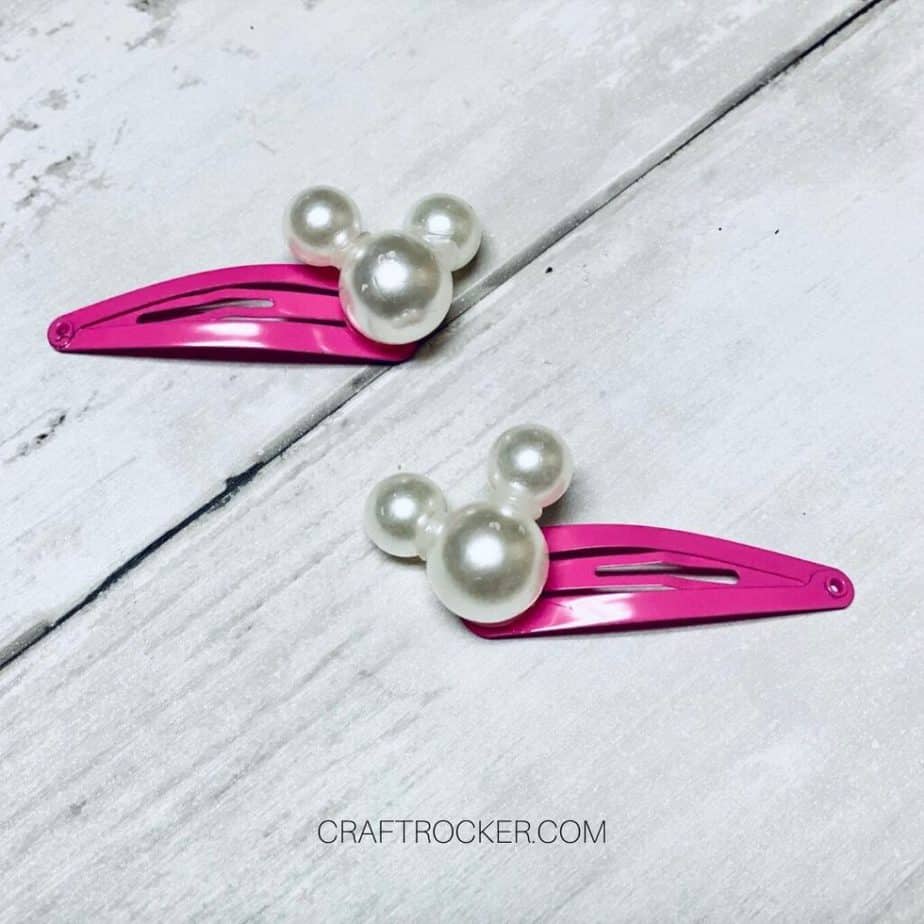
Continue gluing Minnie heads to your barrettes until each barrette has one.
Tips and Tricks
If you plan to wear these a lot I recommending adding some gorilla glue to the beads in addition to the hot glue to make it sturdier. Simply add a small amount gorilla glue to each spot your put hot glue to strengthen the hold. Make sure to let the glue dry completely before wearing.
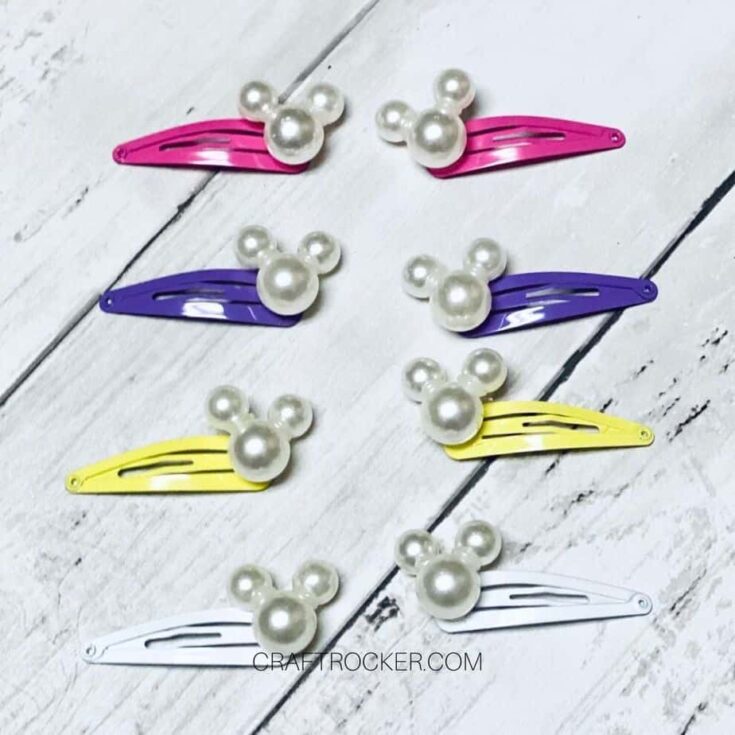
You can also use any beads you have on hand as long as they are similar in size and shape to these. I simply found these to be the matching colors and sizes that I was looking for. Feel free to try out different colors and finishes for your barrettes.
Printable Minnie DIY Hair Barrettes
Minnie DIY Hair Barrettes
These Minnie DIY hair barrettes are so easy to make! They’re a totally adorable accessory for mom too. Add them to your next mommy and me outfits for some super cute photo ops while she still loves doing that with you.
Materials
- Dollar Tree Barrettes
- Hot Glue Gun and Glue Sticks
- 40 Pack Floral Pearl Beads (the bigger size)
- 80 pack floral pearl beads (the smaller size)
Instructions
- Before you start, prepare your barrettes by getting all of them out of the package and unclipped from the cardboard stabilizer. You don’t want to have your hot glue pooling while you remove the barrettes from the cardboard one by one.
- Next, open your beads (both sizes) and add a small dab of hot glue to one of the smaller pearls and press it to the side of the larger pearl. Then repeat with a small pearl on the opposite side of the large pearl bead to make the Minnie head.
- Continue until you have 8 Minnie heads made.
- Lastly, add a dab of hot glue to the back of one Minnie head and press it to the wider edge of the barrette.
- Continue gluing Minnie heads to your barrettes until each barrette has one.
Notes
- If you plan to wear these a lot I recommending adding some gorilla glue to the beads in addition to the hot glue to make it sturdier. Simply add a small amount gorilla glue to each spot your put hot glue to strengthen the hold. Make sure to let the glue dry completely before wearing.
- You can also use any beads you have on hand as long as they are similar in size and shape to these. I simply found these to be the matching colors and sizes that I was looking for. Feel free to try out different colors and finishes for your barrettes.
Don’t you love how easy these Minnie DIY hair barrettes are to make? They’re totally adorable for mom too. Add them to your next mommy and me outfits for some super cute photo ops while she still loves doing that with you.
Don’t Forget to Pin It!
More Easy DIY Projects You’ll Love
Decoupage Earring Updo – Made in a Day

Leave a Reply